I already showed you how we renovated the hardwood floors. And I already showed you how I rebuilt the stairs.
But you haven't seen how we did everything else to the living room. So here it goes...
First, we'll start with how it looked before:
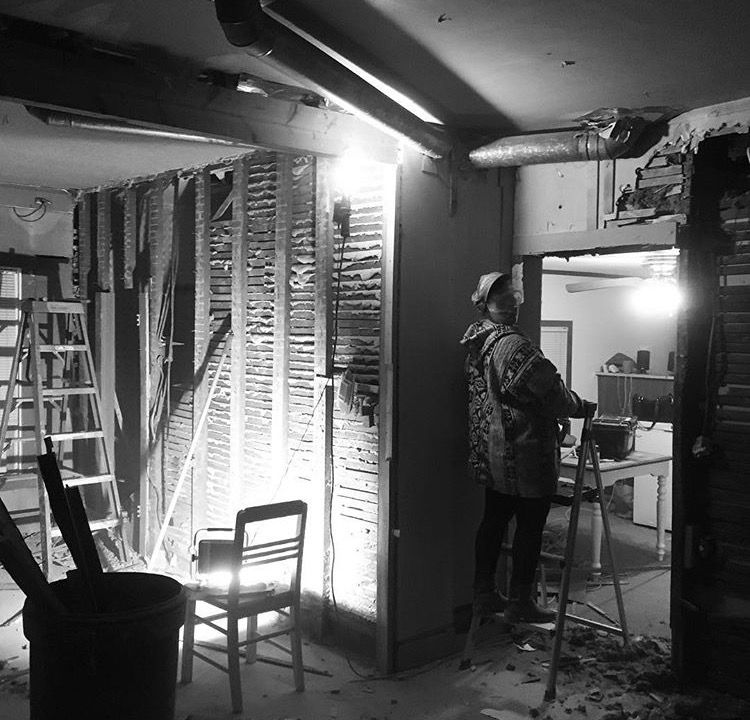
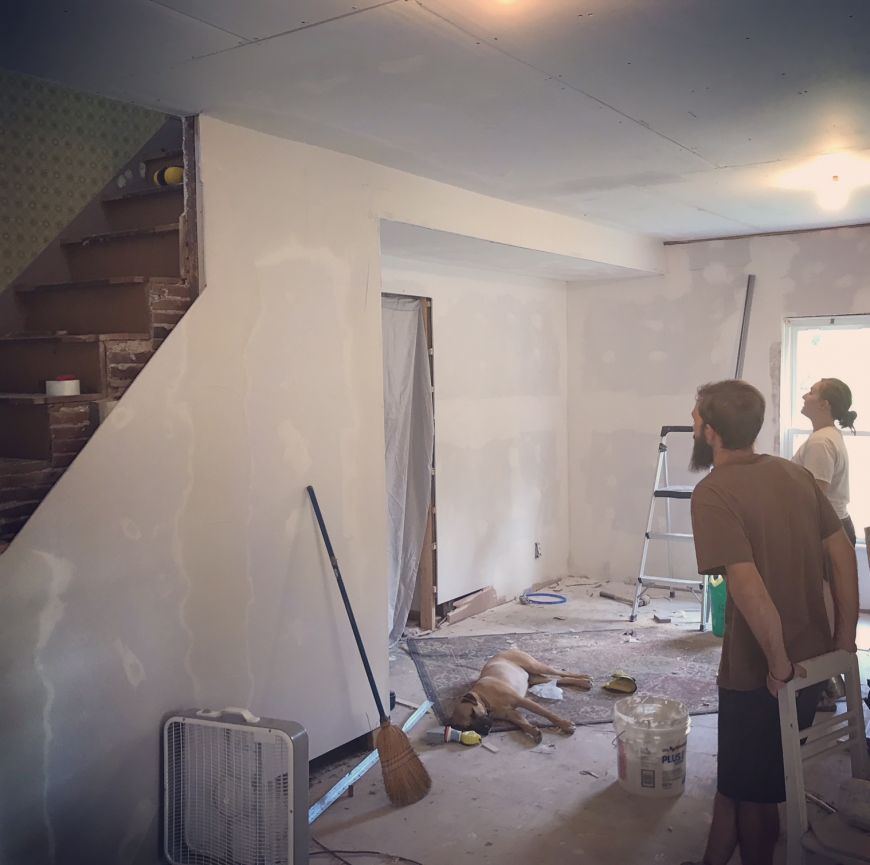
Not very pretty, huh? But it looked better then than it did after demolishing half the walls:
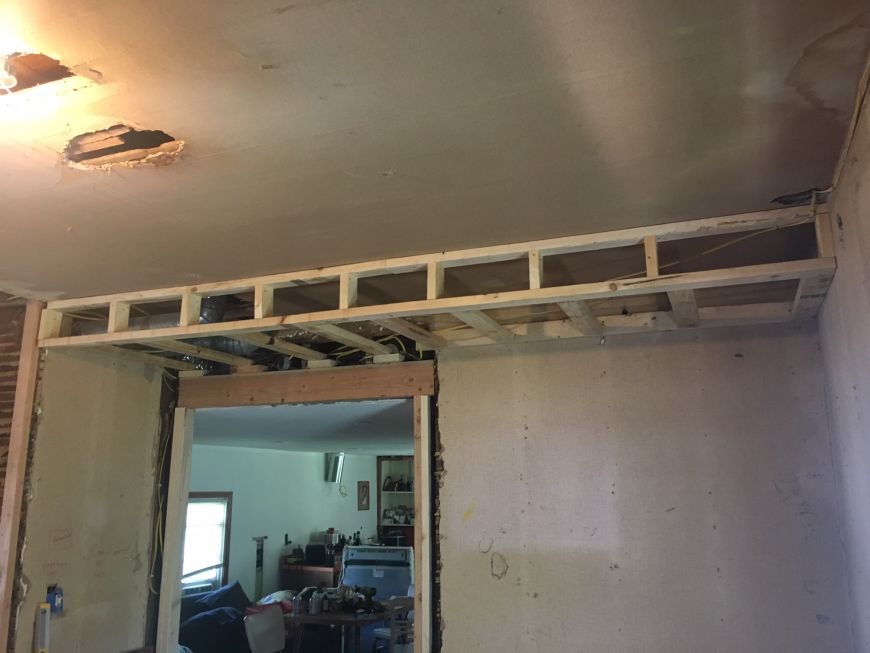
See those vent tubes above Logan's head? The first thing we needed to do was figure out what to do with those. We ended up cutting new vent register holes in the upstairs floor so we could re-rout the tubes to a better location so we could cover them up without dropping the height of the whole ceiling. We built a 2x4 box around them for the drywall to screw to - we called it a soffit but I'm not sure what the technical term really is.
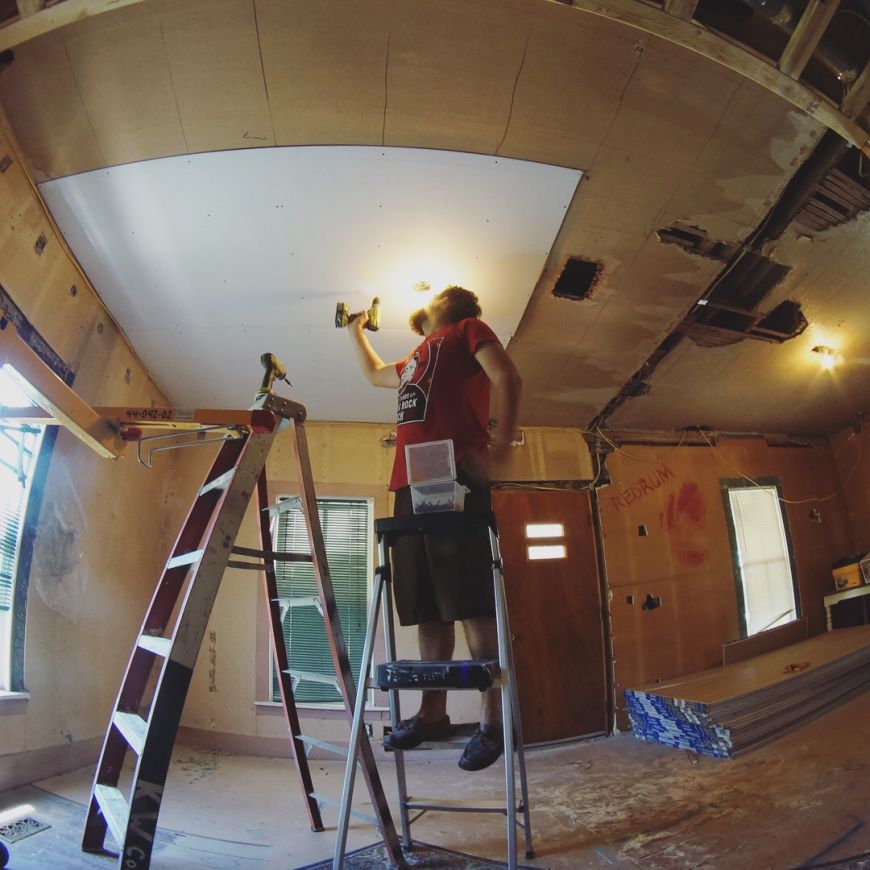
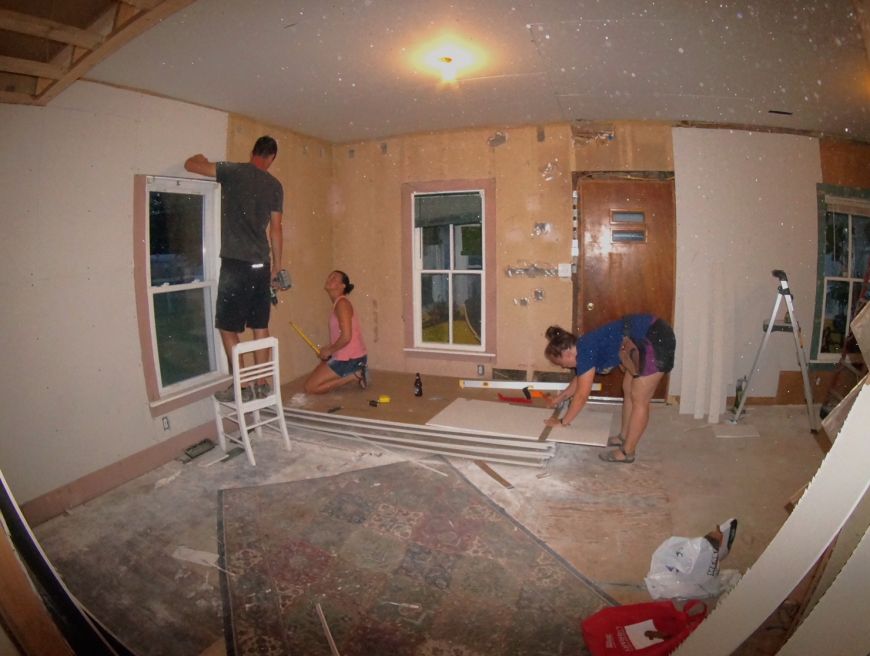
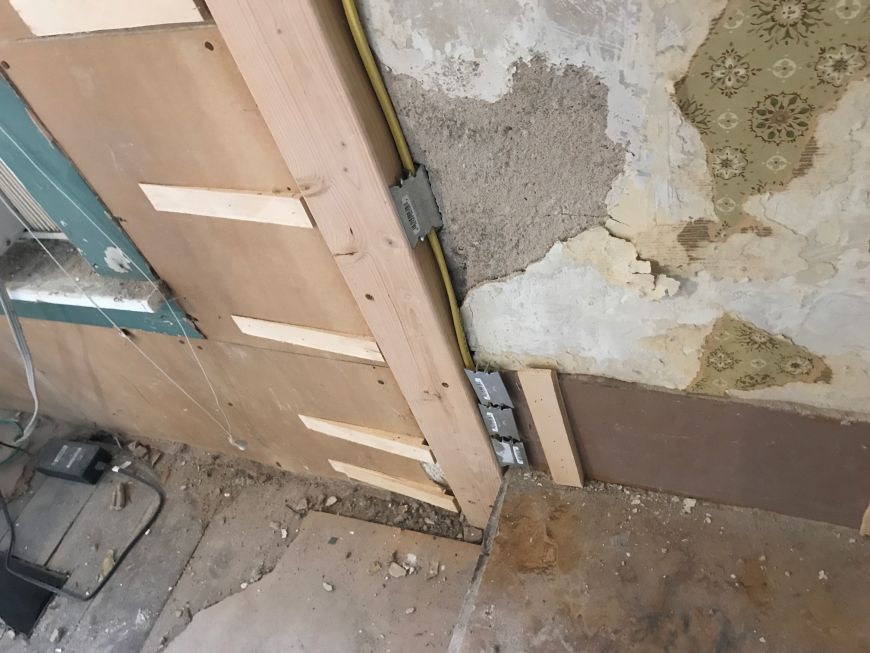
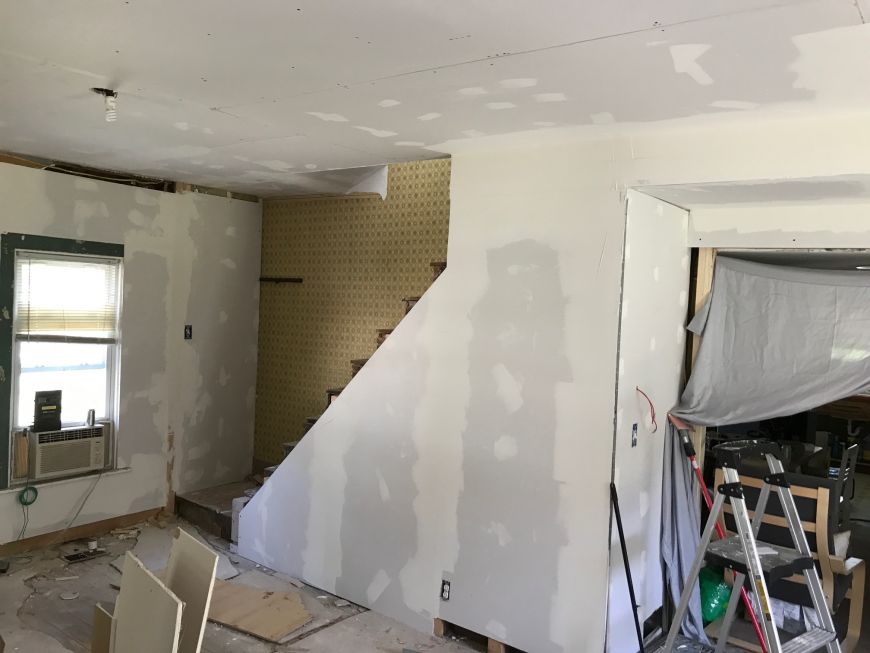
Once we had all the electrical, insulation, heater ducts, etc. figured out (what I call the "behind the wall stuff"), it was time to start hanging drywall.
Yes that's me :)
Thankfully we had some really helpful friends!
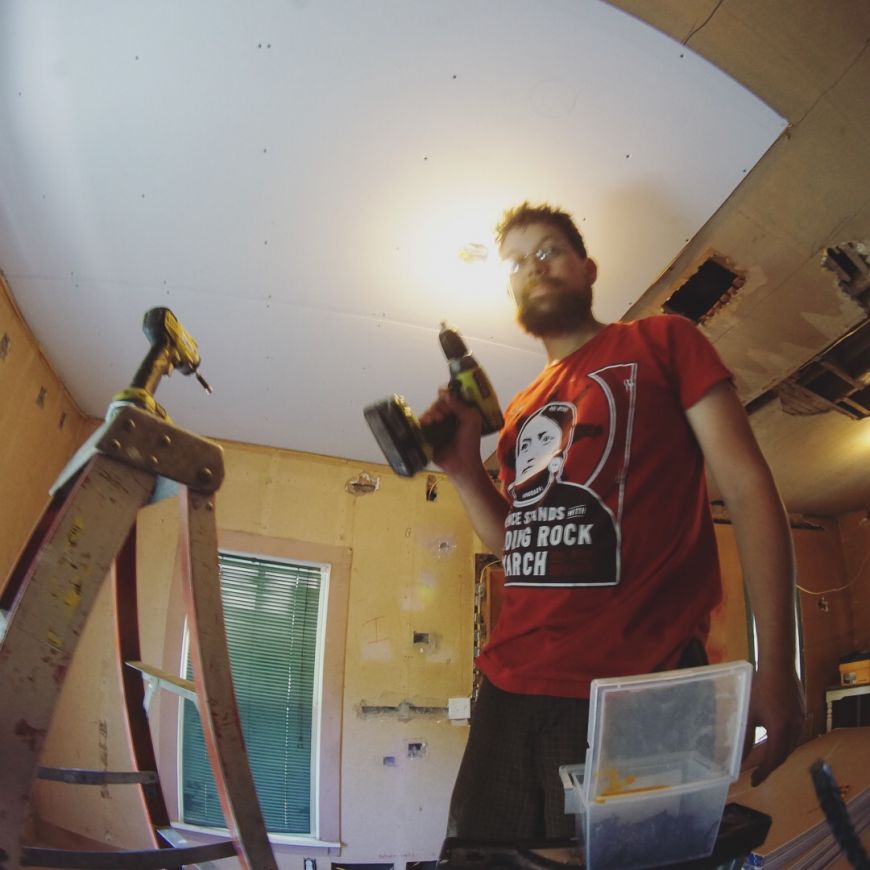
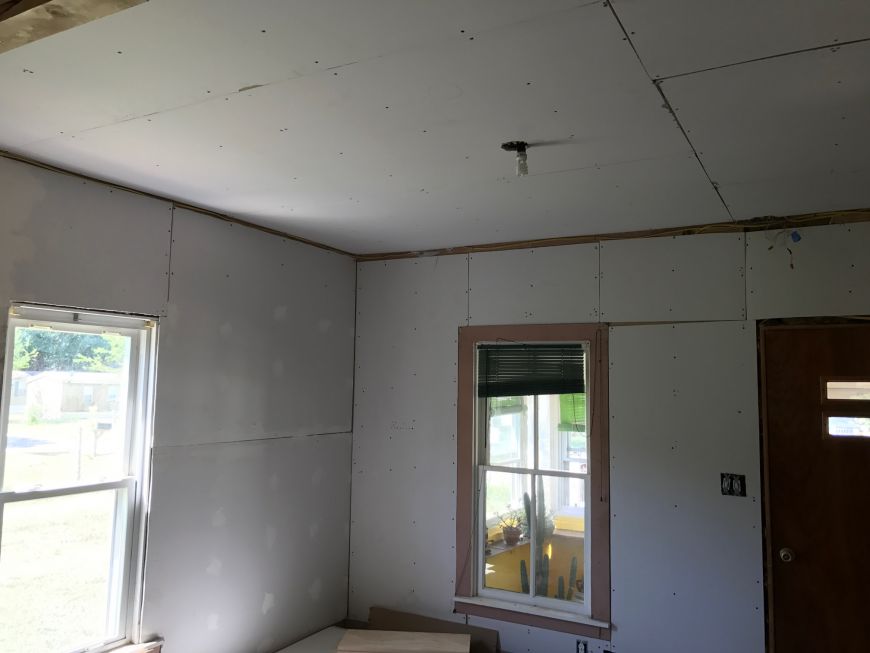
Before long it started to look a lot better
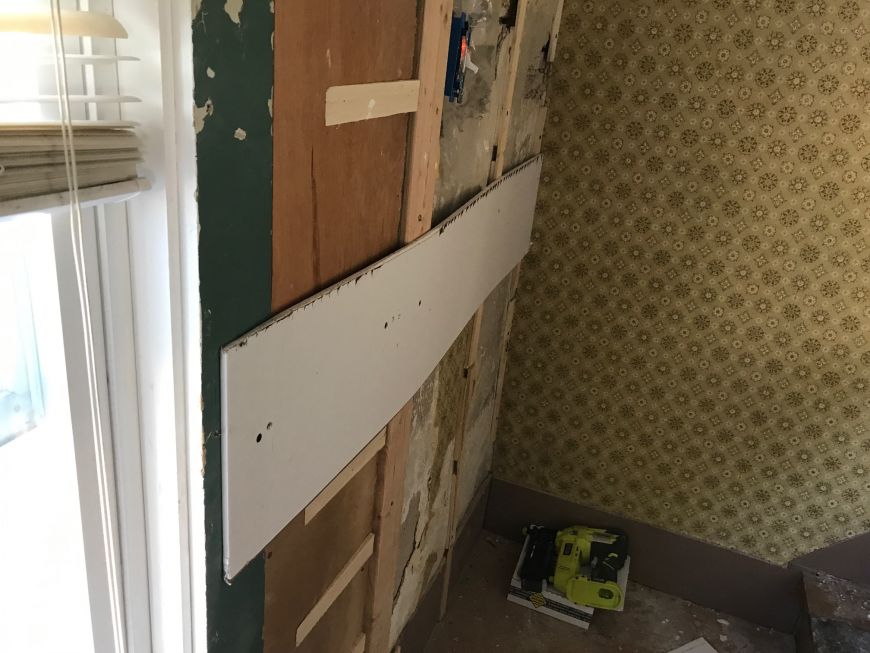
There was some obstacles...
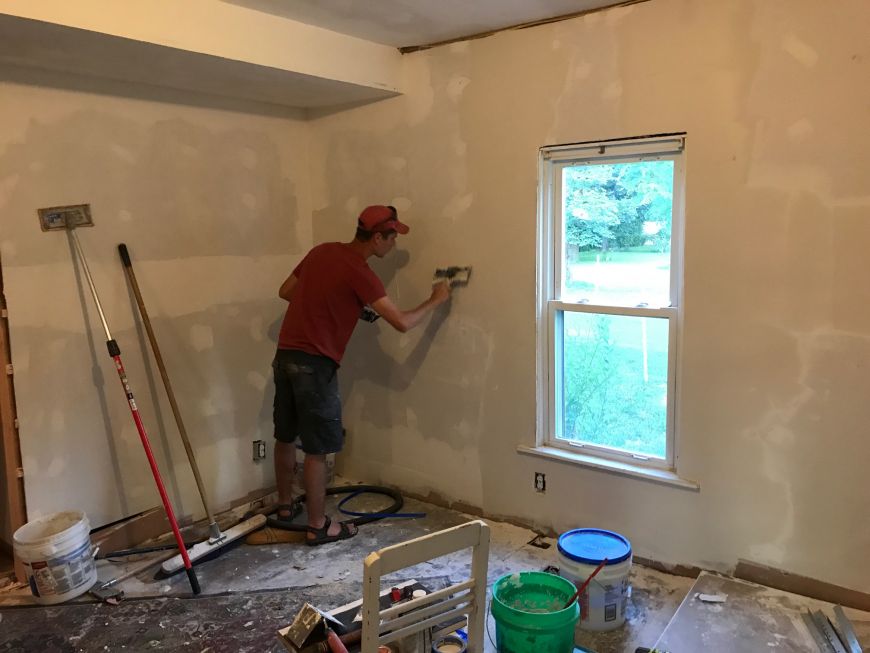
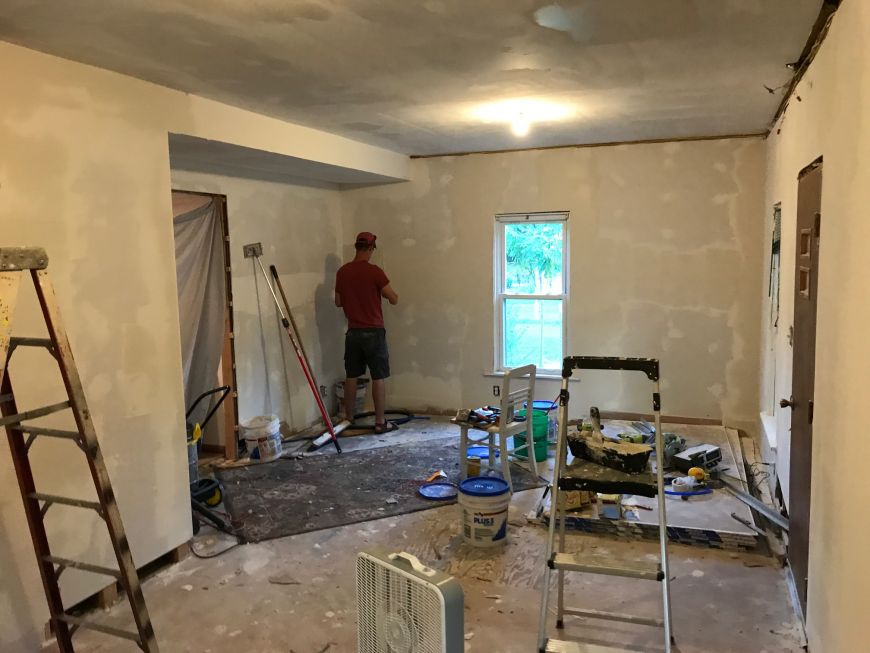
After a few days (a week?) it started to feel so much better in the living room. I could finally breath! Except for all the drywall dust in the air....
Gus really helped with the drywall mud, and he taught me how to do it so I could help too.
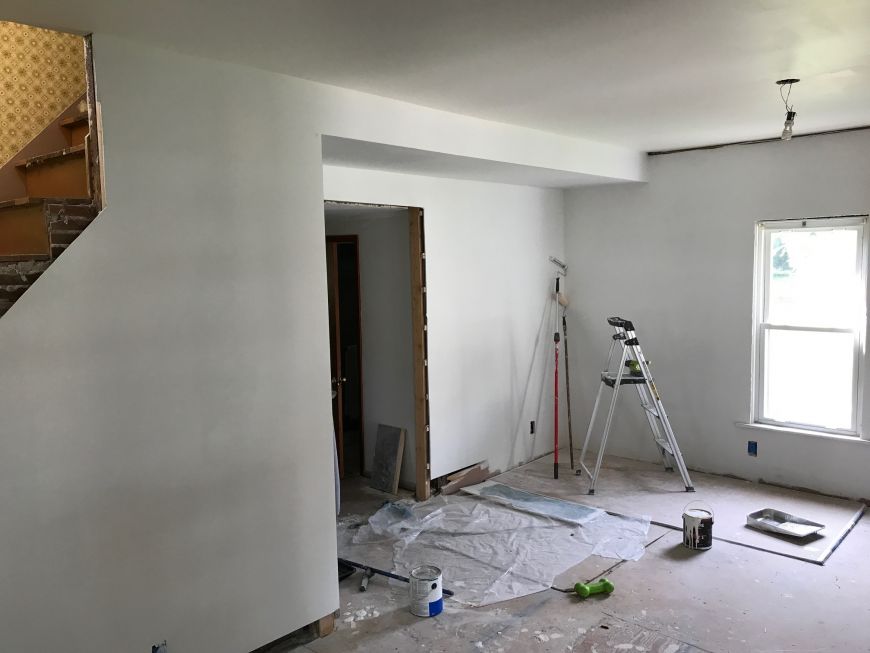
PRIMER !!!!
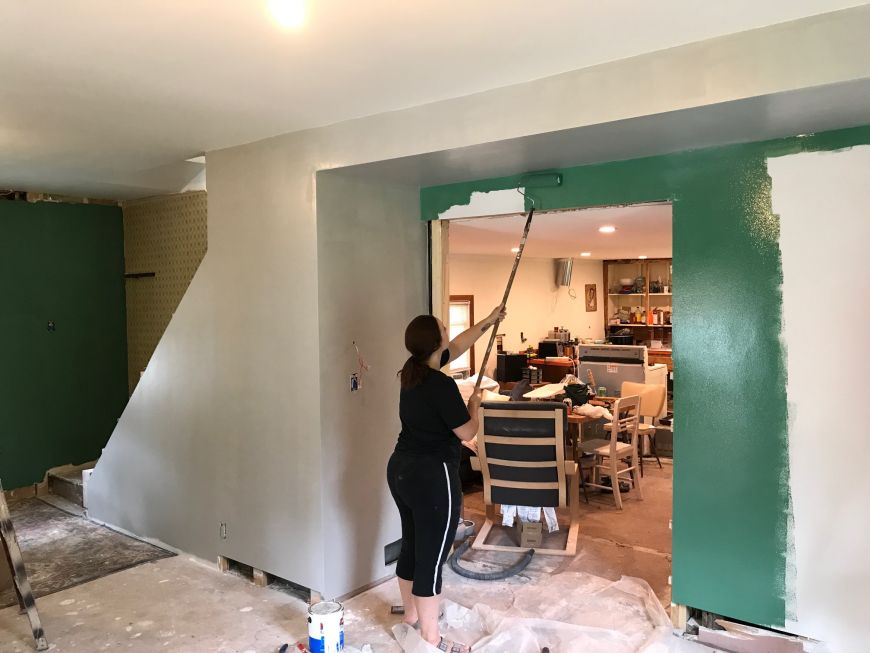
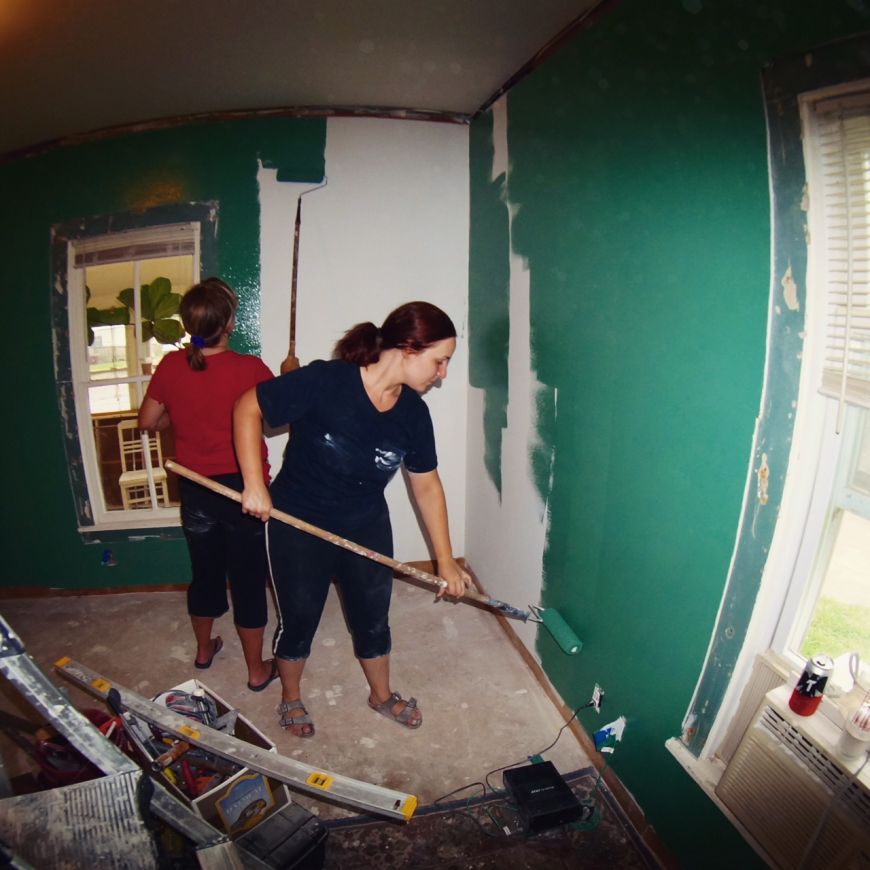
PAINT !!!
Mom came to town to help us paint. She says she's a glutton for hard work, but she should have been there for the drywall!
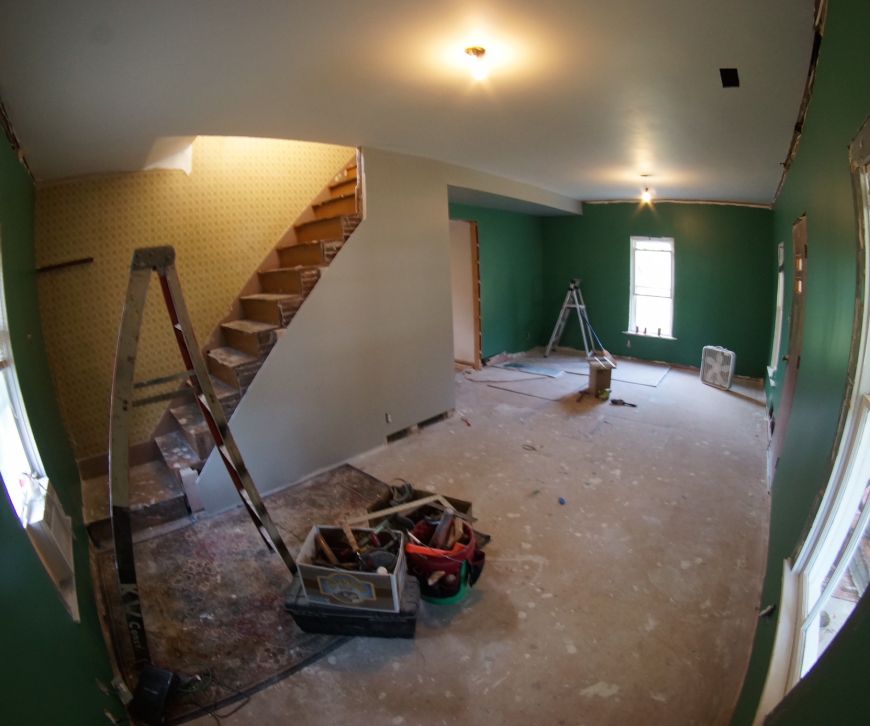
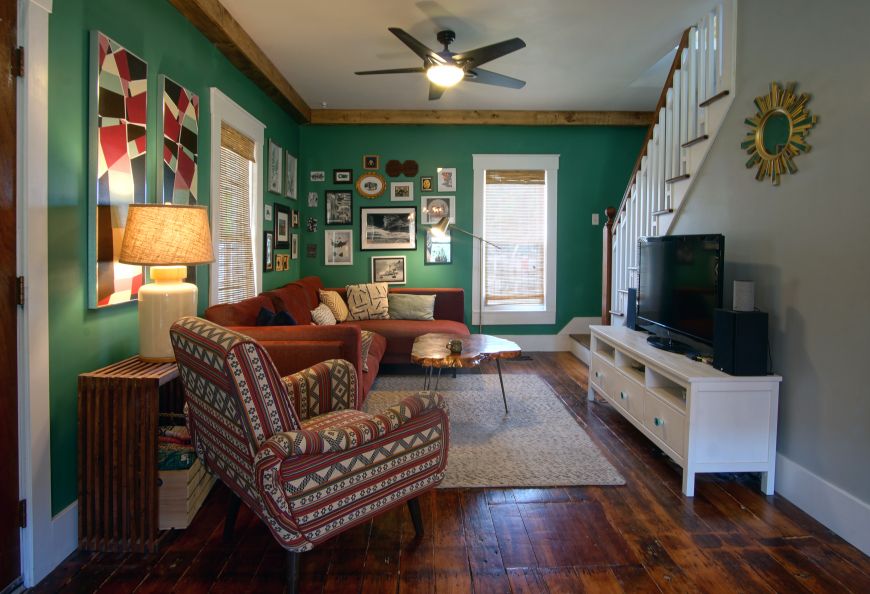
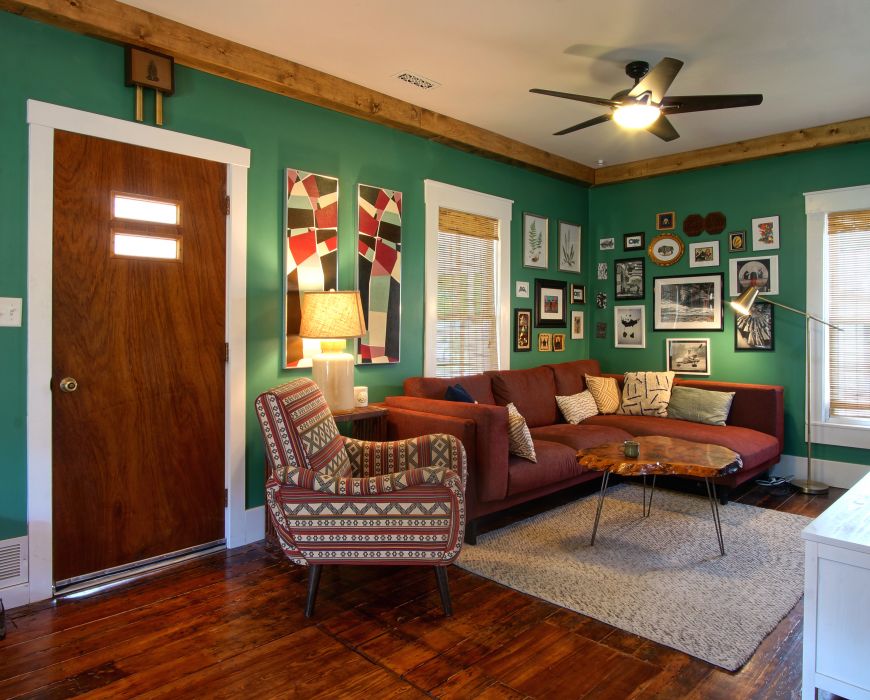
The green wall paint is called "jadite green" from Sherwin Williams. The grey is called Argo, also from SW. The ceiling paint is actually flat White Dove from Benjamin Moore.
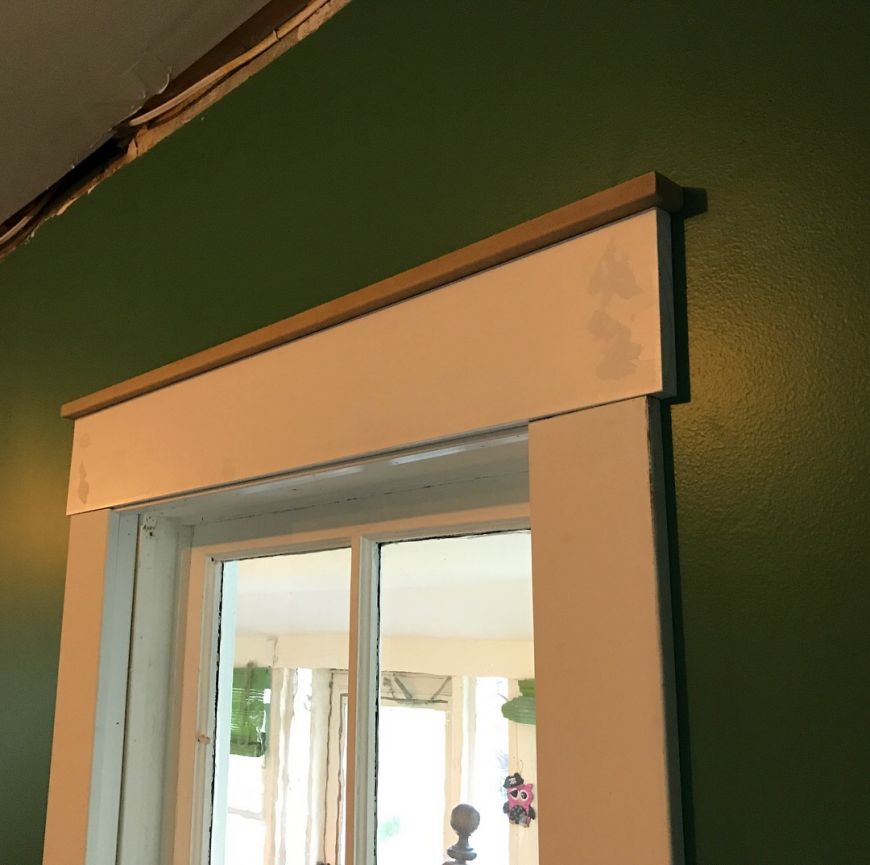
You may be wondering what in the heck we're planning on doing with the trim around the windows.... put the new trim over the old!
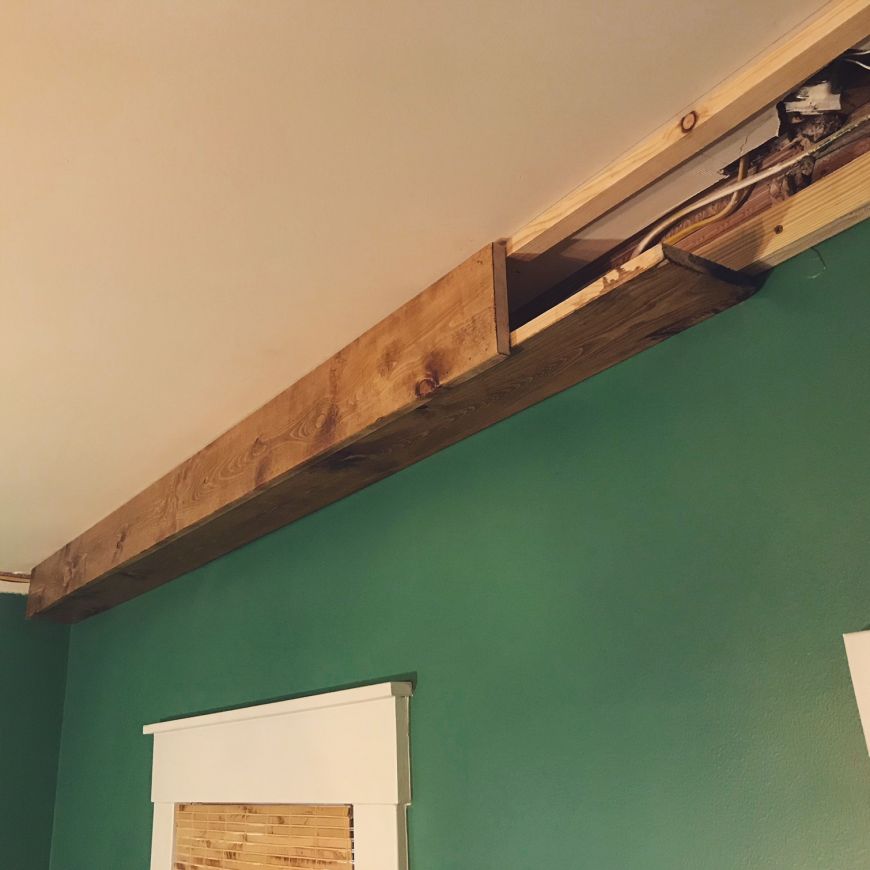
And for the ceiling trim, I made box beams which also conceal the wires feeding the upstairs bedroom outlets.
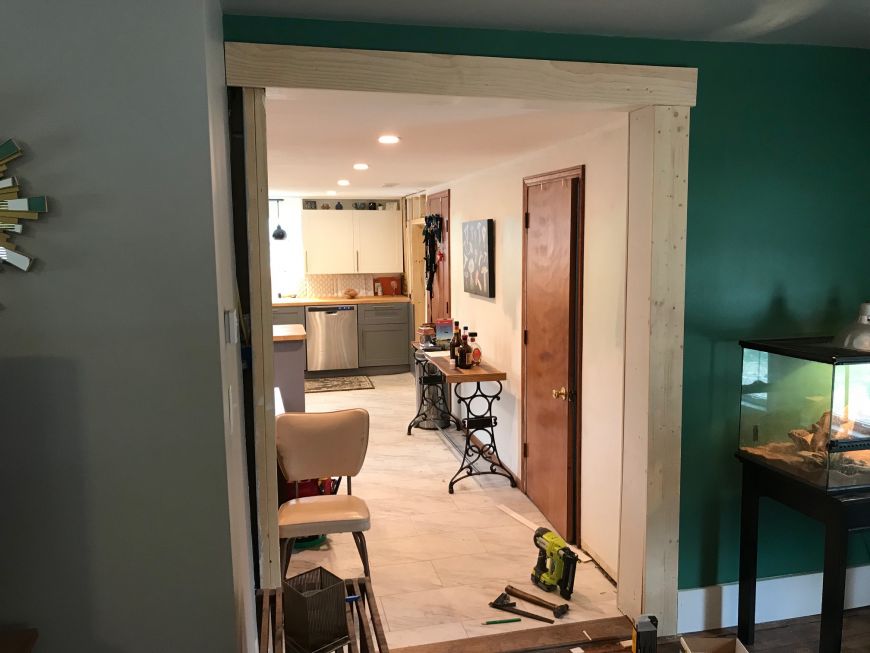
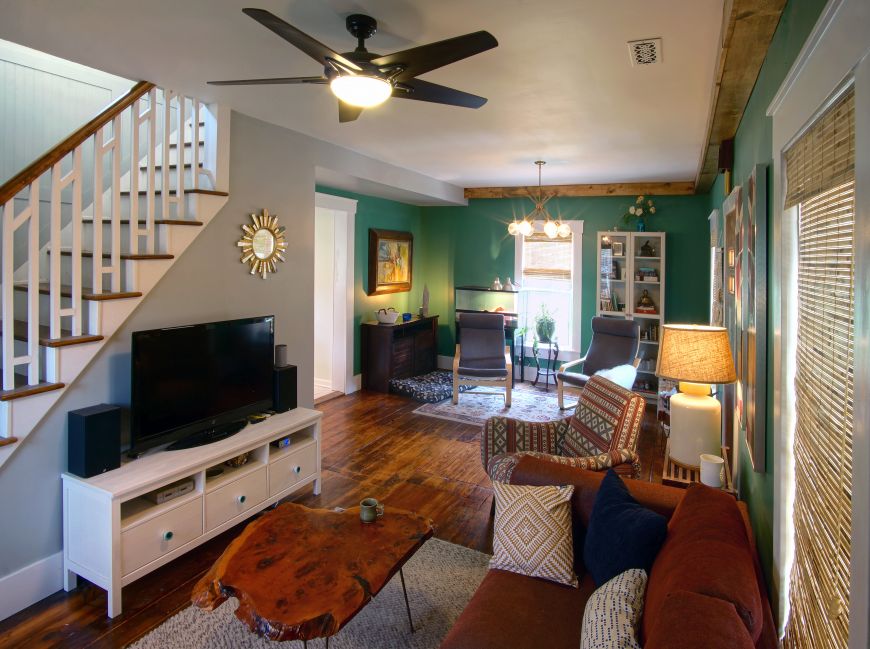
And finally, the cased opening between the living room and kitchen was installed. I think we knocked down that wall and put in a header, oh, about 1 year before this photo was taken...
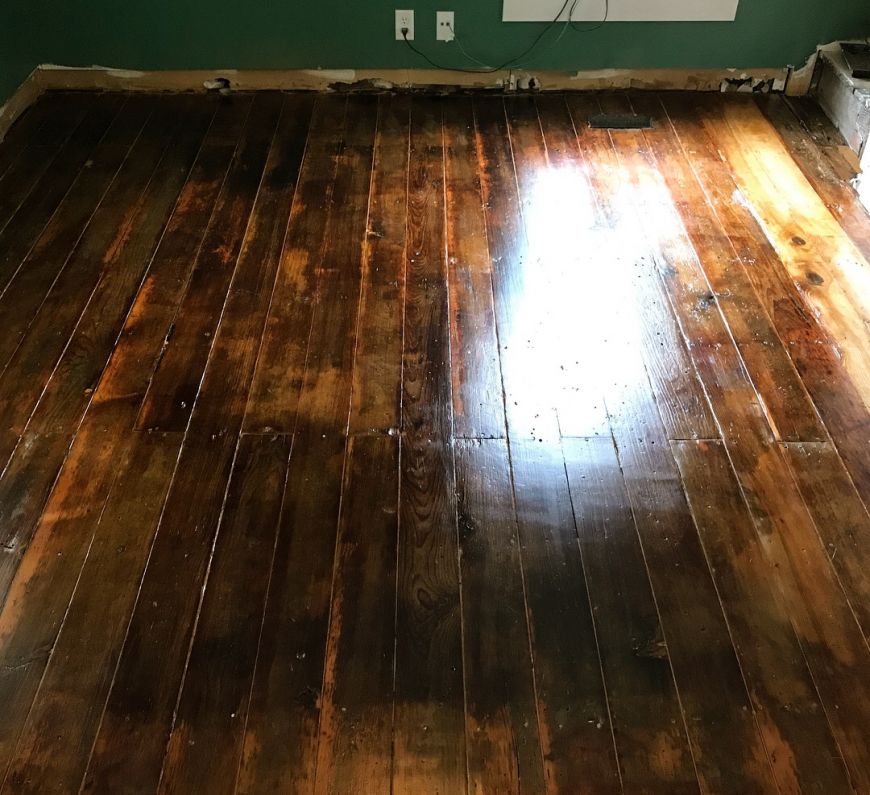
Then we resurfaced the hardwood floors. You can read all about how we did that here.
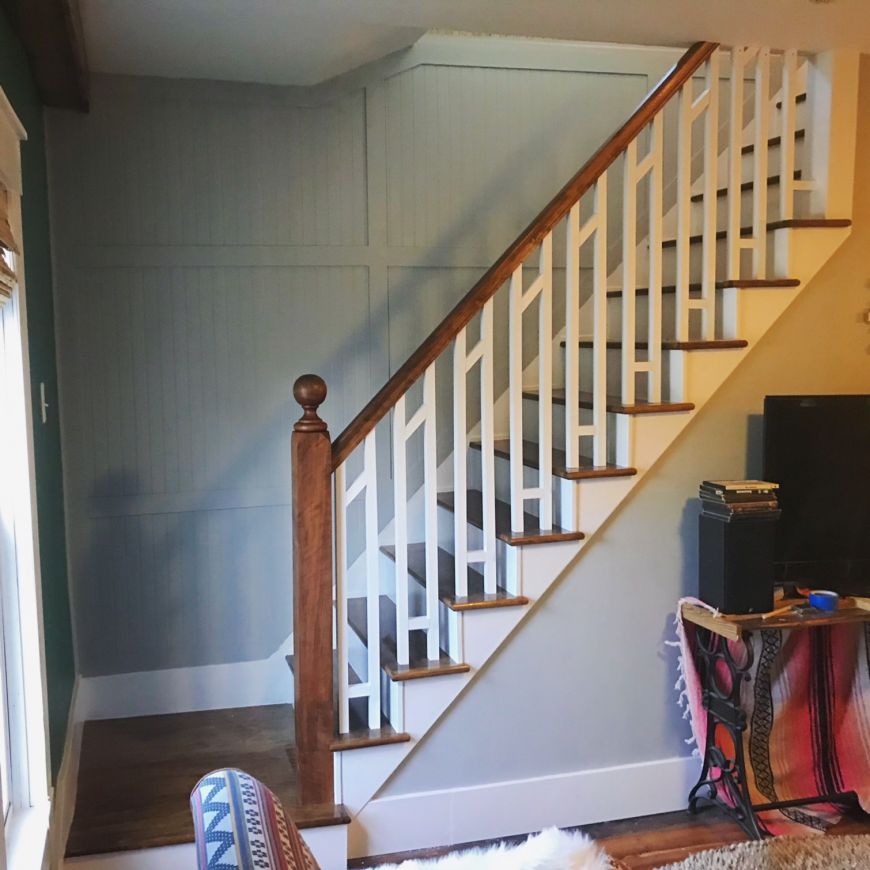
And I pretty much built a whole new staircase. Only thing that was reused was the stringers. Read all about that here.
Now it was actually time for the fun part! Get new furniture, decorate the walls, and take glamour shots. We deserved it!
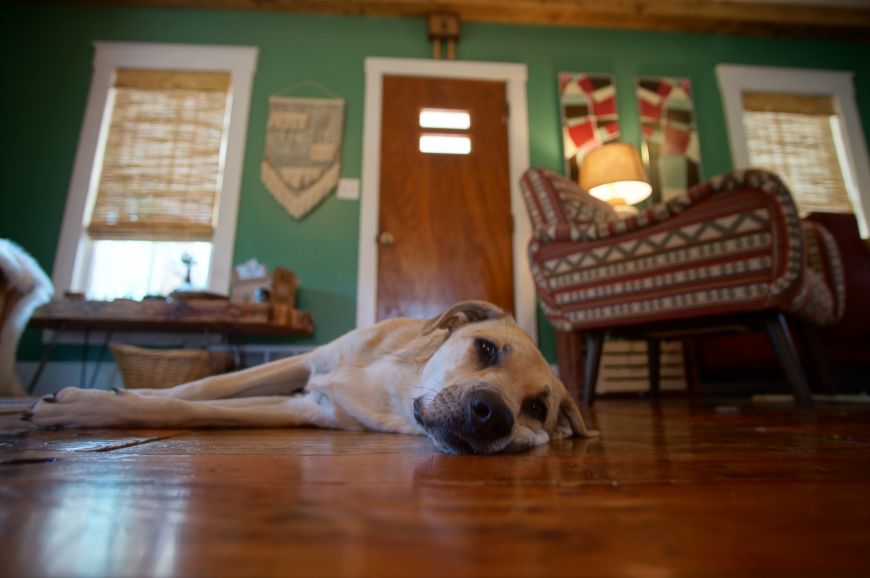
Dog approved...
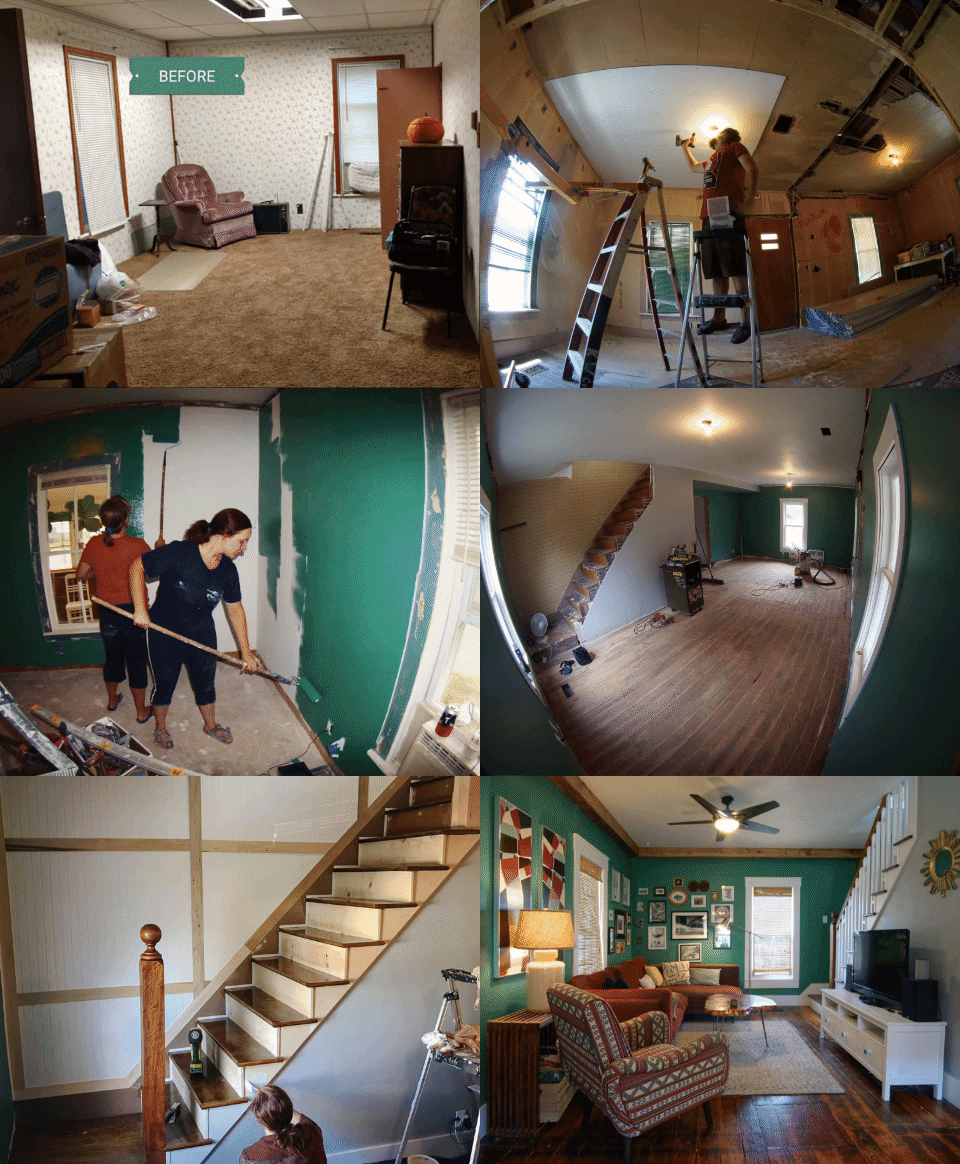
Last but not least, I put together this little GIF which shows the transformation pretty well:
Even houzz.com liked what we did! So they made an article about our renovation. Cool!
https://www.houzz.com/ideabooks/110839629/list/green-walls-wake-up-a-ti…


