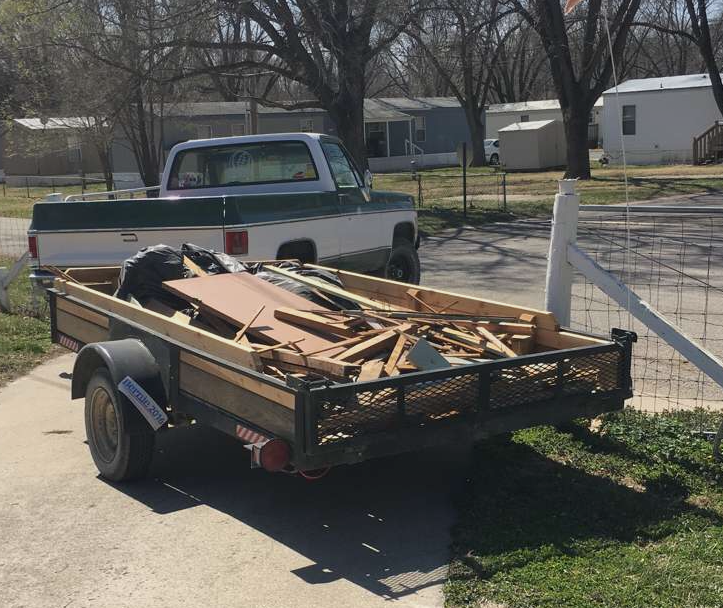
After all that demolition from project This Old Fixer-Upper, Part 1 (the fun part), I had to haul it all to the dump (the not fun part). I think I'm up to 5 trips now, the first two with a large c30 dump bed truck, about three times as much rubbish as shown the little trailer - think old carpet, aucustic ceiling panels, and thousands of pounds of plaster and lathe debris. Thankfully it's only a few miles North of our location.
Then I got to work on the electrical. At first I thought I only would need to replace the knob-and-tube wires upstairs and add some outlets. Boy was I wrong. I'll have replaced about 80% of the wiring and added many many outlets. There wasn't a single outlet upstairs!
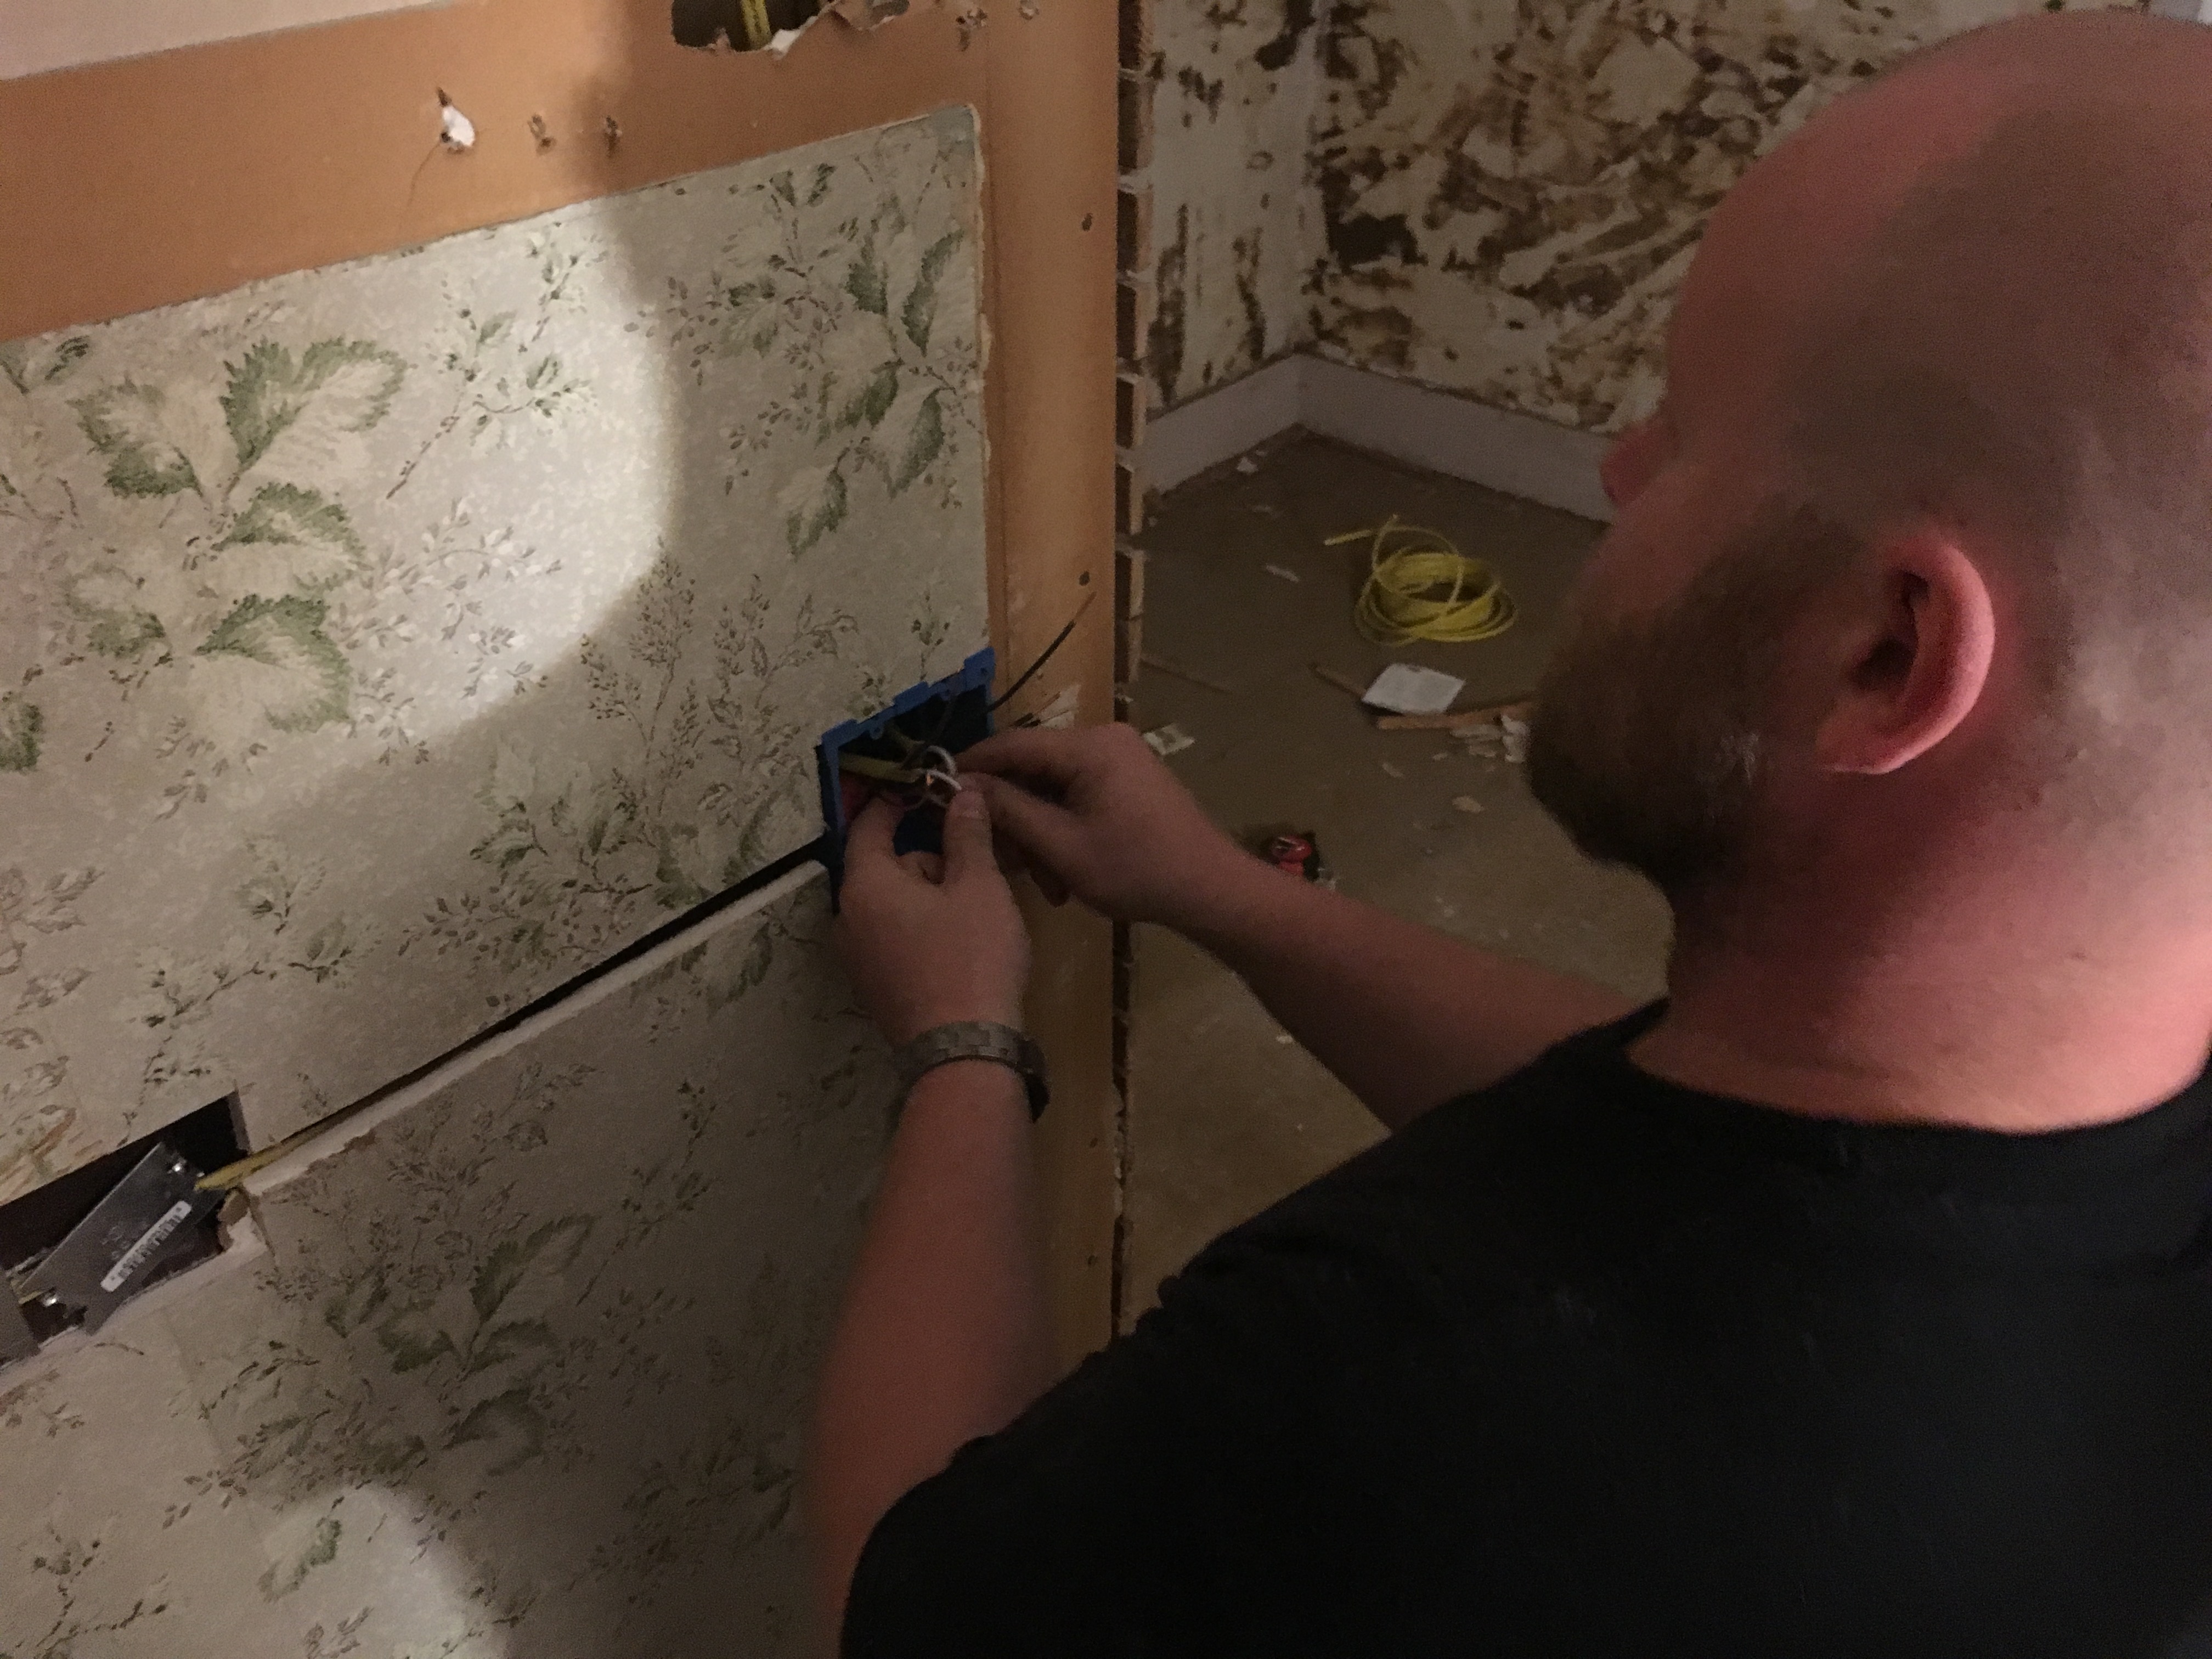
Look at this old nasty wiring. Exposed wires! Not good, that got replaced, and anything else not copper wrapped in modern vinyl.
.JPG)
Had a buddy help me with a some of it. My girlfiend, Logan, helped me with a lot of it too and I couldn't have done a lot of the difficult stuff involving fishing the wiring through the walls and ceilings without her. How did I get so lucky?
Ran into a bit of a head-scracher when installing new lights in the bathroom.
The problem was that the different LED lights did not want to play nicely together. I think one was converting the line voltage to low voltage. Tthey weren't wired in series which is a no no, so I don't know why. The solution was to gut the ceiling light LED and install a regular medium-sized socket outlet and put in the same LED light bumb as the vanaty fixture.
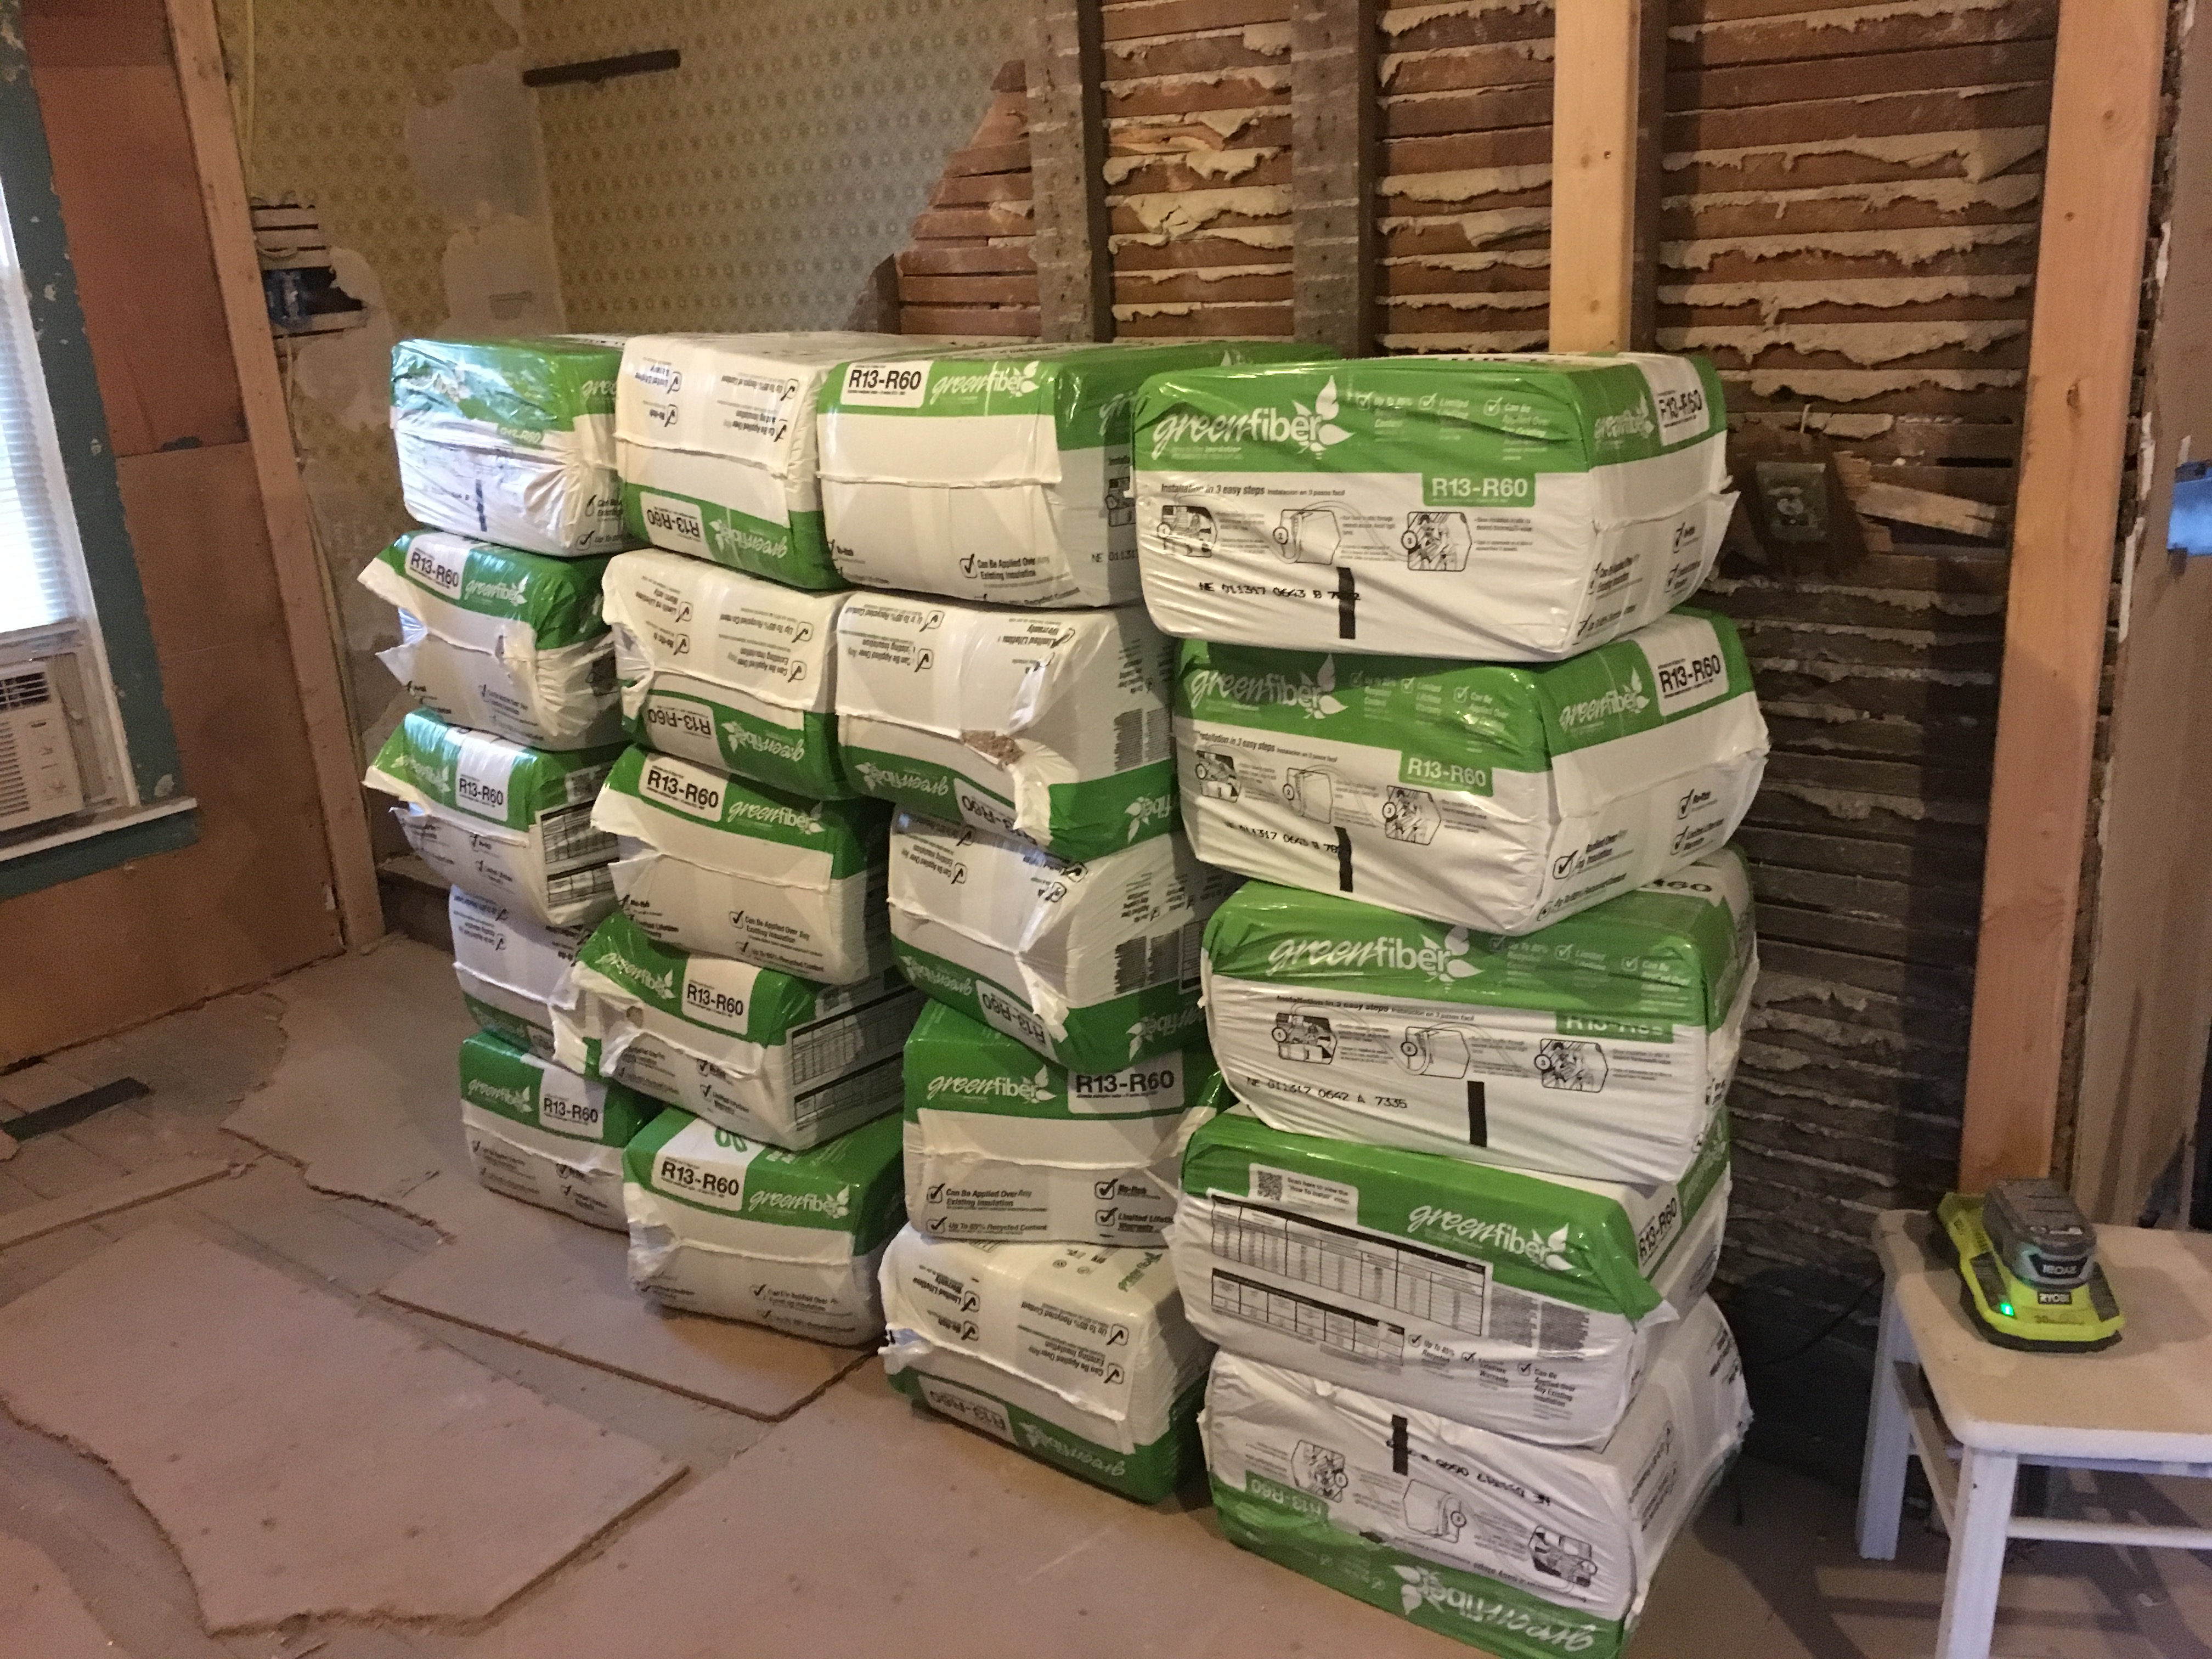
With all the wiring done (which took several months, by the way. It's a slow, head-aching process) it was time to do the insulation!
We decided on loose-fill, blown-in cellulose insulation. The idea is that you cut a hole in the wall, one or two for each stud bay in the wall to be insulated, and a machine stuffs that cavity with cellulose insulation by blowing it through the hole.
All this insulation was around $150! Which I think is a GREAT investment. I mean, you can either invest in solar or geothermal to lower your electric bill, or you can insulate the crap out of your house. We chose the latter.
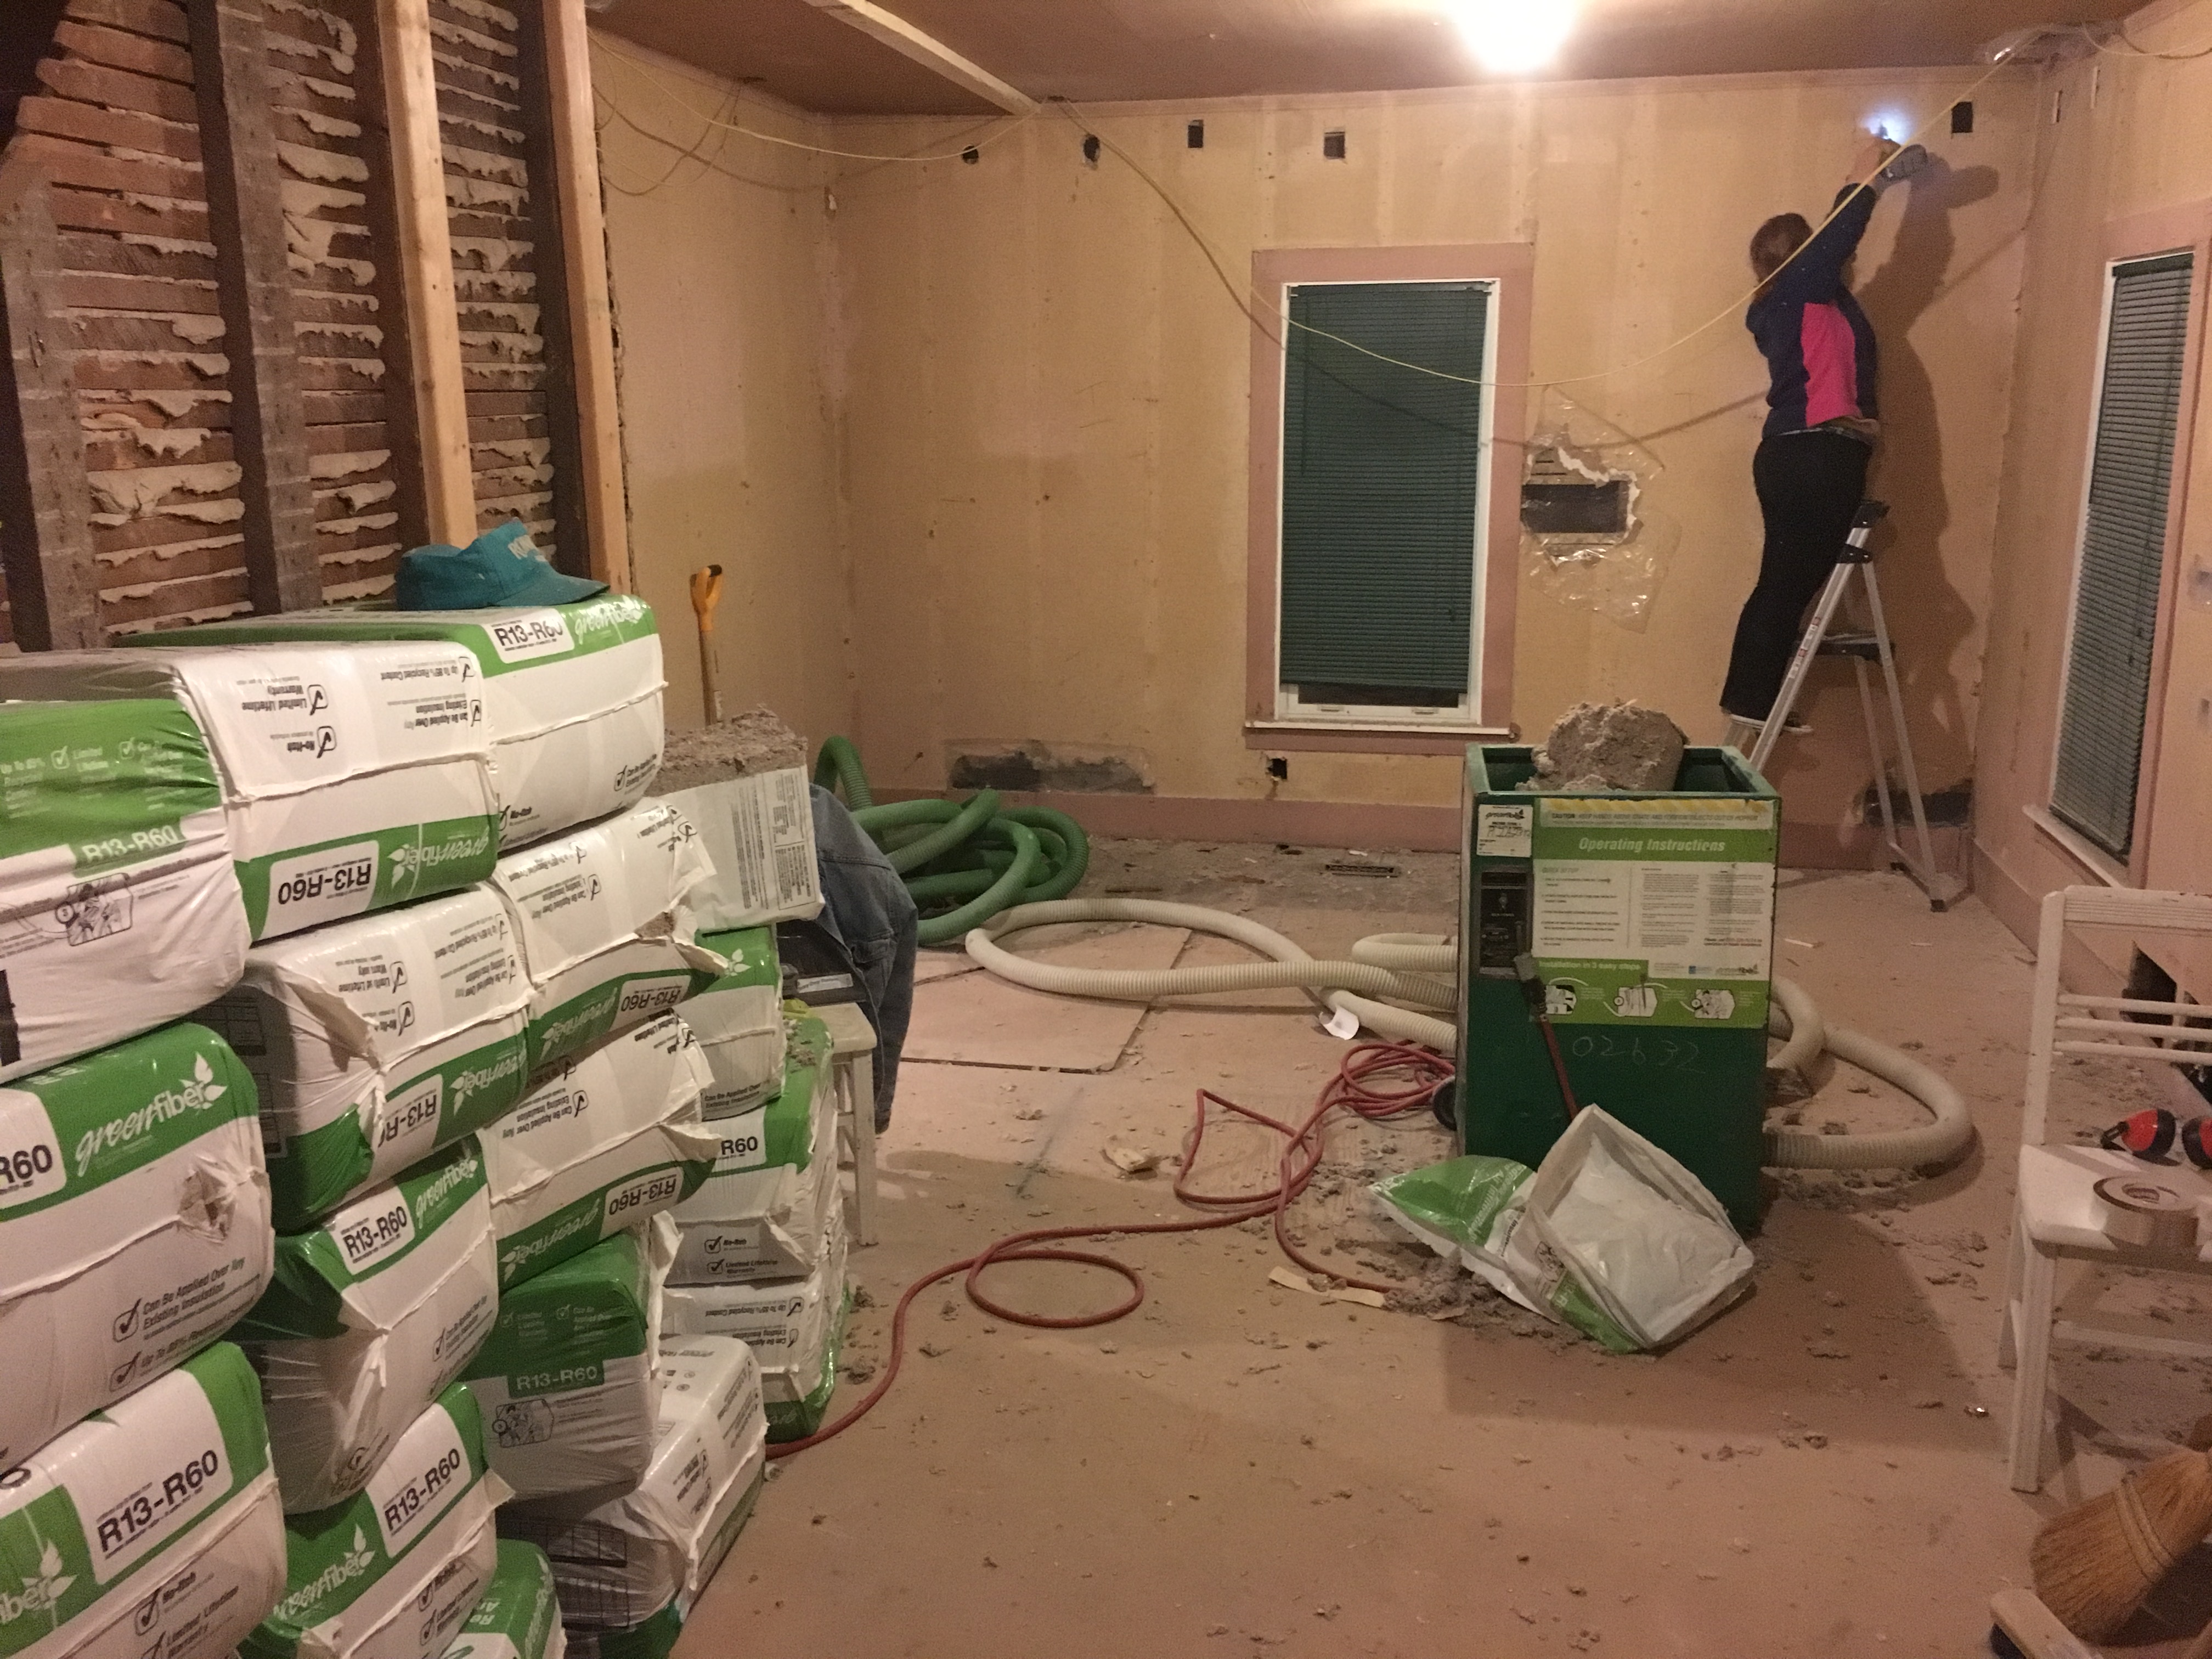
It was a very DIY friendly project. Here's my girlfriend cutting the holes while I watched and took pictures, haha. (Also, you can see some wires hanging around, literally. Don't worry, I have a plan for those. Hint: it involves "box beams". The wires feed the new upstairs outlets.)
And then, we moved in...
So, as soon as we were finished with the insulation, our personal lives took a sharp left turn and we had to move into the house a little earlier than we had planned. Our strategy is now to work on the upstairs bedrooms - the ceiling, walls and floors all need renovated - and then we can move our stuff up there once it's complete and start working on the downstairs.
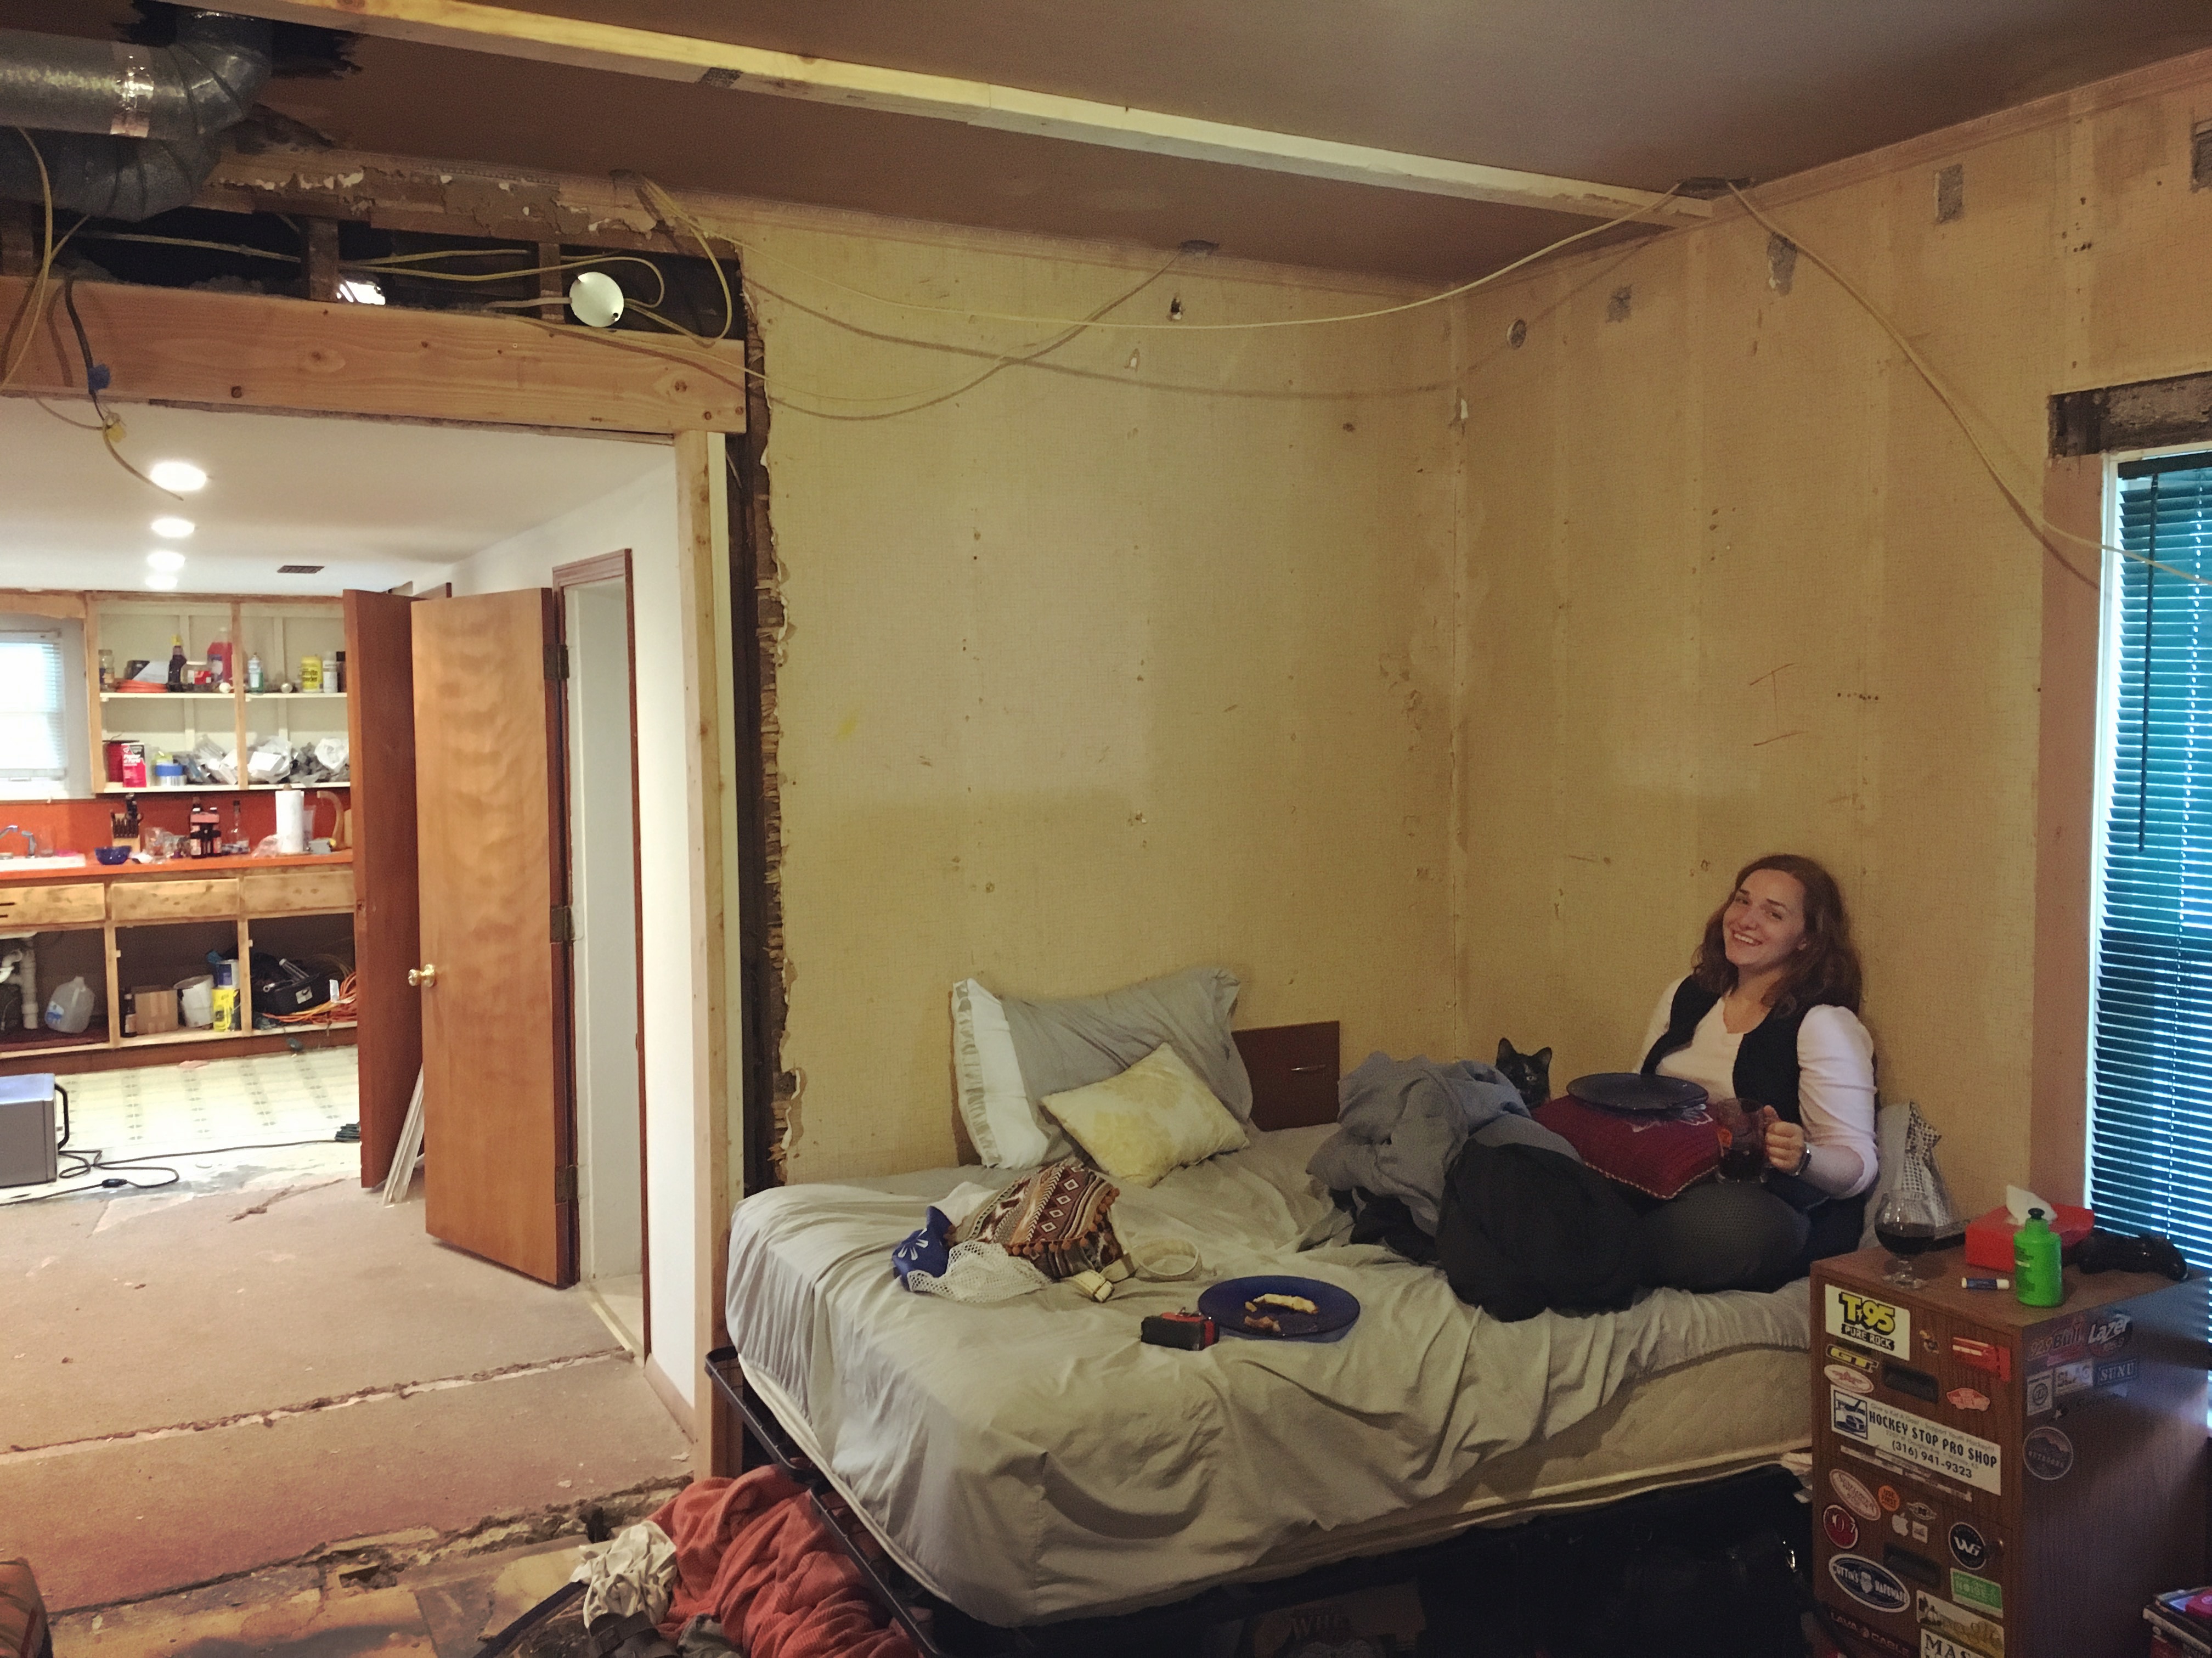
Thankfully the house is pretty livable. Running, hot water.. electricity.. it's just a little rough around the edges!
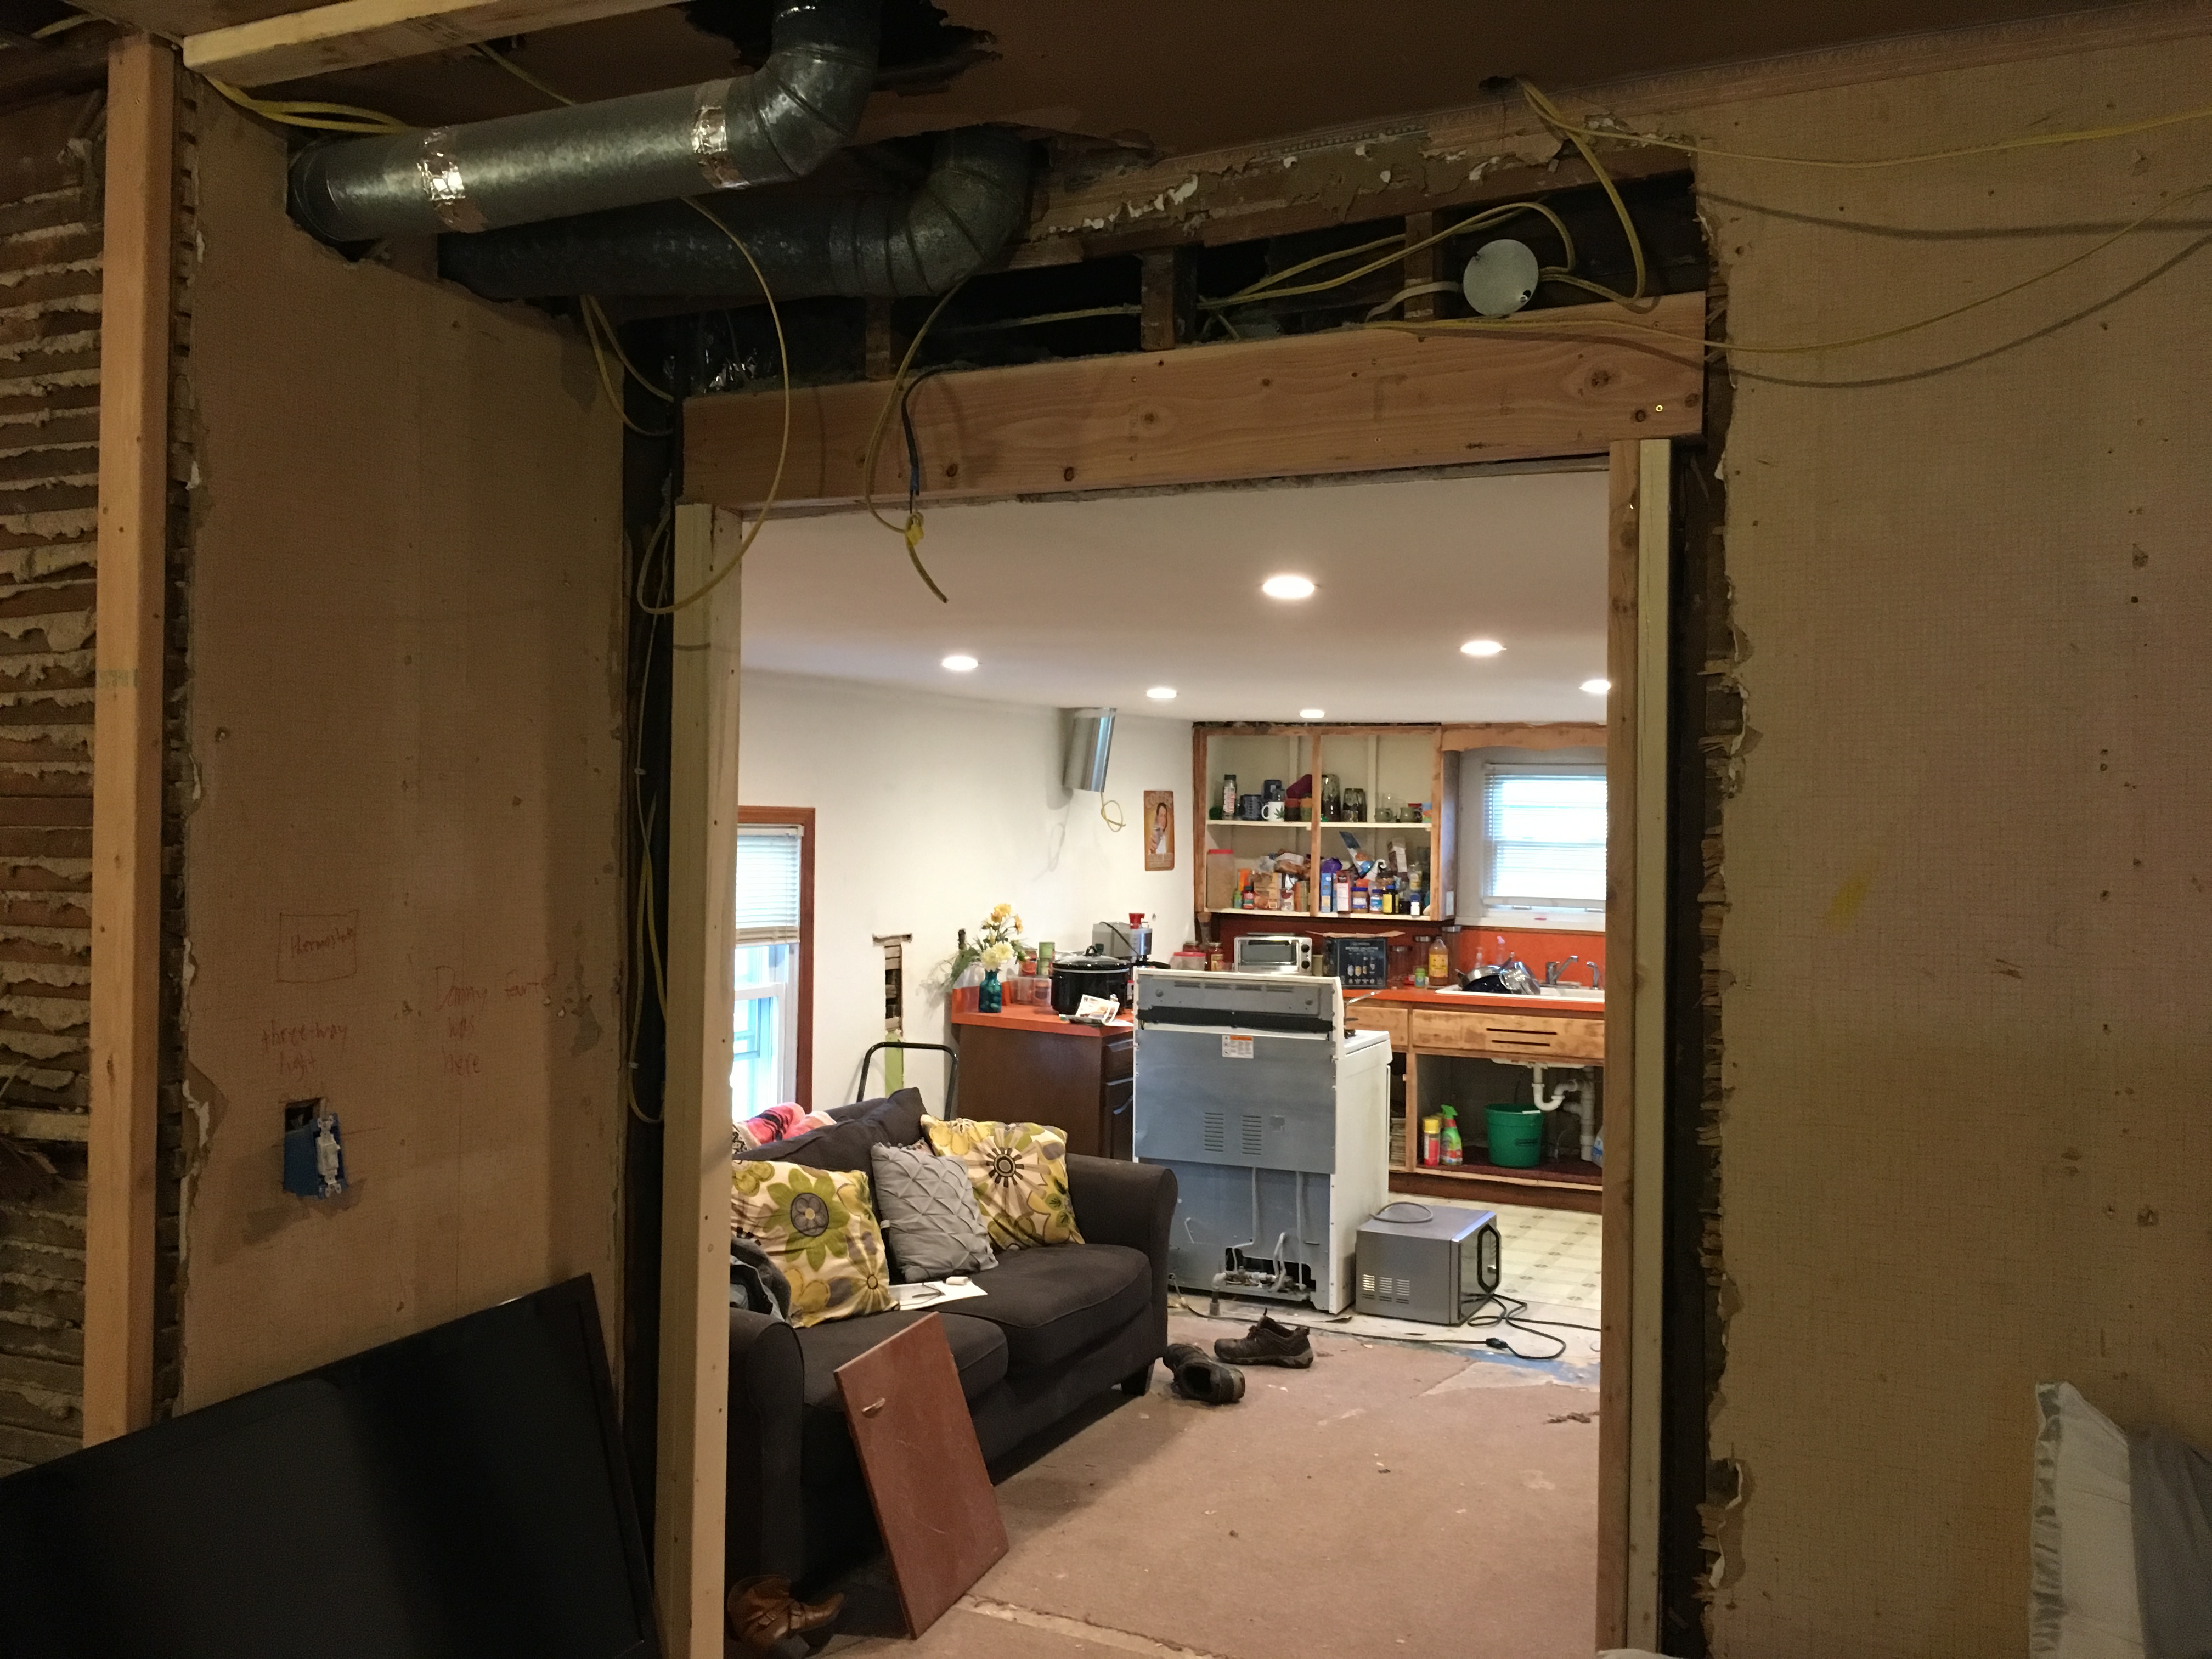
In this photo you can see the heater ducts going to the upstairs bedroom. Those had to be rerouted from the previous location that sprawled across the ceiling hidden behind the old drop ceiling that is now living at the dump. The pipes (one is a vent duct and the other is the flu pipe for the furnace) will be hidden by a soffit that I'll write about in a future post. You can also see the wiring, the header for the new cased opening between the kitchen and living room, and the new recessed lights in the kitchen ceiling. And if you look really close, you can see the vent tube for a range hood that will go above the gas burning stove. Might be a while before we get to installing that...
With all the chaos of trying to finish the electrical, doing the insulation, and then moving all our stuff in (!), I found the time to plant a tree.
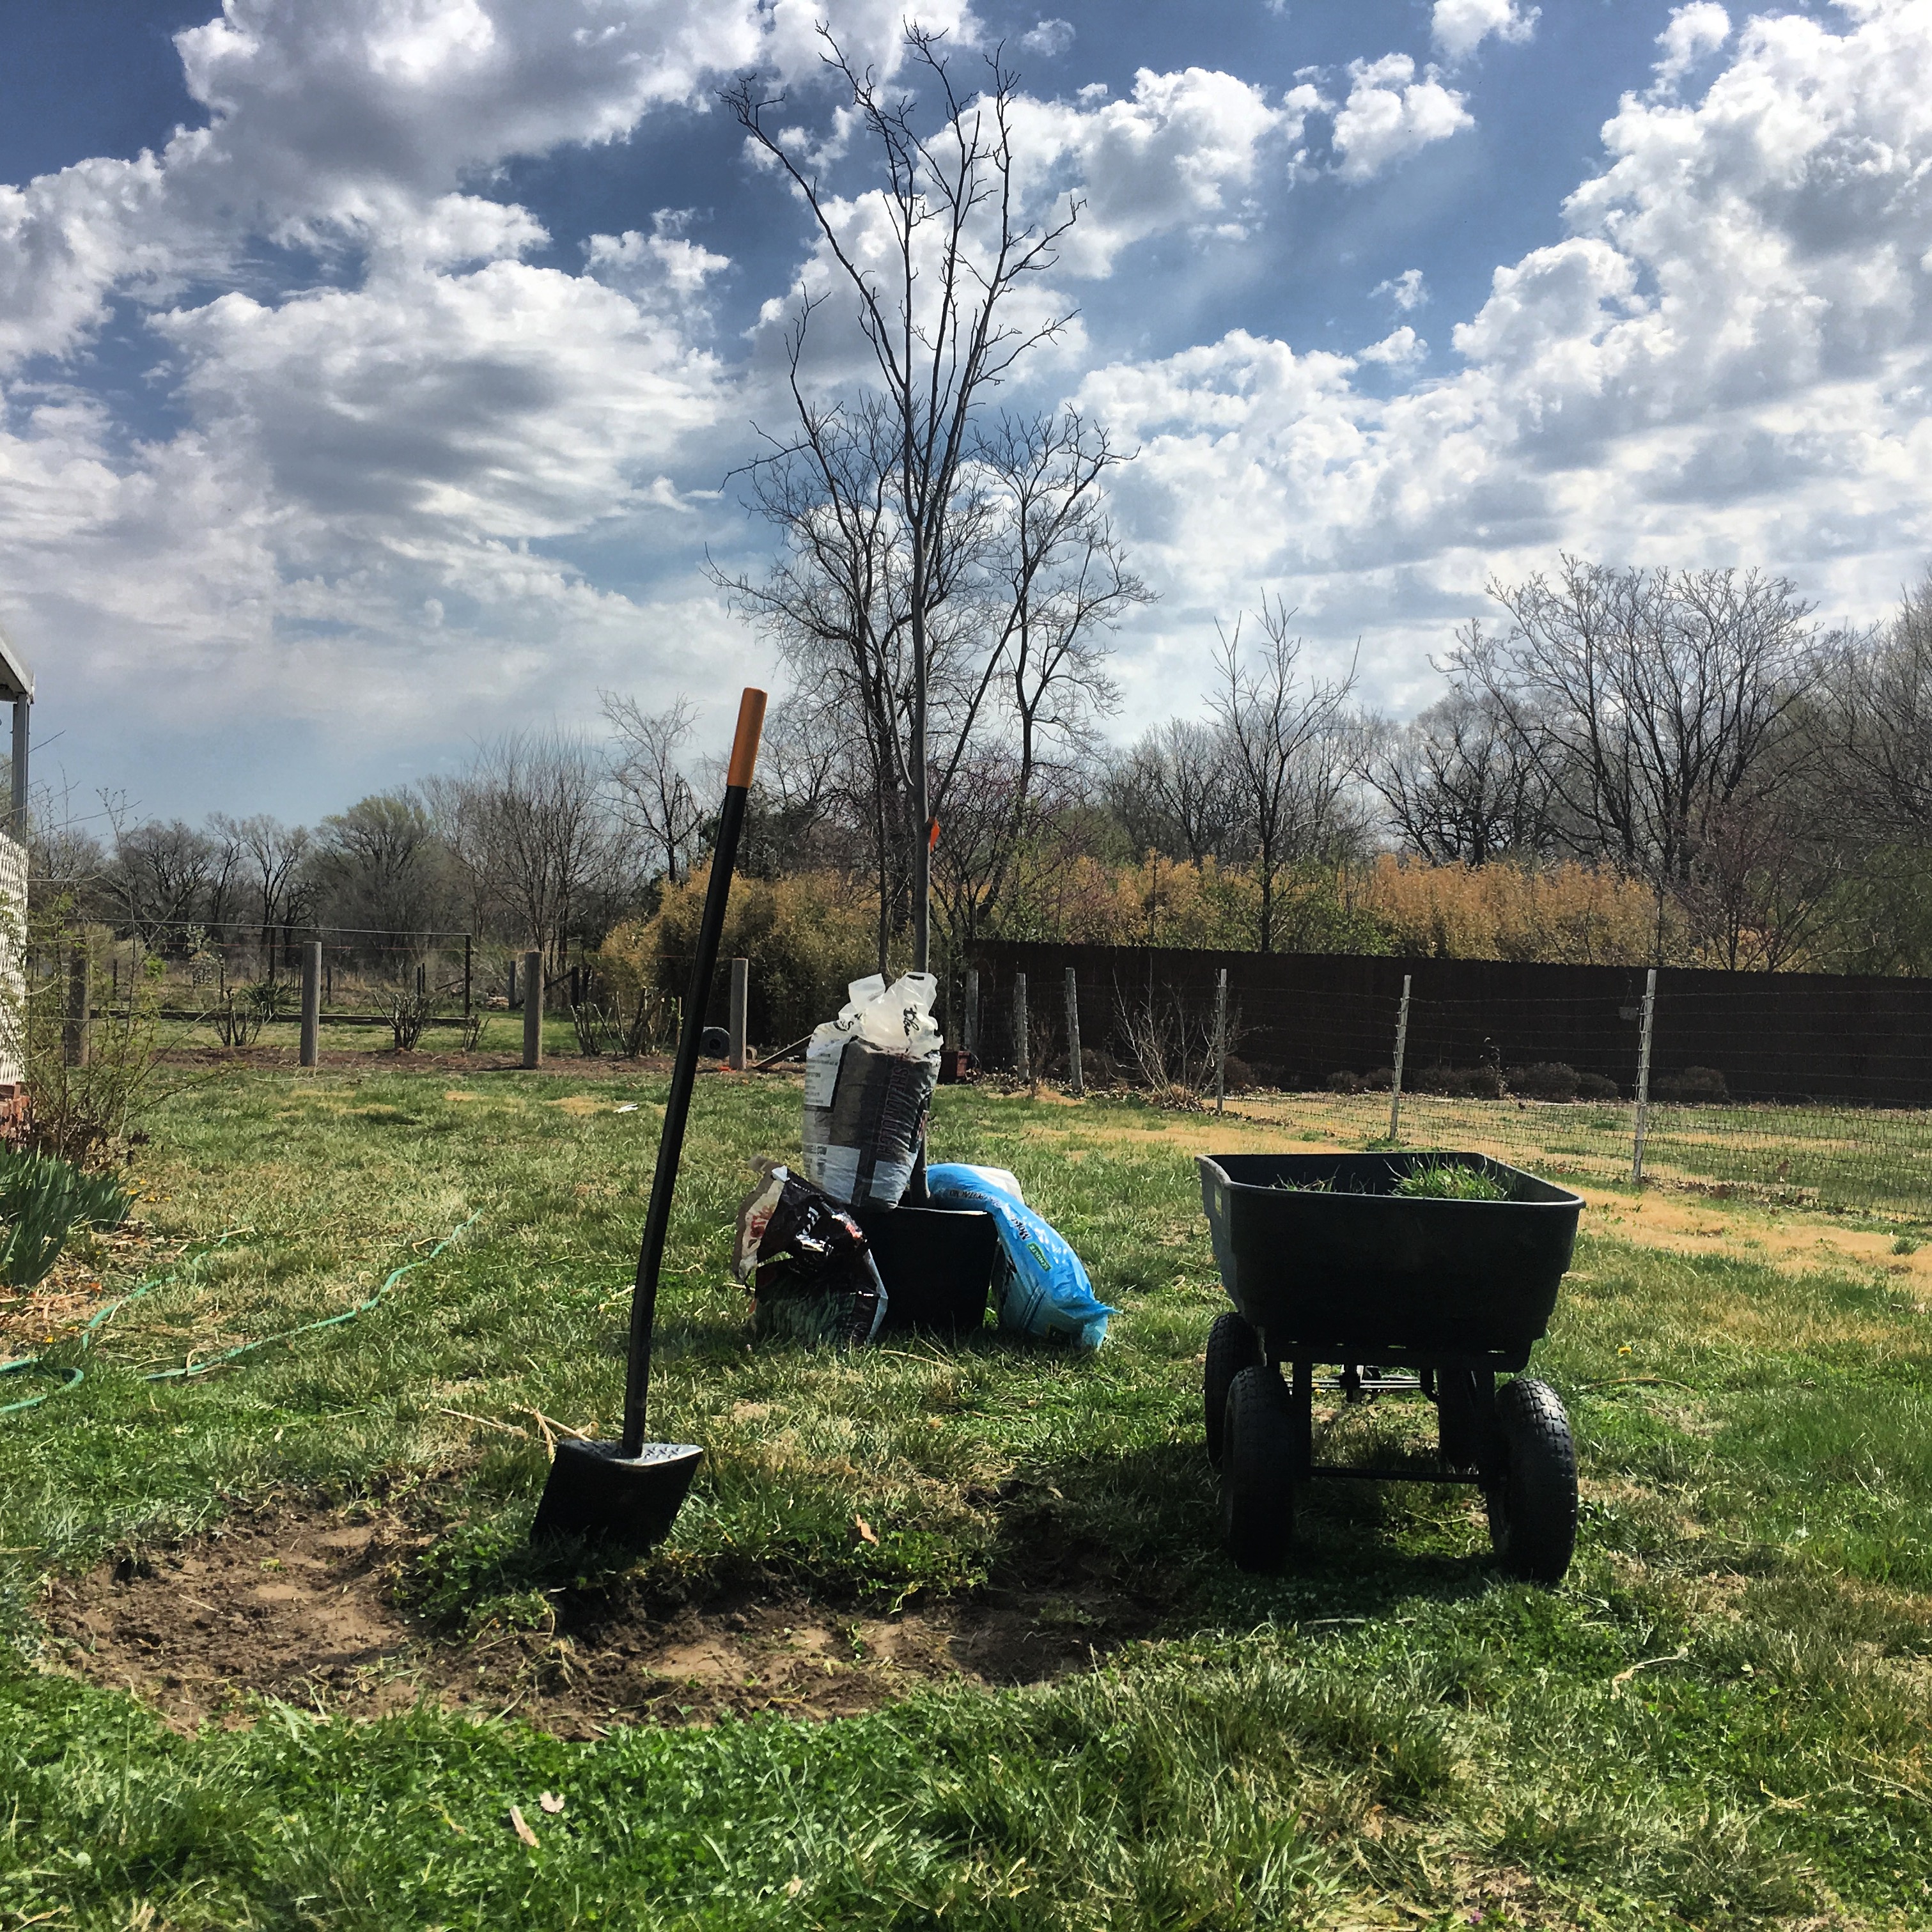
I few years ago, I made a commitment to myself to plant a great big tree. It feels good to accomplish just that! It's a "blue robe" black locust. It's supposed to have purple/blue flowers in late spring, which the local bees love.
By the end of this spring, I'll have planted at least eight trees.

Spring is almost here! The "food forest" is next. Stay tuned...
« Part 1: Demolition | Part 3: Food Forest and Landscaping »