So... *long pause* ... I guess it's about time I start writing about the biggest project of my life: the cute little fixer-upper farm house we just bought! Project "This Old Fixer-Upper" is going to be a new series showcasing my work renovating a turn-of-the-century farm house.

The good:
- We got a great deal on it, and we secured a $2,500 grant from a credit union for first time home buyers.
- It has a huge yard, 1/3 acre to be exact, and the soil is magical: it's located on the Kaw river bottom in North Lawrence and the soil is very sandy and drains exceptionally well yet never dries out. I'm going to plant a huge garden, and maybe even a fruit tree orchard.
- While some people might not consider this a good thing: it's less than 1000 square feet and has a pretty small foot print. It's two stories, and the compactness means that it will be easier and cheaper to renovate.
- It has a big workshop outbuilding
- It does have central heat
- A sunroom with lots of potential
- Good height ceilings in the living room
- The condition of the exterior is really good: the siding is galvanized steel!
- Plumbing is good, all appliances work, gas range stove, etc...
- ALL NEW WINDOWS!!
- Has a lot of charm, inside and out.
The bad:
- All the wiring needs to be updated [although, at first, I thought only the upstairs had old knob-and-tube wiring for the ceiling lights, it was all over the house]
- It does not have central A/C, although the duct work is already in place for the central heat
- Really low ceiling in the kitchen
- While the exterior condition is great, somebody did a terrible job at painting it and it's chipping off
The ugly:
- While it's not gross or dirty, it's disgustingly out-dated! I'm talking about wallpaper so ugly you wouldn't use it on your chicken coop. Worse still, the wallpaper is on wood paneling furred out from the old plaster-and-lathe walls which have at least two coats of wallpaper themselves!
- The carpet! Gross.
- The sheet vinyl flooring in the kitchen. Shaking my damn head...
- Drop ceiling in the living room. Yes, you read that right, a fricken drop ceiling! Of course, above the drop ceiling is the heating ducts, so that's going to be an issue...
The bizarre:
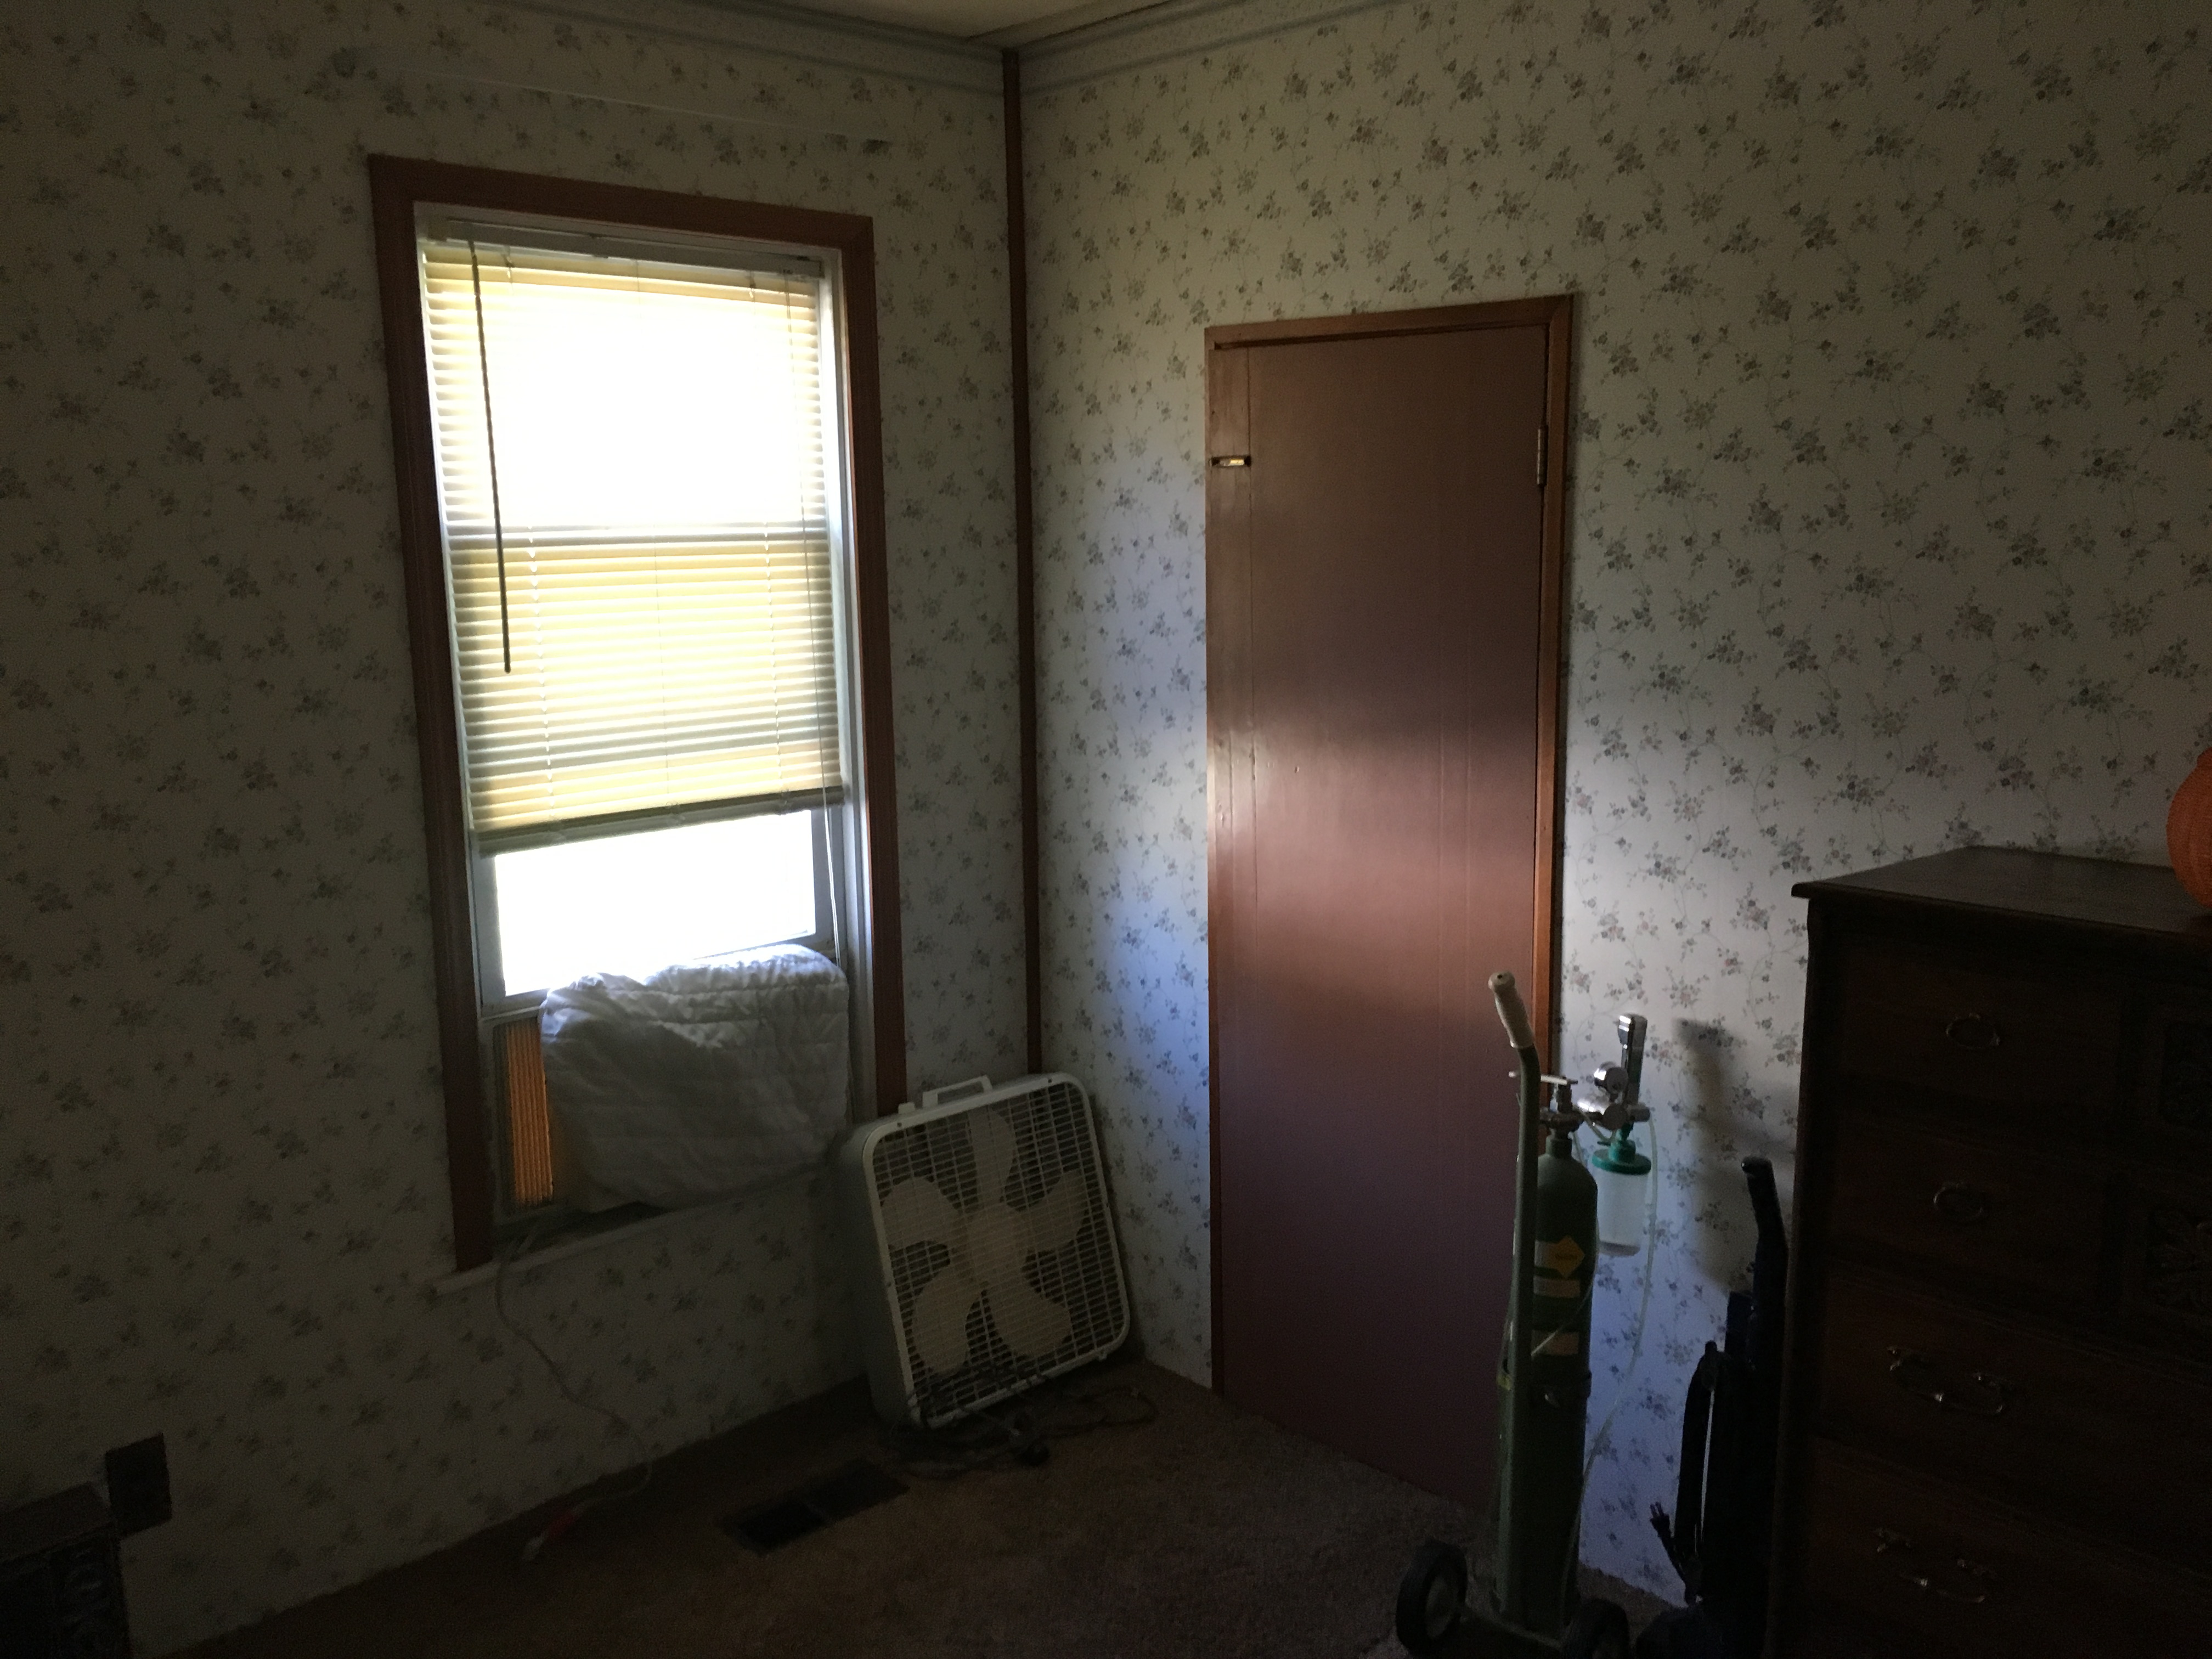
- There's a wall separating the stairwell from the living room, with a very tiny door to get into the stairwell. Very bizarre! But it gets weirder.. there's a lock on the door that can only be used from the living-room-side of the door. So.. either they were locking in the evil children upstairs, or the owner simply never went upstairs. Ok it's the latter. The last occupant was a very old lady and she owned the house for damn near 50 years. I think she divided the living room and half as her bedroom. This makes total sense because there's no window a/c upstairs like there is in the living room and kitchen.
- So what this means is that the upstairs is a time capsule. Stepping off of the staircase and into the bedrooms is like stepping back in time. There wasn't a single electrical outlet upstairs! Thankfully, there's plenty of wallpaper that doesn't burn our eyes when looking at it, so I hope to try and preserve it's charm as much as possible.
Overall I think it's a very very good starter home for a couple like us. It will be a great fixer-upper for first-time fixer upper-ers. (Is that a word?)
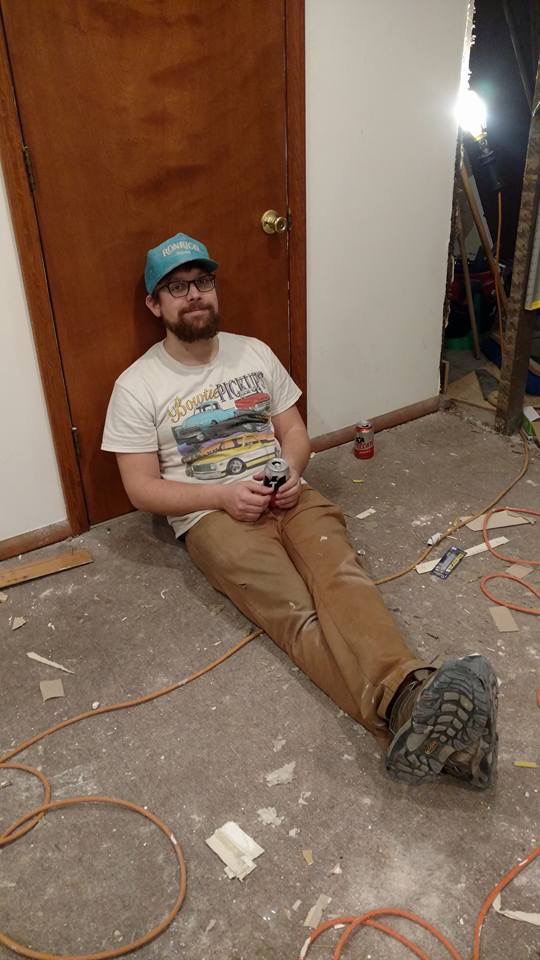
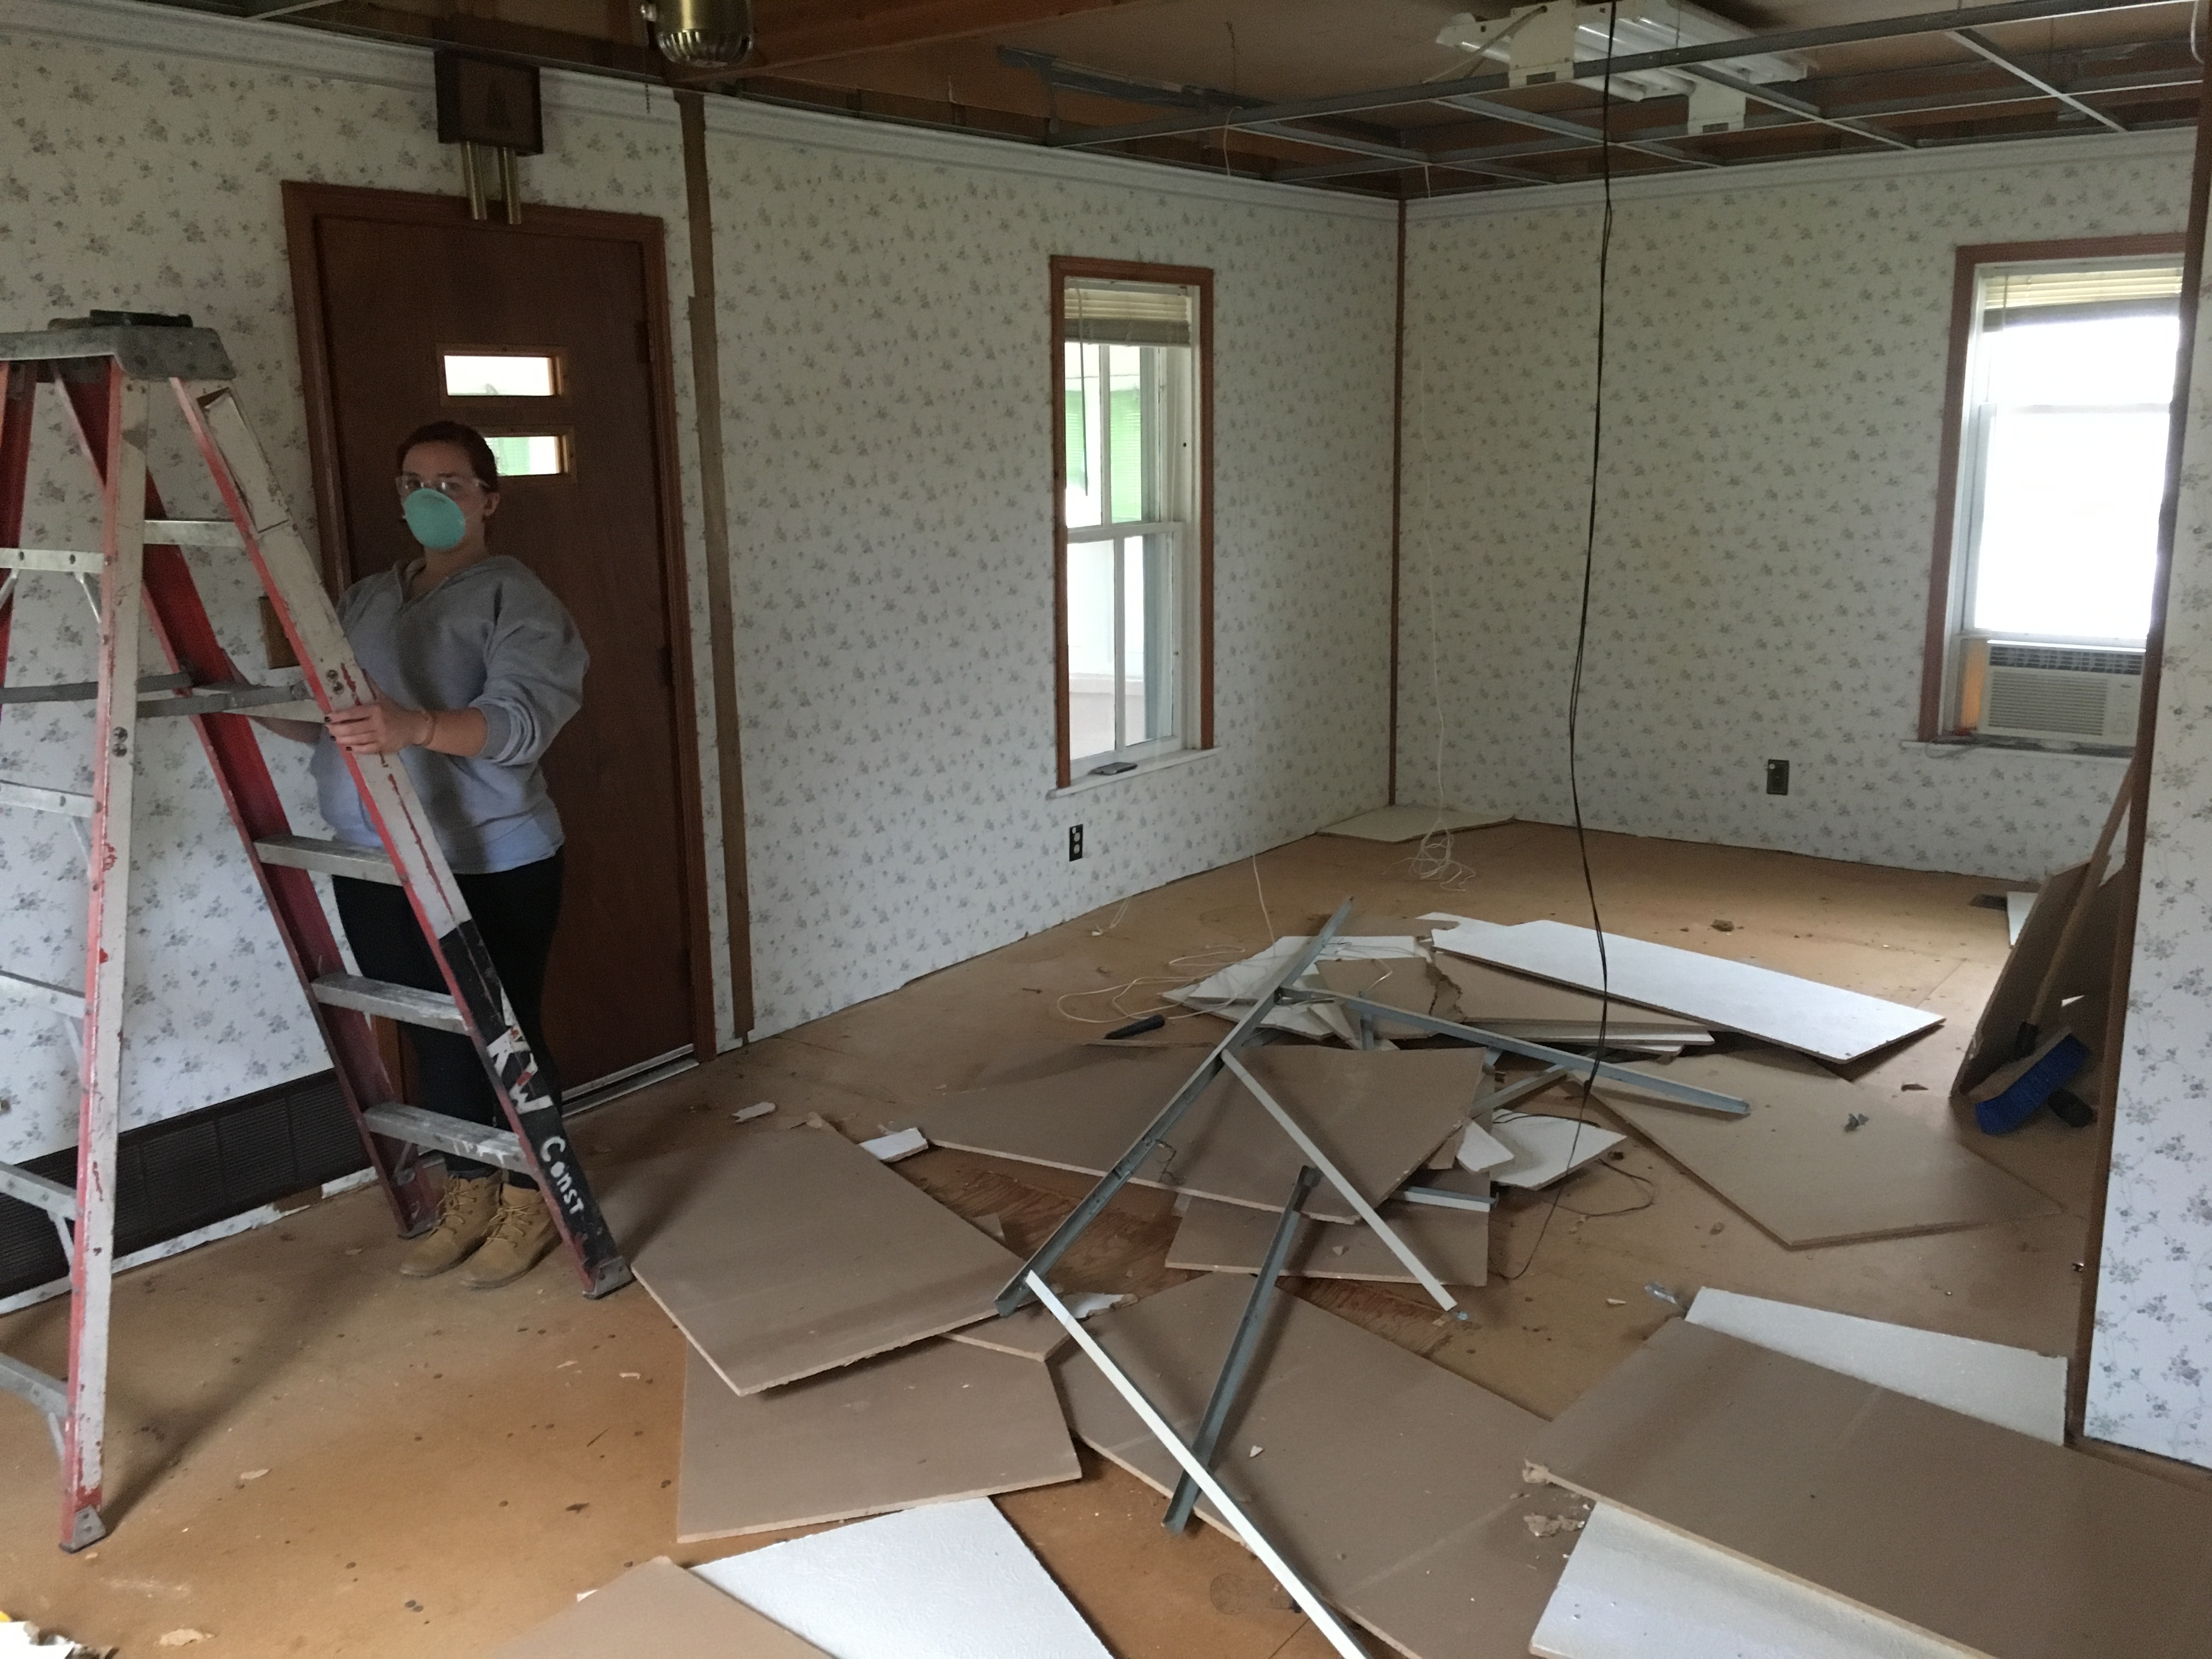
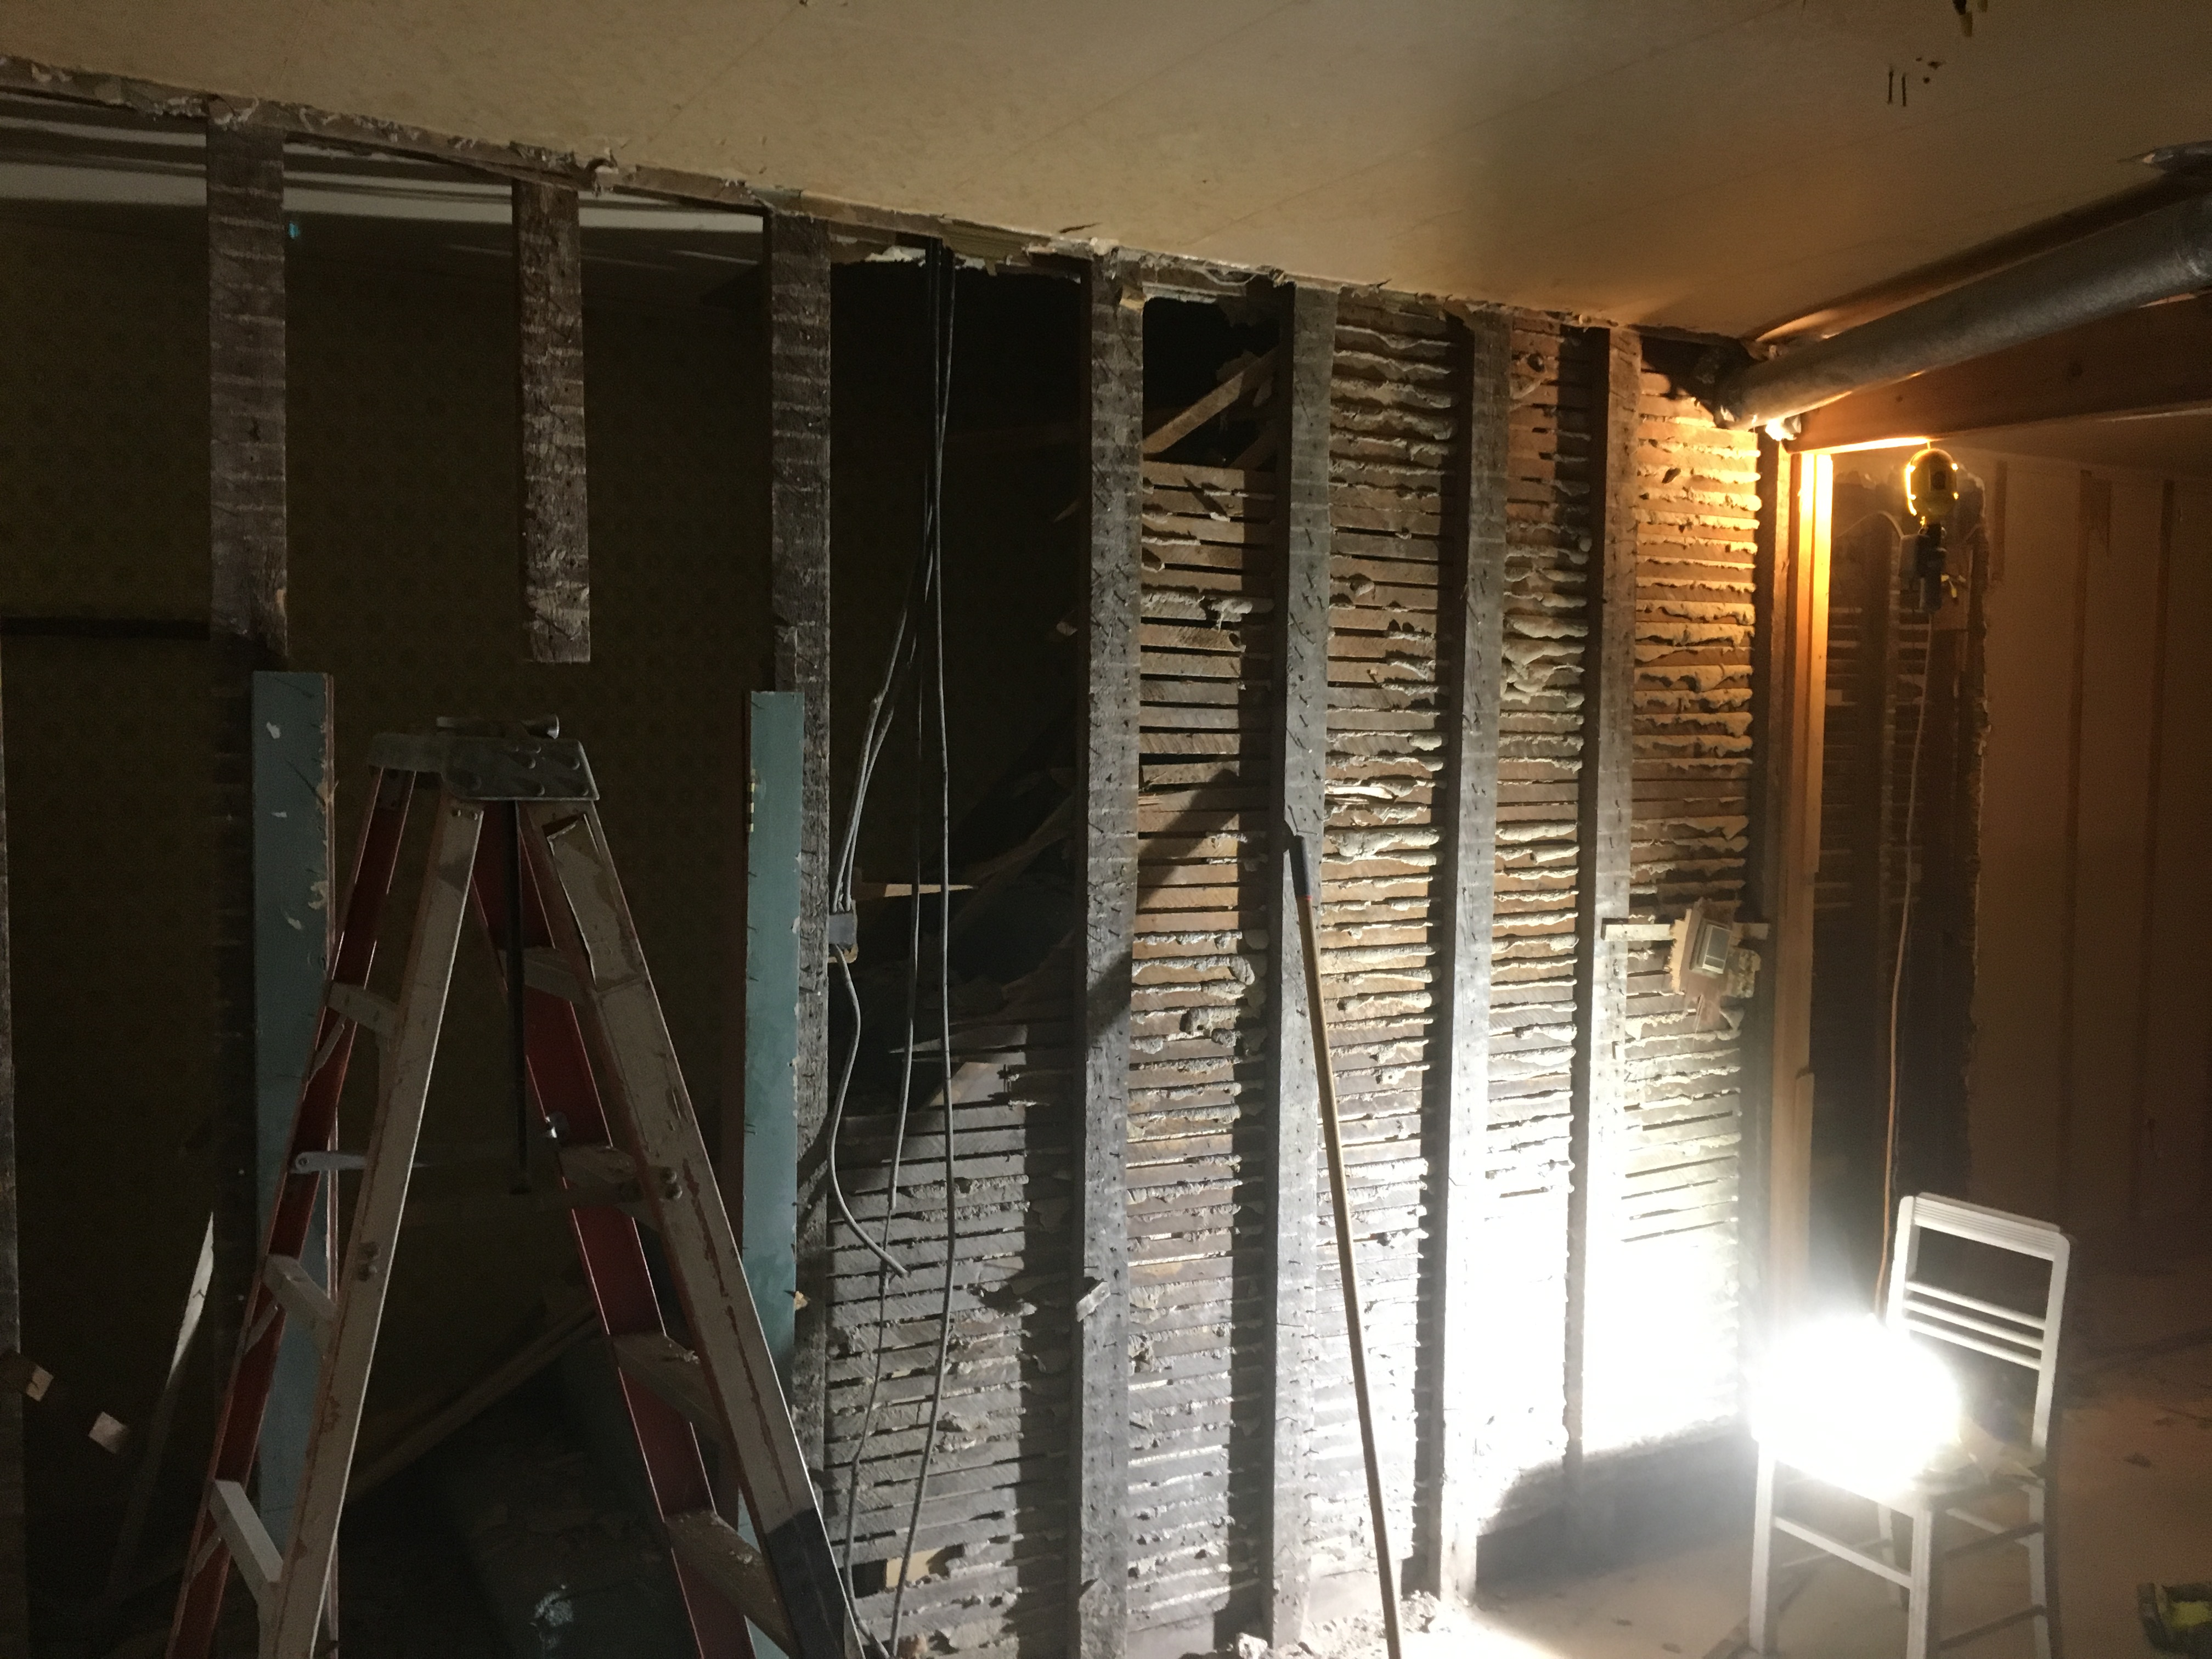
The very first thing we did after closing and getting the keys (and popping a bottle of champagne) was start demo-ing the living room.
The large beam in the middle of the room is not structural: it was used as a nailer for the track for the old room divider.
And remember kids... safety first!

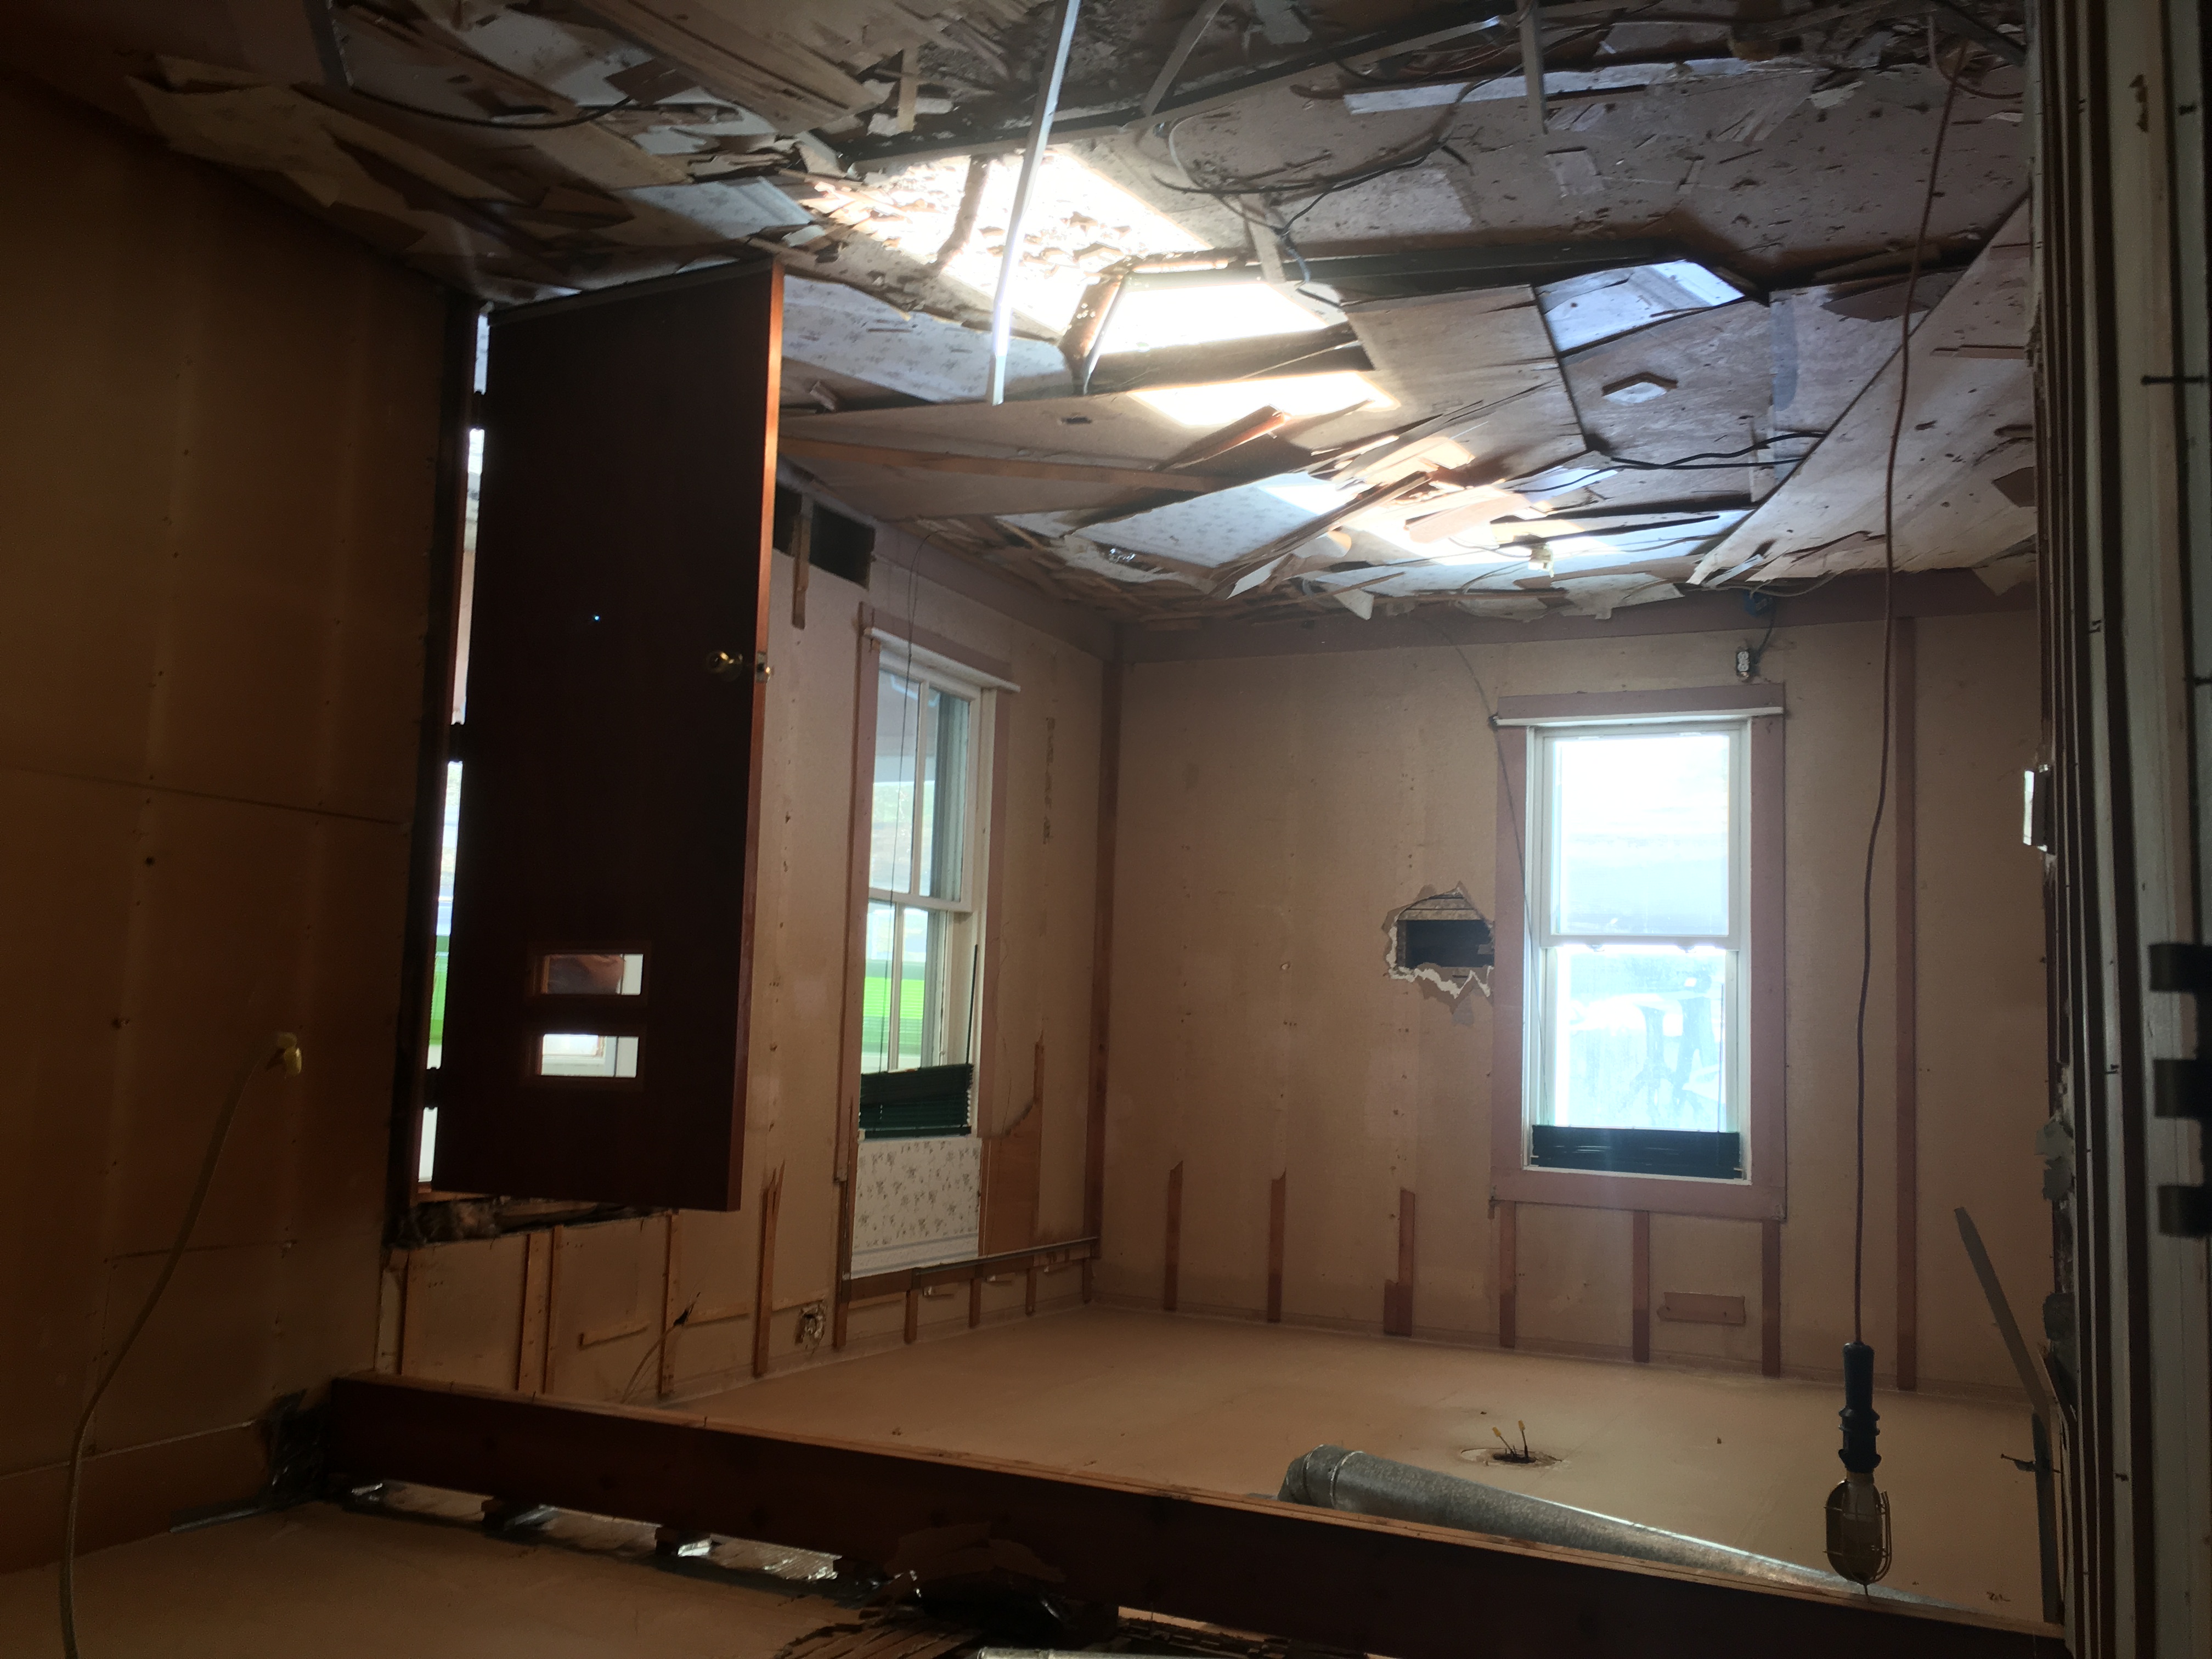
Ok, here is the weird wall I was talking about earlier, walling off the staircase from the rest of the house with the tiny door you had to duck down just to get through:
And now it's gone..
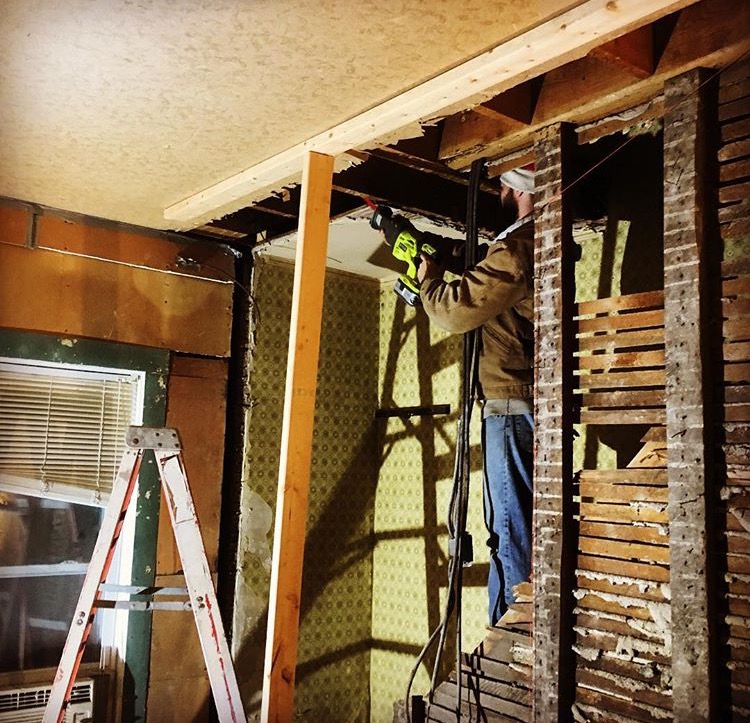
We had to put up a pretty beefy header to support the floor/ceiling joists that terminated at the wall because of the staircase opening. However, this is what we found when we started that process:
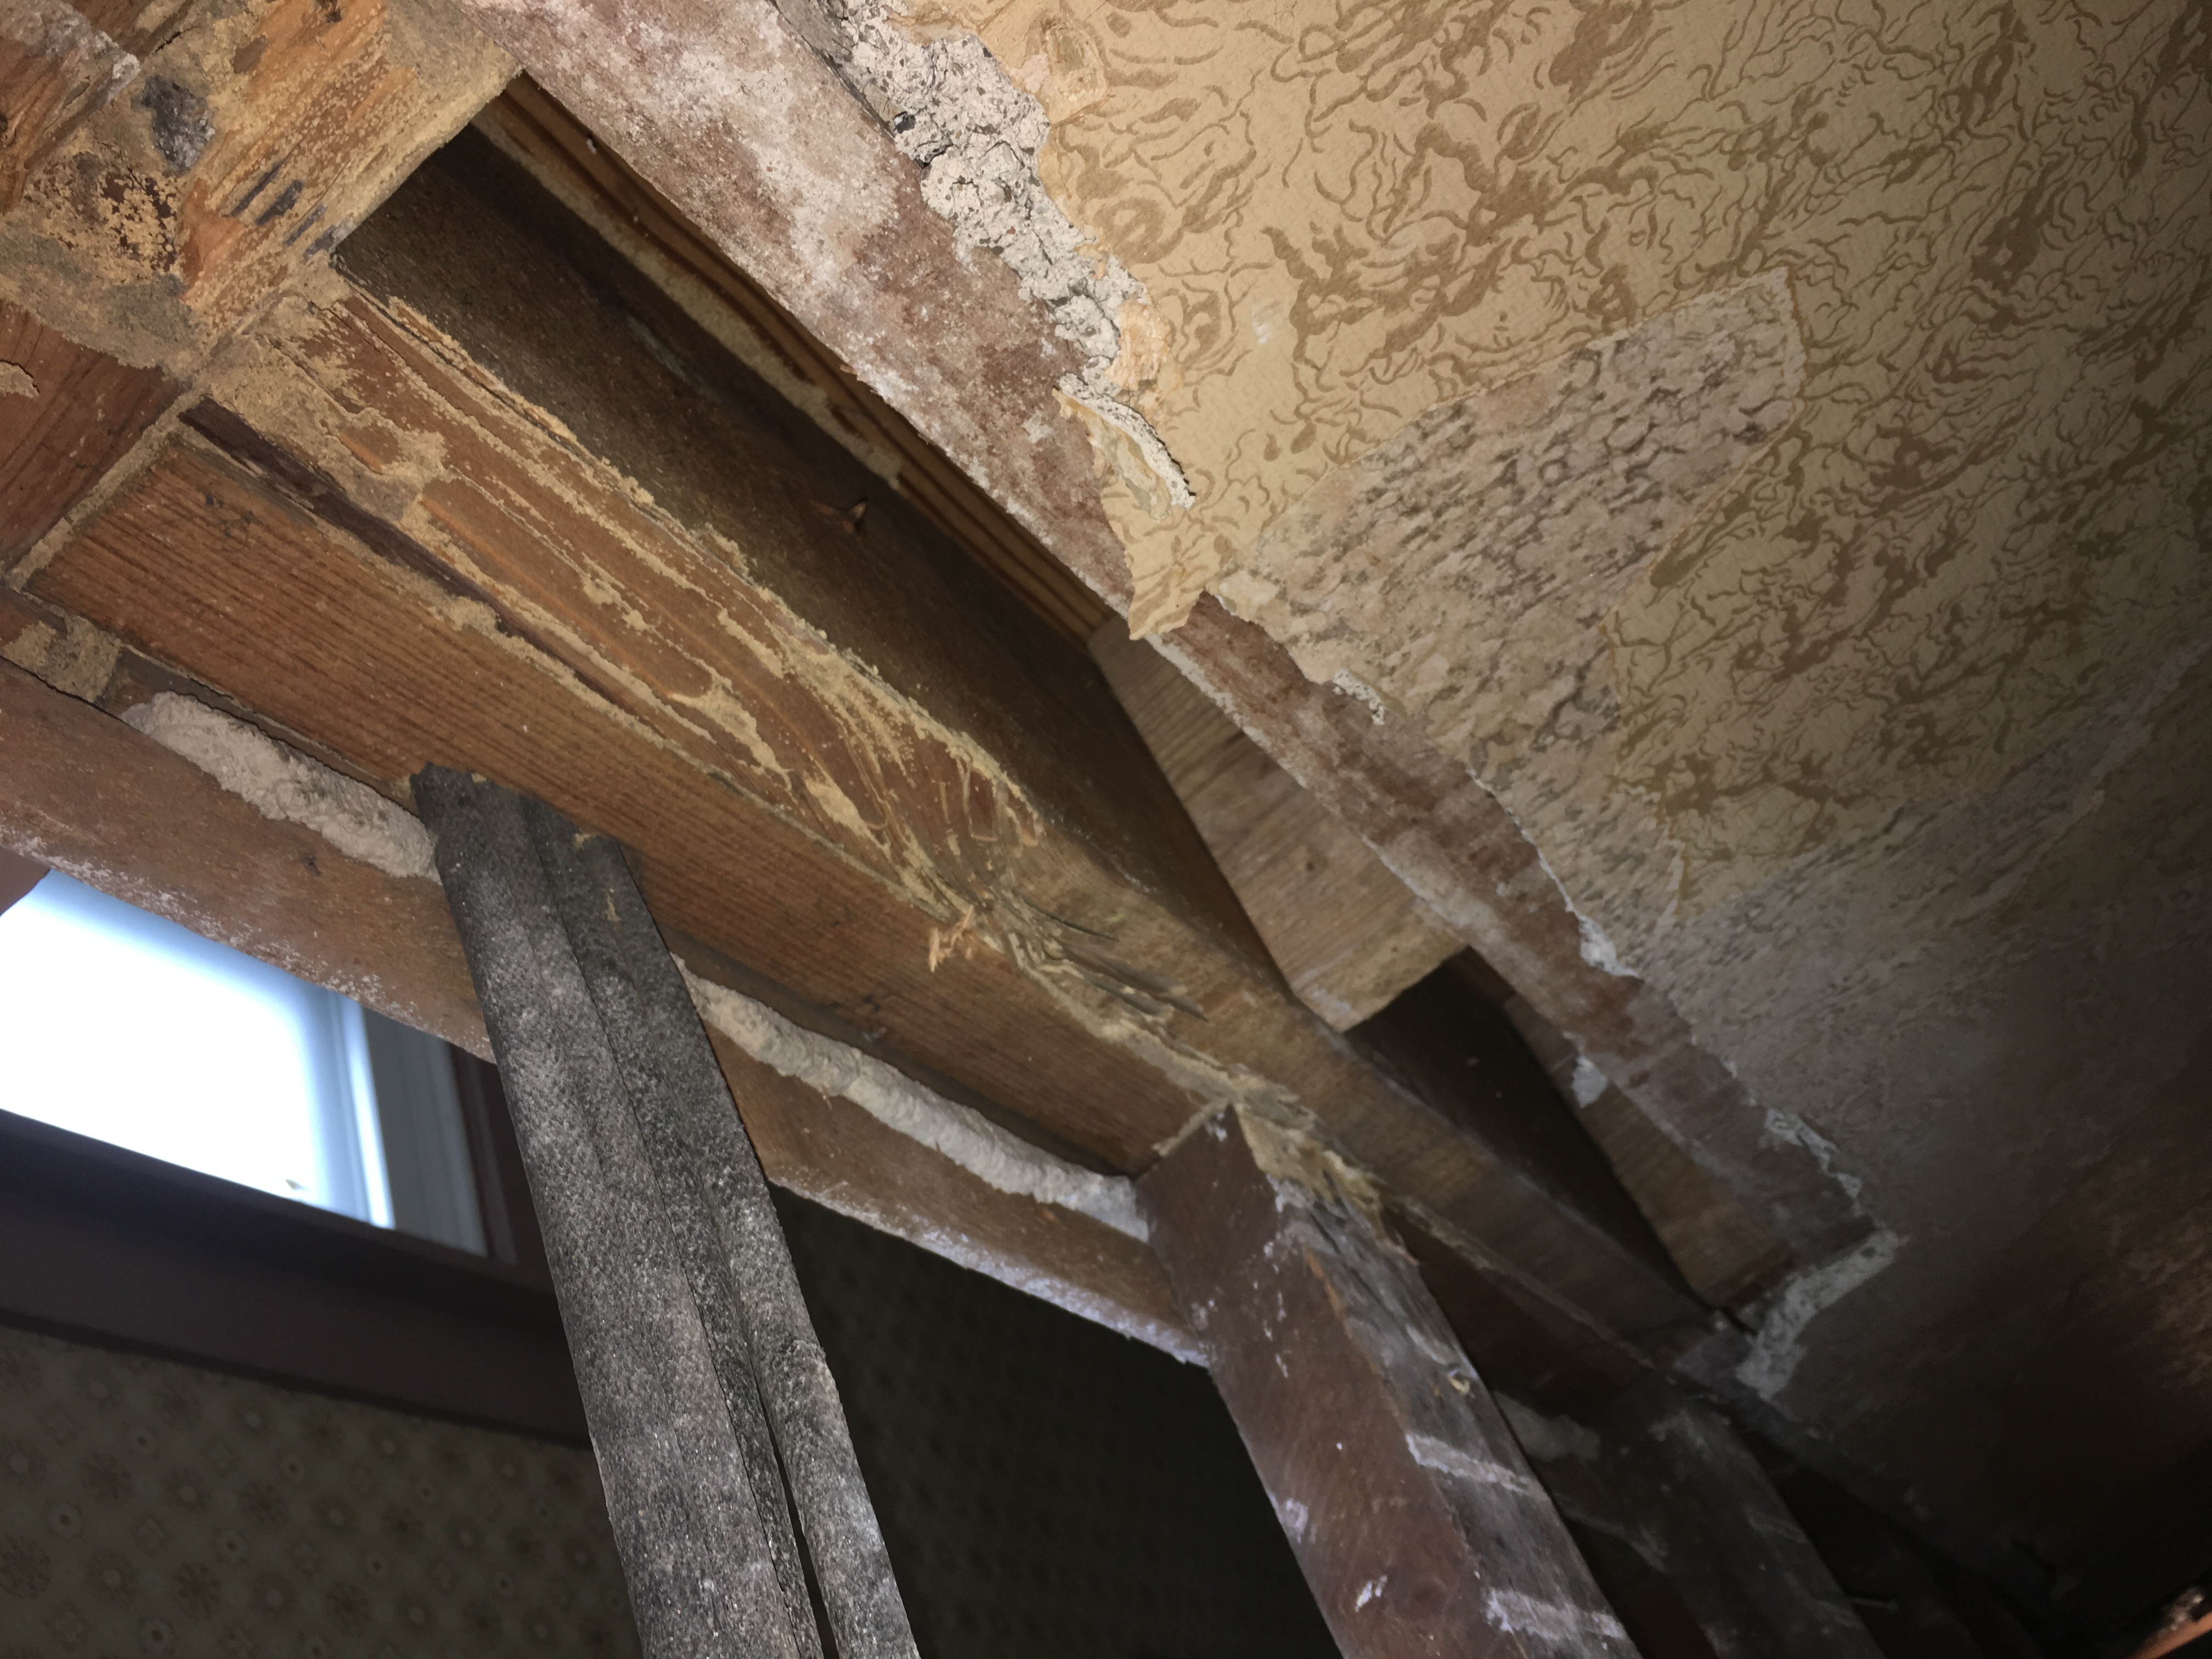
Termite damage!
Thankfully it's just historic damage and there's no active termite infestation. We found a lot of termite damage throughout the house but never once saw an actual termite, dead or alive.
We actually built the header with three 2x10s, and it's even four 2x10s wide in one spot because I accidently cut a joist too short. (another 2x4 king stud was added after this picture was taken)
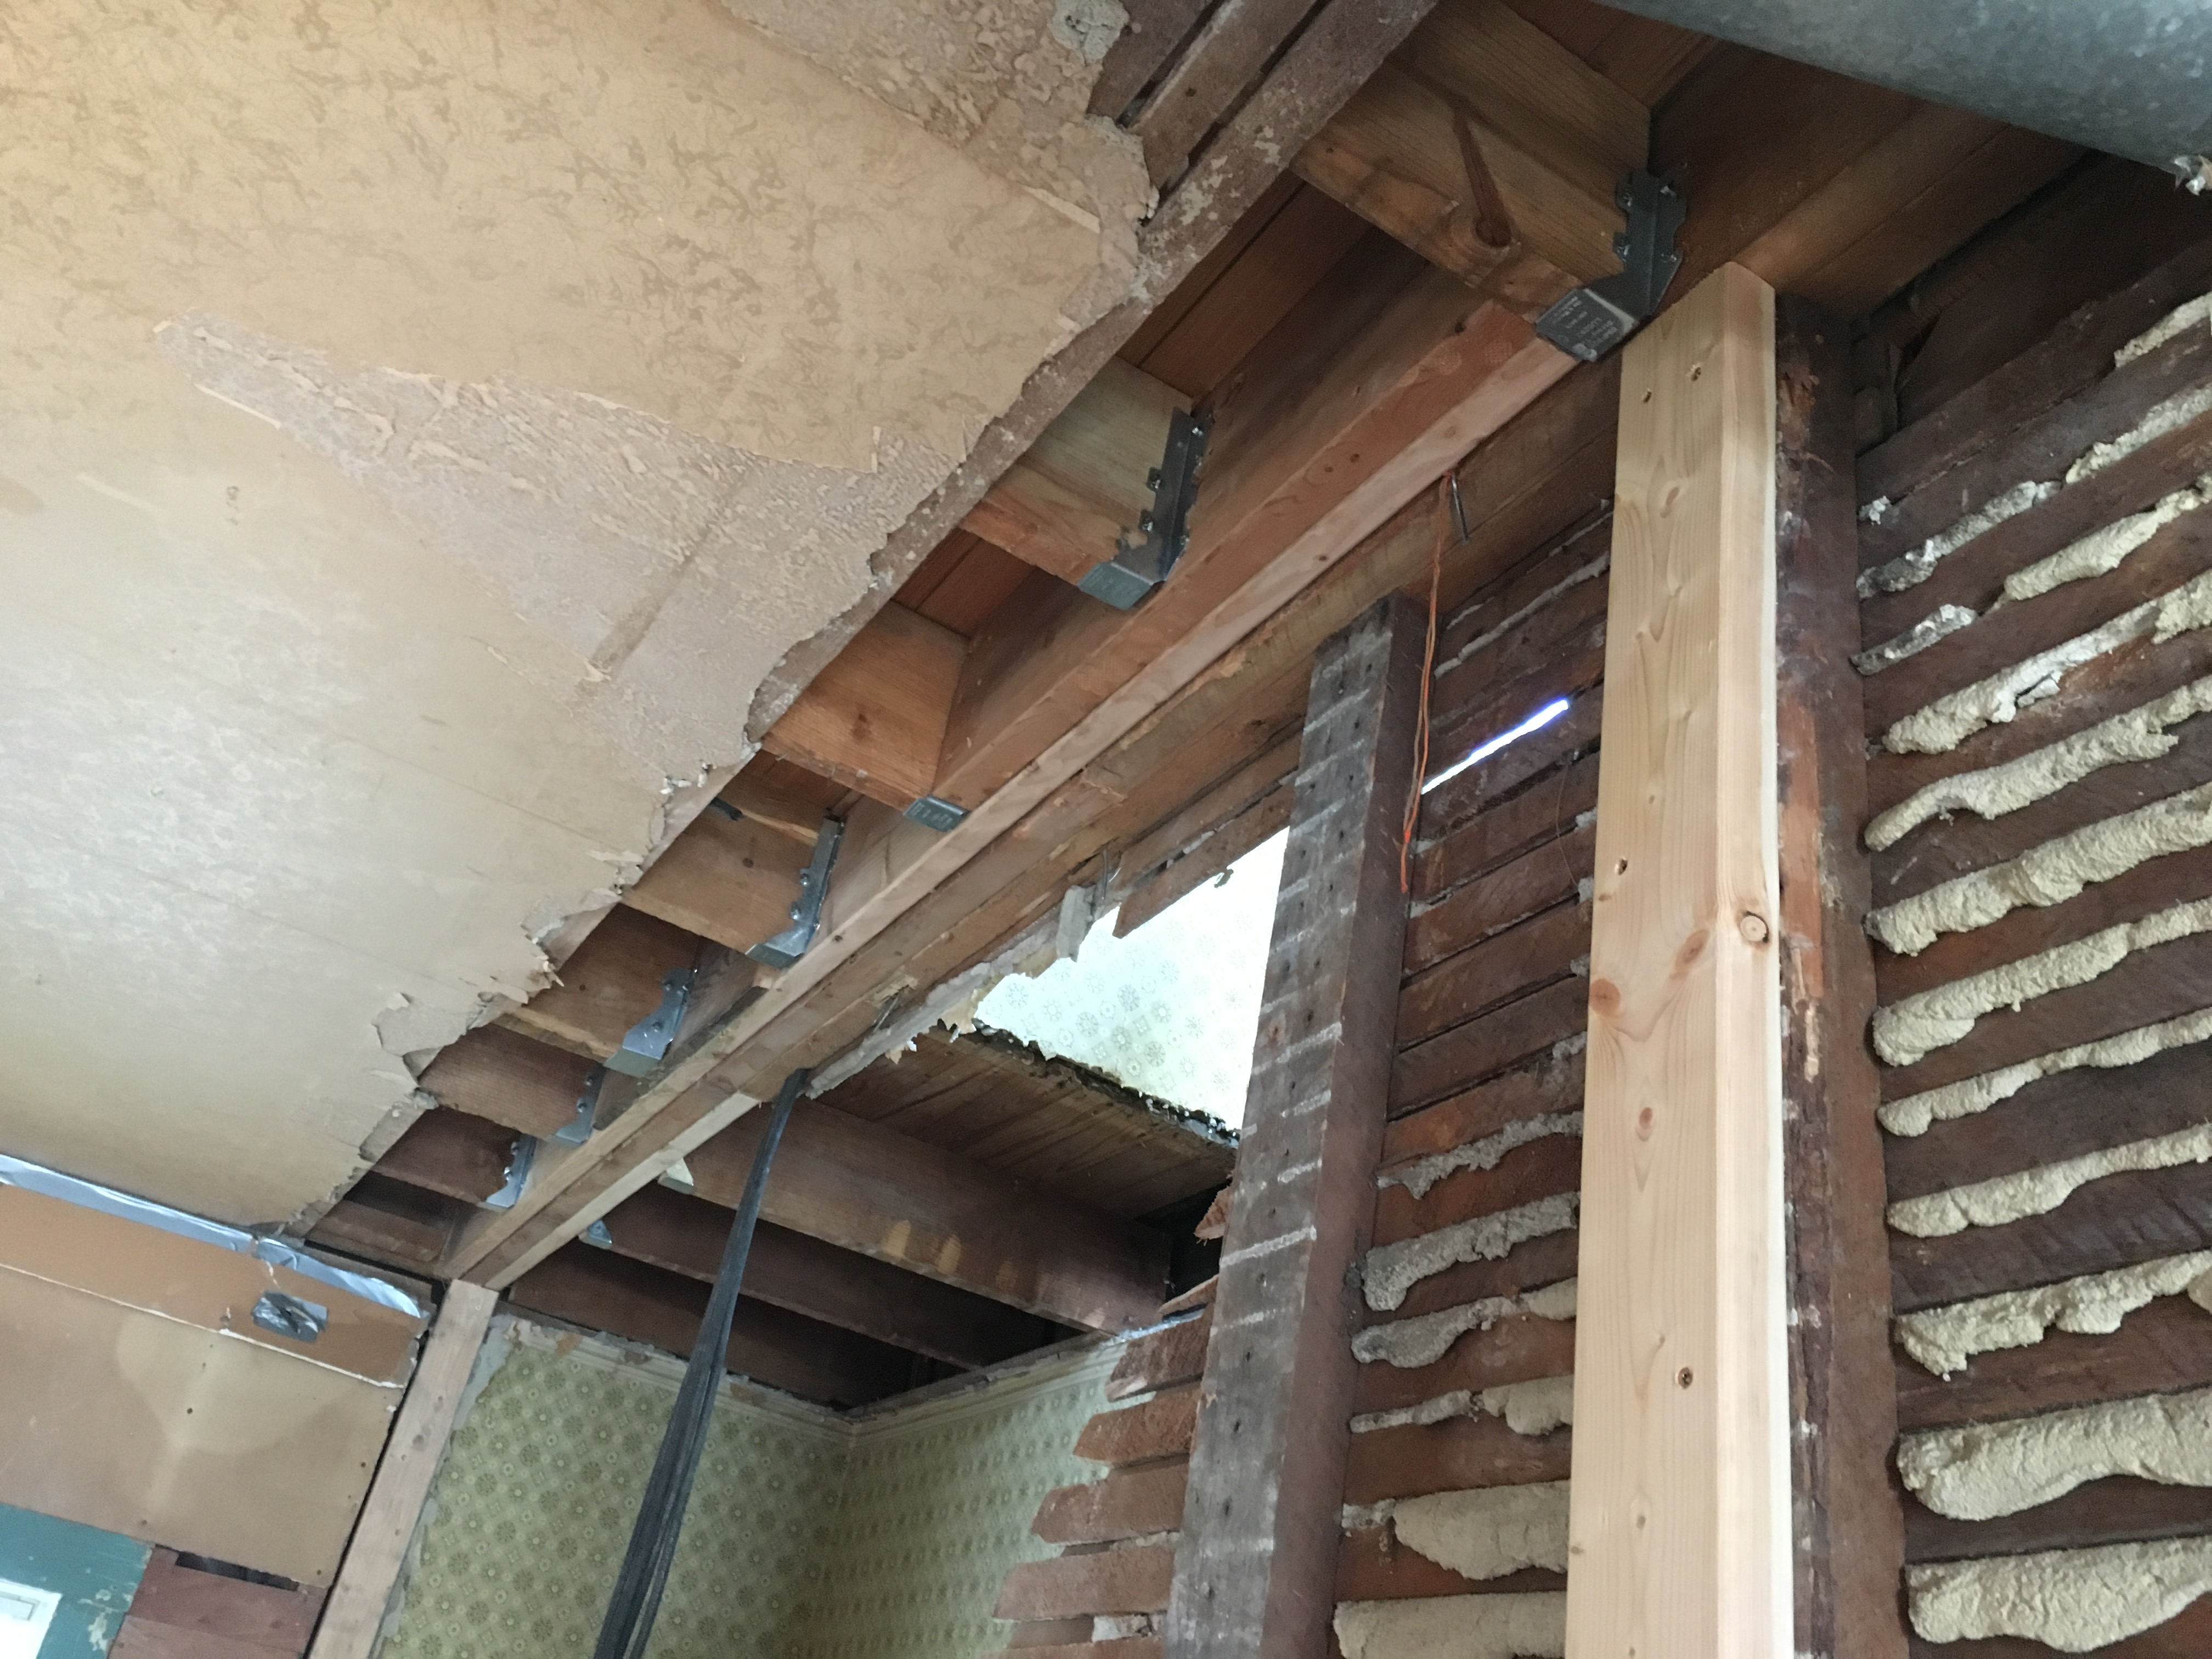
Here's more termite damage.. the little bastards!
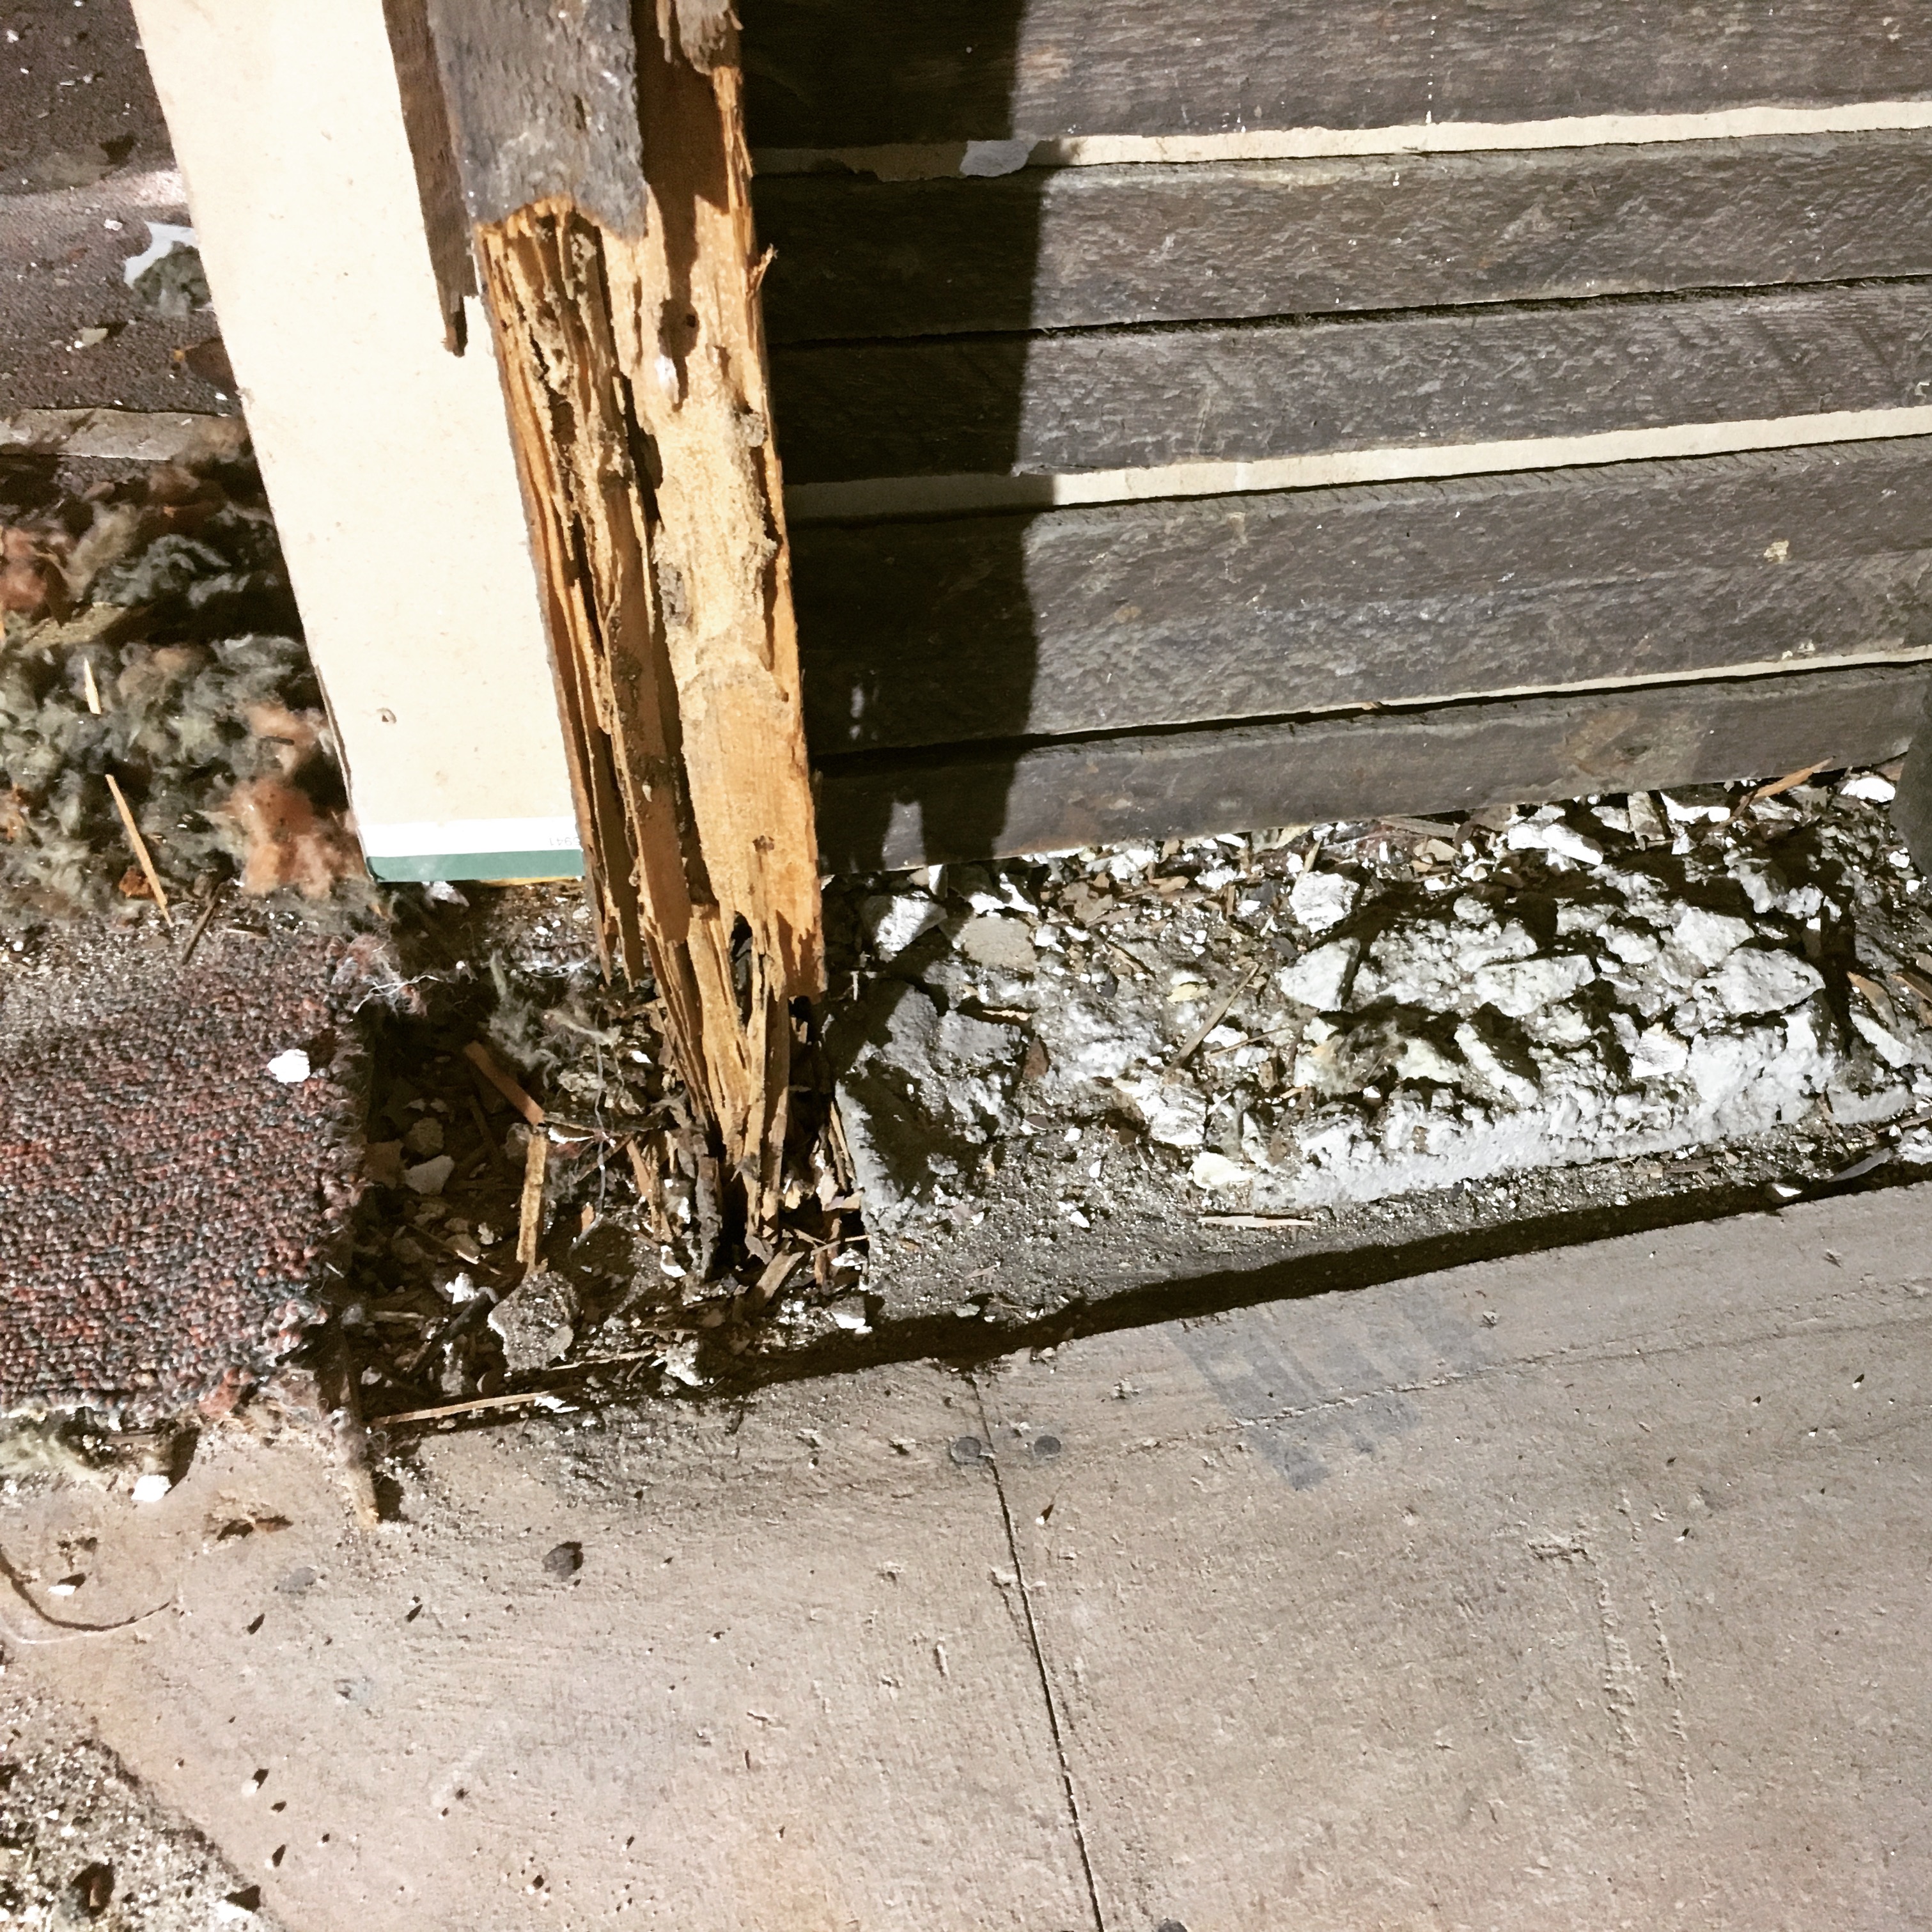
That stud was no longer holding up the house, and it was the door frame for doorway between kitchen and living room. Thankfully I had already planned on knocking down that wall to open up the door and build a cased opening.
Speaking of the kitchen, well, here it is:
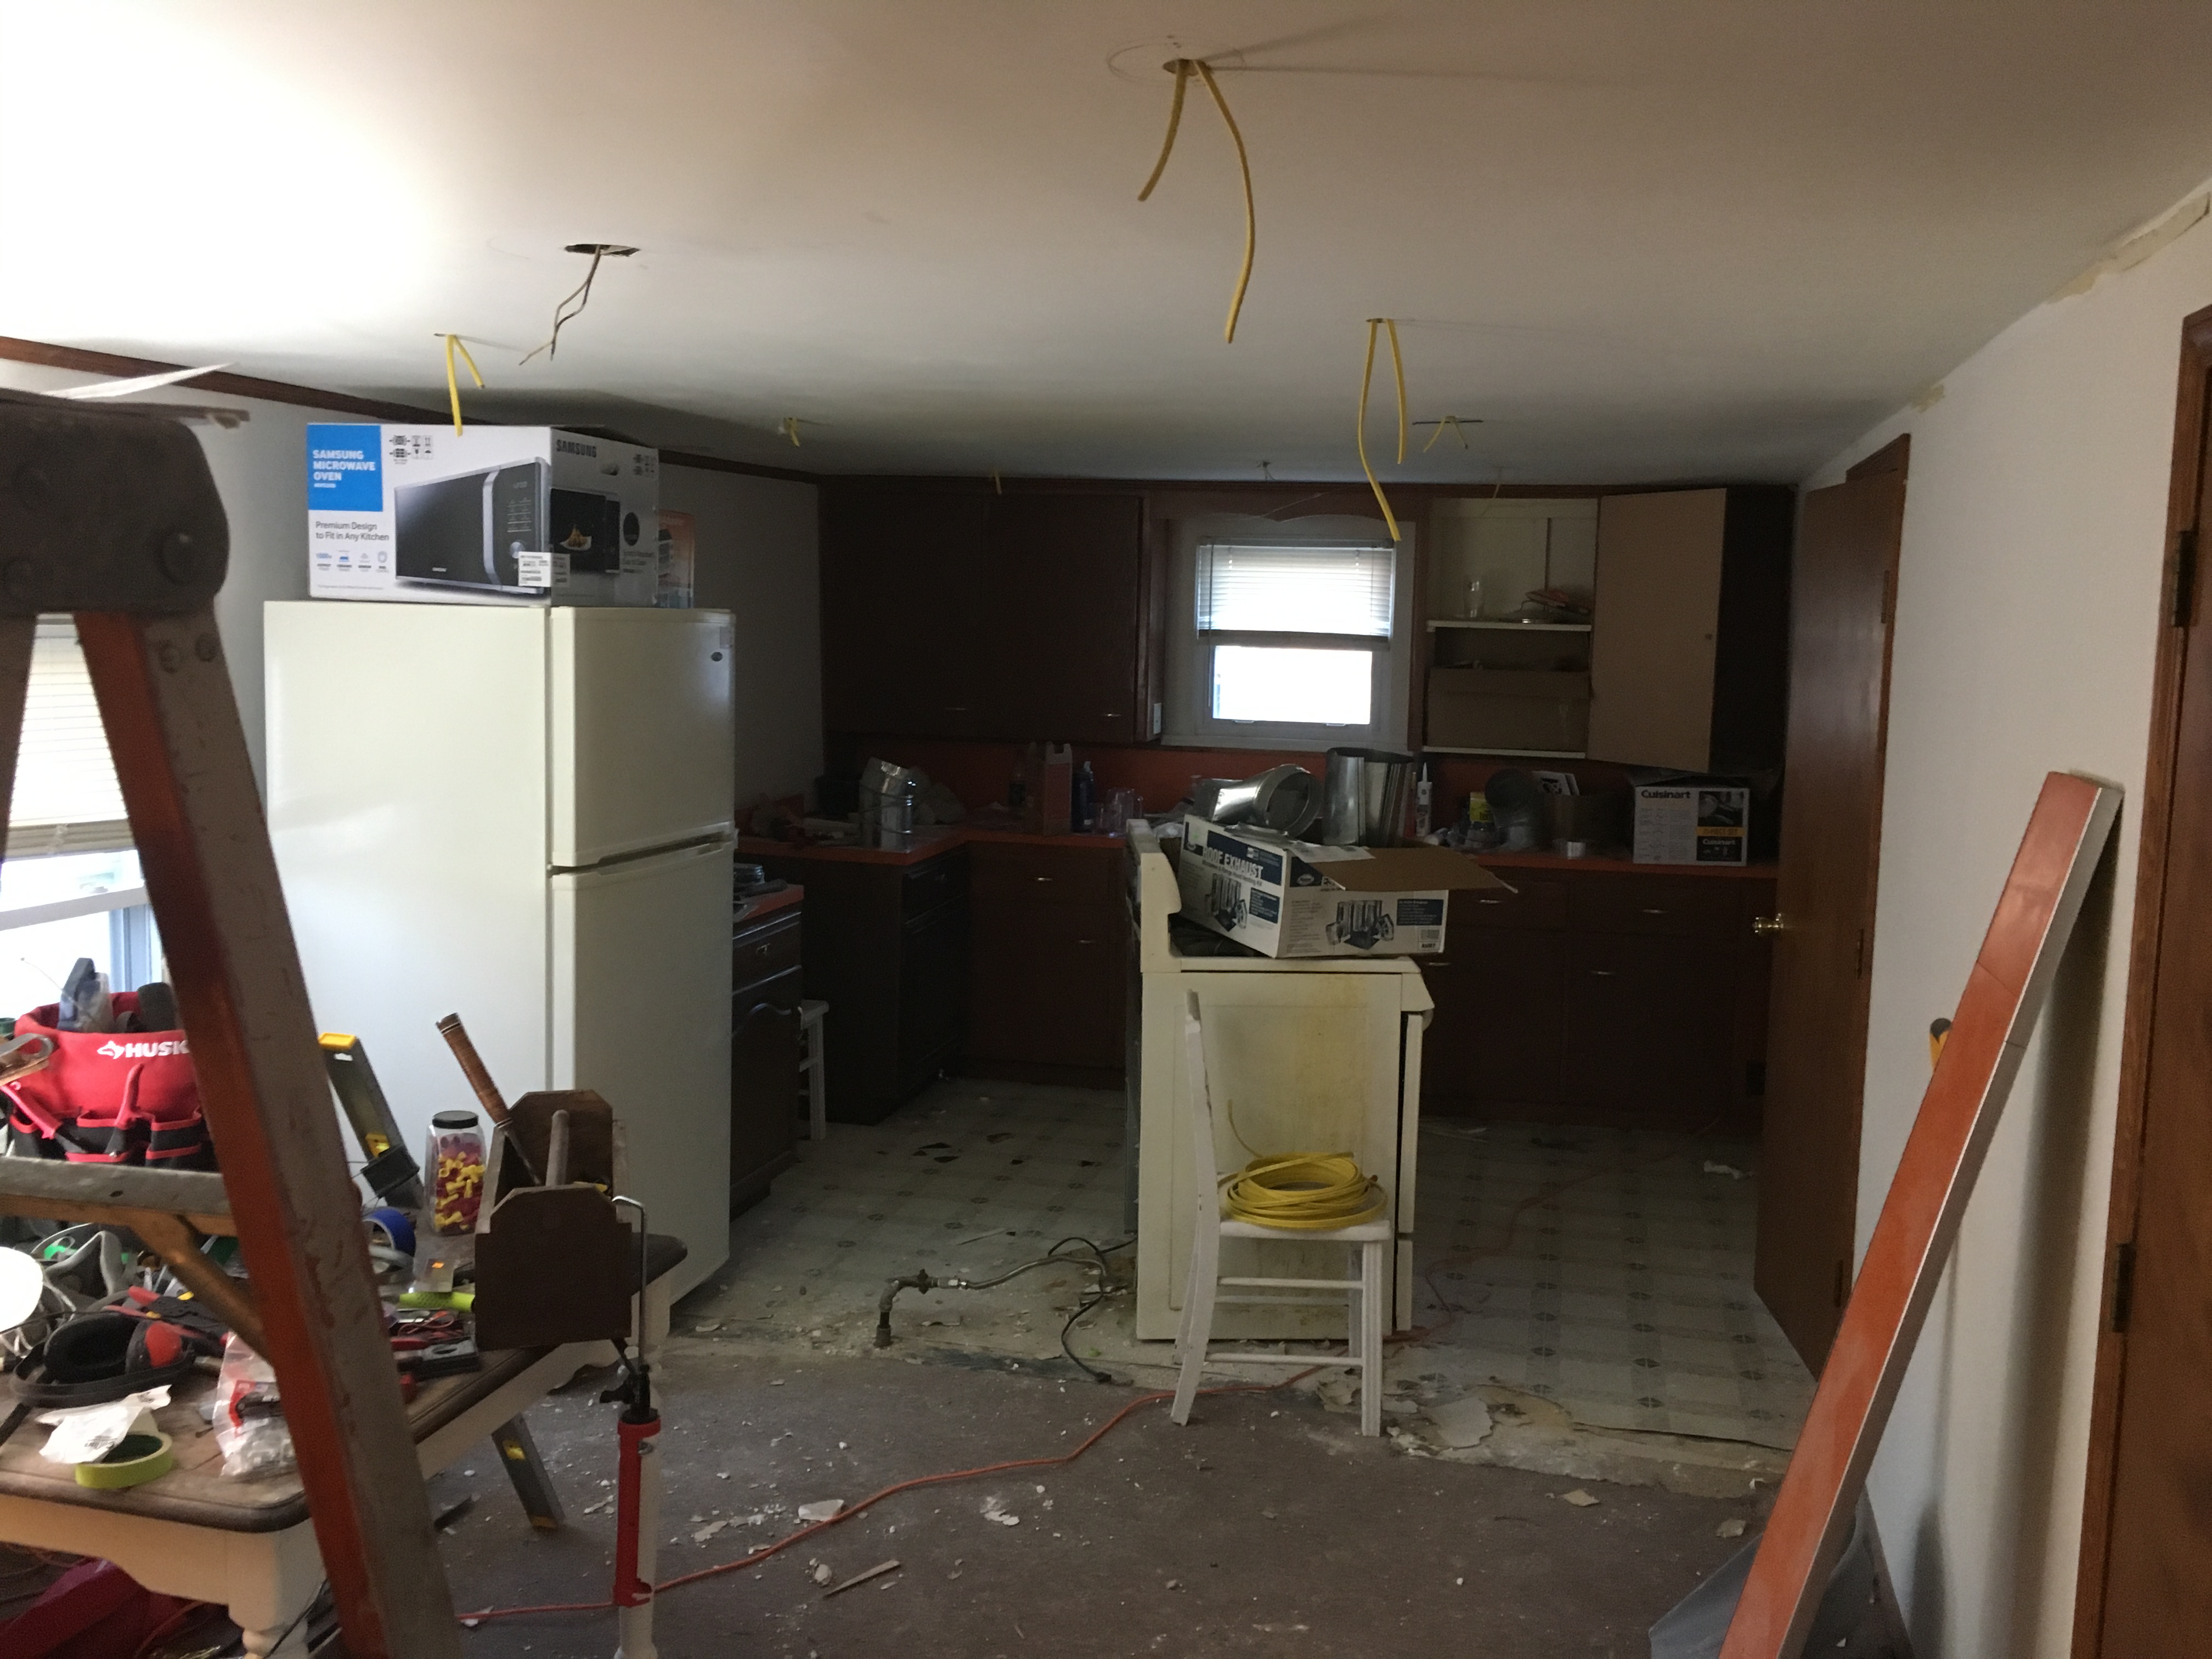
I took that photo after doing the wiring for the new can lights and after knocking down a half-wall that made the kitchen a pseudo gallery kitchen layout (we plan on making it a G layout). It was just too cramped.
Taking down the wall between the kitchen and living room to "make it an open floor plan" which might be the most frequently used phrase on HGTV...
Oh and we also knocked down the two little walls that made a closet in the dining room area.
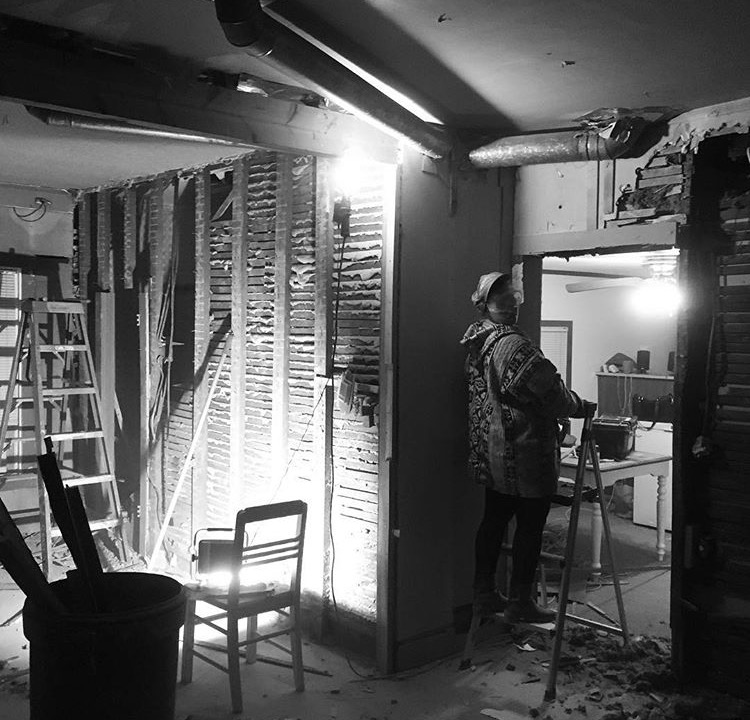
Still not done knocking down wall though! We knocked down the closet wall in the master bedroom (it's just slightly bigger than the other bedroom but still pretty small) upstairs.

Yes, it does look like a horror seen...
Oh yeah, and then this happened:
That's us knocking down the wall between the kitchen and the laundry room. Why would we do that? you might ask. Well, we have a wild idea to fit the body of the refridgerater in the laundry room, the door on the kitchen side, and the rest of the space filled with little cubbies. More info on that in a later post.
More updates coming soon, stay tuned.