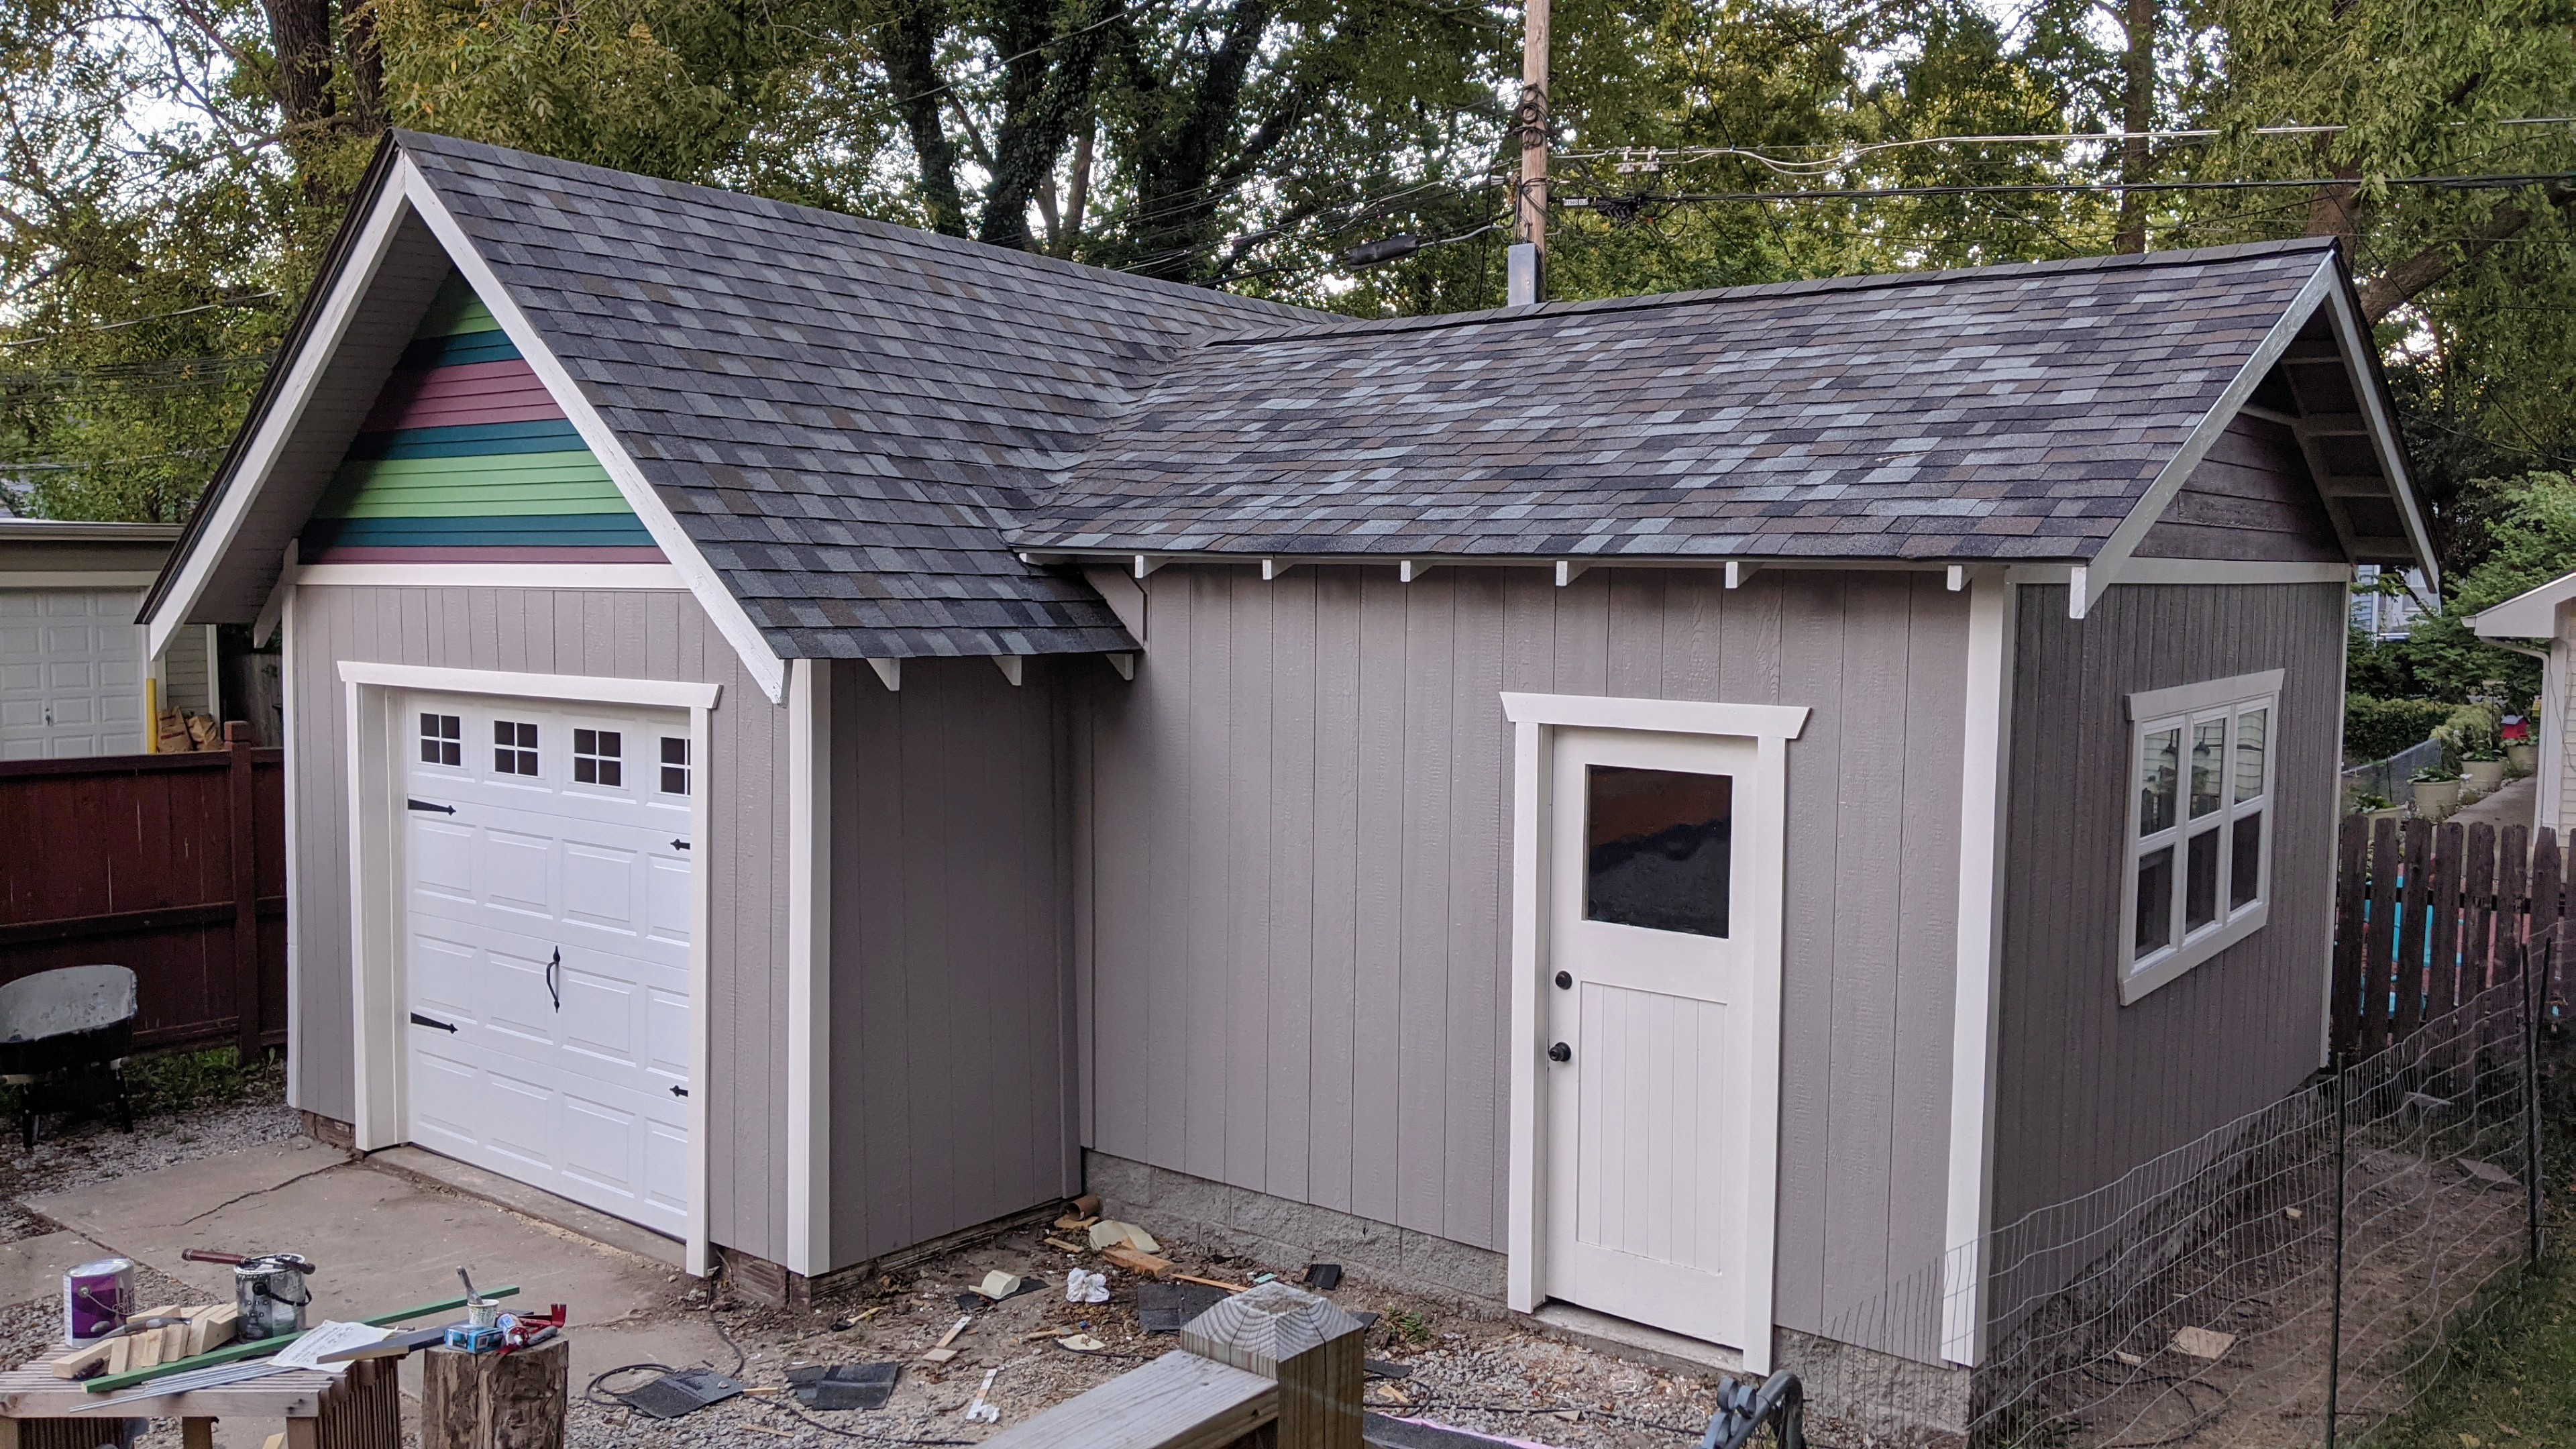
After completing construction of the Tool Temple, I wanted the interior to look as good as the exterior!
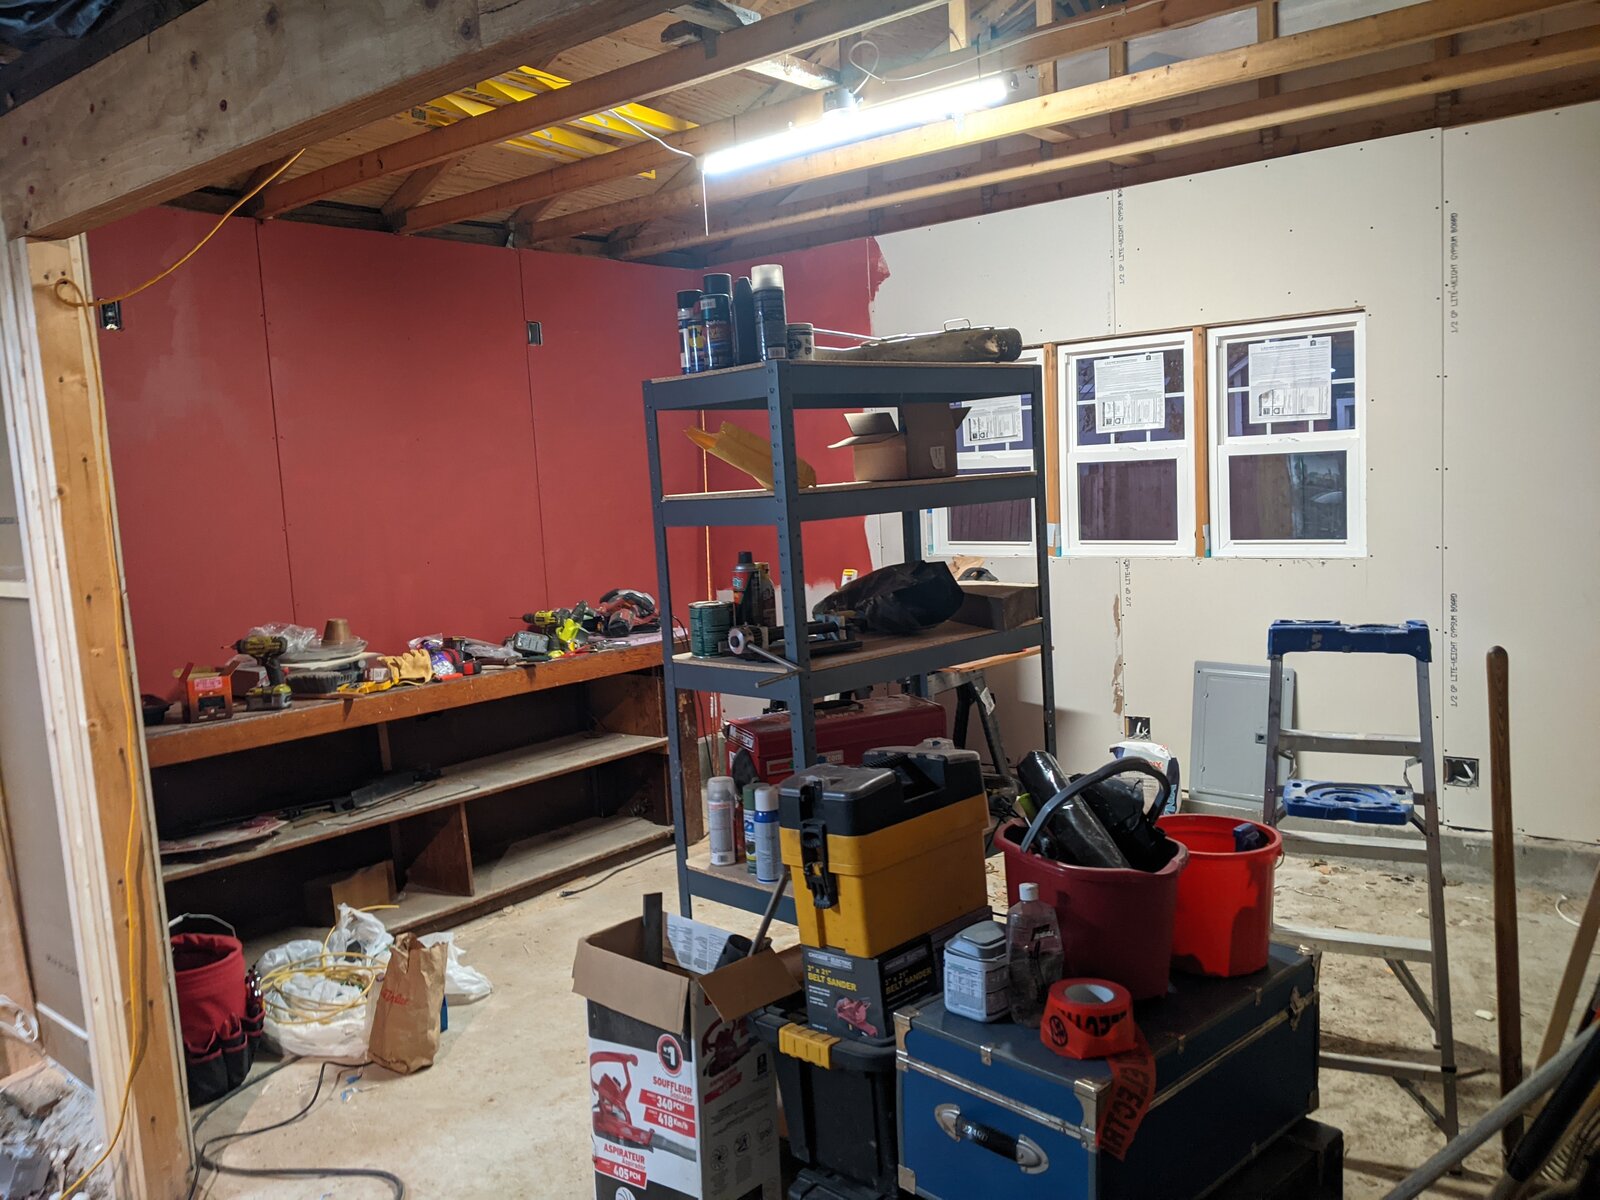
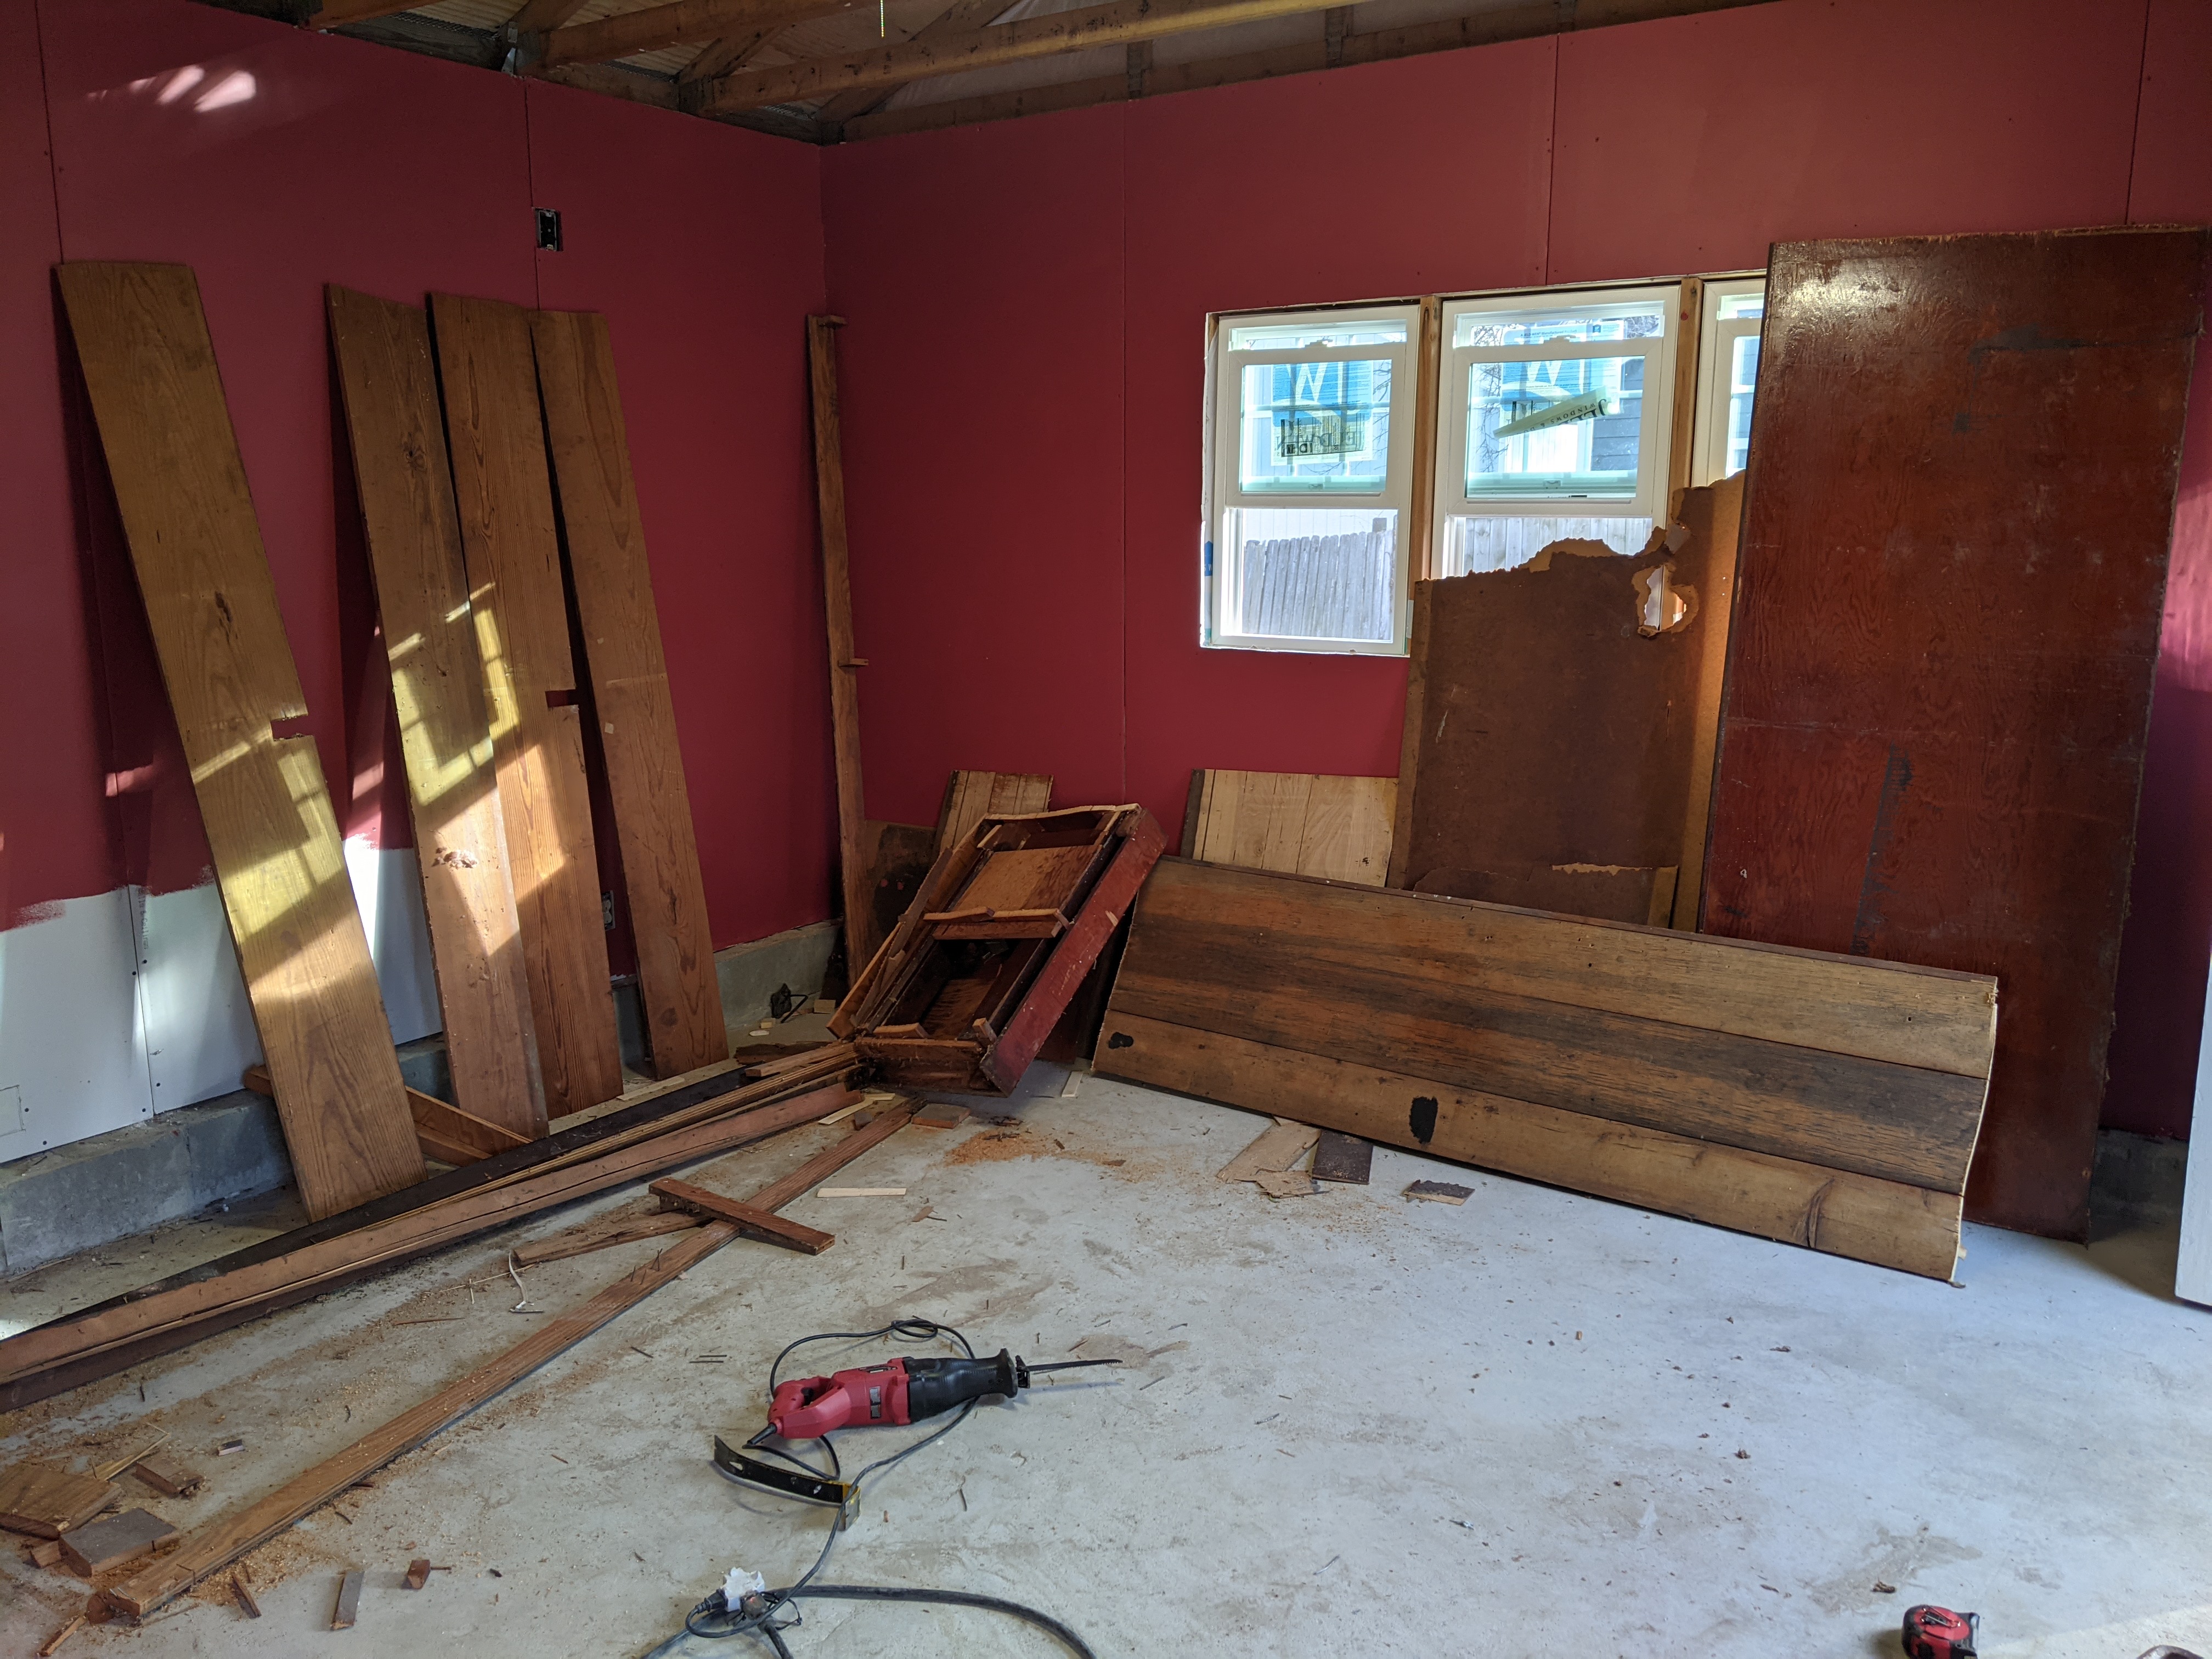
However my first challenge was just cleaning up the MESS that I had made during the construction process. (You can also see the R-14 insulation in the stud bays).
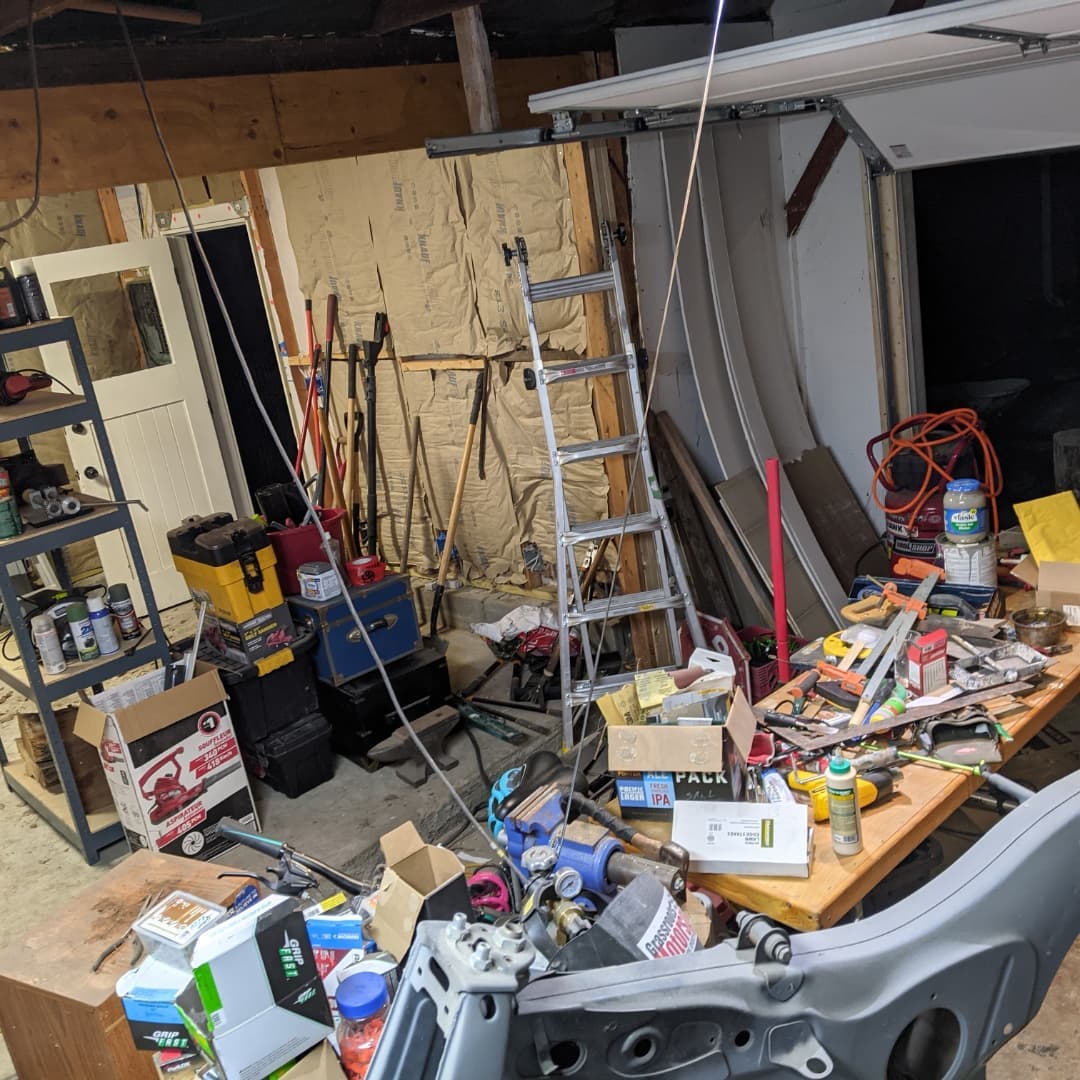
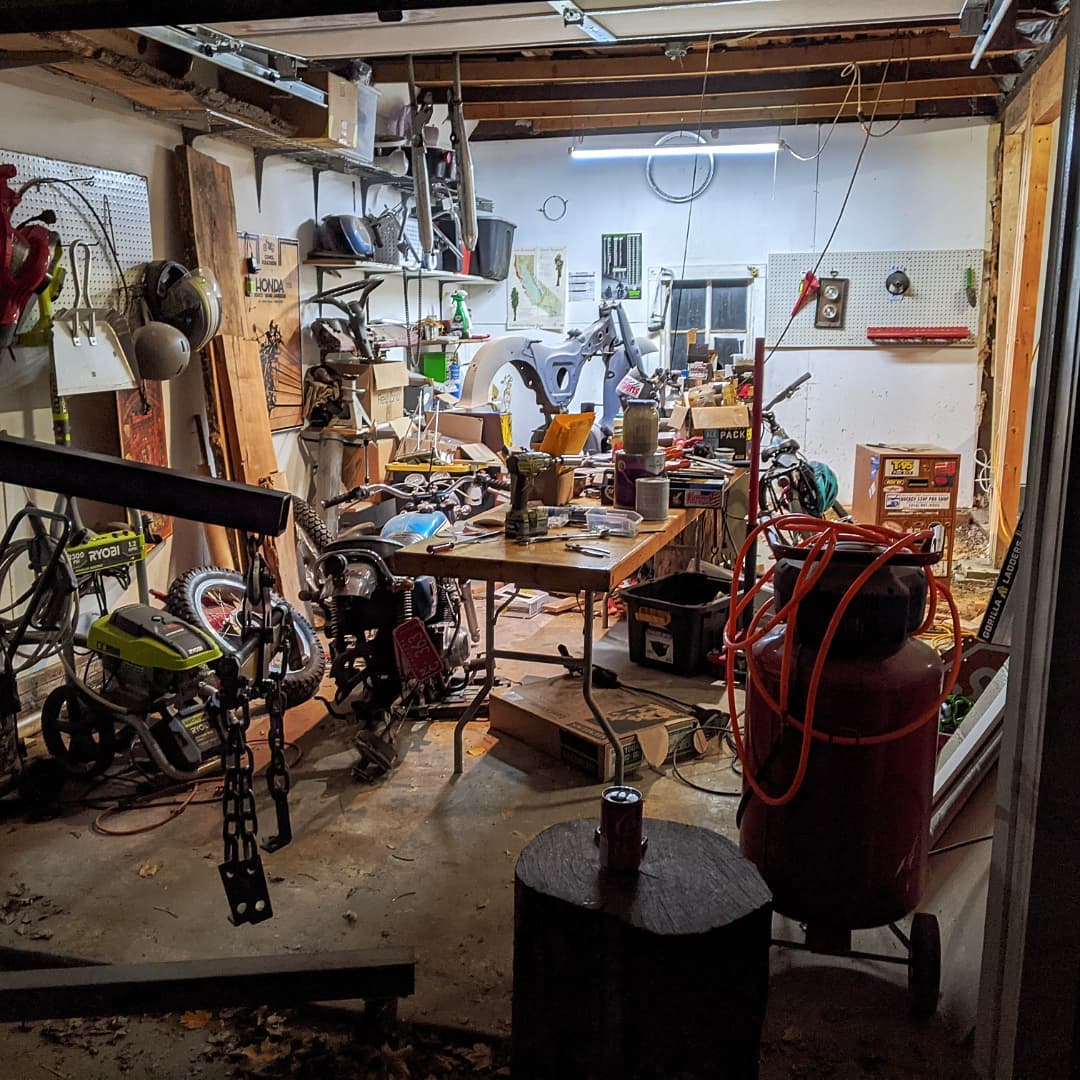
Holy cow. What a mess.
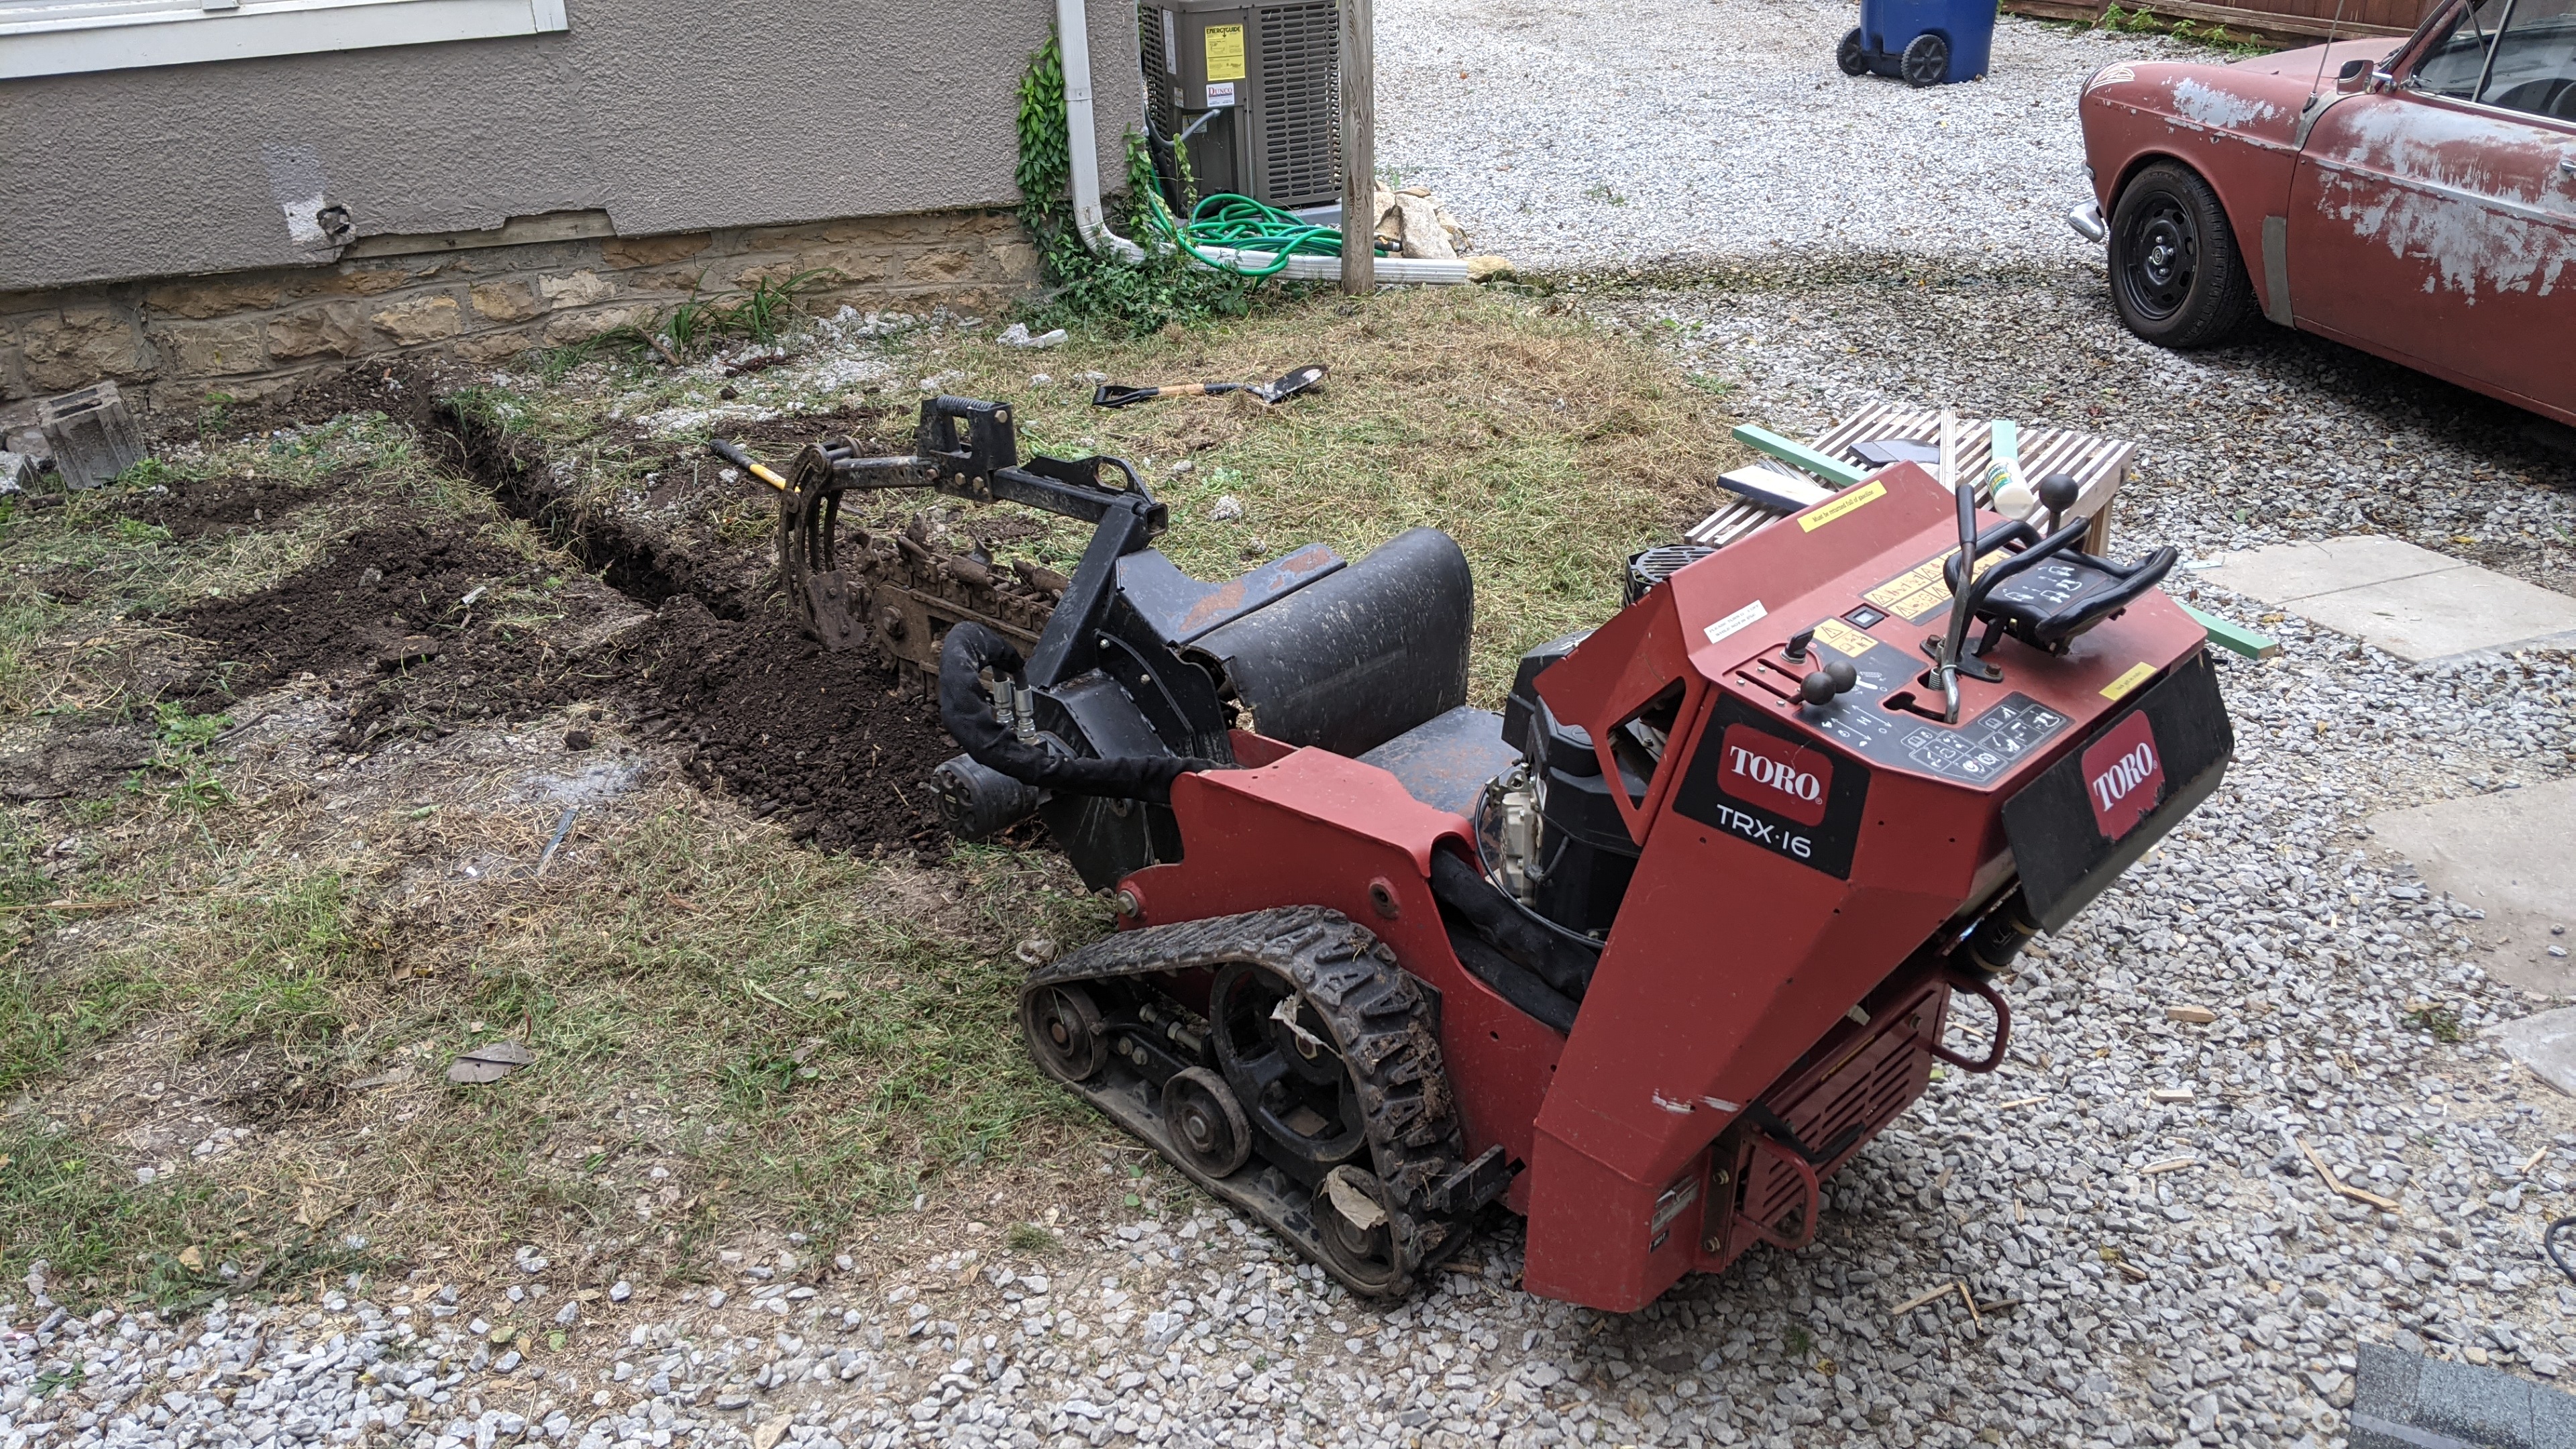
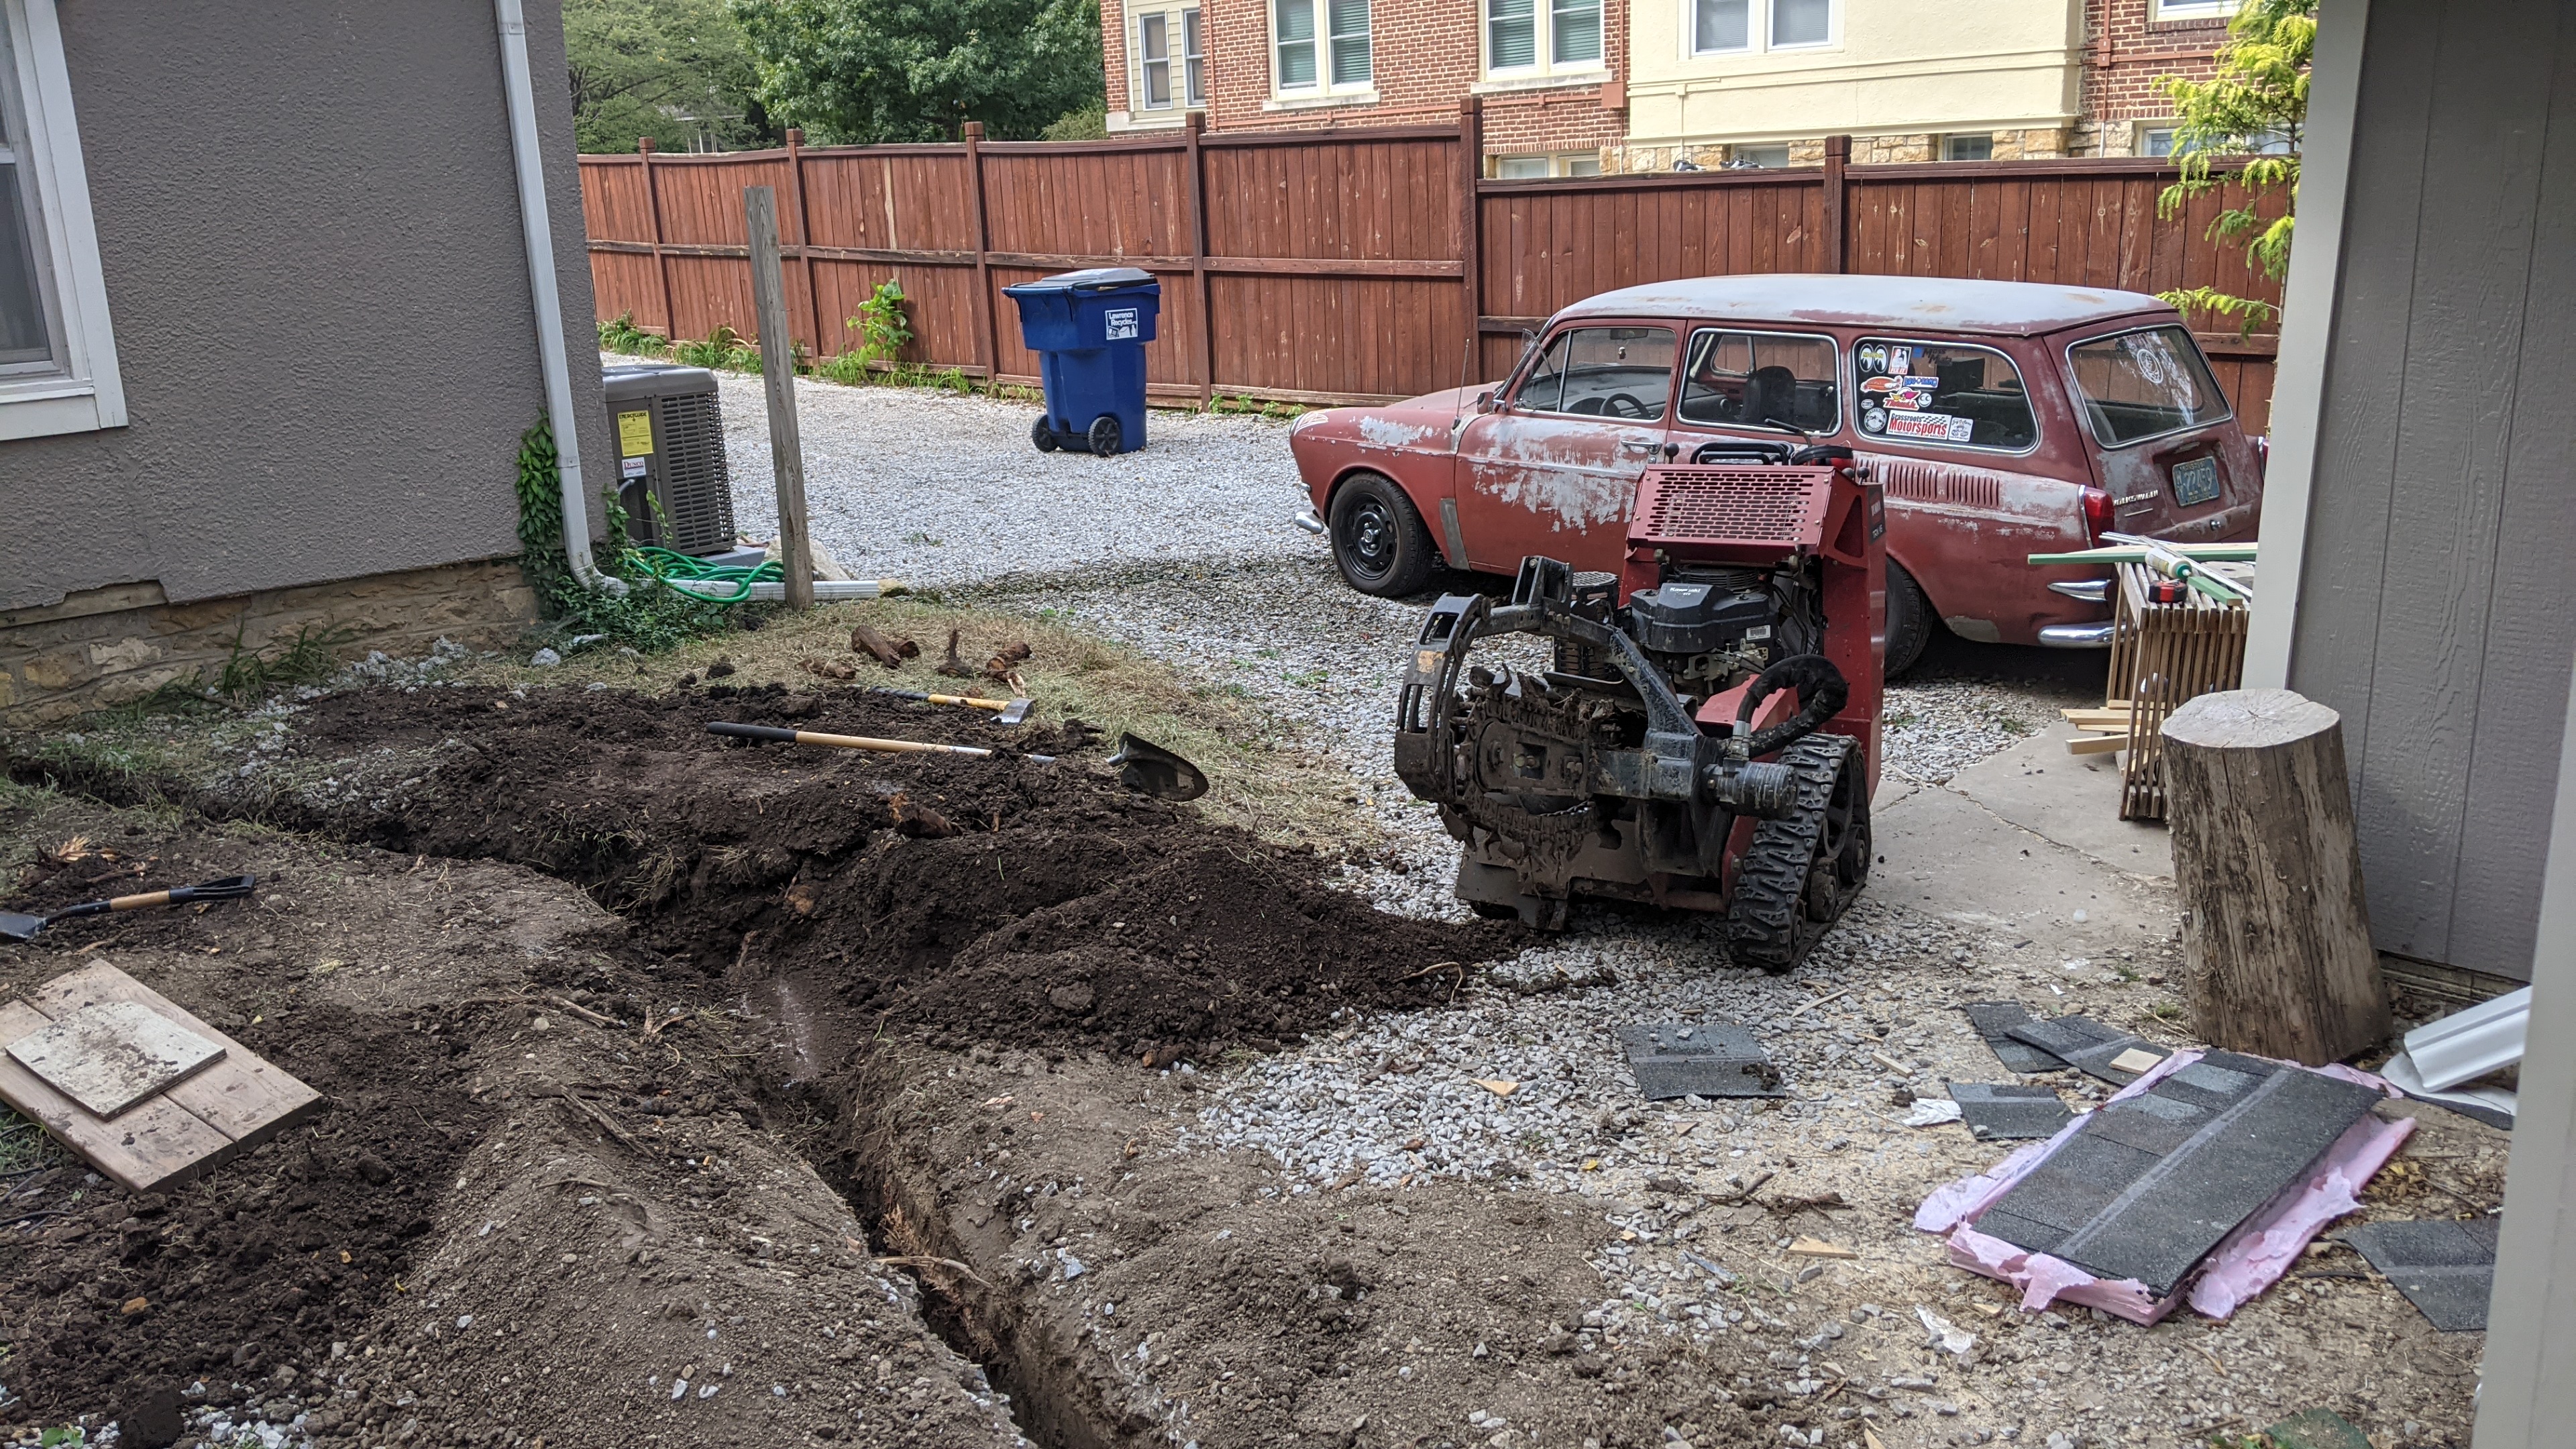
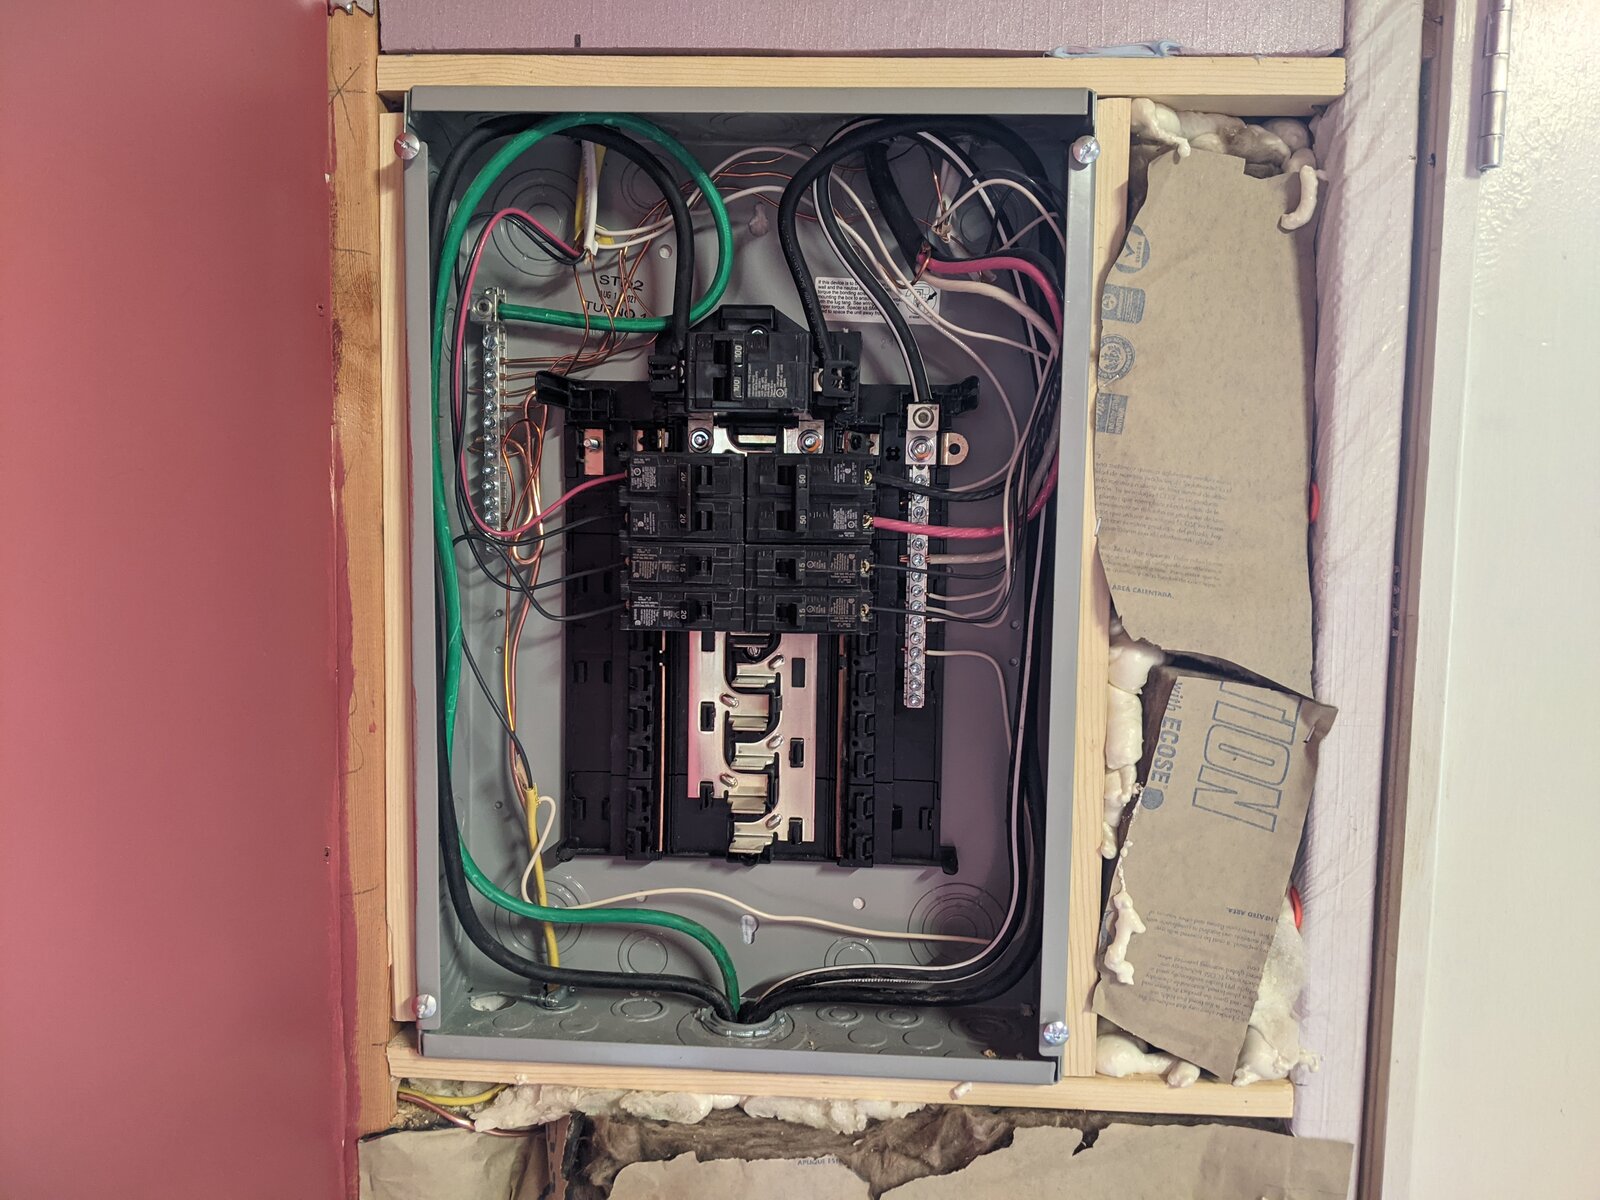
Speaking of mess, I had to dig a trench for the underground electrical service to the garage. 100 amps, 240 volts via 2-2-2-4 aluminum wire.
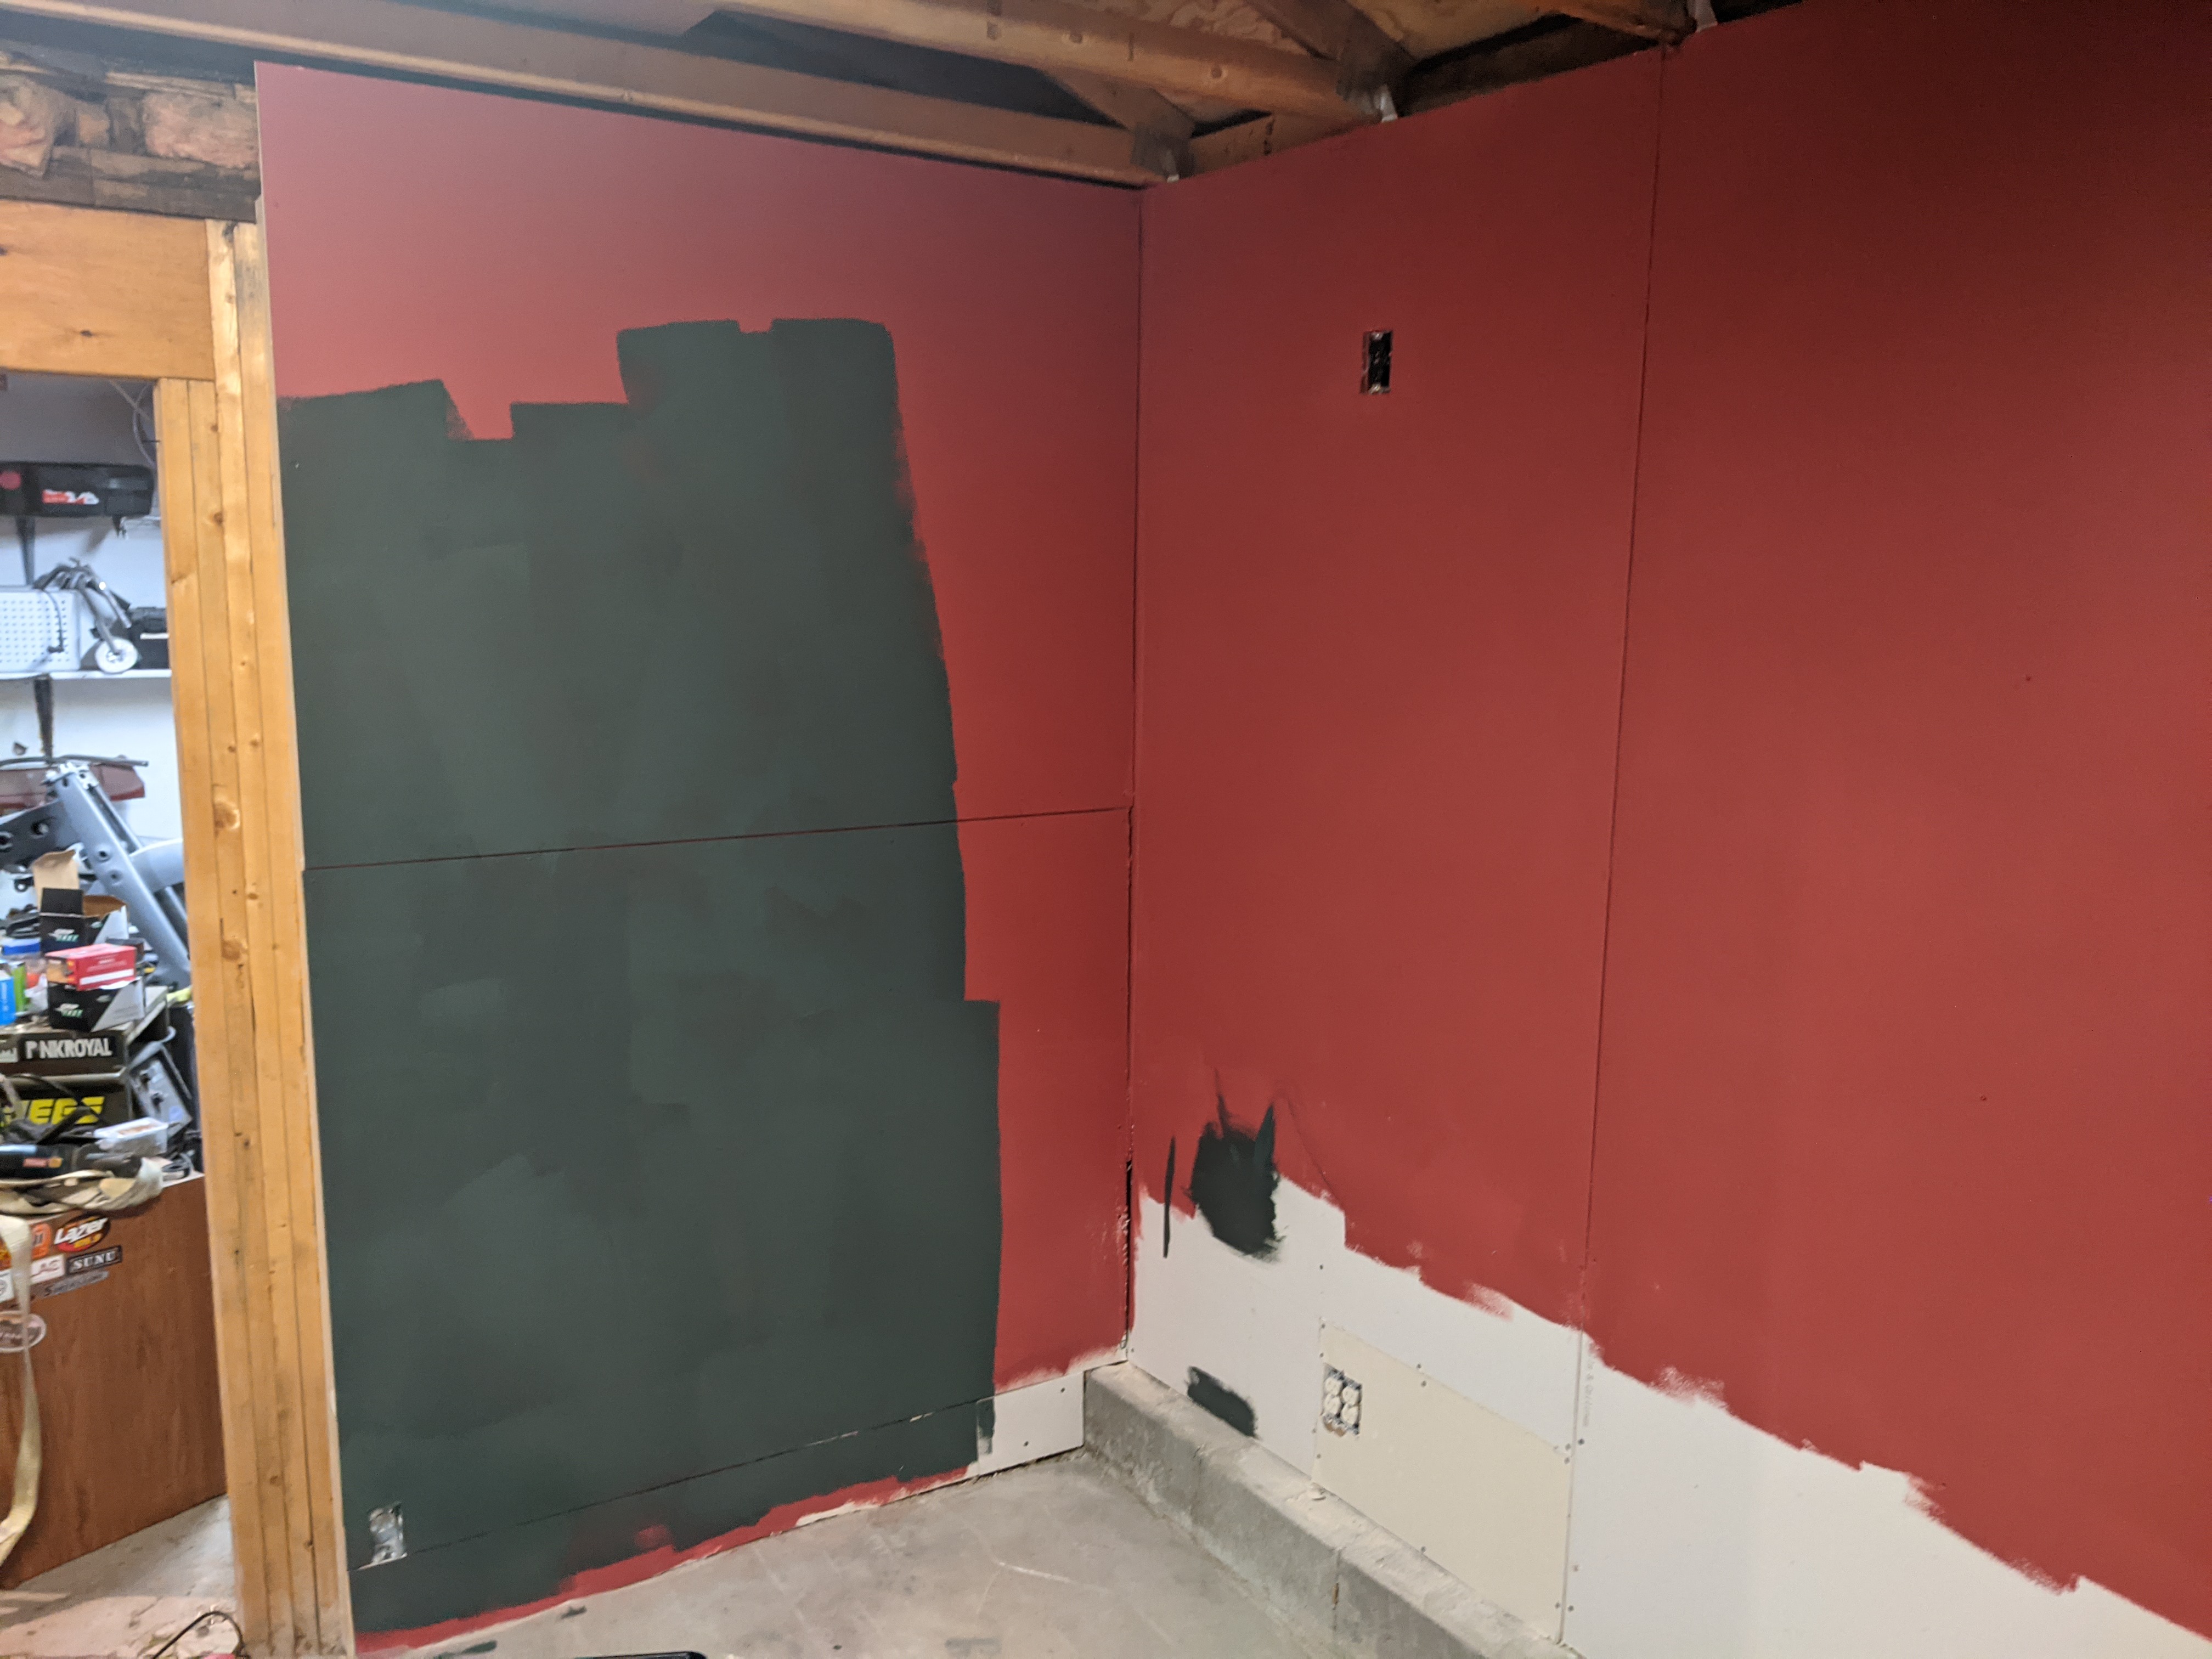
I started hanging some drywall and I couldn't wait to try out the red color of paint.
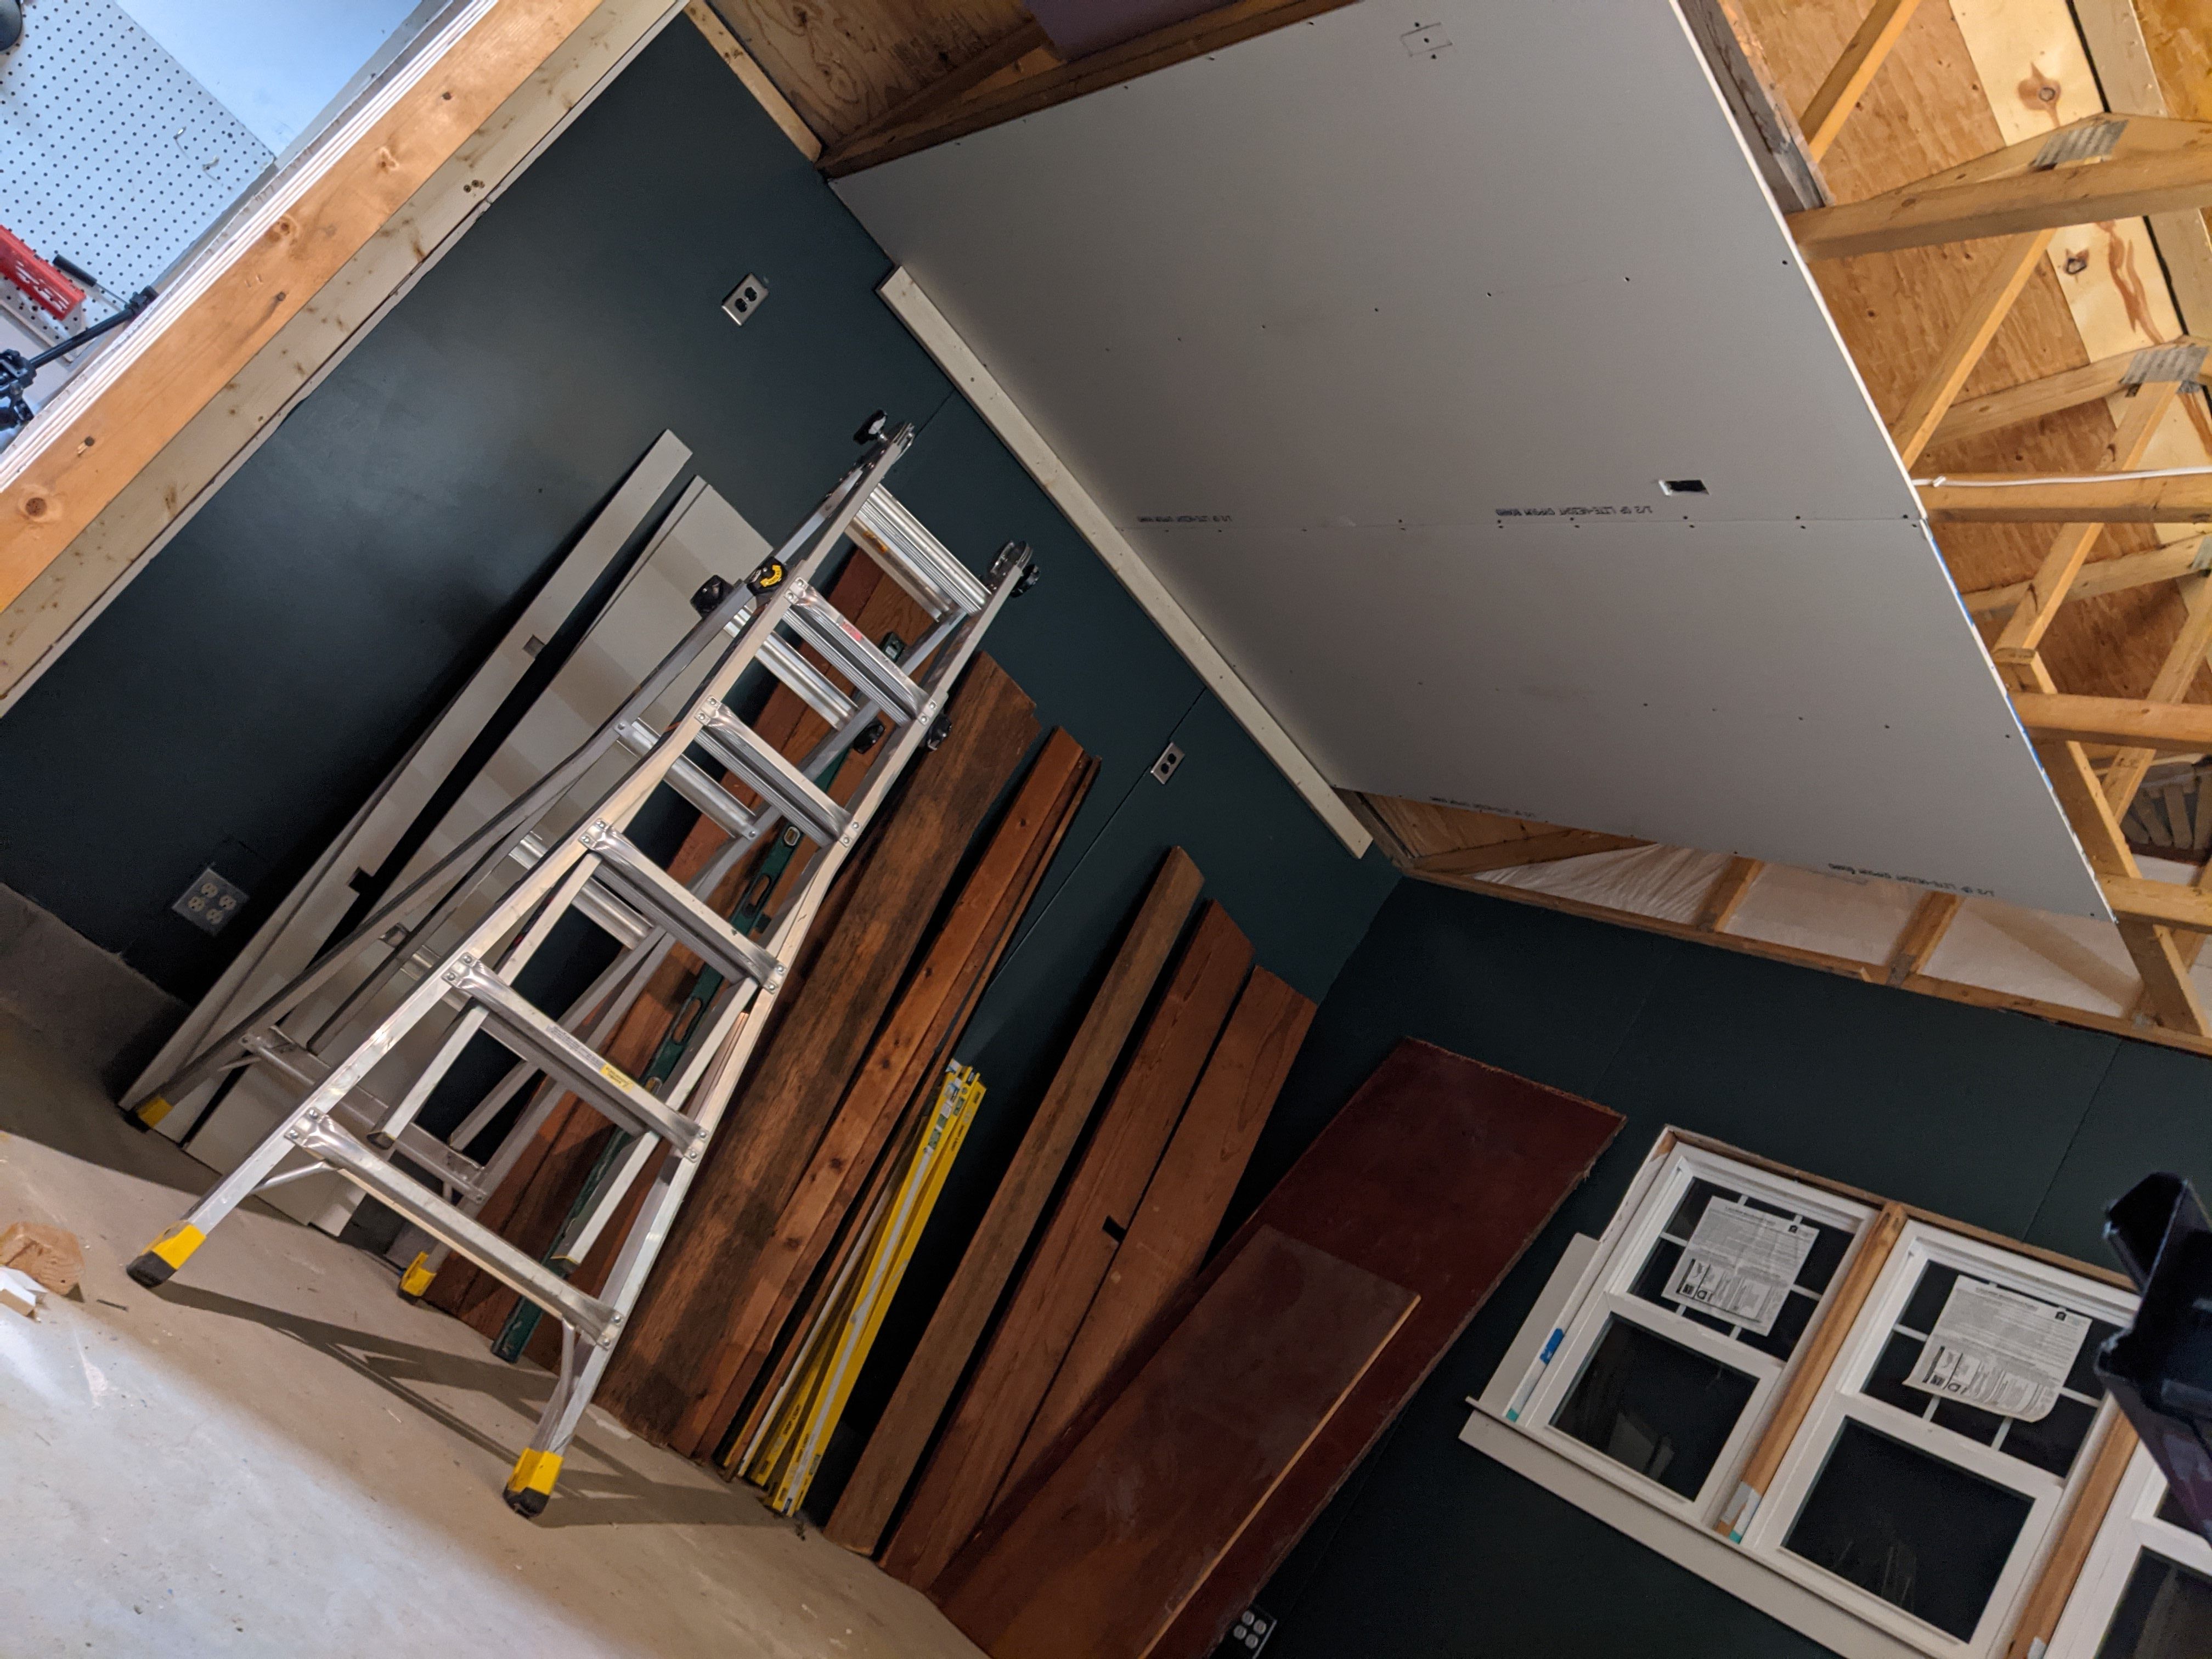
But I was getting a little ahead of myself because I should have done the ceiling first. Oh well.
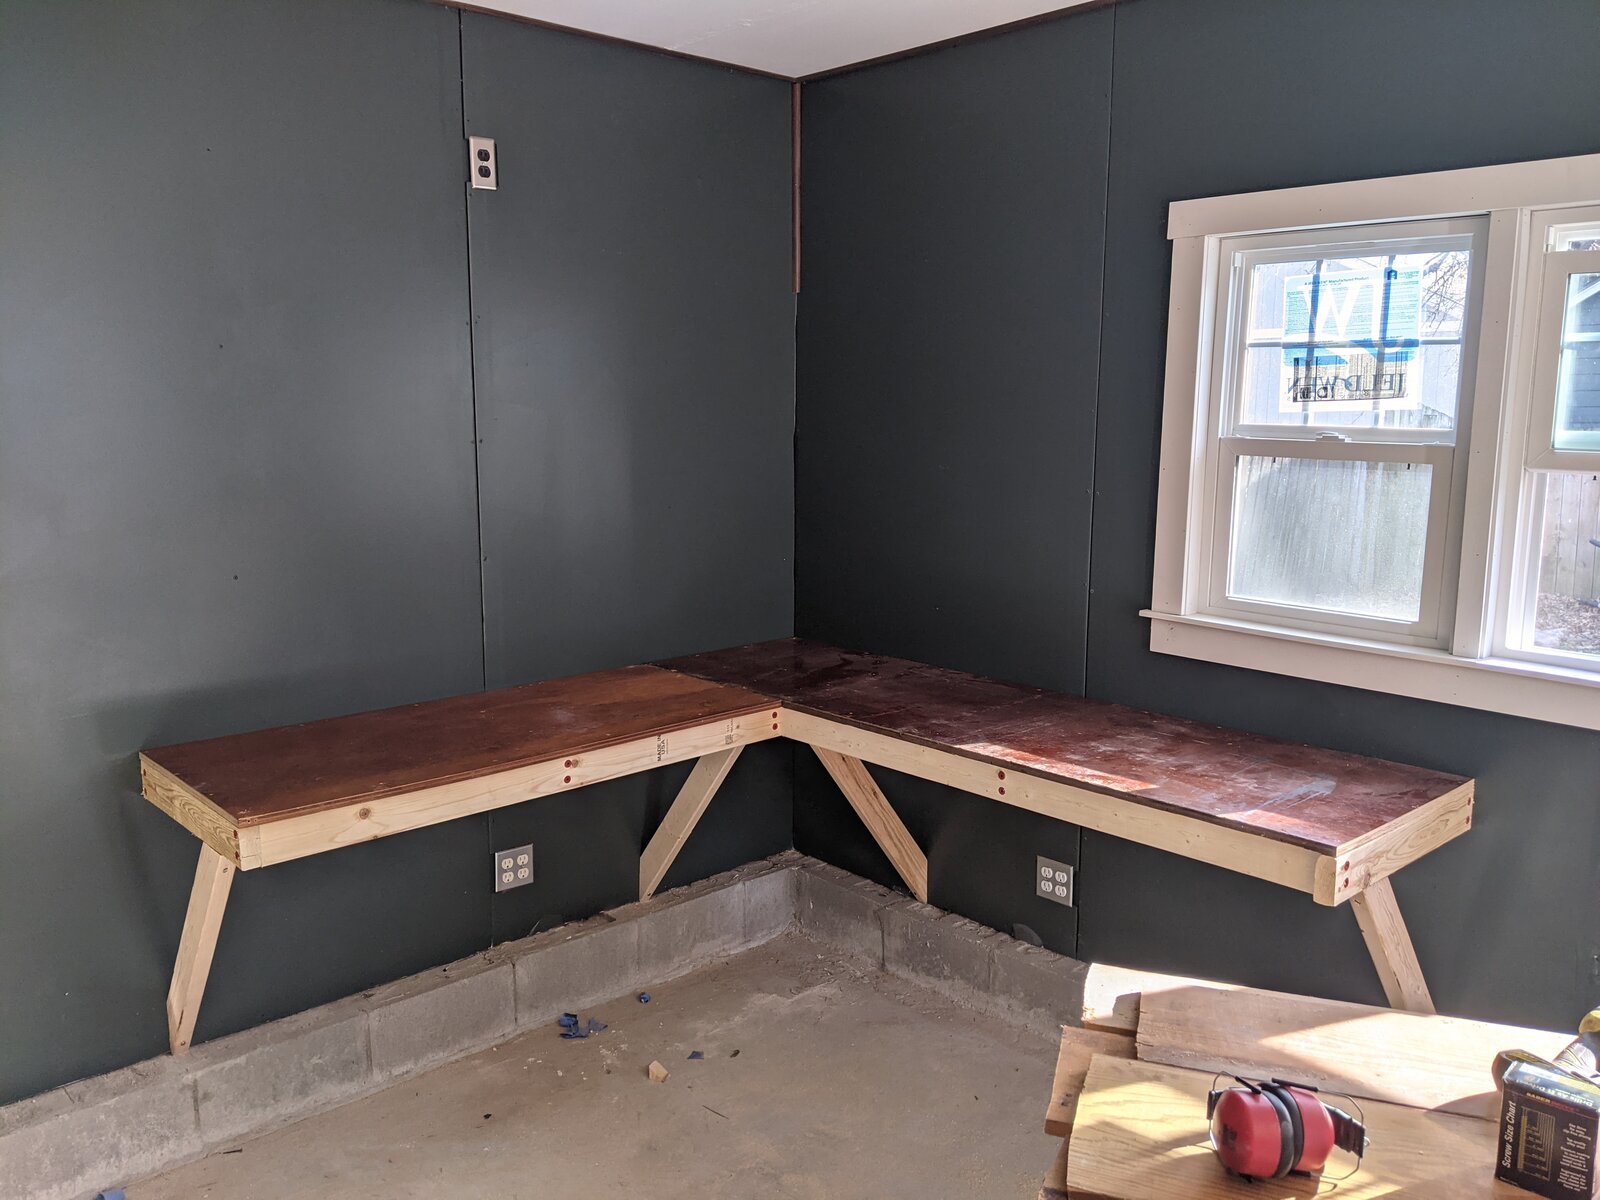
I decided to smash apart the old workbench, use the salvaged lumber for shelf, and build an all new workbench.
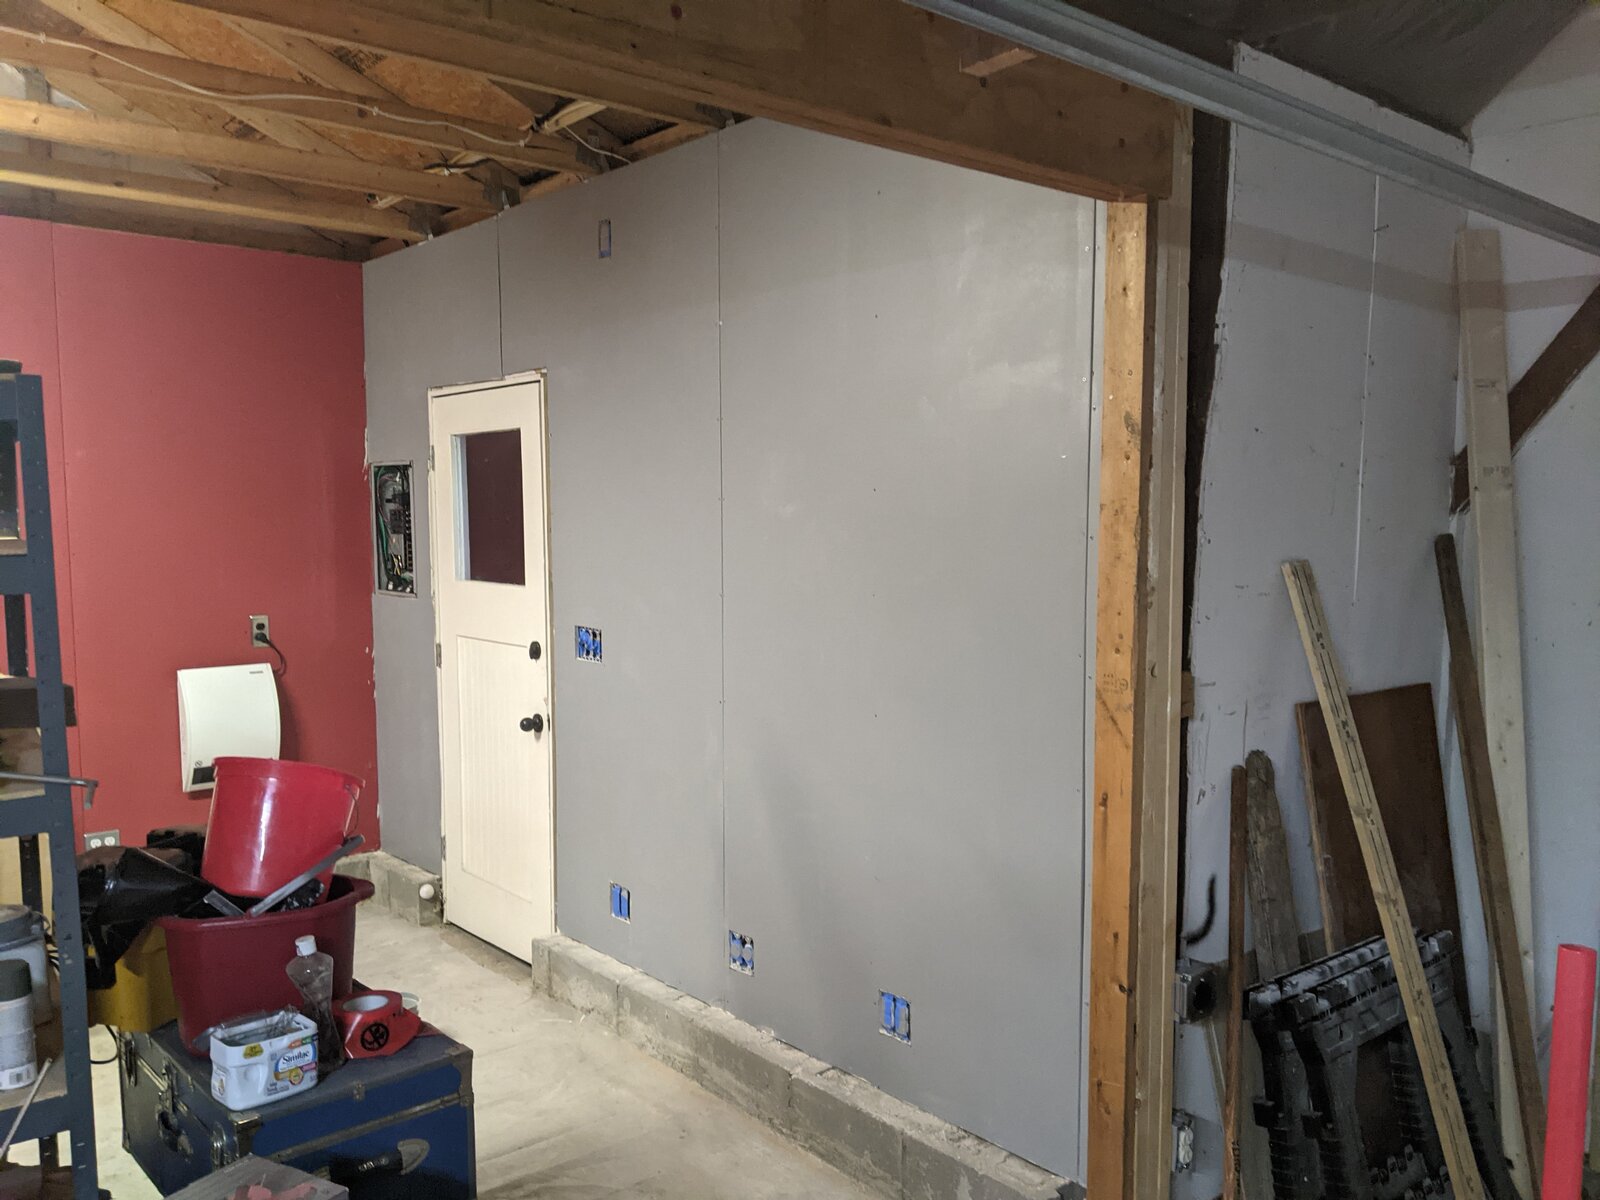
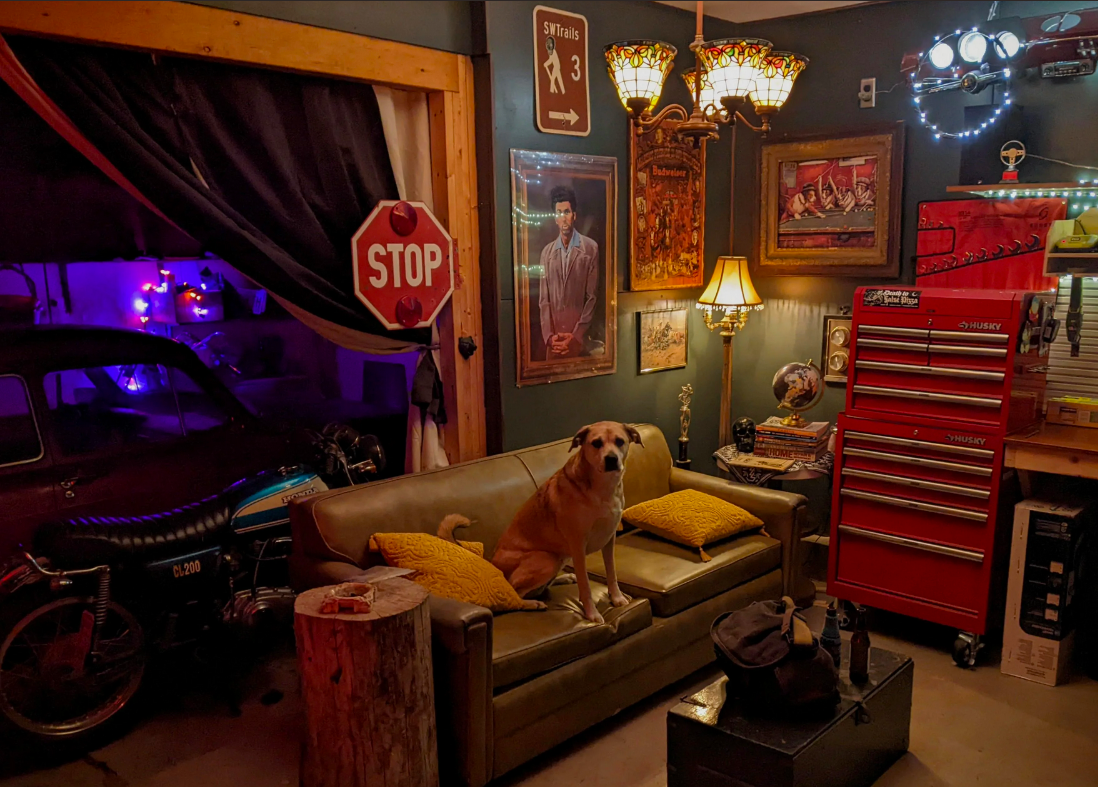
I also decided I didn't want the red paint anymore and I covered it with dark green paint. Much better!
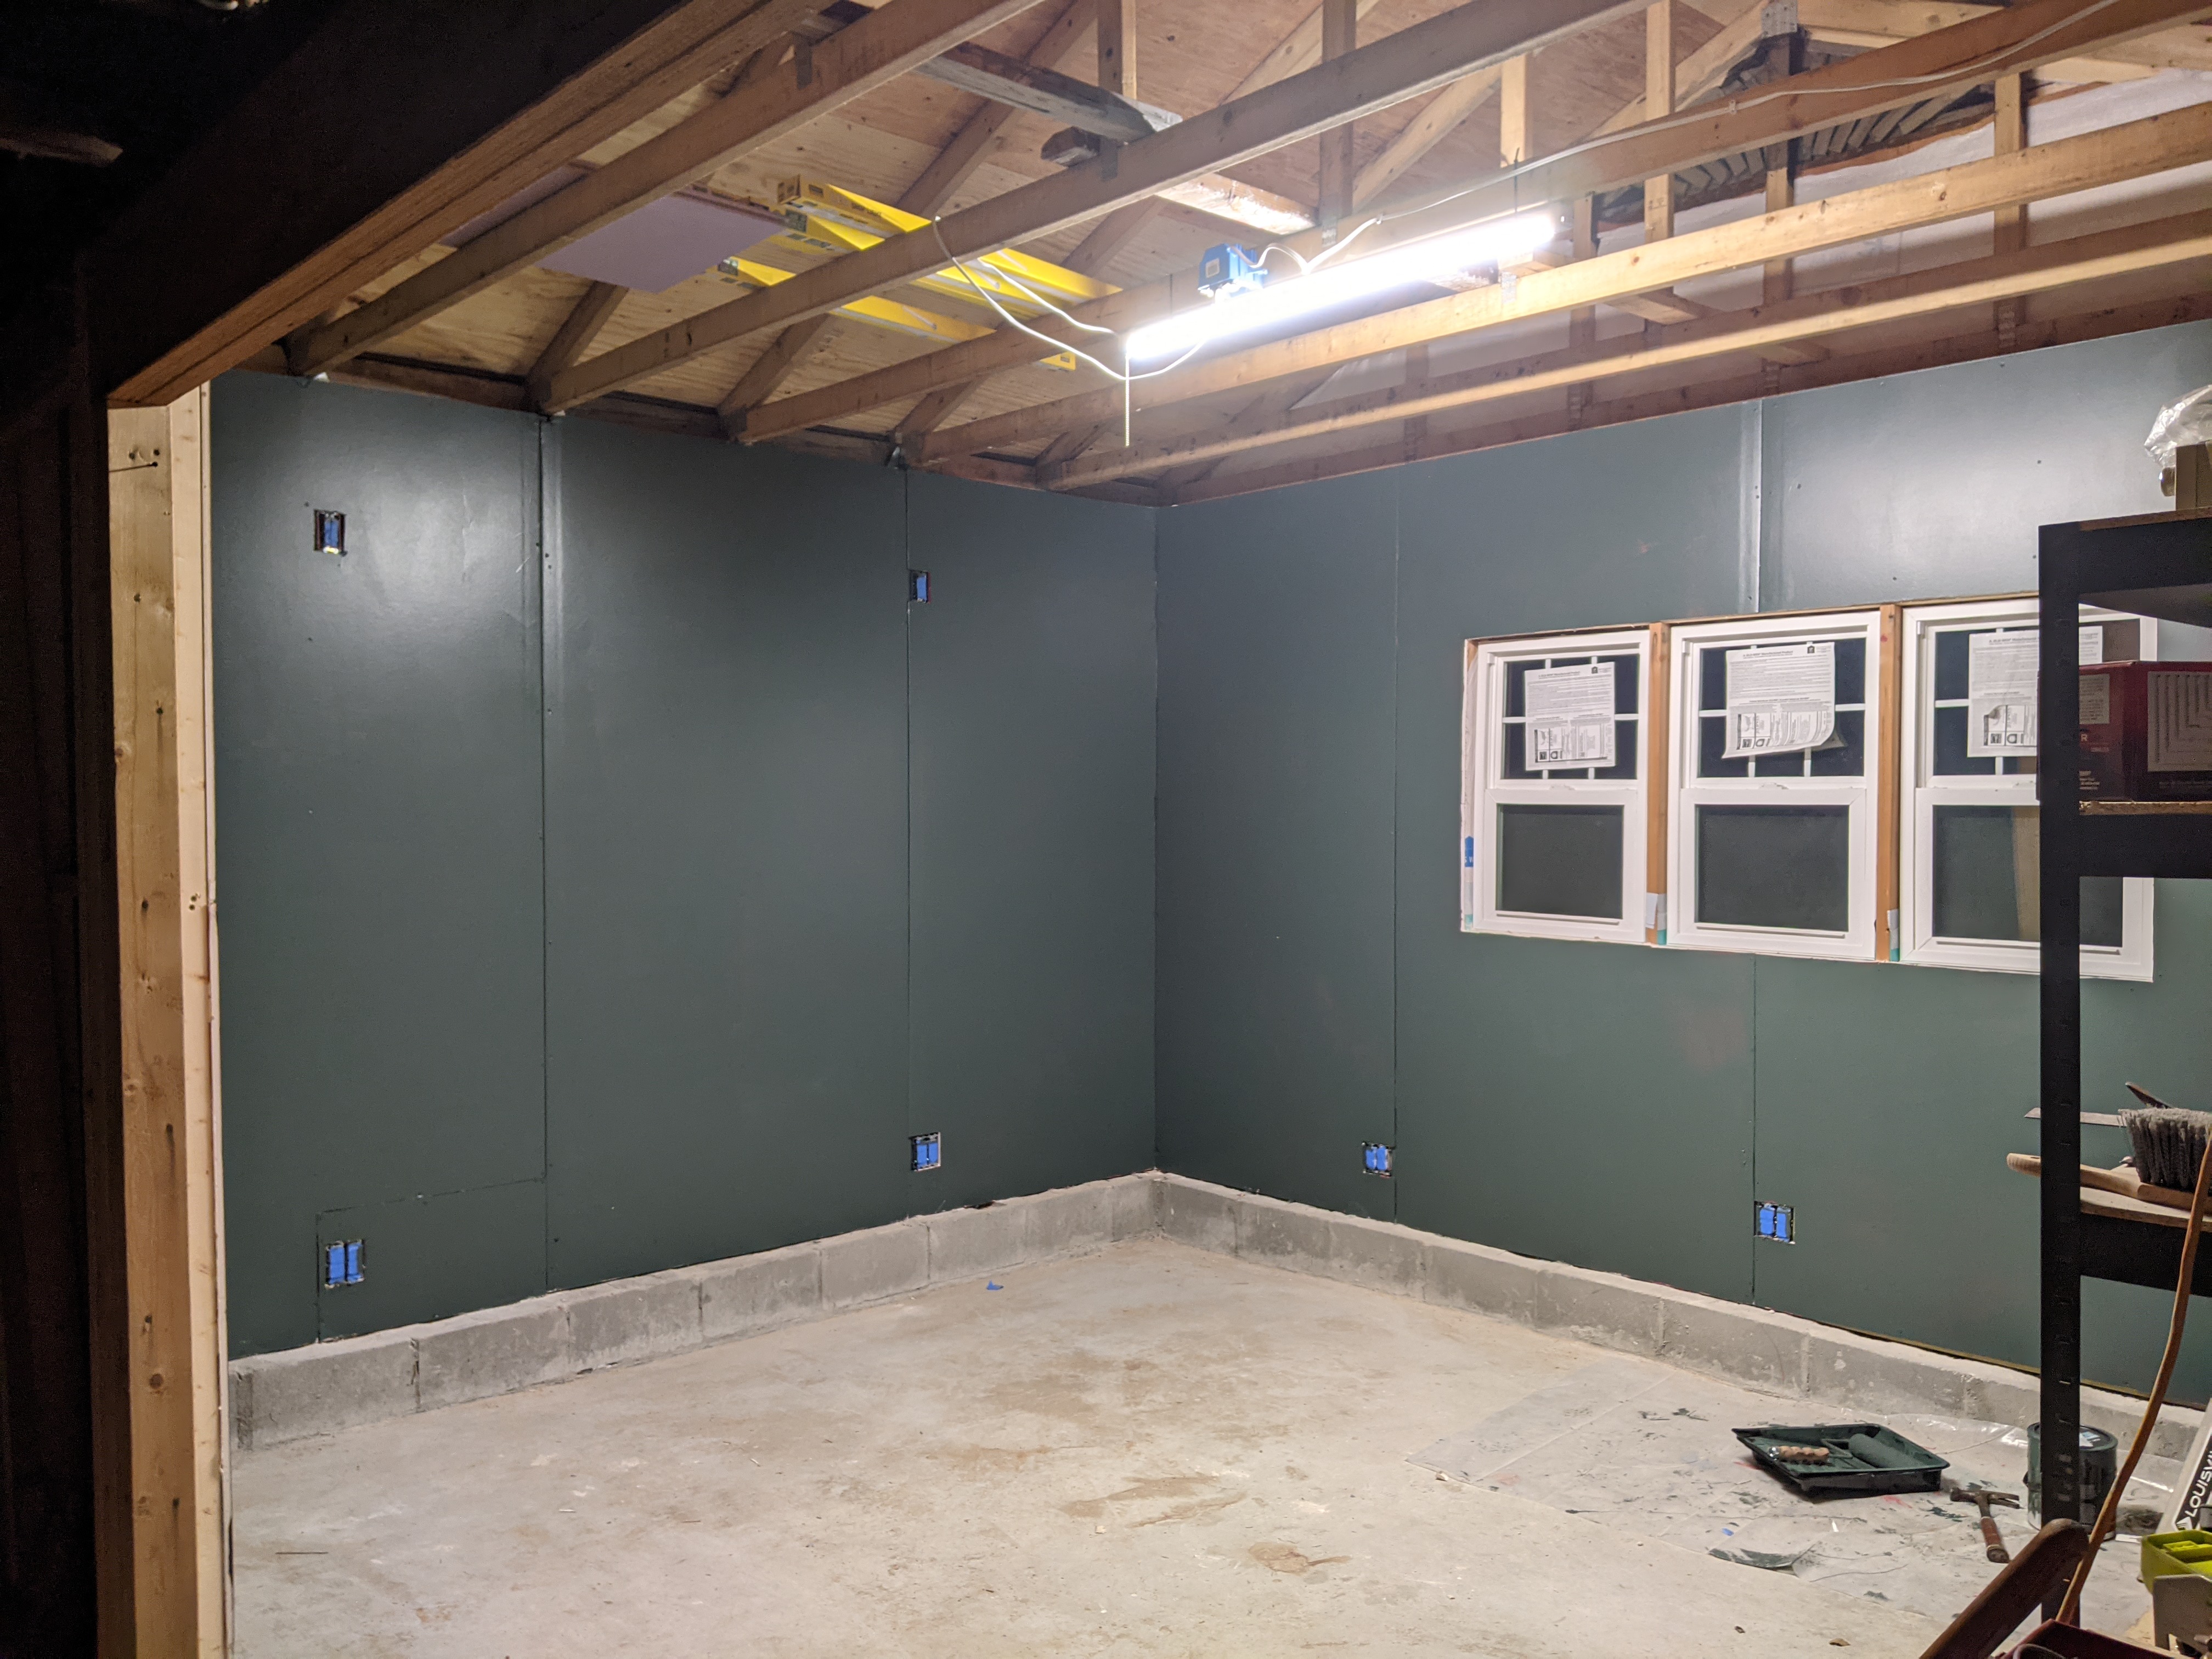
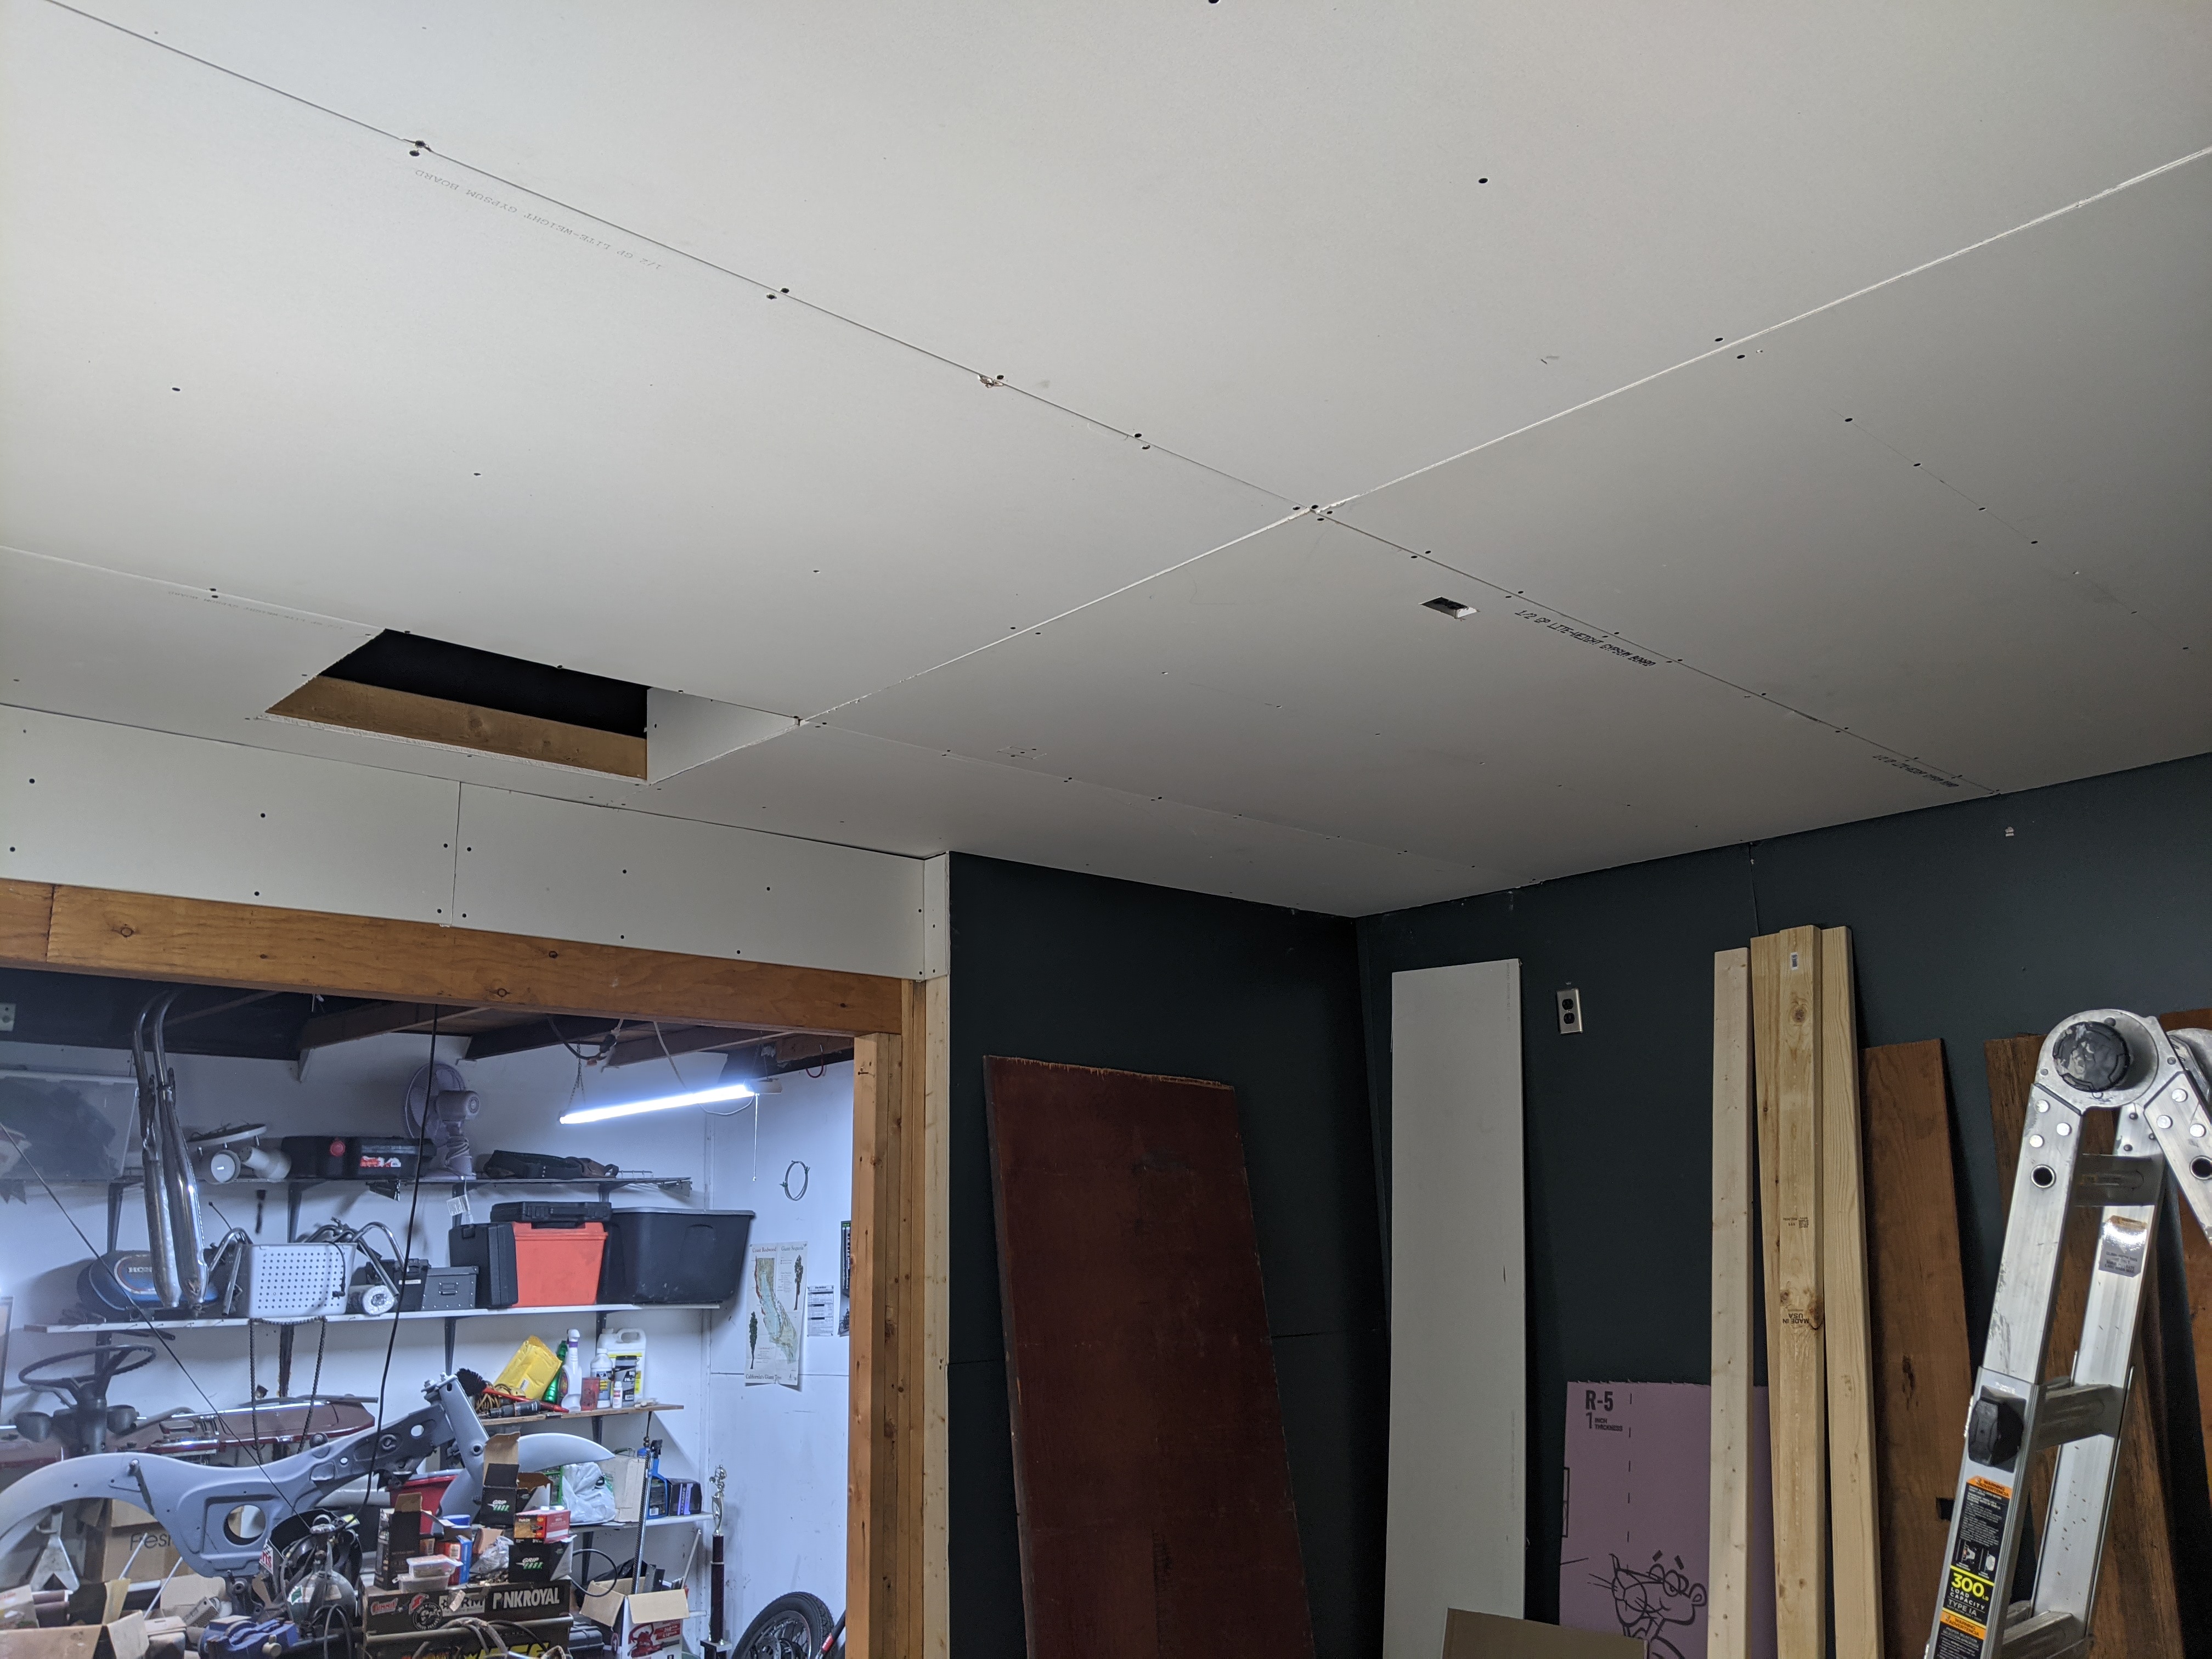
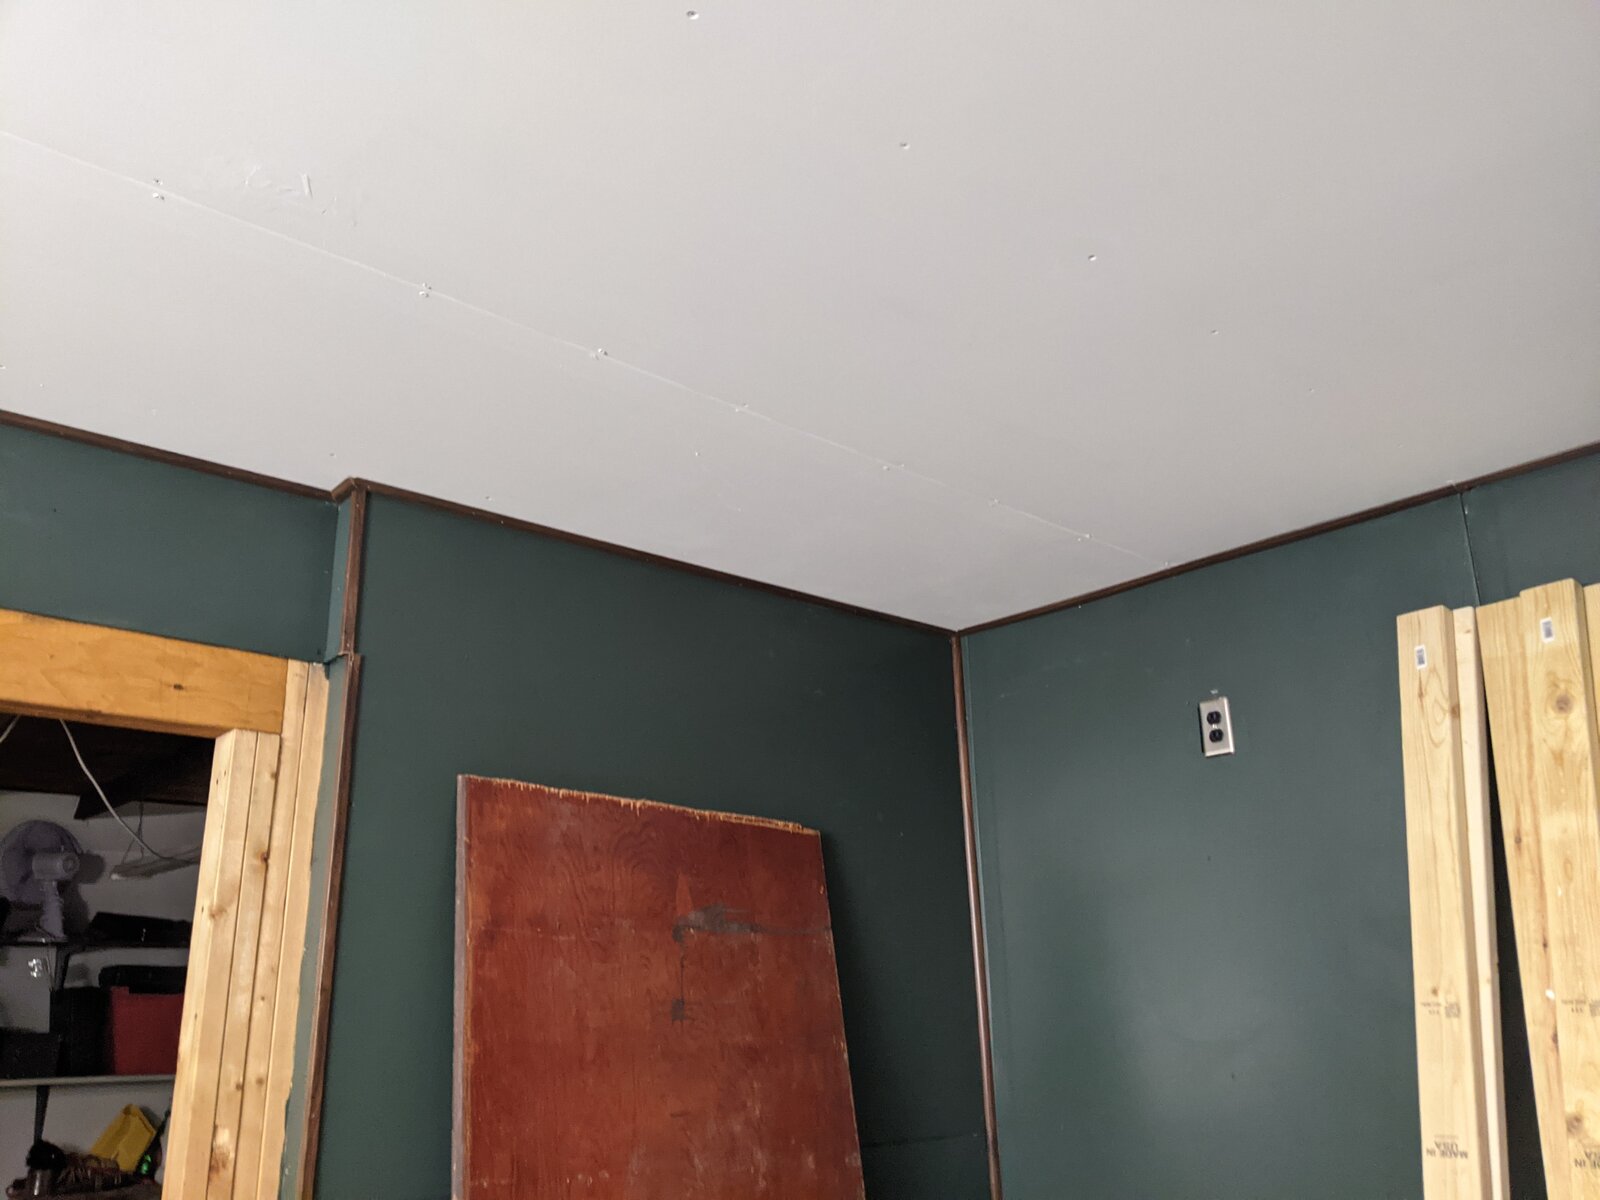
Time for ceiling drywall! I did it ALL BY MYSELF! You see the horizontal 2x4 on the wall that held up one end of 4' x 8' drywall sheet while I held up the other with one hand and screwed it it with the other hand.
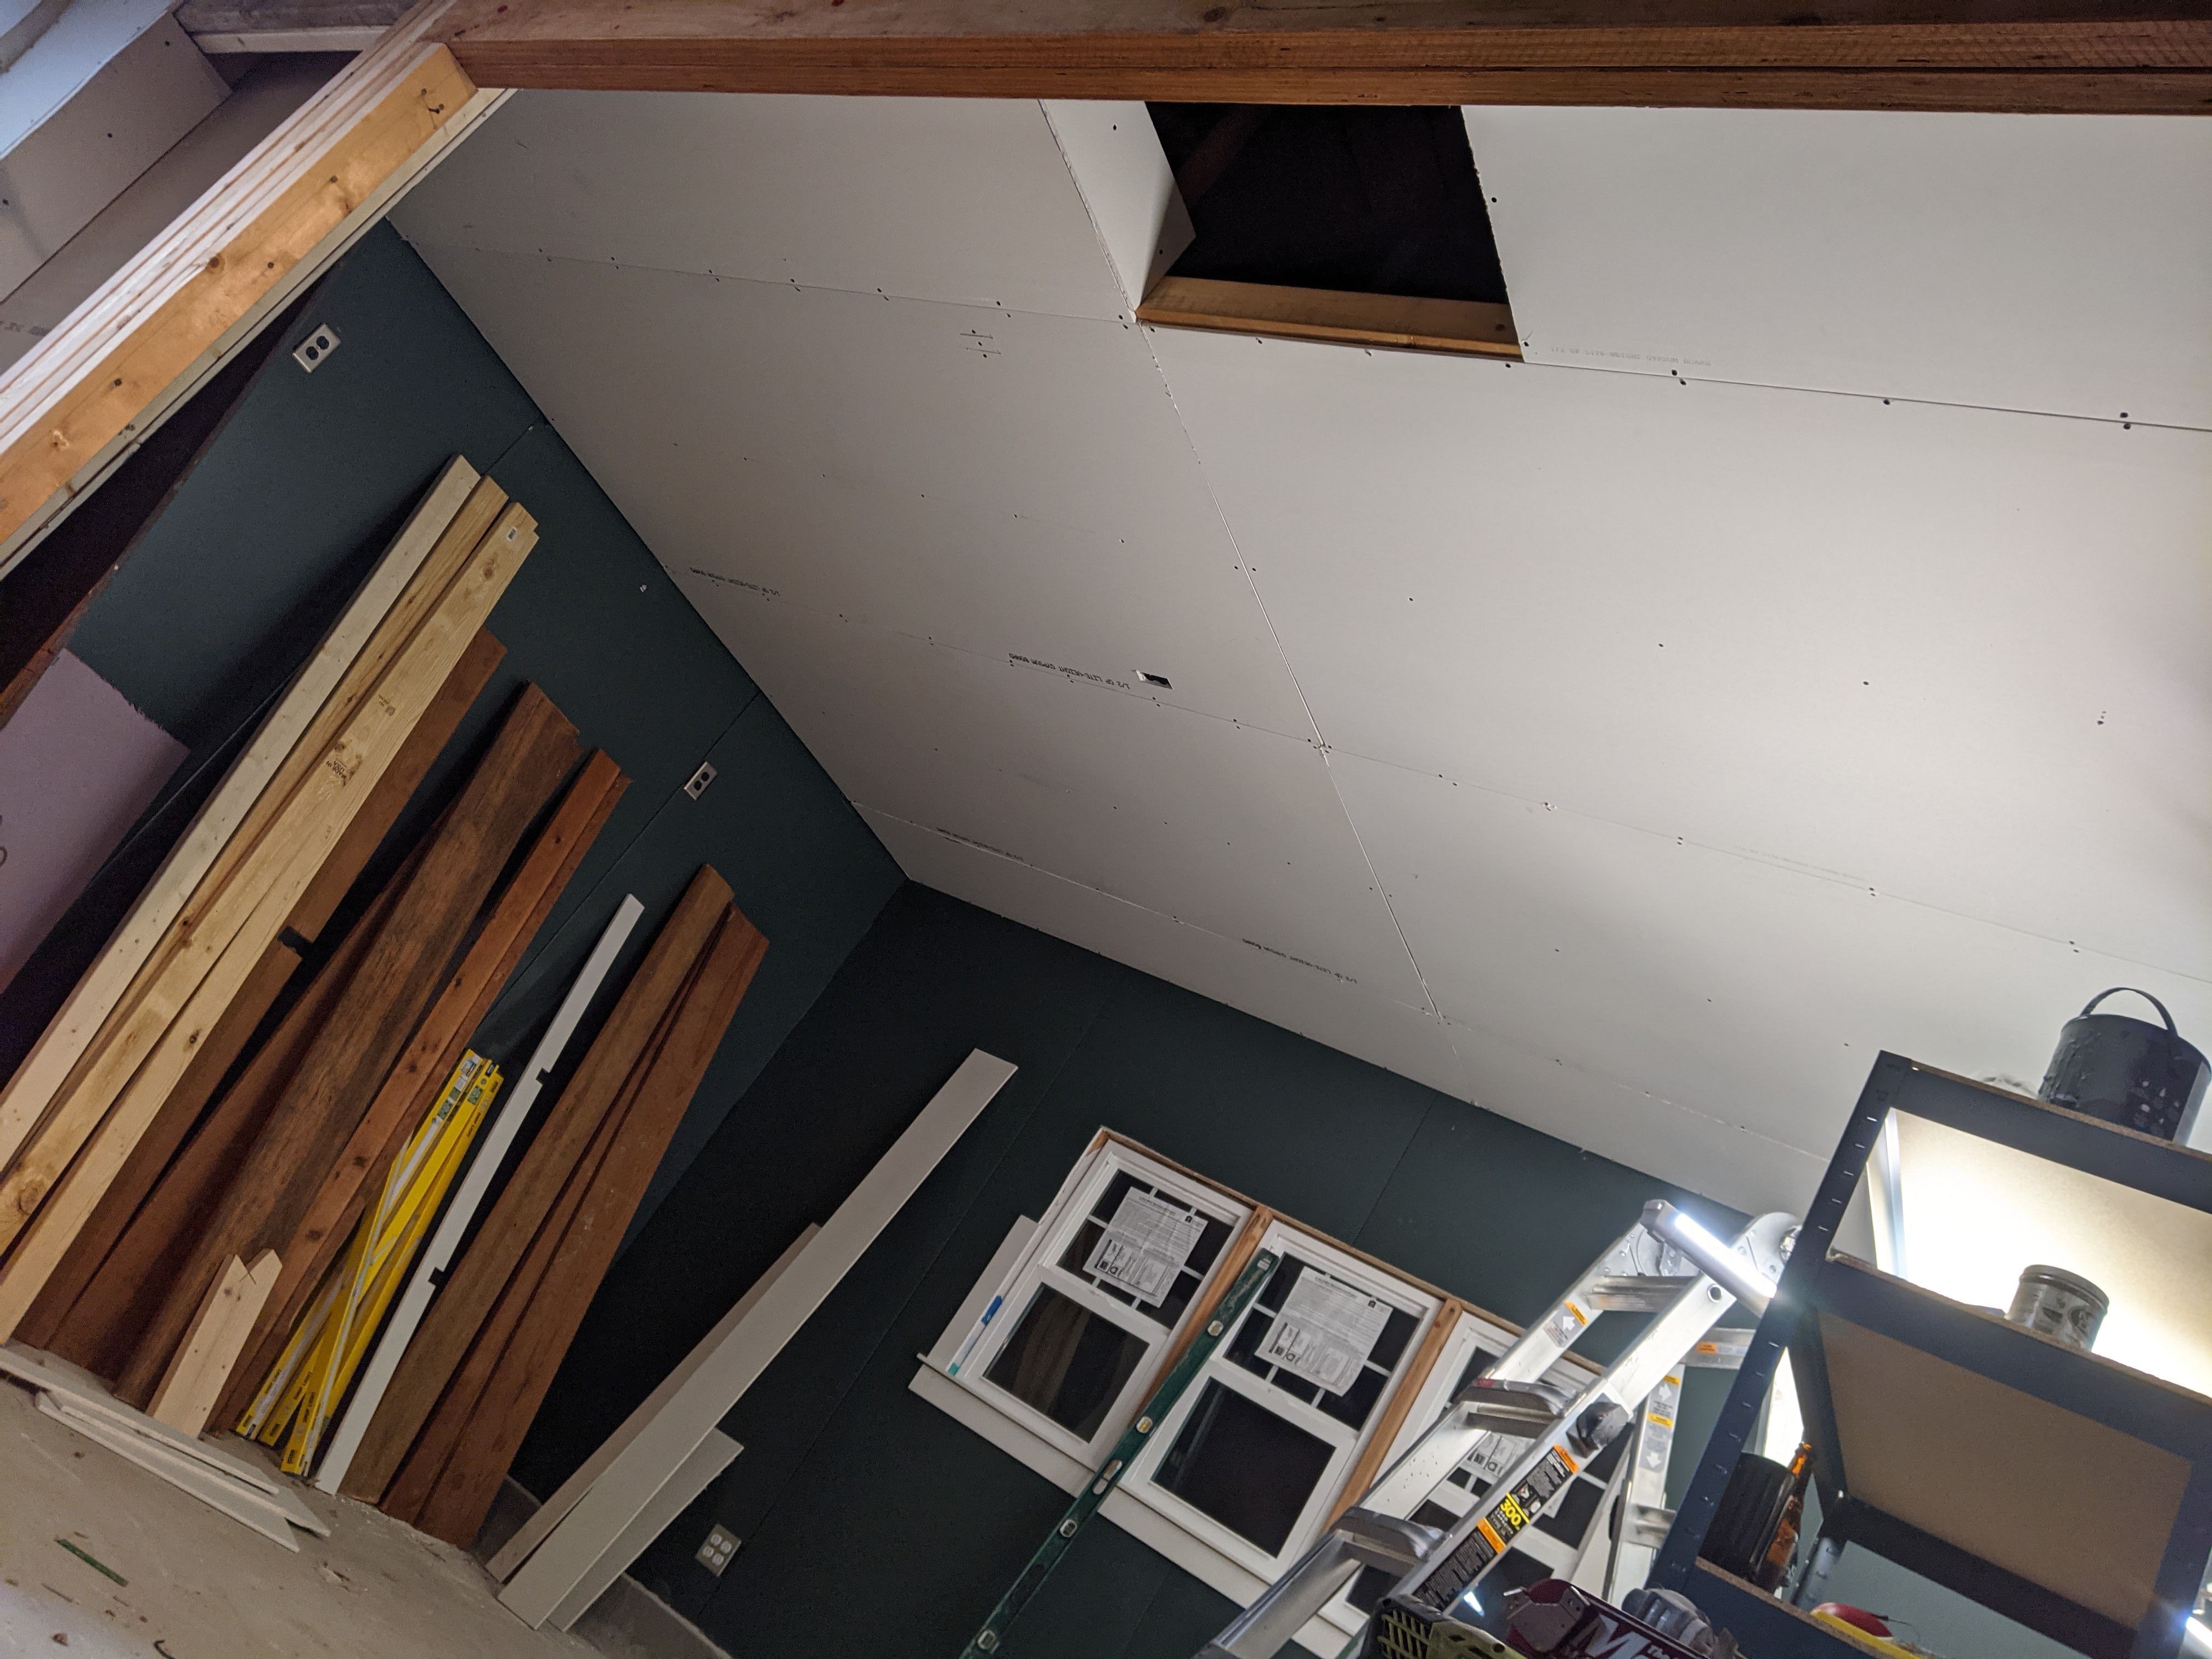
I left myself an access hole to get insulation into the attic.
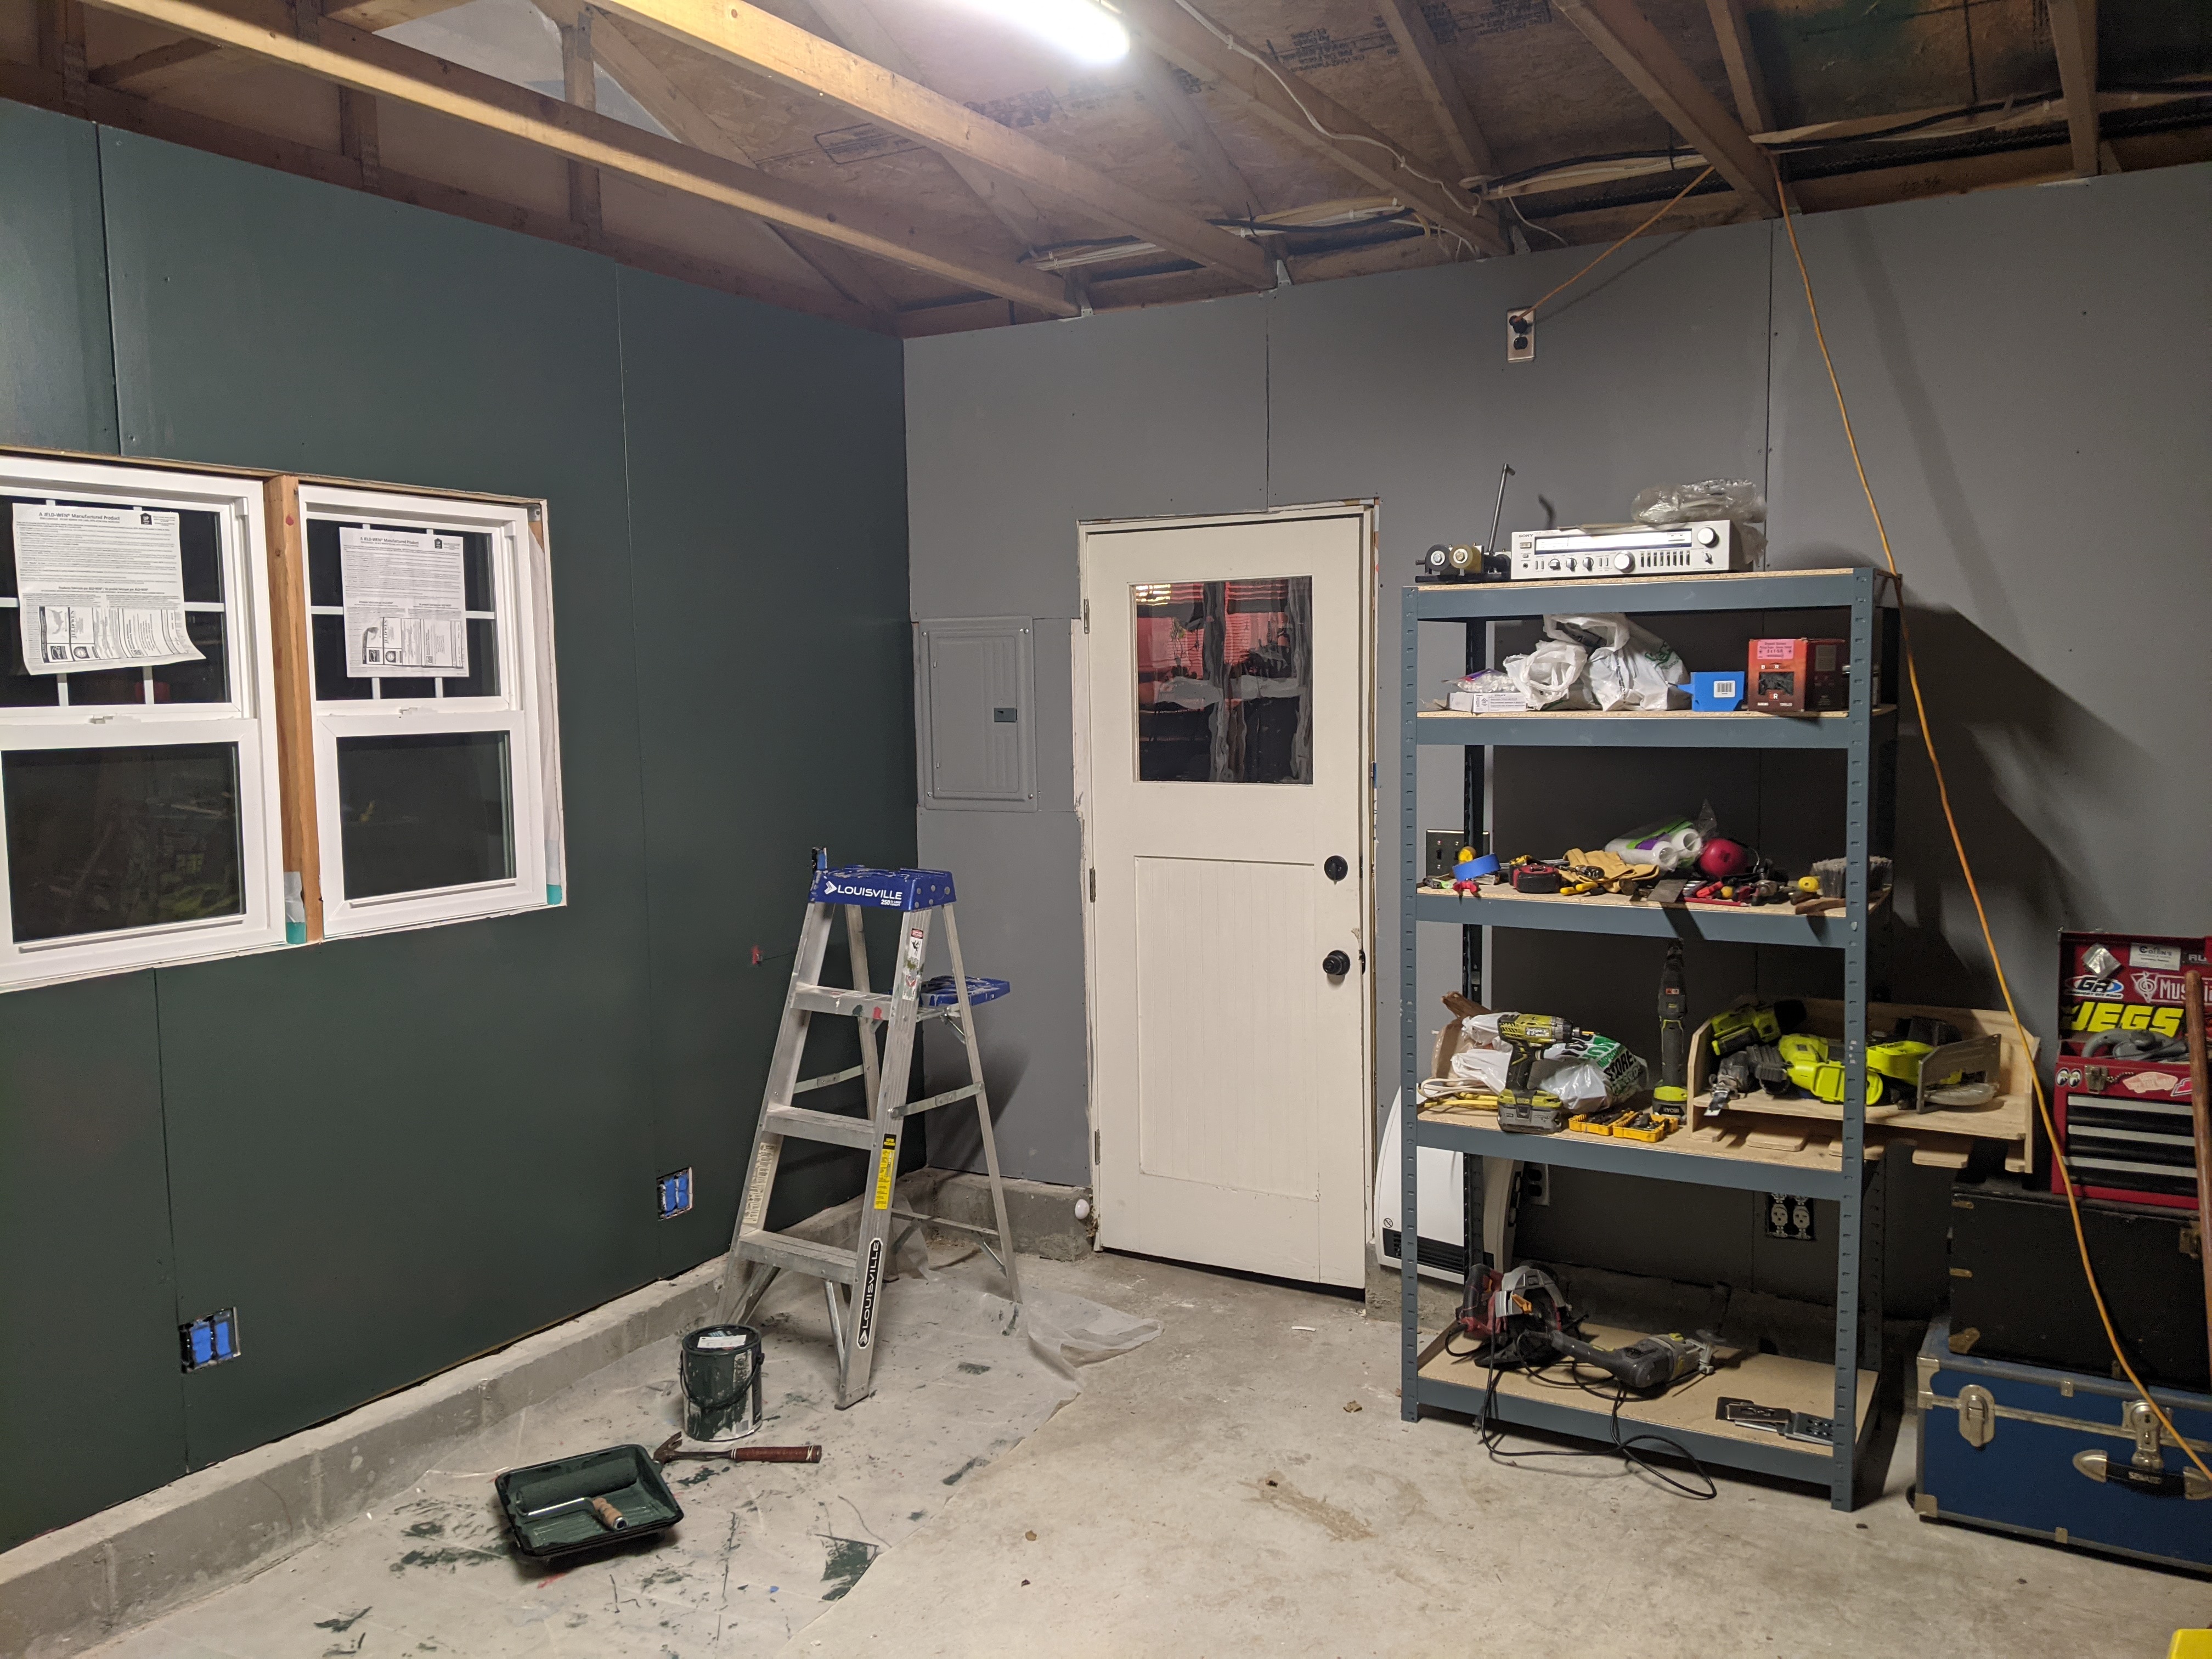
Window trim:
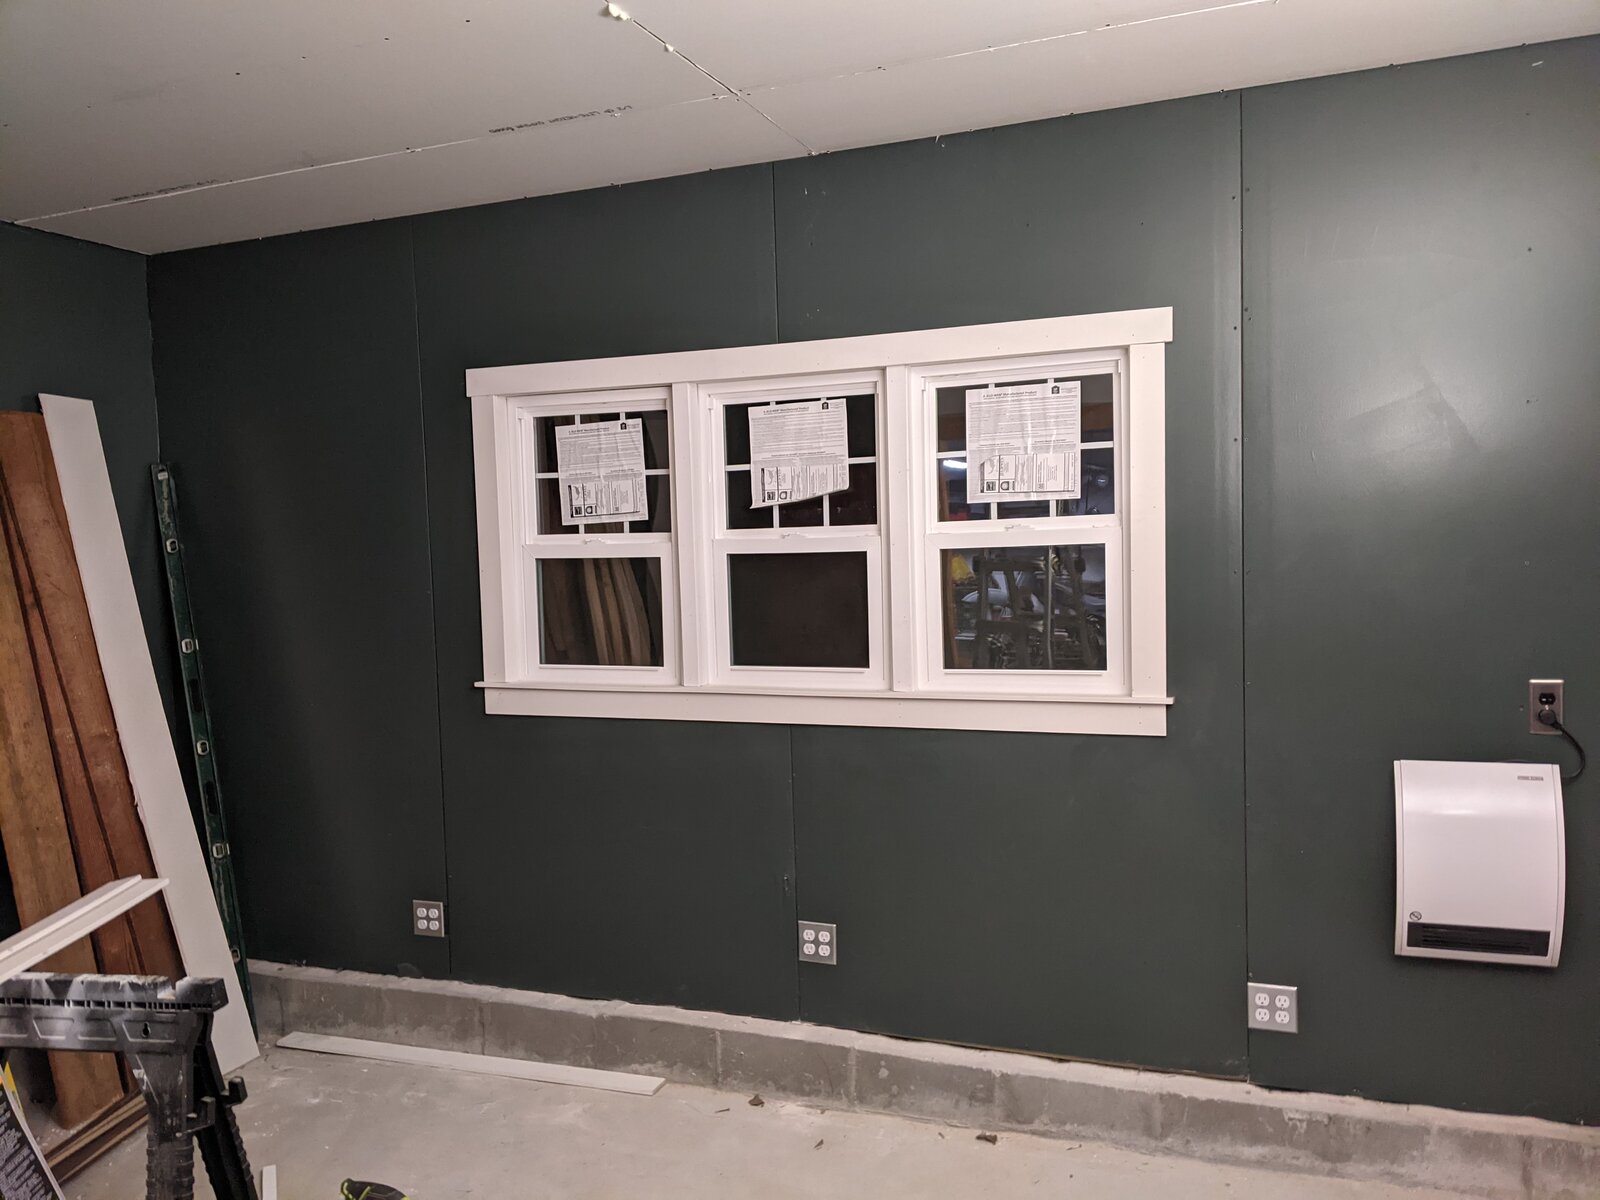
The little white thing on the wall is a spacer heater, its hooked up to its own 20amp outlet.
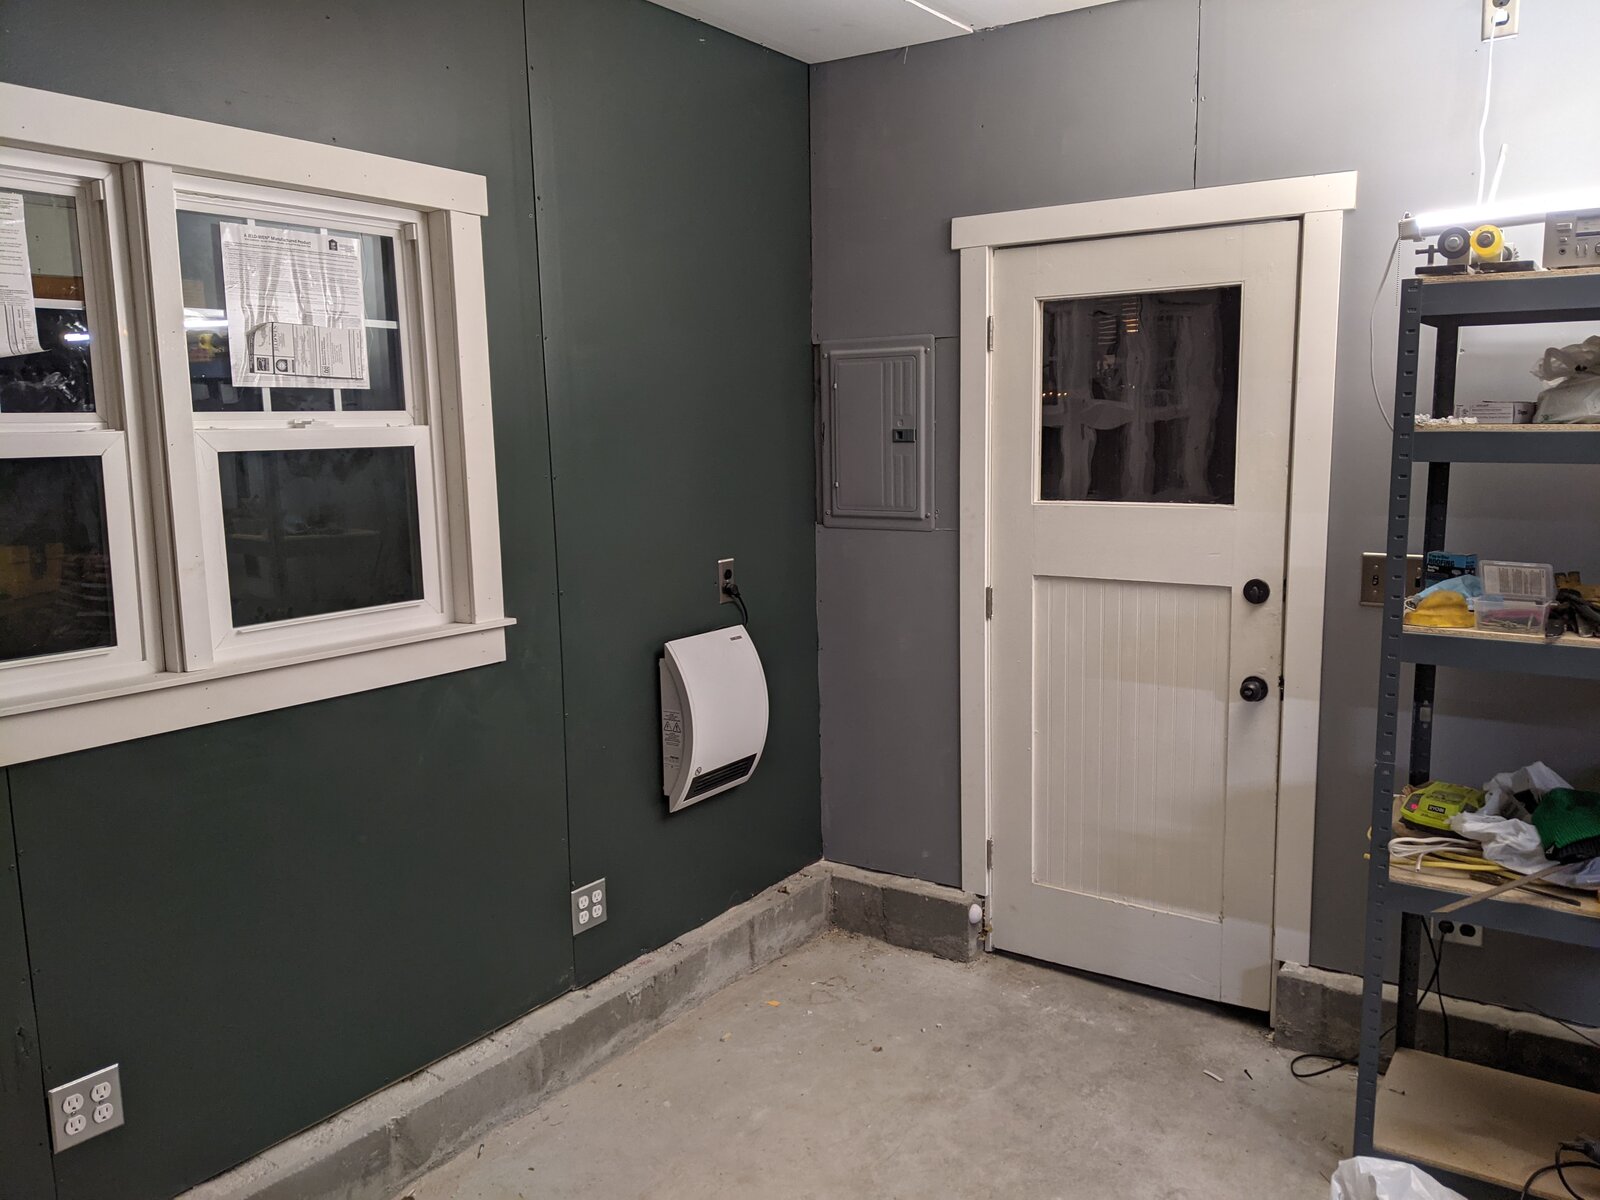
I didn't bother with mudding the drywall joints, so I put some vinyl-wrapped trim in/on all the corners.
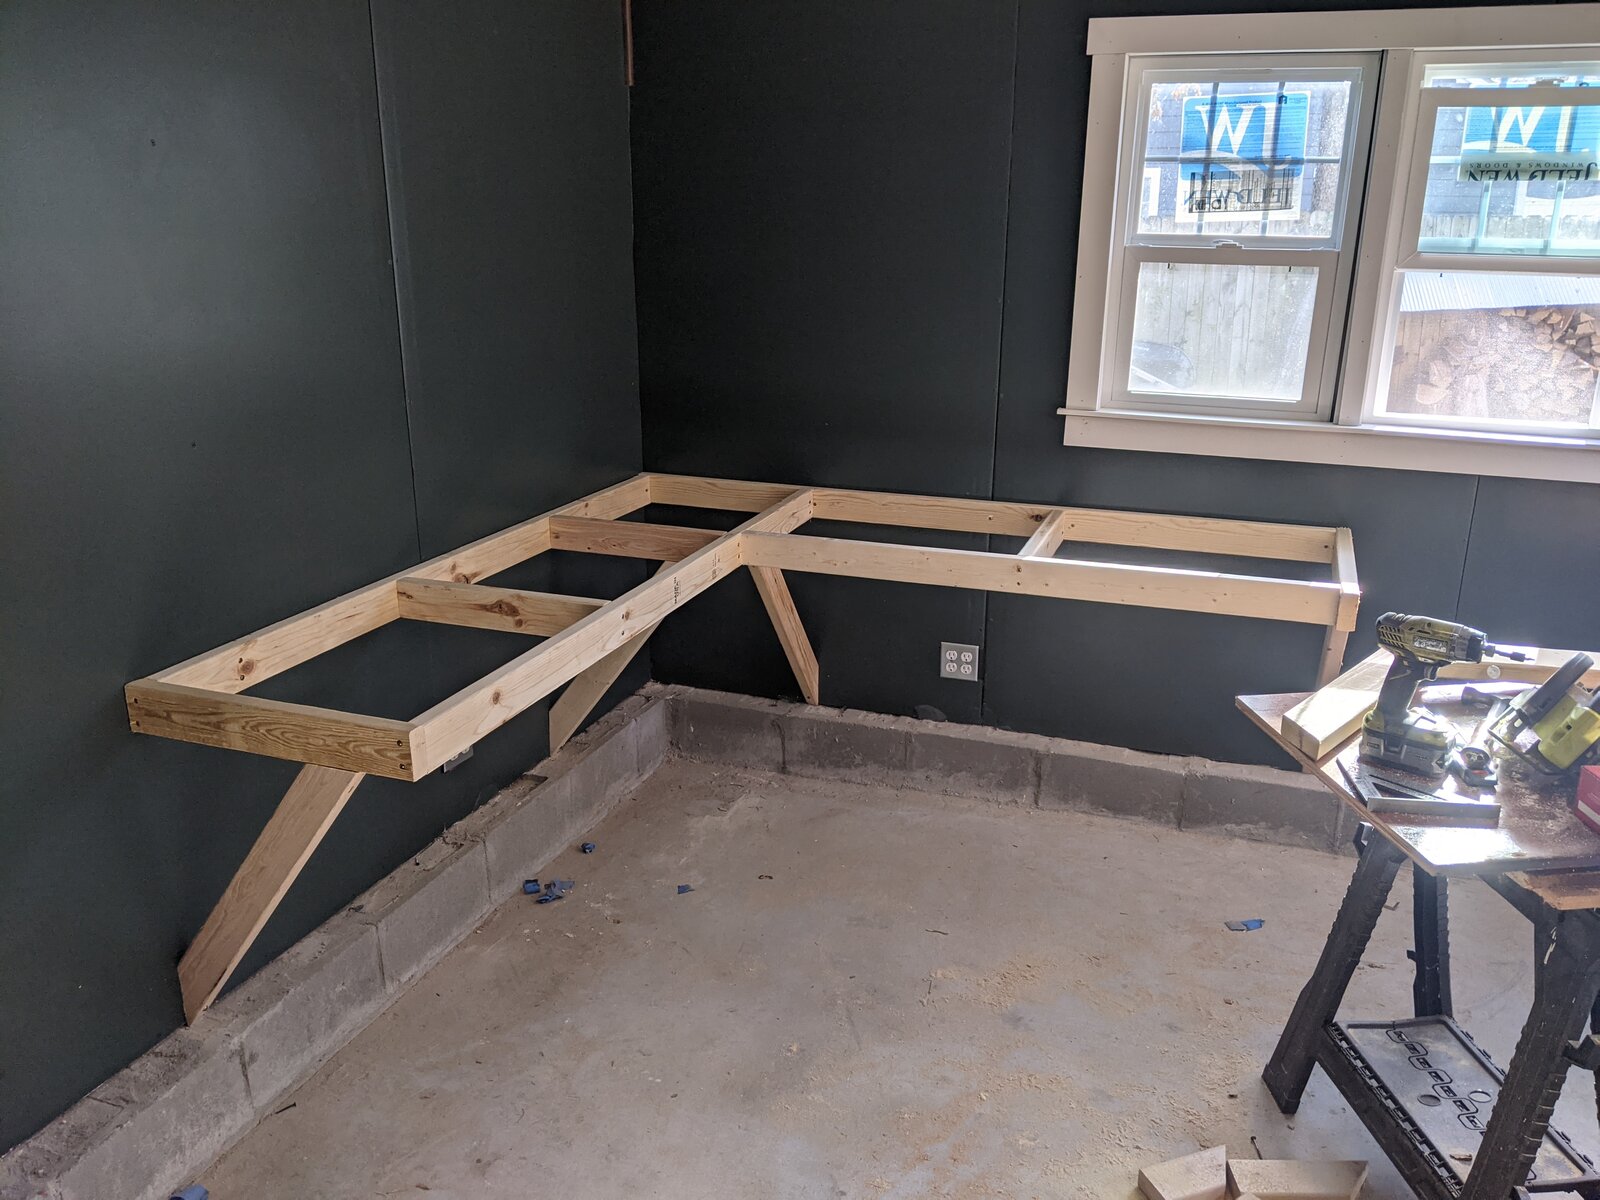
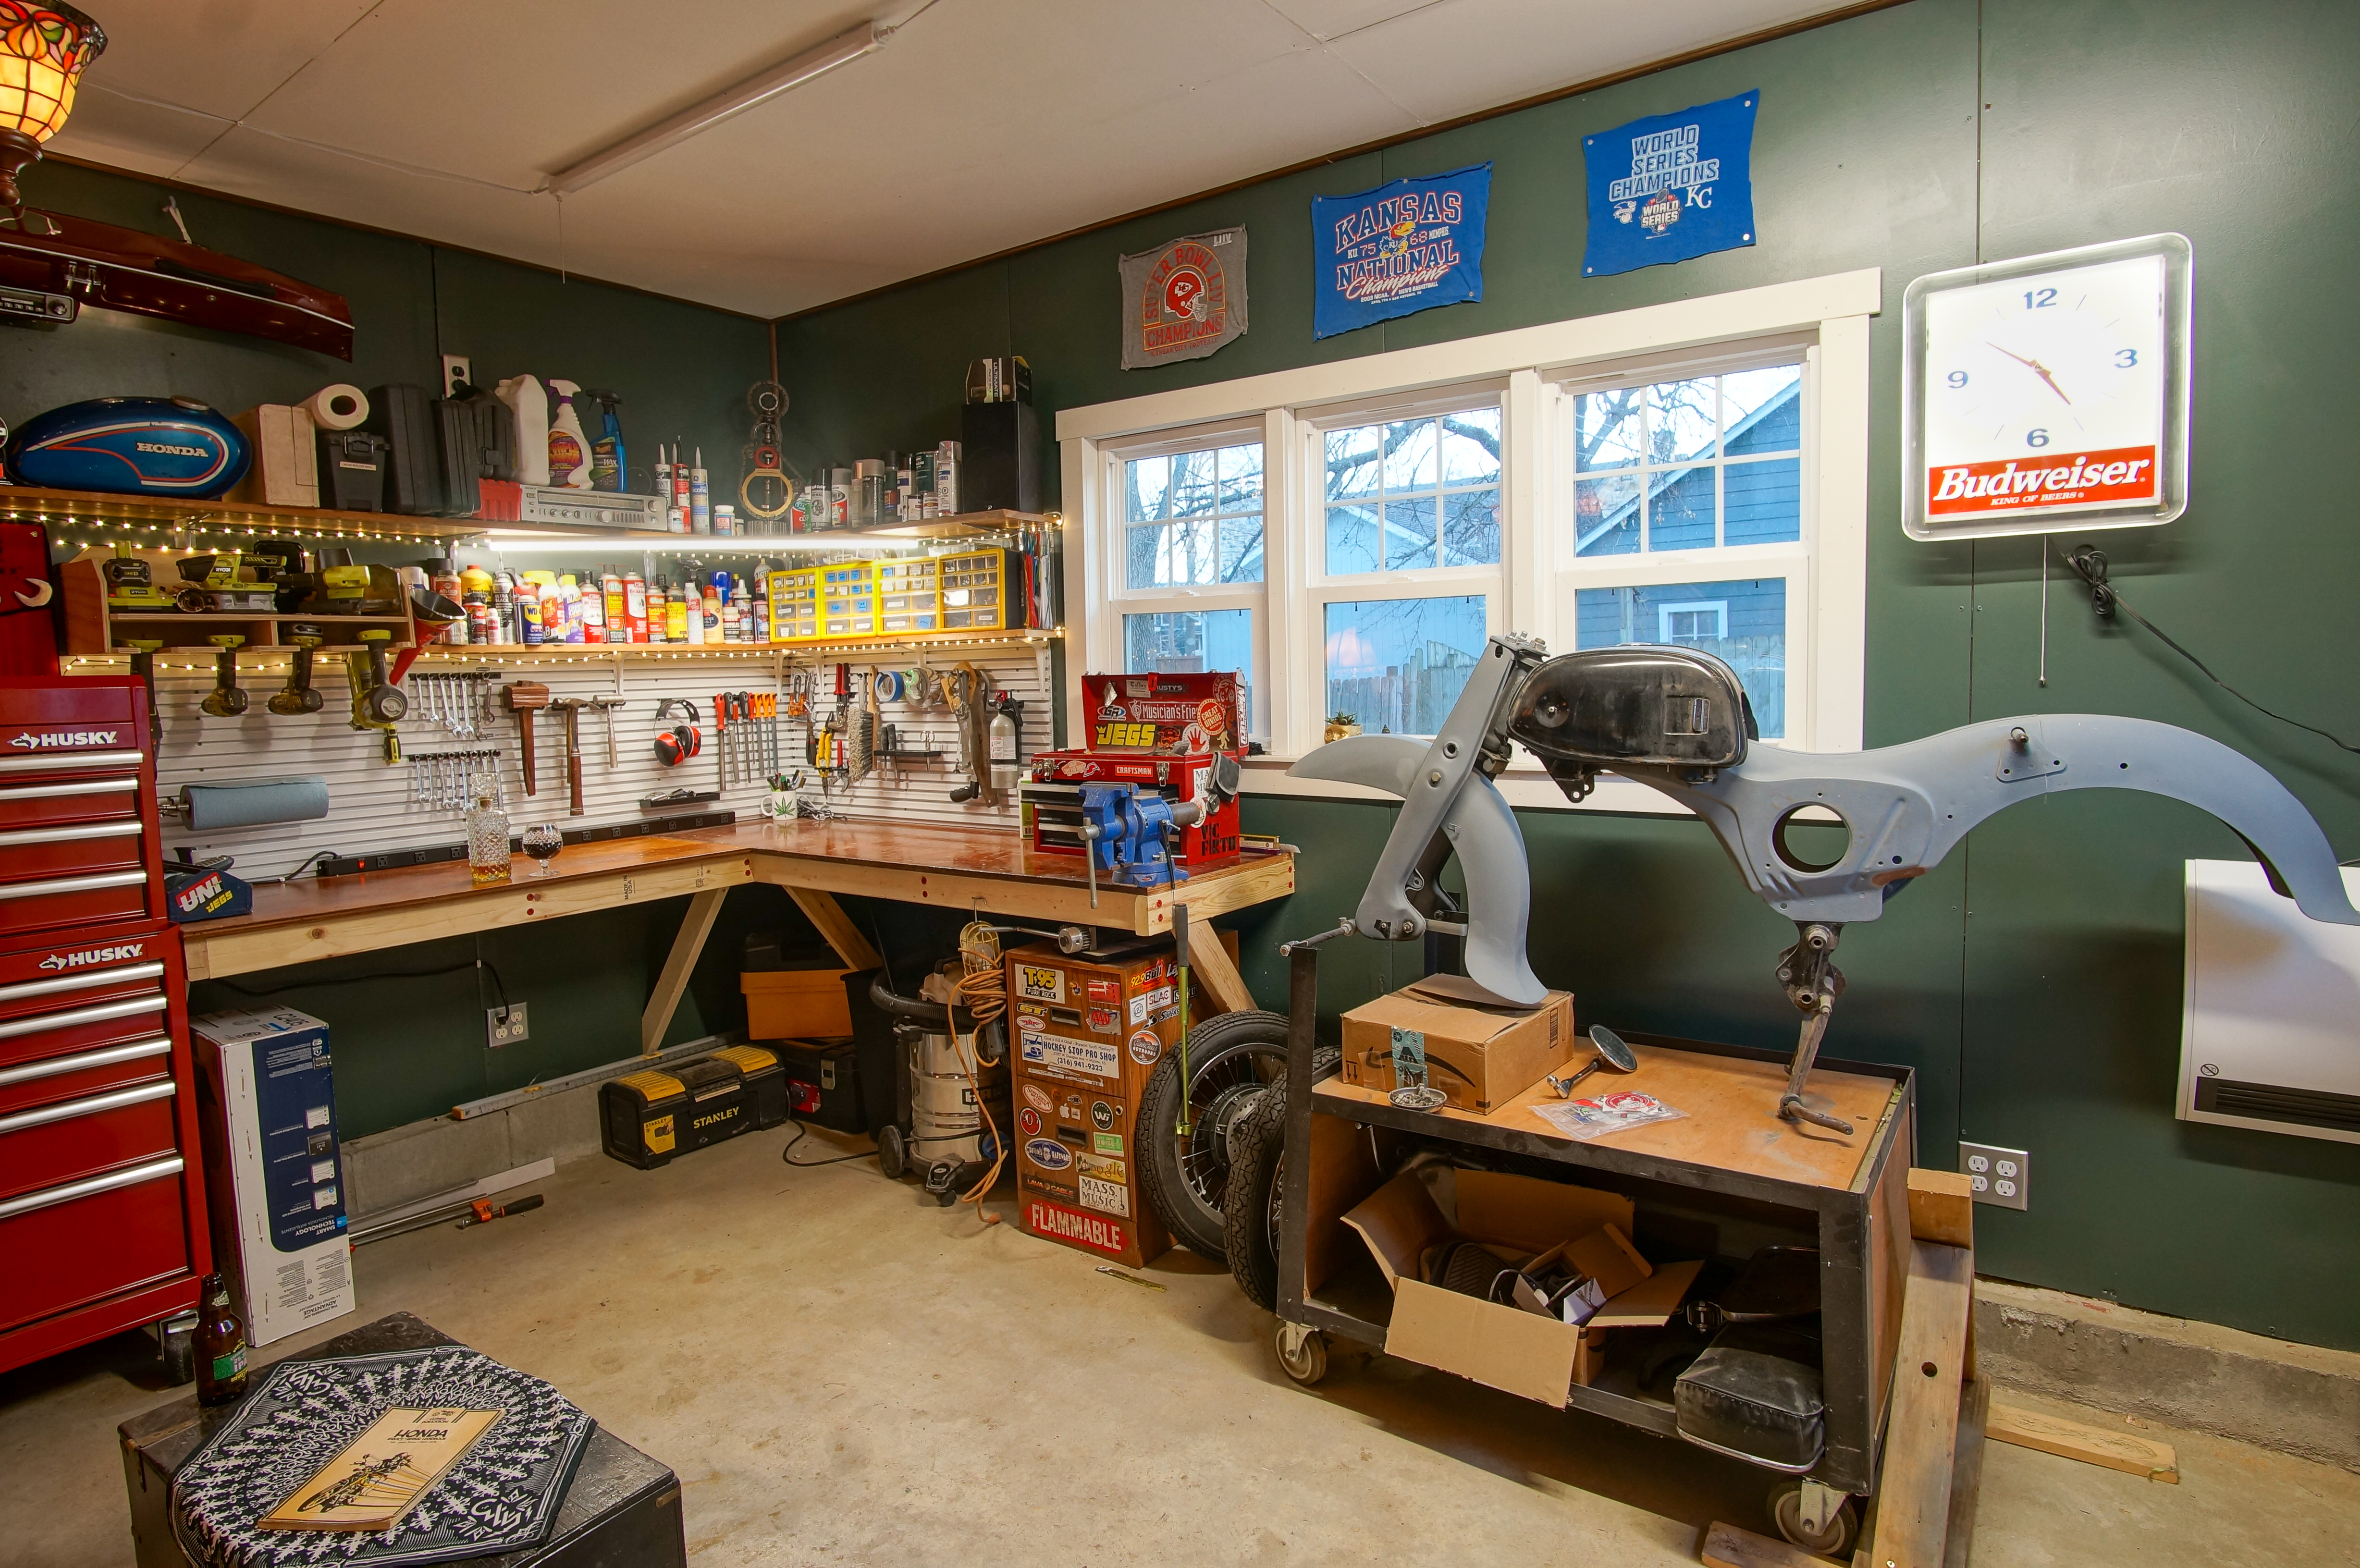
Onto the workbench!
I've been waiting for this moment for a very long time, and been working very hard, and spent a lot of money to get to this point. It was extremely rewarding to finally begin building the workbench.
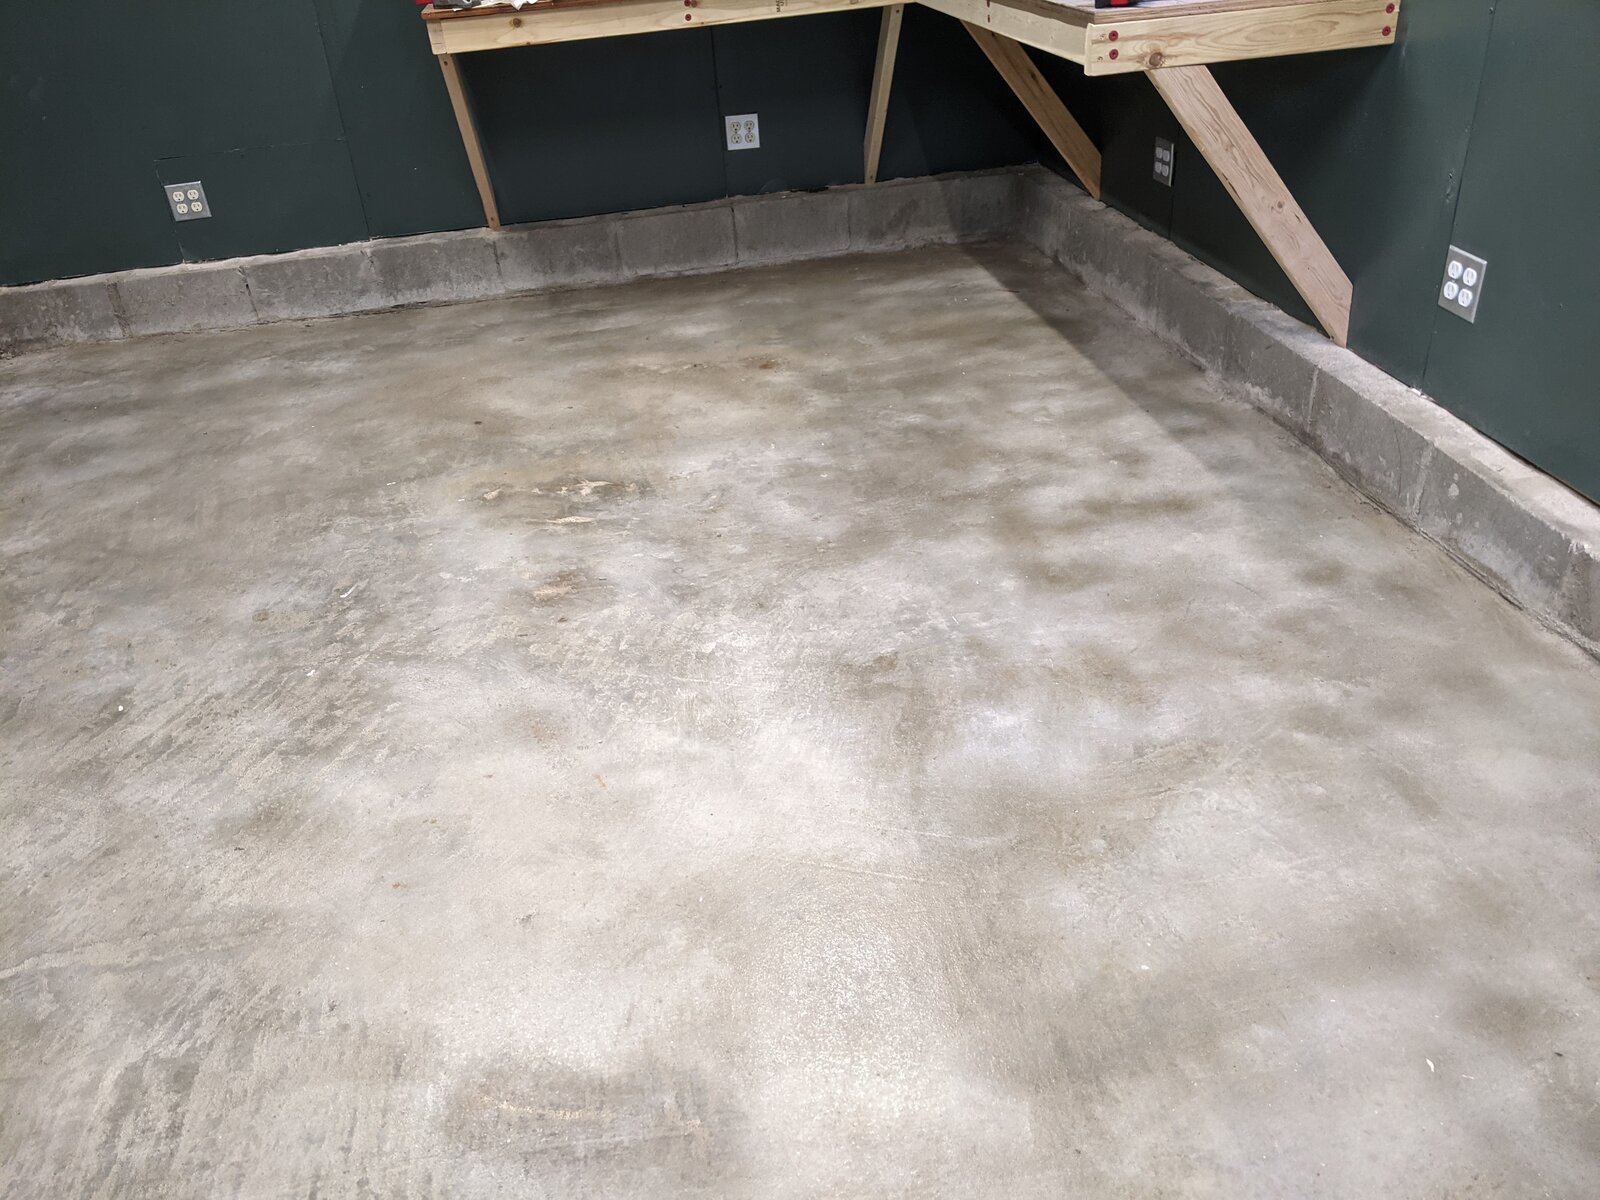
The was a reason why I built the workbench before sealing the concrete floor: so that I could put everything that was on the floor onto the workbench instead! Now the floor was finally clear and free for the first time since the concrete was poured. I washed it with muriatic acid and then let it dry overnight.

The next day I applied water-based masonry sealer. The same stuff that is used on patios.

I admit that it looks terribly blotchy in these photos, however the dark spotas slowly cleared up and it looks almost perfect now.
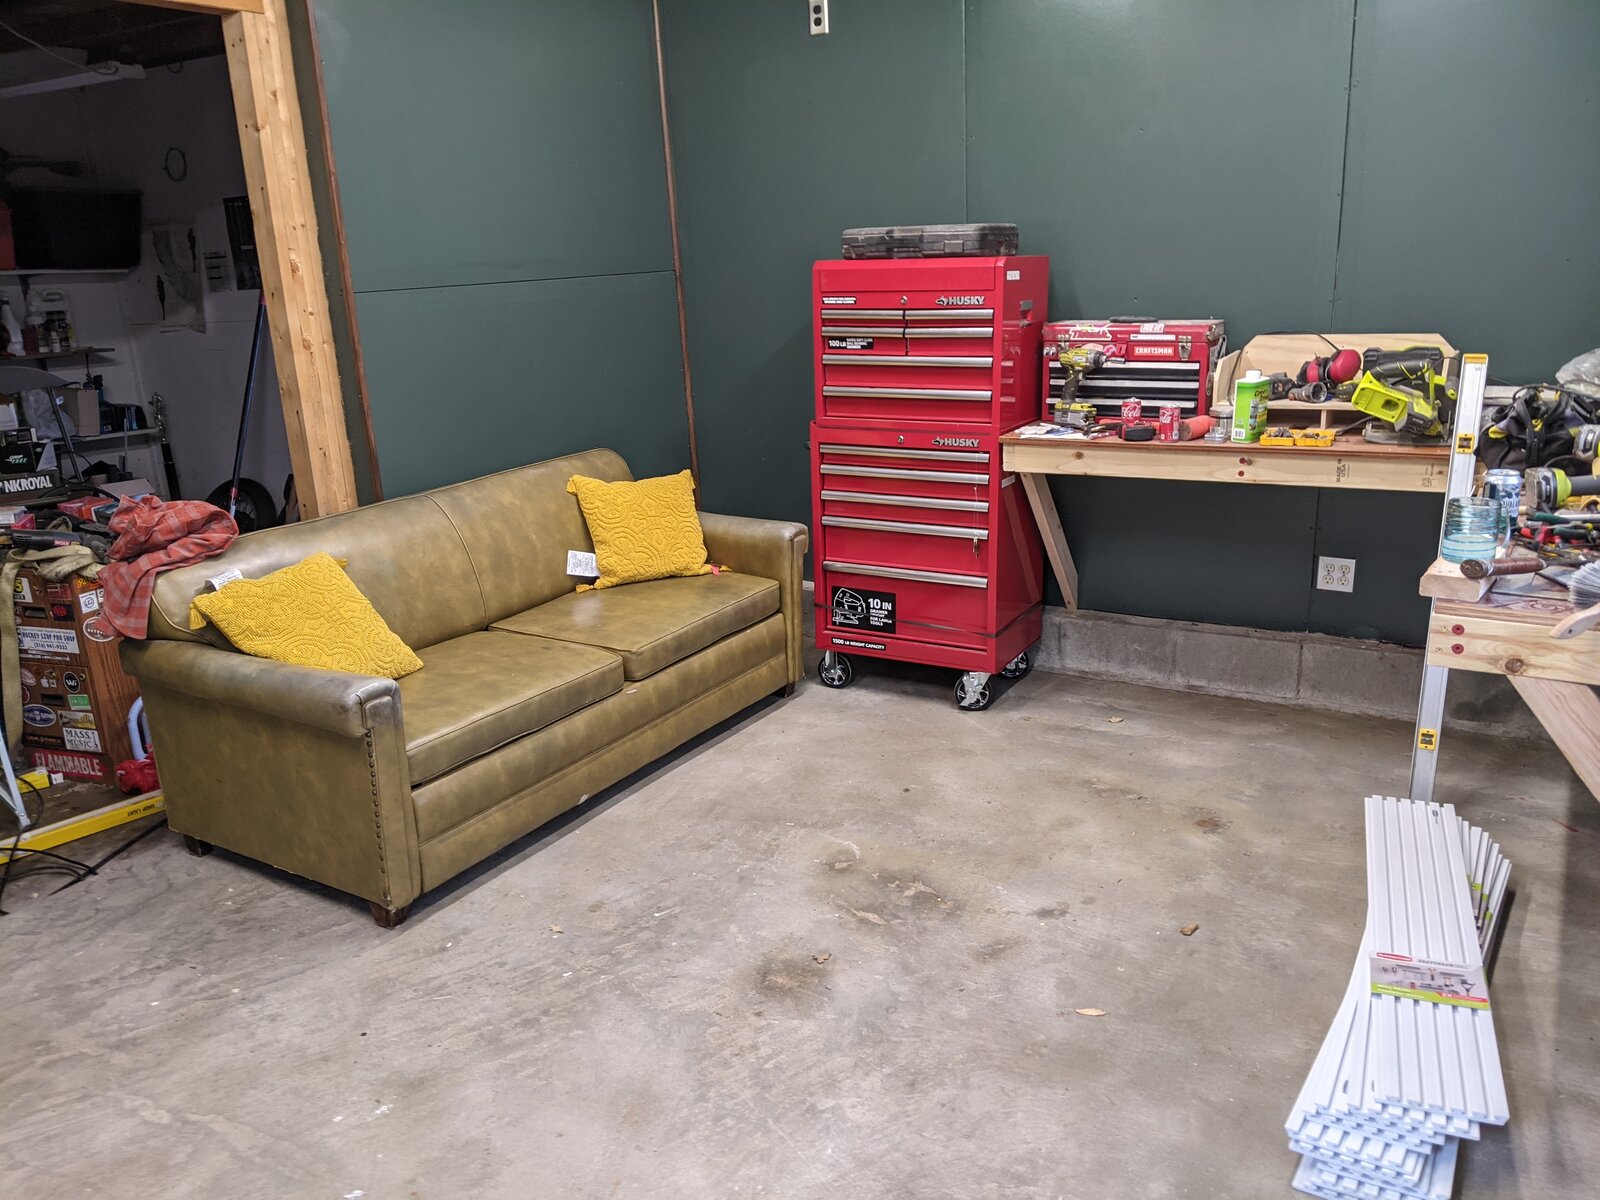
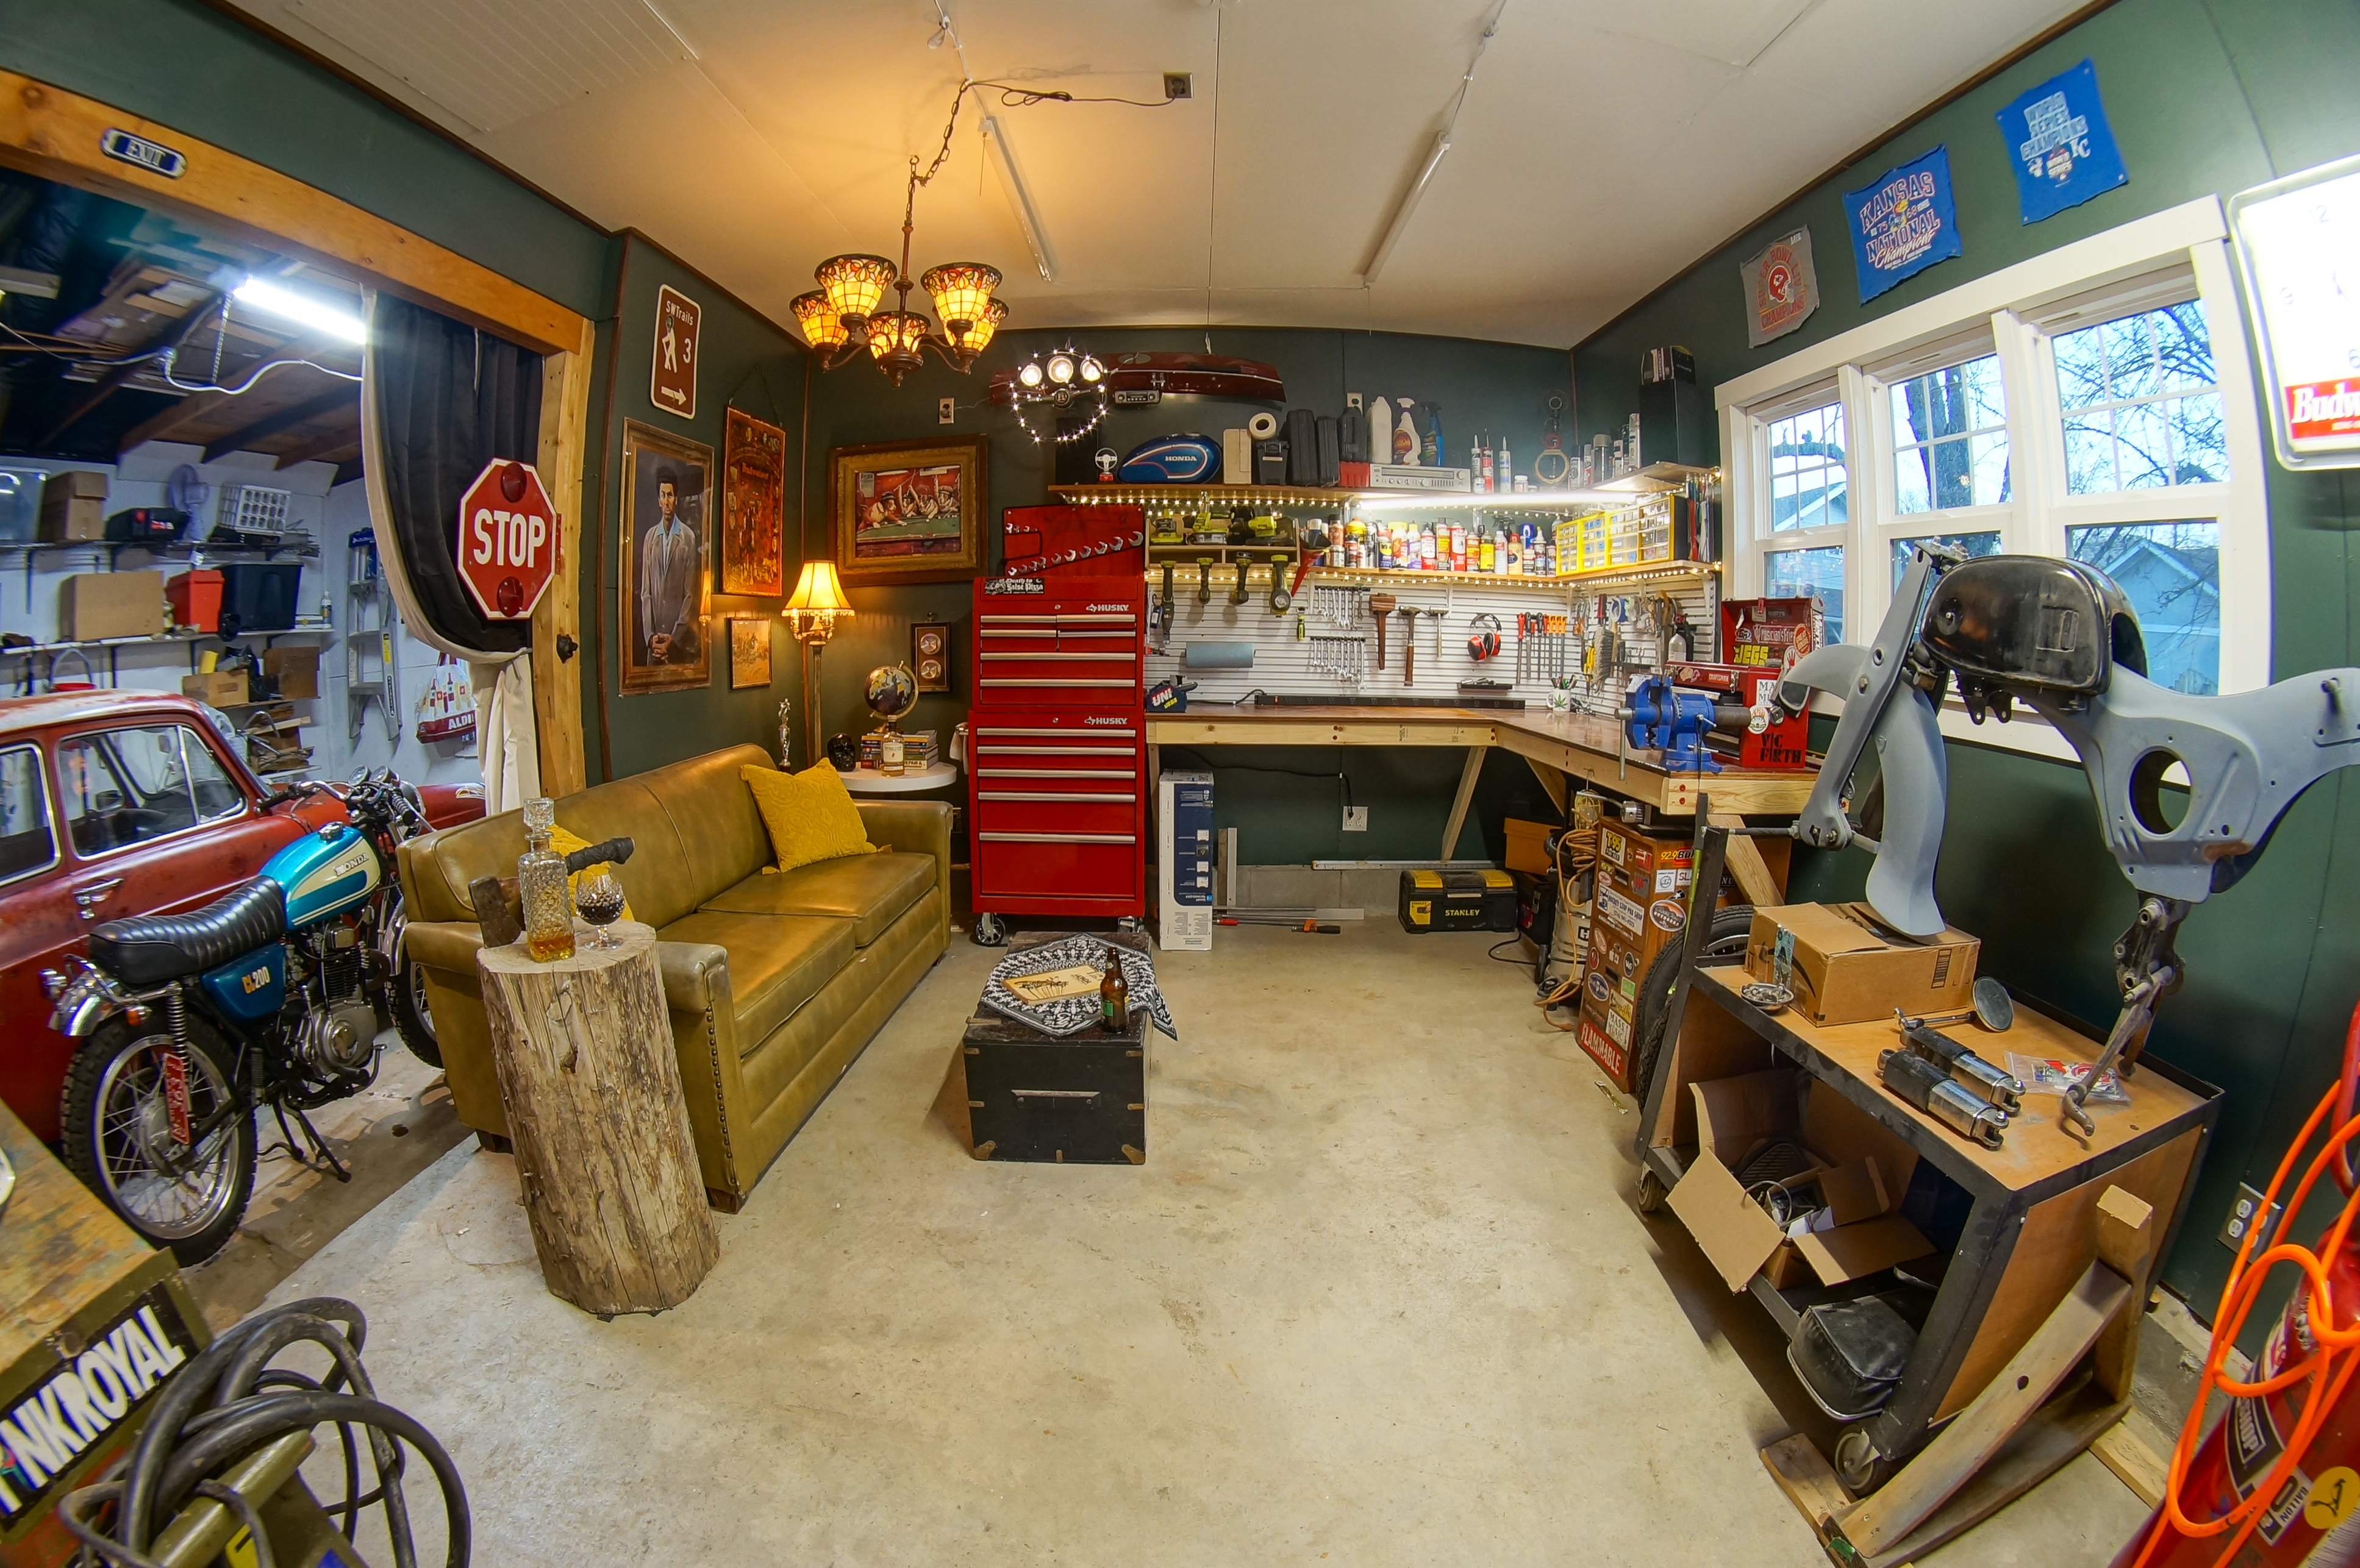
Time to move in!
I bought a new tool box from HD and brought in this perfect couch I got from a friend for free. Yeah thats right baby, this workshop has a couch!
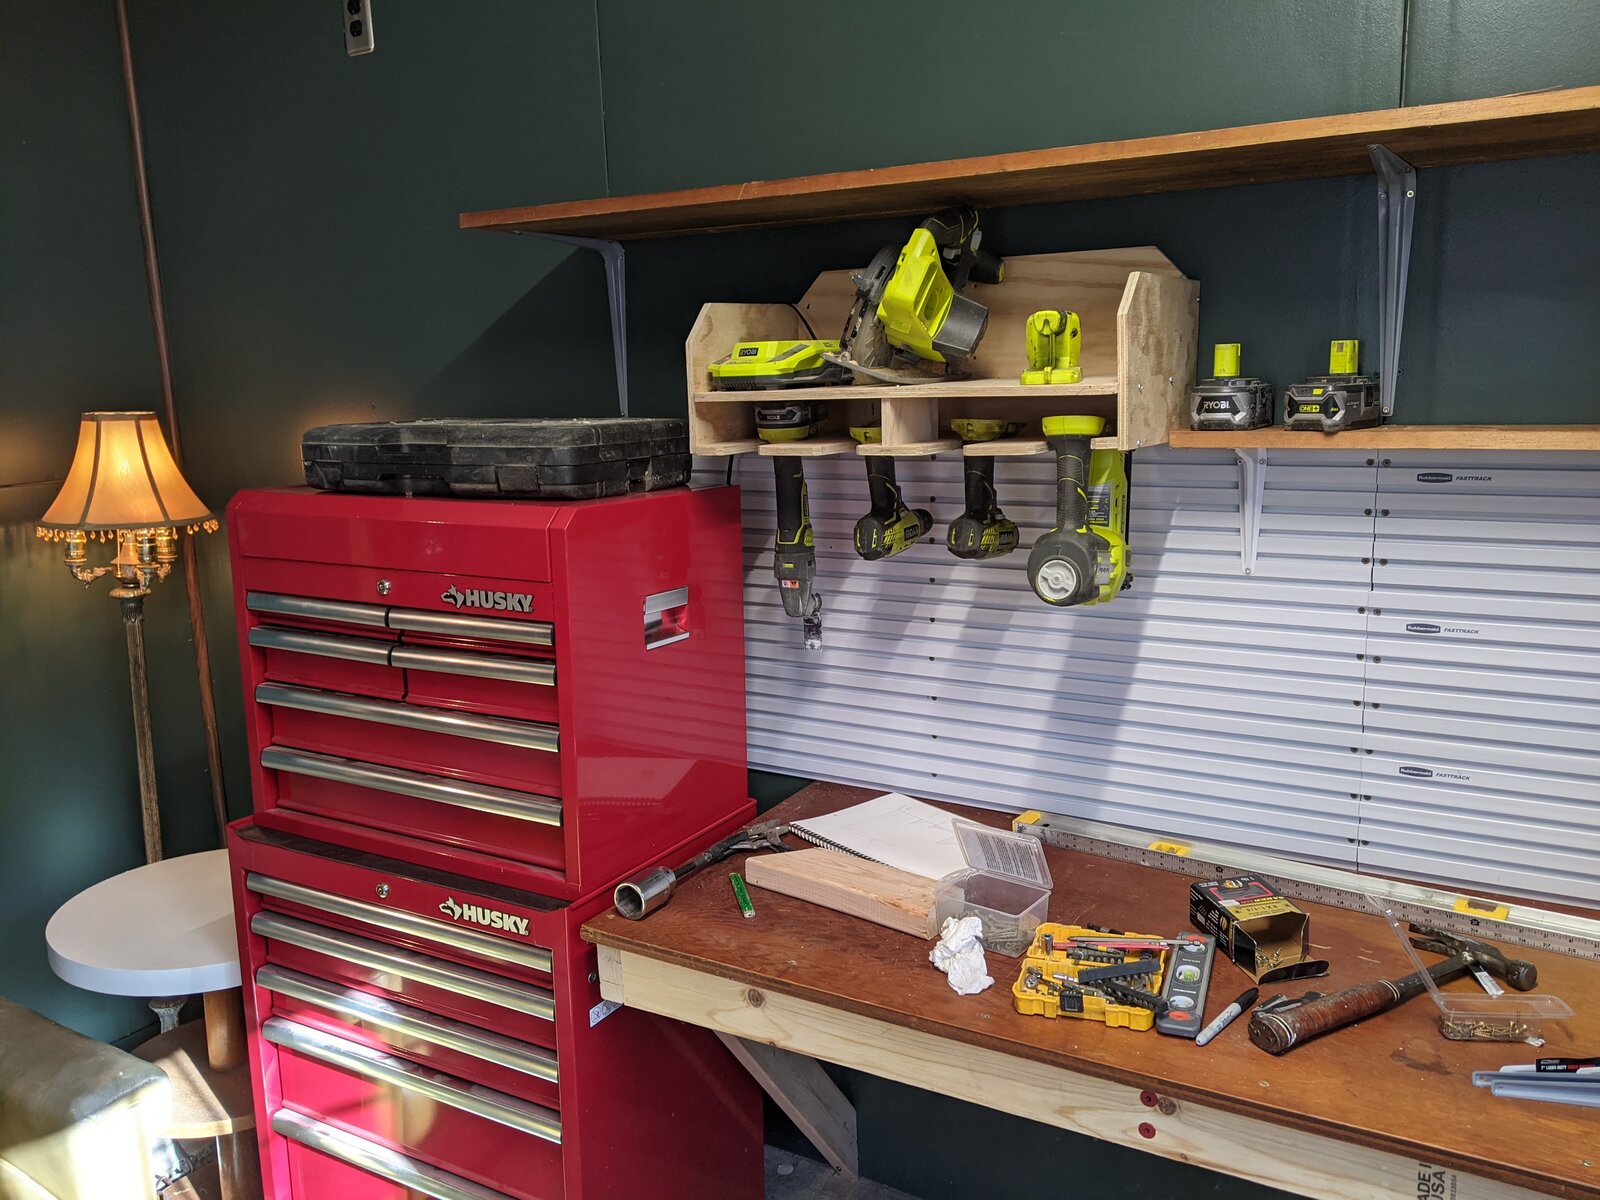
Then I started hanging the shelves, a power tool holder I built a few years ago, and this french cleat system from Rubbermaid (pricy but I'm very happy with it).
WITHOUT FURTHER ADIEU...
GLAMOUR SHOTS!!
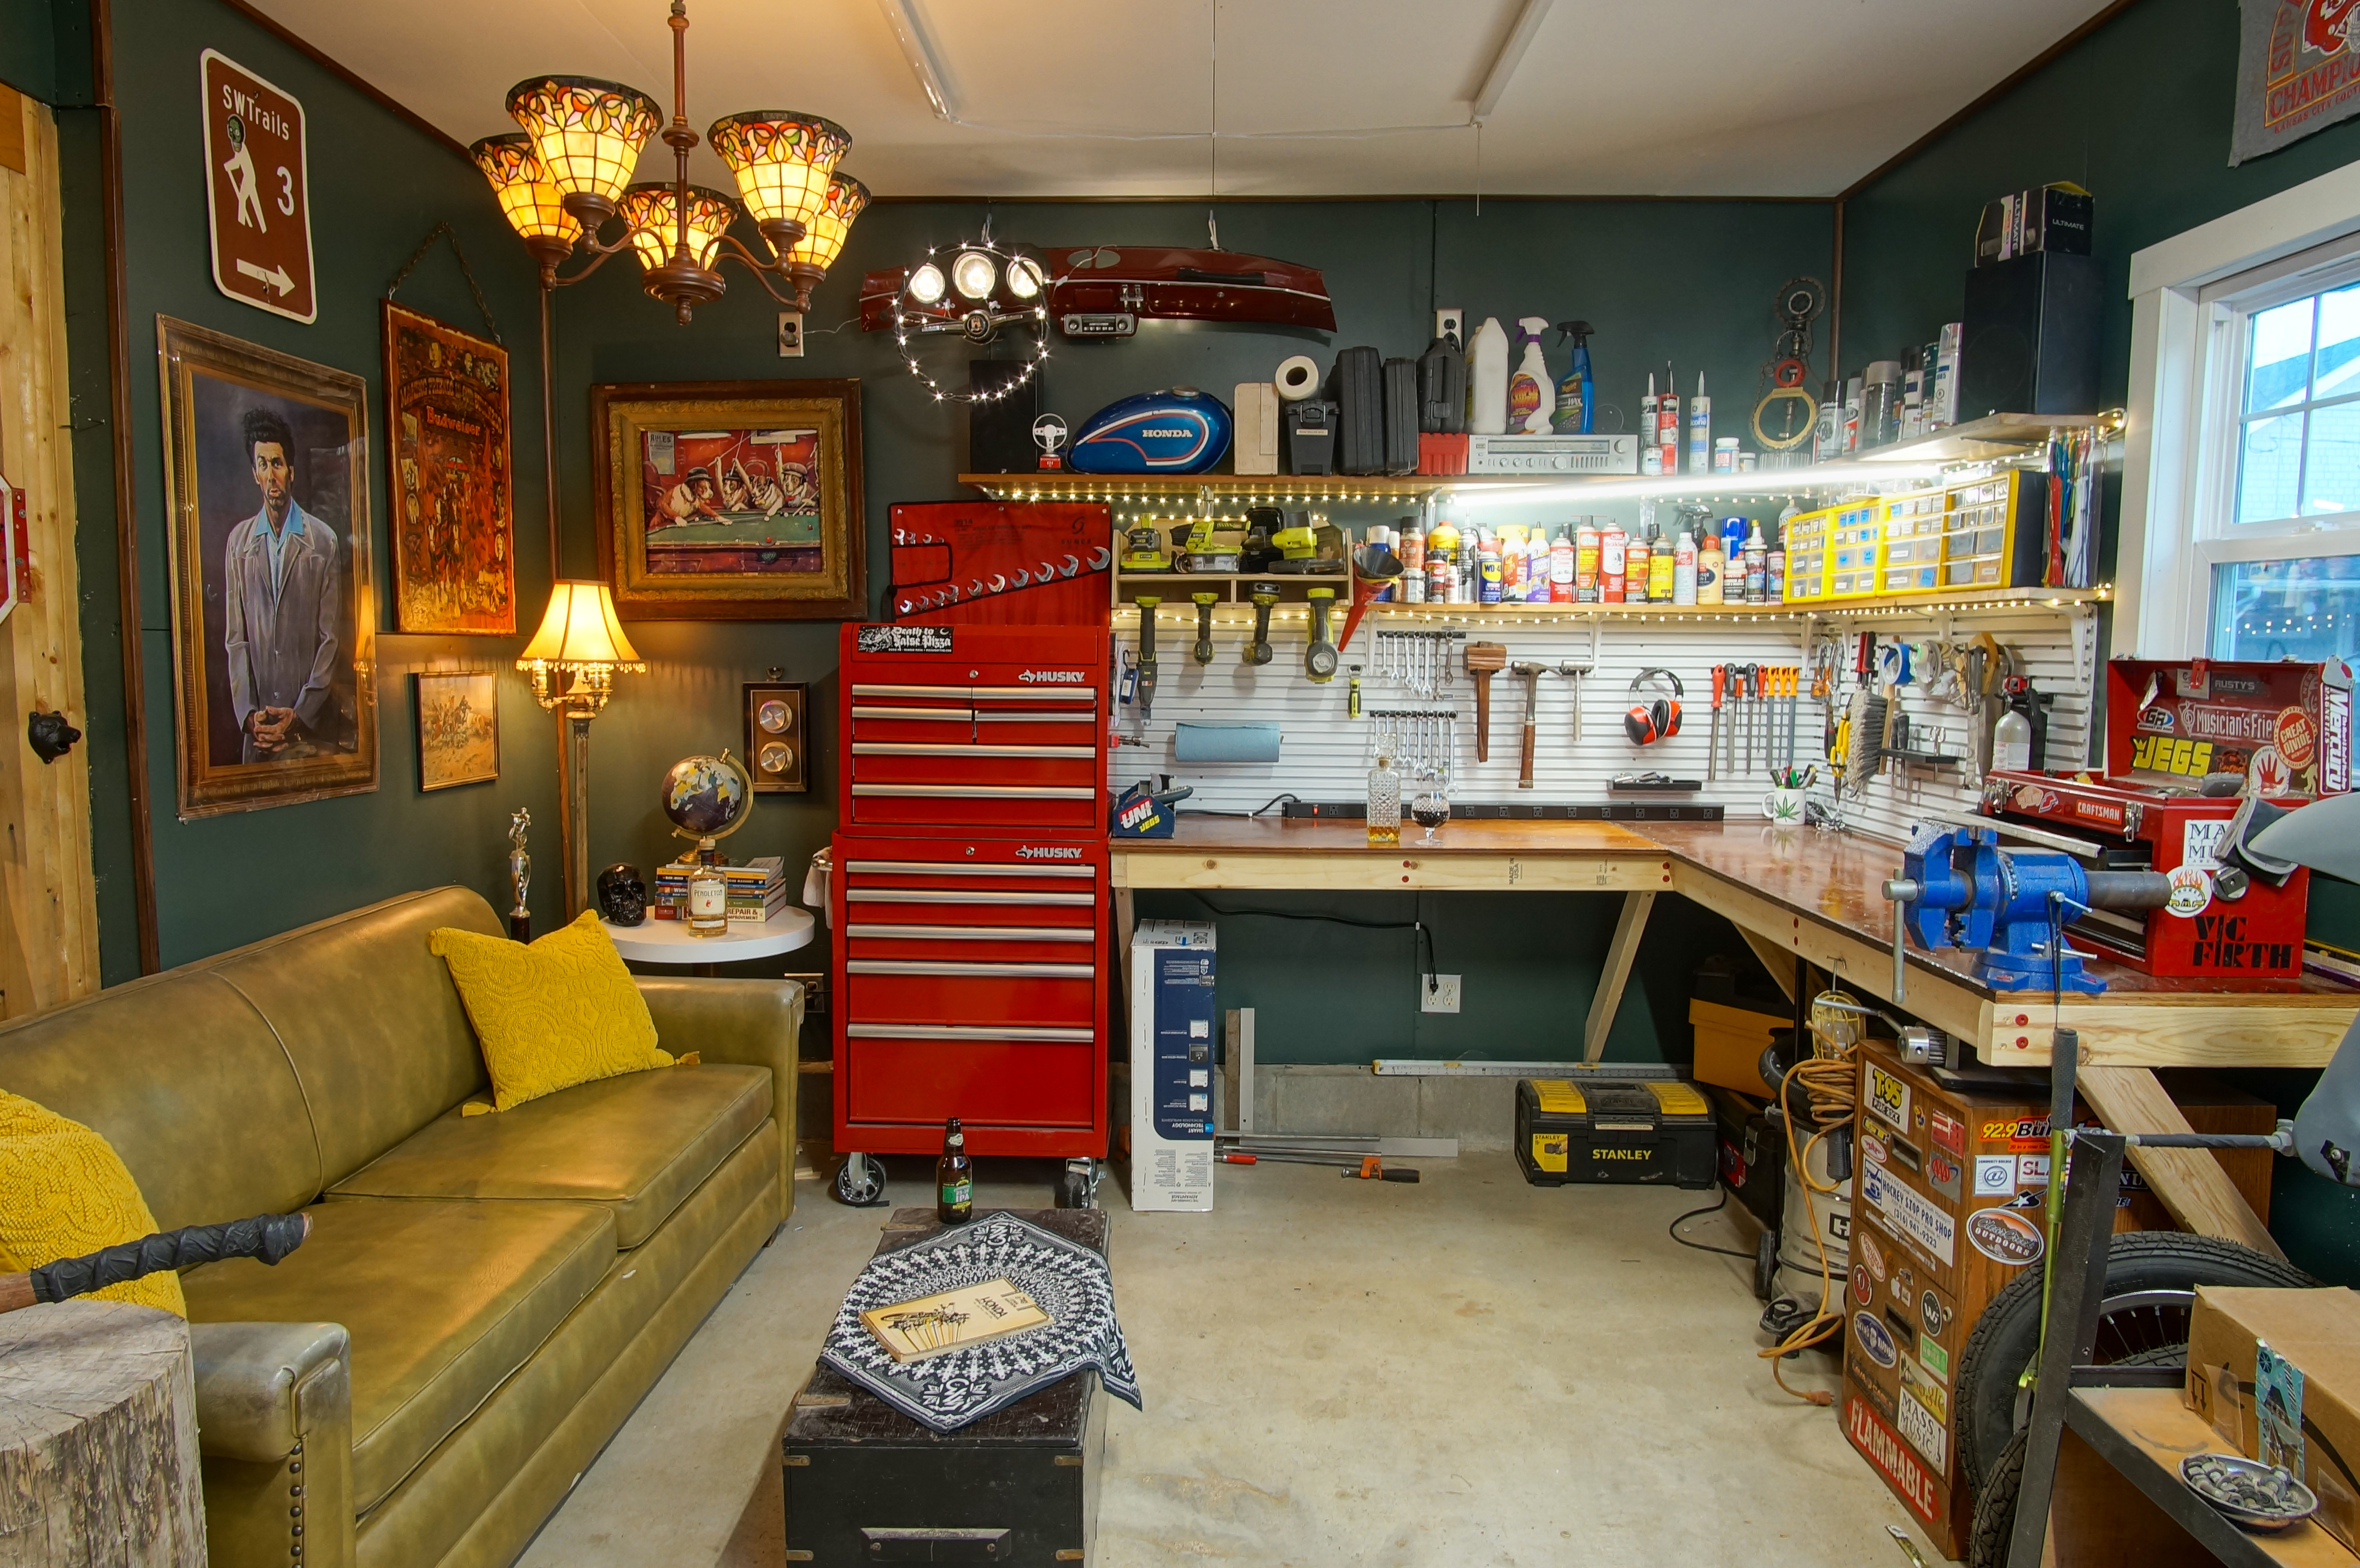
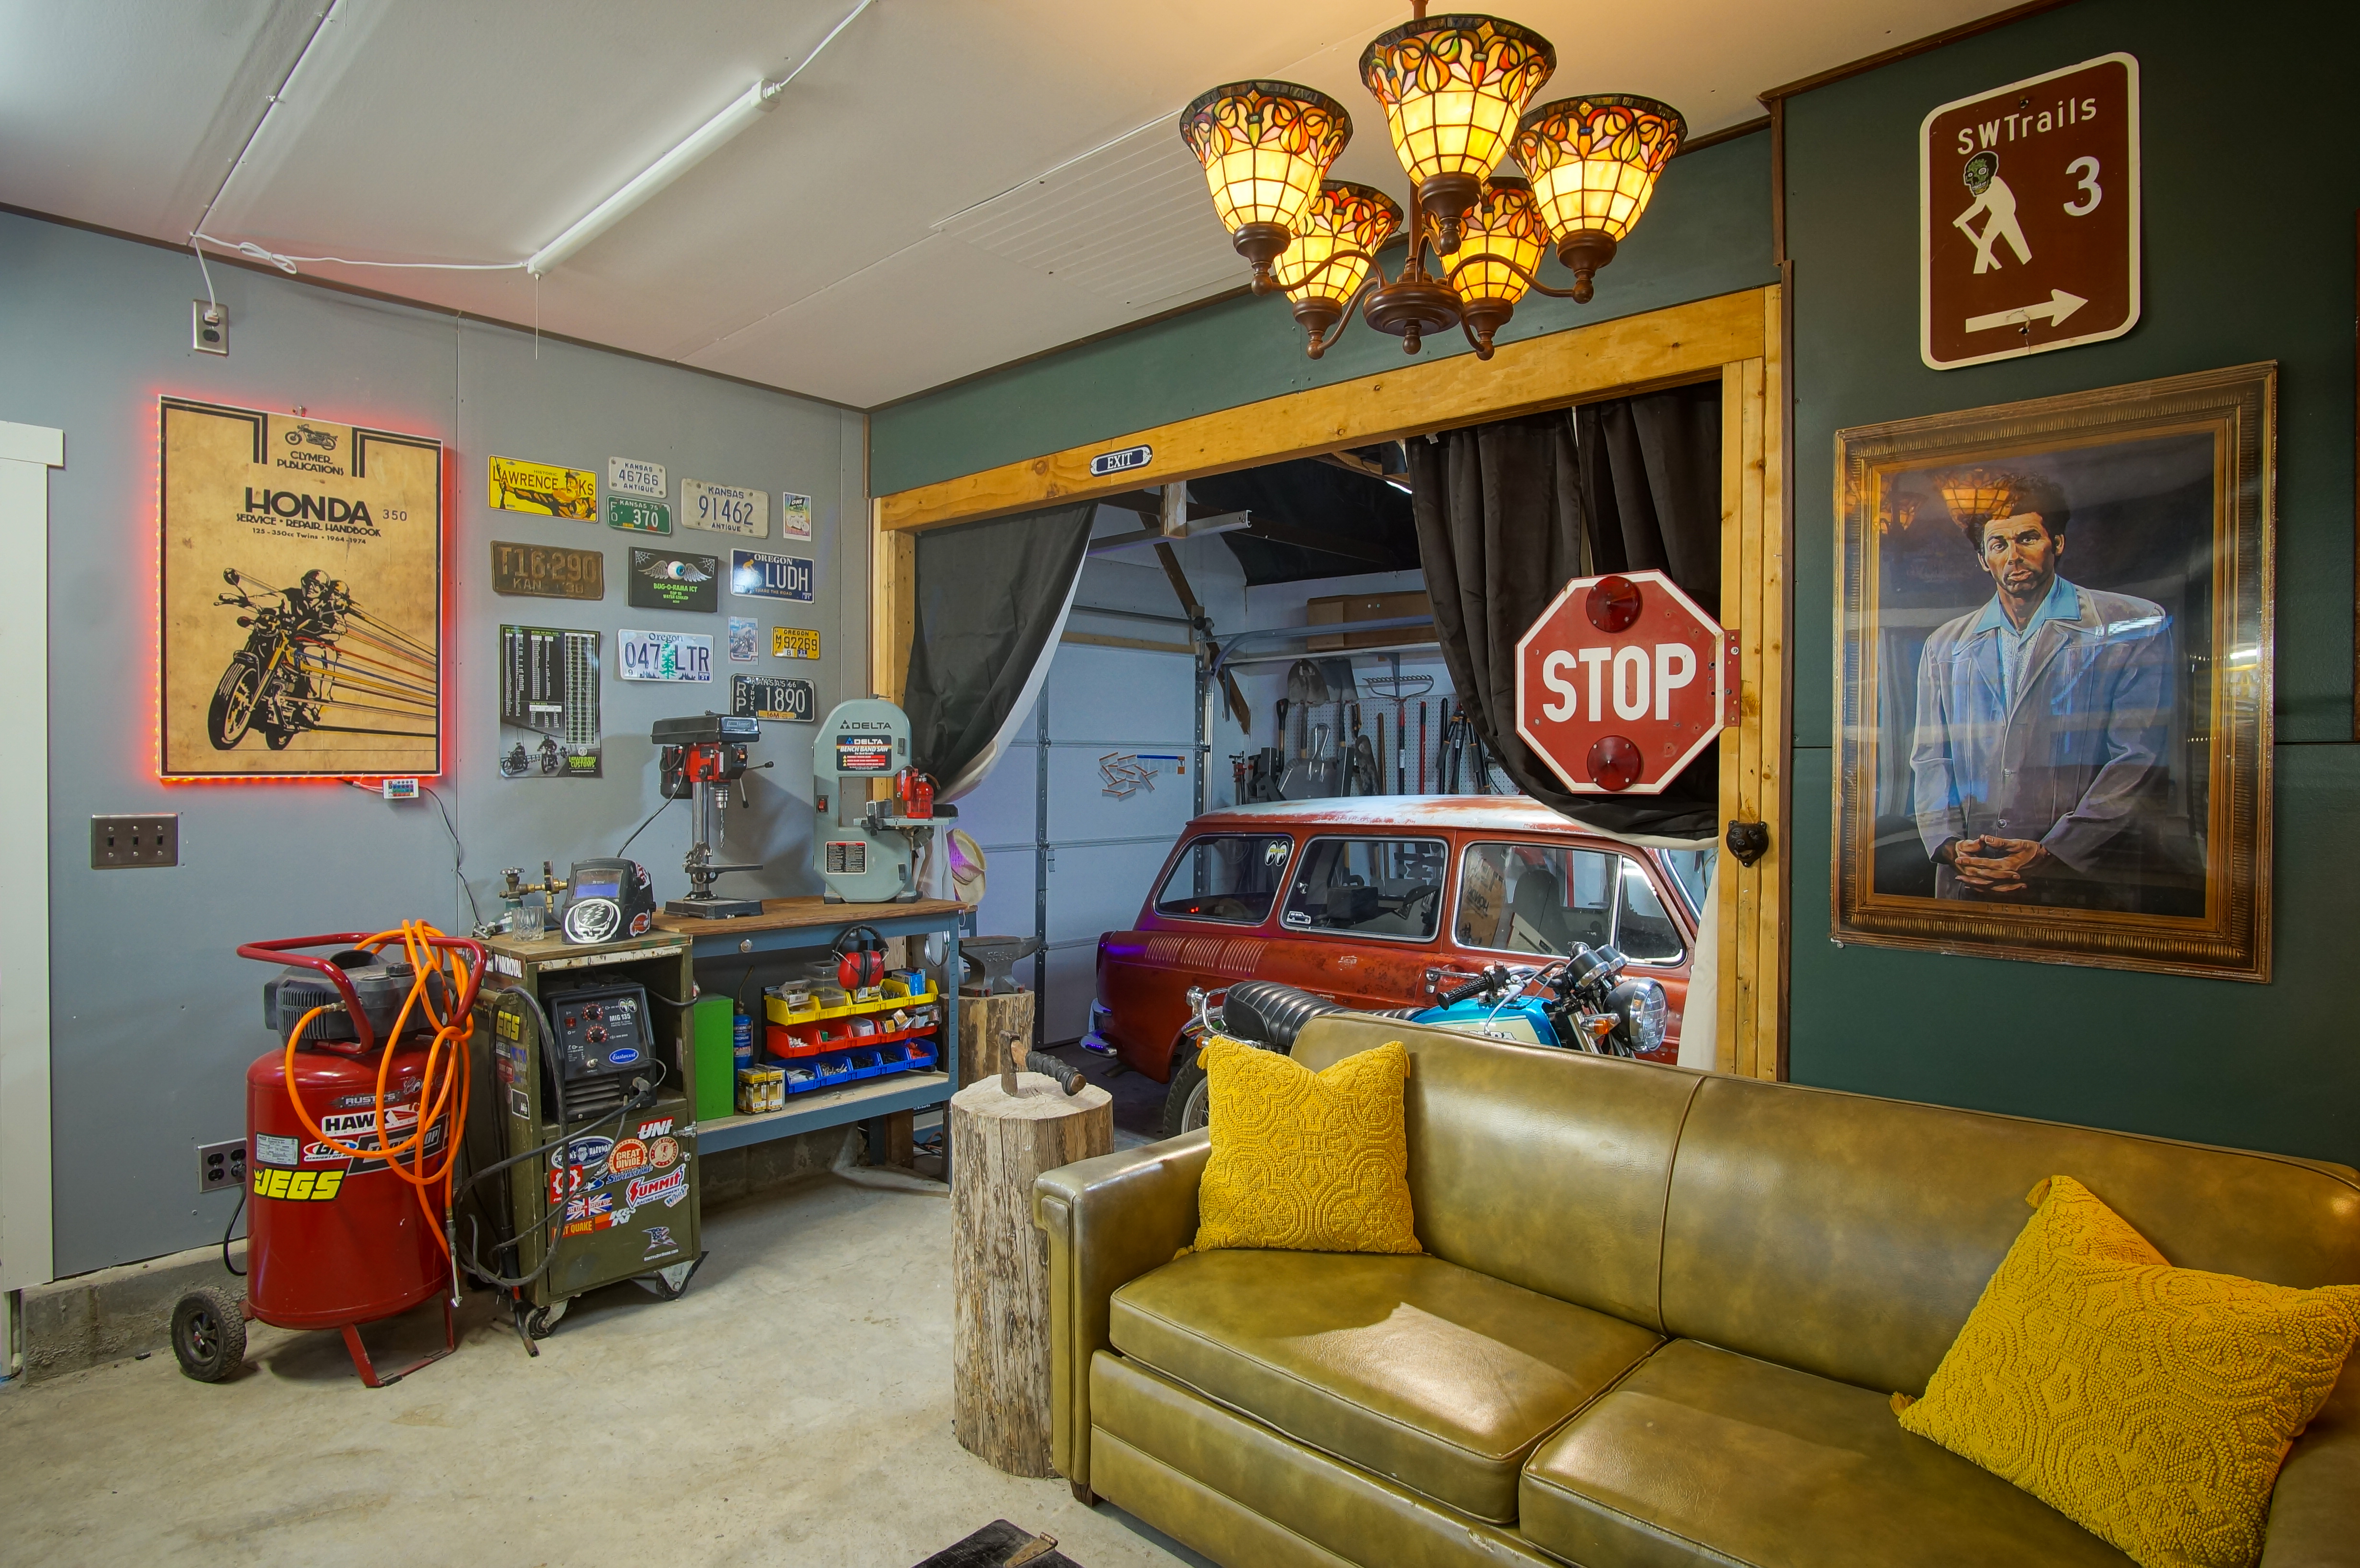
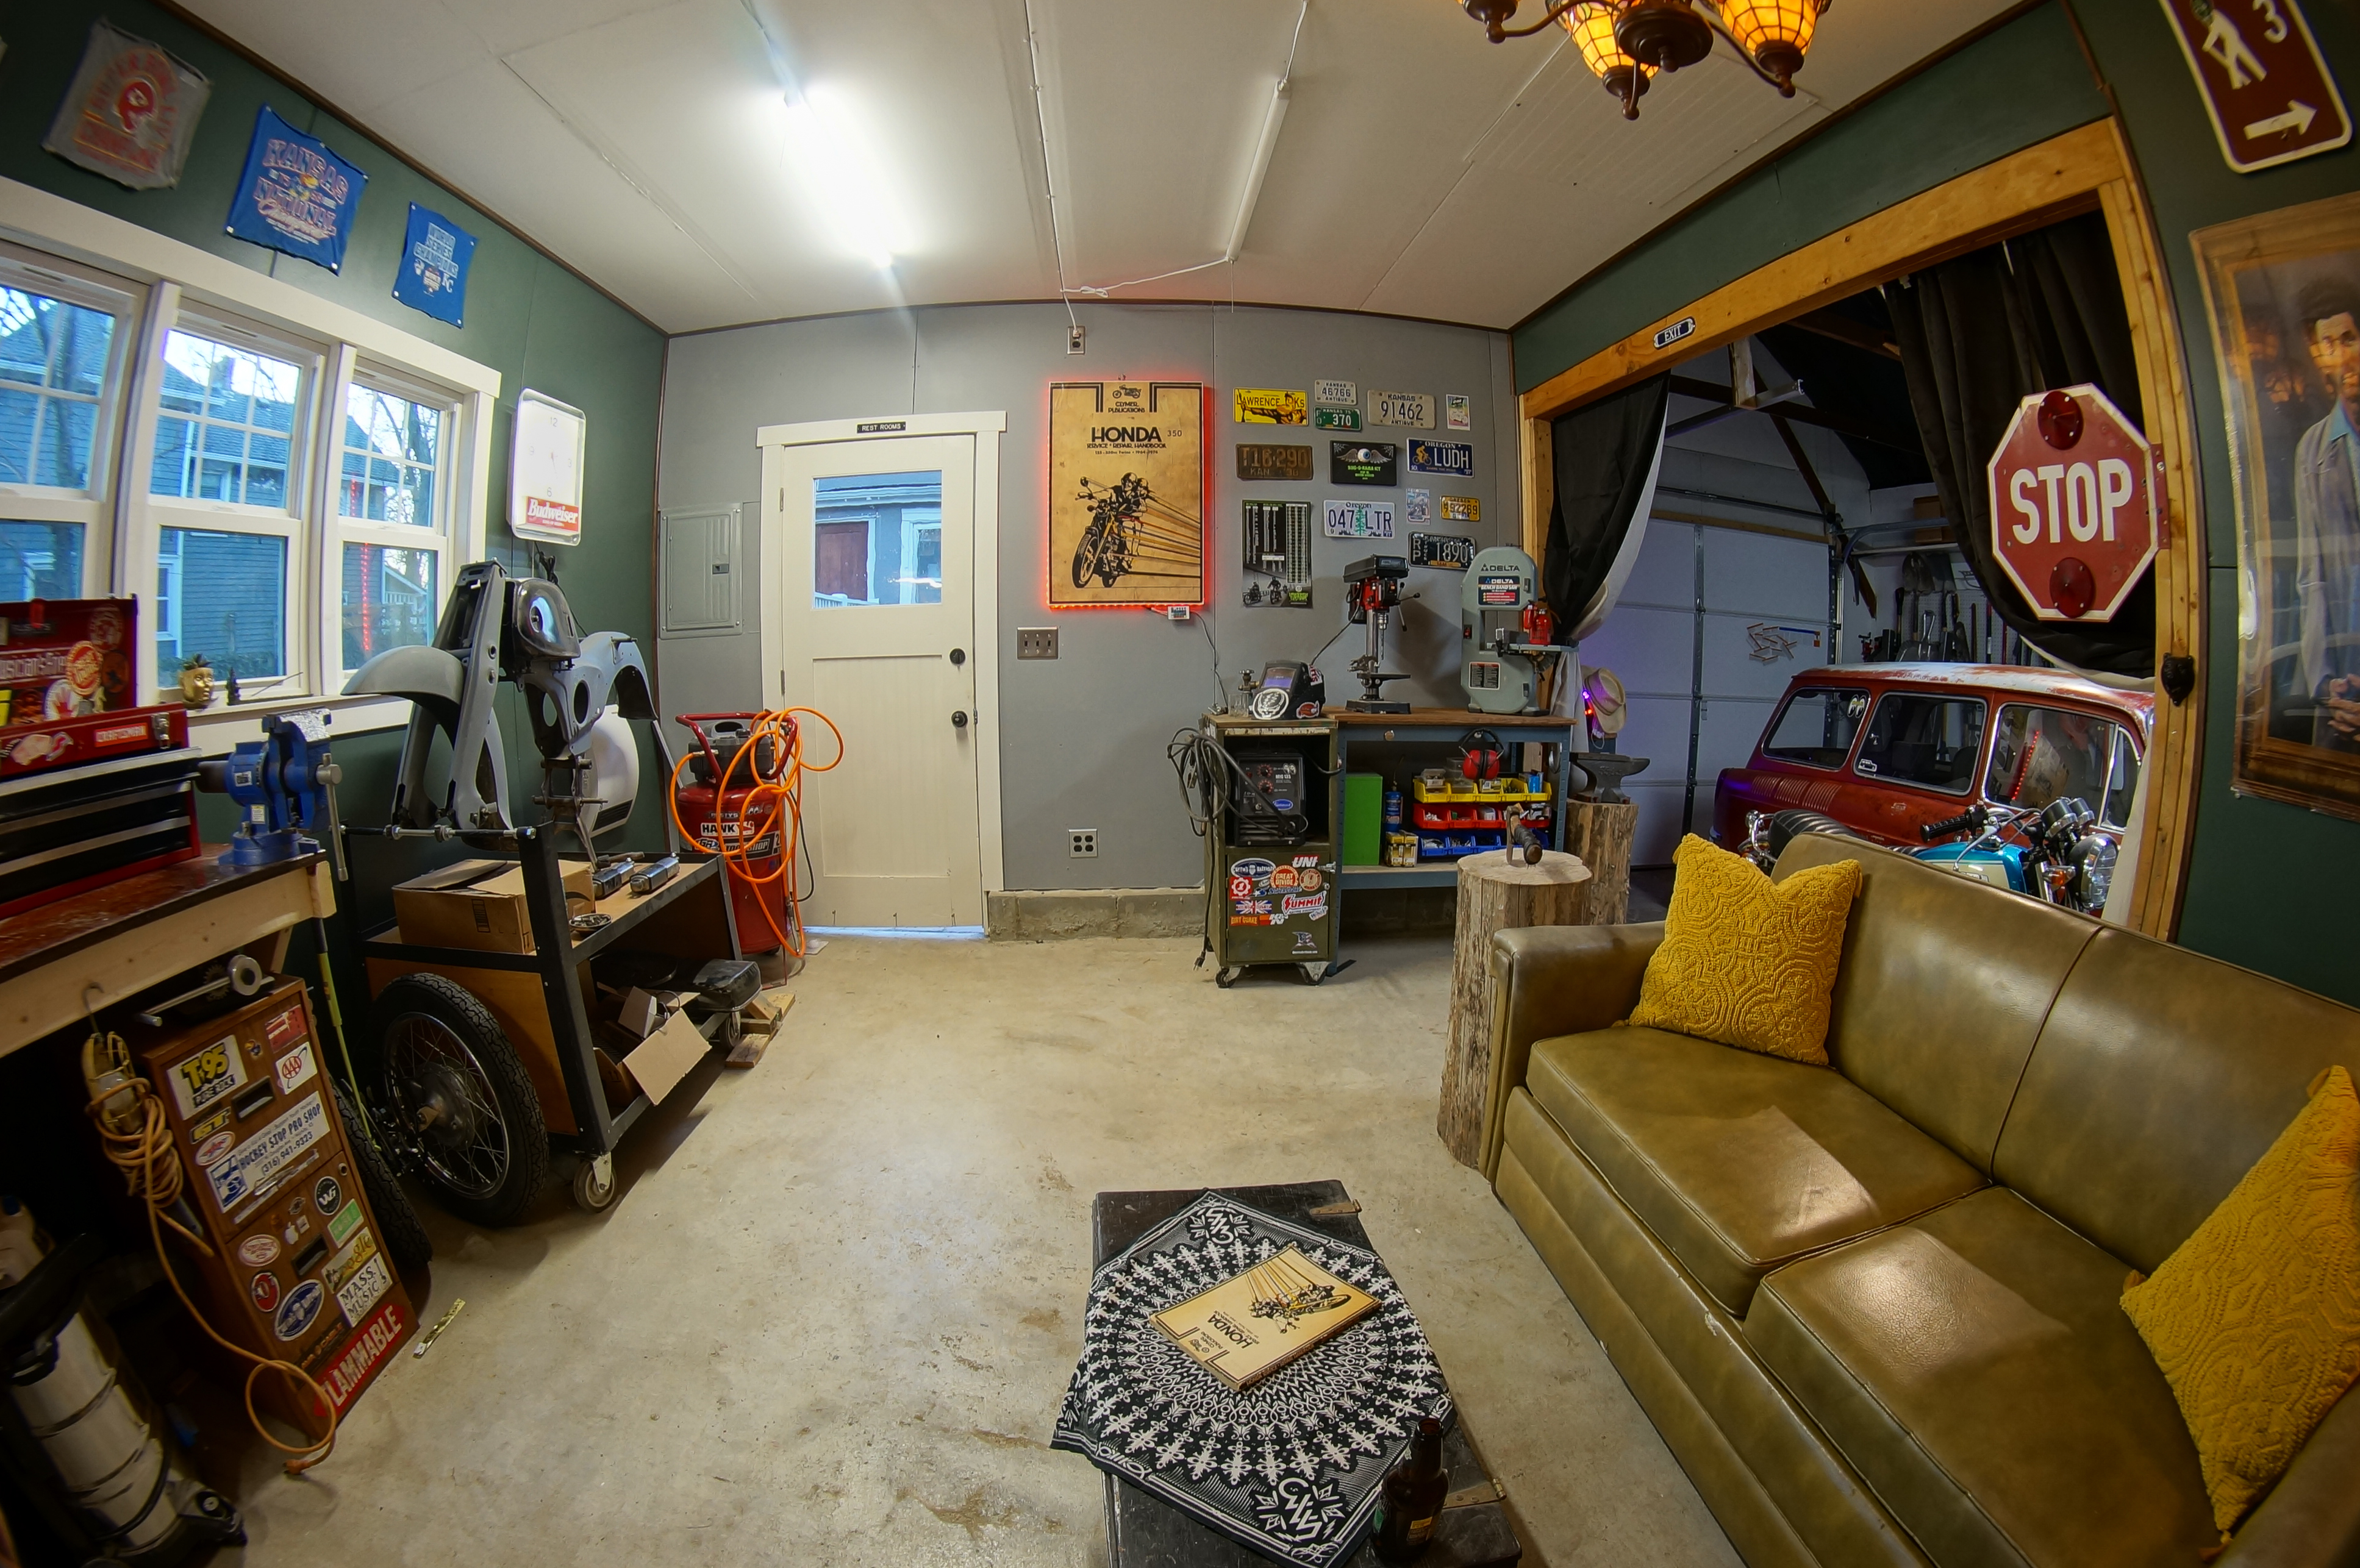
Thanks for looking :)