If the house was a video game, the kitchen was the boss level.
When we first bought the house, we wanted to do the kitchen room first. We got as far as installing recessed lights in the ceiling and demo-ing some of the cabinets. But then we quickly had to shift to working on the upstairs bedrooms because we needed to move in up there early than expected. Which meant that we had a partially-demoed kitchen for almost a year! In December, after finishing the living room, we finally got started on the kitchen again. And we didn't finish it until June the next year. Half a year later.
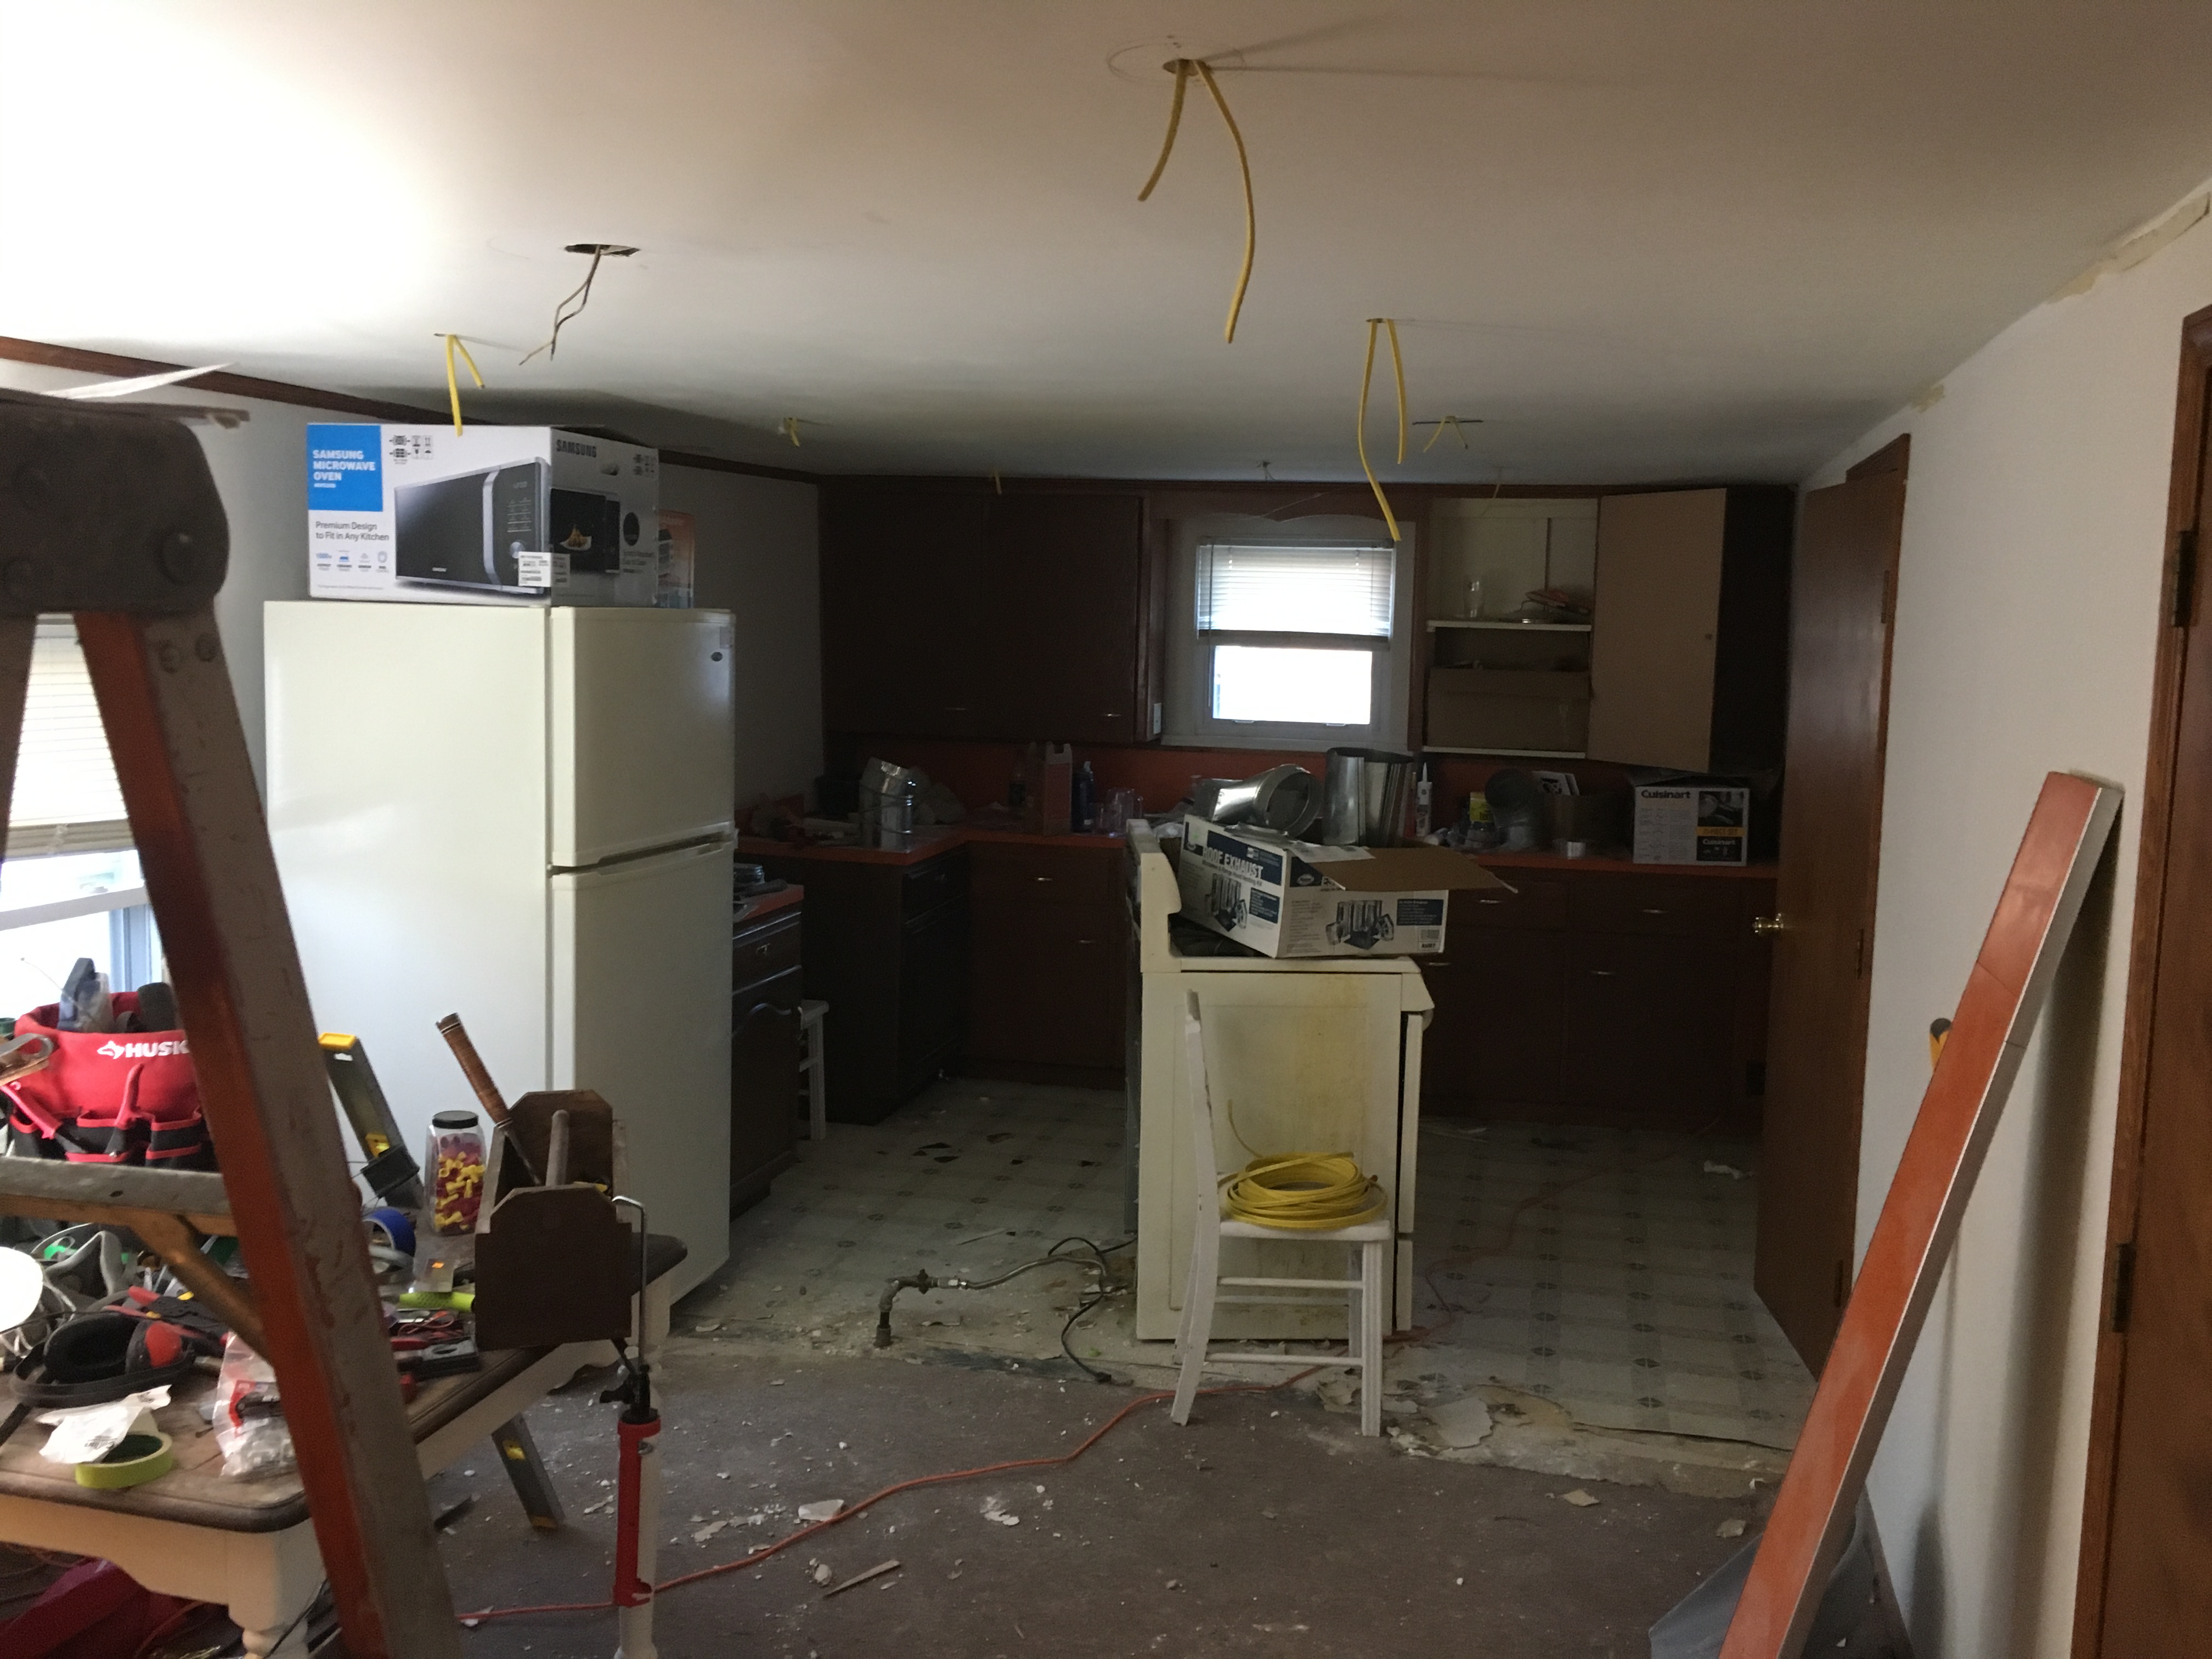
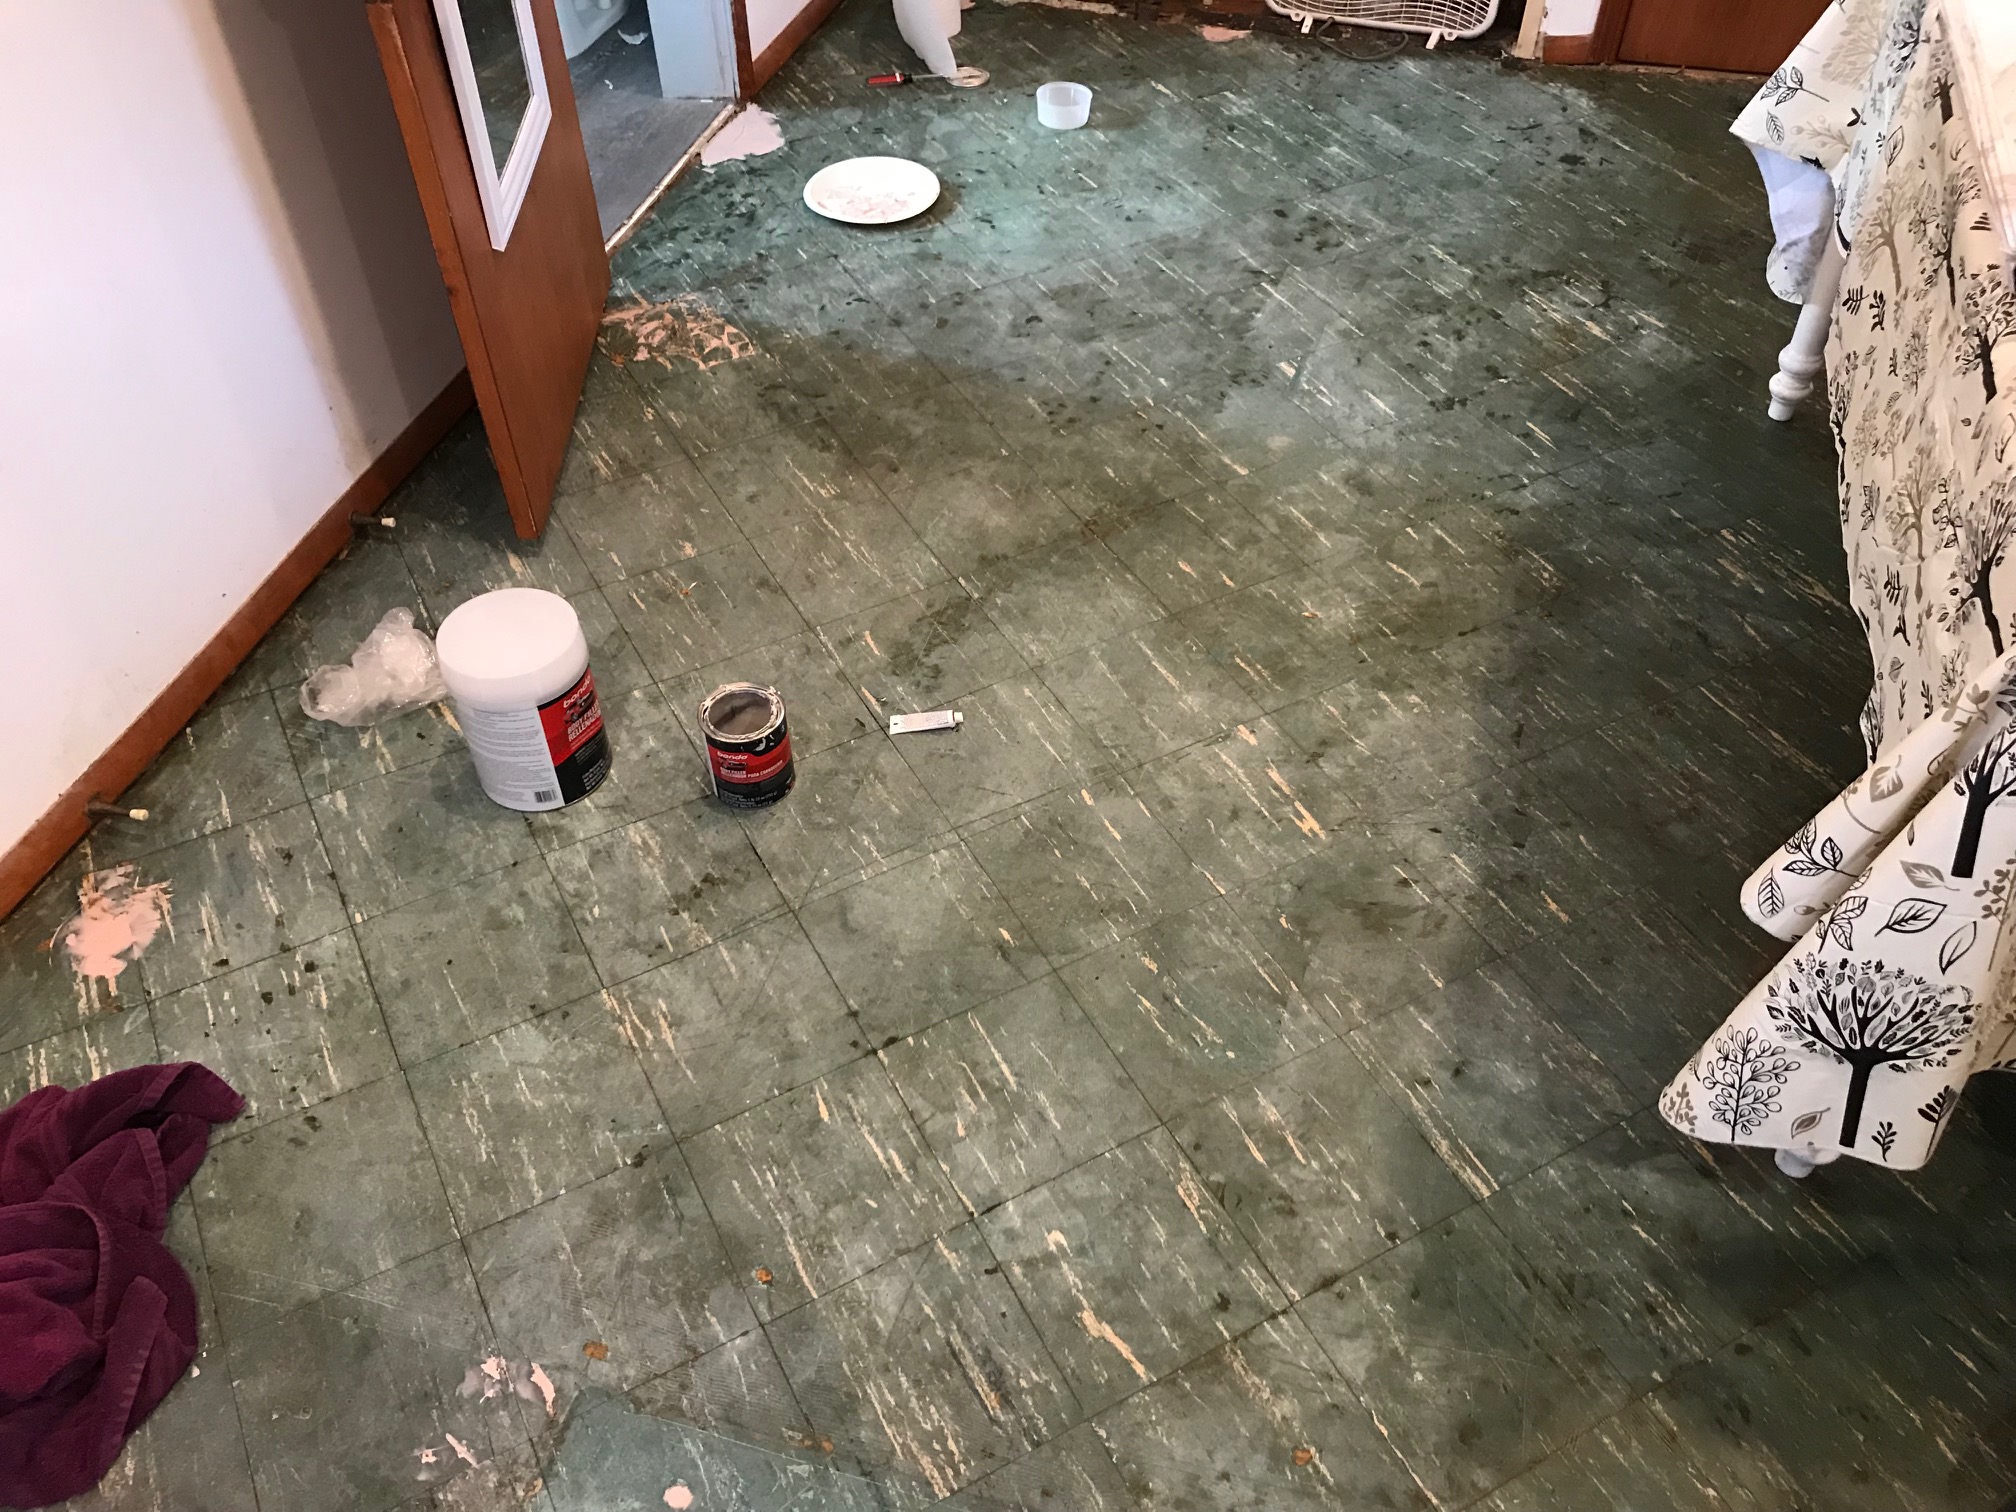
The before:
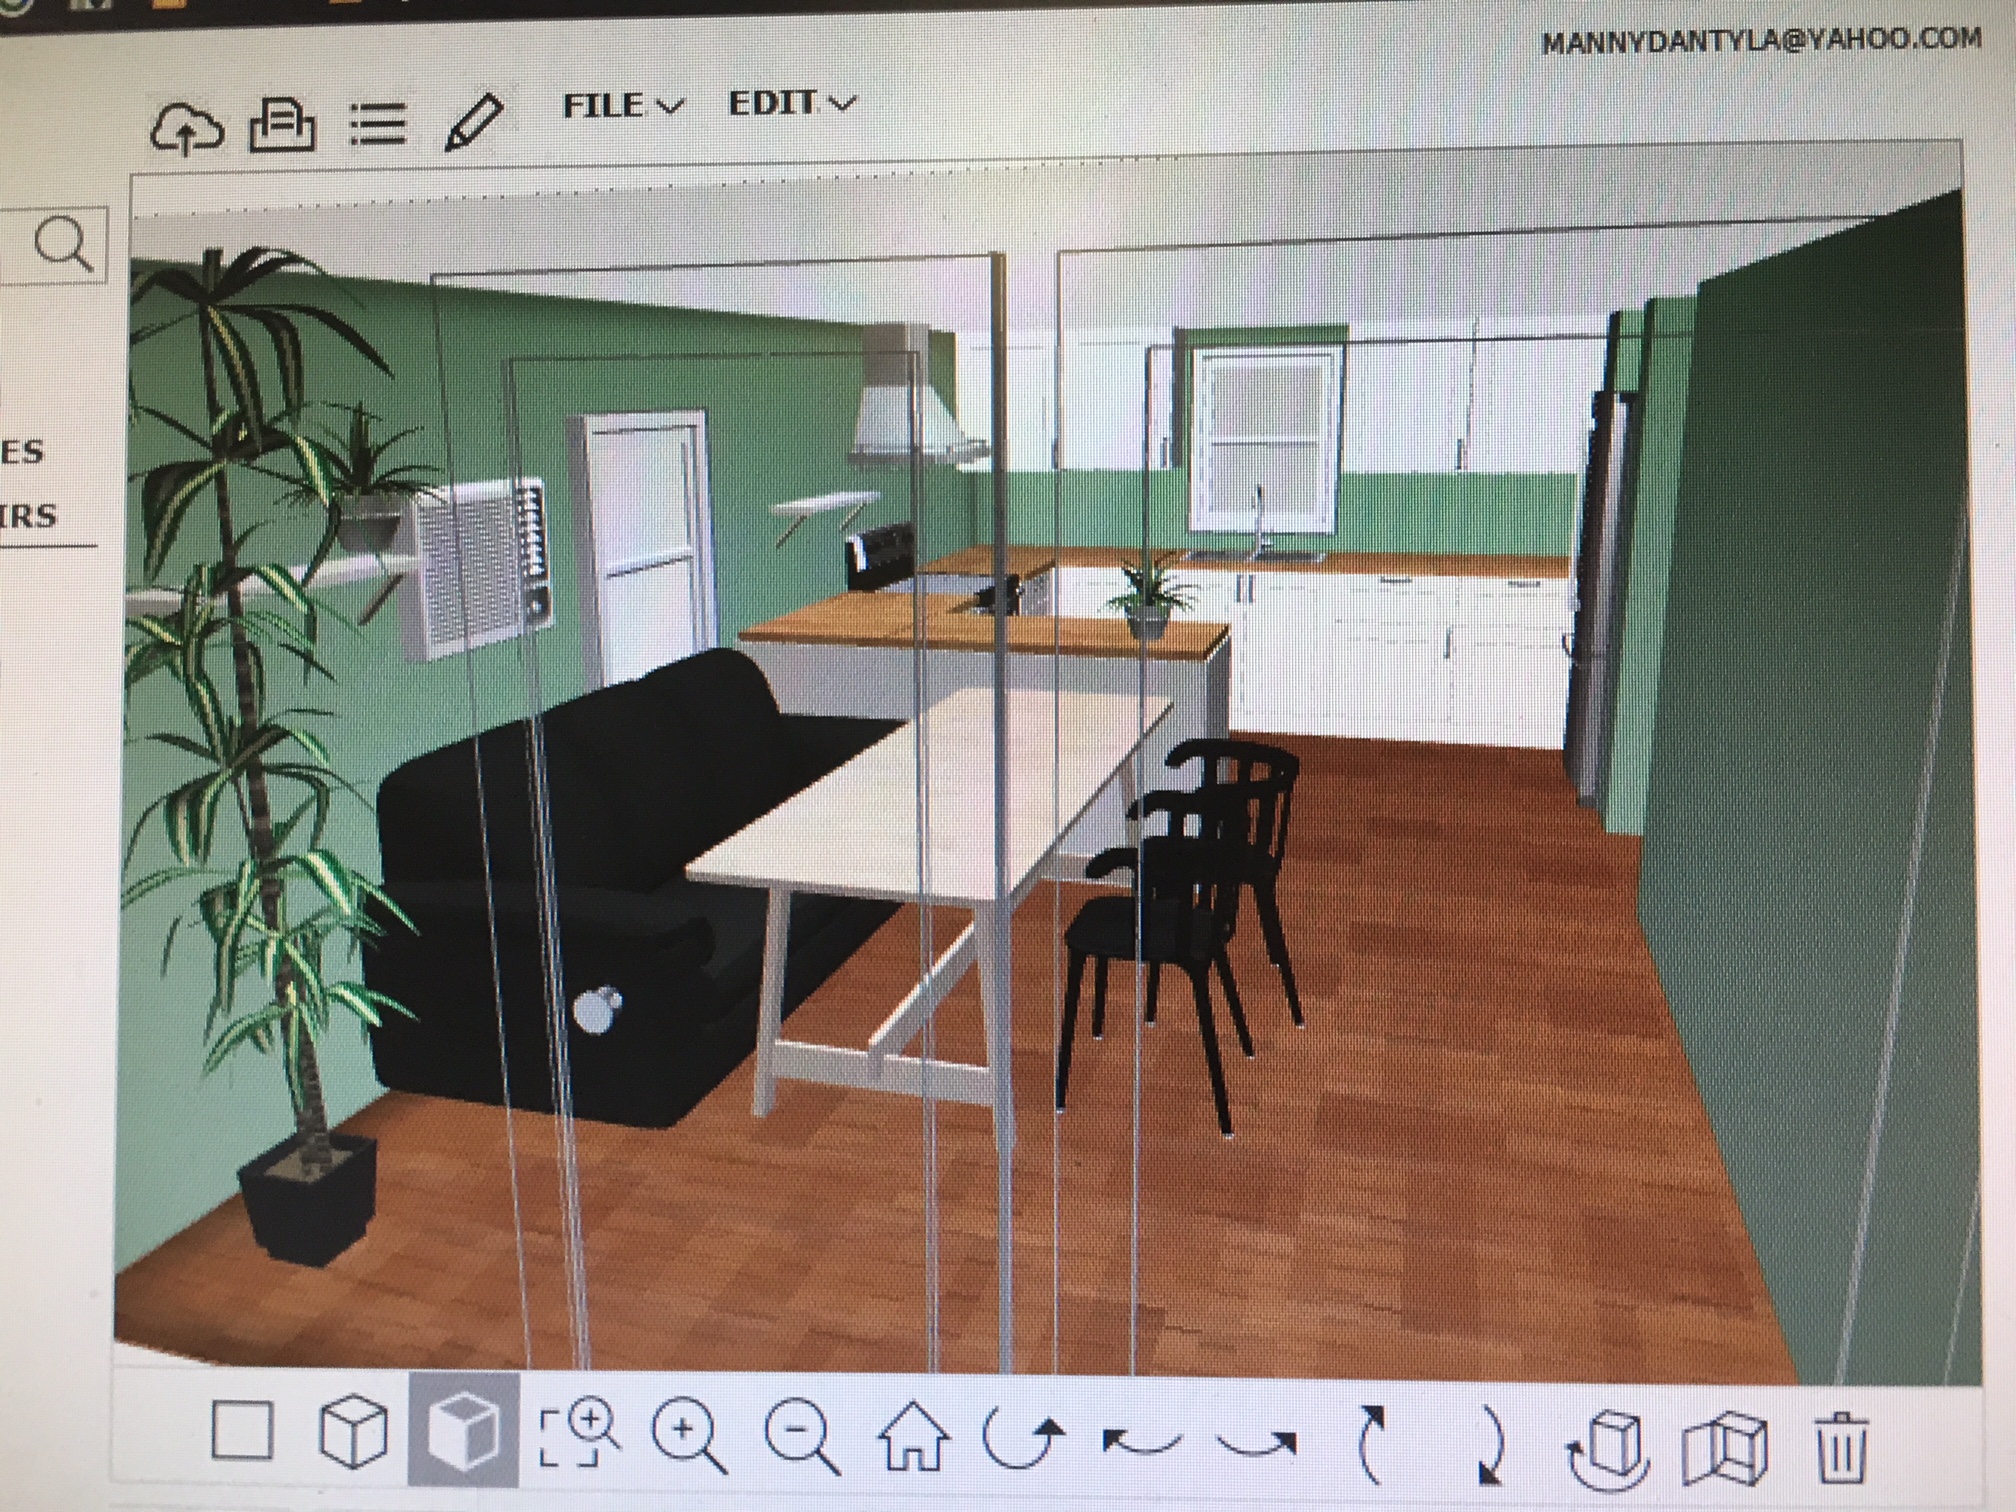
The plan:
The Kitchen Floor
We decided to work from the bottom up, so naturally the flooring was the first thing to be replaced. (Actually the first thing we did was paint the ceiling and install lights but we got that job out of the way a year ago.)
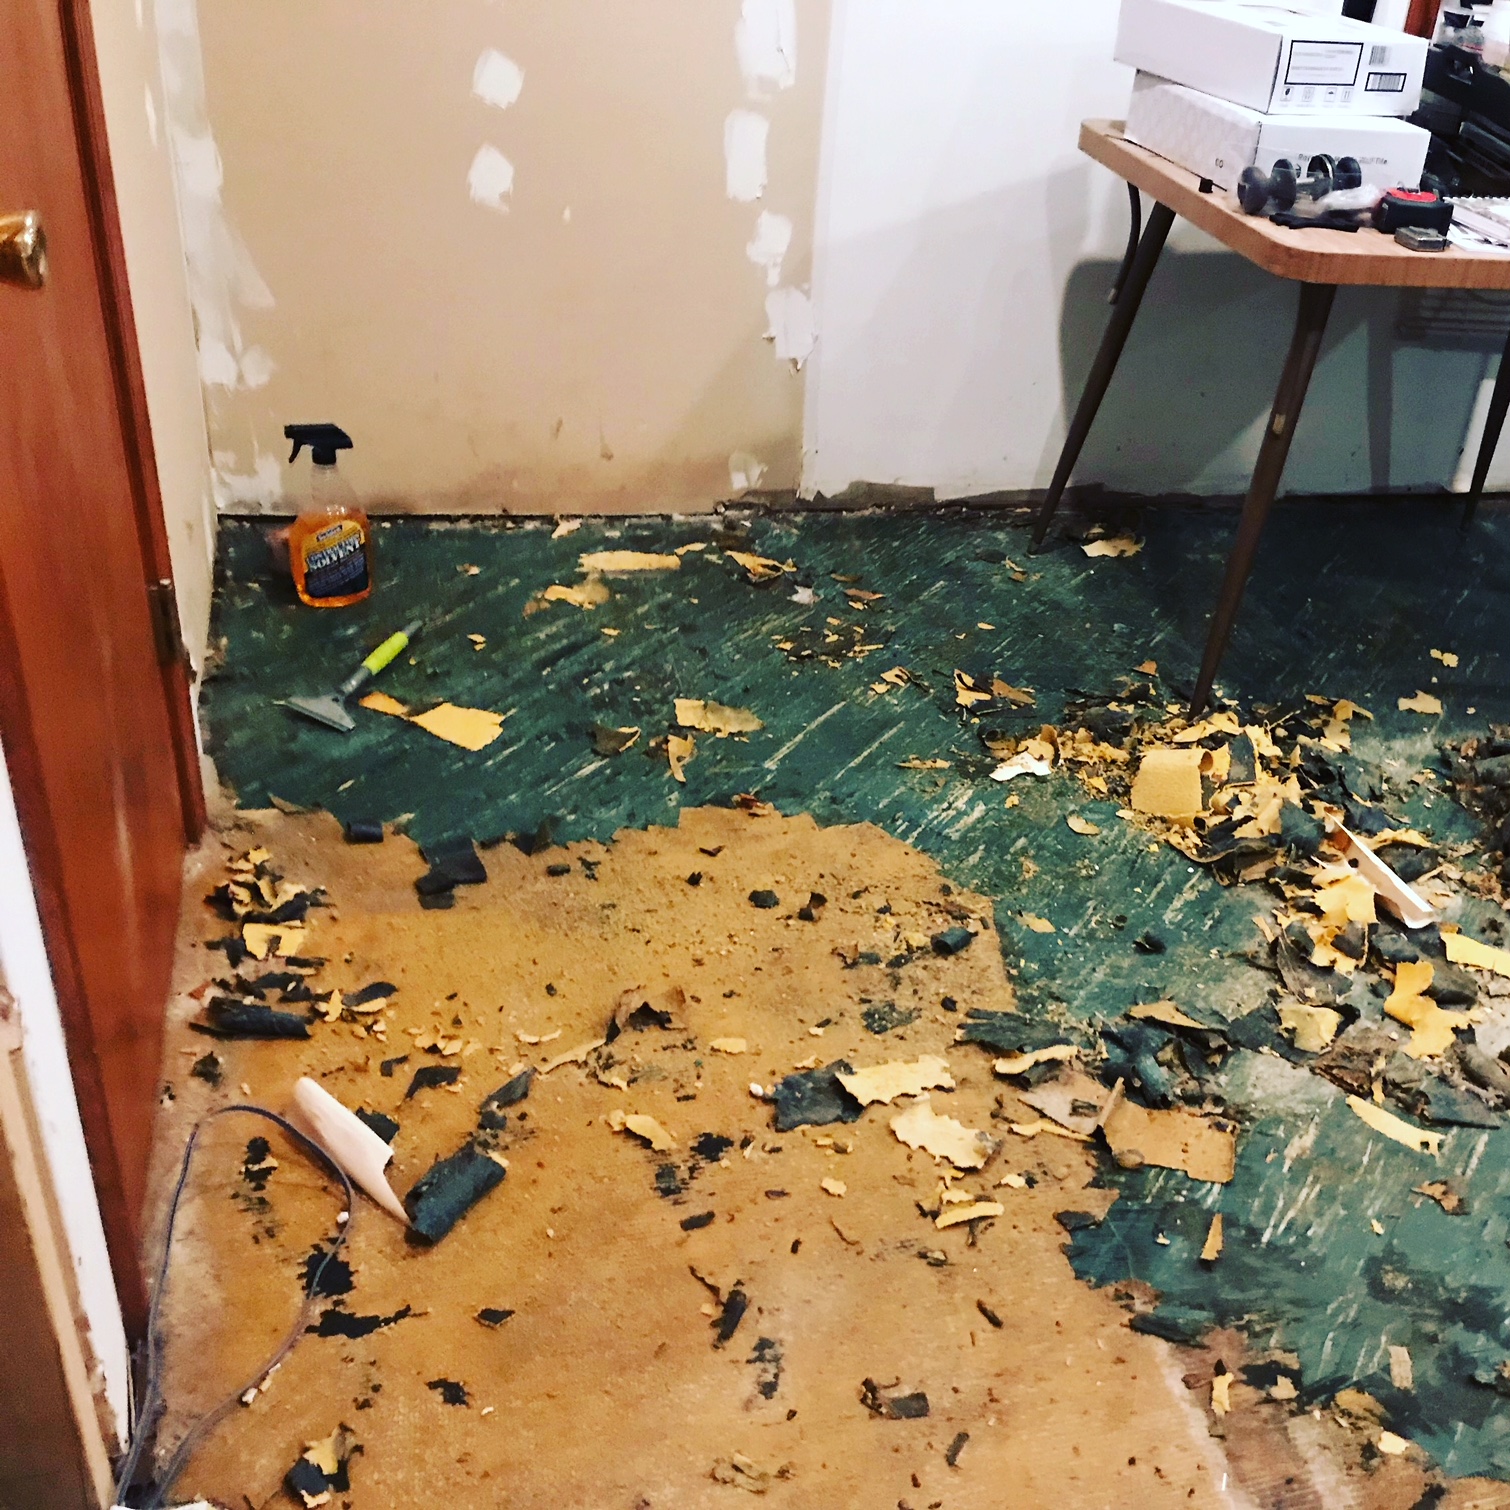
Holy crap was the old floor nasty. Half vinyl sheet that was yellowed and looked like it was from the set of The Texas Chainsaw Massacre, and half carpet that was ripped, full of dirt and god-knows-what-else. And underneath all of that was linoleum tile. But in between the linoleum and the vinyl/carpet layer was a thick layer of glue
[Update: if your floor looks like our in the above photo, get it tested for asbestos. I assumed that this was just basic lanolium flooring but I just read that it could have had asbestos in it.]
We used a combination of tools and solvents. A razor sharp scrapper worked best, but the blades needed to be replaced regularly. I also used a very large and heavy duty scraper tool, attached to a big metal pipe, so i could scrape while standing up. That was the easiest way to get the easier sections. But the more stubborn sections required getting on your hands and knees with the razor scraper. I tried a scraper attachment on the vibrating multi-tool but it didn't work as well, even when I sharpened it. And everything was saturated in a spray-on solvent similar to Goo Gone, and sweat.
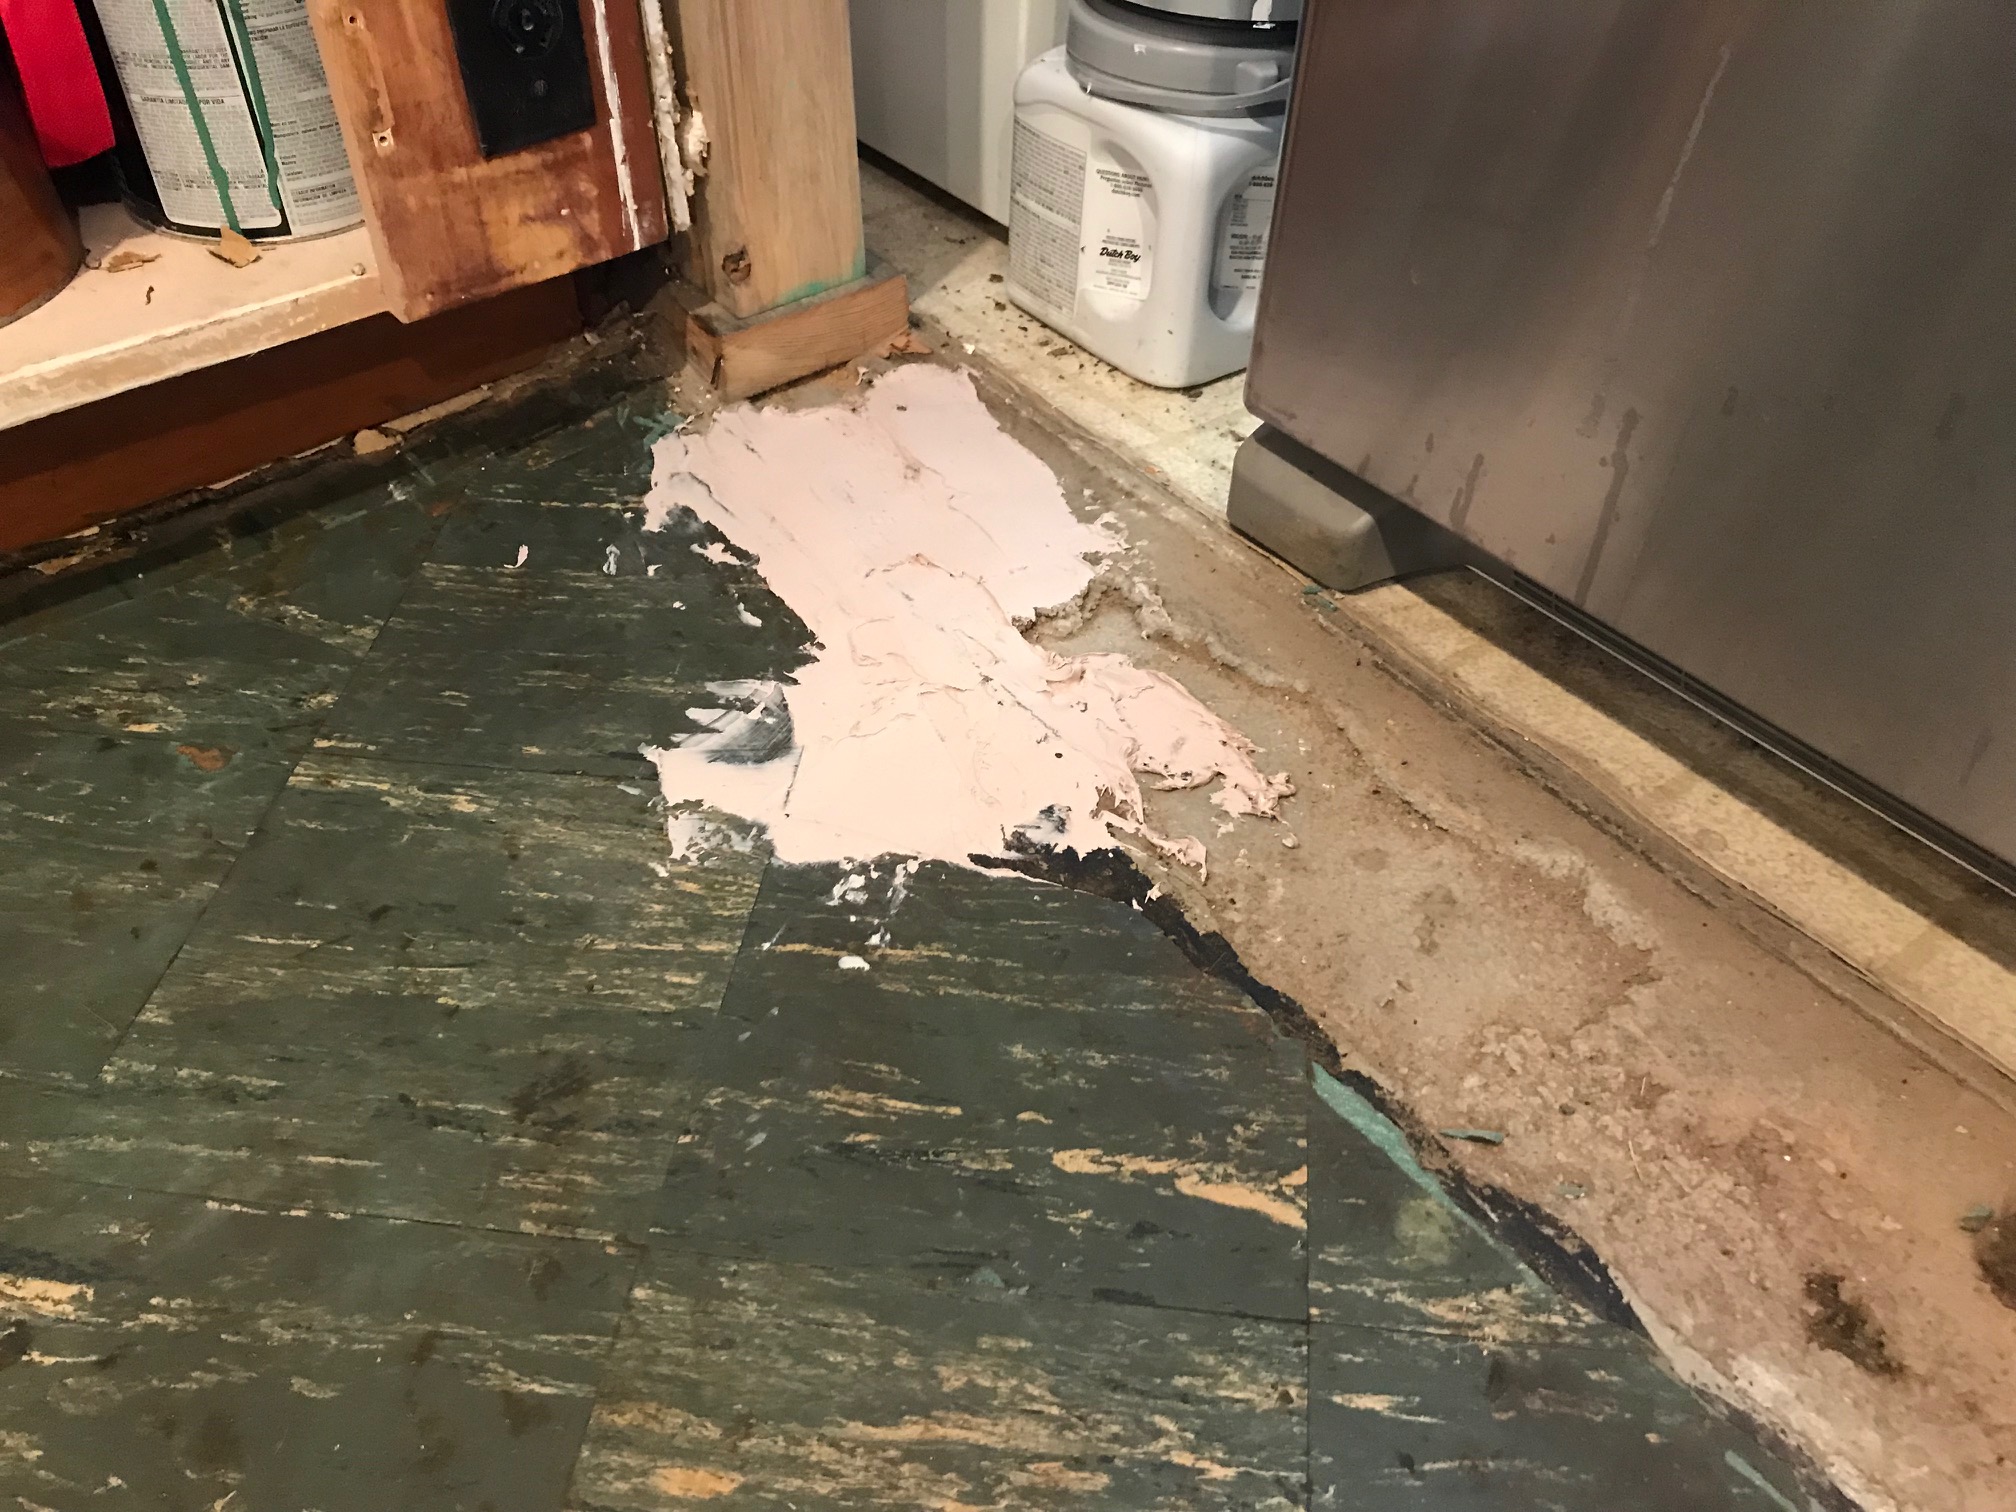
There was a few broken linoleum tiles and cracks that would have been a problem for the new floor tiles going on top, so I patched those up with automotive body filler, a.k.a. Bondo. It worked really well and hardened very quickly! Was a little expensive though, and I must have gone through maybe 3 gallons!
The final thing to do before installing the new flooring was to clean the surface extremely well to remove all residue and grime. The new floor tiles are the kind that are sticky on bottom and they need a clean surface to stick to, above all else. We used a sacrificial mop, very hot water, and a good degreasing cleaning product like Purple Power. Then the shop vac was used to suck the floor dry. Then a final wiping down with an old towel.
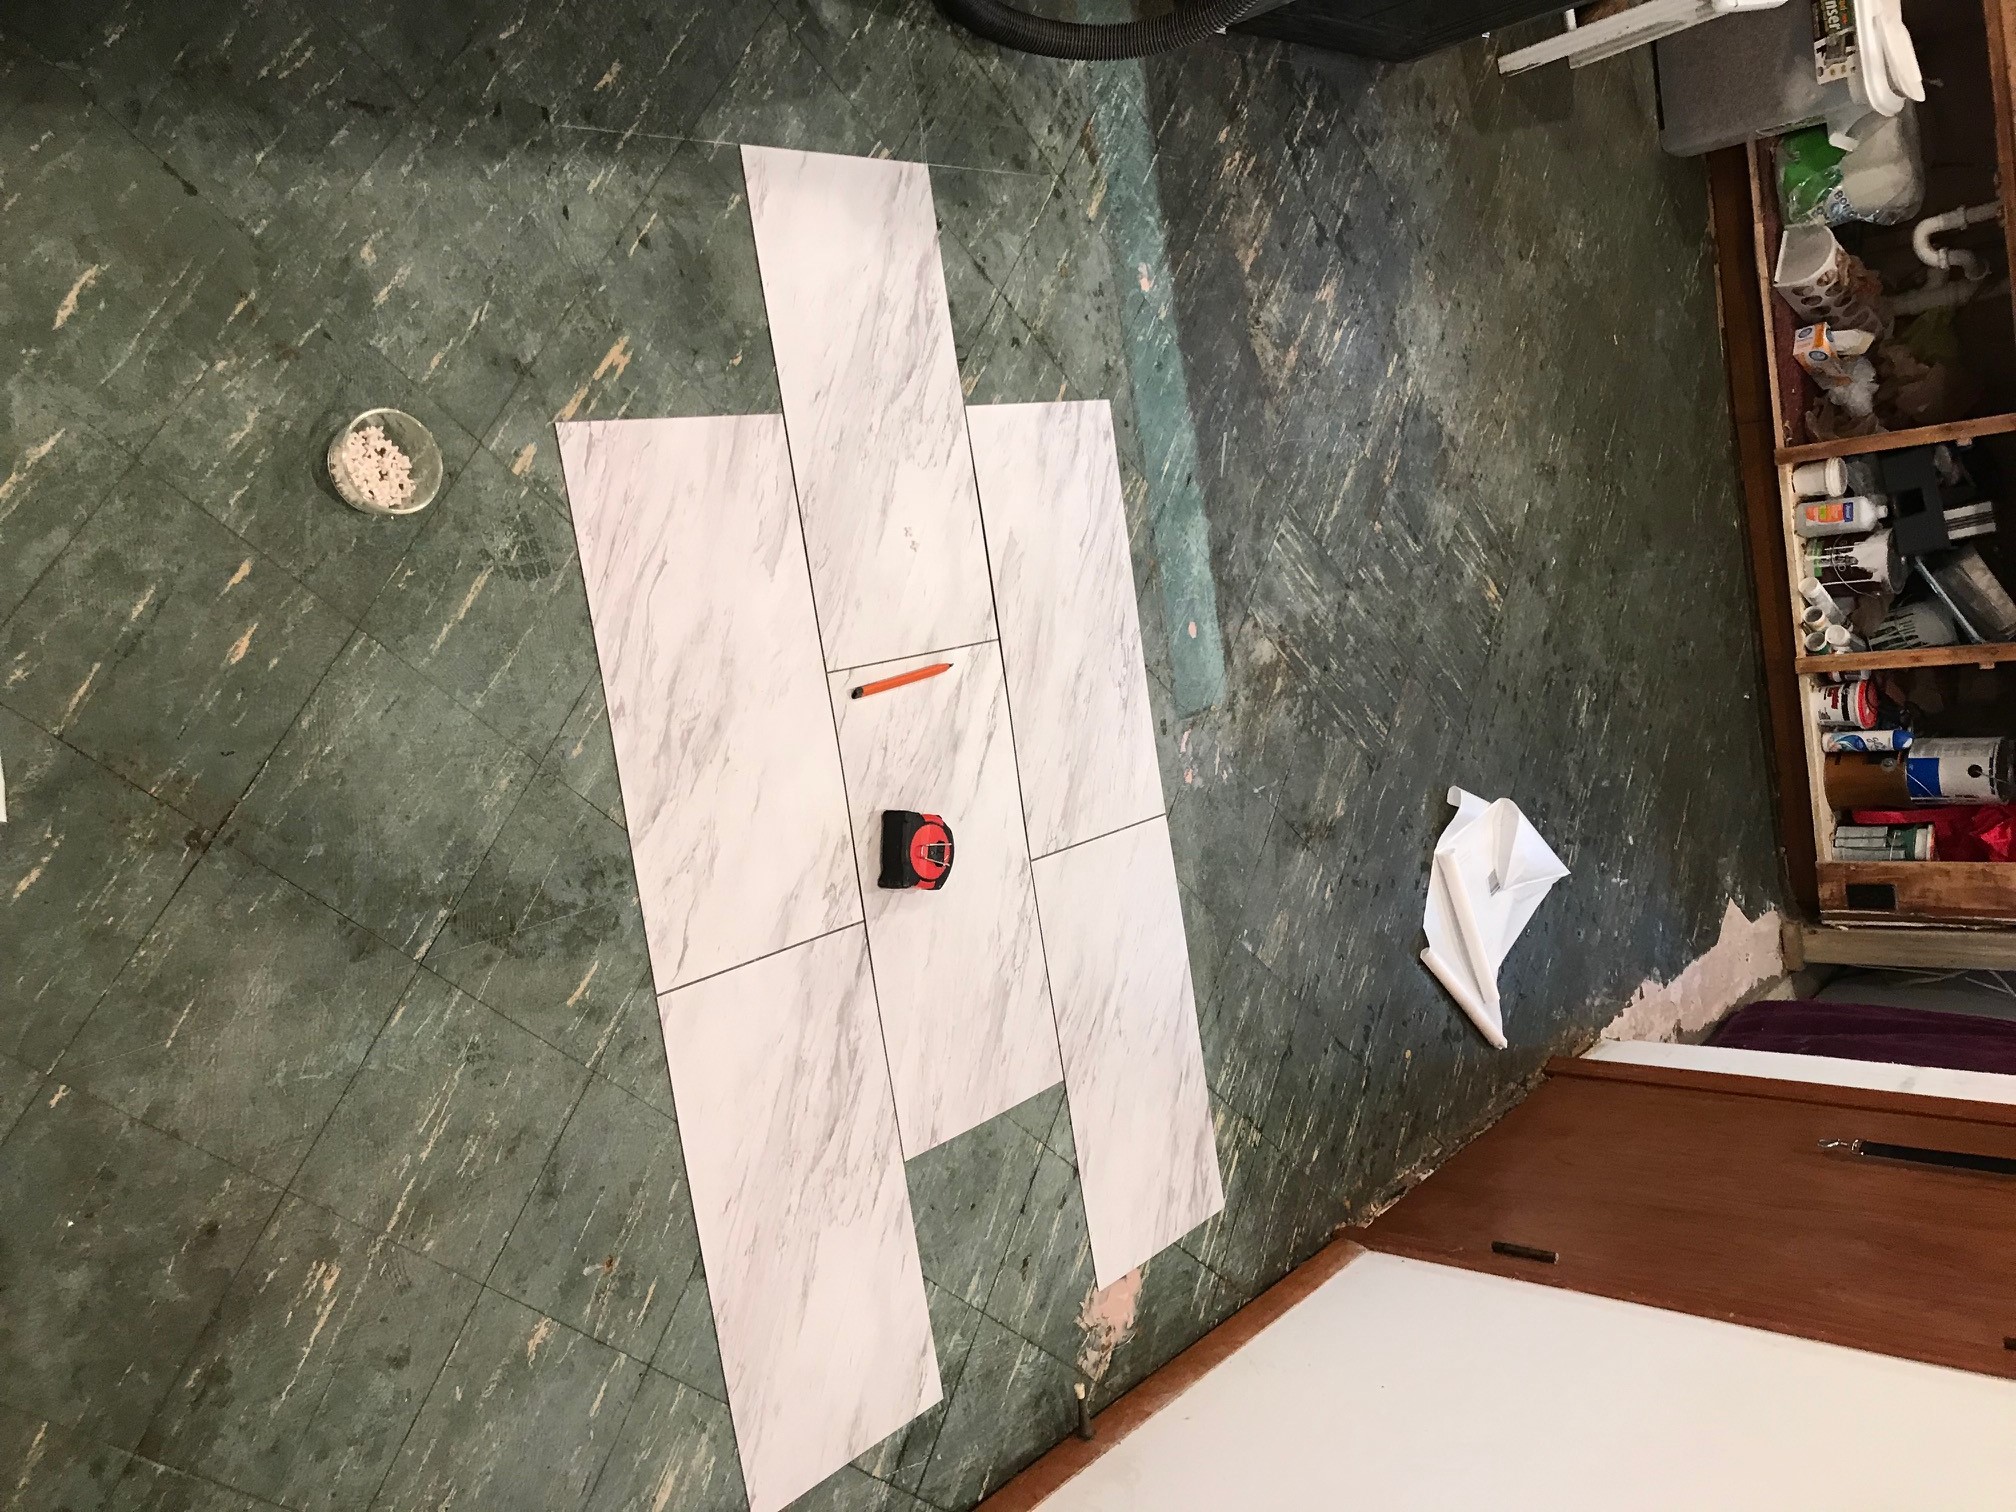
The floor tiles are the "peel and stick" kind and they were very easy to install once the floor was scrubbed clean. They were also easy to cut as needed.
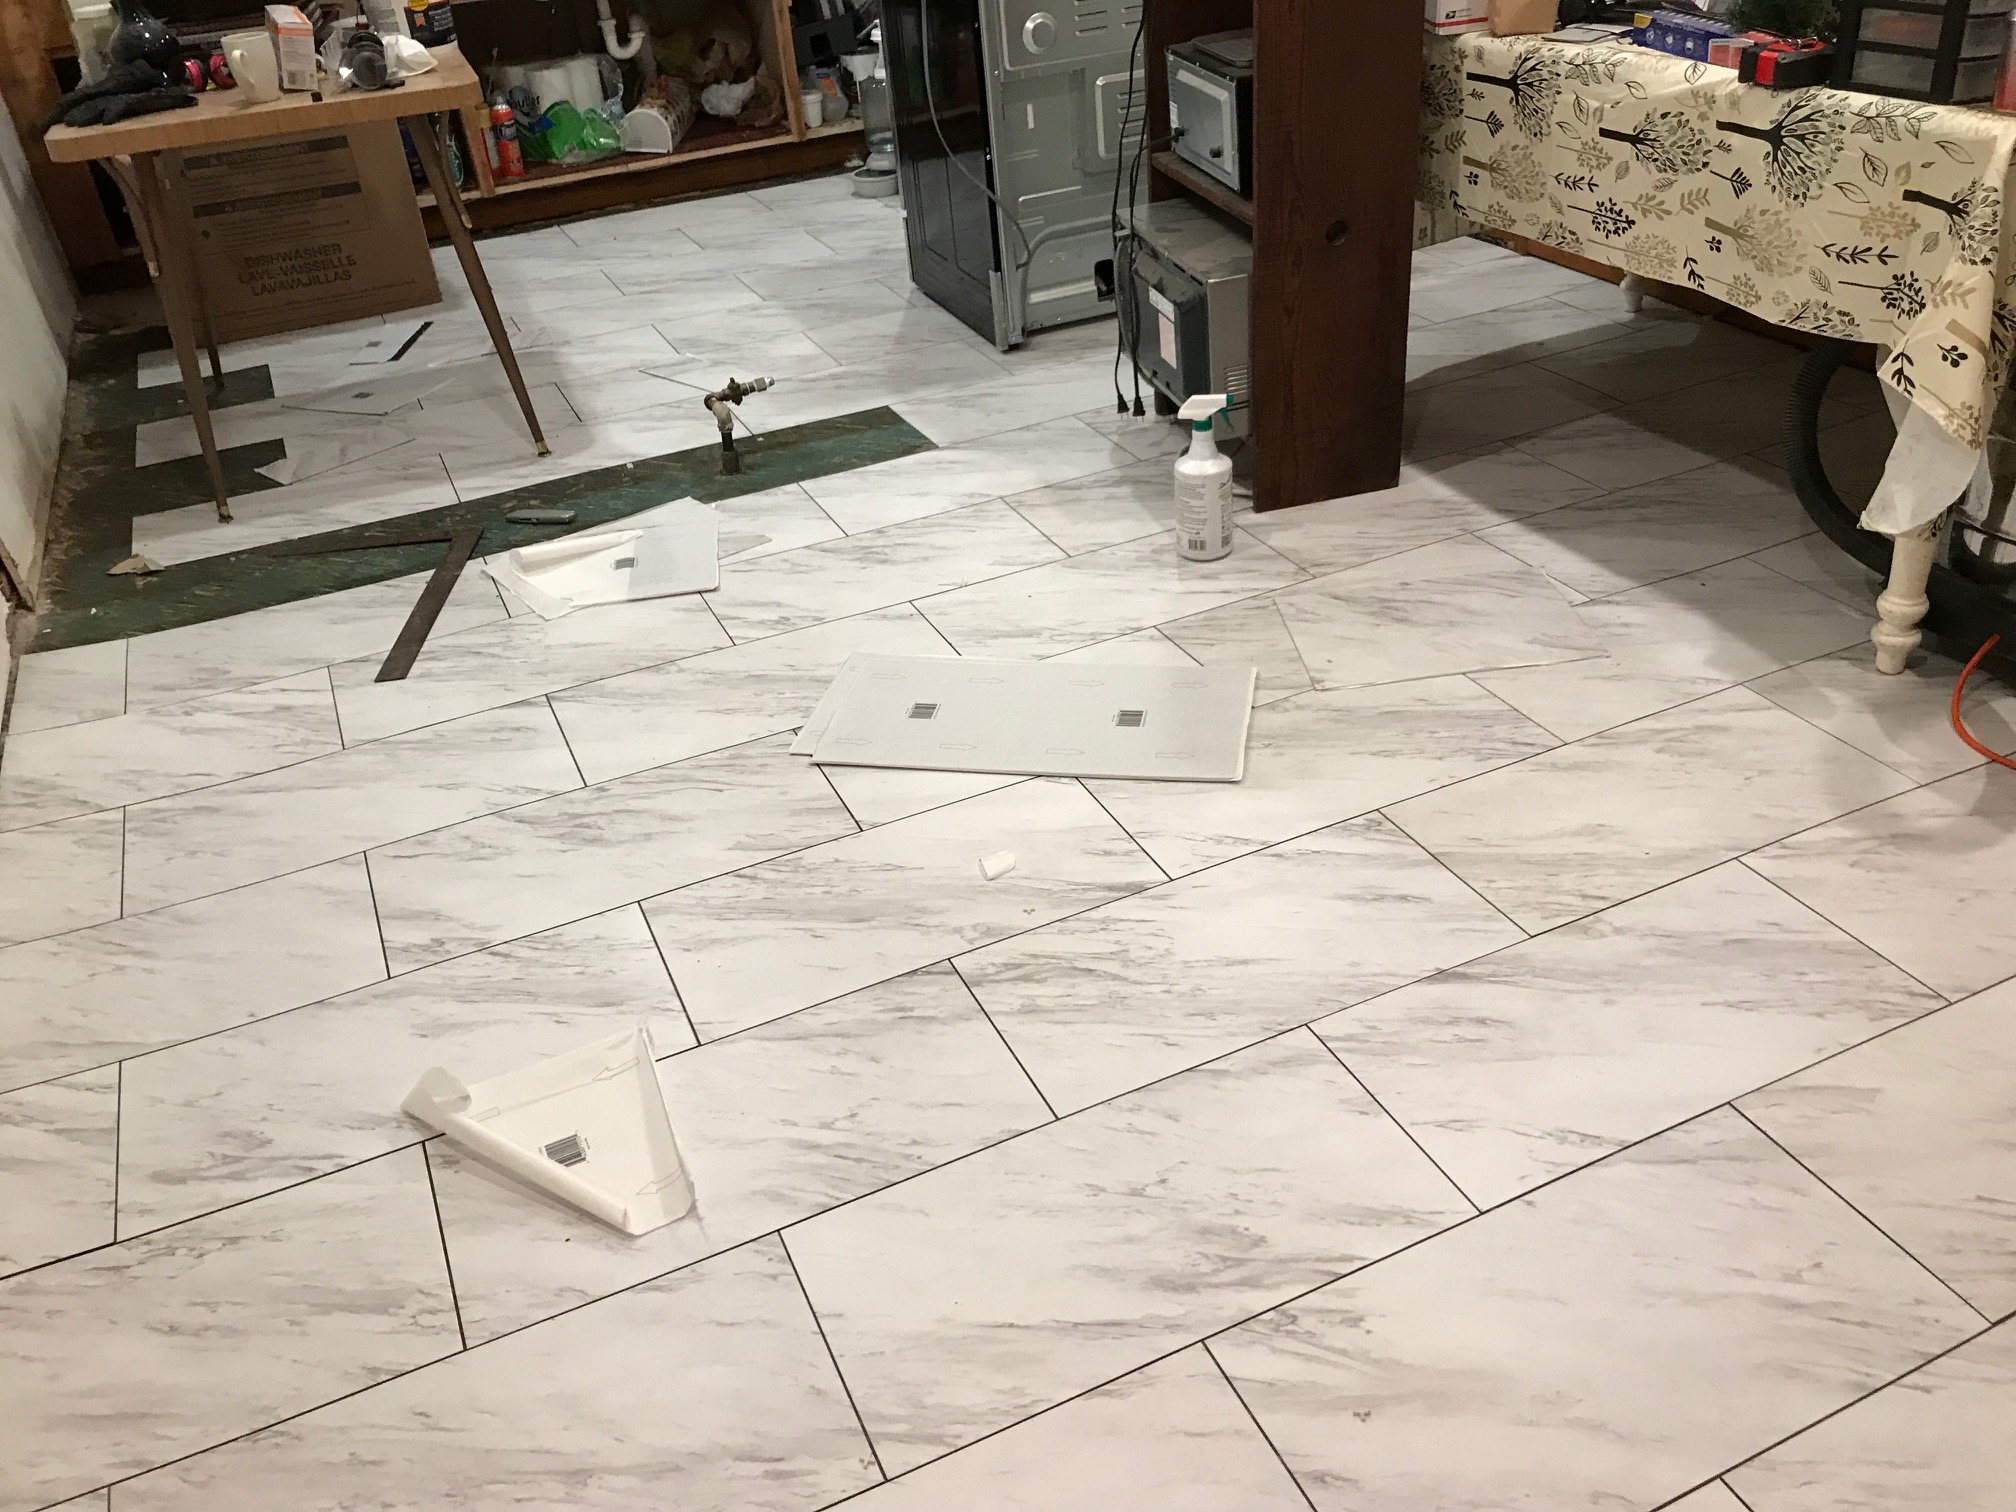
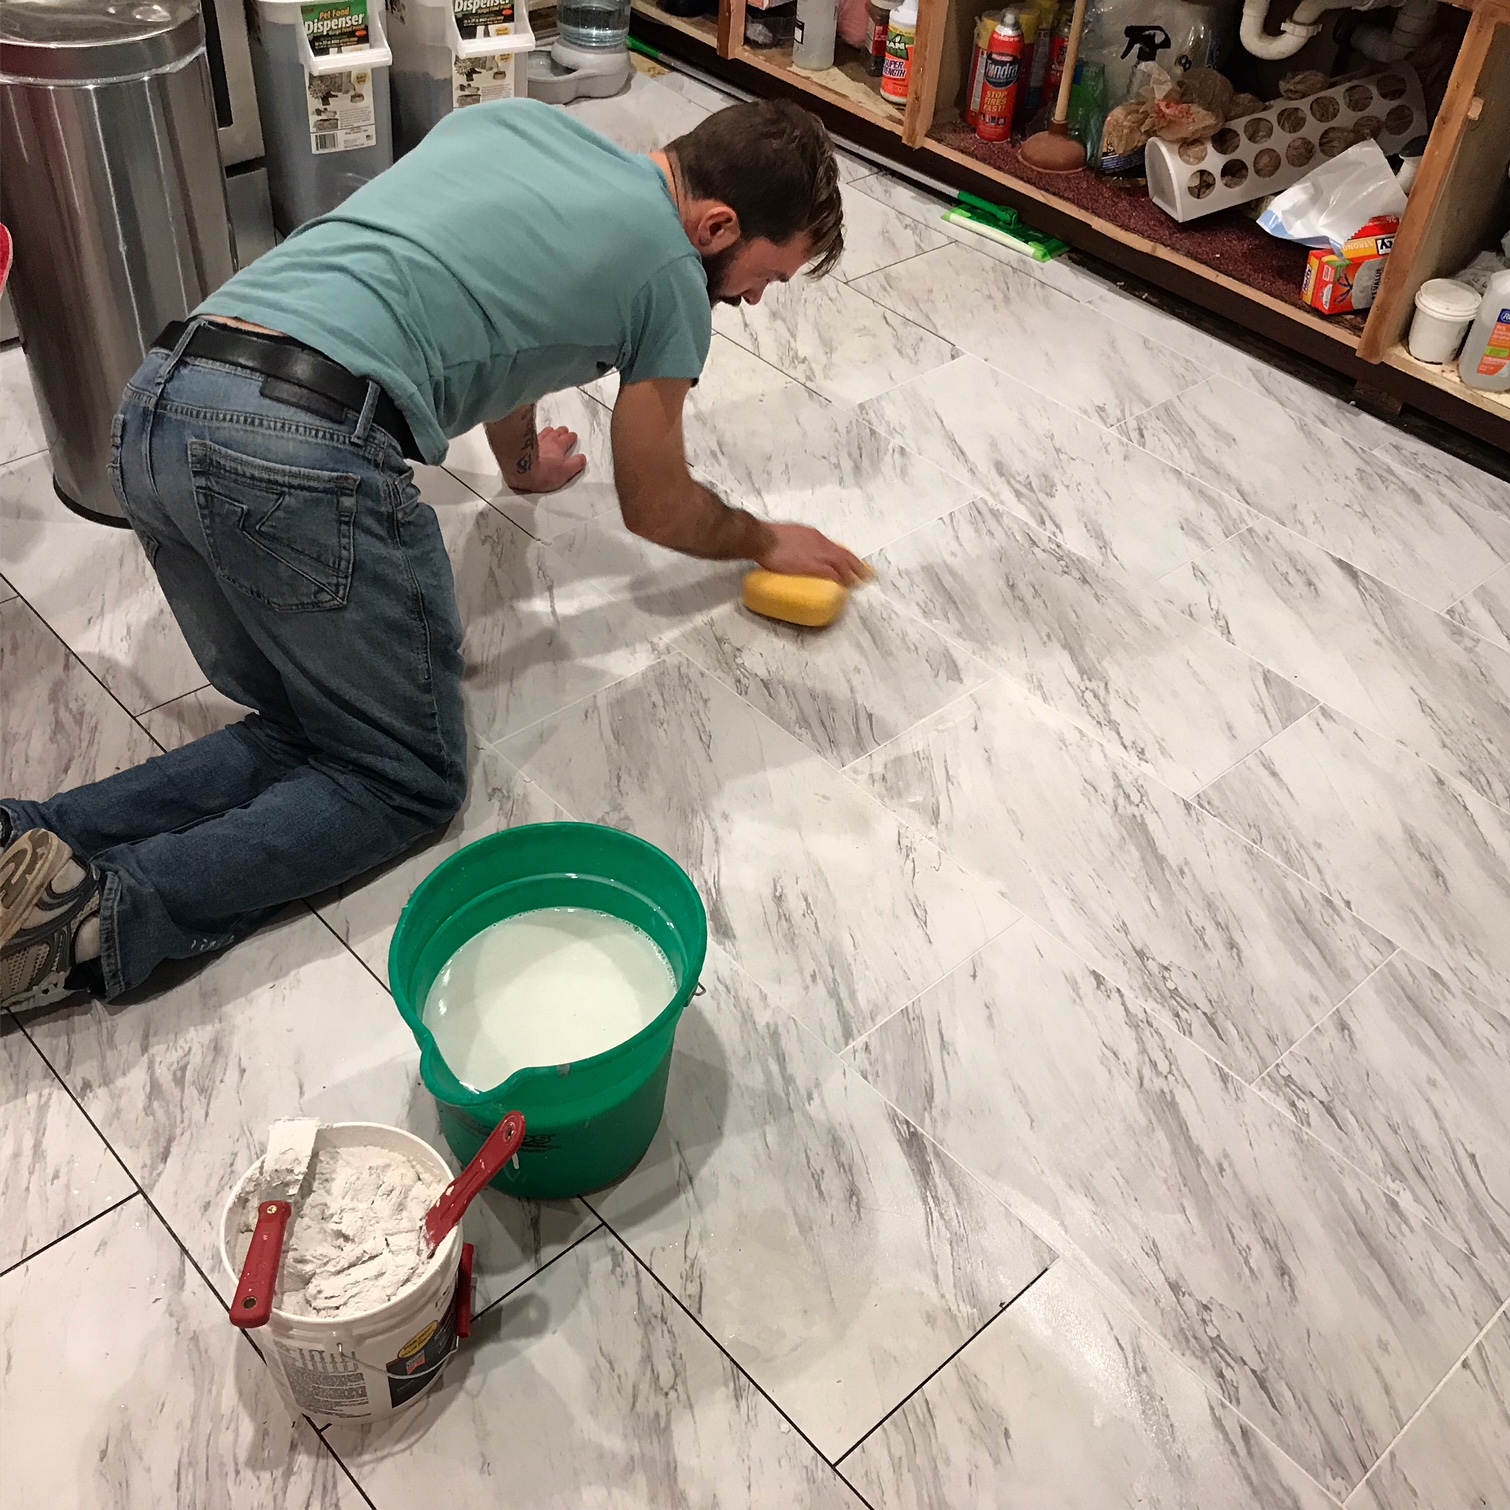
The next day, Johnny helped us with the grout as we were pretty exhausted by this point. Yes it is white grout and we quickly learned why that was a bad idea. Later we colored the grout lines a dark gray with a grout coloring marker and it worked really well.
I had a problem though: the threshold between the kitchen floor and the living room floor was not level and the concrete was in the way. Time to get out the air chisel!
Later I added a wooden threshold at the seem between the kitchen tile and the wooden floor in the living room.
Dog tax:

The Kitchen Cabinets
We wanted IKEA cabinets. But a few things prevented that from happening: the IKEA store was too far away and we knew it would take multiple trips, there was cheaper cabinets at Menards that looked exactly the same, and they also came pre-assembled. Menards cabinets it was!
For the wall cabinets, I didn't want to remove the old ones because there was no drywall above or behind them (why??!). So it would have been a big mess. Our solution was to re-use the outer shells of the cabinets, but with new doors with ones from Menards that match the base cabinets. It worked out really well. (In hindsight, I'm not sure which was less work - rebuilding the old cabinets are buying new cabinets but doing a little drywall work about and behind them. Who knows?)
First, I thought I would get the wall cabinets built so that we could have a place to store everything while we had no base cabinets. I had to add some new boards on the inside, I used solid poplar boards and pocket screws.

That's as far as I got on the wall cabinets before the base cabinets started to arrive and we couldn't wait to install those any longer.
I don't have any pics of the demolition of the old base cabinets because we where having way too much fun. Especially Logan.
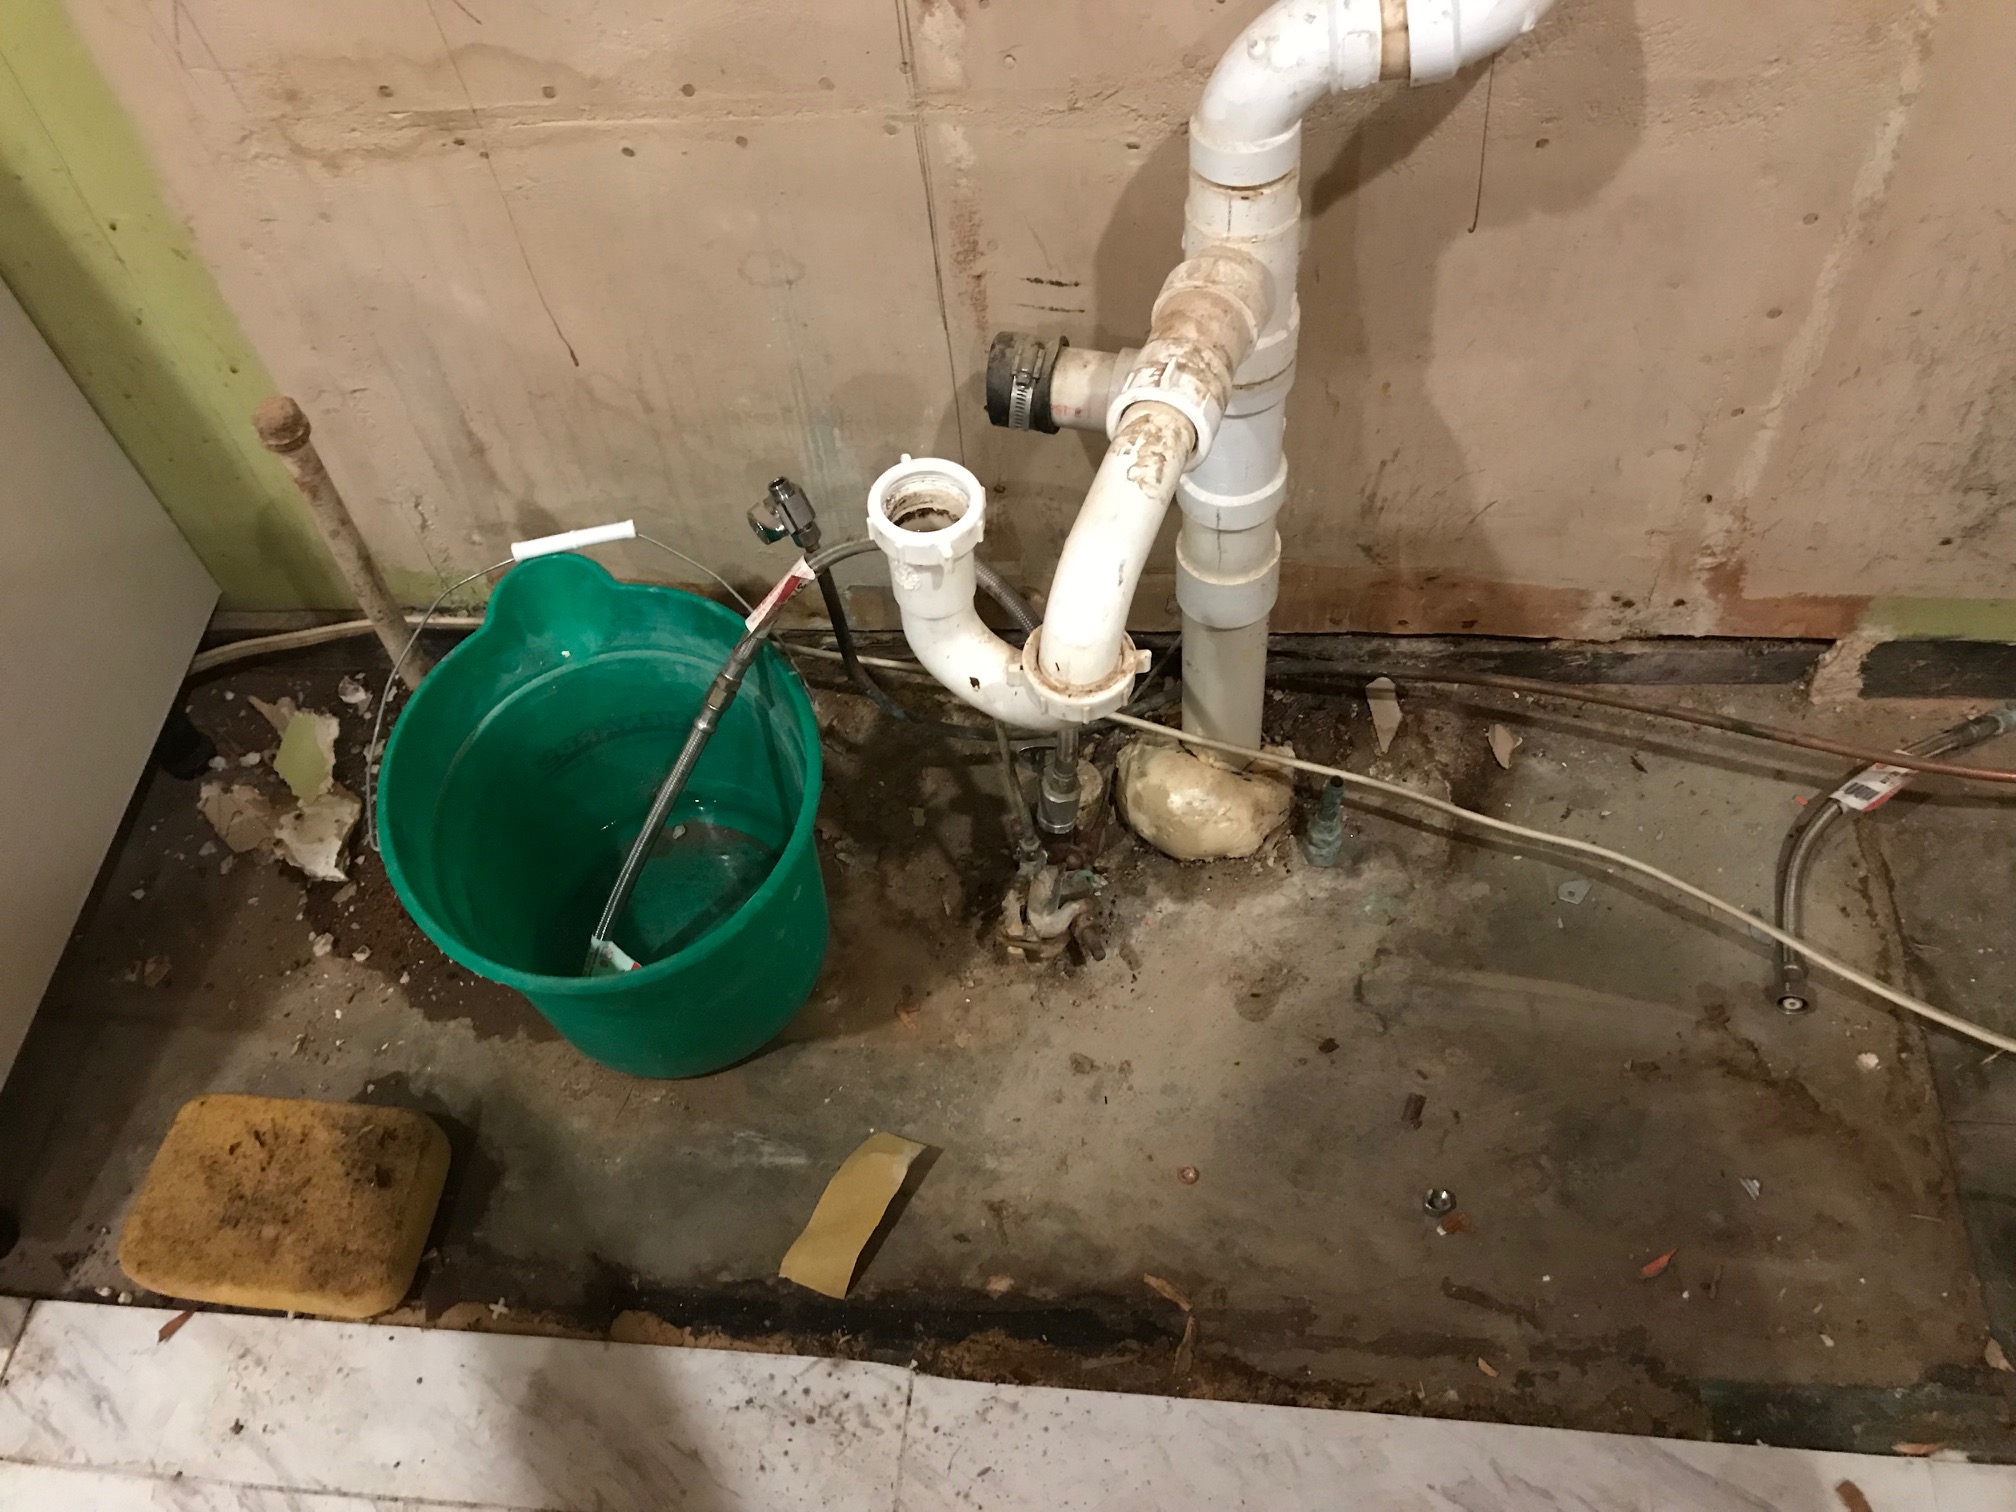
But here's a pic of the old shitty plumbing. The cold water source was a steel pipe coming out of the concrete ground and it was rusty and nasty inside! I decided to replace both hot and cold water pipes with new PEX pipes coming in from the laundry room right next door. And do you see that pipe to the left of the bucket? Yeah that little fucker was in the way of the base cabinet and I don't know why it was there but it had water pressure in it, so I had to shut off the water, hack it off an inch above the concrete, rent a huge pipe threader tool and cut new threads onto it, and twist a new pipe cap onto the new threads. And what do you think happened when I turned the water back on? The pipe was so rusty from the inside that the newly cut threads had holes in them and water was leaking like a sailer who doesn't use protection. The solution was what I should have done all along: go into the basement, find where it connects to the main line, and cap it there. All of that because it was in the way of the new base cabinet.
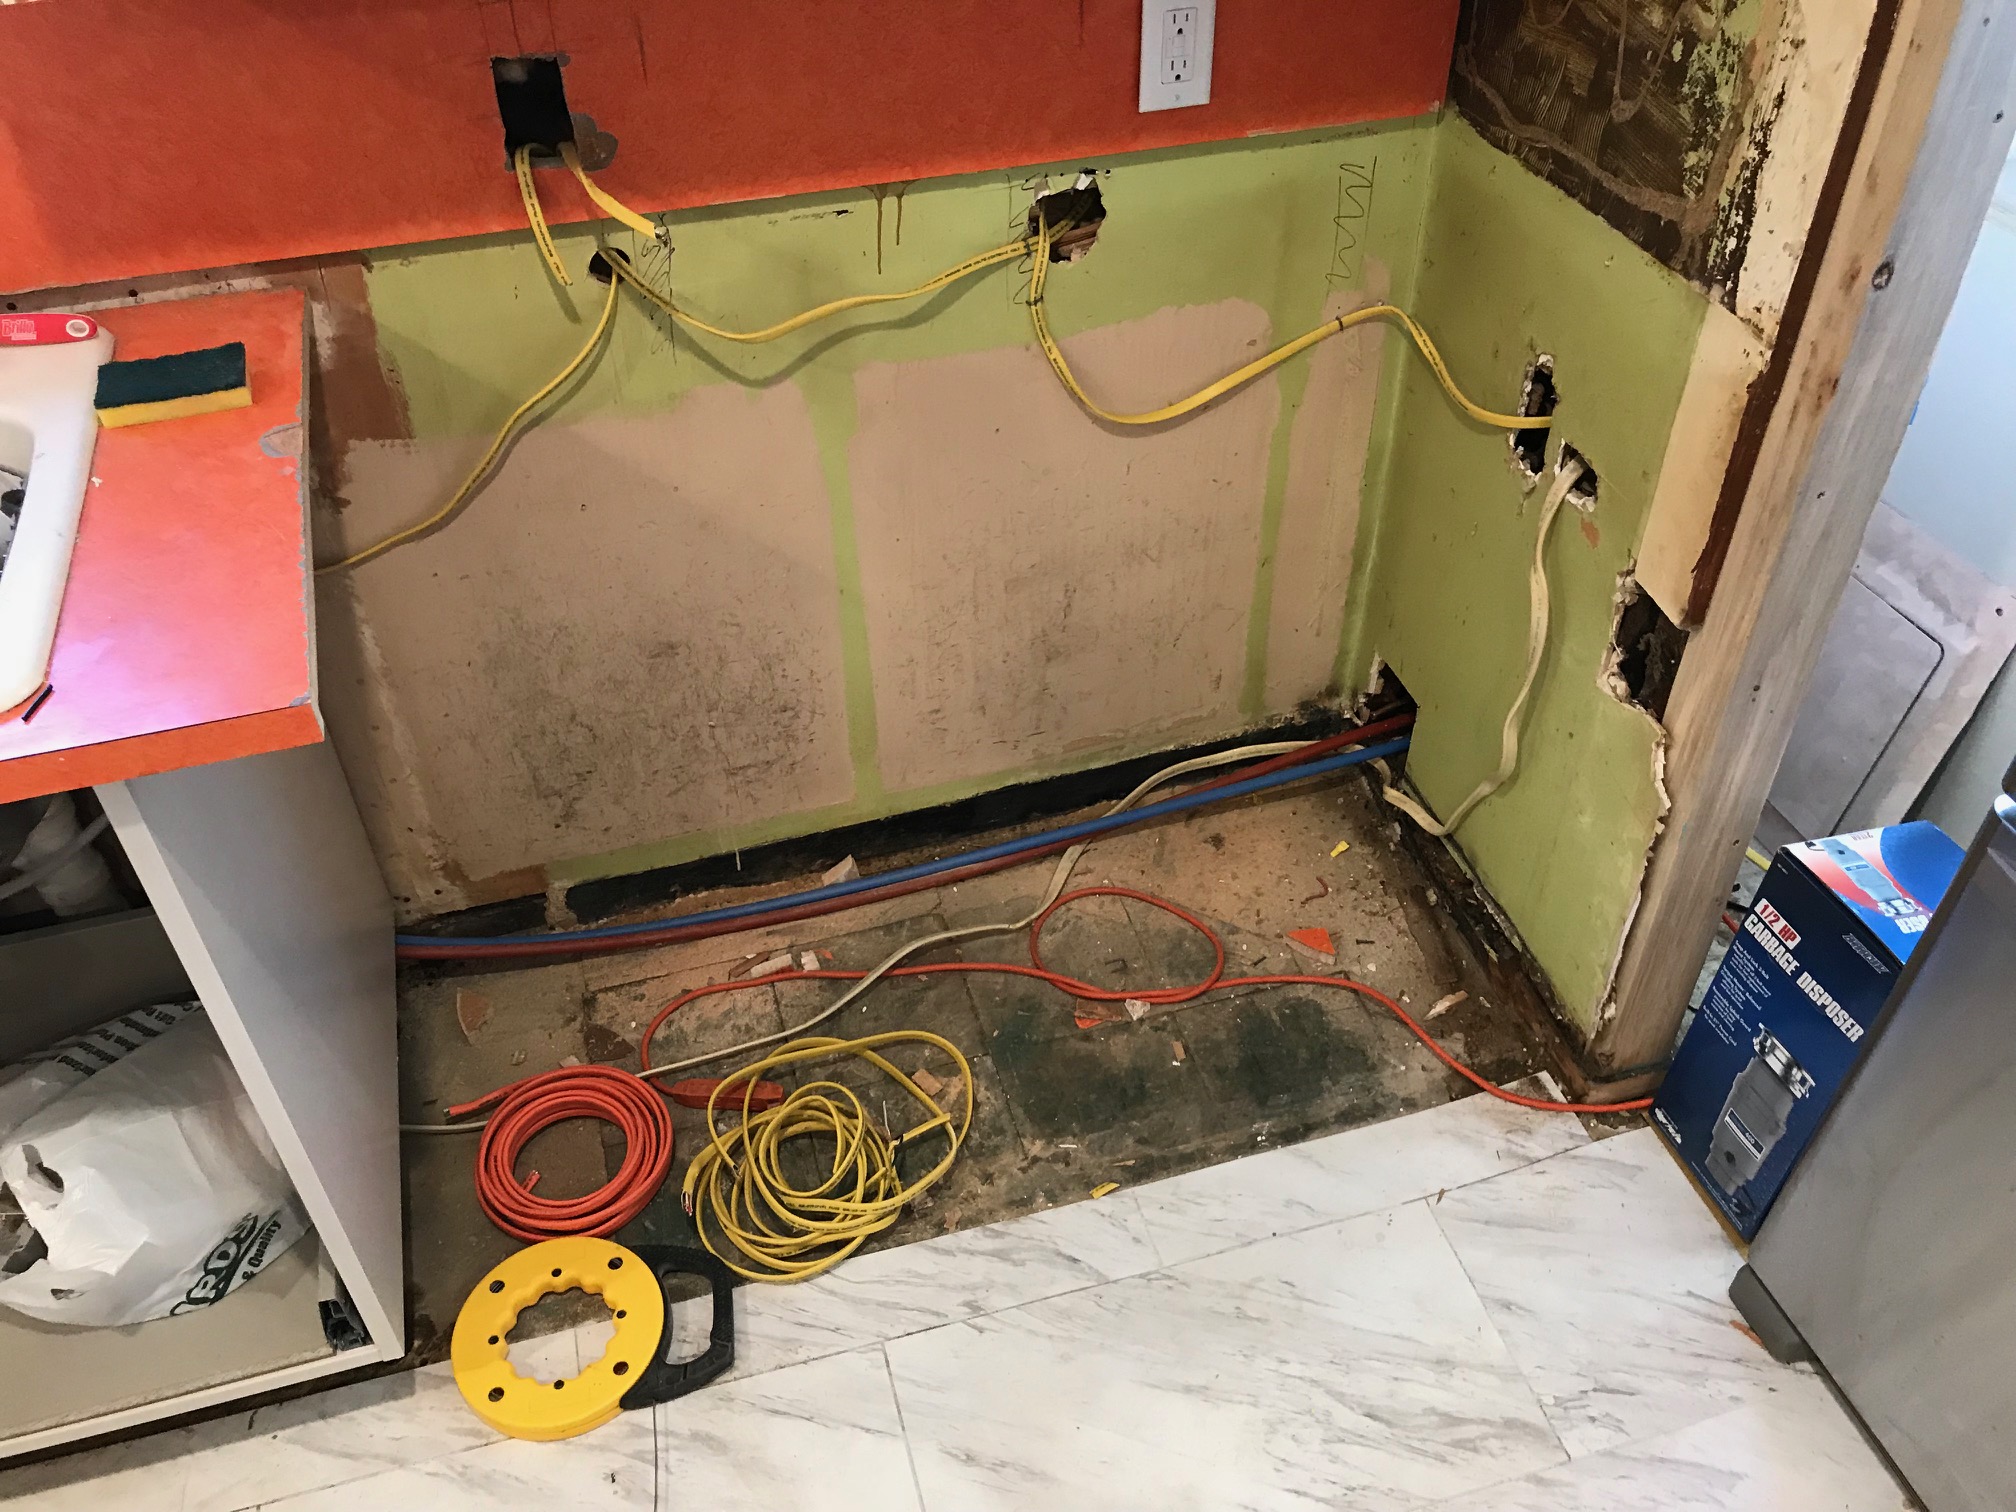
We had to replace all the wiring in the kitchen too. ALL OF THE WIRING. And outlets and lights. Don't forget the outlet for the stove! And for the new dishwasher! And for the new garbage disposal, which requires a switch too! There was no dishwasher or garbage disposal before the remodel so I had to figure it all out myself. This took weeks.
So in the end, all the wiring was replaced and all of the plumbing was replaced.
Installing the base cabinets.
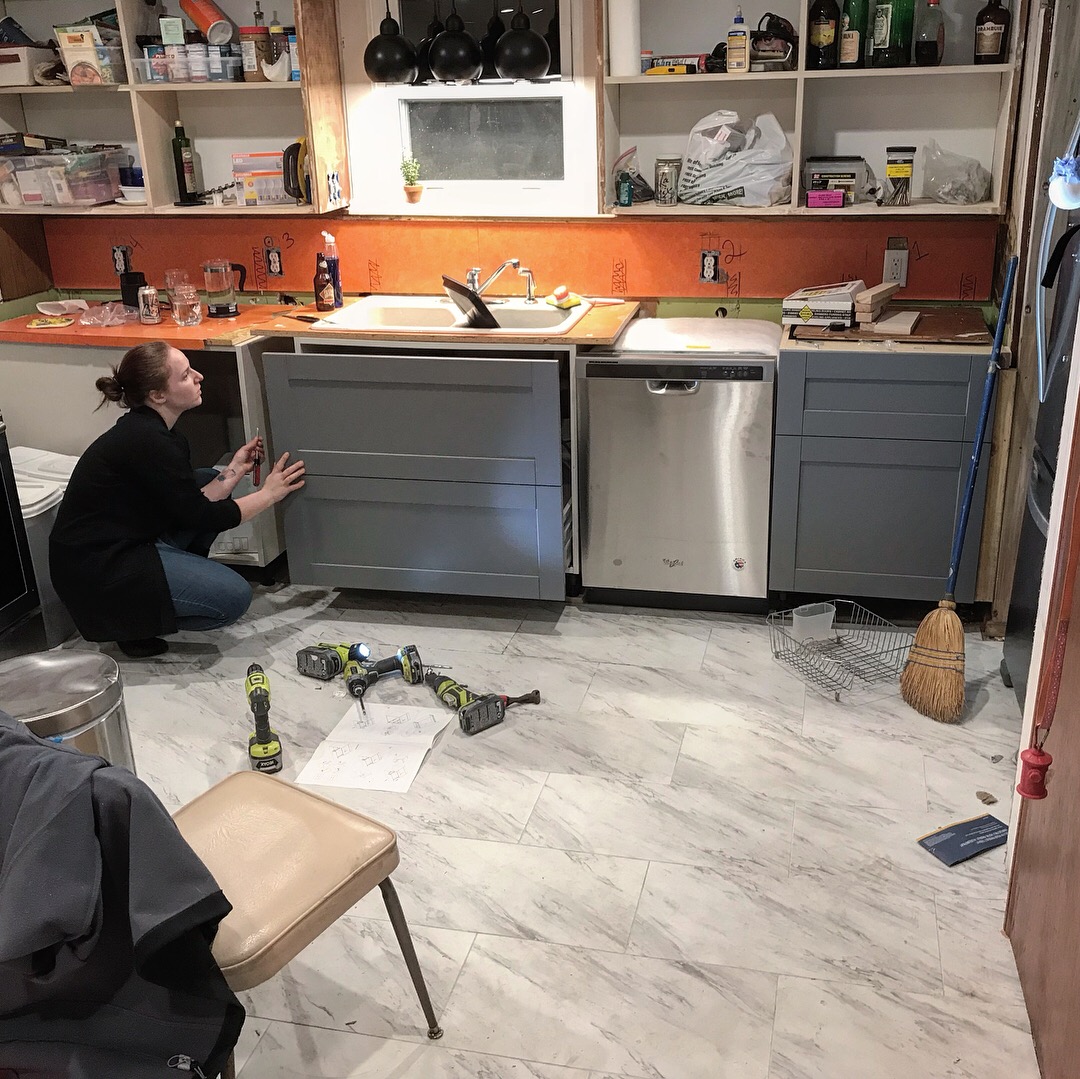
I don't have a lot of picks from the base cabinet install, even though it was one of the major parts of the remodel. One of the things were learned during that process was that there needs to be at least 3" from an inside corner to a cabinet door or drawer front. We didn't plan on that so things had to get adjusted to make up for those added 3" and 6" but we were able to make it all work in the end.
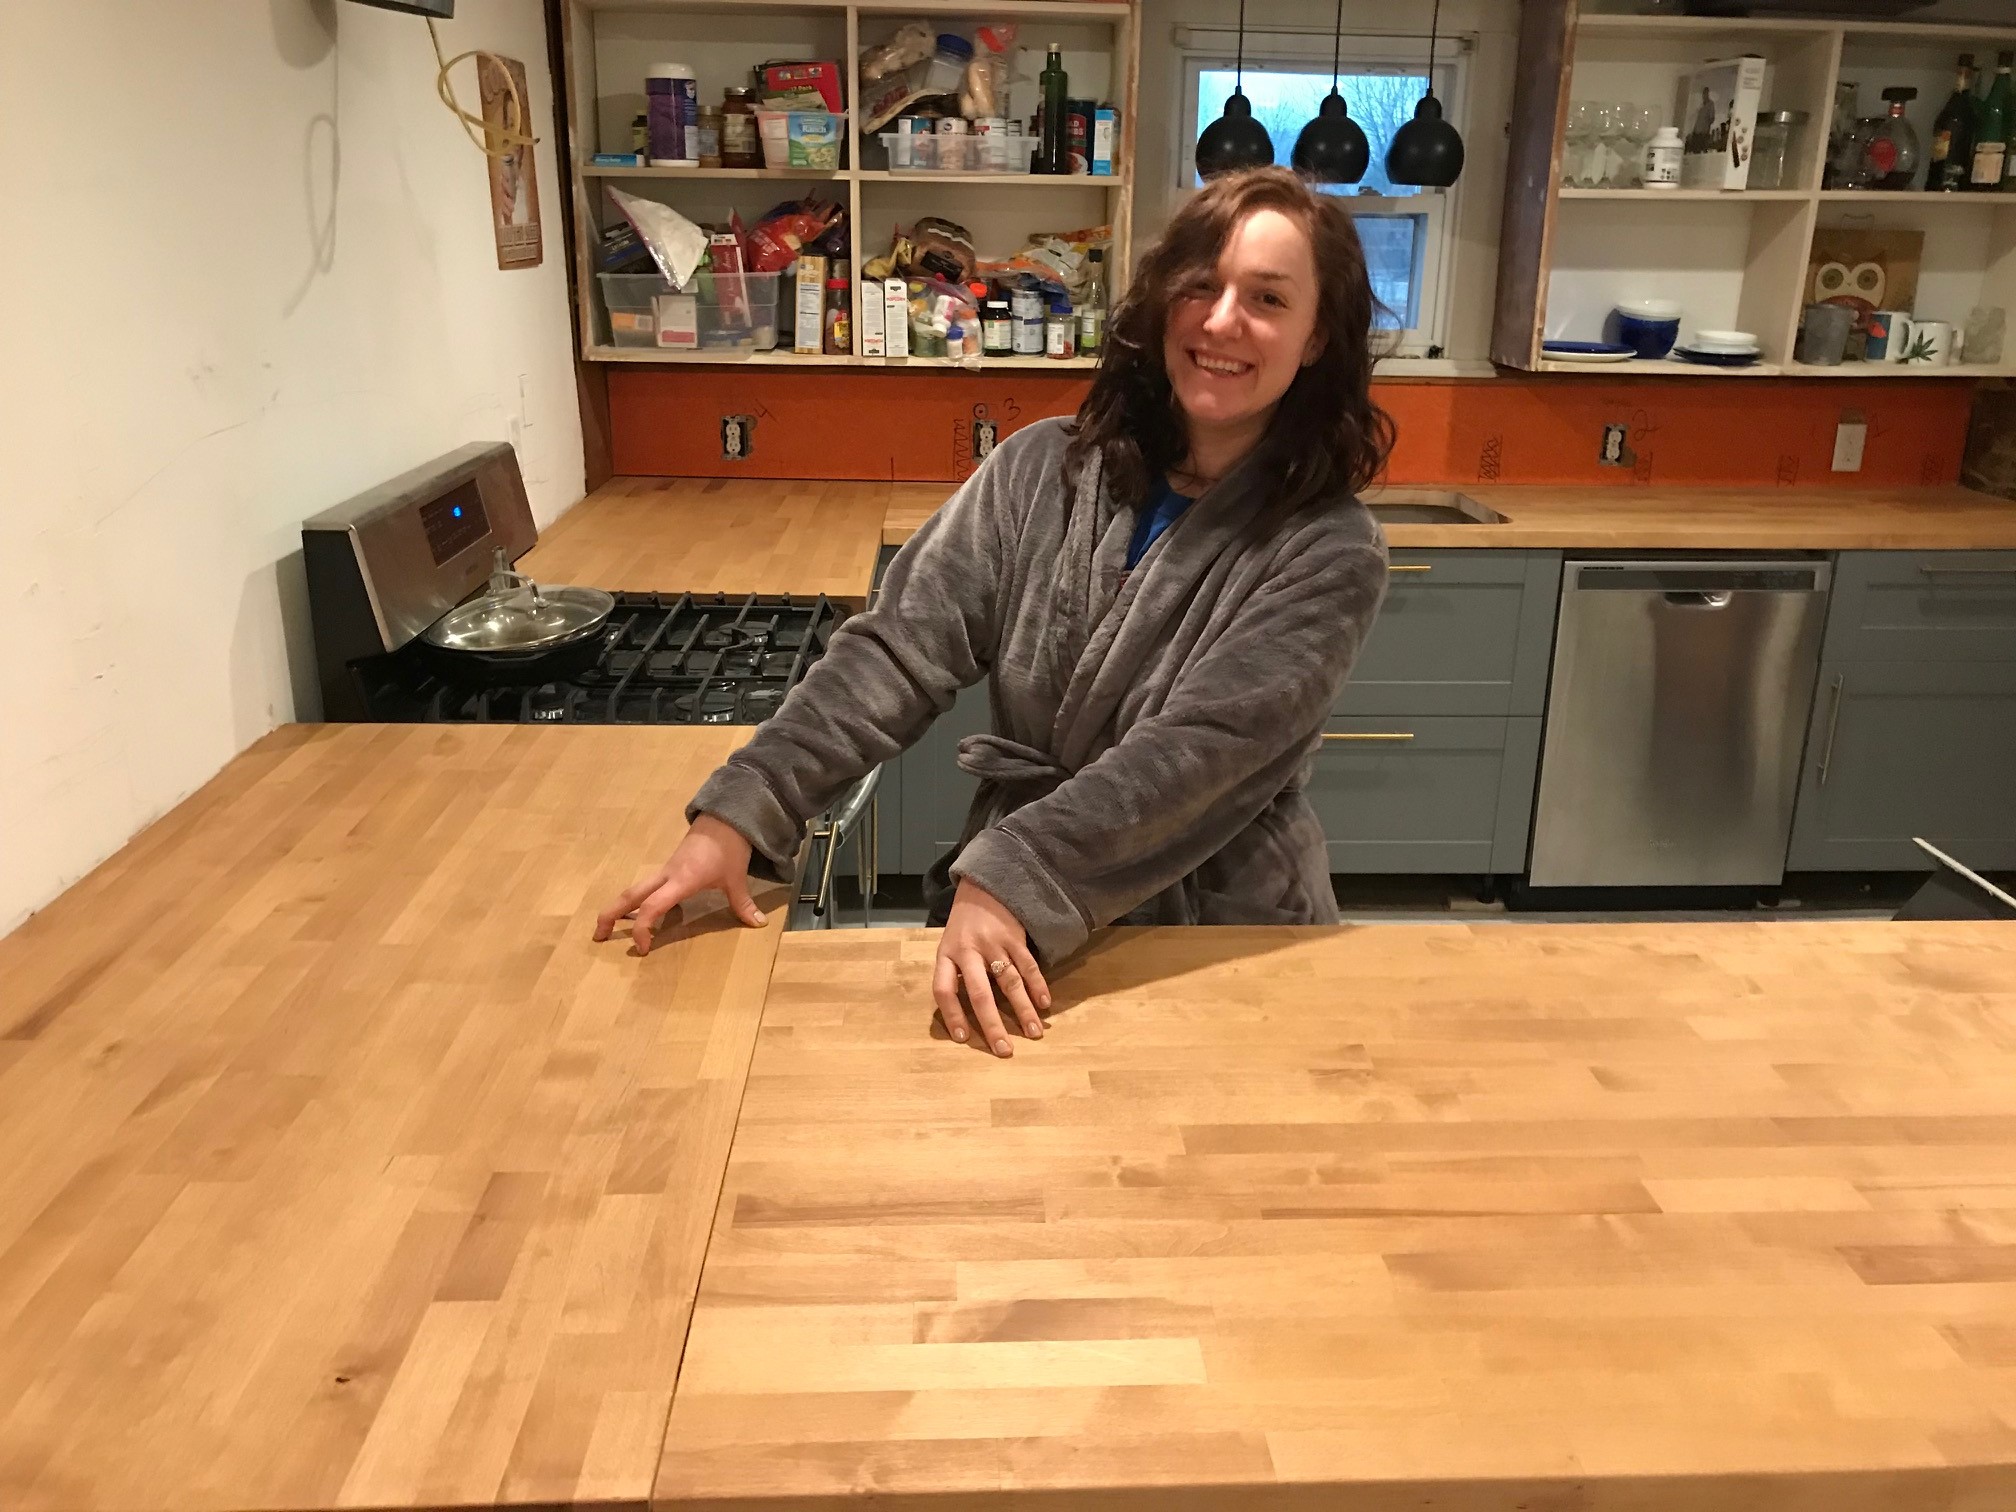
Next up was the countertops! Dog for scale:

Read about the countertops install here: DIY Wooden Butcher Block Countertops
You didn't forget about the wall cabinets did you? It was finally time to paint them, but not after fixing them up with a shit load of trim pieces, caulk, wood filler, primer, etc. The primer we used was Zinzer B.I.N. to block out the many stains on the old cabinets and to seal the poplar boards I added to them.
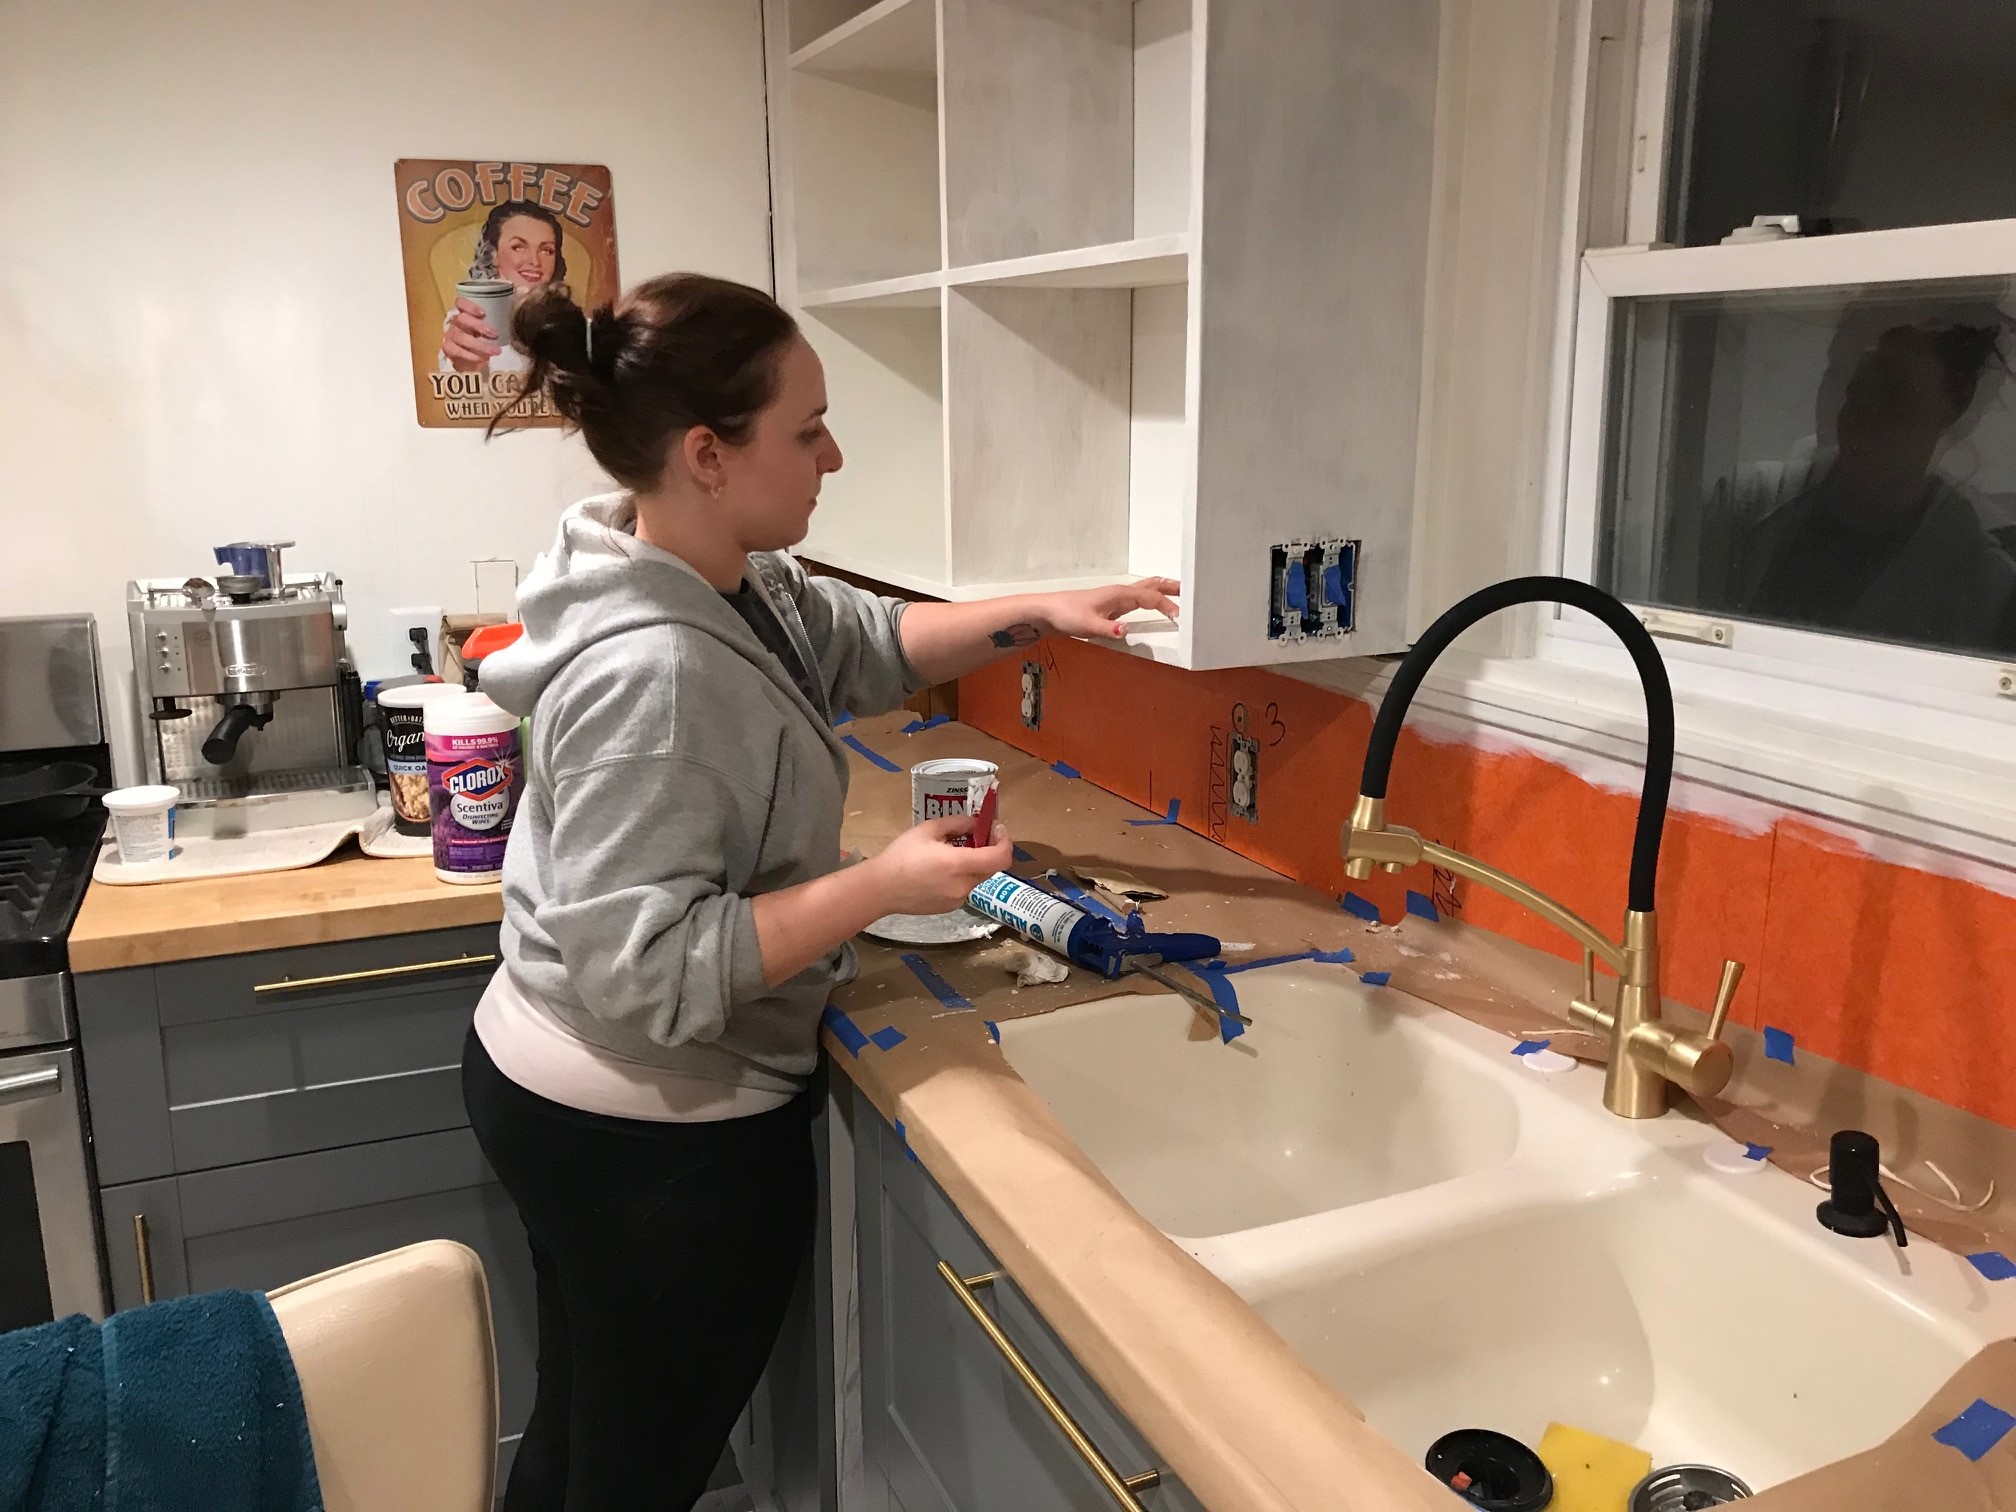
We used Benjamin Moore's Advance paint in their satin sheen. And their Dove White color was a perfect match for the cabinet doors we bought from Menards to go on the wall cabinets. The paint laid down perfectly flat, I've never seen a water-based paint lay down so flat, but it did take a long while for it to resist bubbling up if it got a little water on it (yes I learned the hard way).

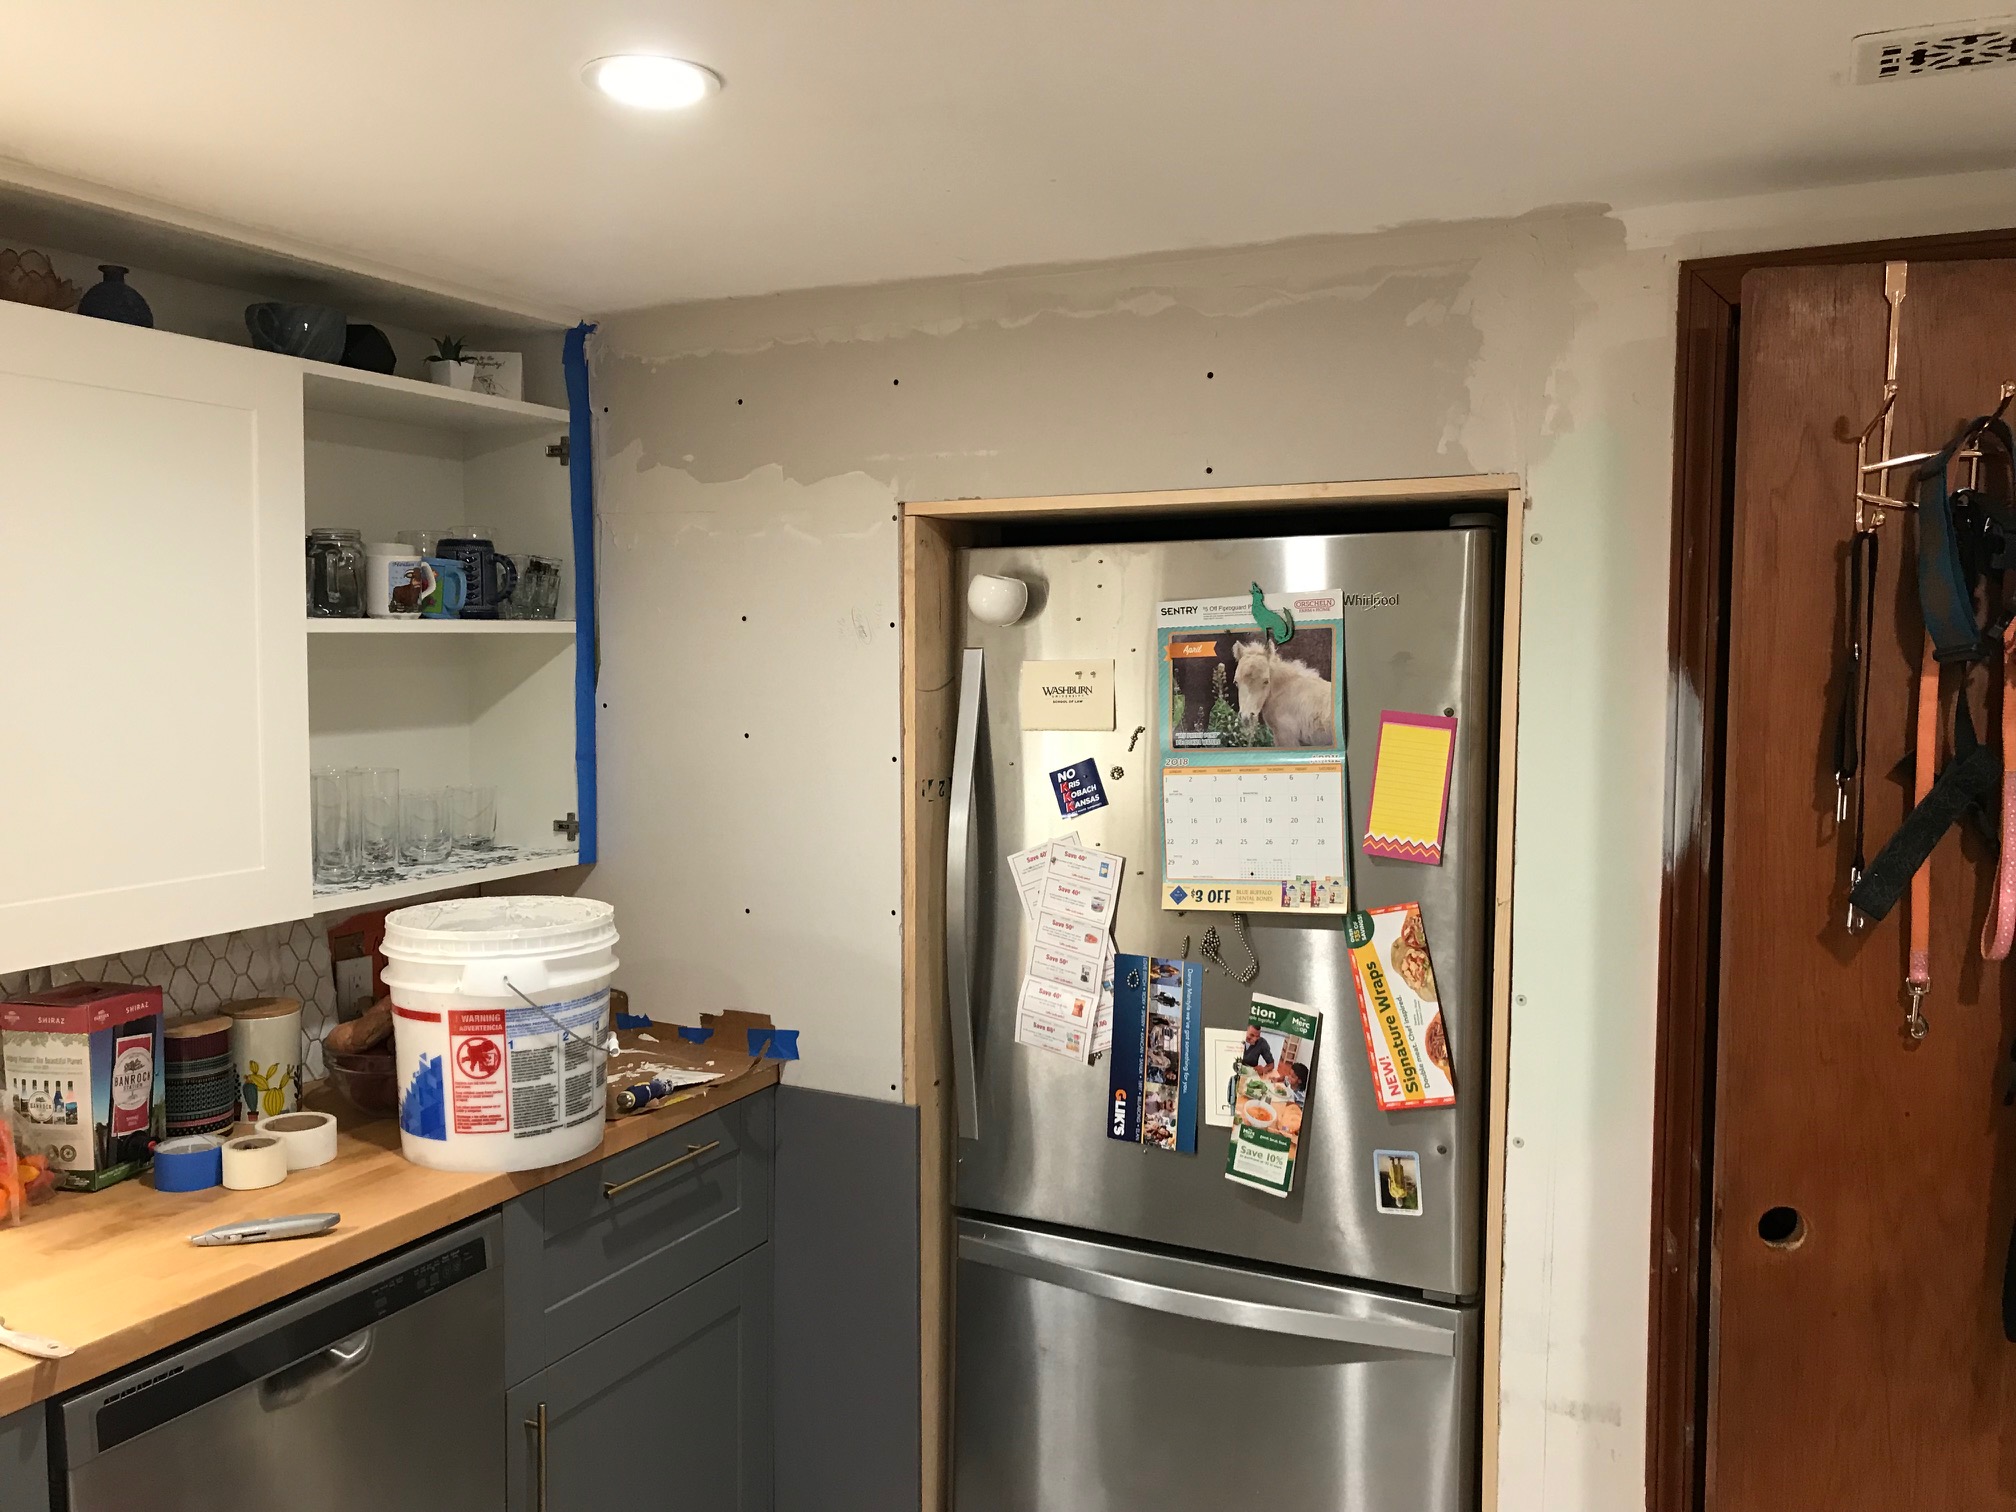
The Custom Fridge Cubby
So if you haven't noticed by now, yeah, the fridge is in the wall. Whats up with that??
When designing the kitchen layout in software, I played with the idea of knocking down the wall and putting the fridge in its place. For the layout we wanted to work, we needed a place to put the fridge and the room to the right of the kitchen was just a laundry room. I showed it to Logan and she liked it too! As they say, the rest is history, or at least the wall was history.
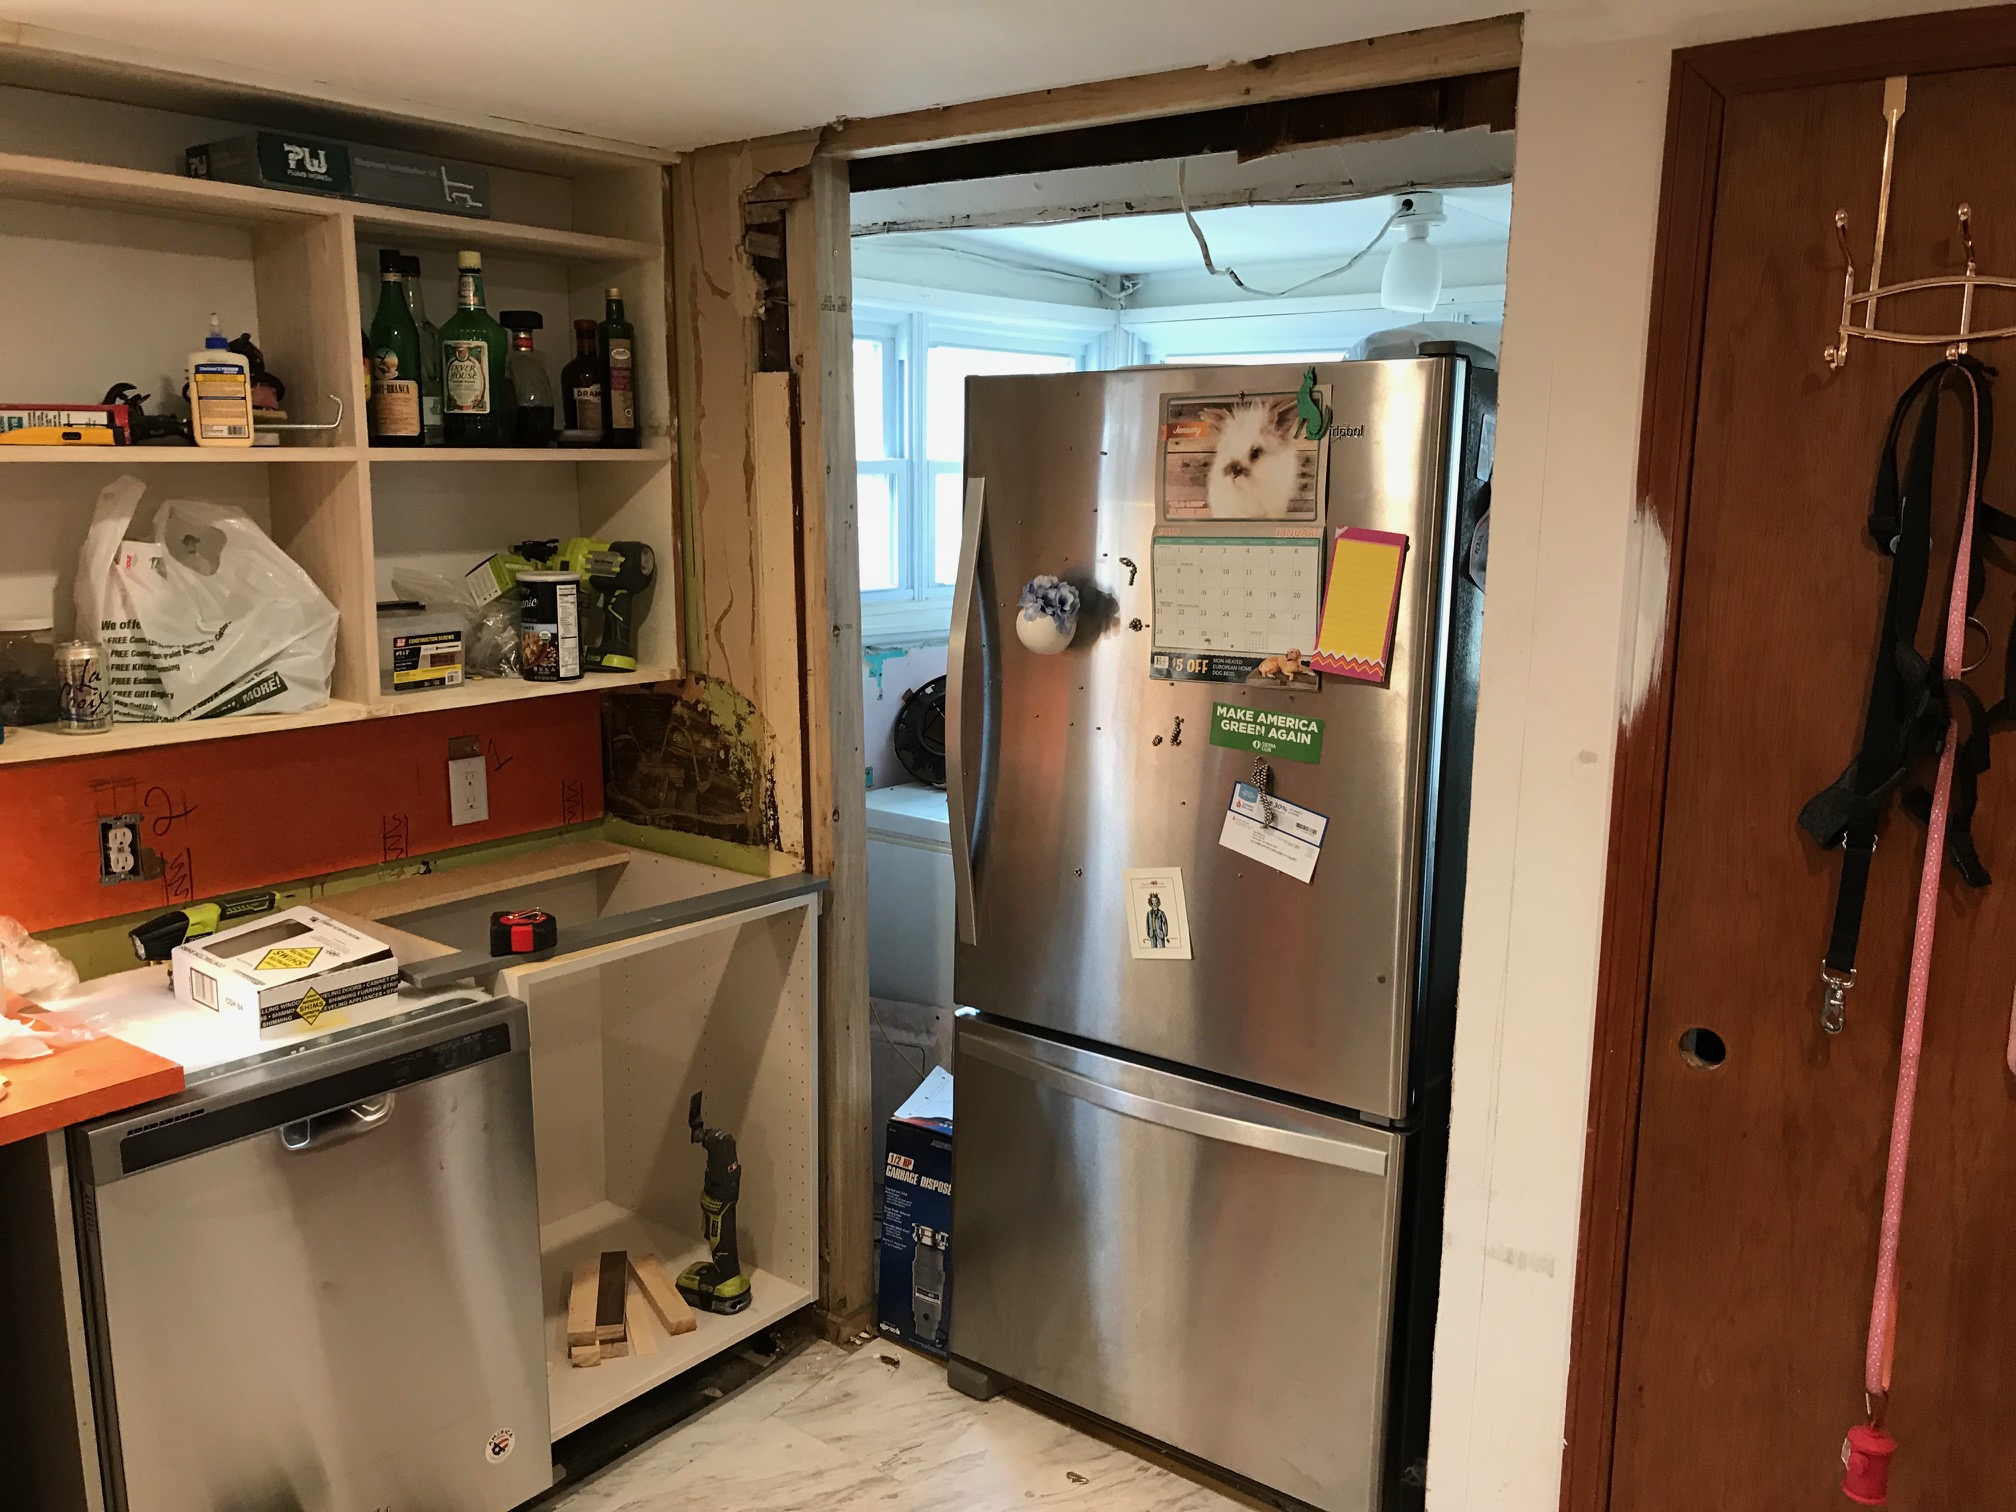
Built a frame for the drywall to screw to.
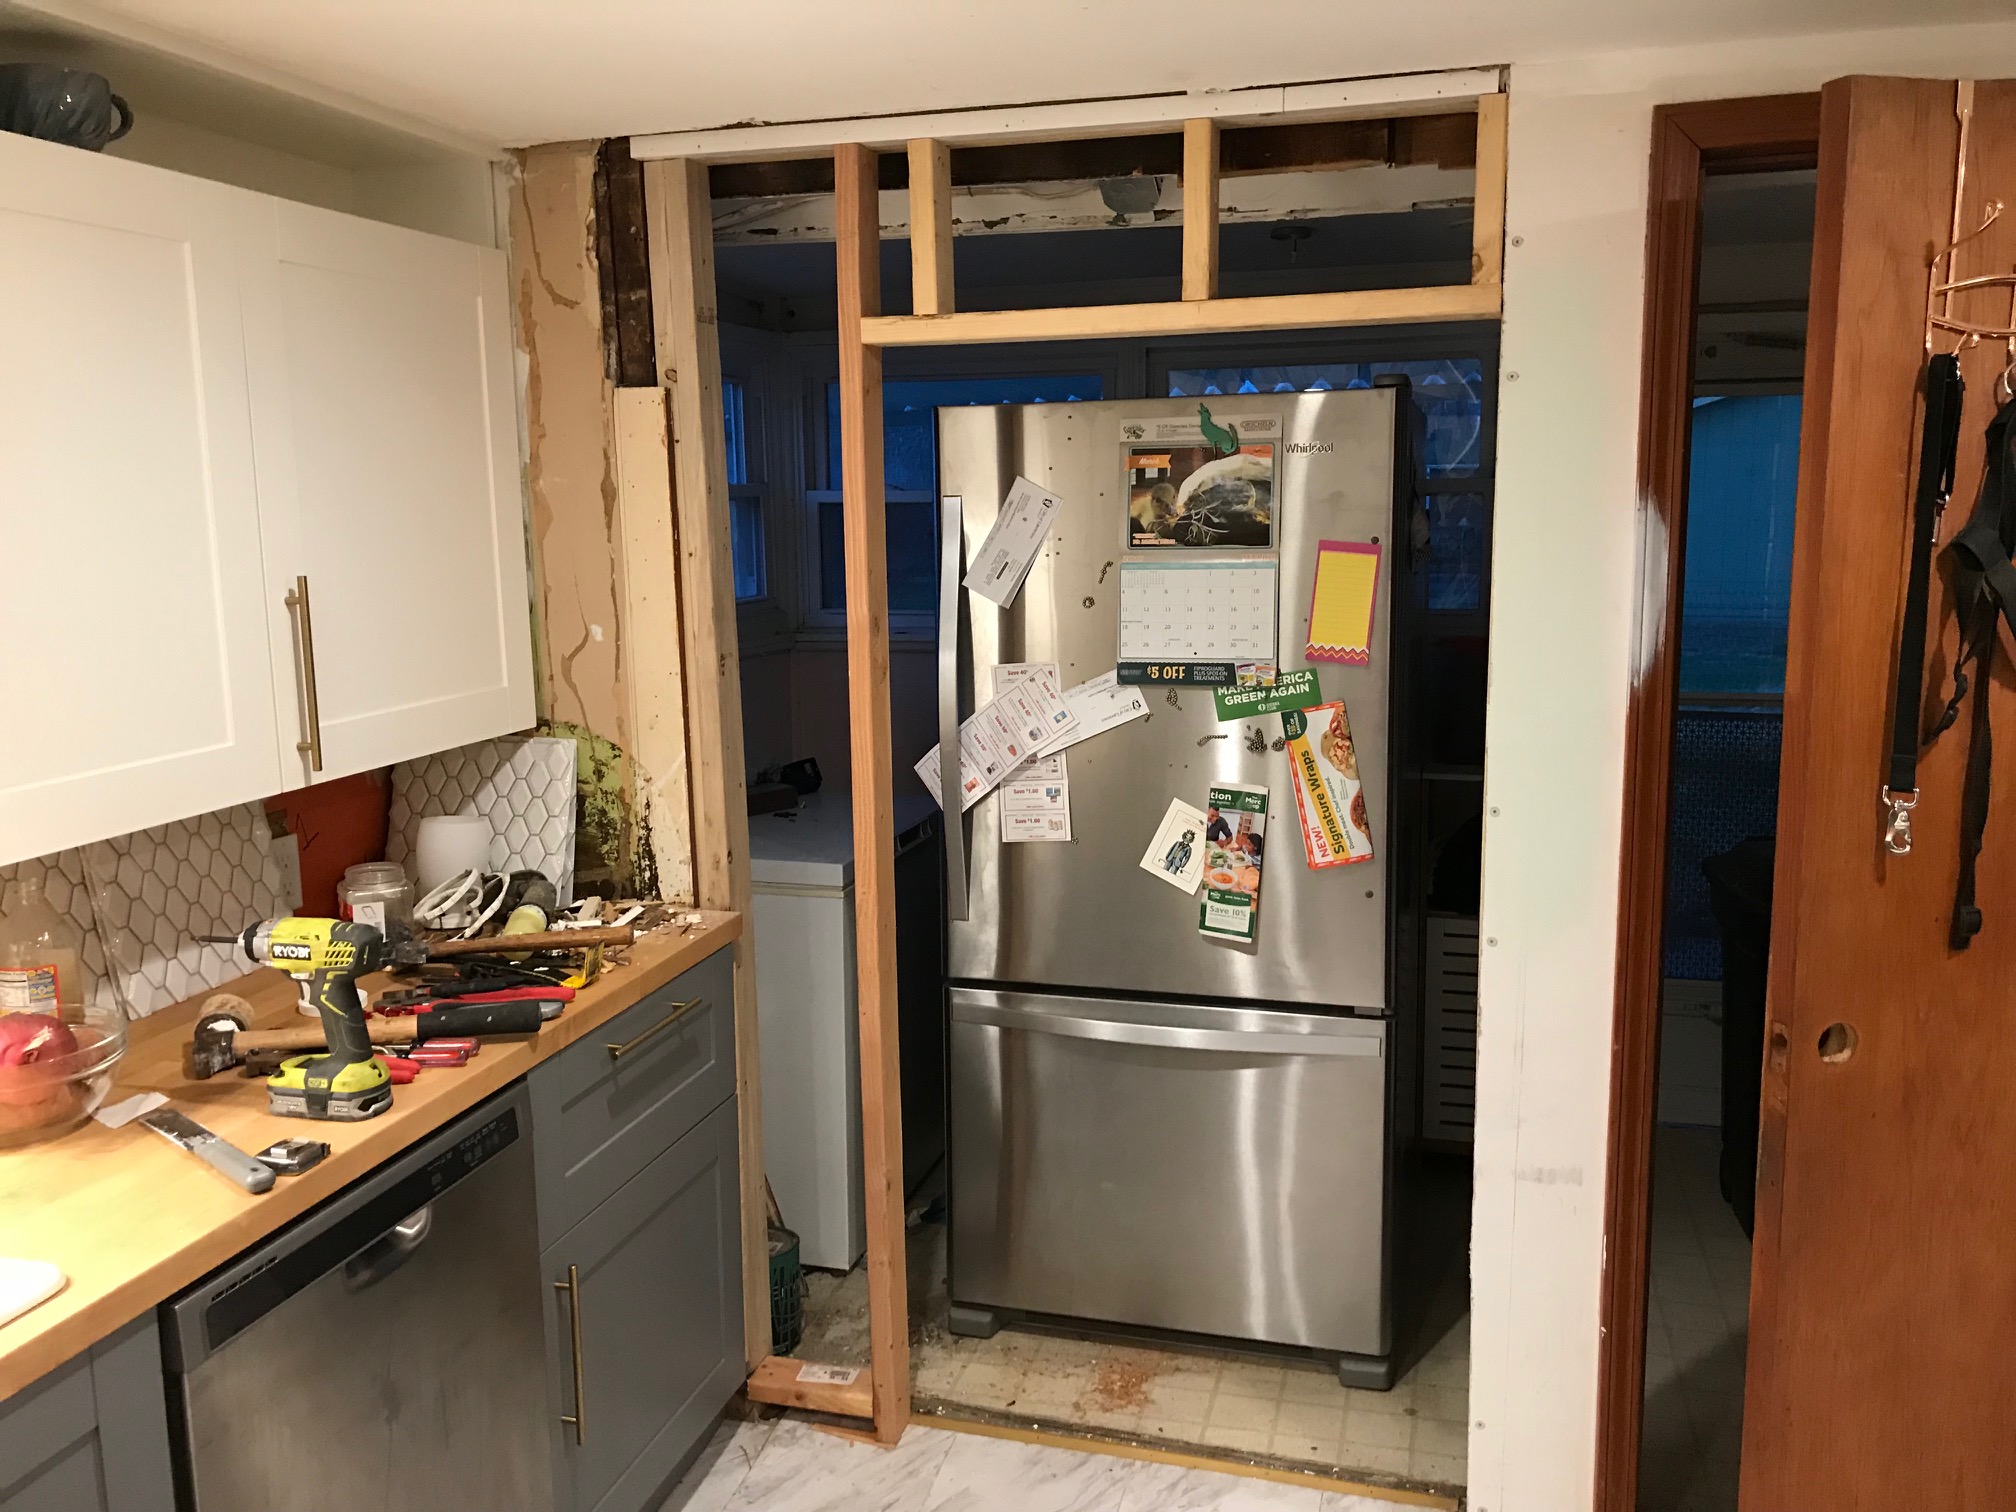
Added the drywall.
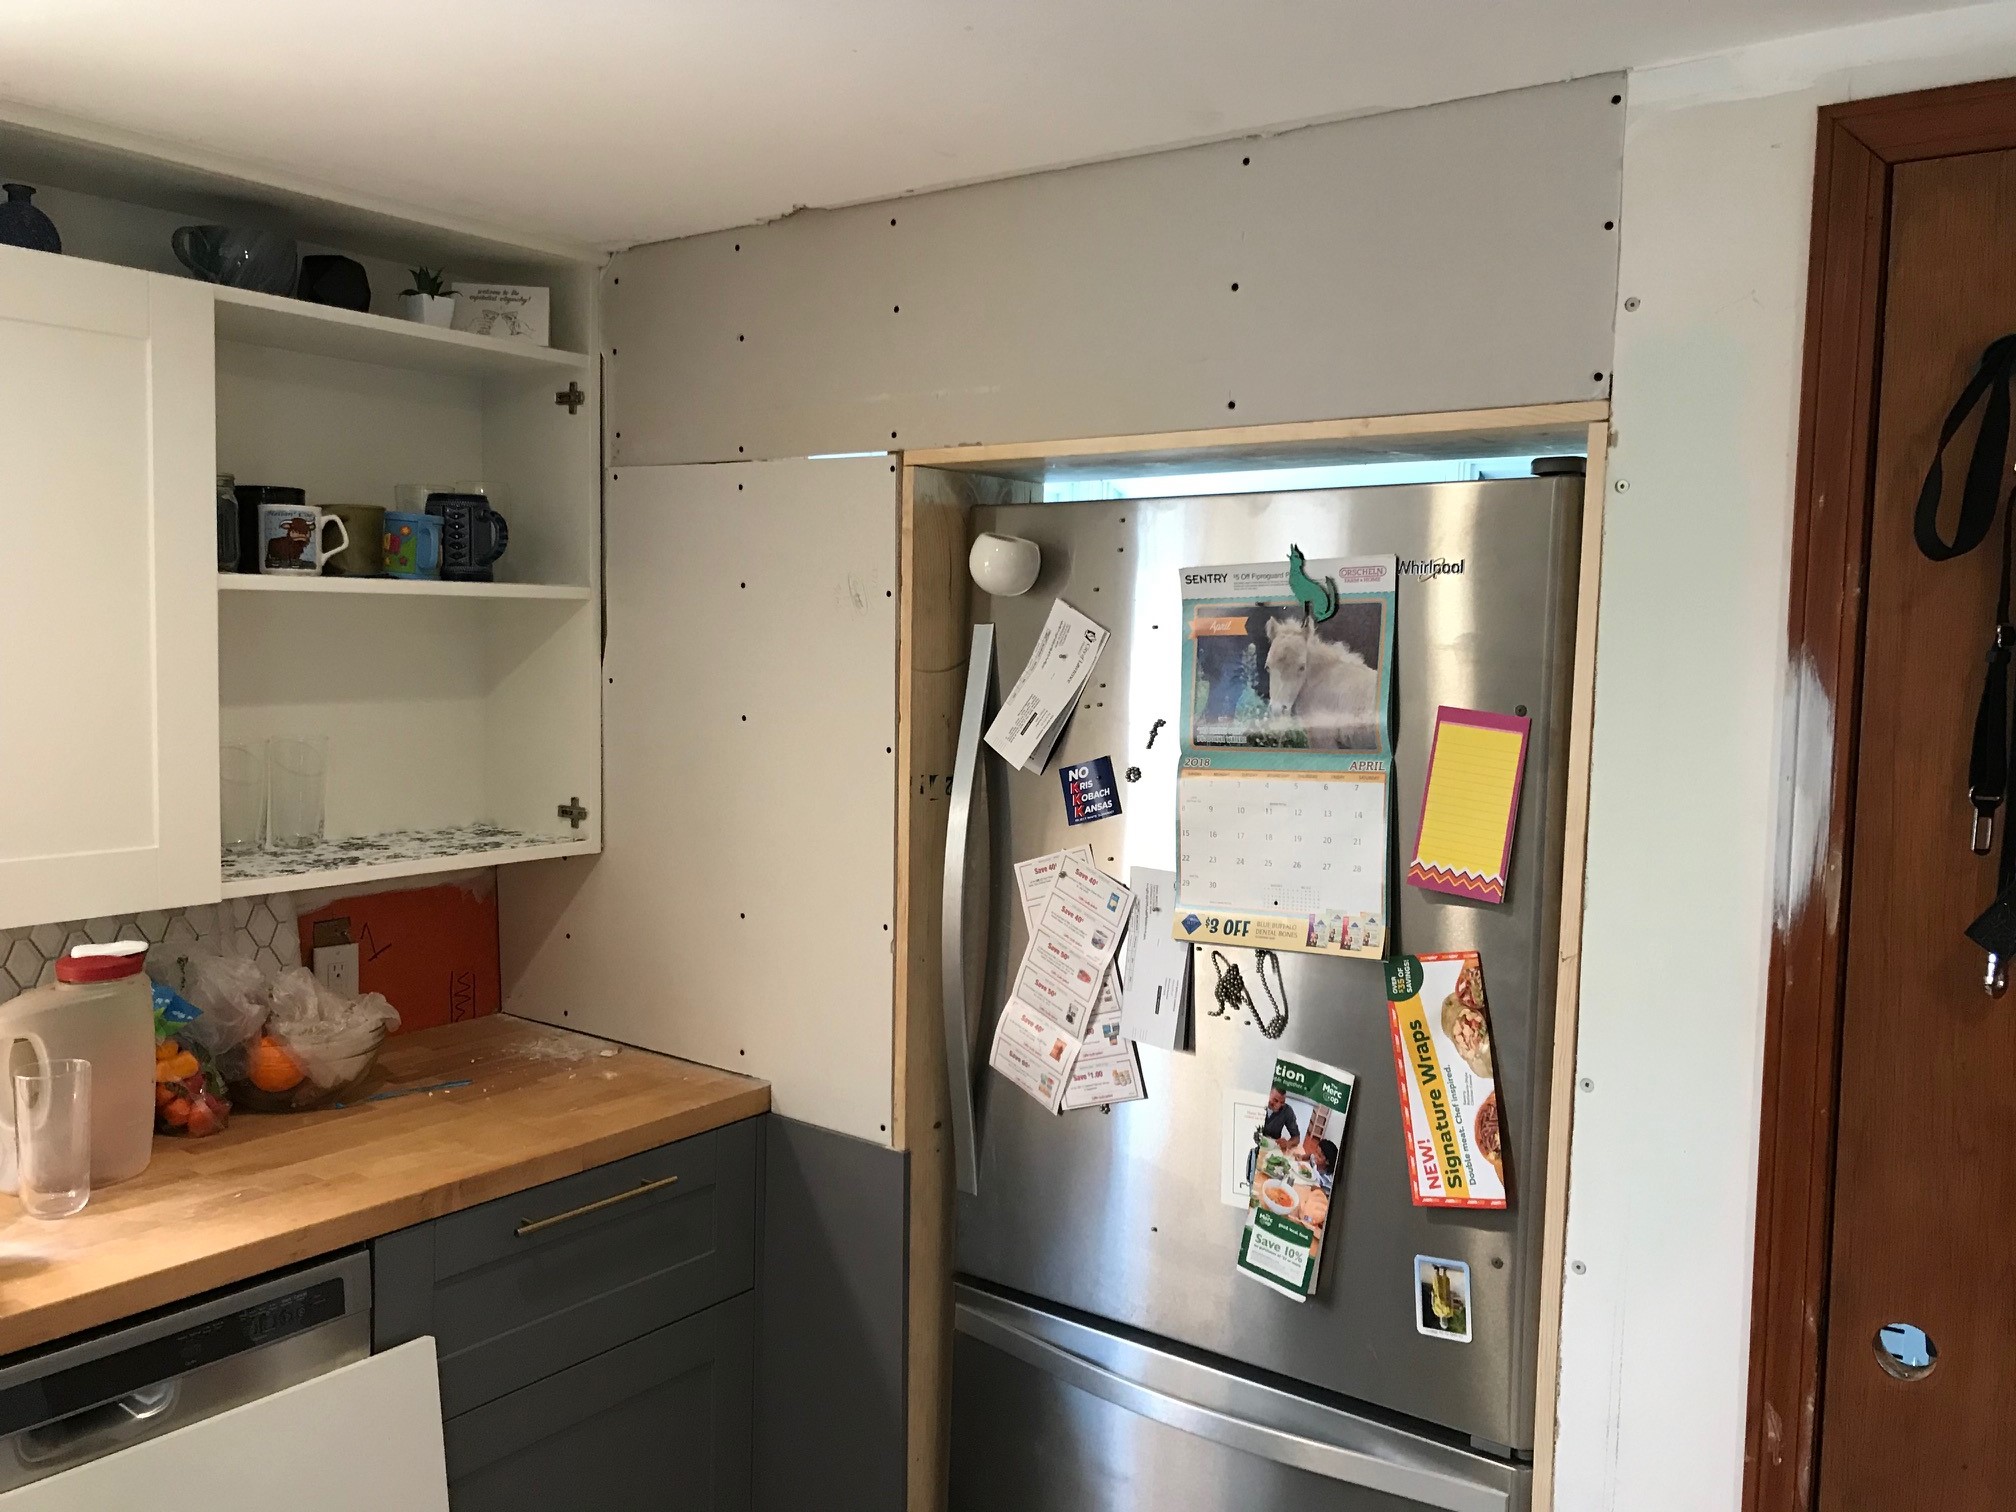
Taped and mudded.
And then added trim and paint. Below is a bit of sneak peak but here ya go:
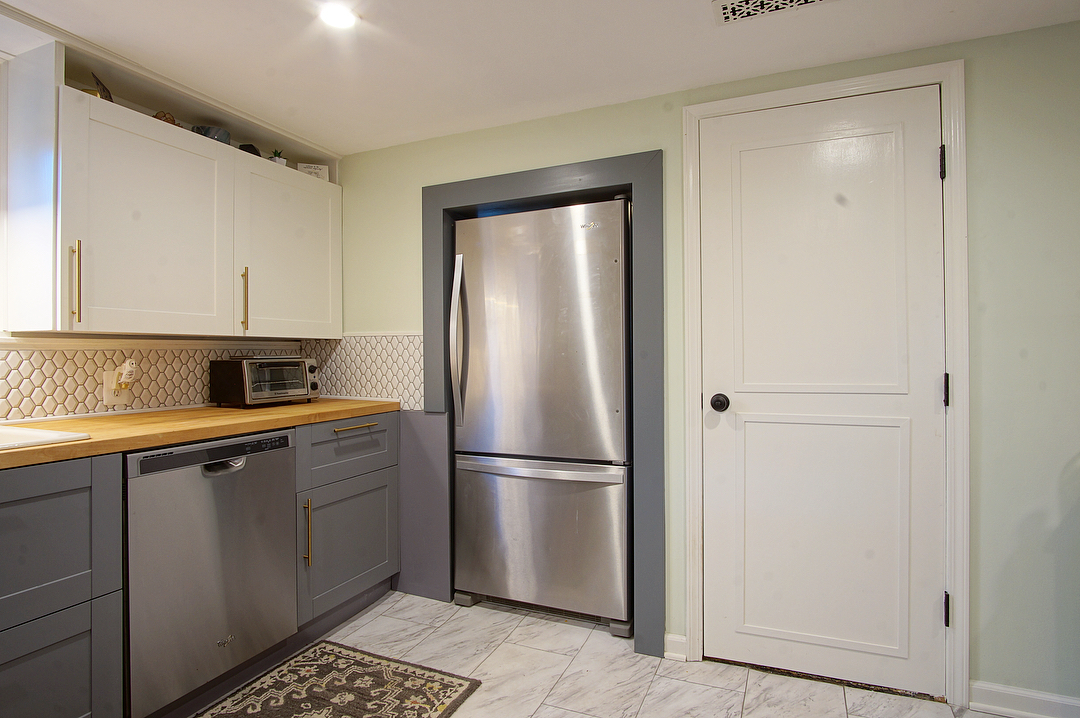
Paint! We used Ben Moore Regal Select Pearl which was just the perfect sheen and is my new favorite paint. Color is Valspar's French Urn (I was at Ace Hardware buying the paint and they have both Valspare and BM).
Backsplash Tile
With the paint finally on the walls, we could get started on the backsplash tile.
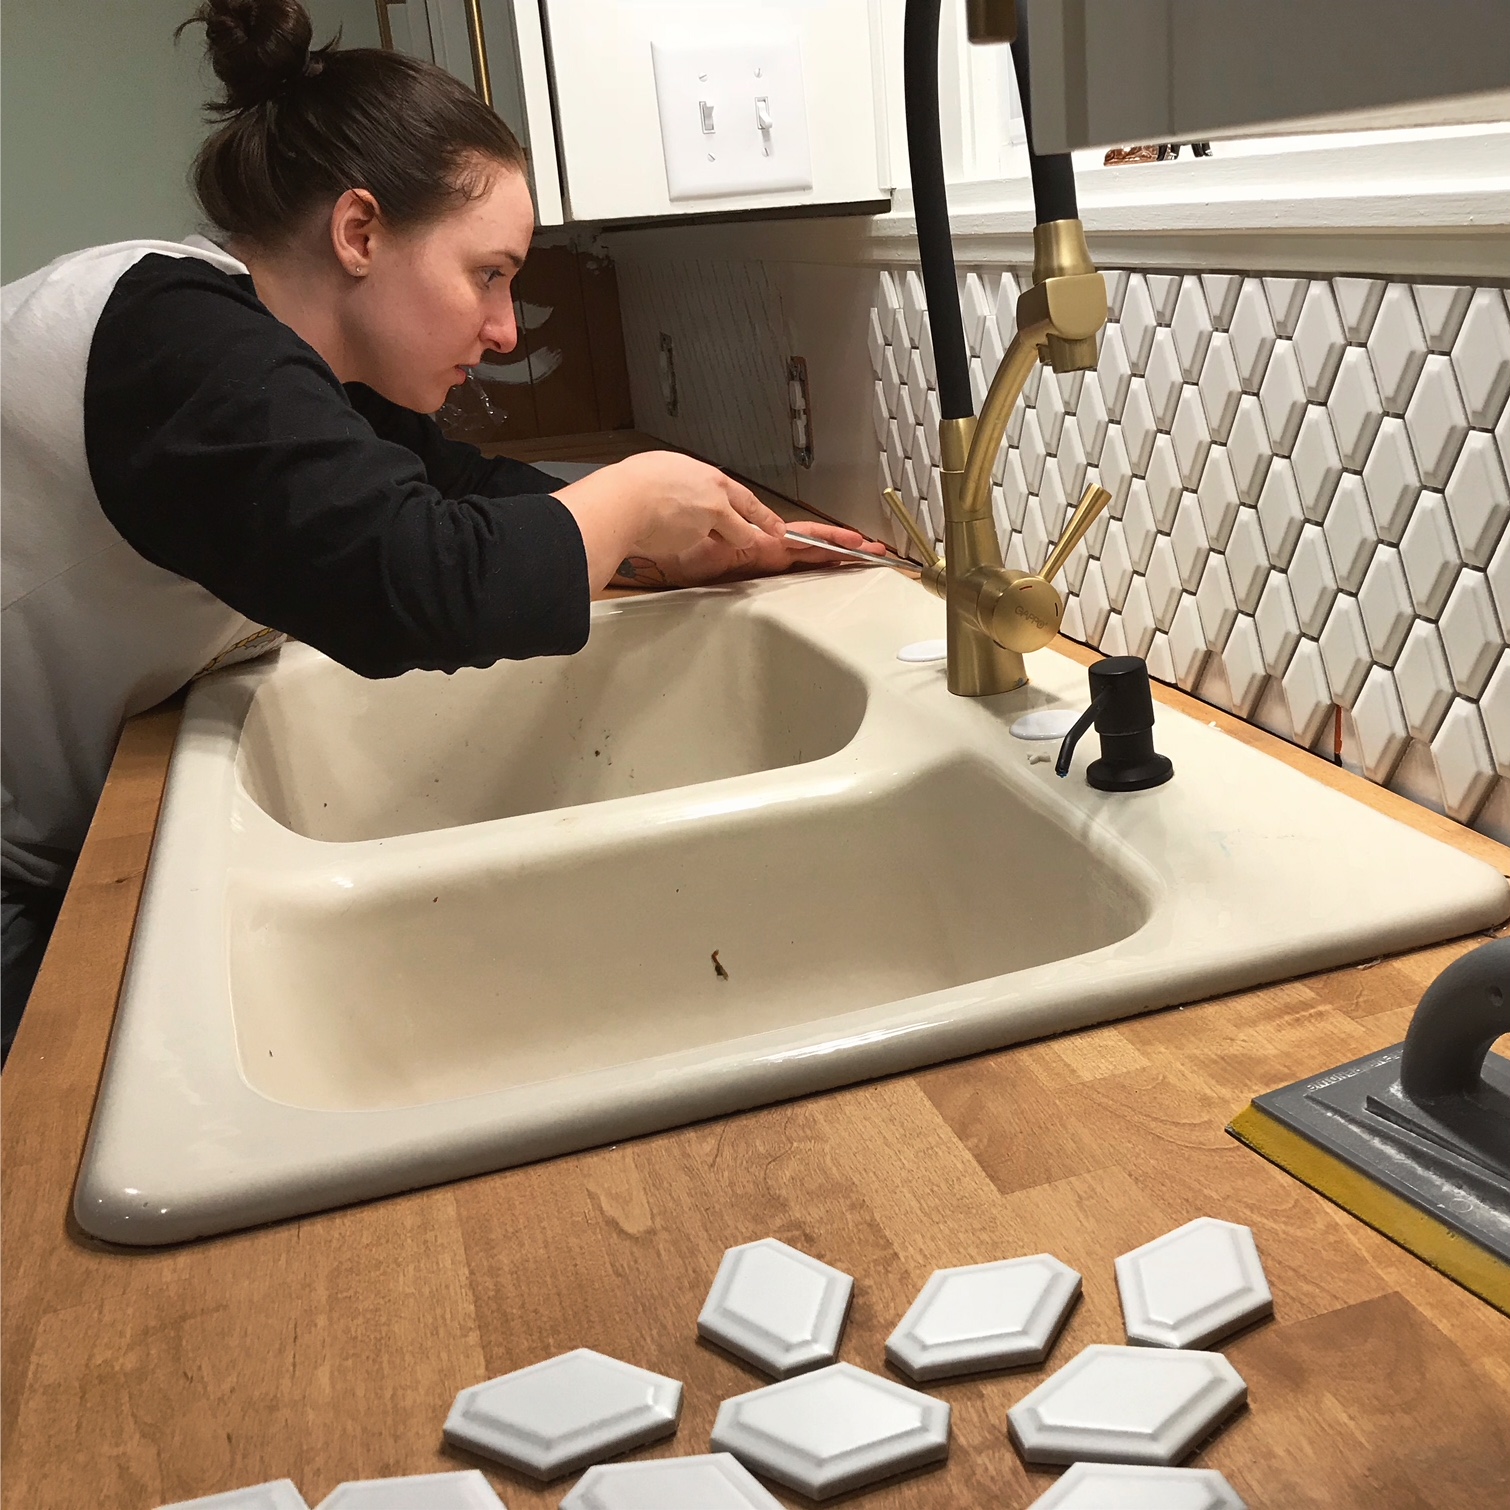
Once again, the few photos I have don't do this job justice - it was a long job, difficult work, required much skill and focus. Many mistakes where made and I think that hiring a professional would have been a wise choice here. The mistakes that are made - mostly none-straight cuts, uneven gaps, lines that are not level - are quite visible and we'll just have to live with them. The dark grout we choice does provide a nice contrast but also makes any uneven gaps really show.
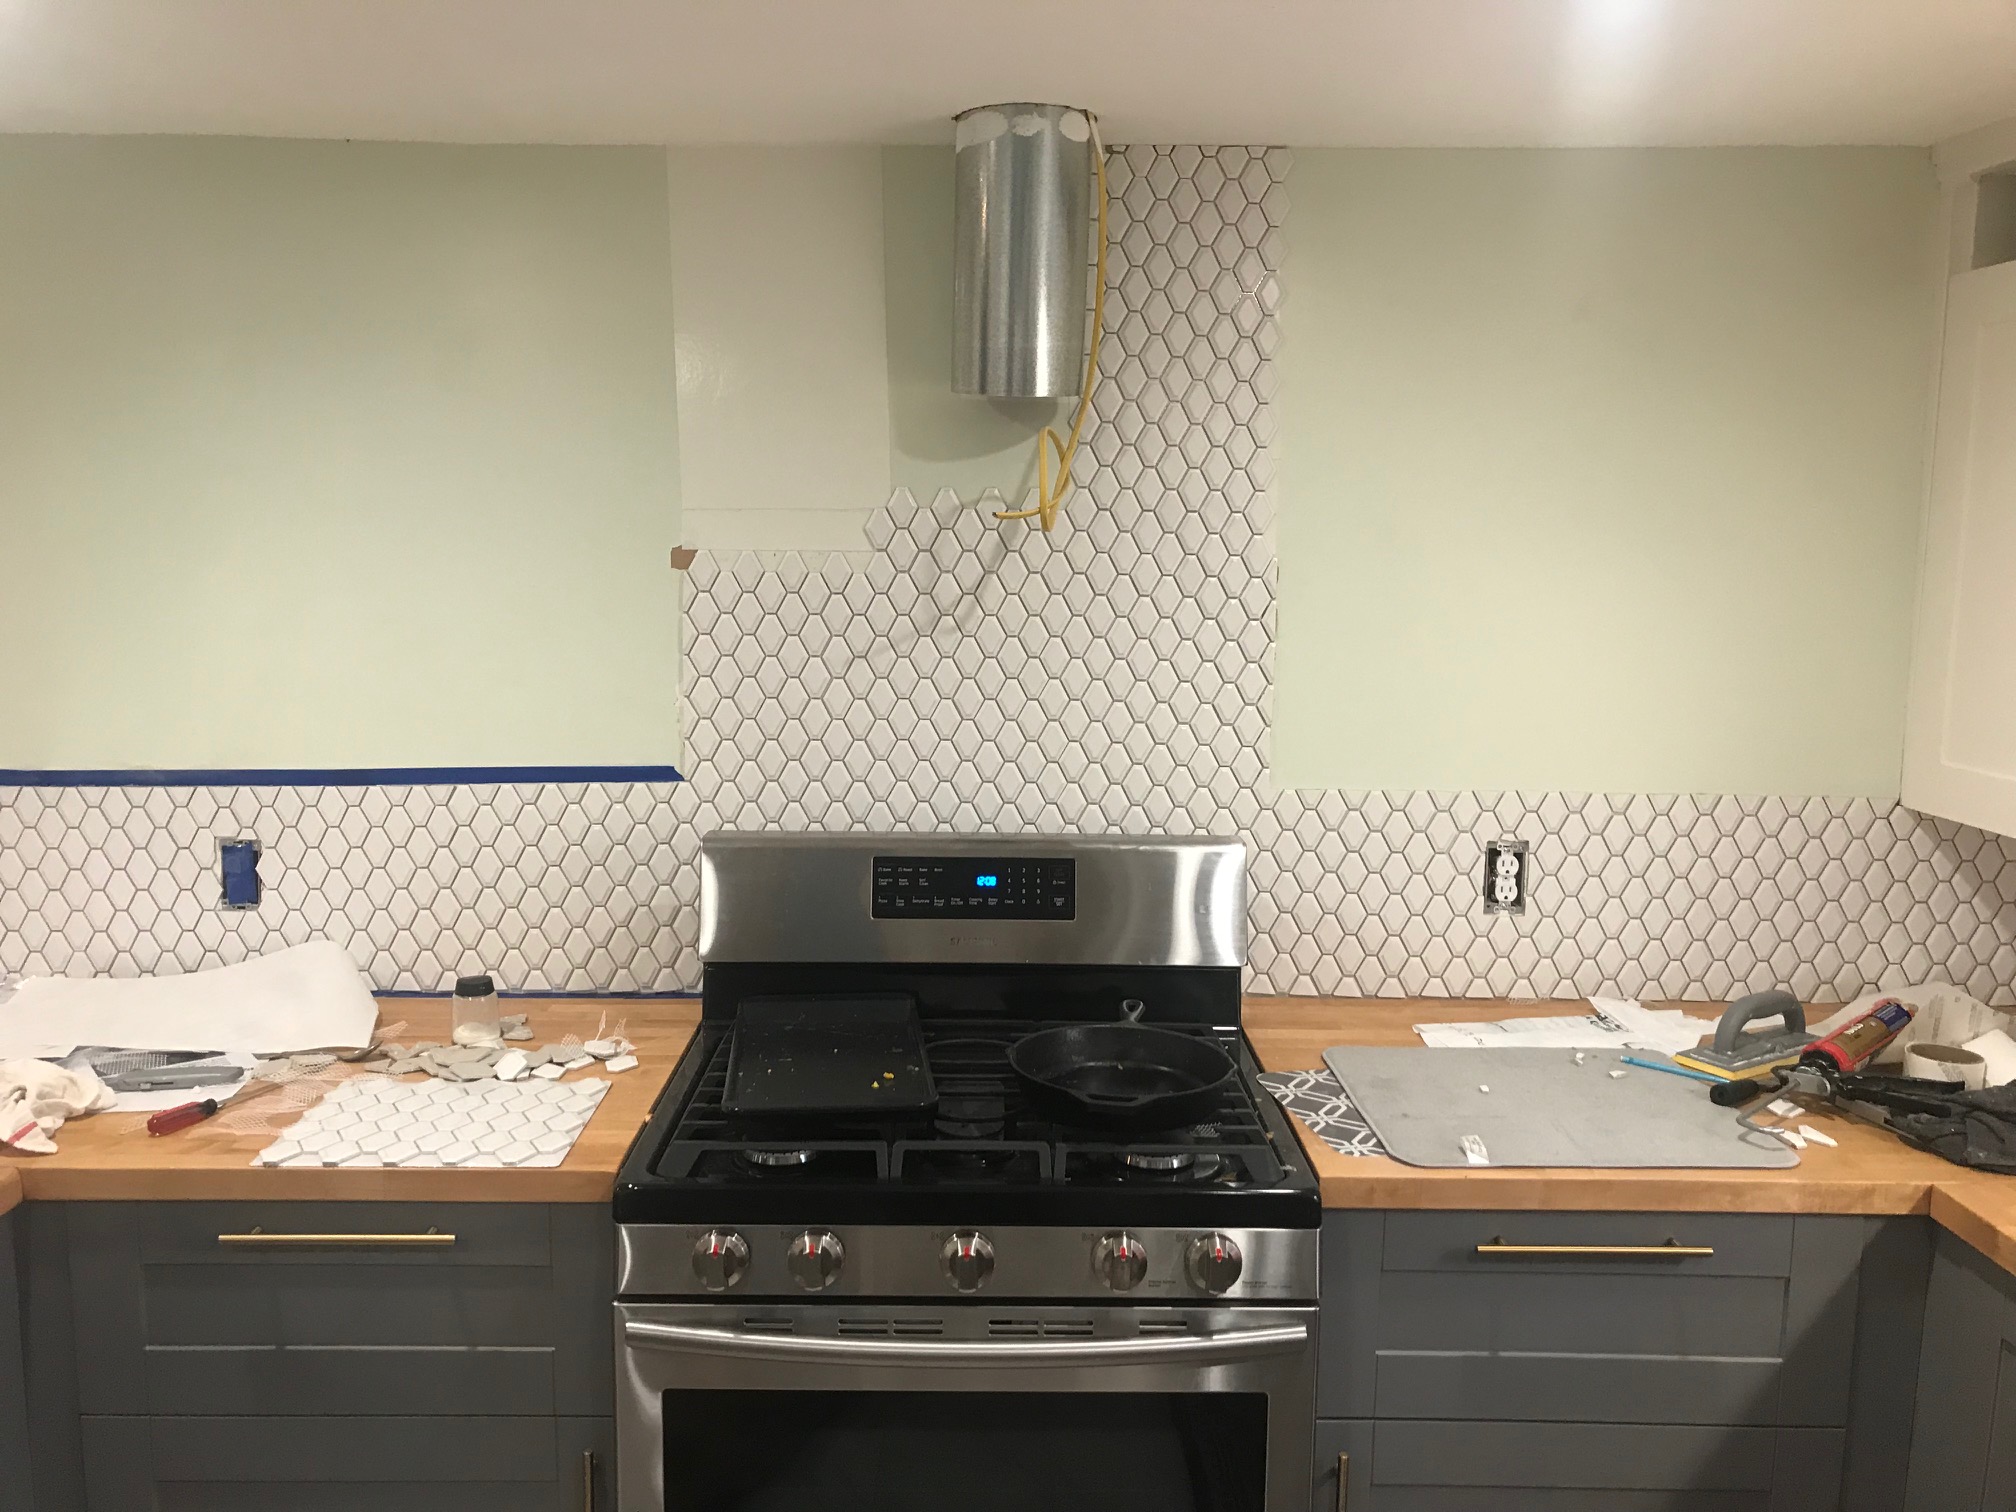
I borrowed a wet tile saw from the friend and I must have made about 10,000 cuts. I think it took close to two weeks for the two of us to finish this job. And we would have filled the whole wall behind the stove with tile but there wasn't enough of them at the big box store. So we did what we could.
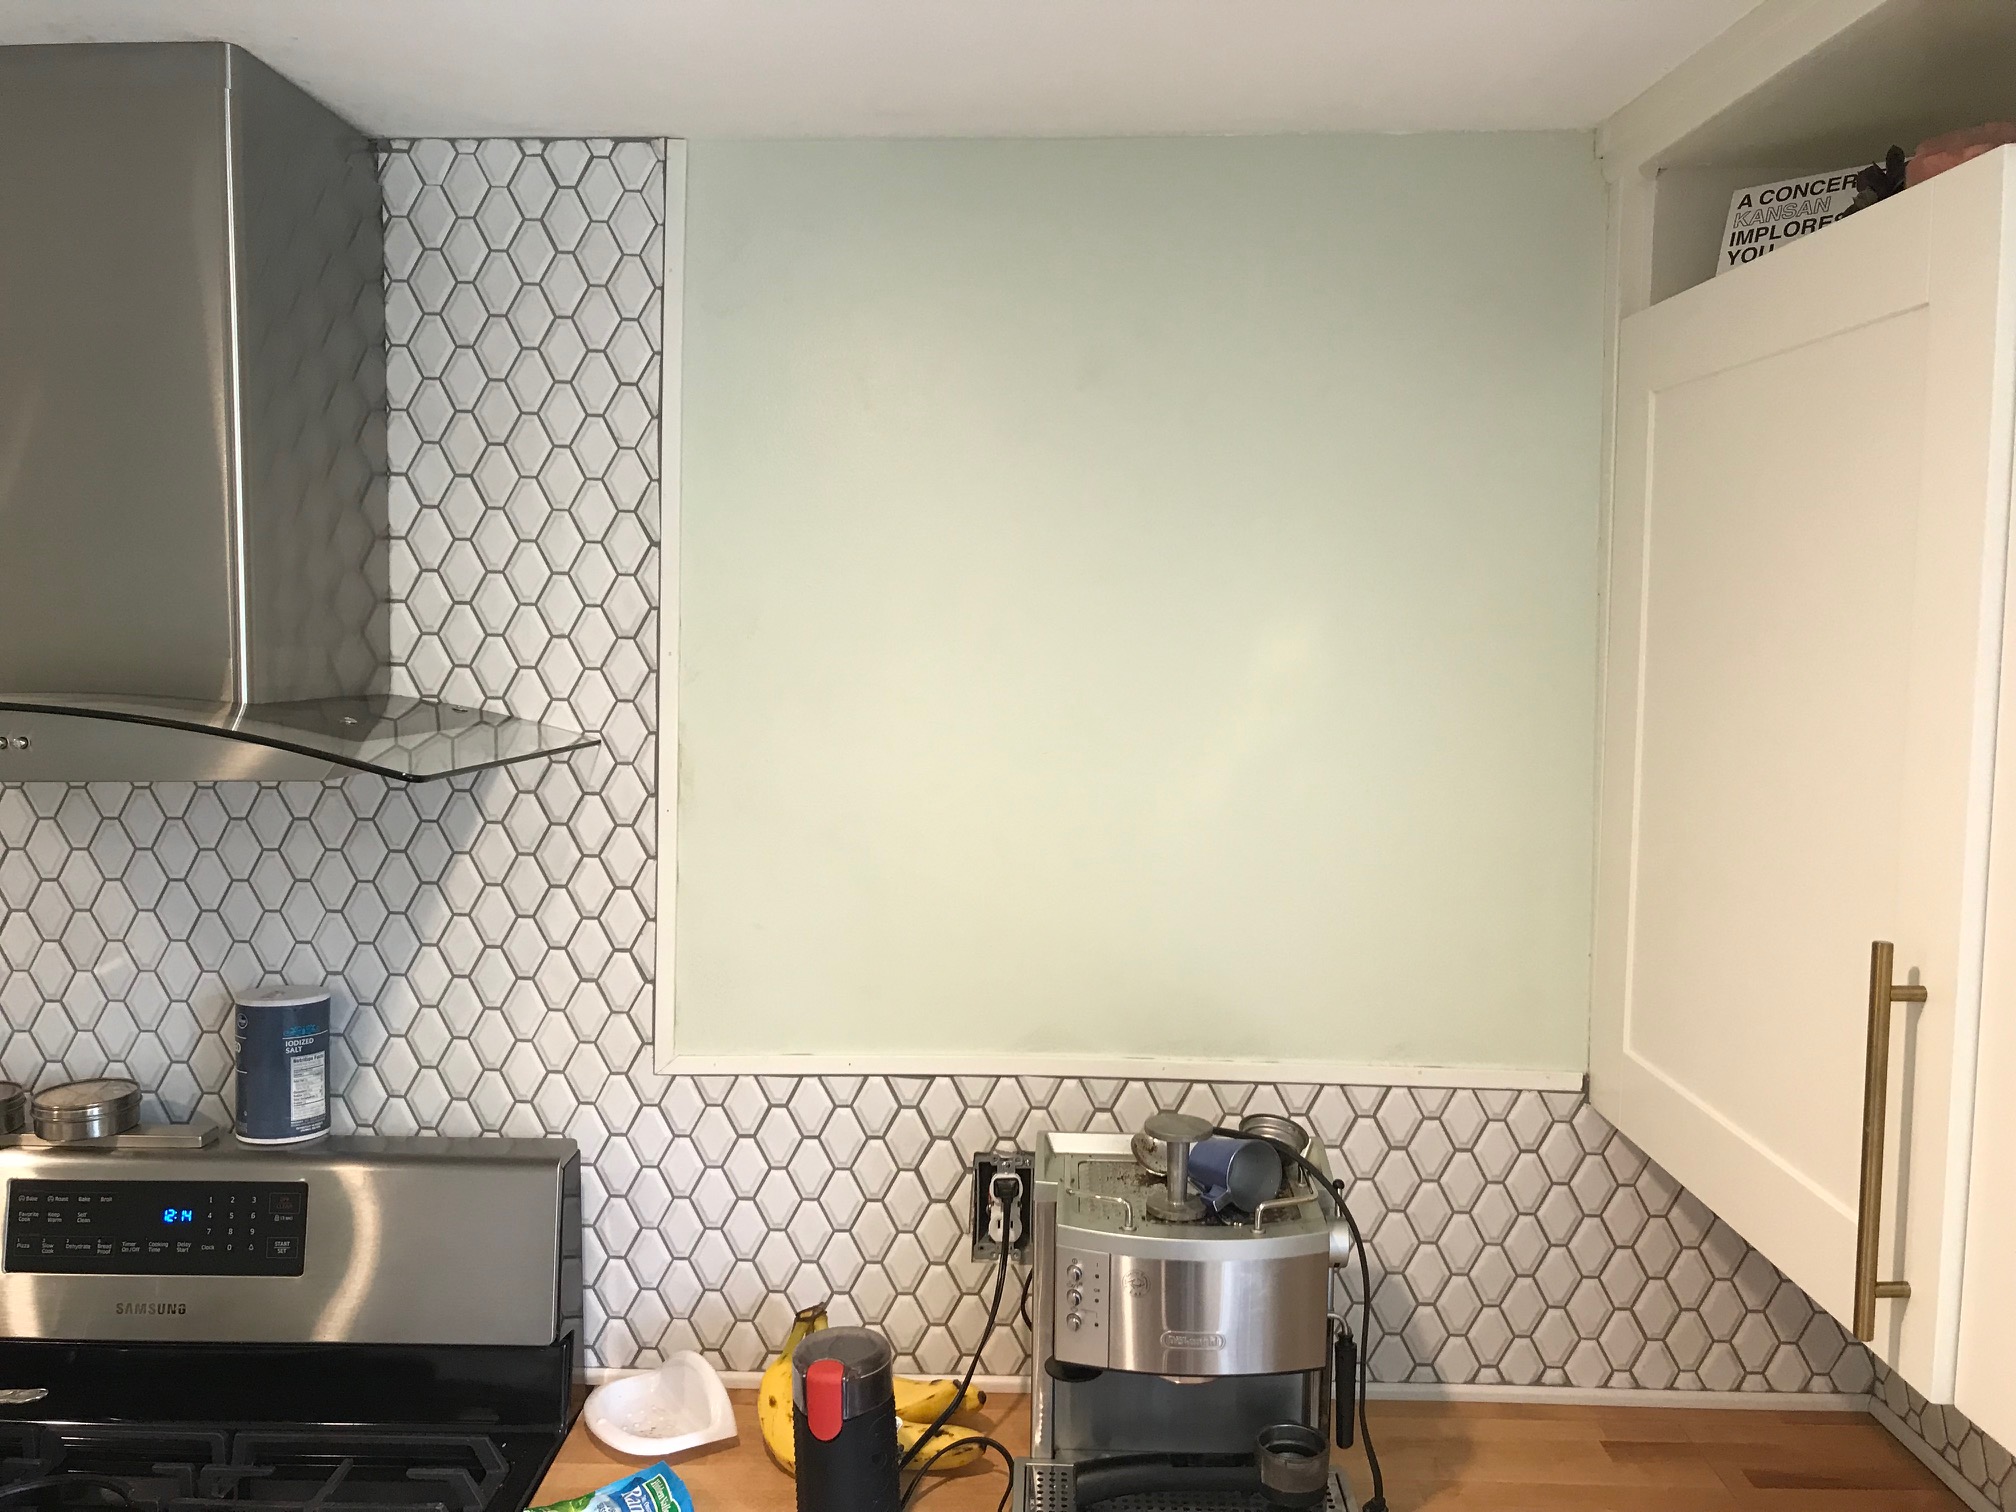
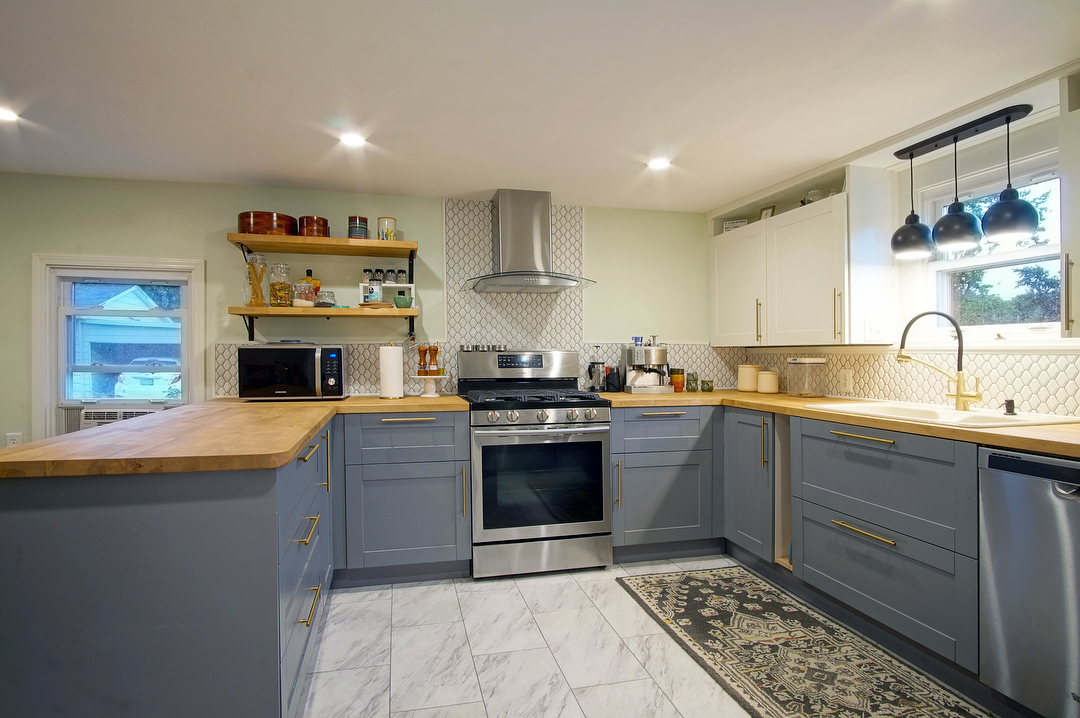
Done!
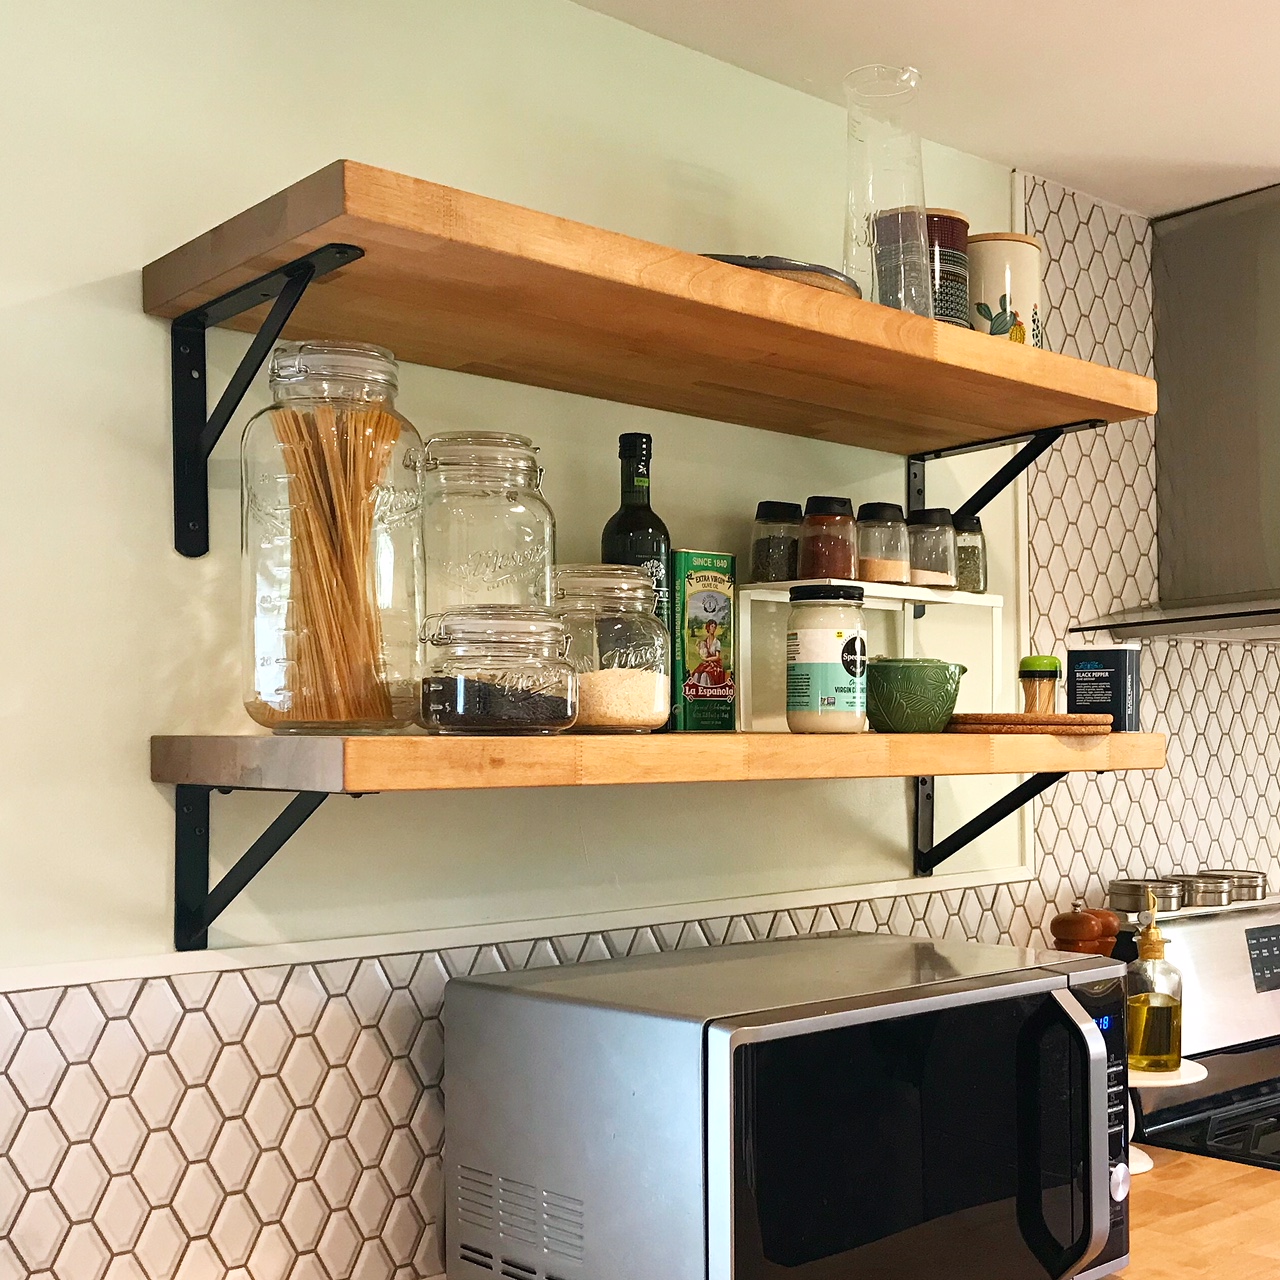
The final task to add some shelves on the wall that didn't have cabinets. I used leftover material from the countertops with the same Rubio Monocoat finish, and it worked out perfectly. They're the cherry on top.
So there ya have it. I didn't even get into the details about the recessed lighting (we did that the year before while replacing all the wiring throughout the house), installing the range hood, the lights and trim work above the sink, re-routing the natural gas pipe for the stove, knocking out the small closet in the dining area, removing the big AC unit in the wall and patching the wall back up (both inside and outside the house), fixing up the interior doors (both sides!) and hardware, the toe kicks, the baseboards, and about a million other painful experiences that my mind has tried to forget about.
Without further ado, I give you the most beautifully polished turd you've ever seen:
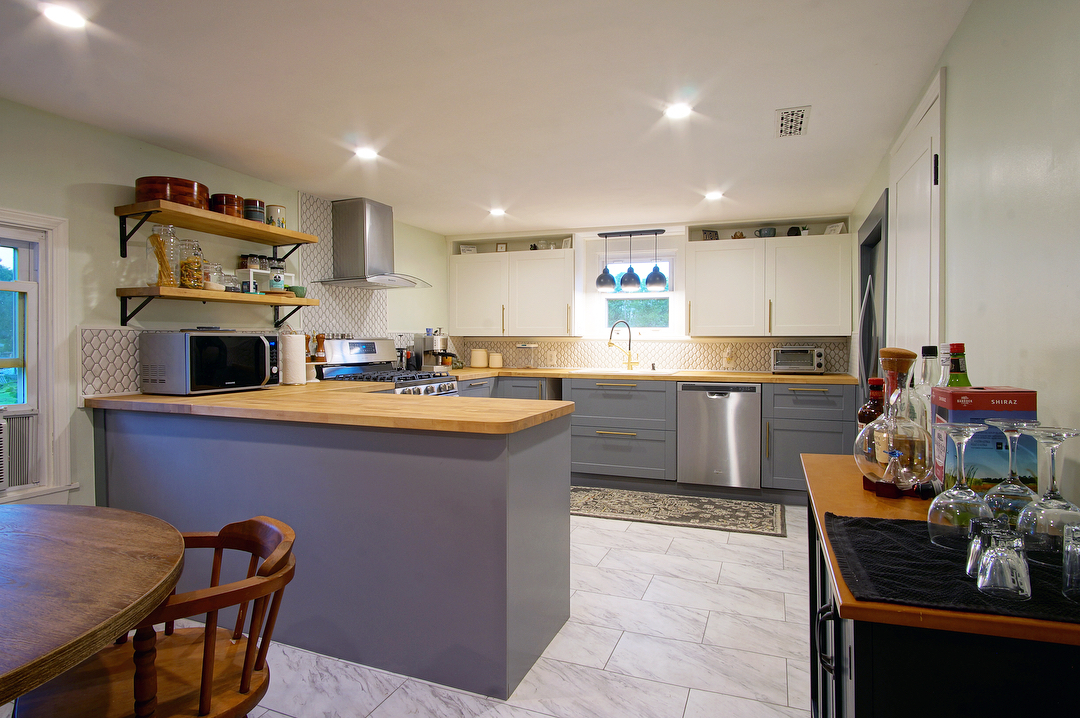
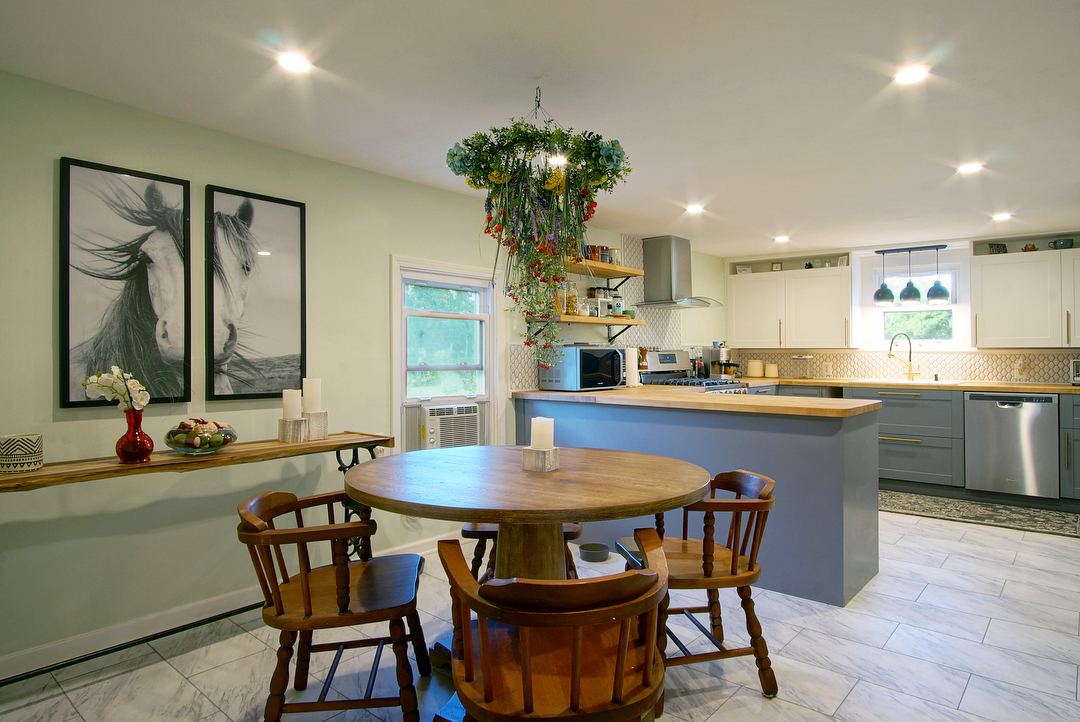
Everything we did in 6 months:
- All new plumbing
- All new electrical wiring and outlets
- All new ceiling lights
- All new appliances
- New flooring
- New cabinets and countertops
- New garbage disposal and added a switch to control it
- The interior doors where all renovated
- Backsplash tile and paint
- Removed the ugly AC unit that was in the wall (not the window, the wall) and patched up the drywall
- Added a heater duct from the furnace to the kitchen (it used to be heated with baseboard heaters)
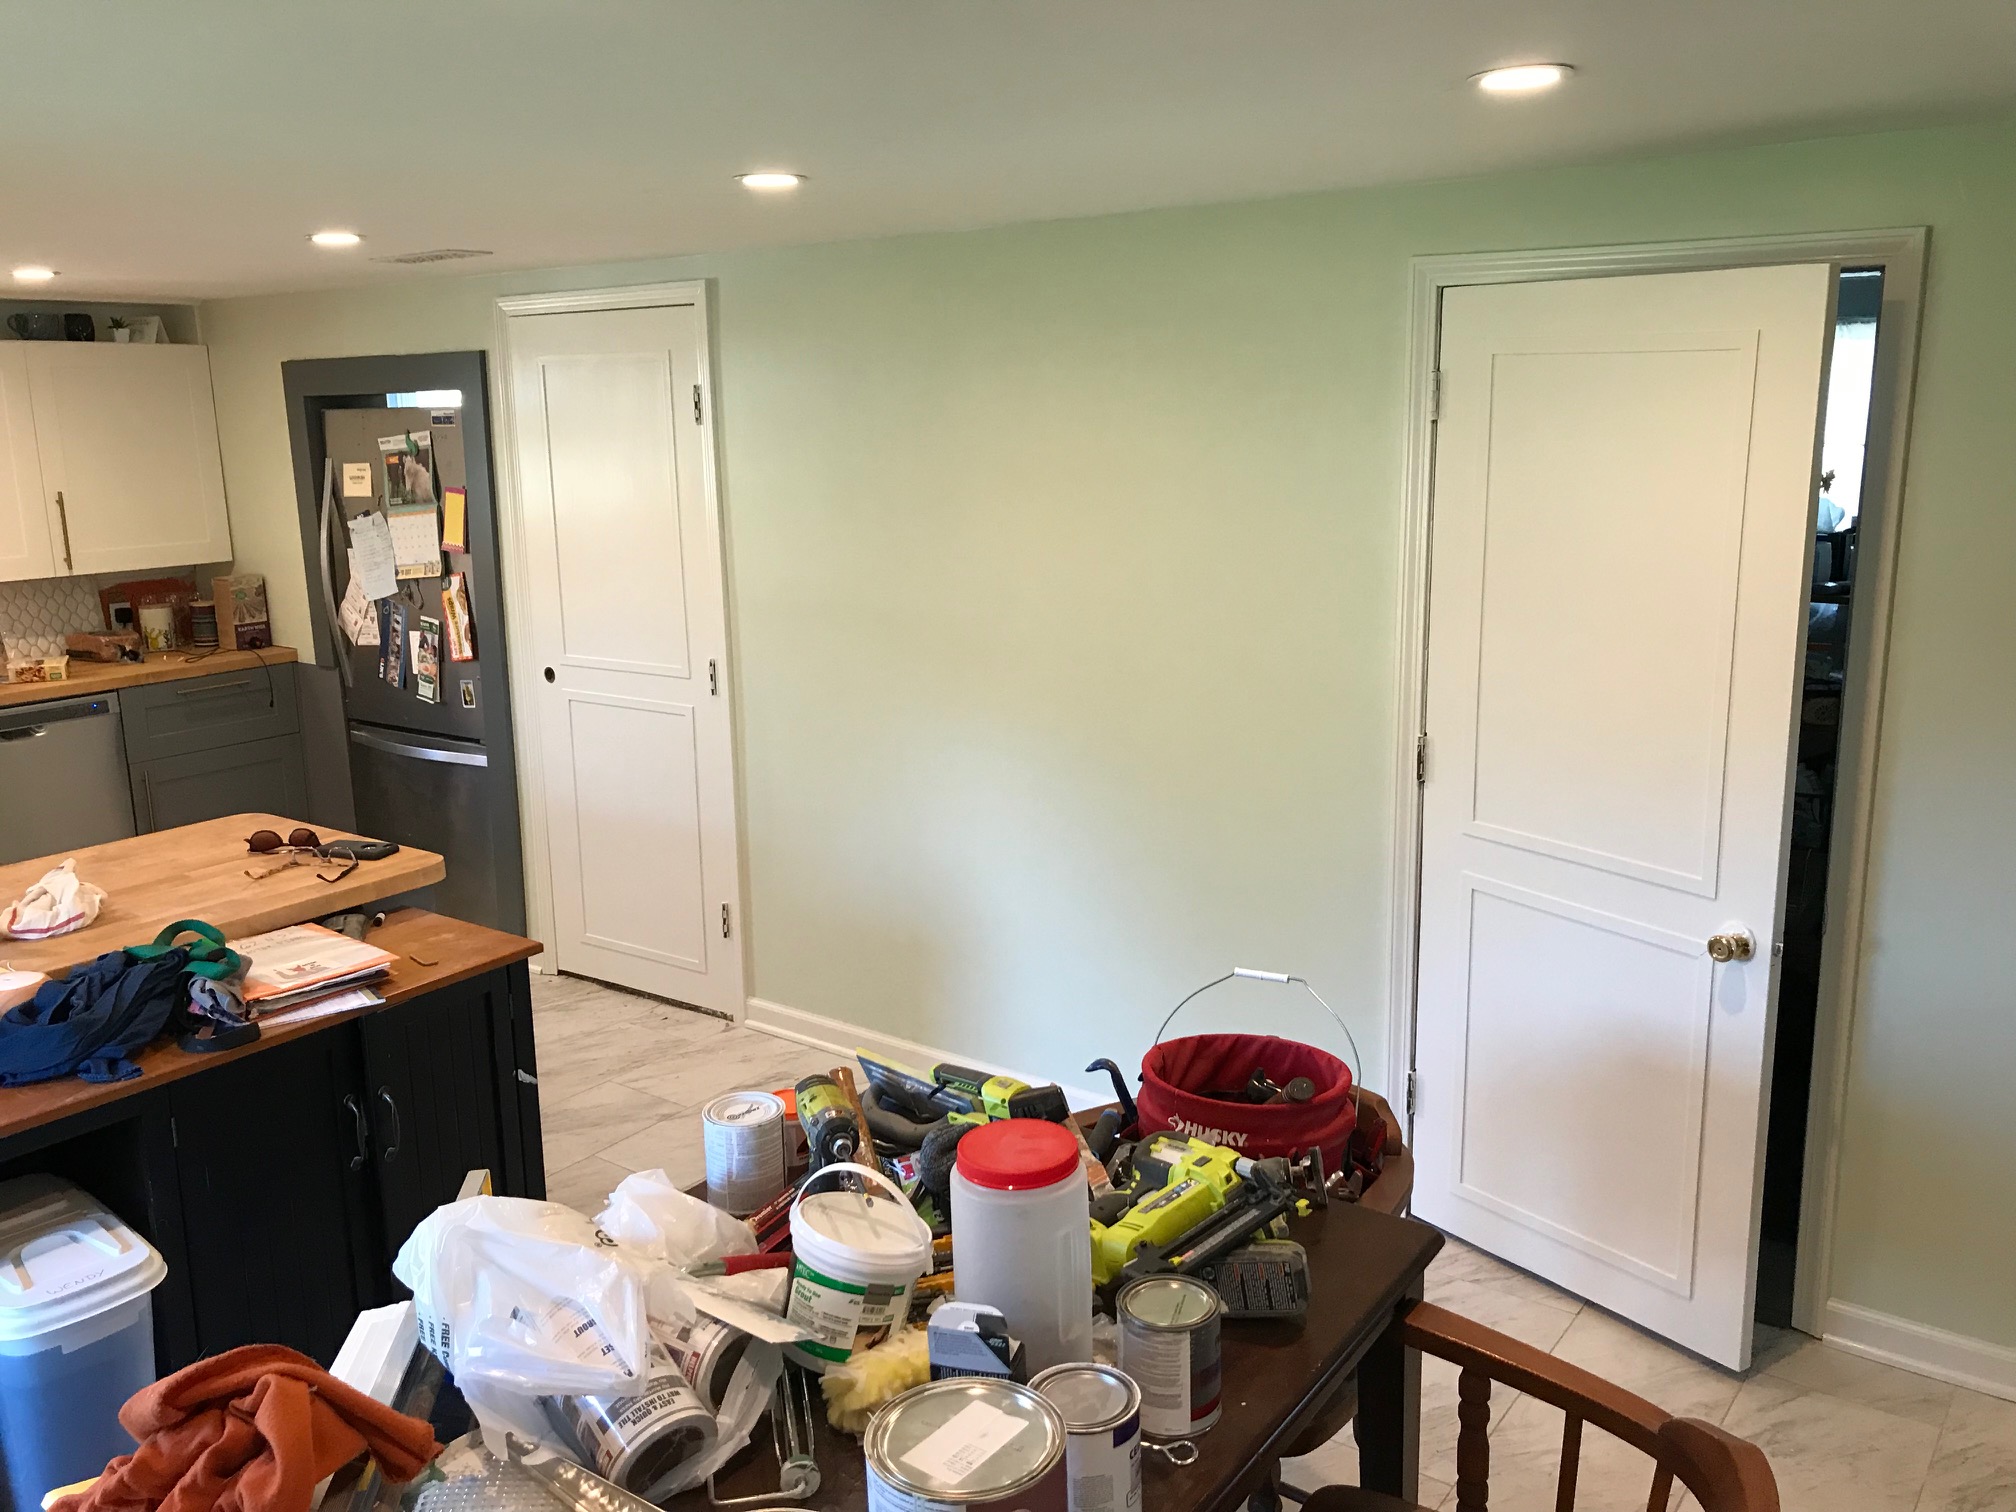
- Knocked down a closet that was taking up space for the kitchen table
- Range hood vented through the roof
- Custom cubby in the wall for the fridge
- New baseboard trim
That was a lot of work!!
« Part 7: The Living Room | DIY Butcher Block Countertops »
Well this is actually the last blog entry for this huge project, so I'm just going to leave this here....


DONE.