This was a tough one. Rewarding, yes, but very tough. We made a few mistakes, one of them I can honestly say is a big mistake. Thankfully it's the only big mistake we've made so far (other then buying the house in the first place, lol just kidding lol jk fml).
When we bought this house last winter, we did it assuming that there was a hardwood floor underneath the carpet. We even peeled up a corner of the living room carpet when we first saw the house with our realtor and we thought we saw wood underneath. Oh we saw wood alright, but not solid lumber, it was particle board! It was the subfloor for the carpet. Duh.
During the demo stage, I pulled up one of the boards to peek at what was below it. Behold: antique douglas fir t&g planks!
The house is over 100 years old, so we assume that's how old this wood is too.
There are a few reasons why we wanted to restore this old floor rather then put new floorboards over it:
- Not buying a whole lot of new lumber means we're helping the planet
- Not buying a whole lot of new lumber means we're not spending as much money either. We saved a whole lot.
- Rustic hardwood floors are awesome. Yes they're trendy right now, but if our floor ever becomes super outdated looking, it's pretty easy to put a new floor on top of it.
Flash forward 6 months. We had finished renovating the upstairs bedrooms and drywalling and painting the ceiling and walls in the living room. Oh and we also installed insulation and new wiring in all the walls. (Wow, we did that in 6 months??)
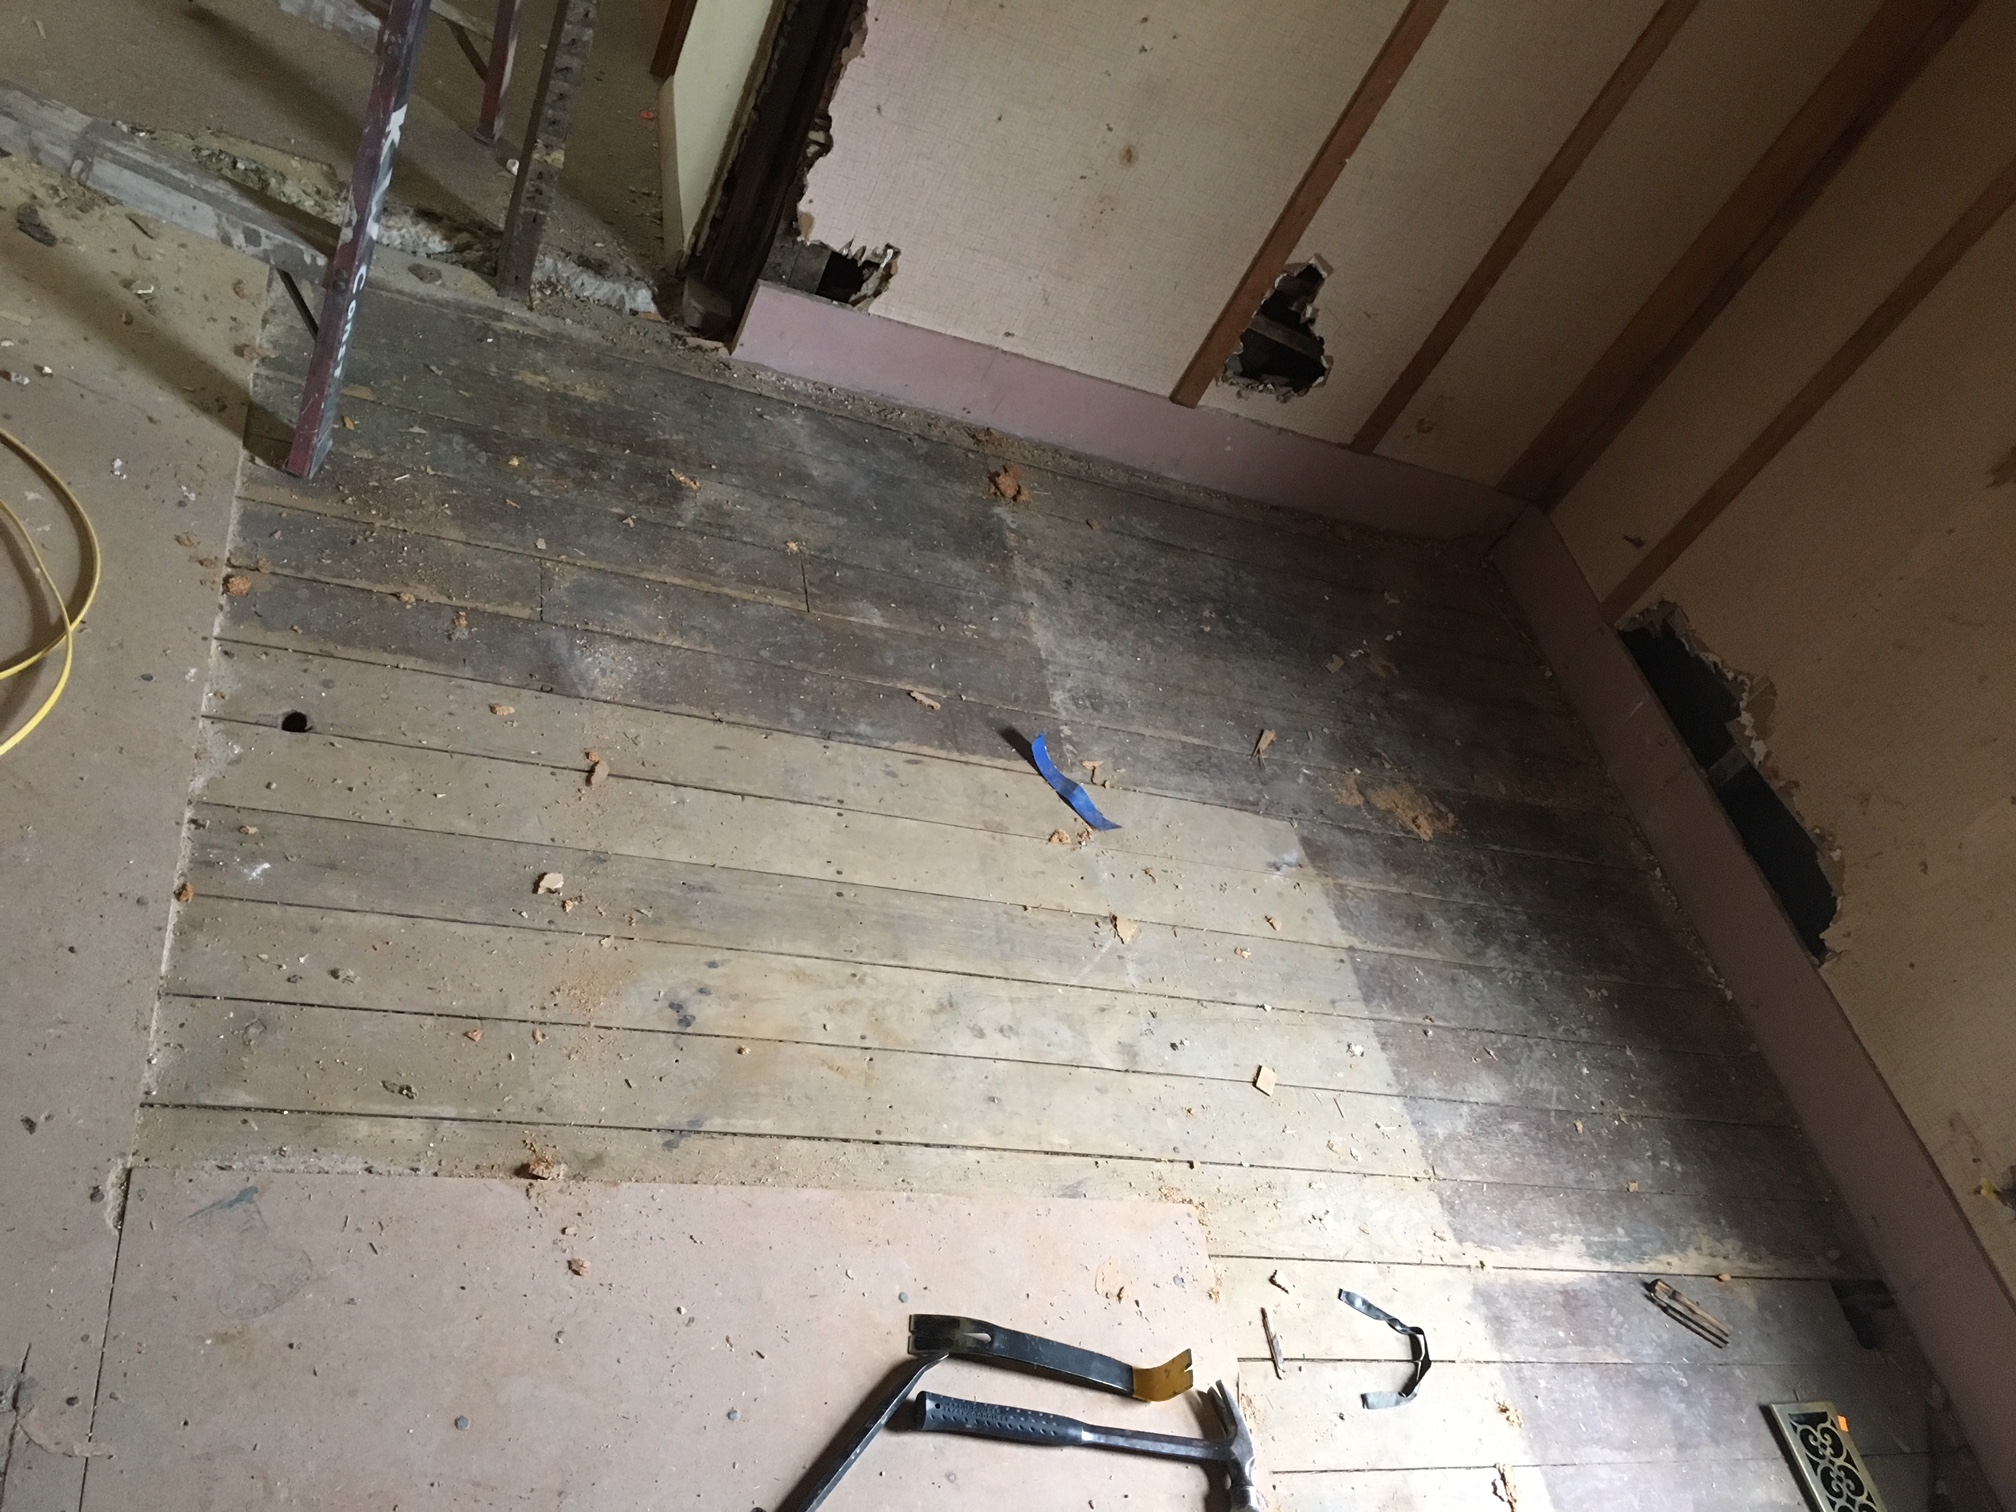
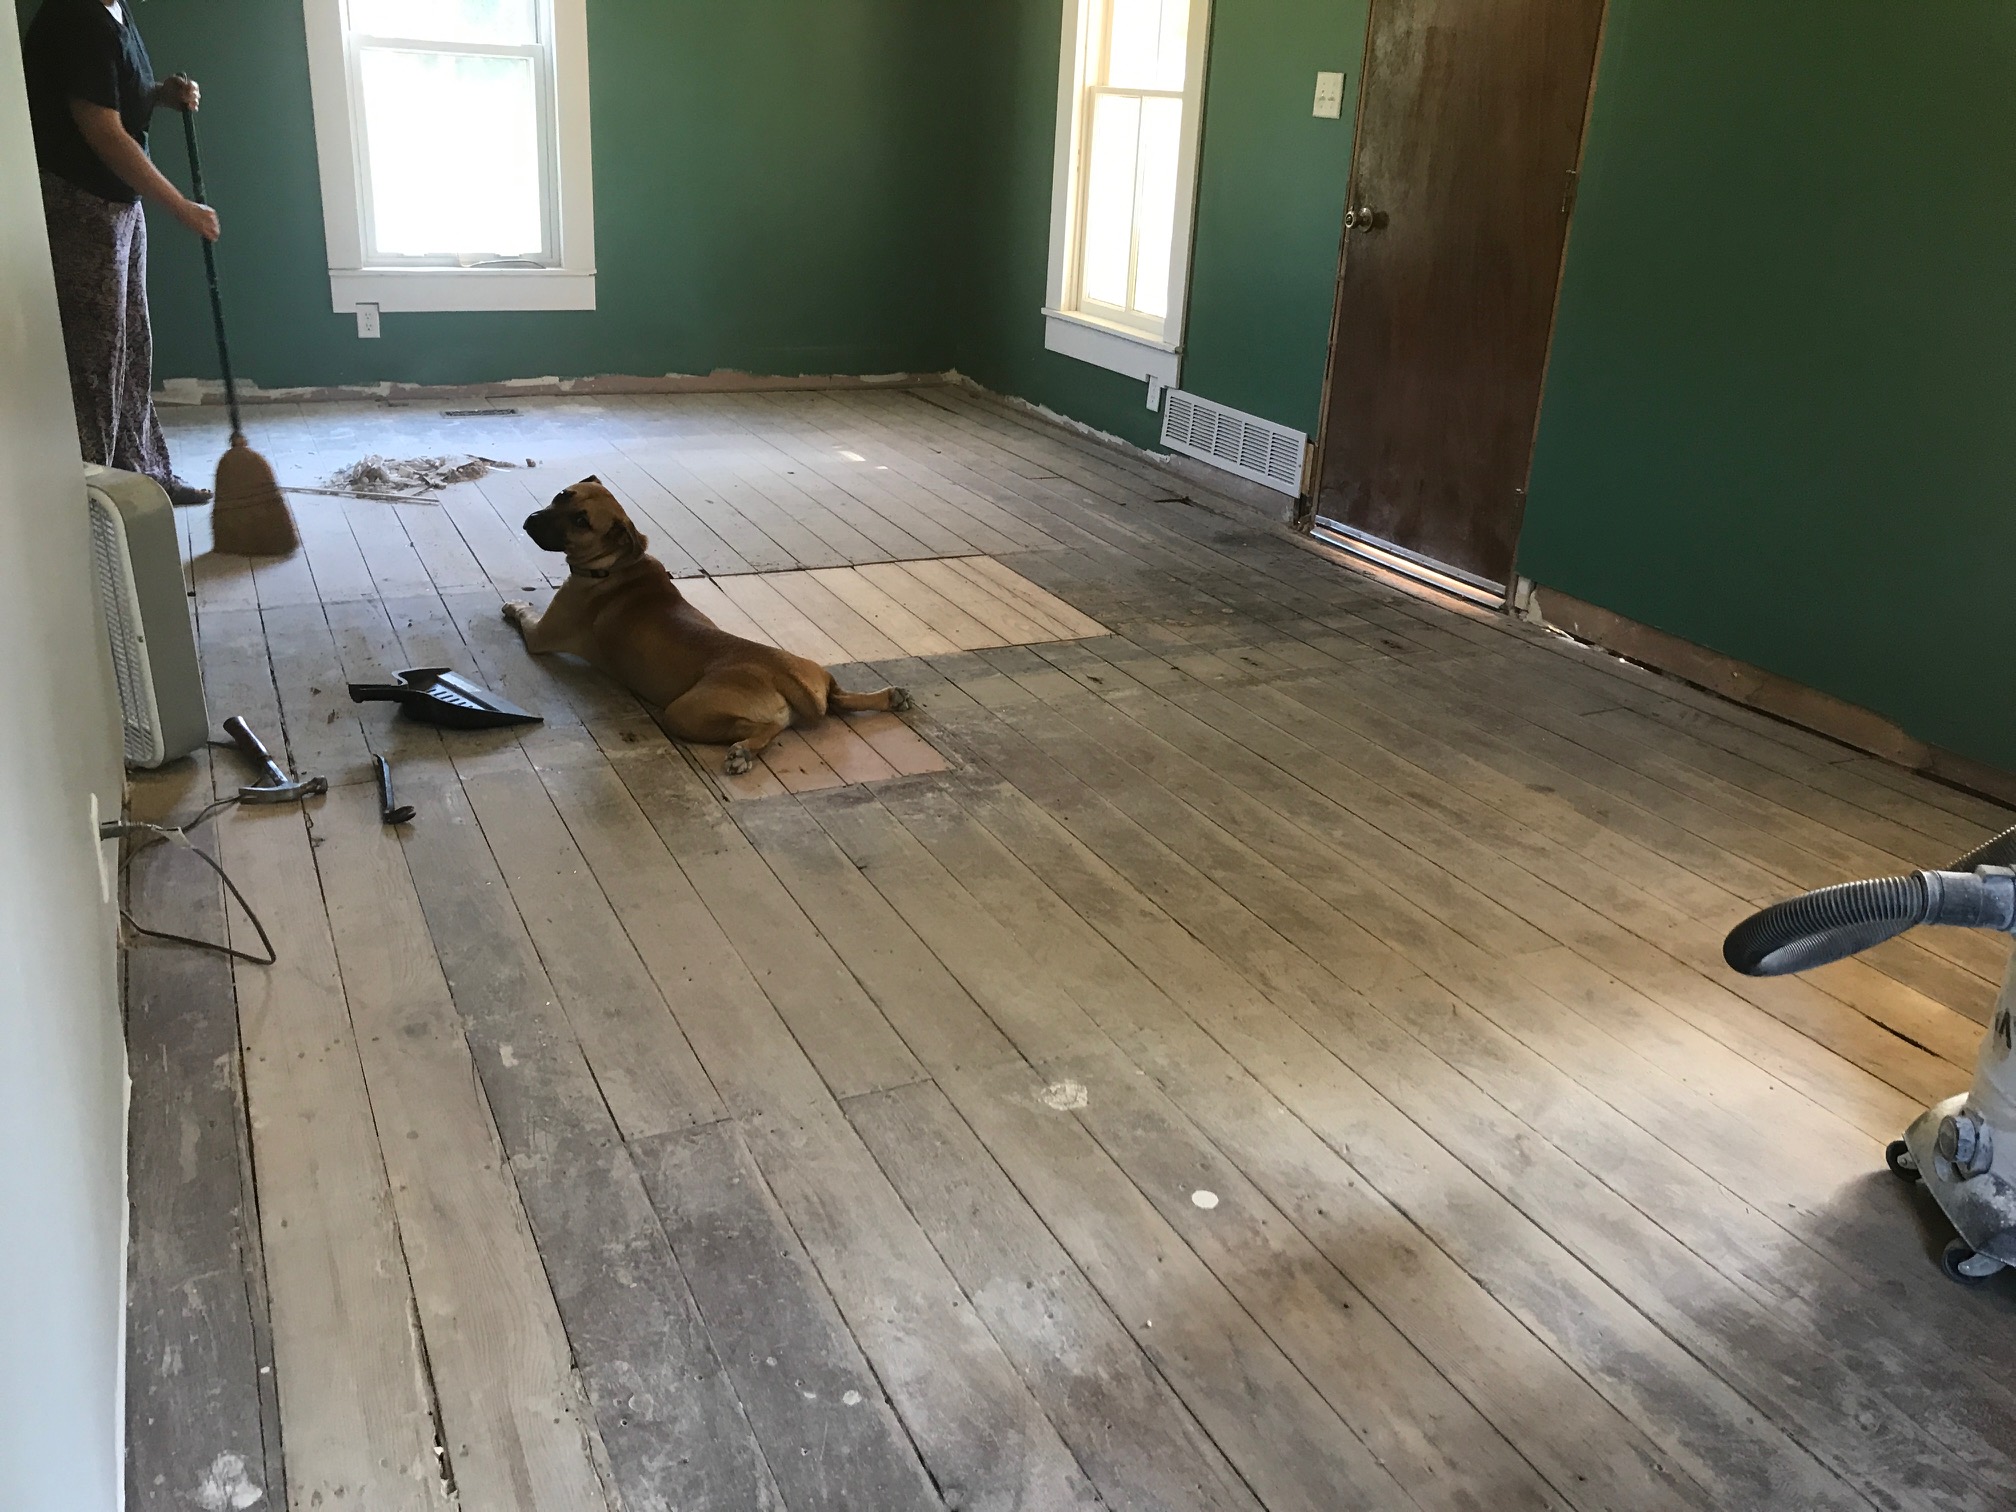
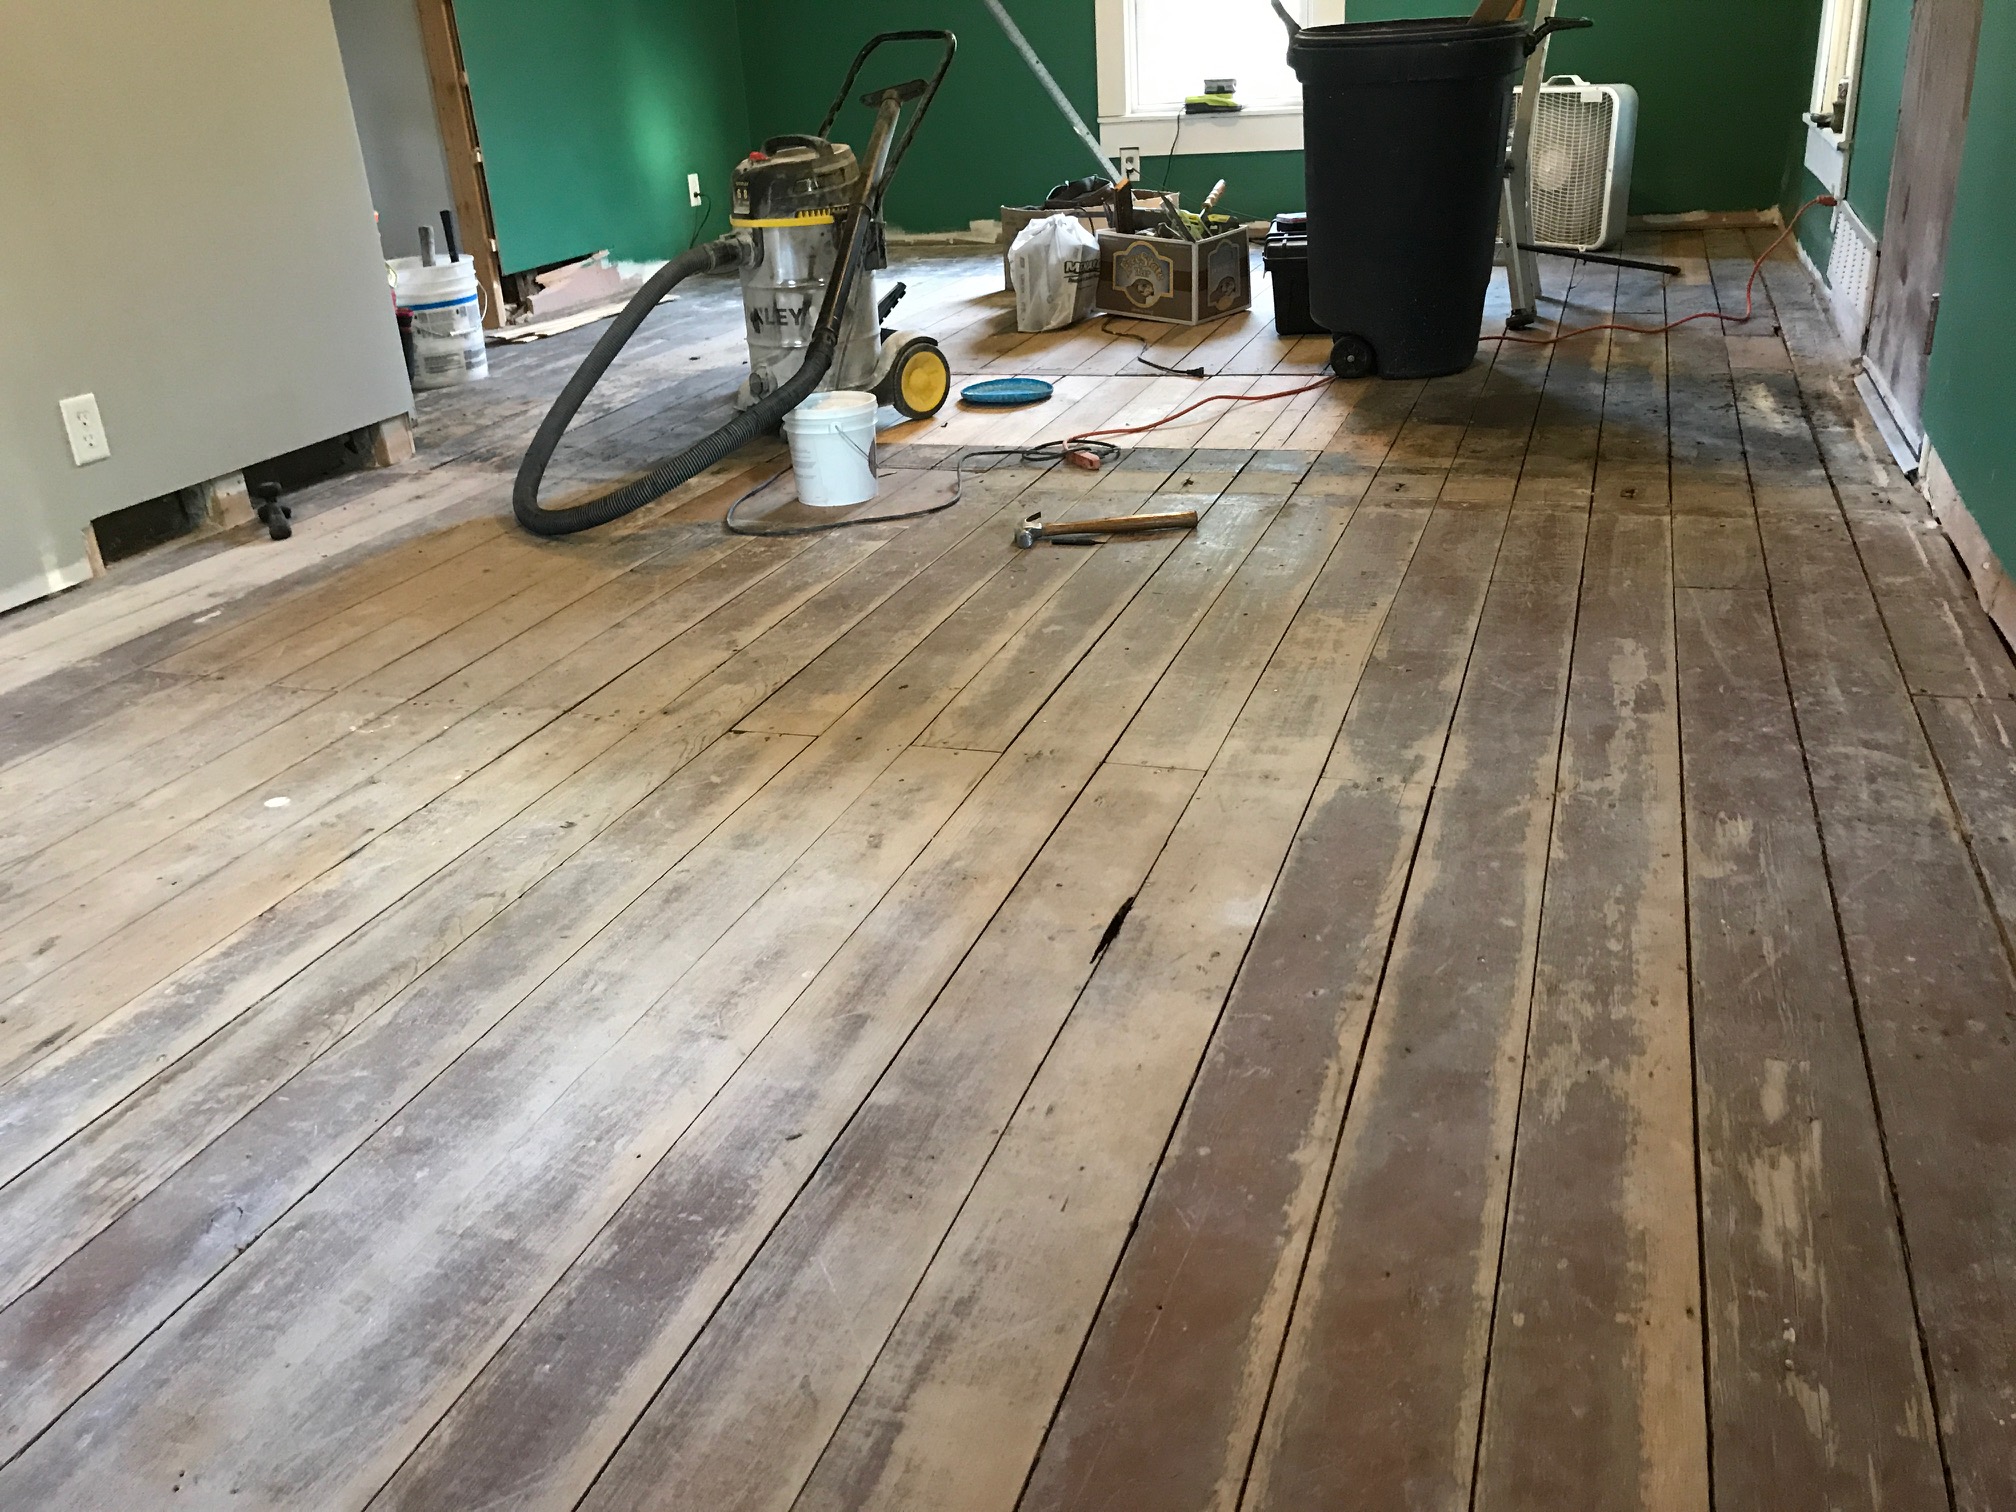
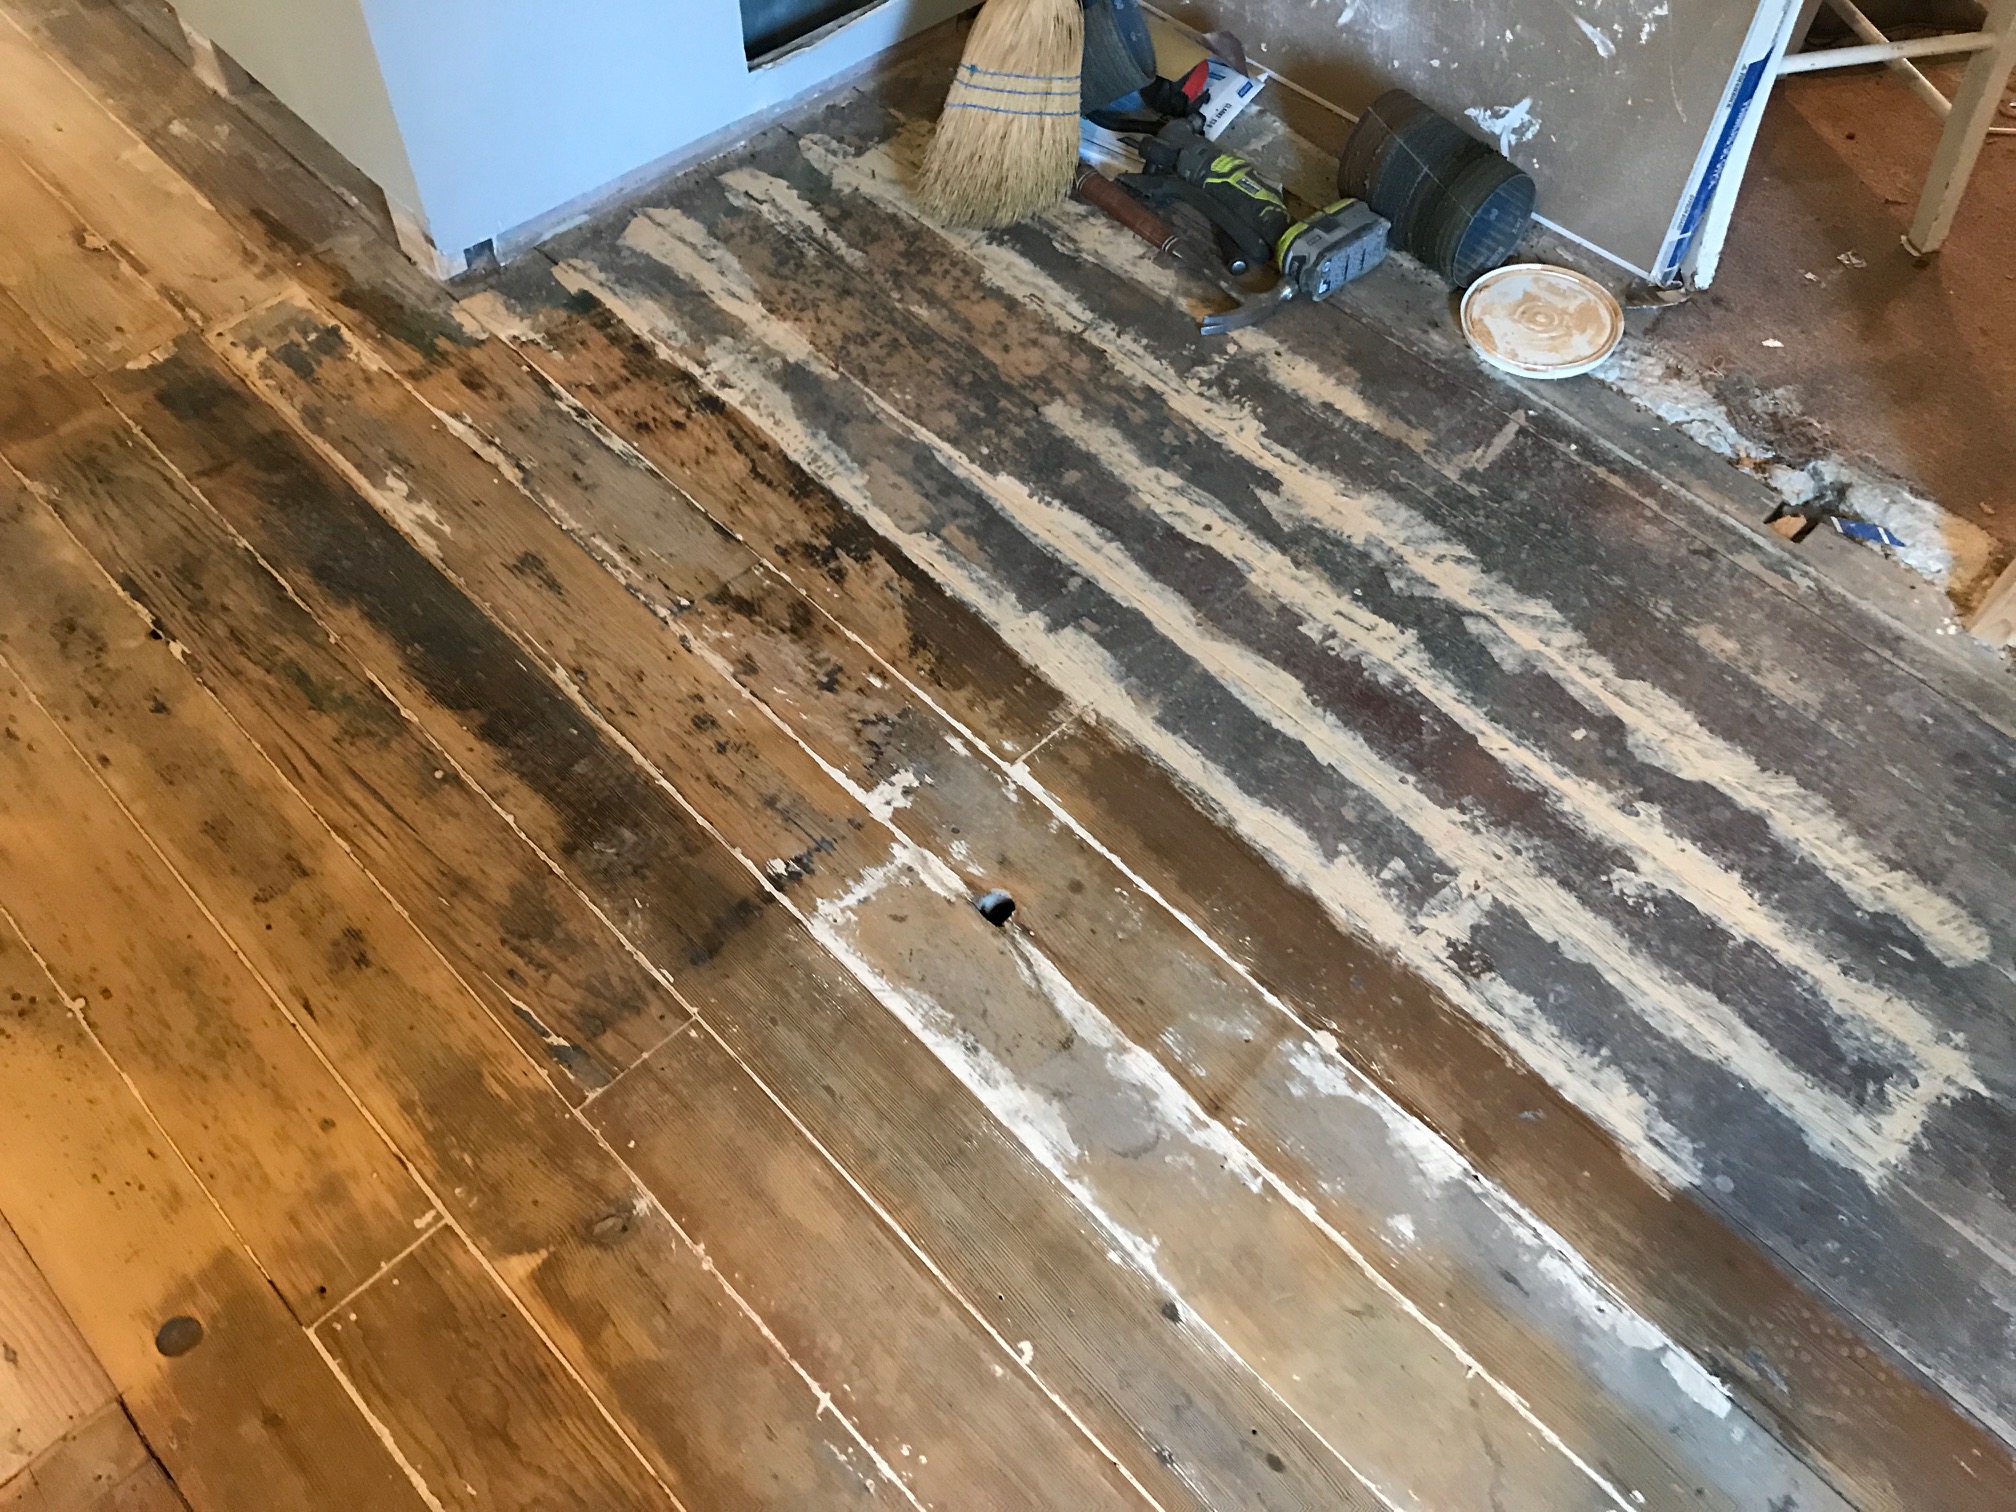
Now it was time to finally peel up the subfloor and get to work on the old floorboards.
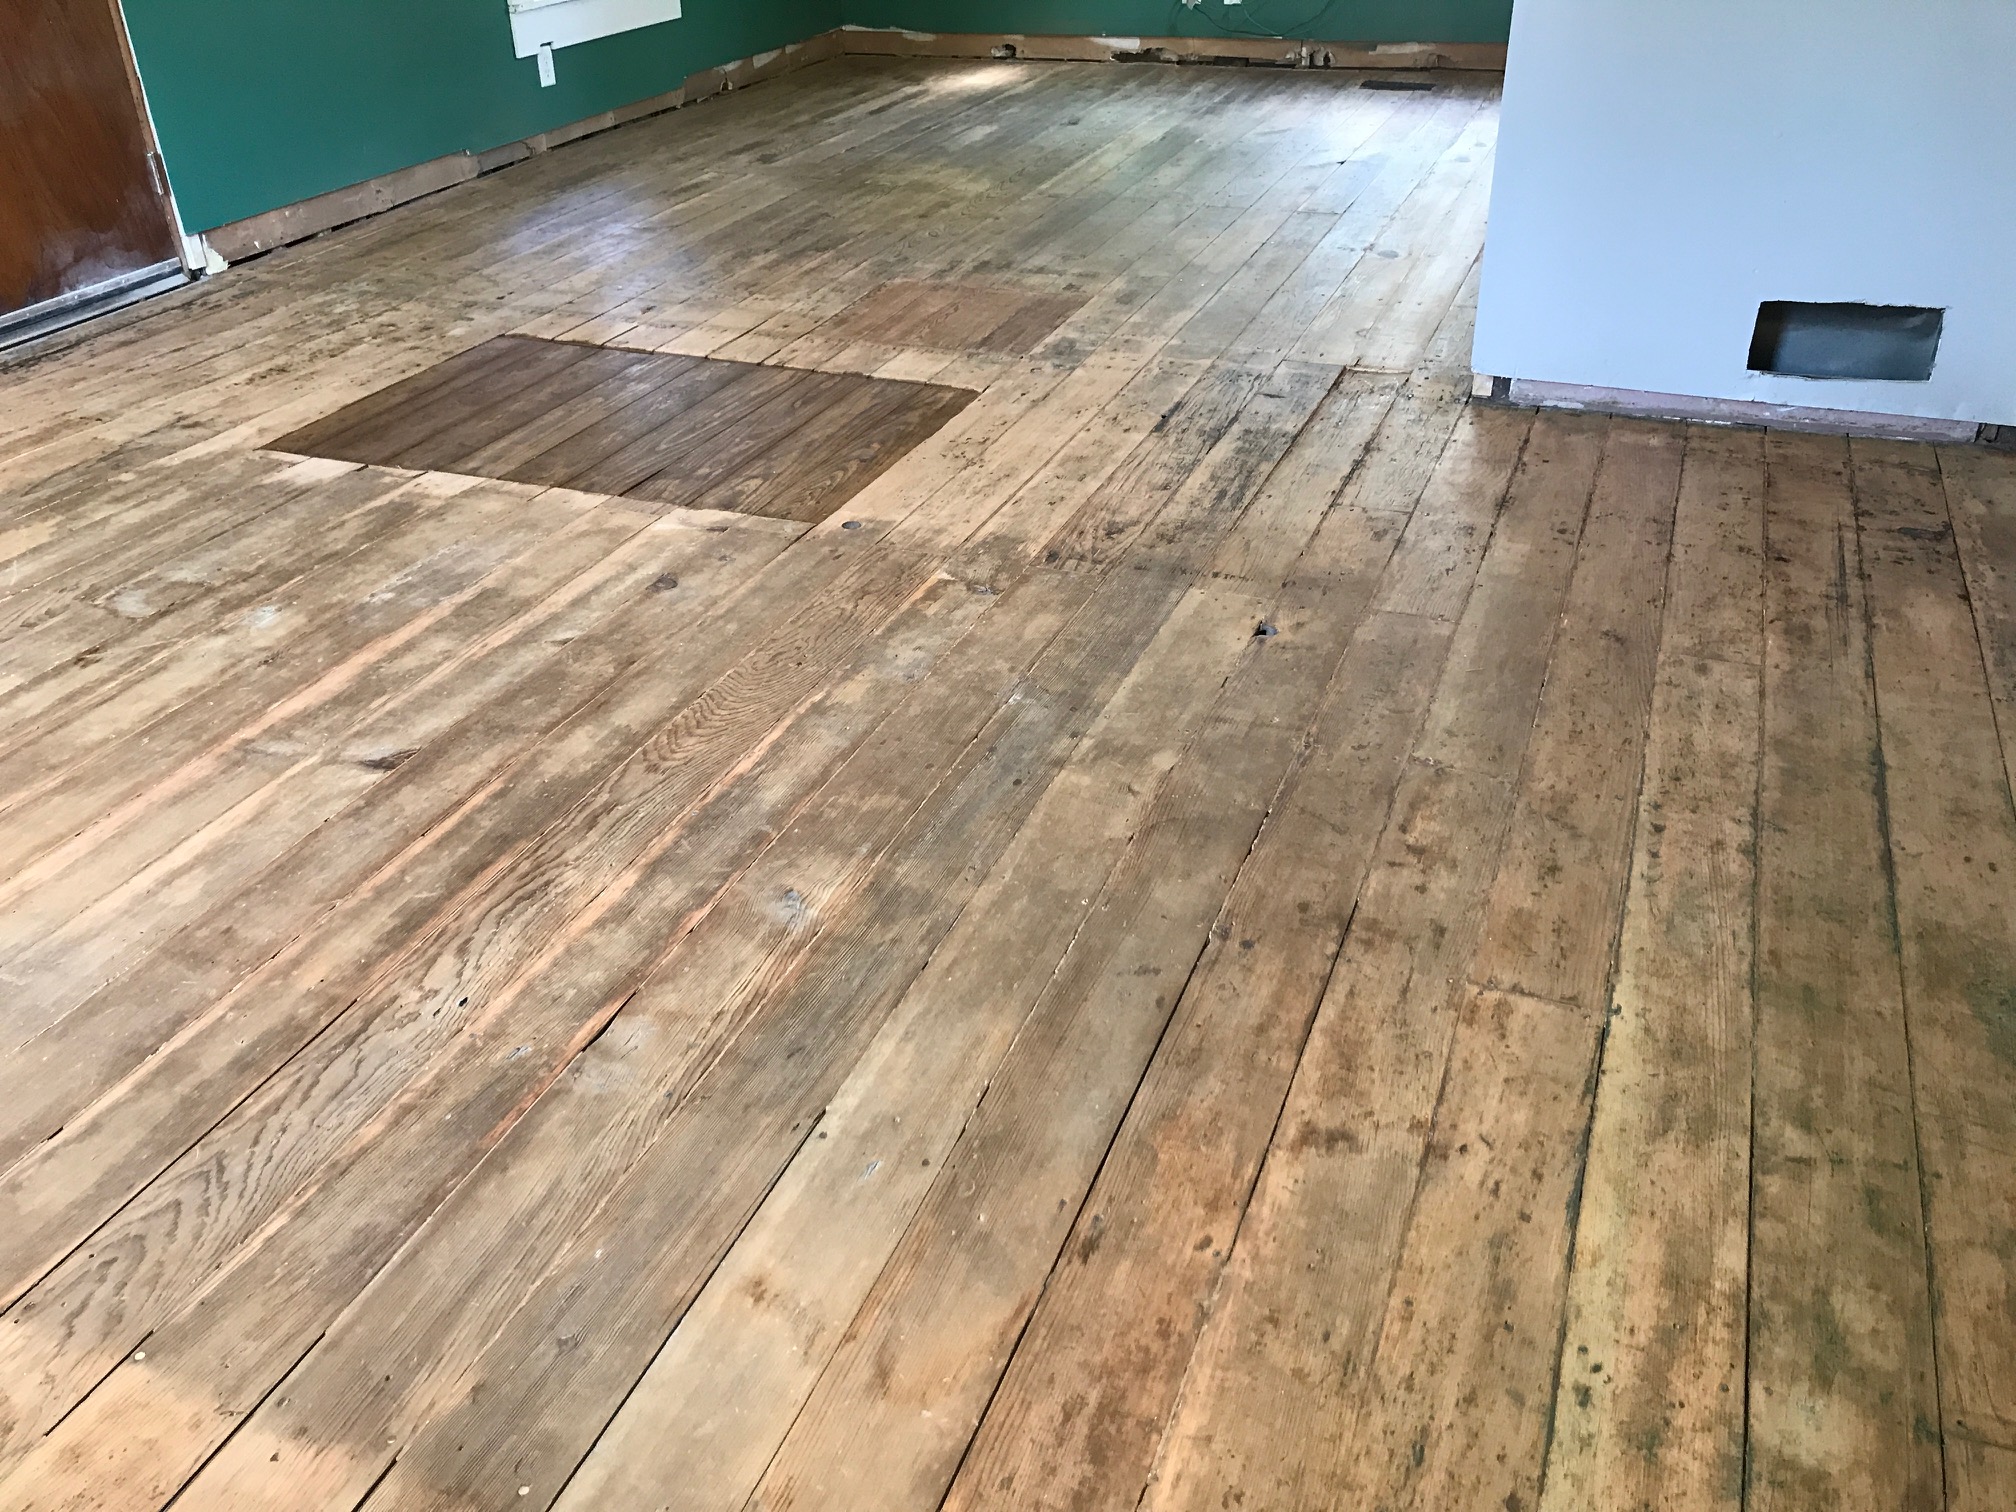
We didn't know what to expect under the subfloor particleboard.
We found:
- tar, presumably to hold down a rug/runner
- floor paint
- modern yellow pine right square in the middle of the f*cking room.
- A hole where a chimney used to rise up, patched with painted wood
- Some broken boards that would need to be replaced
- big, big gaps
- lots of dings and dents and scratches that would never get sanded out
- and evidence of an ancient wall separating the room into halves.
I found it kinda neat to see the history of the room, honestly. It looks like the living room used to be two rooms, one was the kitchen and the other was the living room I guess. A chimney used to rise up all the way the way from the basement to the roof, and sure enough you can see the evidence of this at each layer. At some point they removed it entirely and patched everything. And not too long ago, they cut the floor open to, what we can assume, drop in a furnace or a hot water heater because it was too big to go down the tiny stairs leading down there.
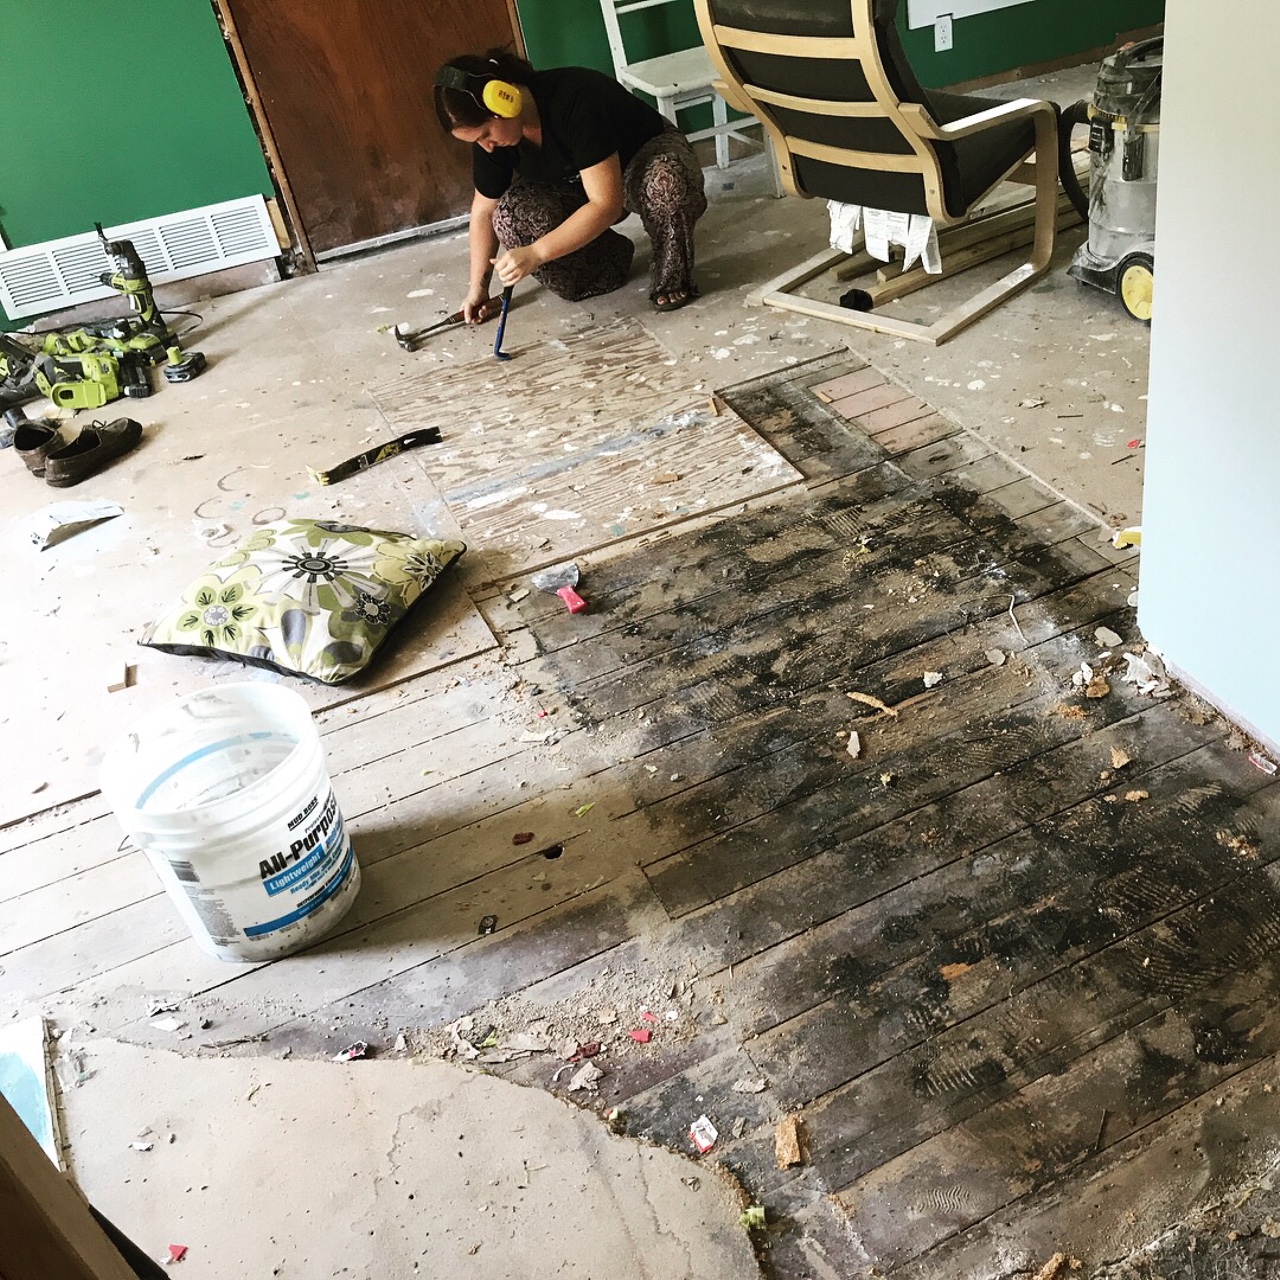
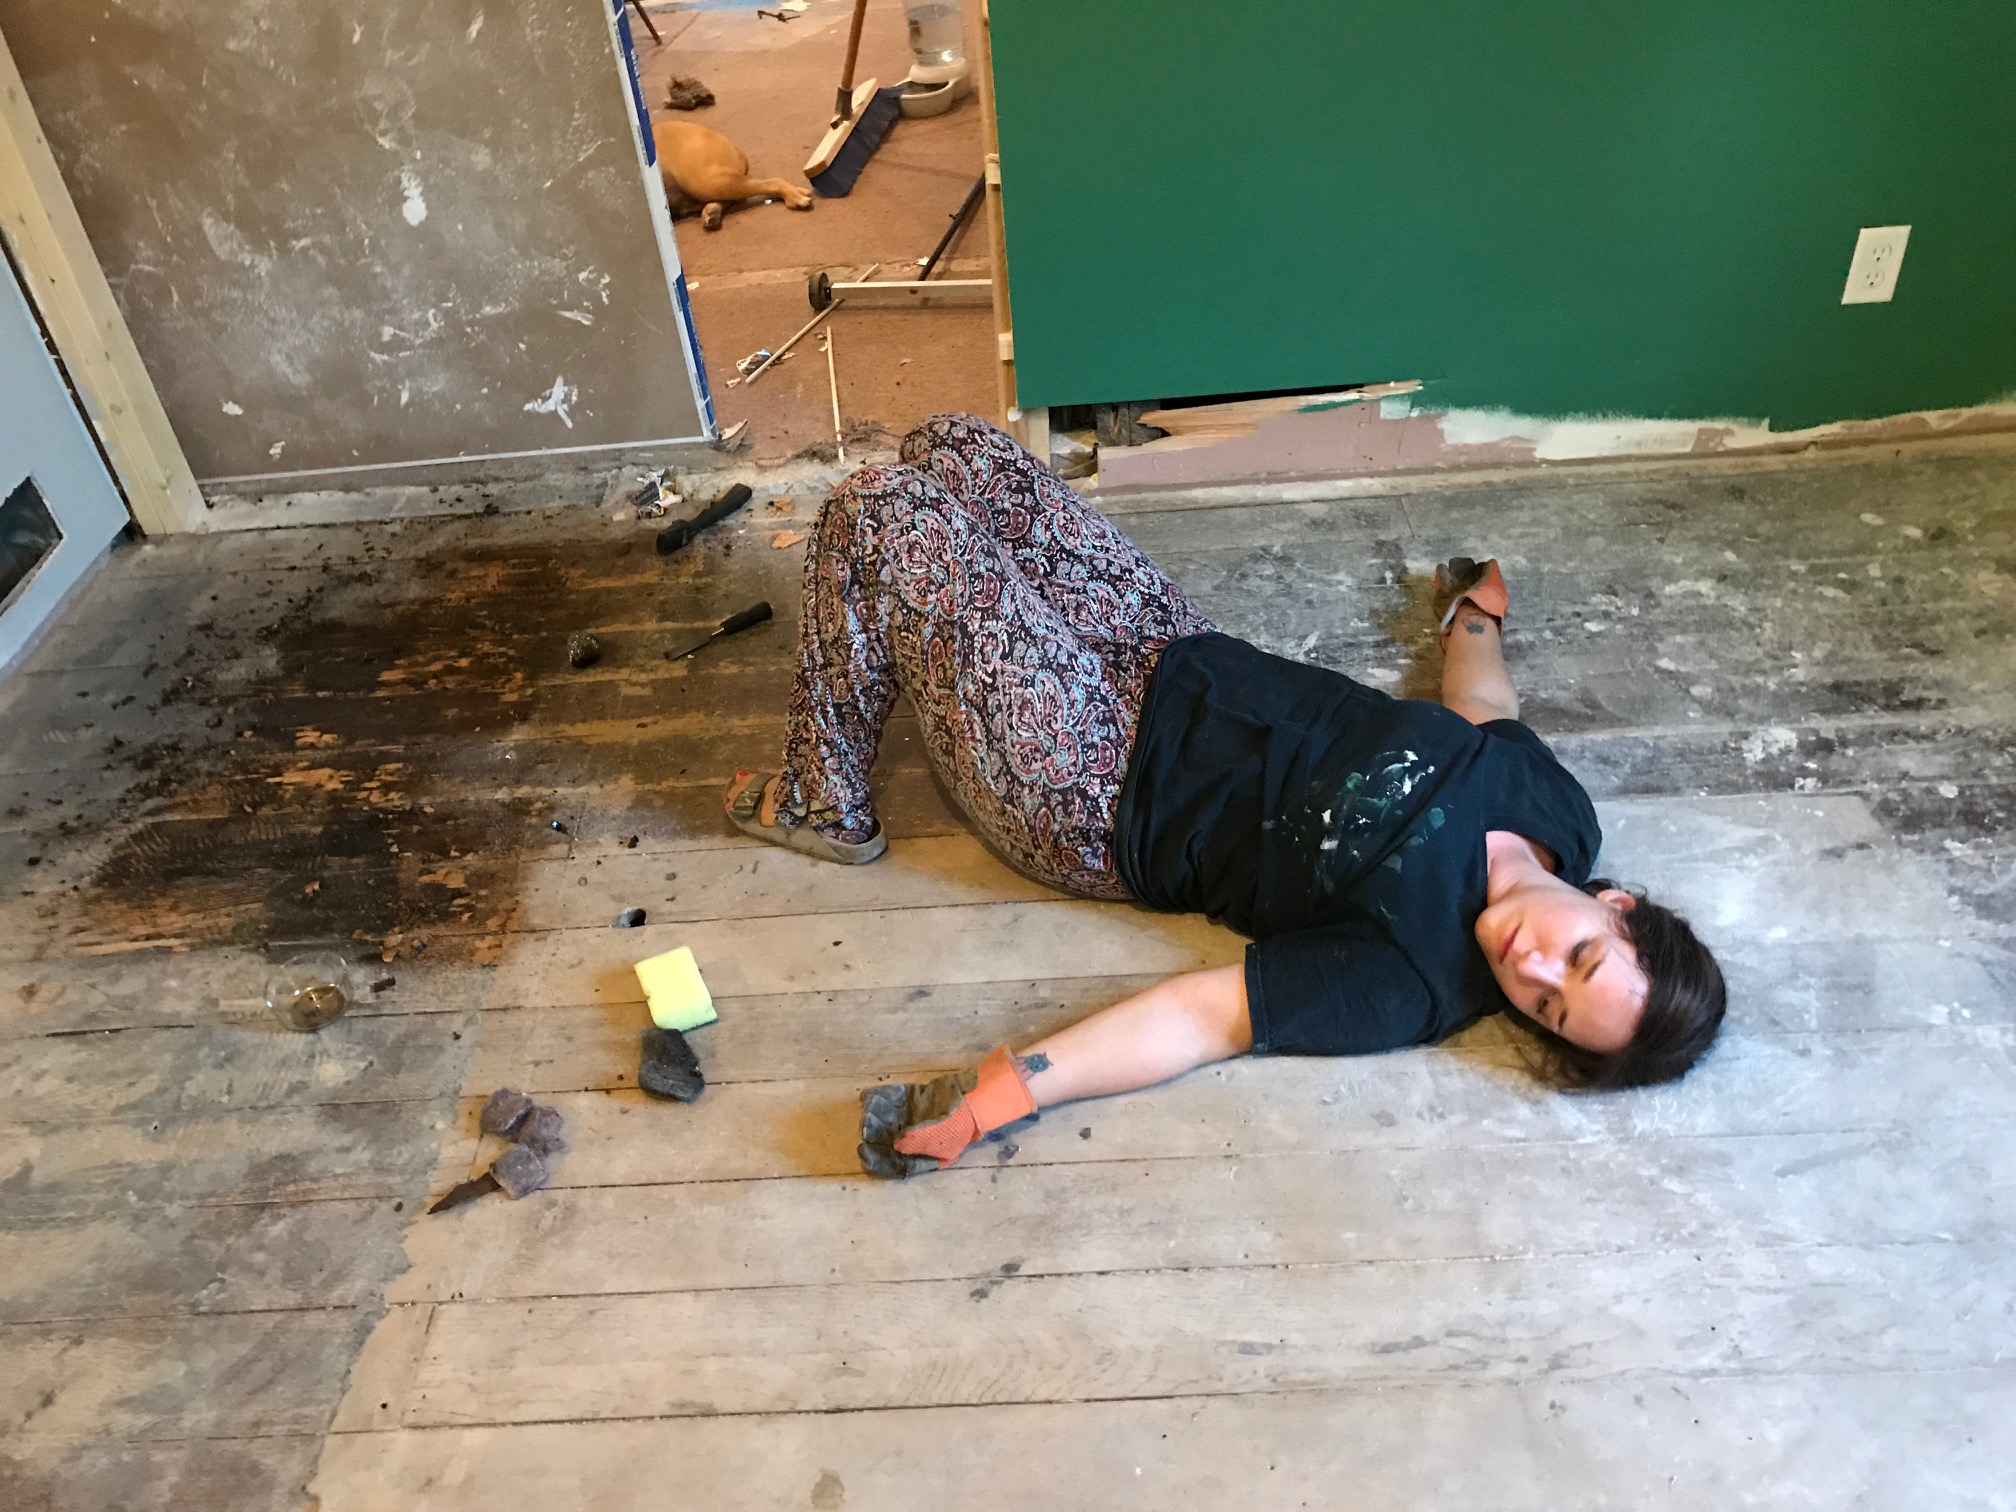
We first got to work on the tar. It sucked. Logan did not enjoy this part much (or any other parts for that matter, god bless her)
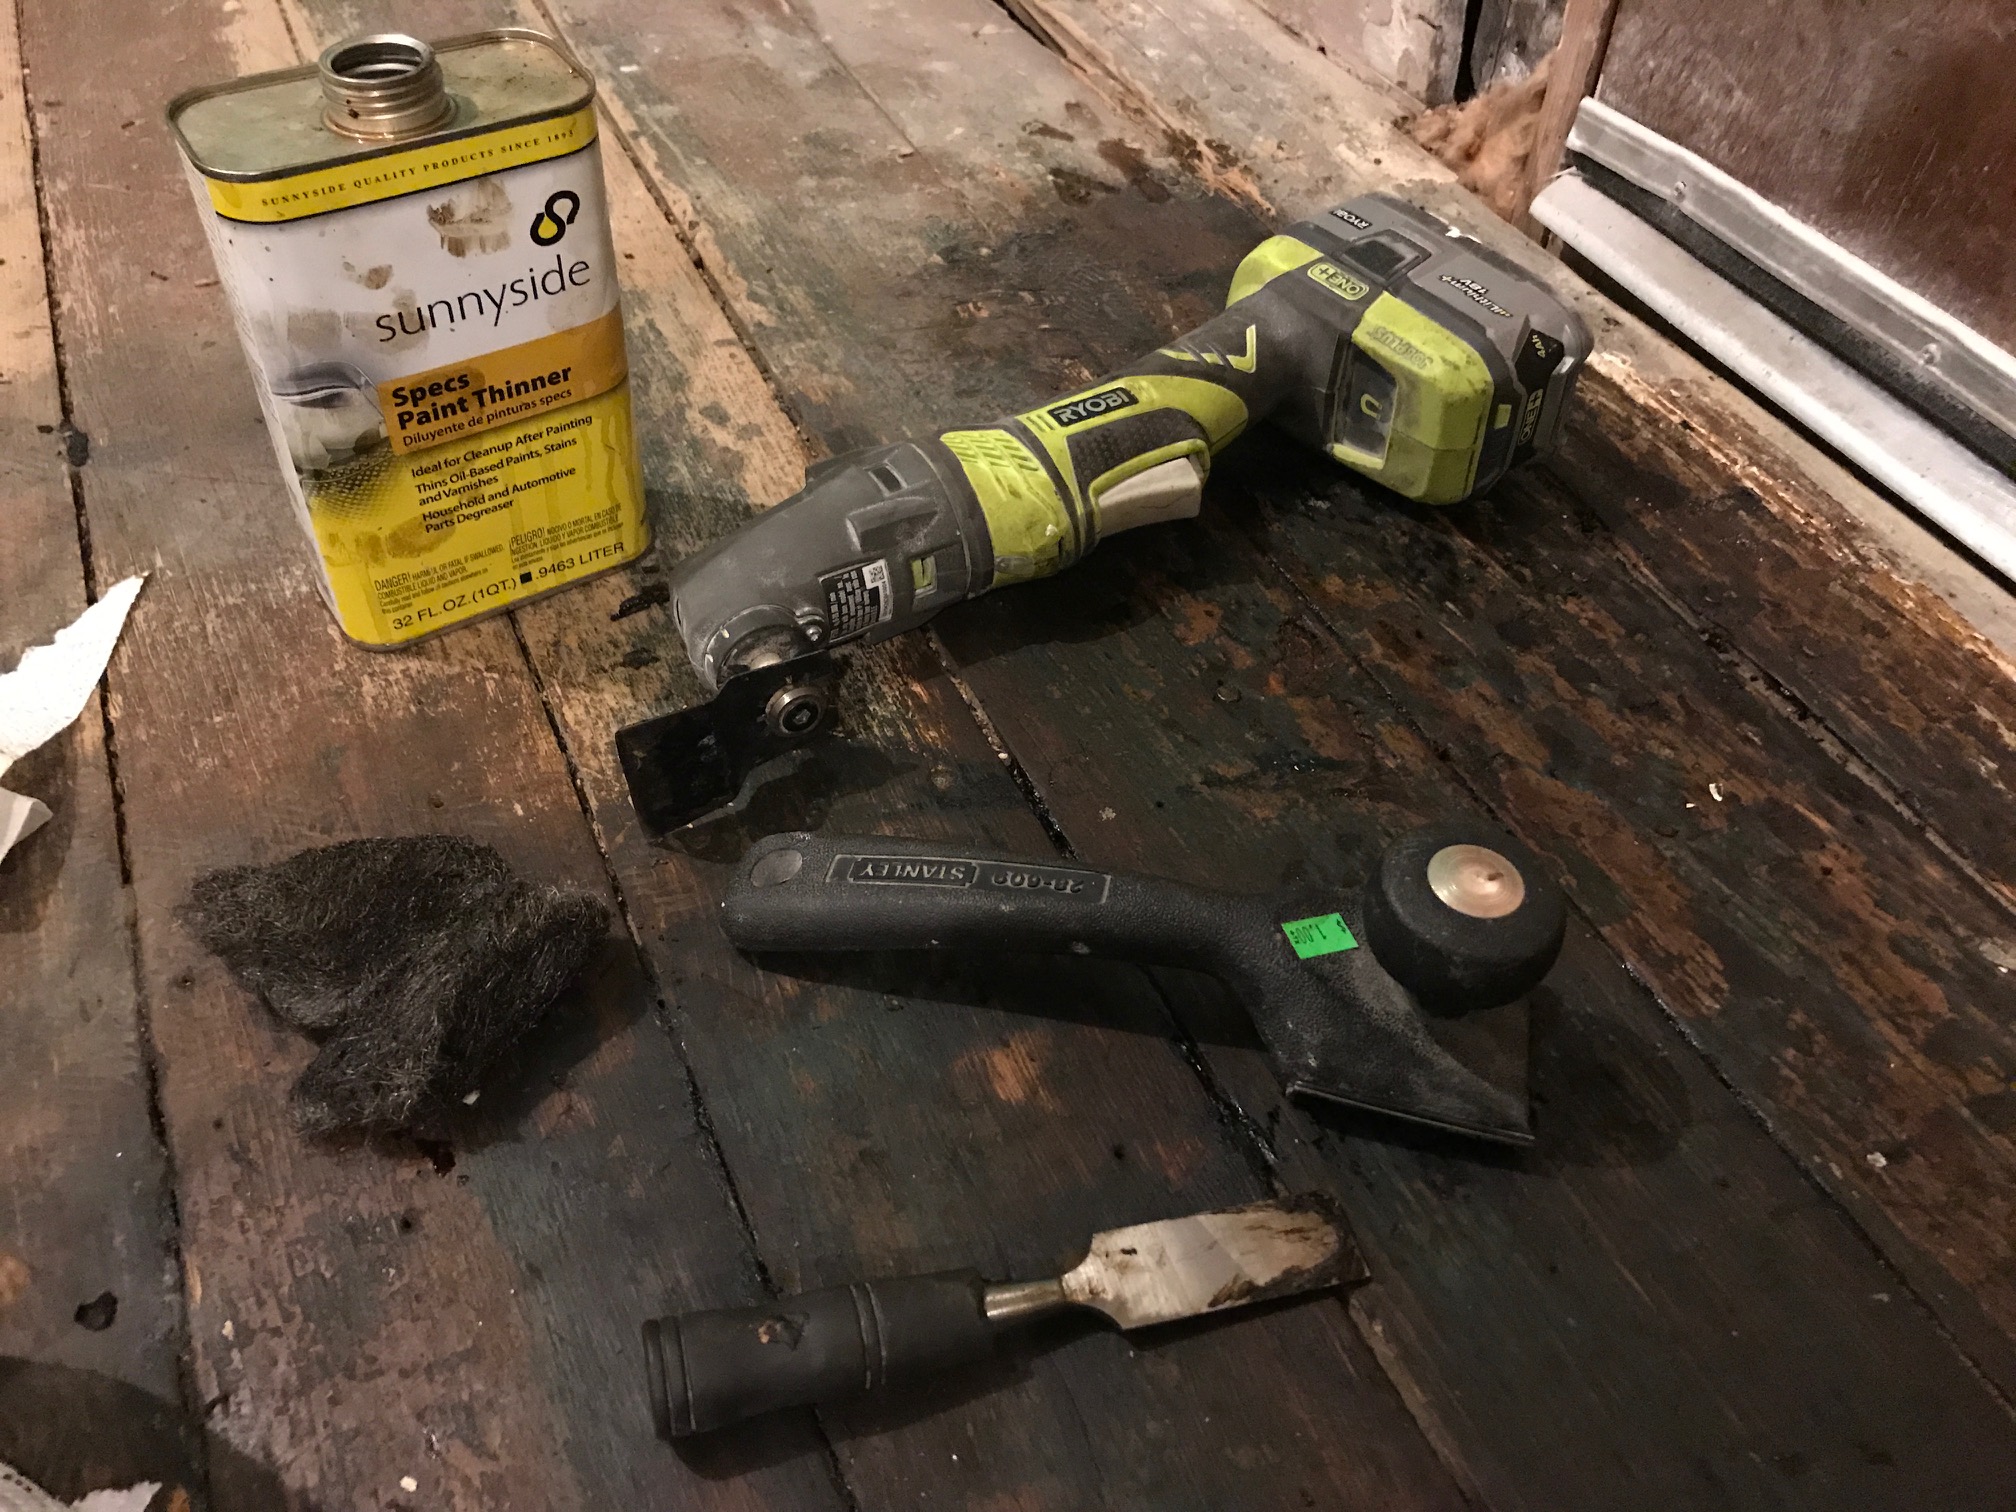
I tried everything:
- paint thinner - it just liquefied it and made it seep deeper into the wood. Very bad.
- scrapper tool - it was too dull
- vibrating multi-tool with scrapper blade attachment - didn't work as well as you might think it would
- chisel - too damaging to the wood underneath the tar
I ended up buying a nice/expensive scrapper tool with a very sharp carbon steel blade. It worked the best but not by a large margin or anything. In the end there was only one way to get the tar up and that was to sweat your ass off.
I replaced the painted boards where the old chimney was with some antique pine or fir I found in the garage. I made sure to use old wood so that it would hopefully have the same dark tone as the antique fir.
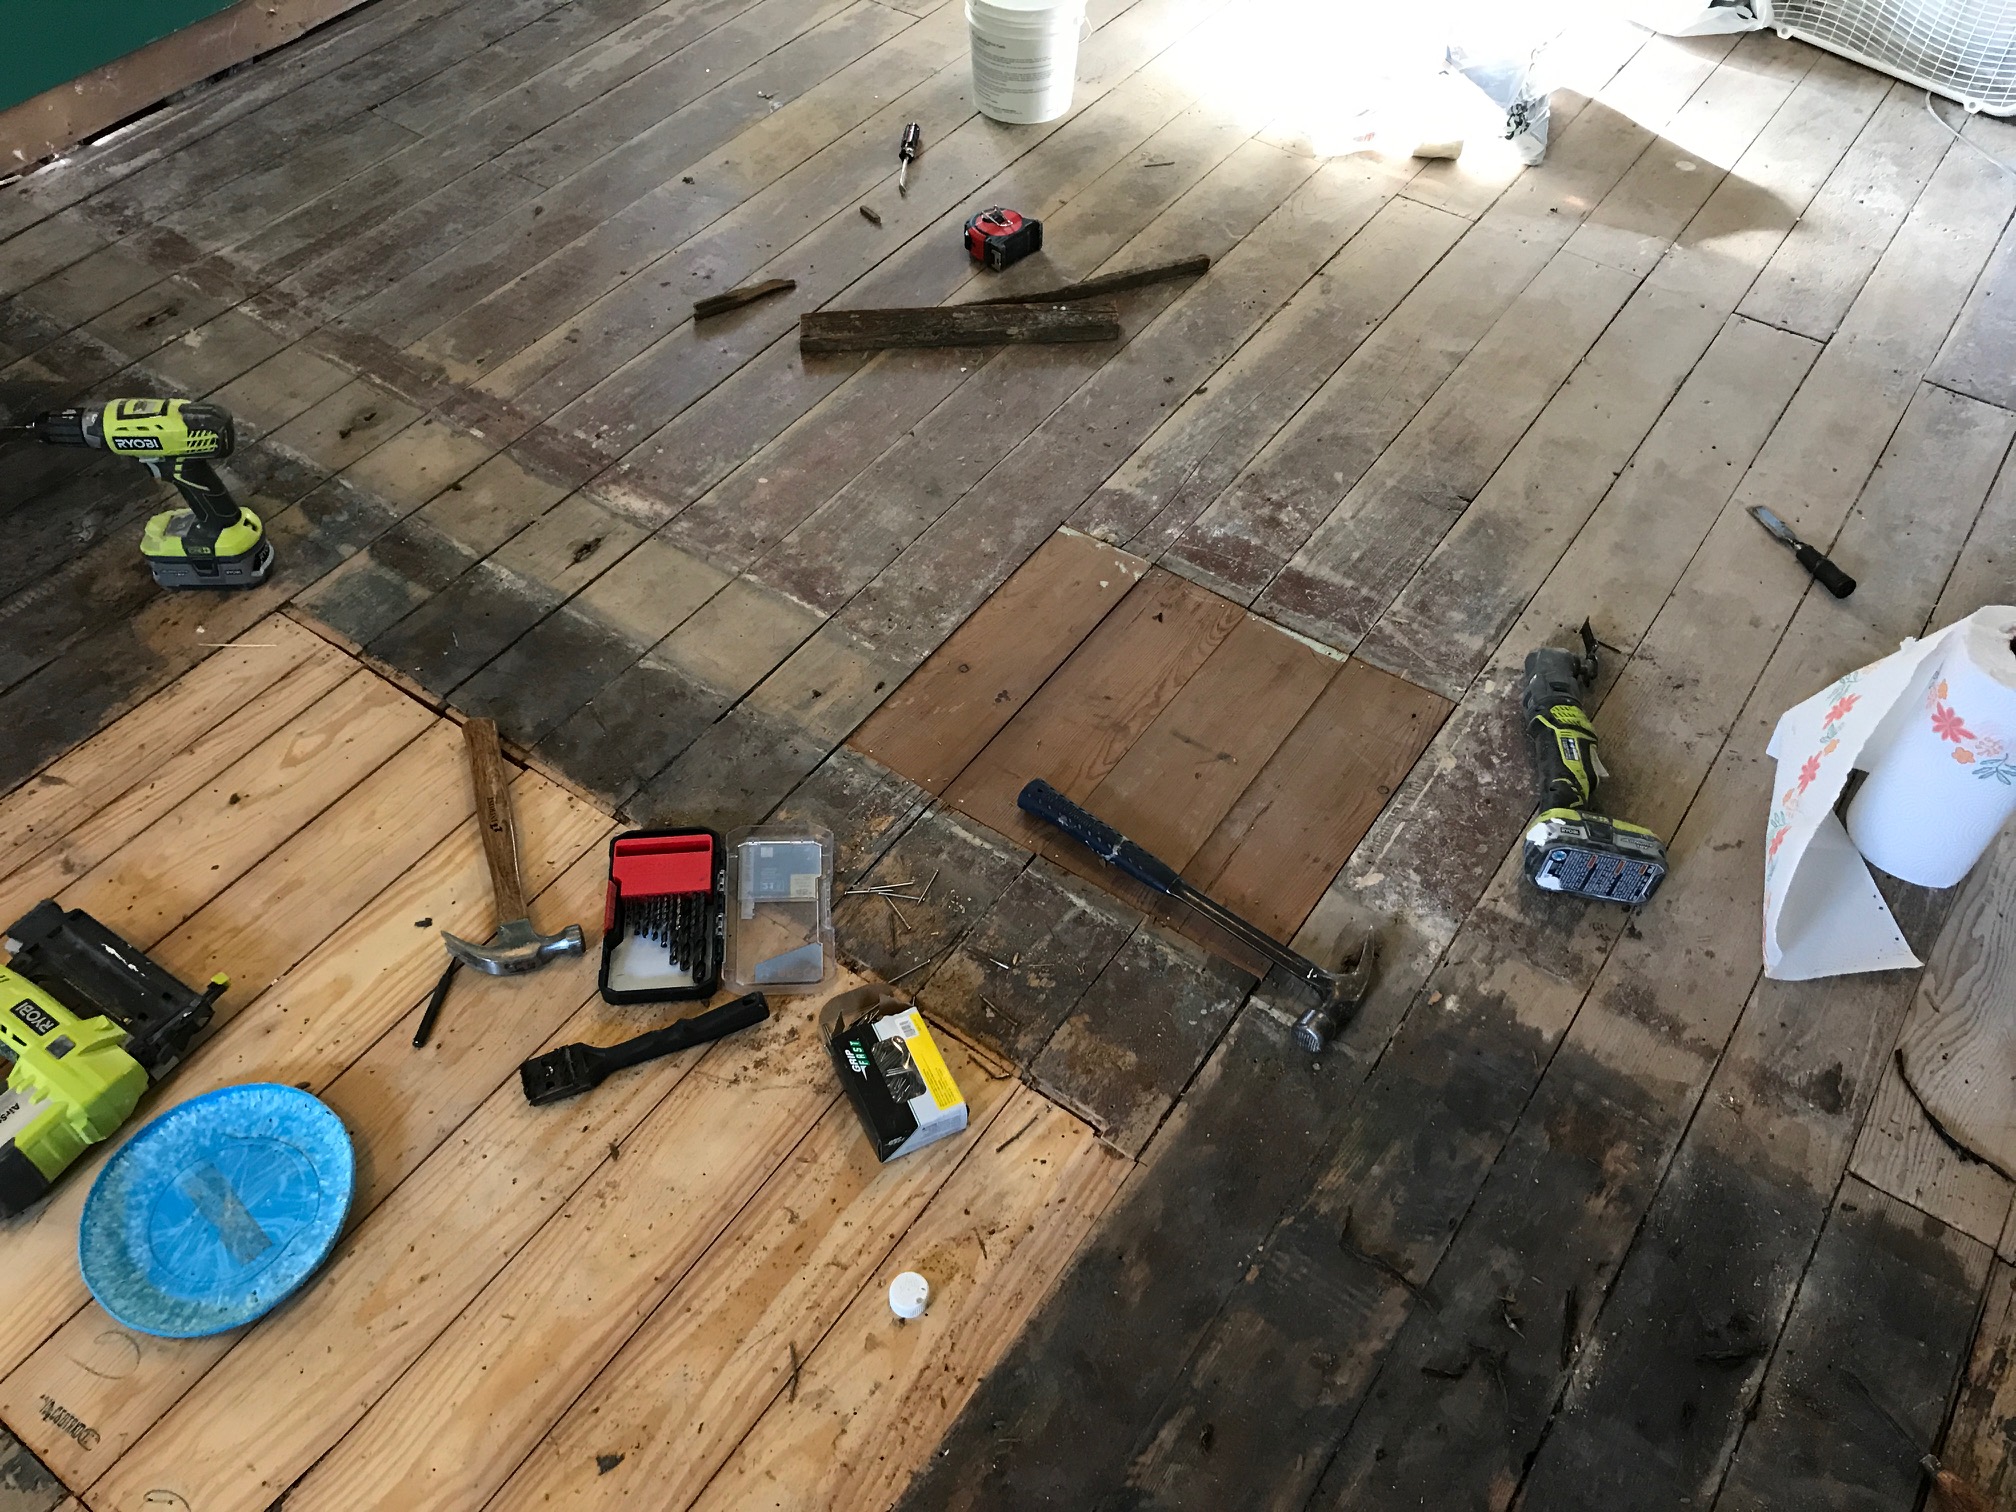
And I repaired a broken board with more of the same old pine/fir. There were several other patches made but not shown.

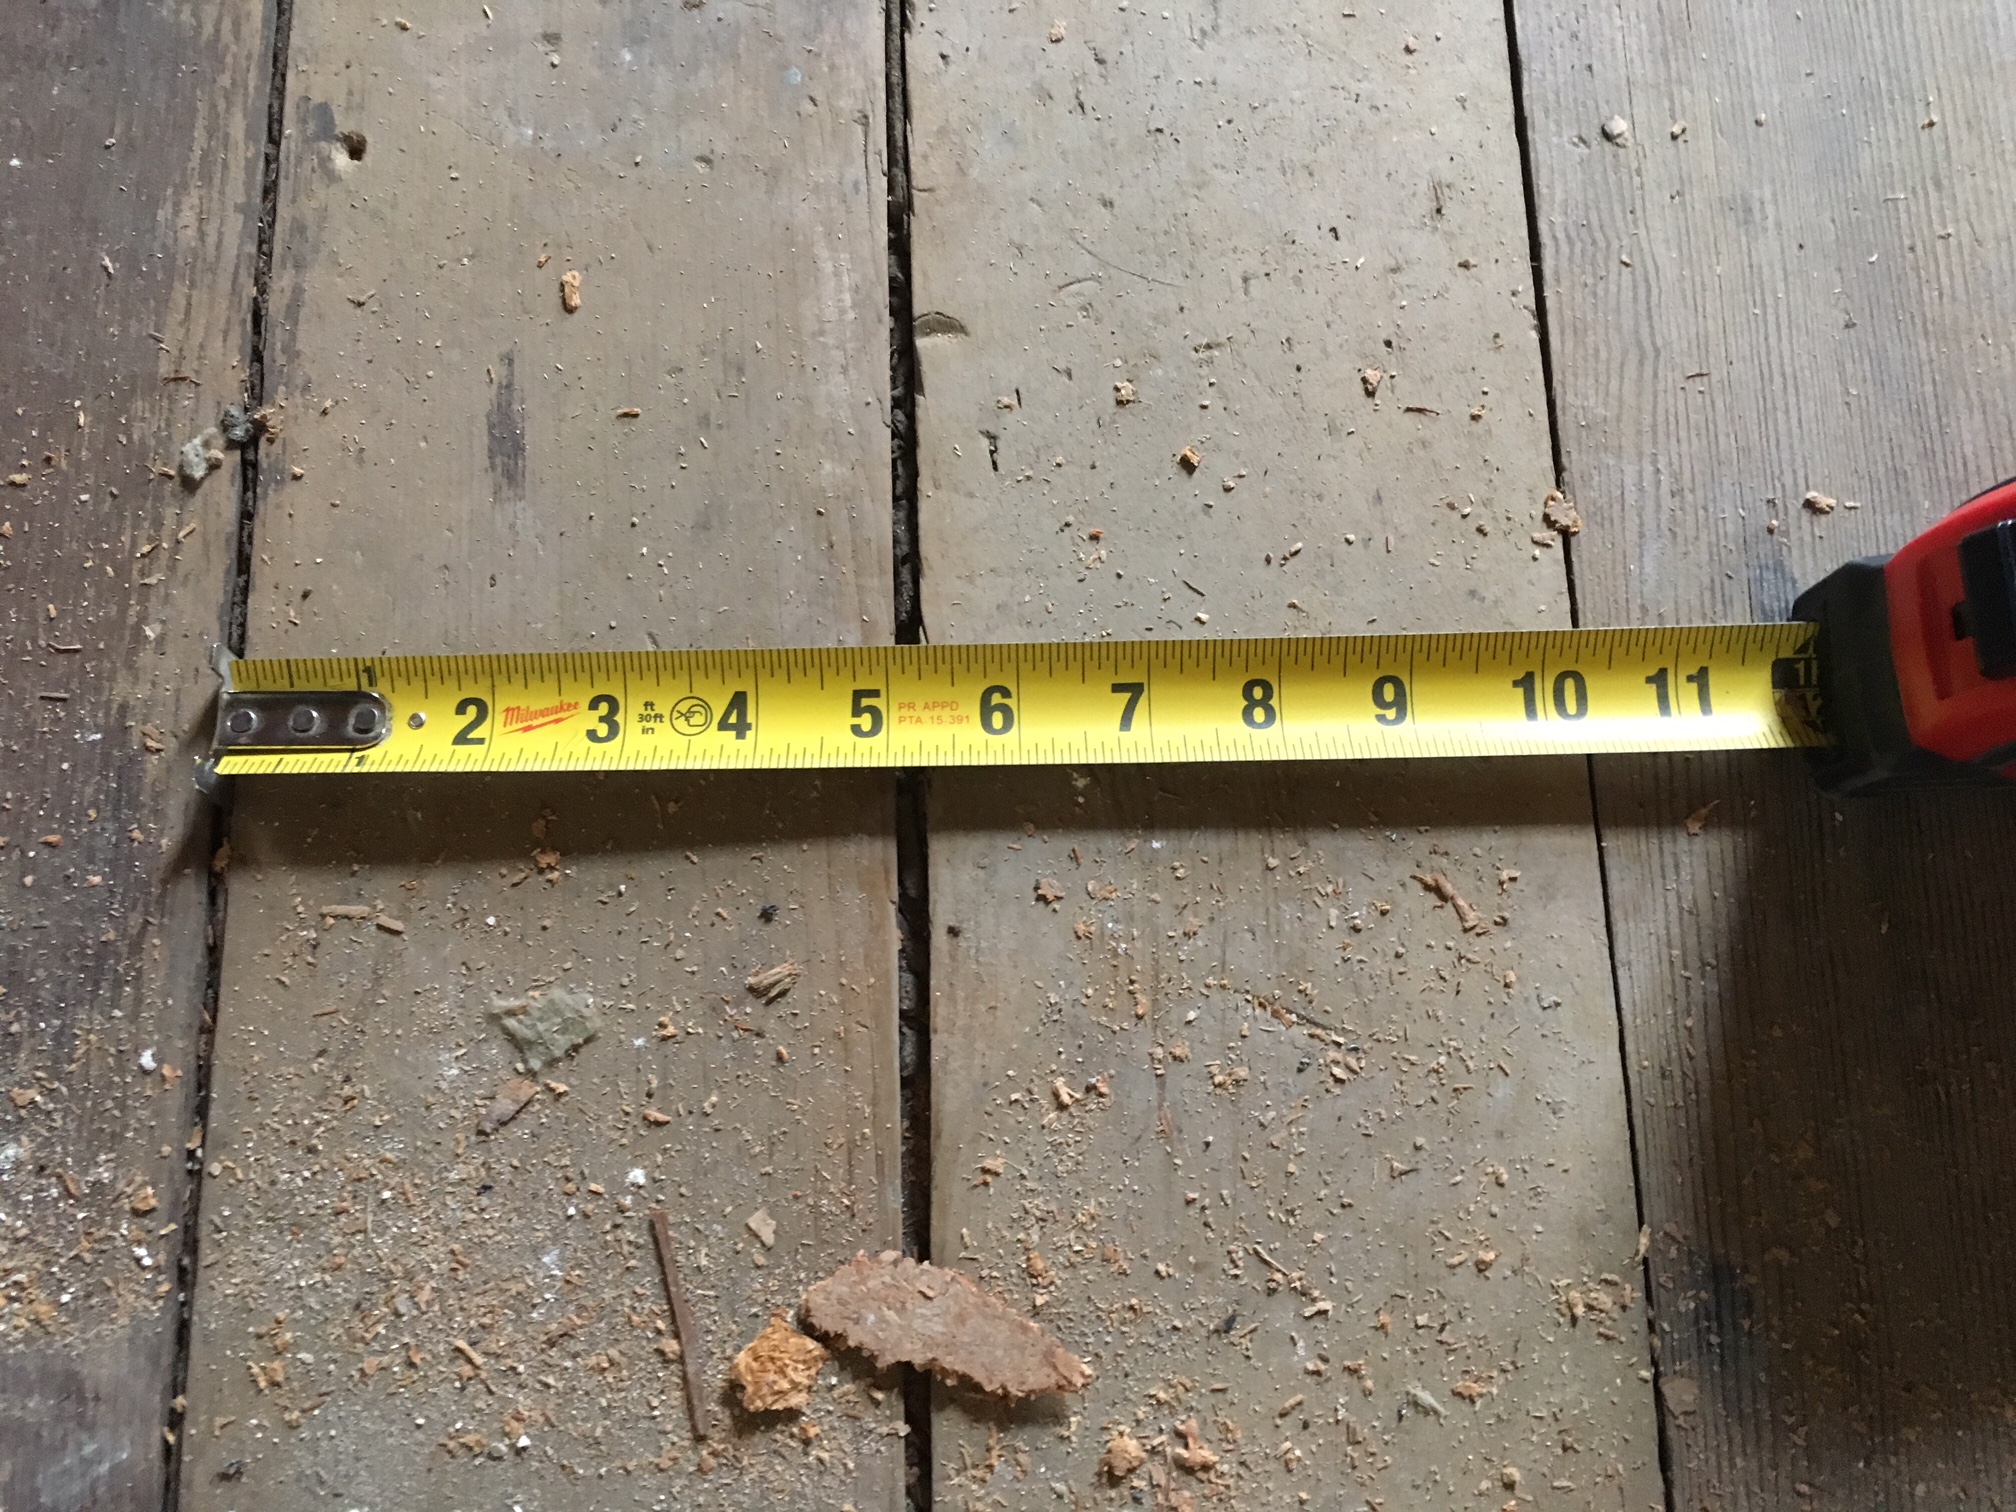
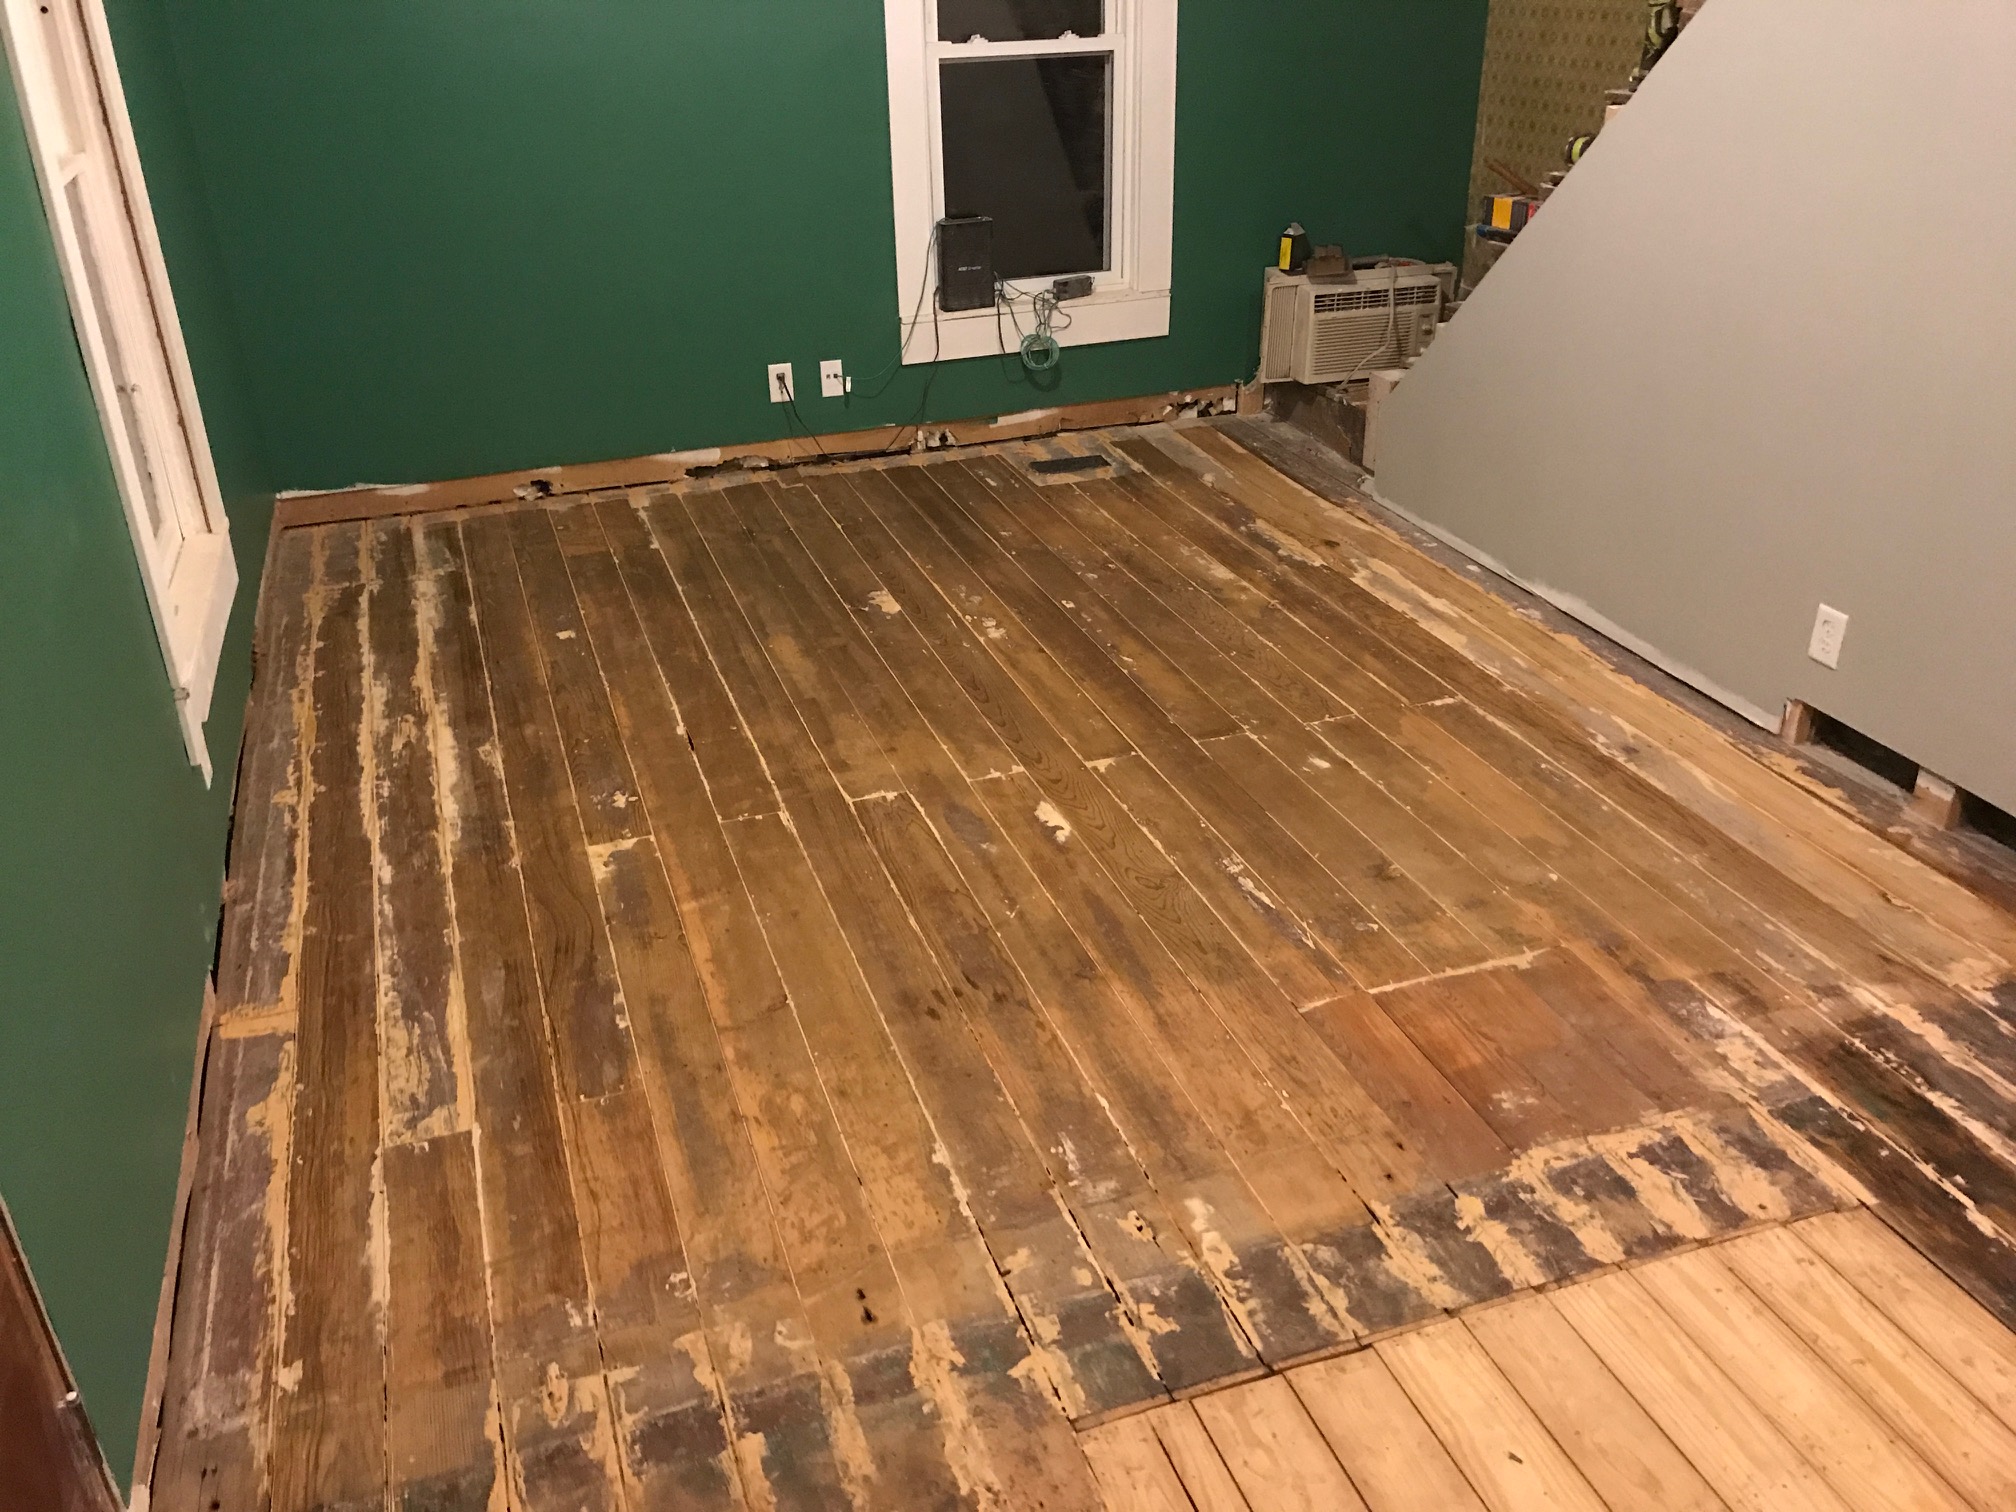
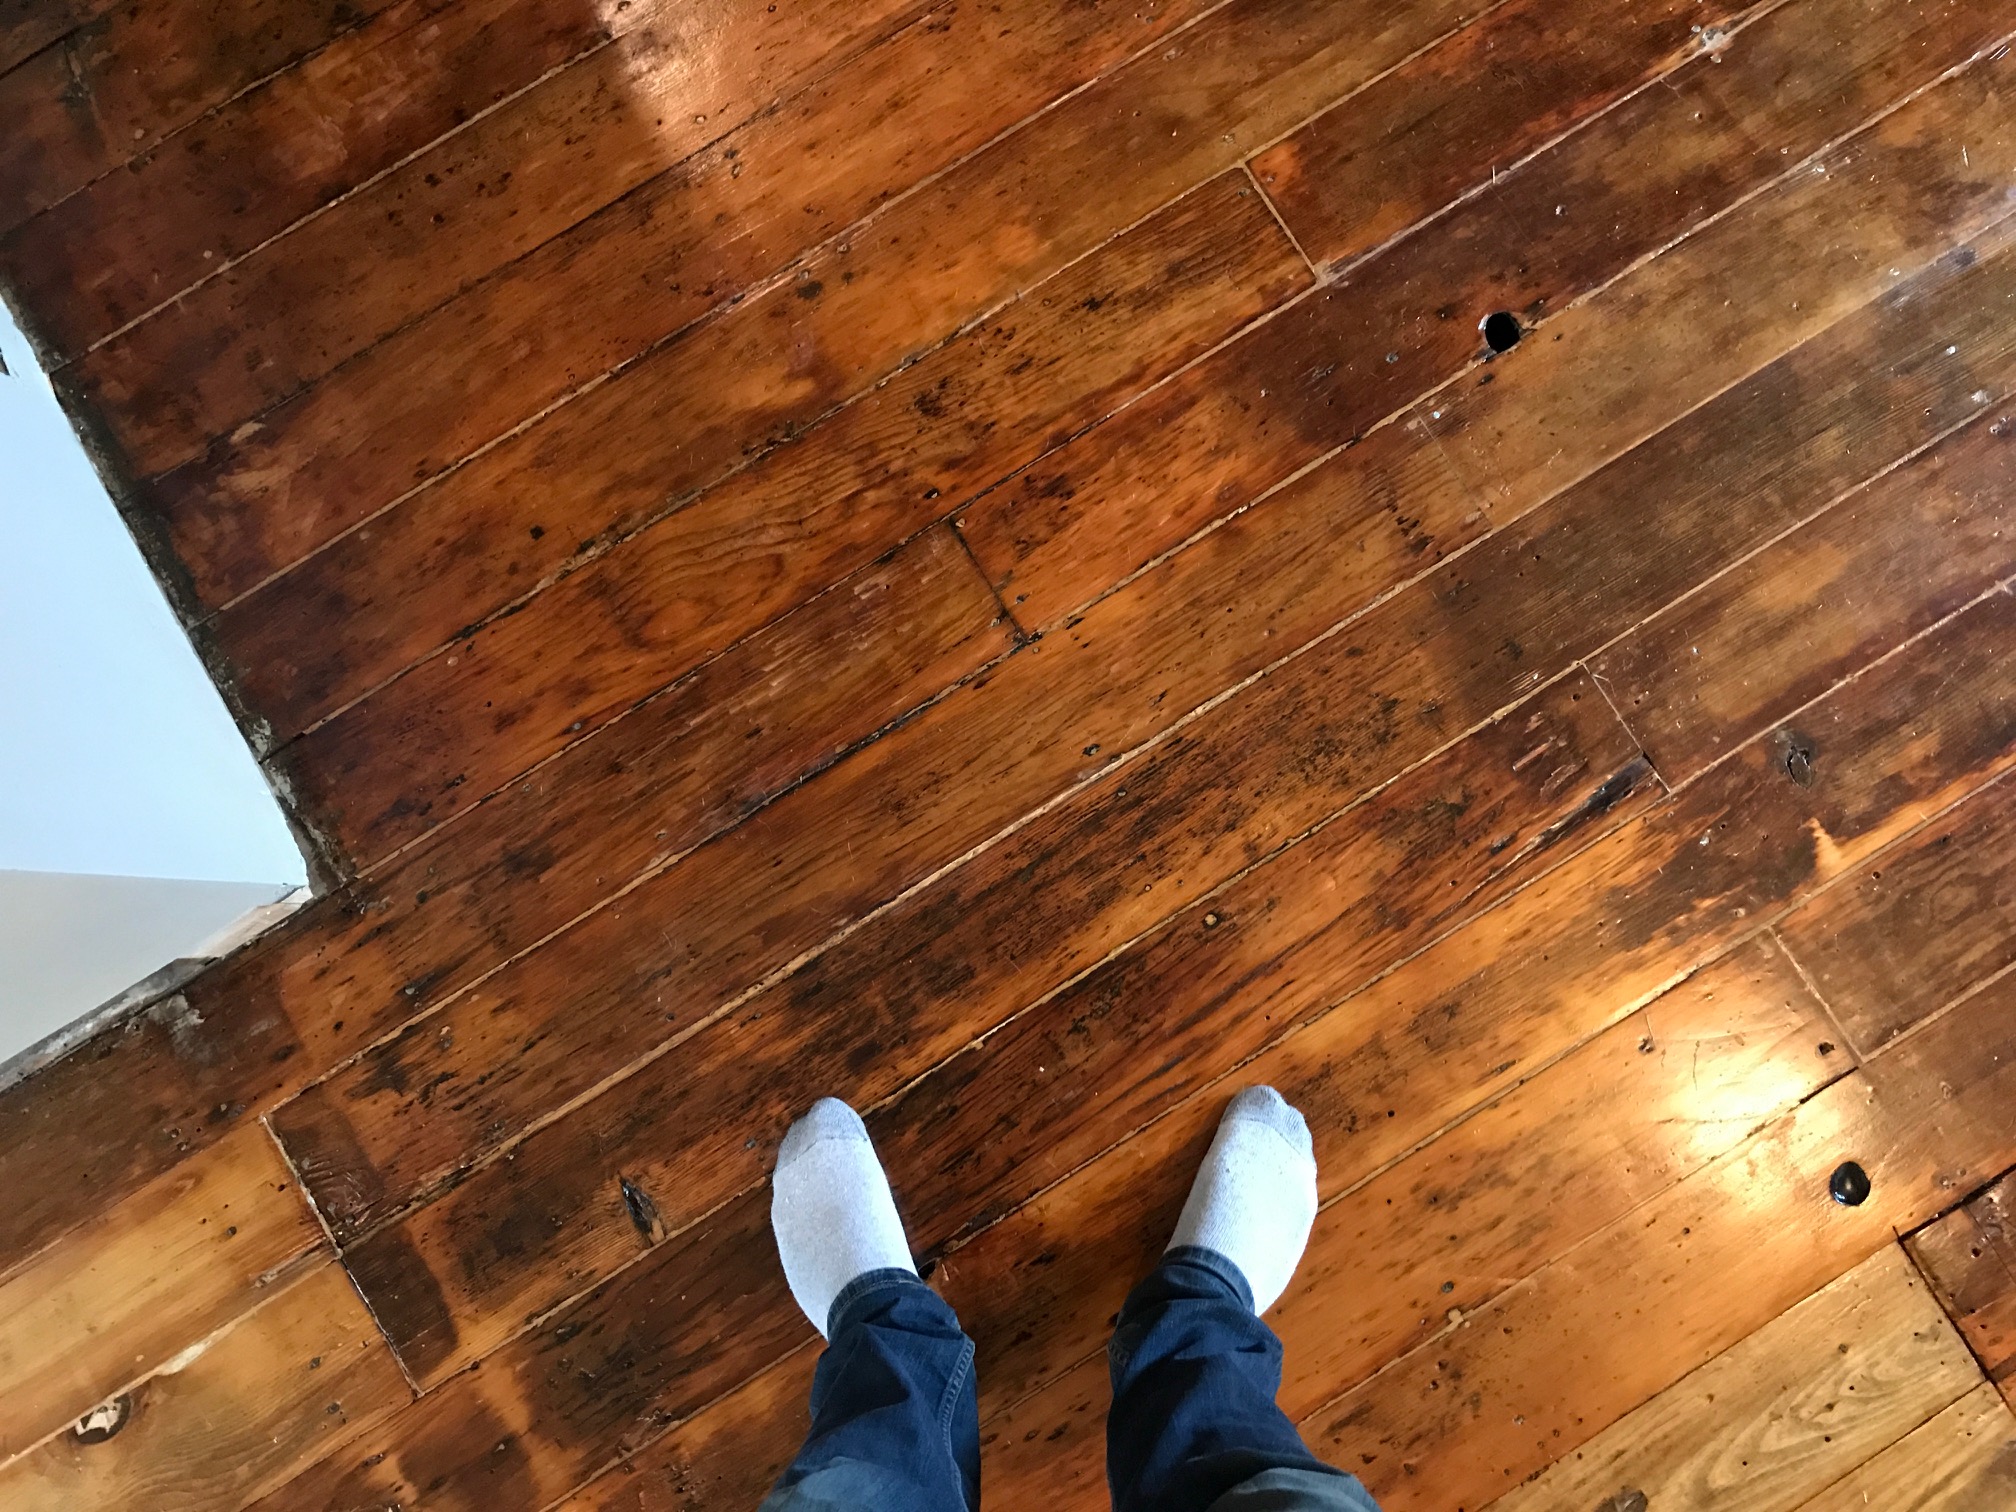
We dug out all the crud that had collected in the gaps between the floorboards.

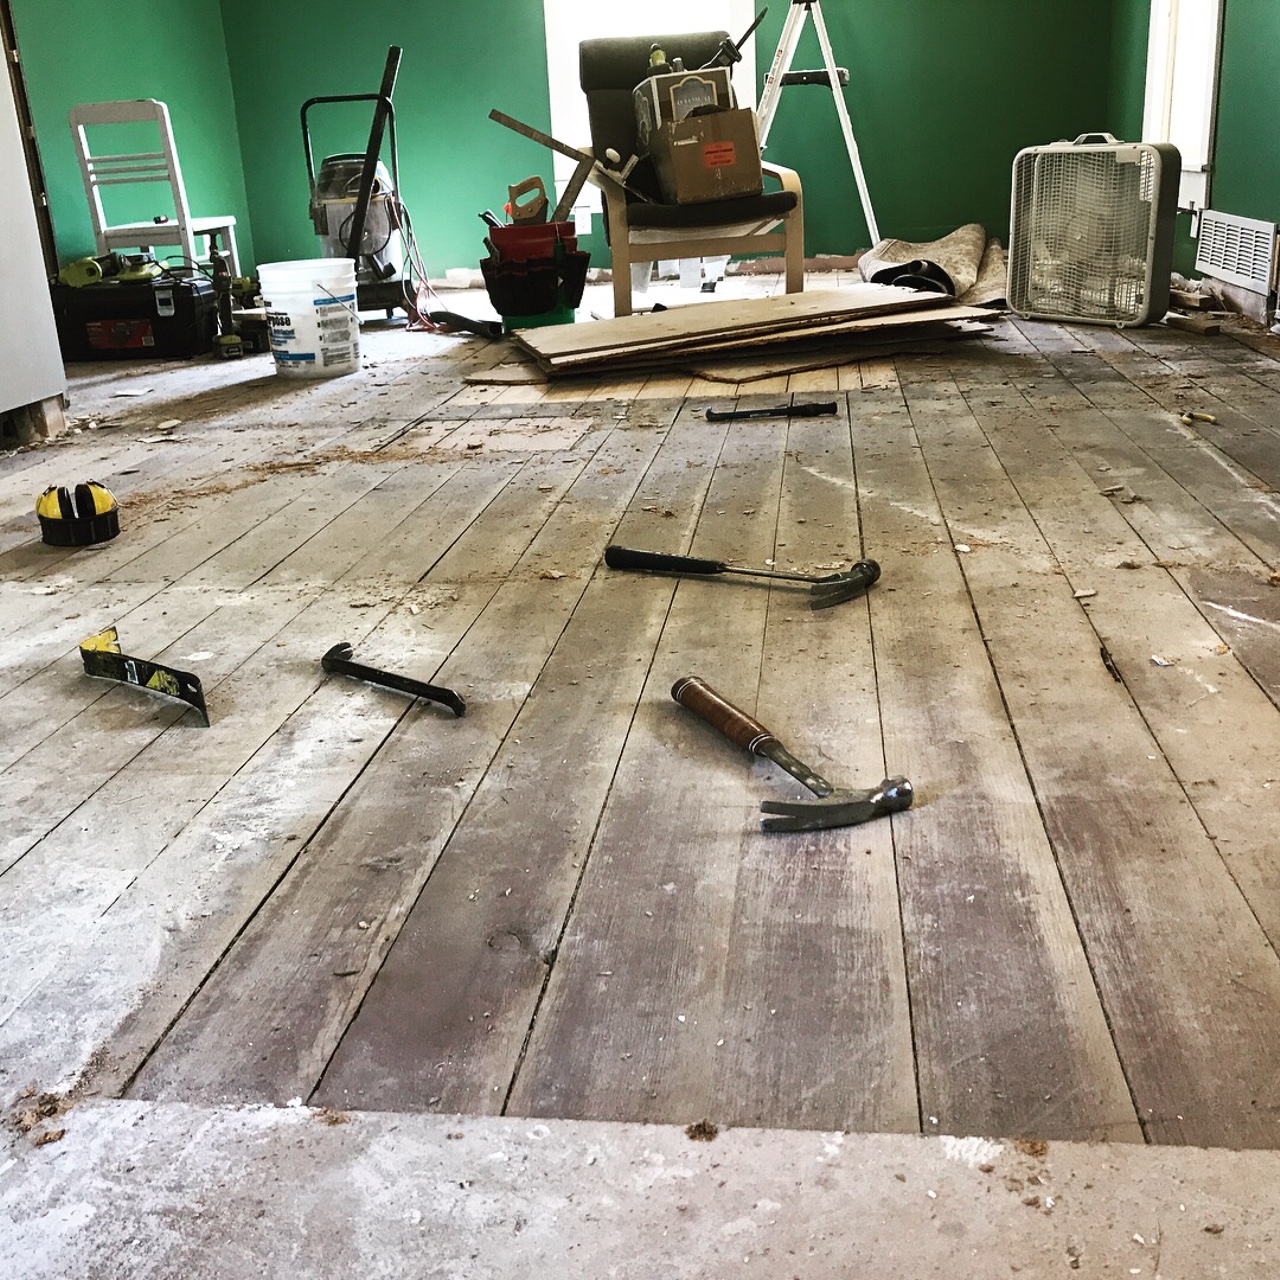
You can see that the red paint was only used around the perimeter of the room, they must have used a large rug in the center. It's like this on both sides of the room. I bought a lead paint testing kit, and it tested negative for lead.
Here's where we made our big mistake.
We filled the gaps with wood filler.
Not only did we use the wrong color wood filler (it was "red oak" but still wasn't dark enough) we ran out about 3/4s of the way through and tried to make up for it with a less-than-ideal mix of sawdust and glue. Yet there were still gaps that were so big that we just left them unfilled. What were we thinking?
The next day.. was a weird day. This was the day of the 2017 solar eclipse, so I got off work to watch it (it was cloudy) and to sand the floors with the floor sanding machine we rented the night before. I even enlisted the help of some friends I met that morning to watch the eclipse with.
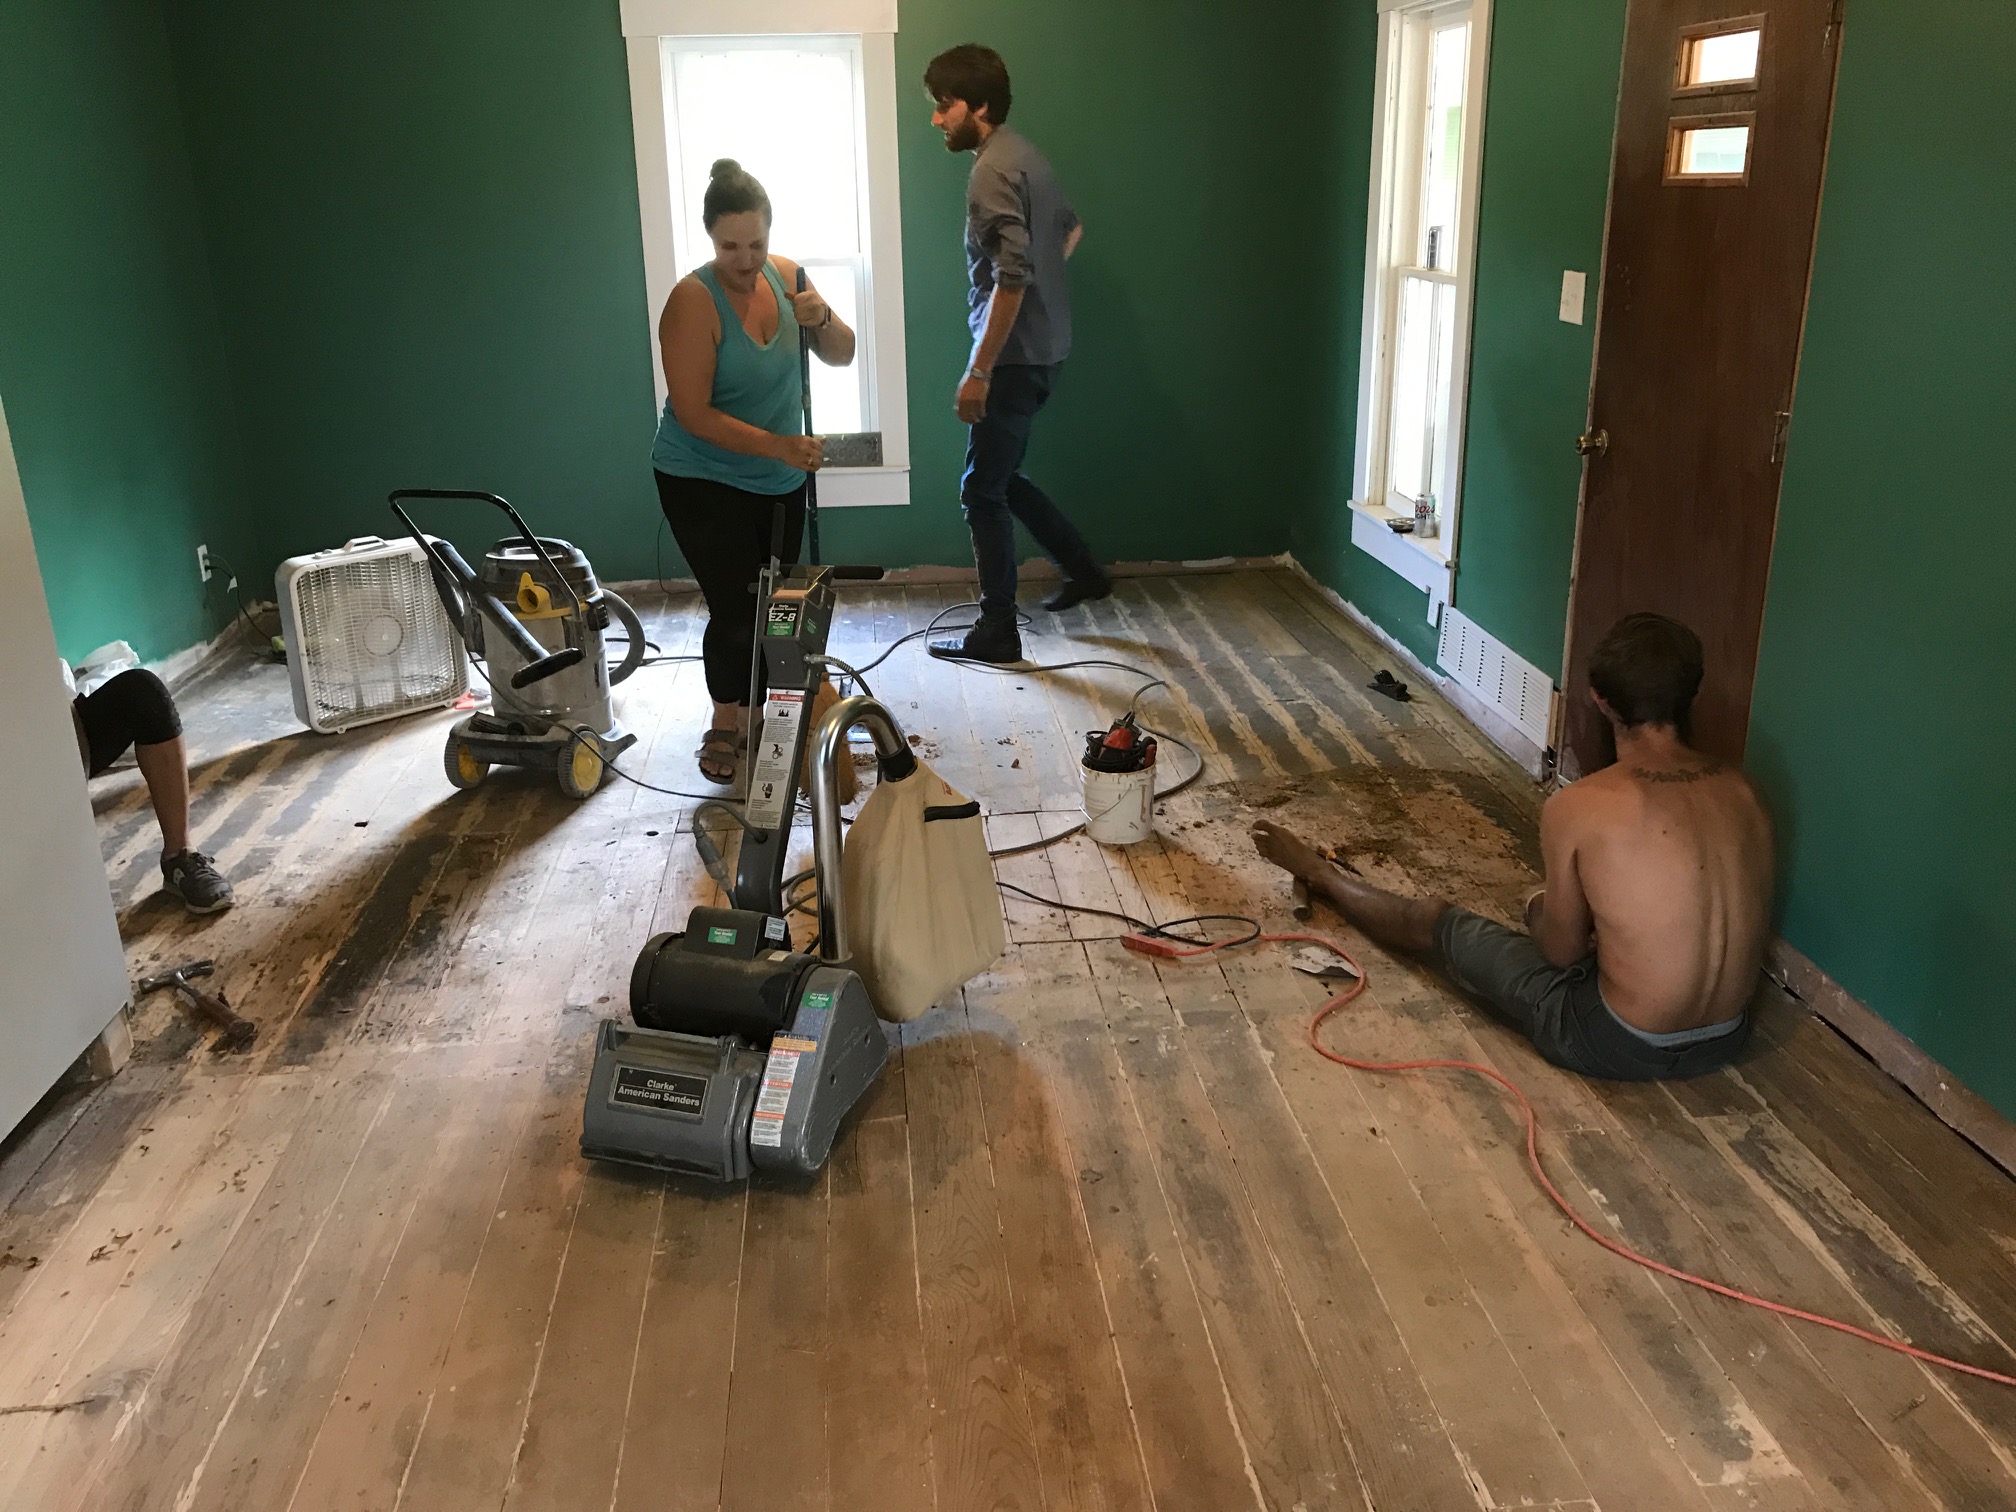
Two problems:
- The red floor paint was hiding a SECOND layer of floor paint! Green paint. GREEN??!?! It gummed up the sandpaper on the floor sanding machine real bad and fast.
- The green paint was lead based. I know this because I tested it (the red paint was fine)
As you can imagine the lead paint stopped us dead in our tracks. We sanded what we could (the centers of each side of the room) but had to return the machine with a lot of work left unfinished.

Two weeks pass.
You see, our plan was to sand the floors and have someone put the poly on them while we were on vacation in California. It obviously didn't work out that way.
Once we were back home and the glow from getting engaged (!!!) had worn off enough to get back into the swing of things, we picked the tools back up and started making sweat again.
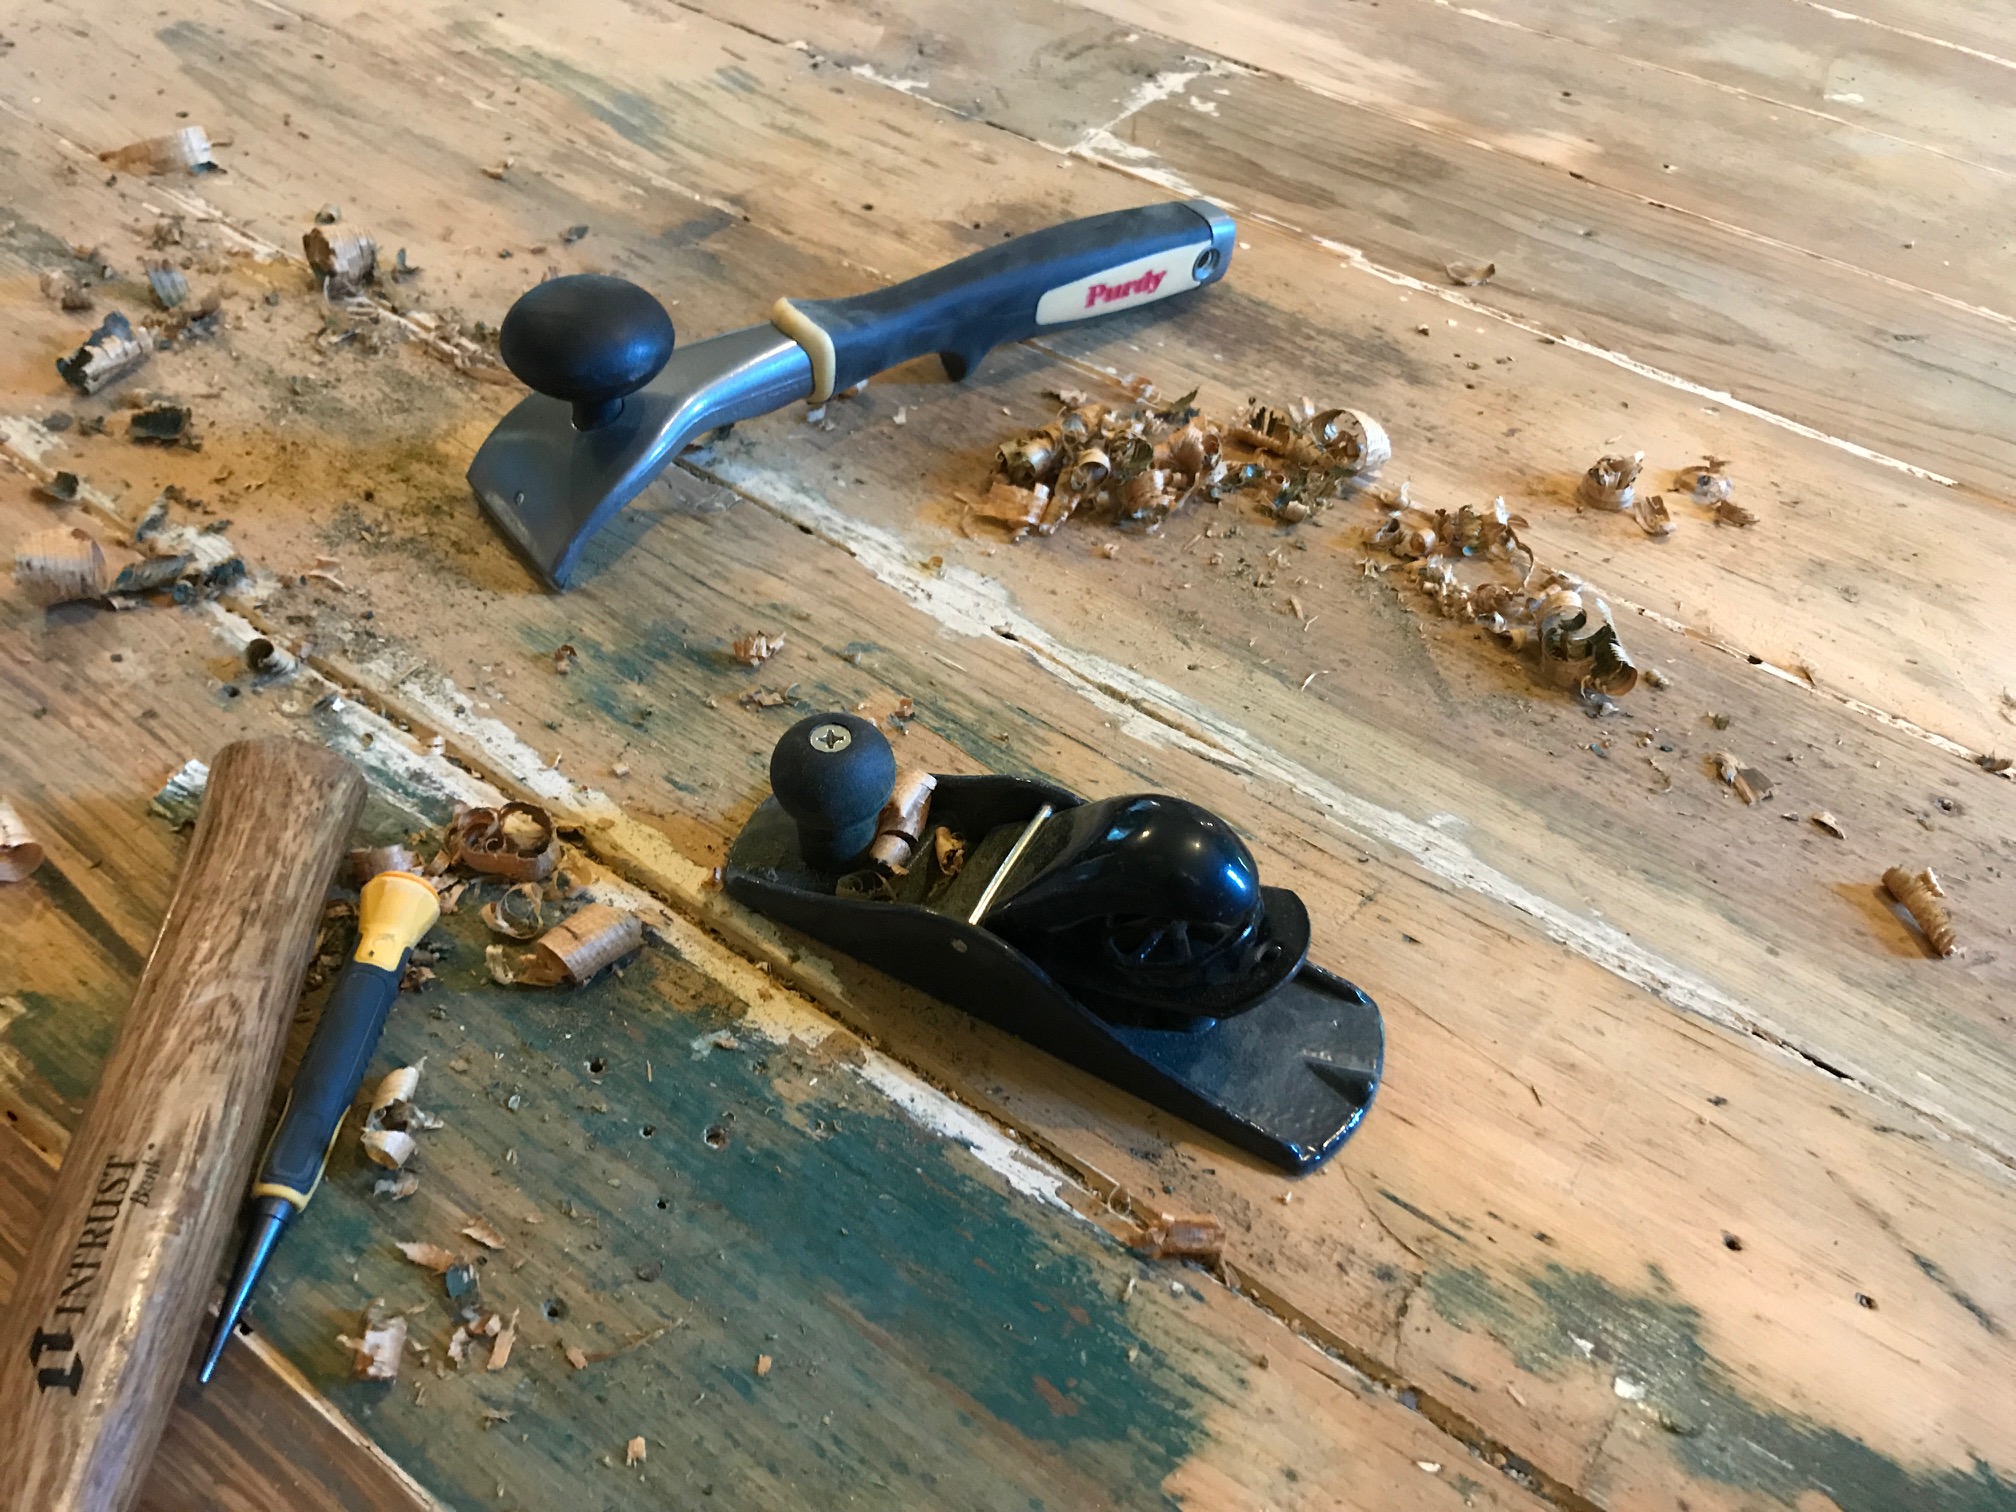
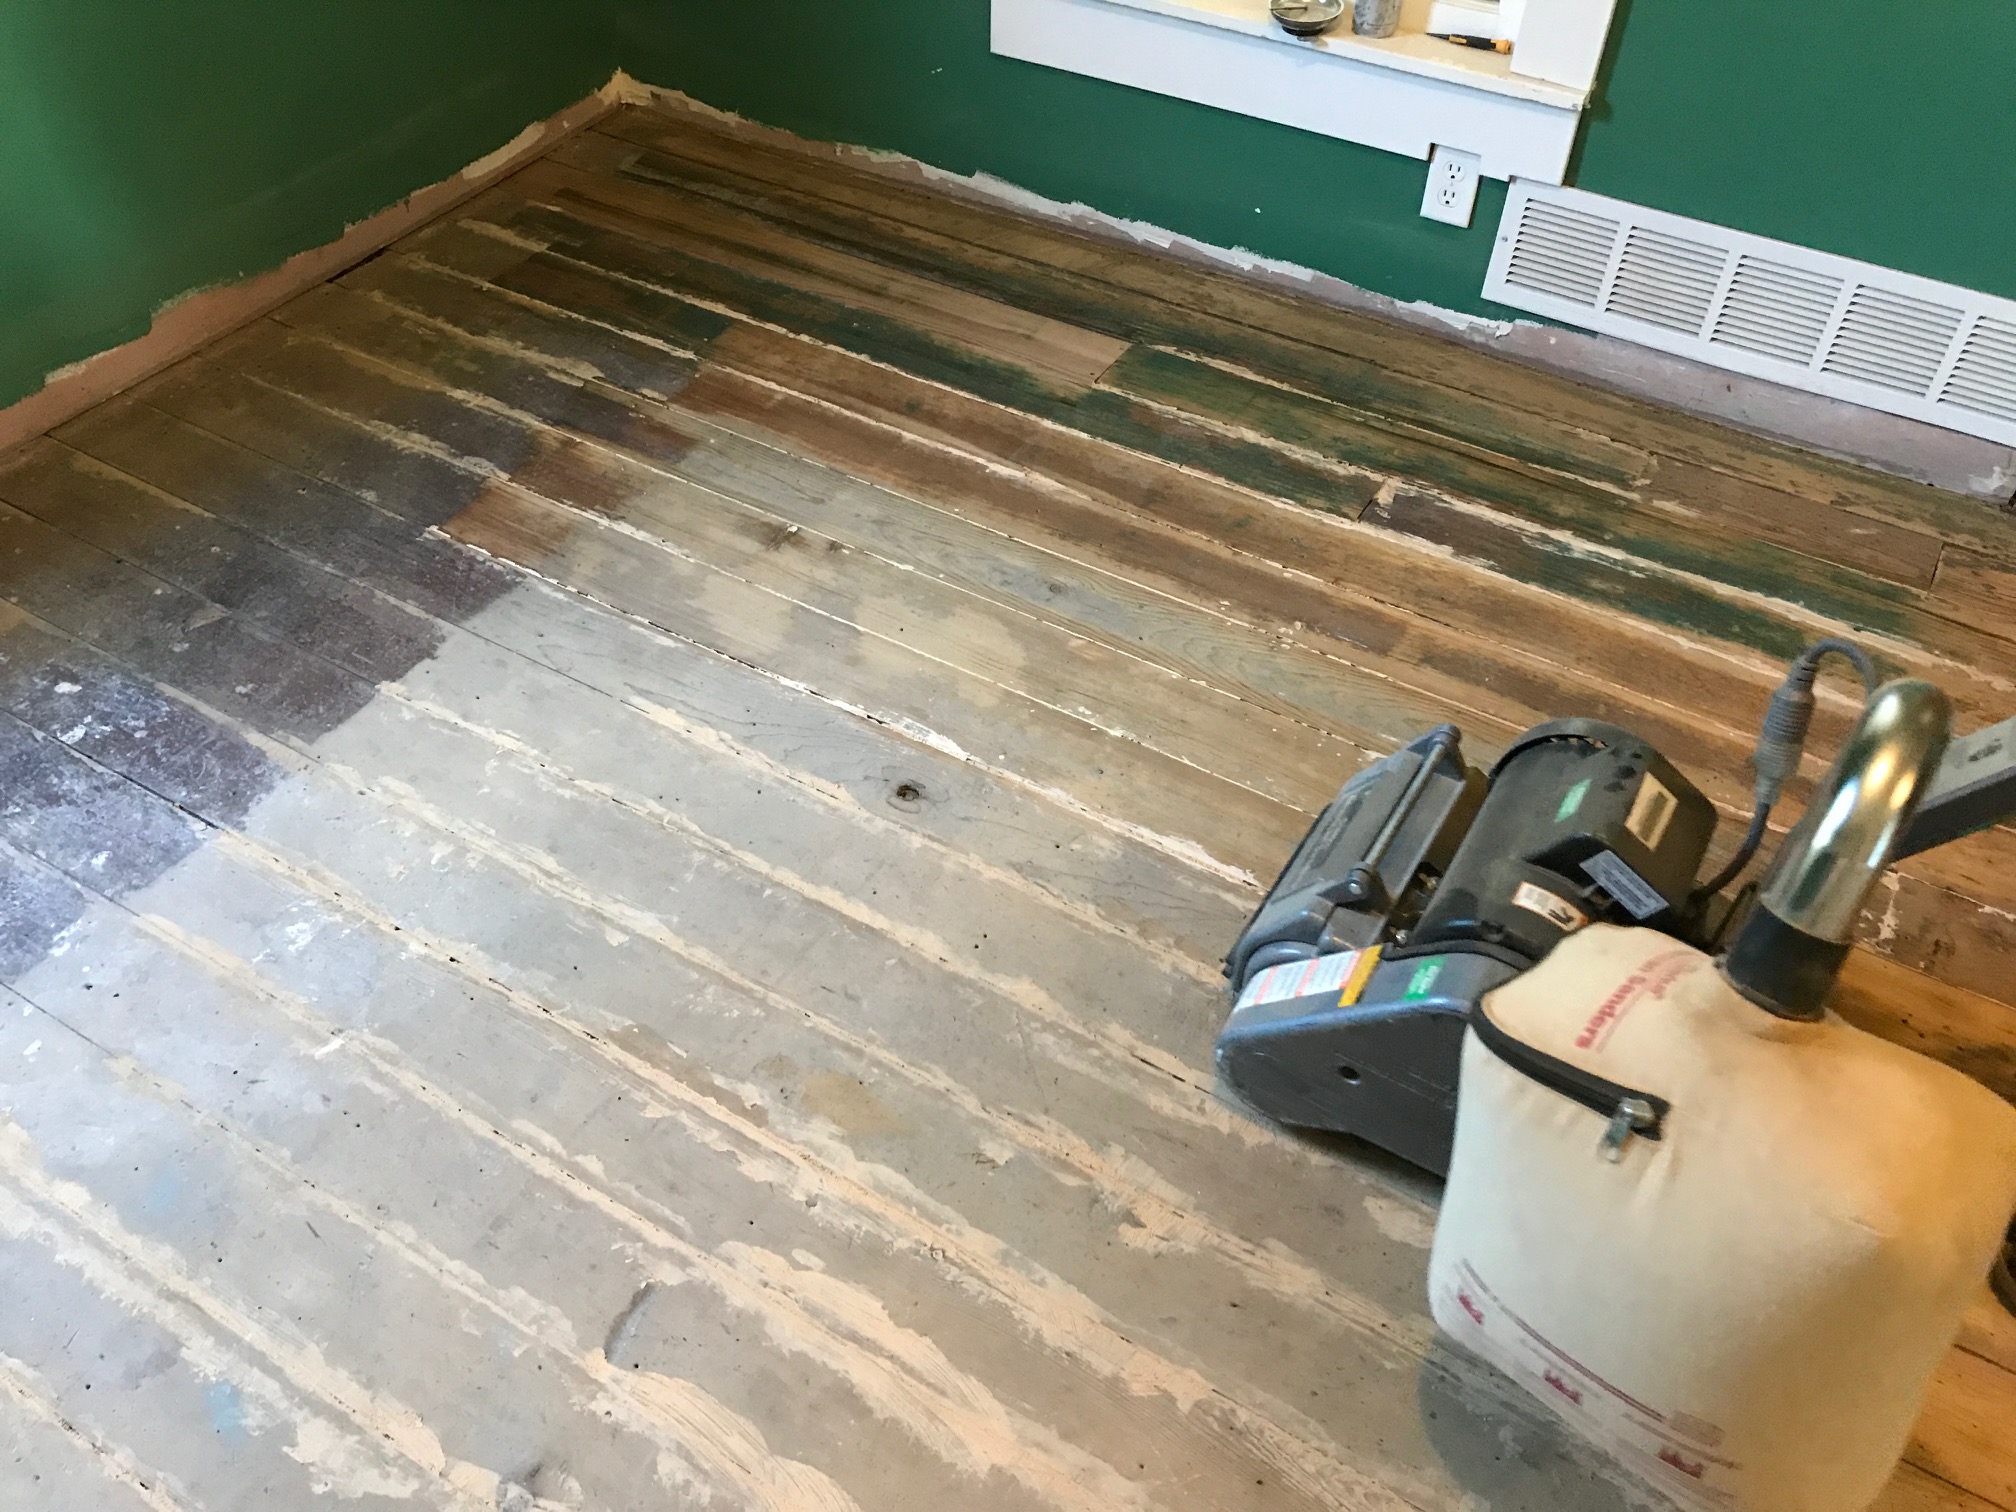
Obviously you don't want to sand lead paint. So I tried to physically remove the top layer of wood instead. (I'm sure that there's some folks who would say that this still isn't the safest way to deal with lead paint, and who am I to say if they're right or not?)
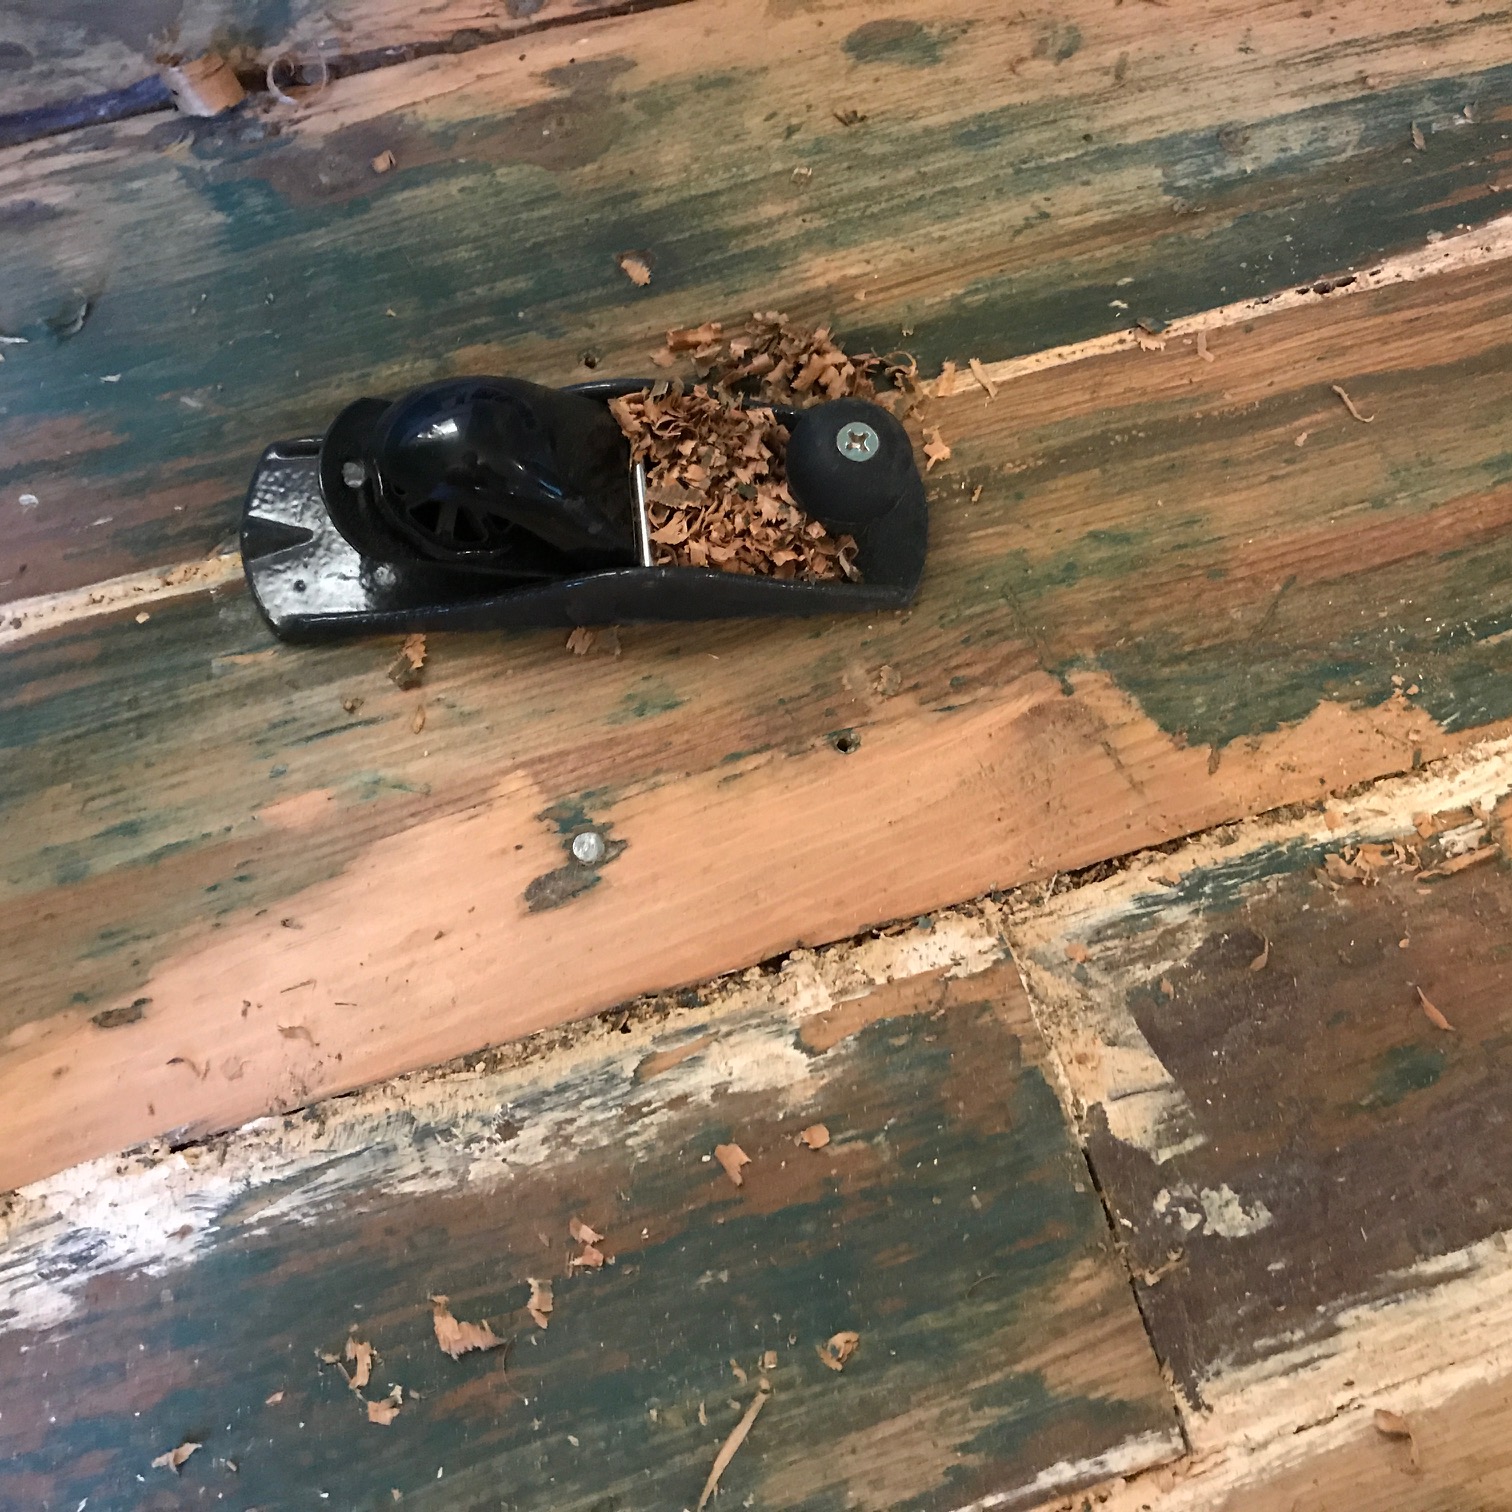
But it was way too slow going. Every nail nicked the blade and I had to sharpen it about 100 times. And it was wrecking the wood like crazy. And after getting though maybe 1/8th of what needed to be removed after several hours of work and several gallons of sweat dripping off my forehead and several back spasms, I needed another method.
I didn't want to, but I broke down and got a can of paint stripper. The kind that can actually straight up kill you if you breathe in the vapors. I opened up both windows, put box fans in both such that one was blowing air in and the other was blowing out. And I used a good respirator mask.
The paint stripper worked but it still wasn't easy and a lot of elbow grease had to be used with a very very sharp scrapper blade.
I don't have photos, but we rented another floor sanding machine and finished the job.
Remember how I said we made a mistake using wood filler and it wasn't even the right color? We came up with a pretty good solution: darken it with these stain pens.

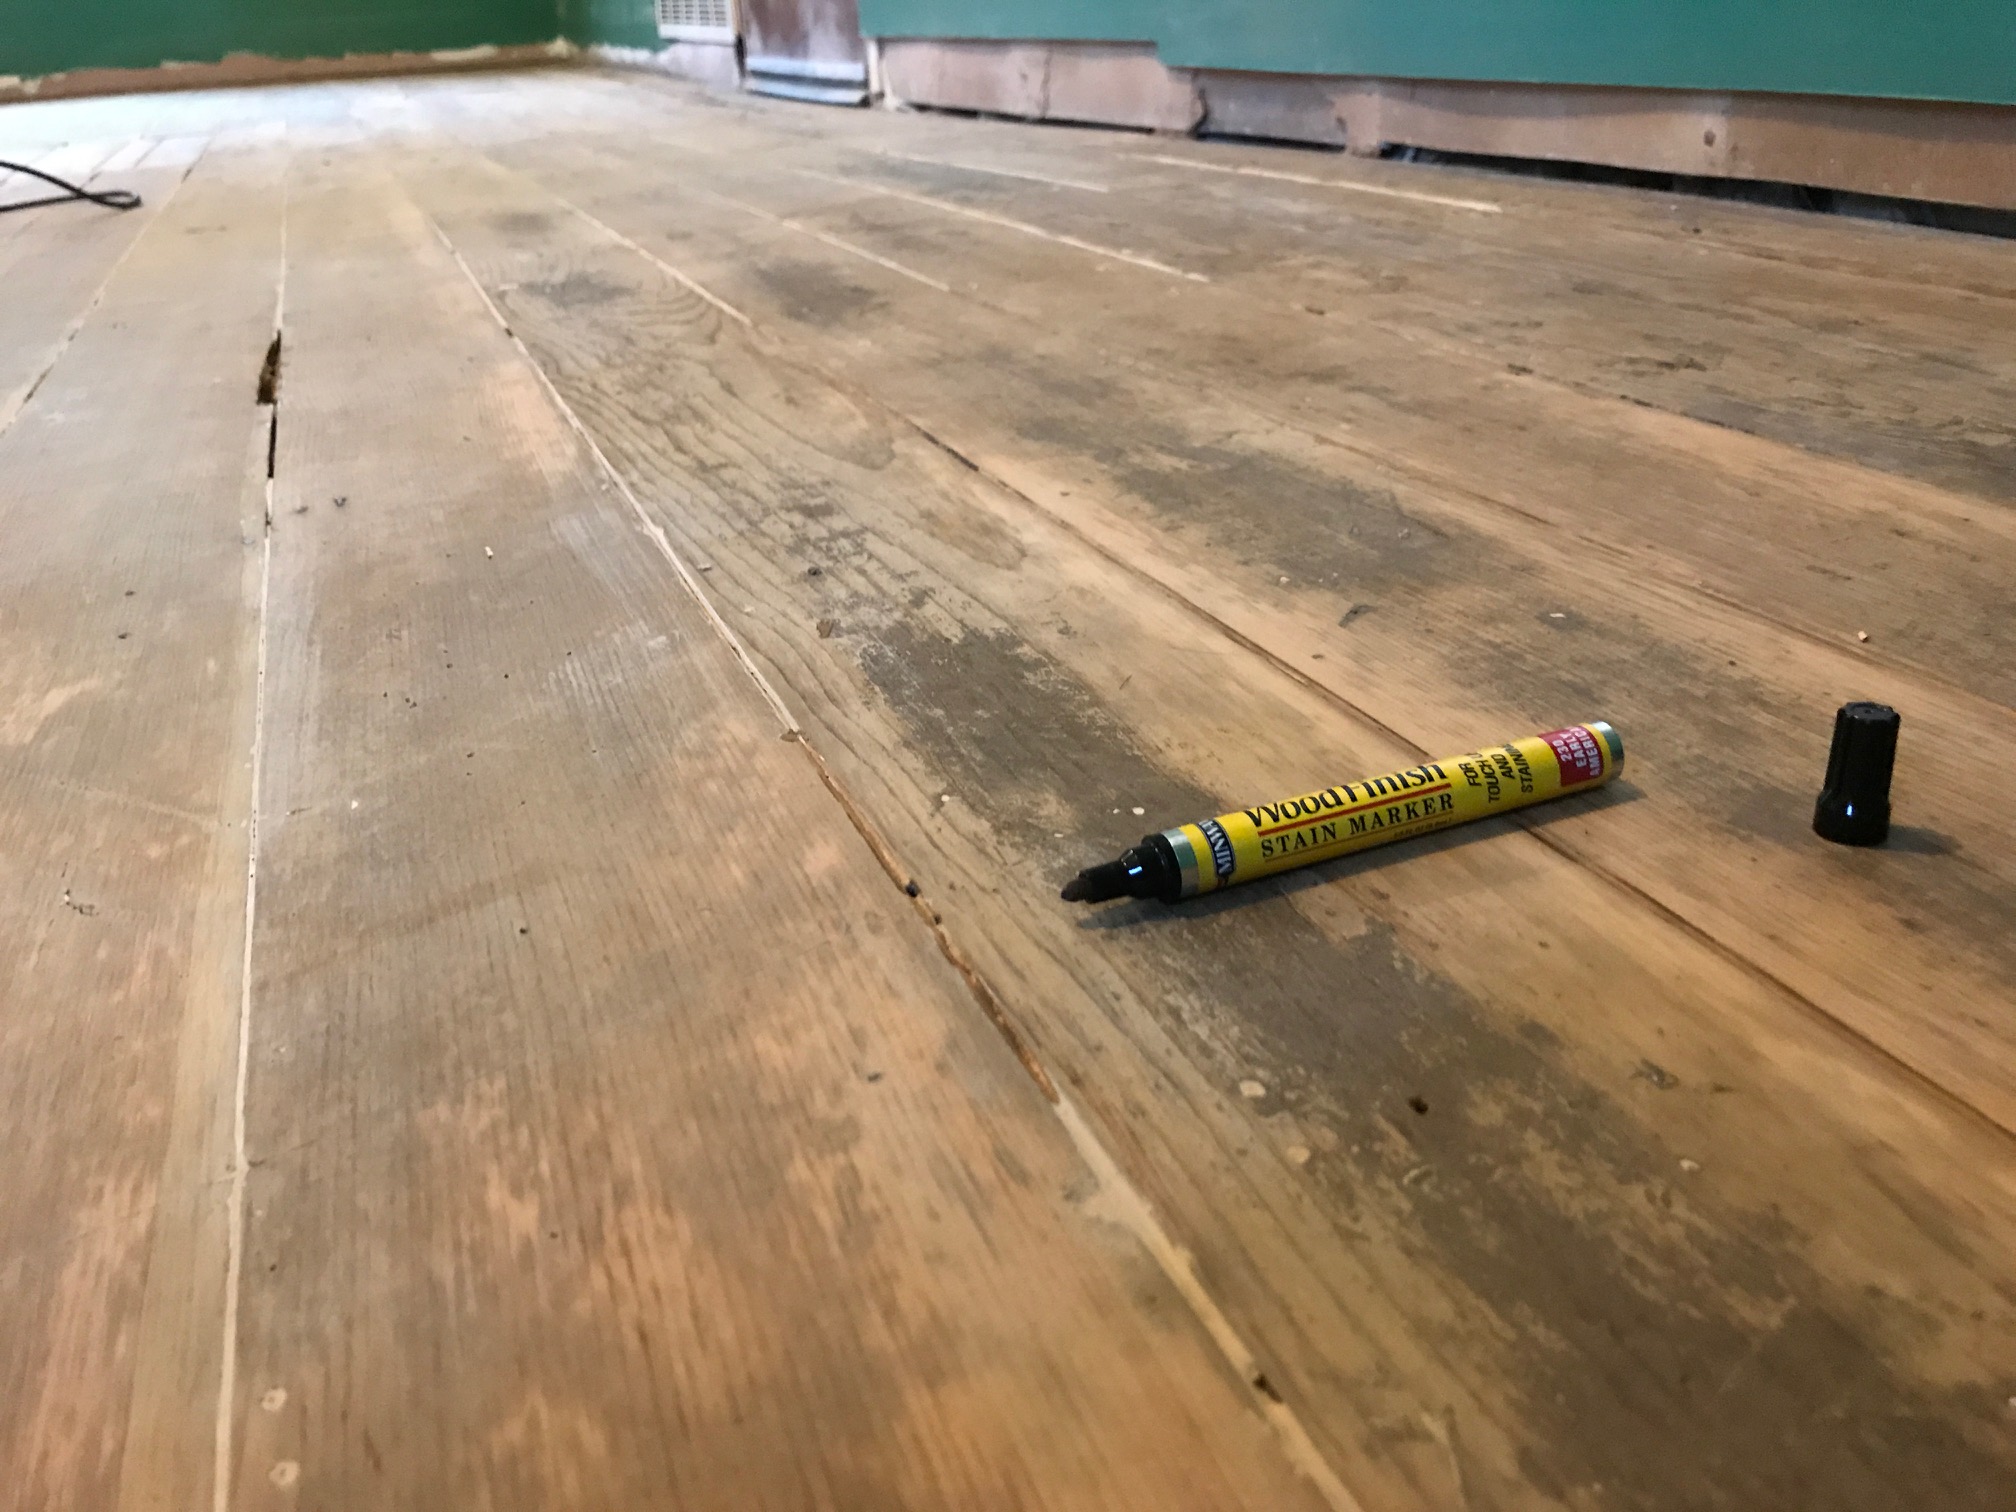
We had one last task to do before putting the polyurethane one: stain and darken the patch of yellow pine. I knew that once the poly went on, it was going to darken this old douglas fir a lot and the yellow pine was going to stand out badly. I think I used Minwax special walnut but I can't remember.
Here we go, folks! It was finally time to put the poly on. We used Minwax fast-drying floor polyurethane. It seemed very thin to me, much thinner than the regular stuff. We used synthetic lambs wool applicators, and I bought several of them so that we didn't have to try and clean them up and re-use them.
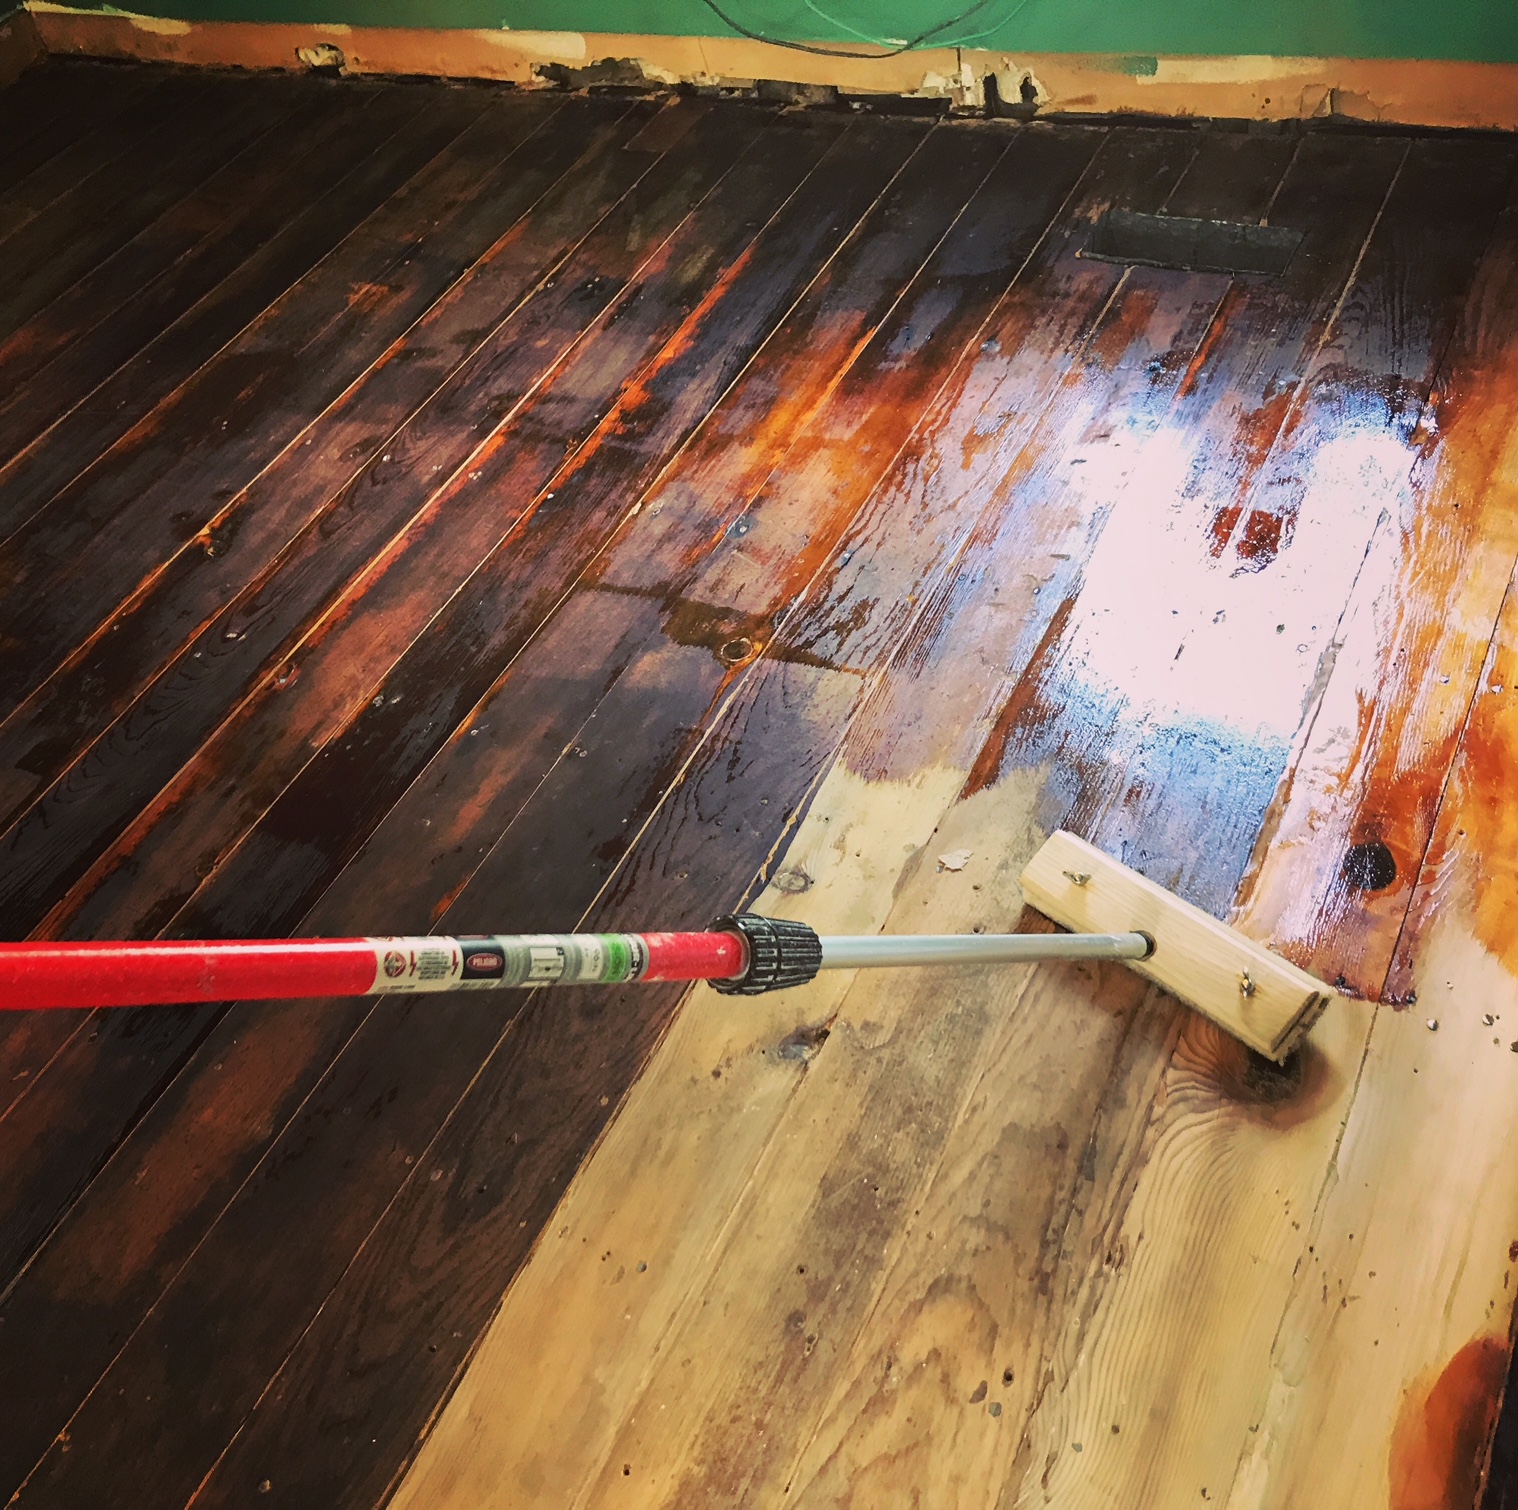
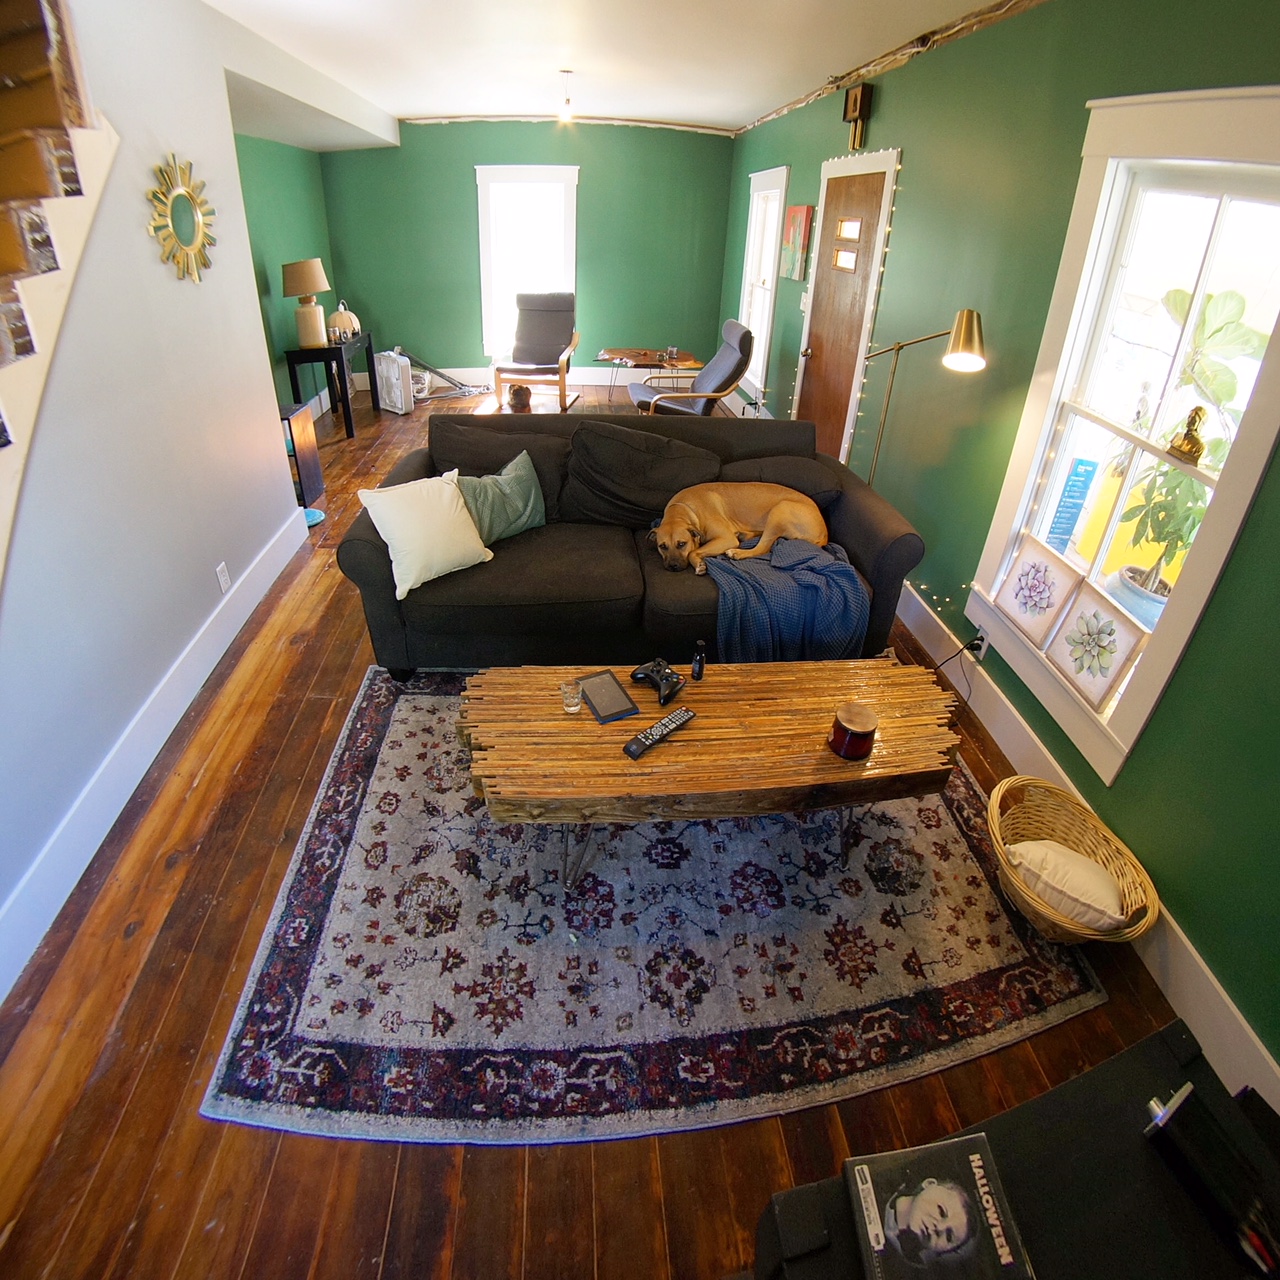
After three coats, this is what we got:
Couldn't ask for a more rustic floor...

Our trusty modeling dog, Butters, never fails to impress:

In this photo below, I still hadn't got to work on the stairs or the ceiling box beams yet, so don't judge.
Butter's did such a good job of modeling our renovated hardwood floor for us that we got him a baby sister as a reward.

:)