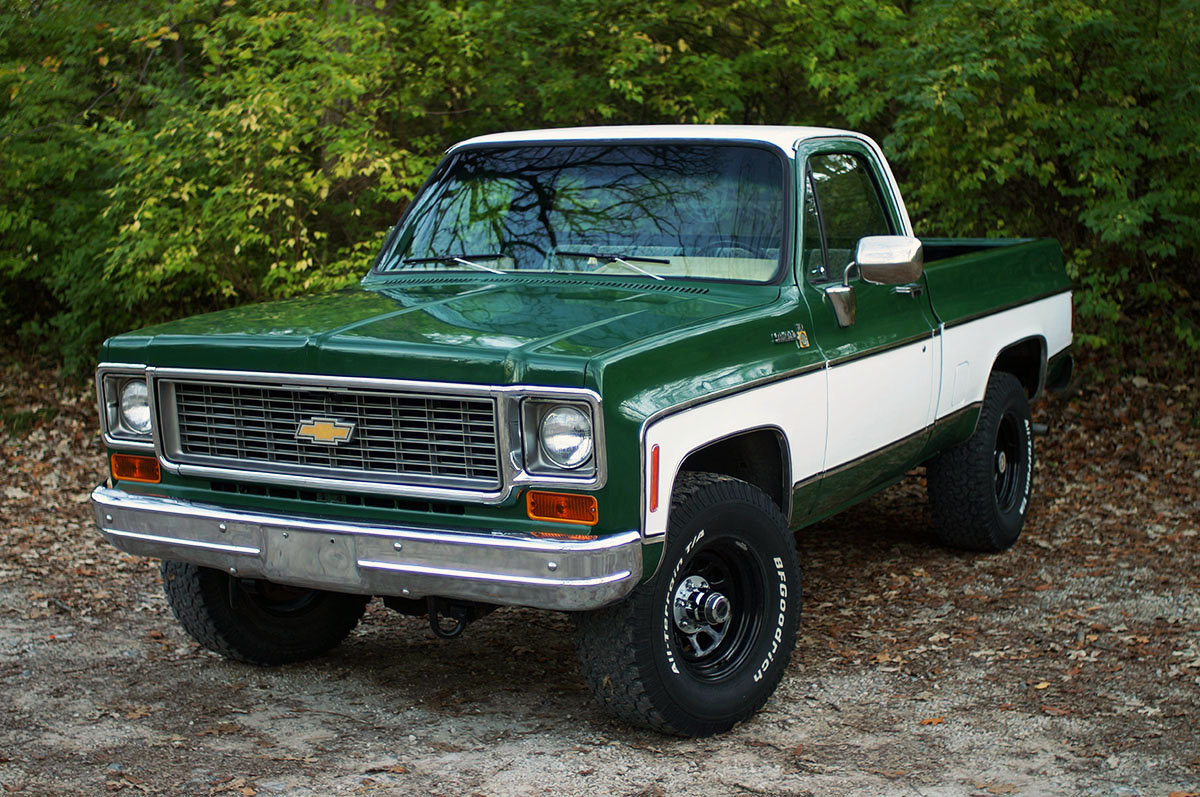
We're in the home stretch now of Project Hank. Now that the interior is done, I just gotta install all the chrome trim and then it's done! The side molding, wheel arch molding, hub caps, drip rails, new lenses all around, and the side badges.
First up, the wheel arch molding. I bought new ones from LMC Truck.
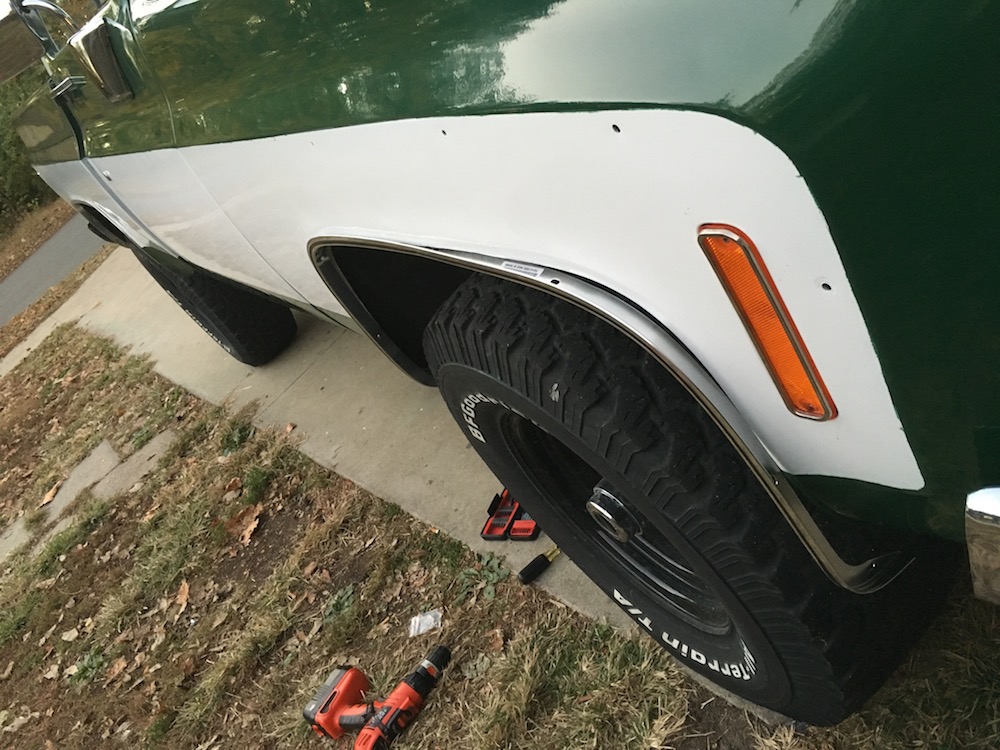
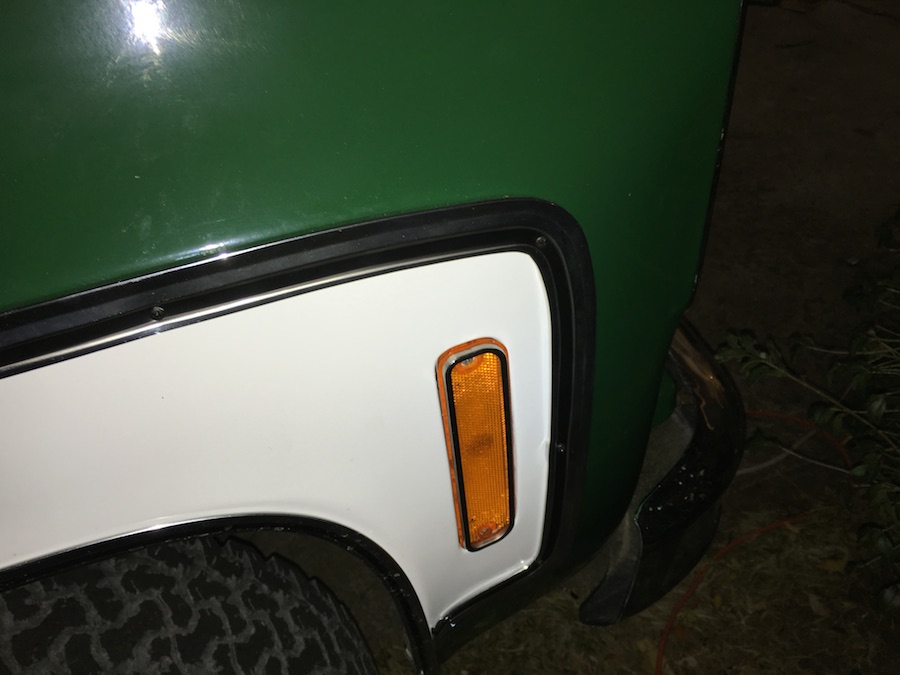
But I think I accidently bought the 81-83 model ones because they don't fit real well...
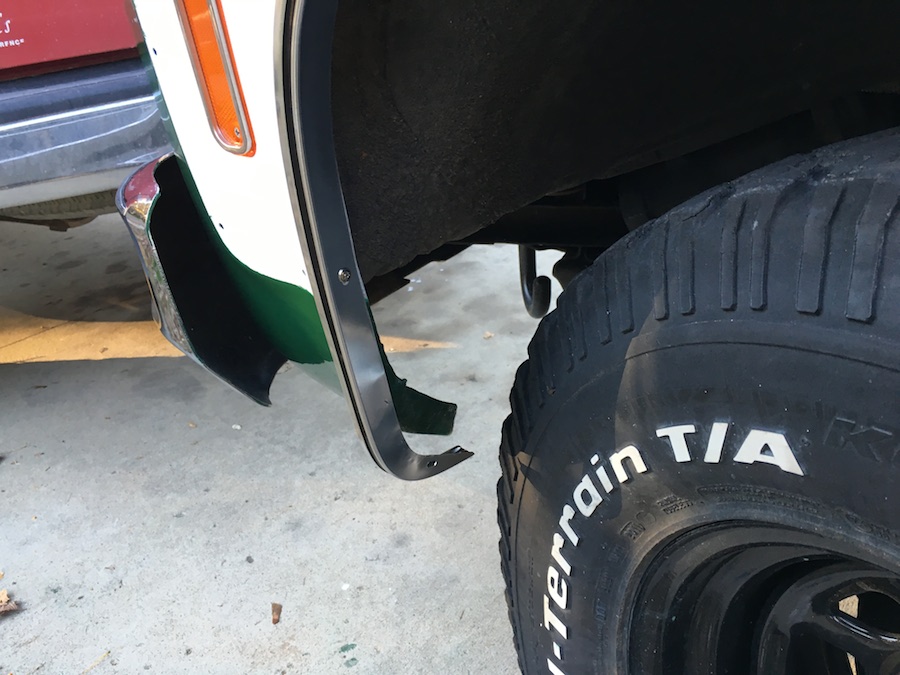
I had to do a little cutting and hammering. A little unfortunate but oh well.
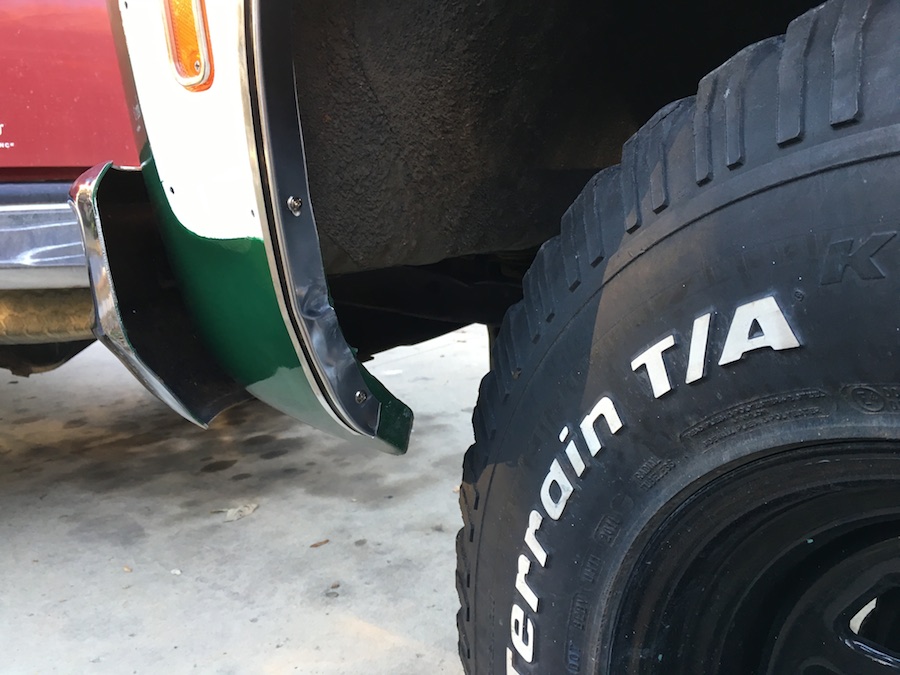
I actually reused the rear ones becaue they where on OK condition, but they needed new paint. Some flat black rustoleum helped a lot.
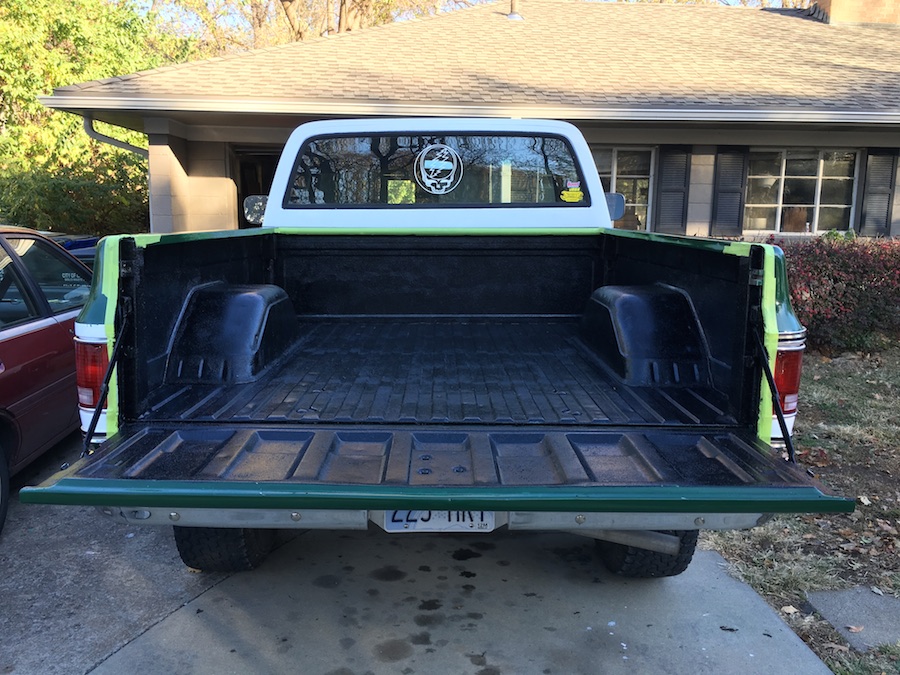
It was time to stop neglecting the inside of the bed. I bought some "Herculiner" from Autozone. Maybe I should have bought Plasticote off of Amazon, the reviews were really good, but I couldn't wait for it to arrive in the mail because cold weather was blowing in and the stuff says not to apply it when the temps are less than 50 degrees. [Update: half a year later and the Herculiner's gloss has fadded away and it's not as durable as I had hoped.]

The Herculiner went on pretty easy. I actually only used half the gallon!
While that was drying, I got started on the side molding.
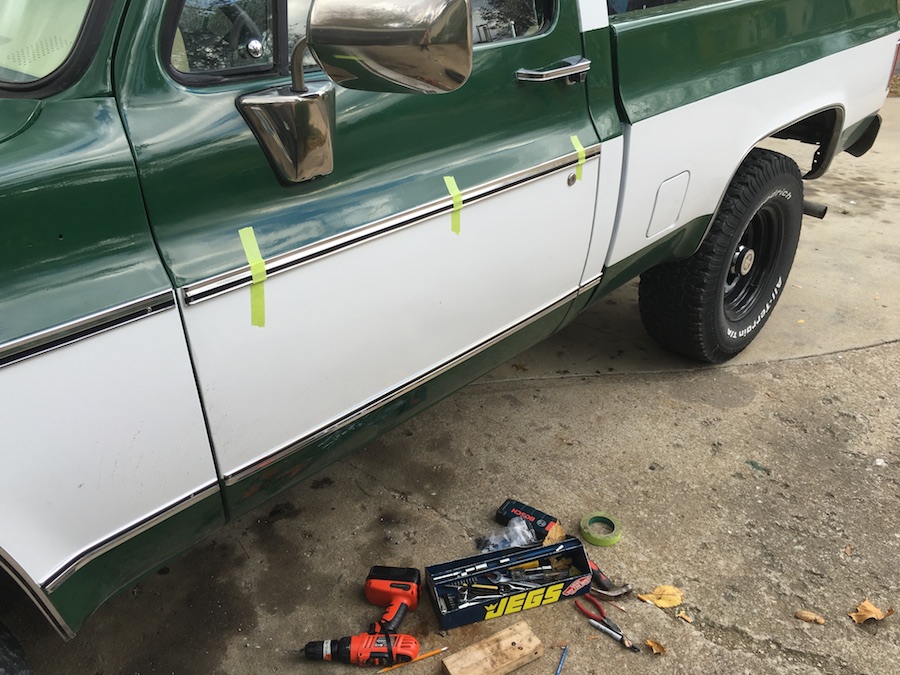
I didn't use the clips that came witht he kit from LMC for many reasons. I needed more control over exactly where the molding would be on the fenders because of how I painted them, and because getting the weird nuts onto the studs would be extremely hard or near impossible without taking the body all apart. Instead, I just used black sheet metal screws to screw the molding directly to the body. [Update: use stainless steel screws!! Paint the heads black to hide them better, but don't use regular black sheet metal screws, they will rust in no time.]
Here was my process for installing them.
- Decide where I need screws in the molding (in the area of the black stripe) and drill holes there
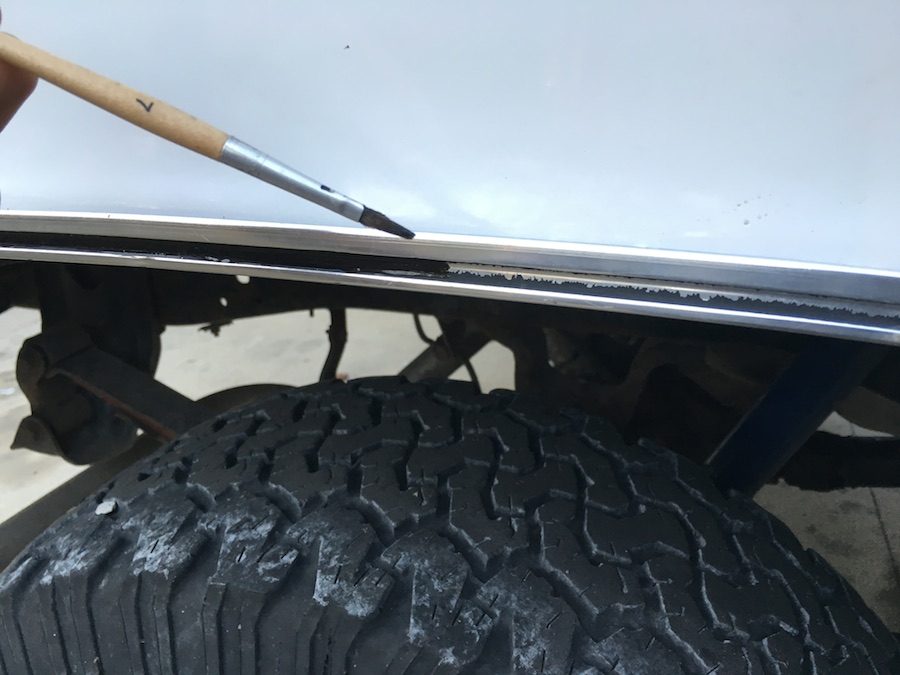
- Use a punch and a small piece of wood to make a recess in the piece of side molding where the holes were so that the screw head was more flush
- Hold the trim along the body with masking tape to get it perfectly aligned
- Use a pencil to mark where the holes in the body need to be drilled
- Remove the masking tape and the piece of molding
- Use a center punch and hammer where the pencil marks where in the body, then drill the holes
- Screw in the piece of molding. Don't over tighten the screws or else the metal will bend!
- Repeat for each piece of side molding
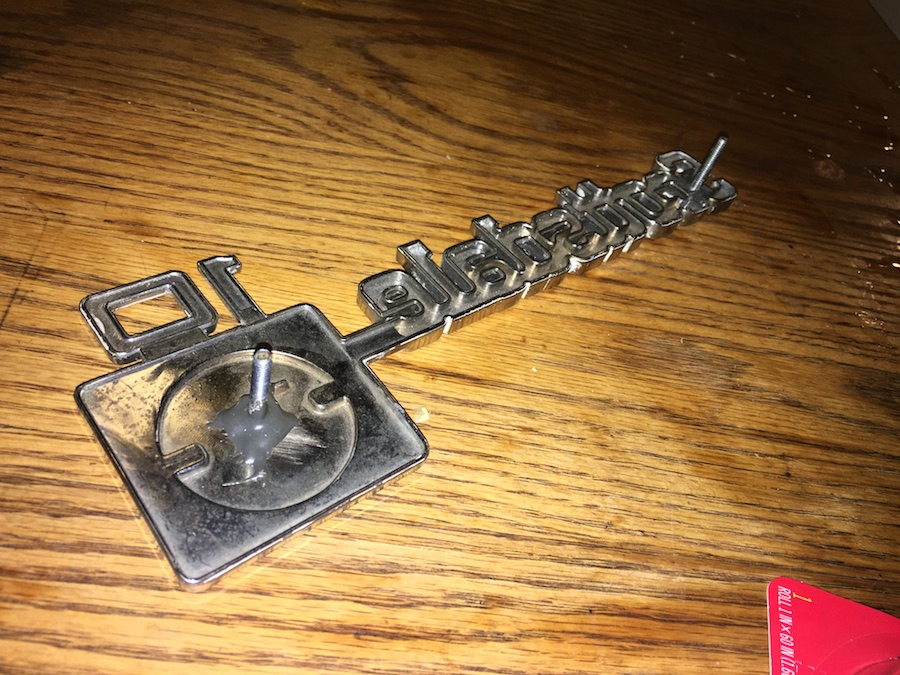
Onto the side emblems now.
I ordered some 73-80 Scottsdale emblem (that's what model my k10 is) off ebay, but the studs where broken off. So i used epoxy to attach some large machine screws.
I needed a way to attach the emblems to the fender, but getting a nut onto the screws inside the fender would have been absolutely impossible! Only way to do that would be to remove the fenders and I'm no way would I want to do that.
So I came up with a solution. Dry wall anchors! Why not?
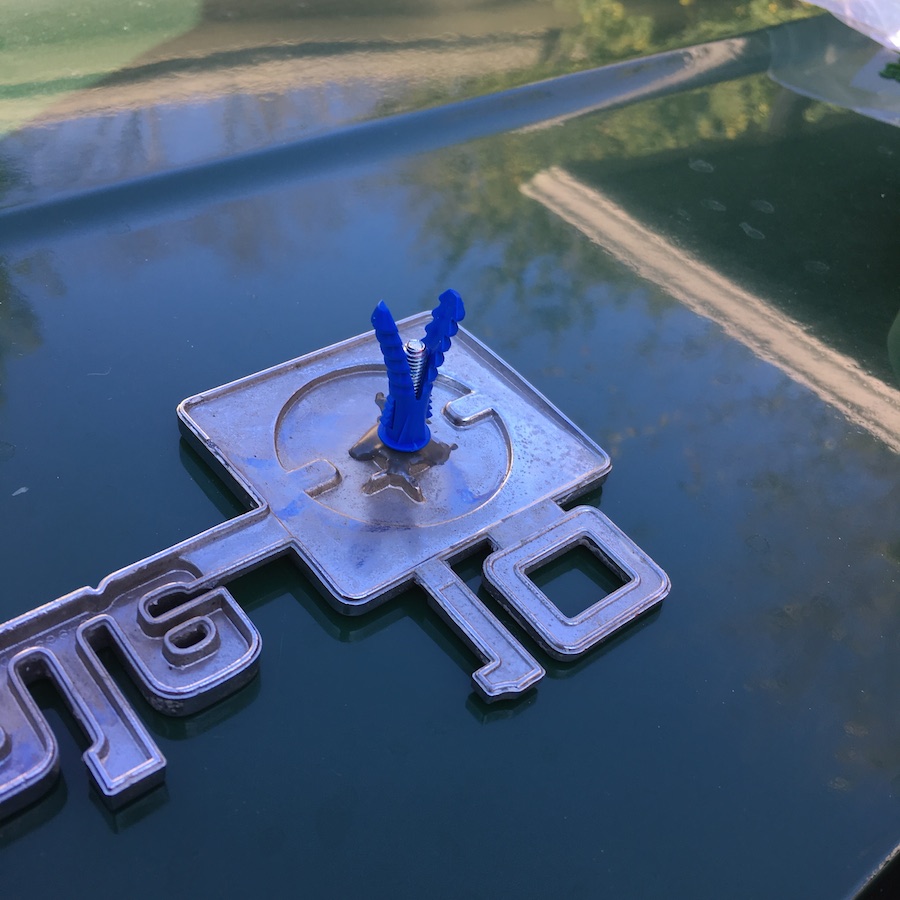
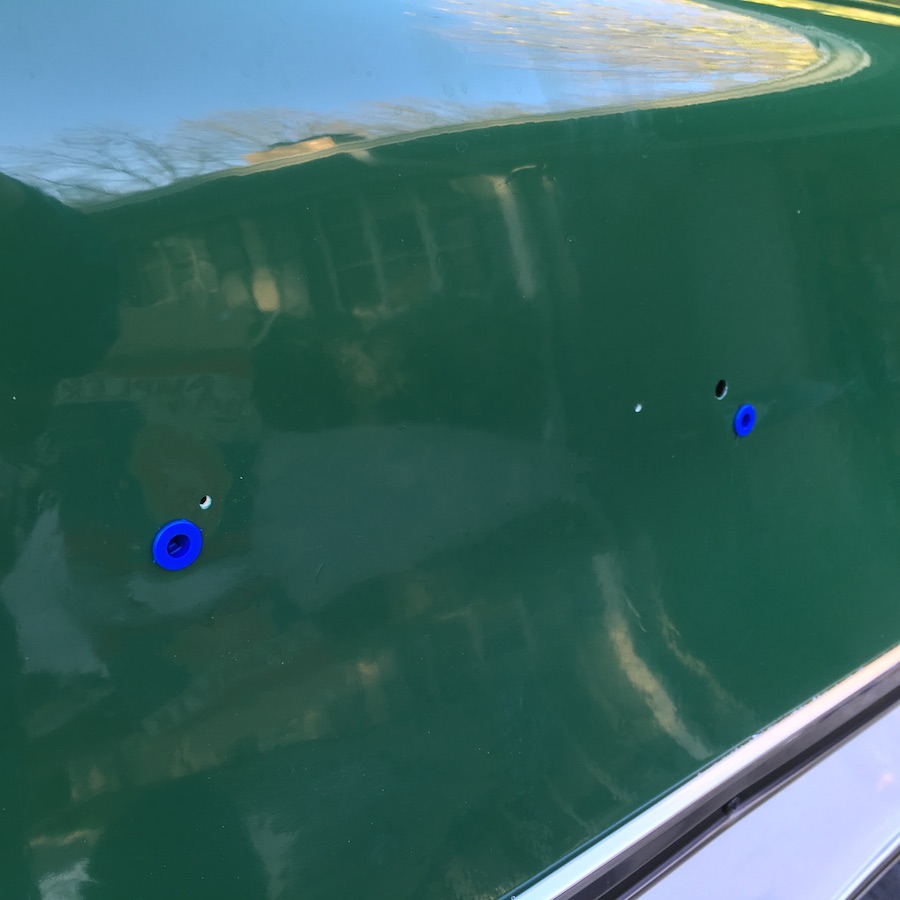
I just drilled the necessary holes and pushed in the dry wall anchors.
And then I pushed the small bolts on the emblems into the wall anchors, and voila! There's also some double sided mounting tap behind the big square under the "10", just in case.
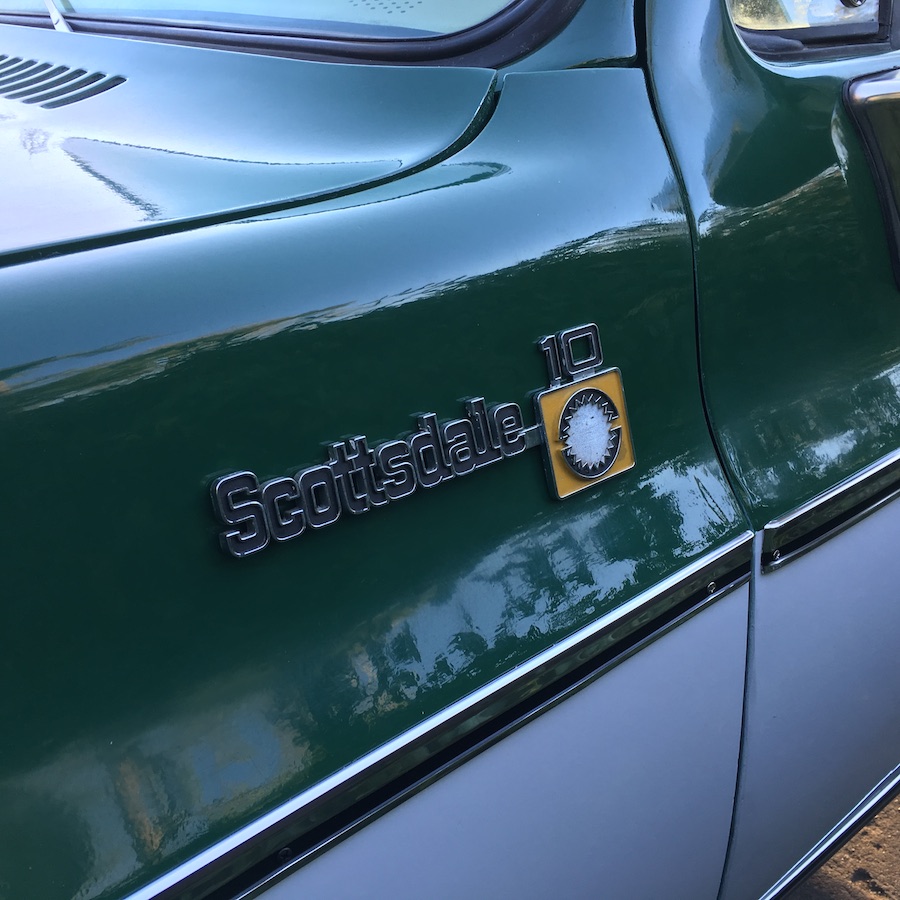
ALL DONE!!!!!