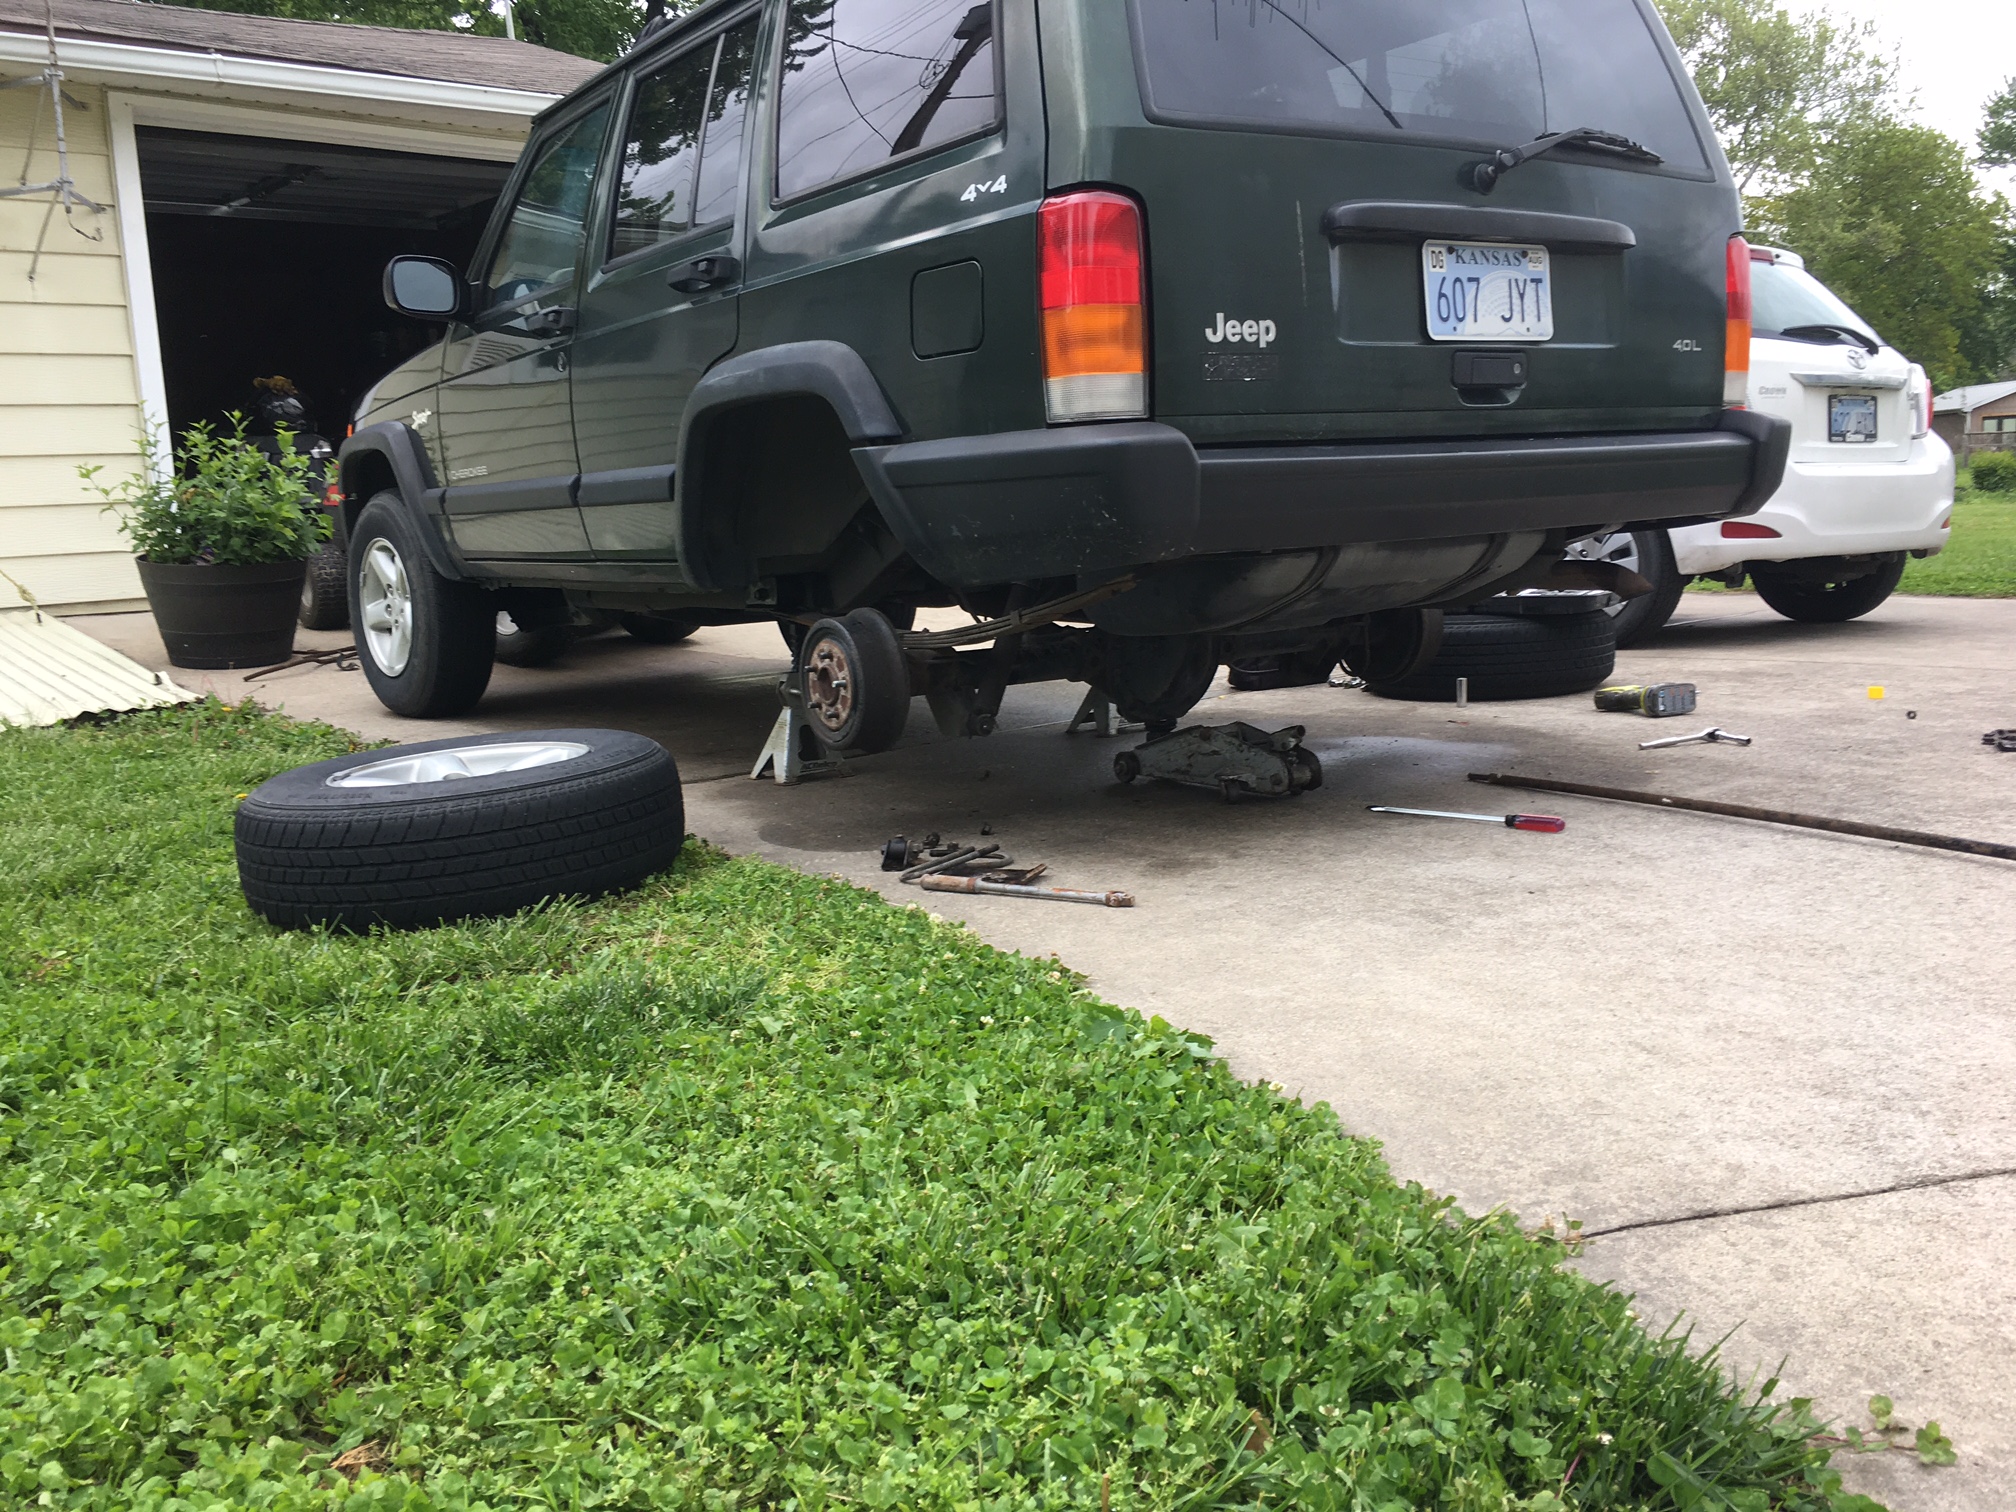
Before my trip to colorado, I decided to get the Jeep it tip-top shape and install a lift kit I bought a while ago and put new off-road tires on it.
I started with the rear lift as that was supposed to be easier. It wasn't, however.
First problem was all four upper shock bolts snapped.
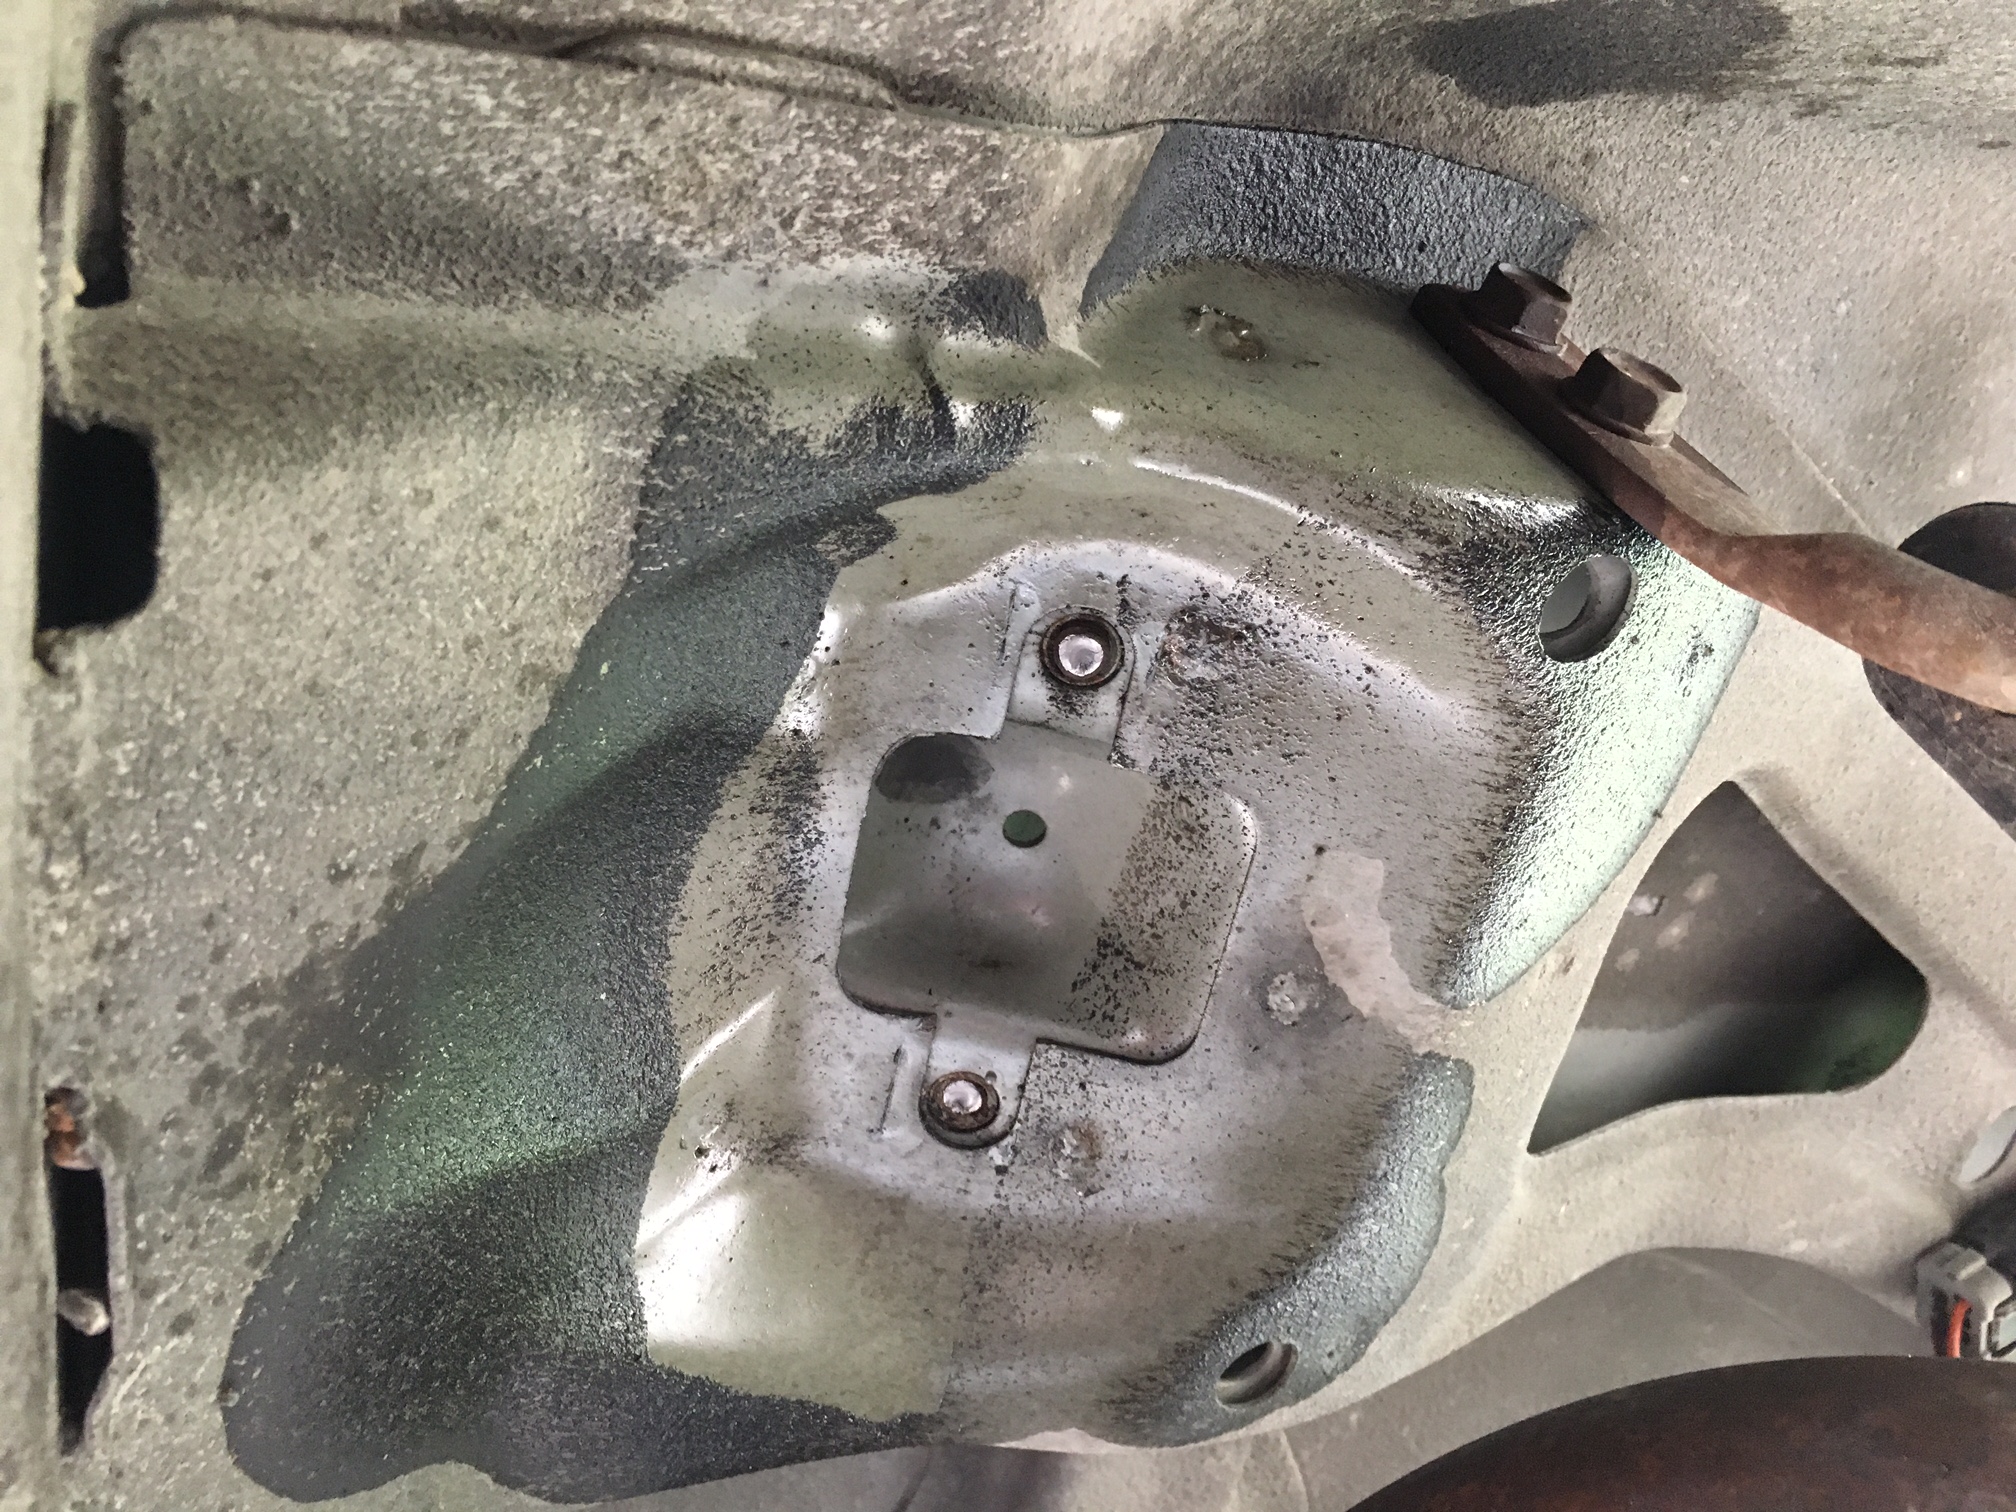
Apparently this is extremely common and the solution is to hammer out the nut that is welded to the frame and put in a new set of bolts and nuts.
I grabbed the biggest hammer I had, which is actually the backside of a wood-splitting ax, and gave it hell but I could only get 1 of the 4 until my back was in so much pain I could go no longer.
If at first you don't succeed, go and buy $200 in air tools! The air hammer/chissel got the other three out in a jiffy.

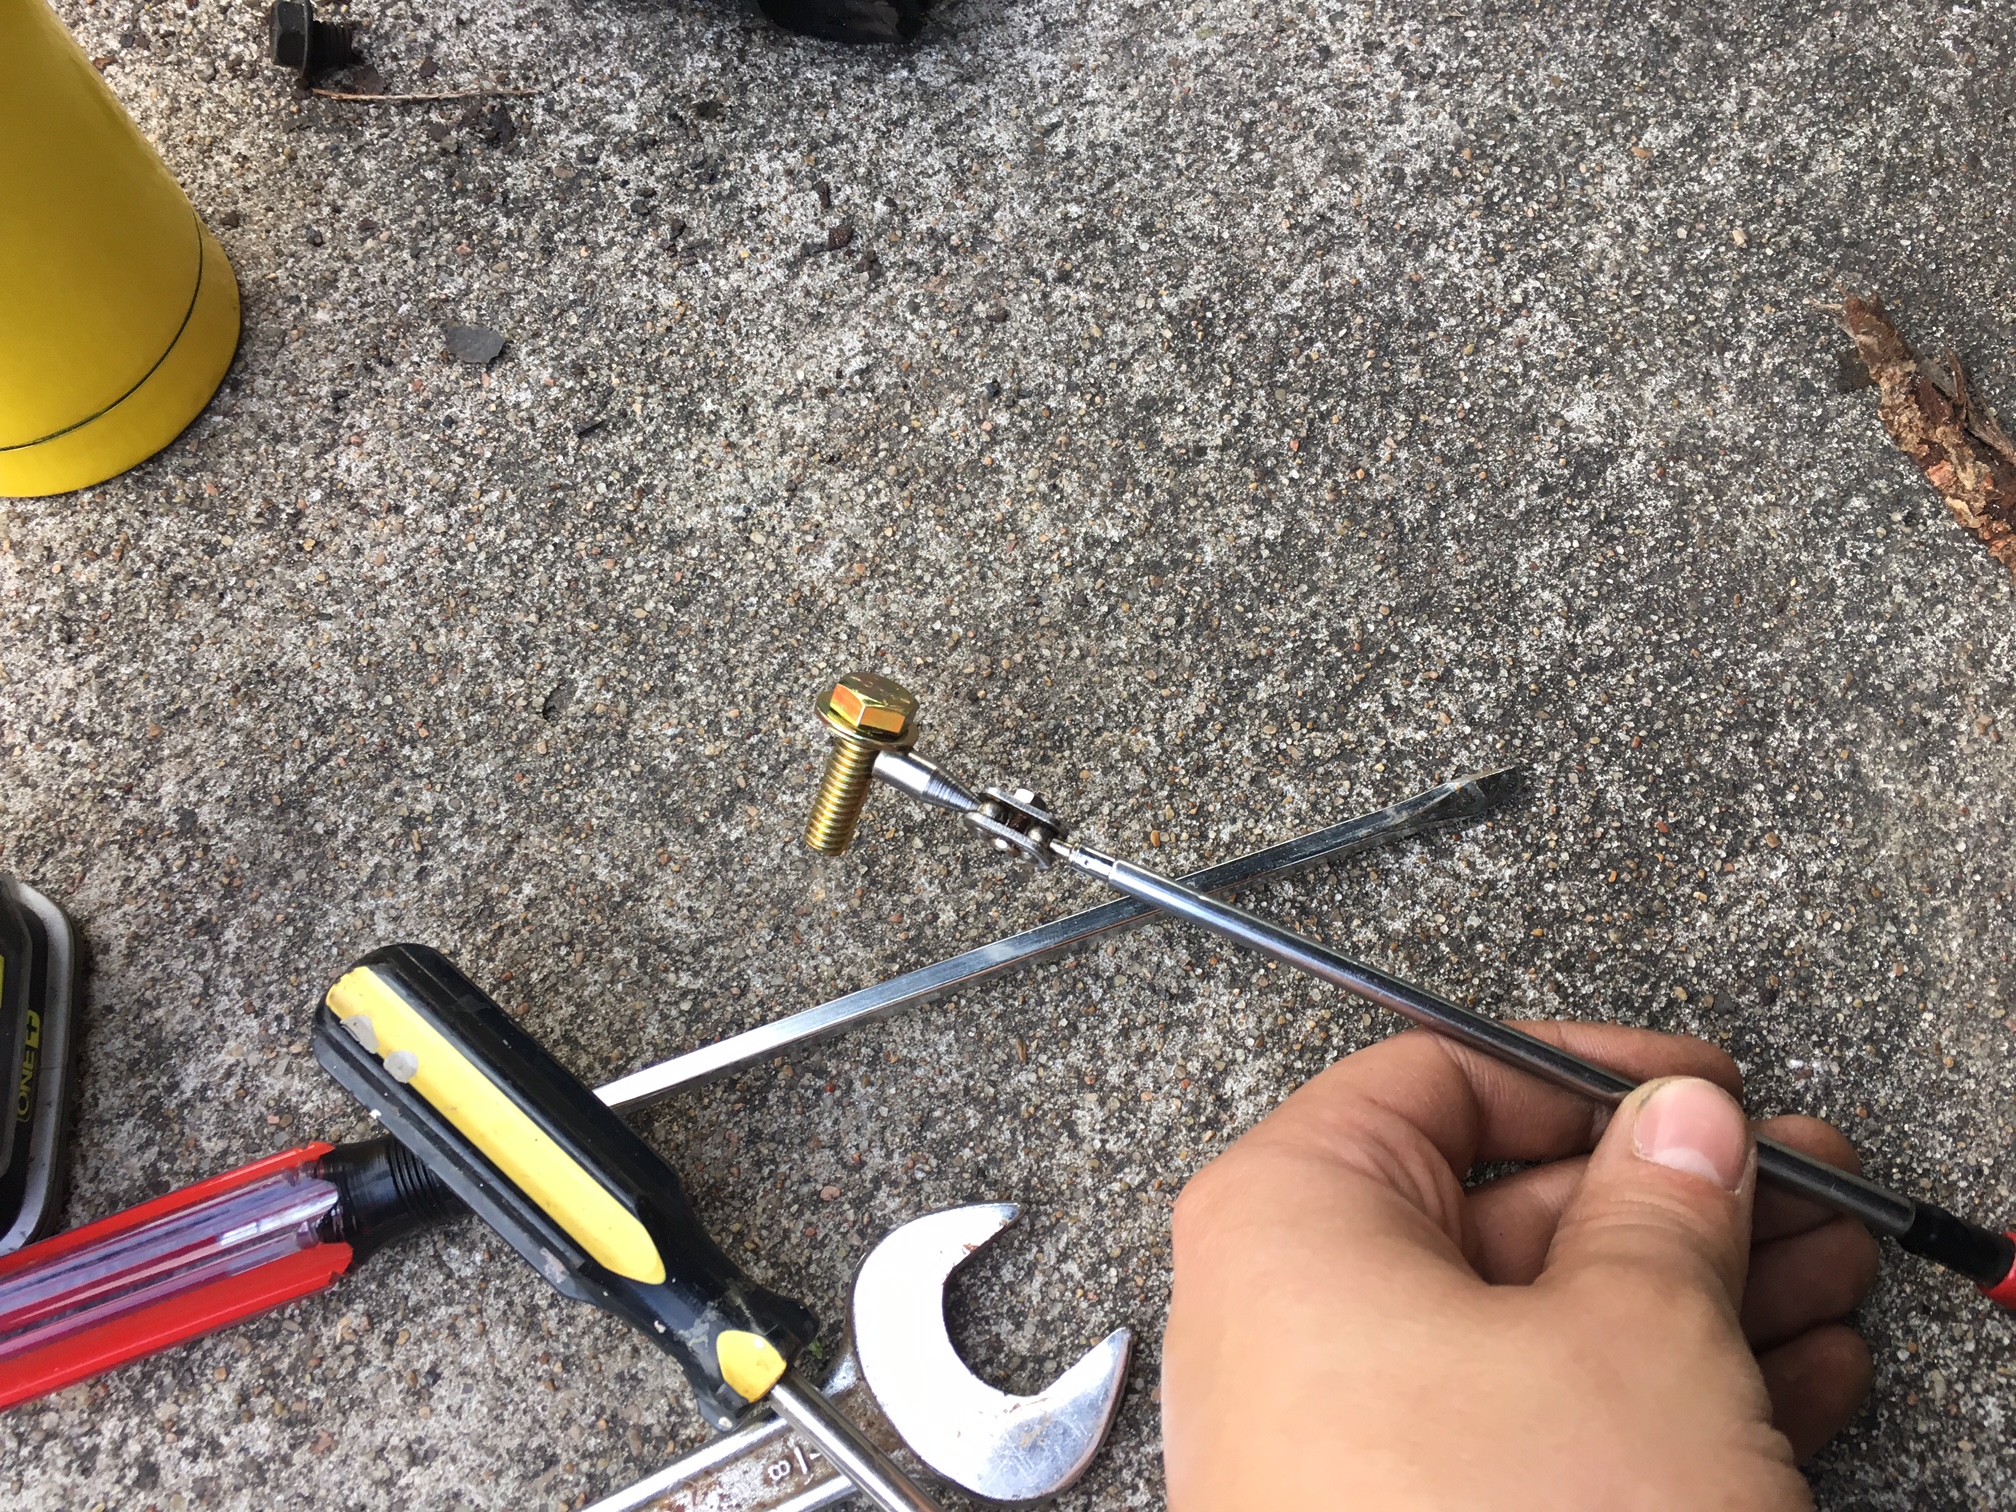
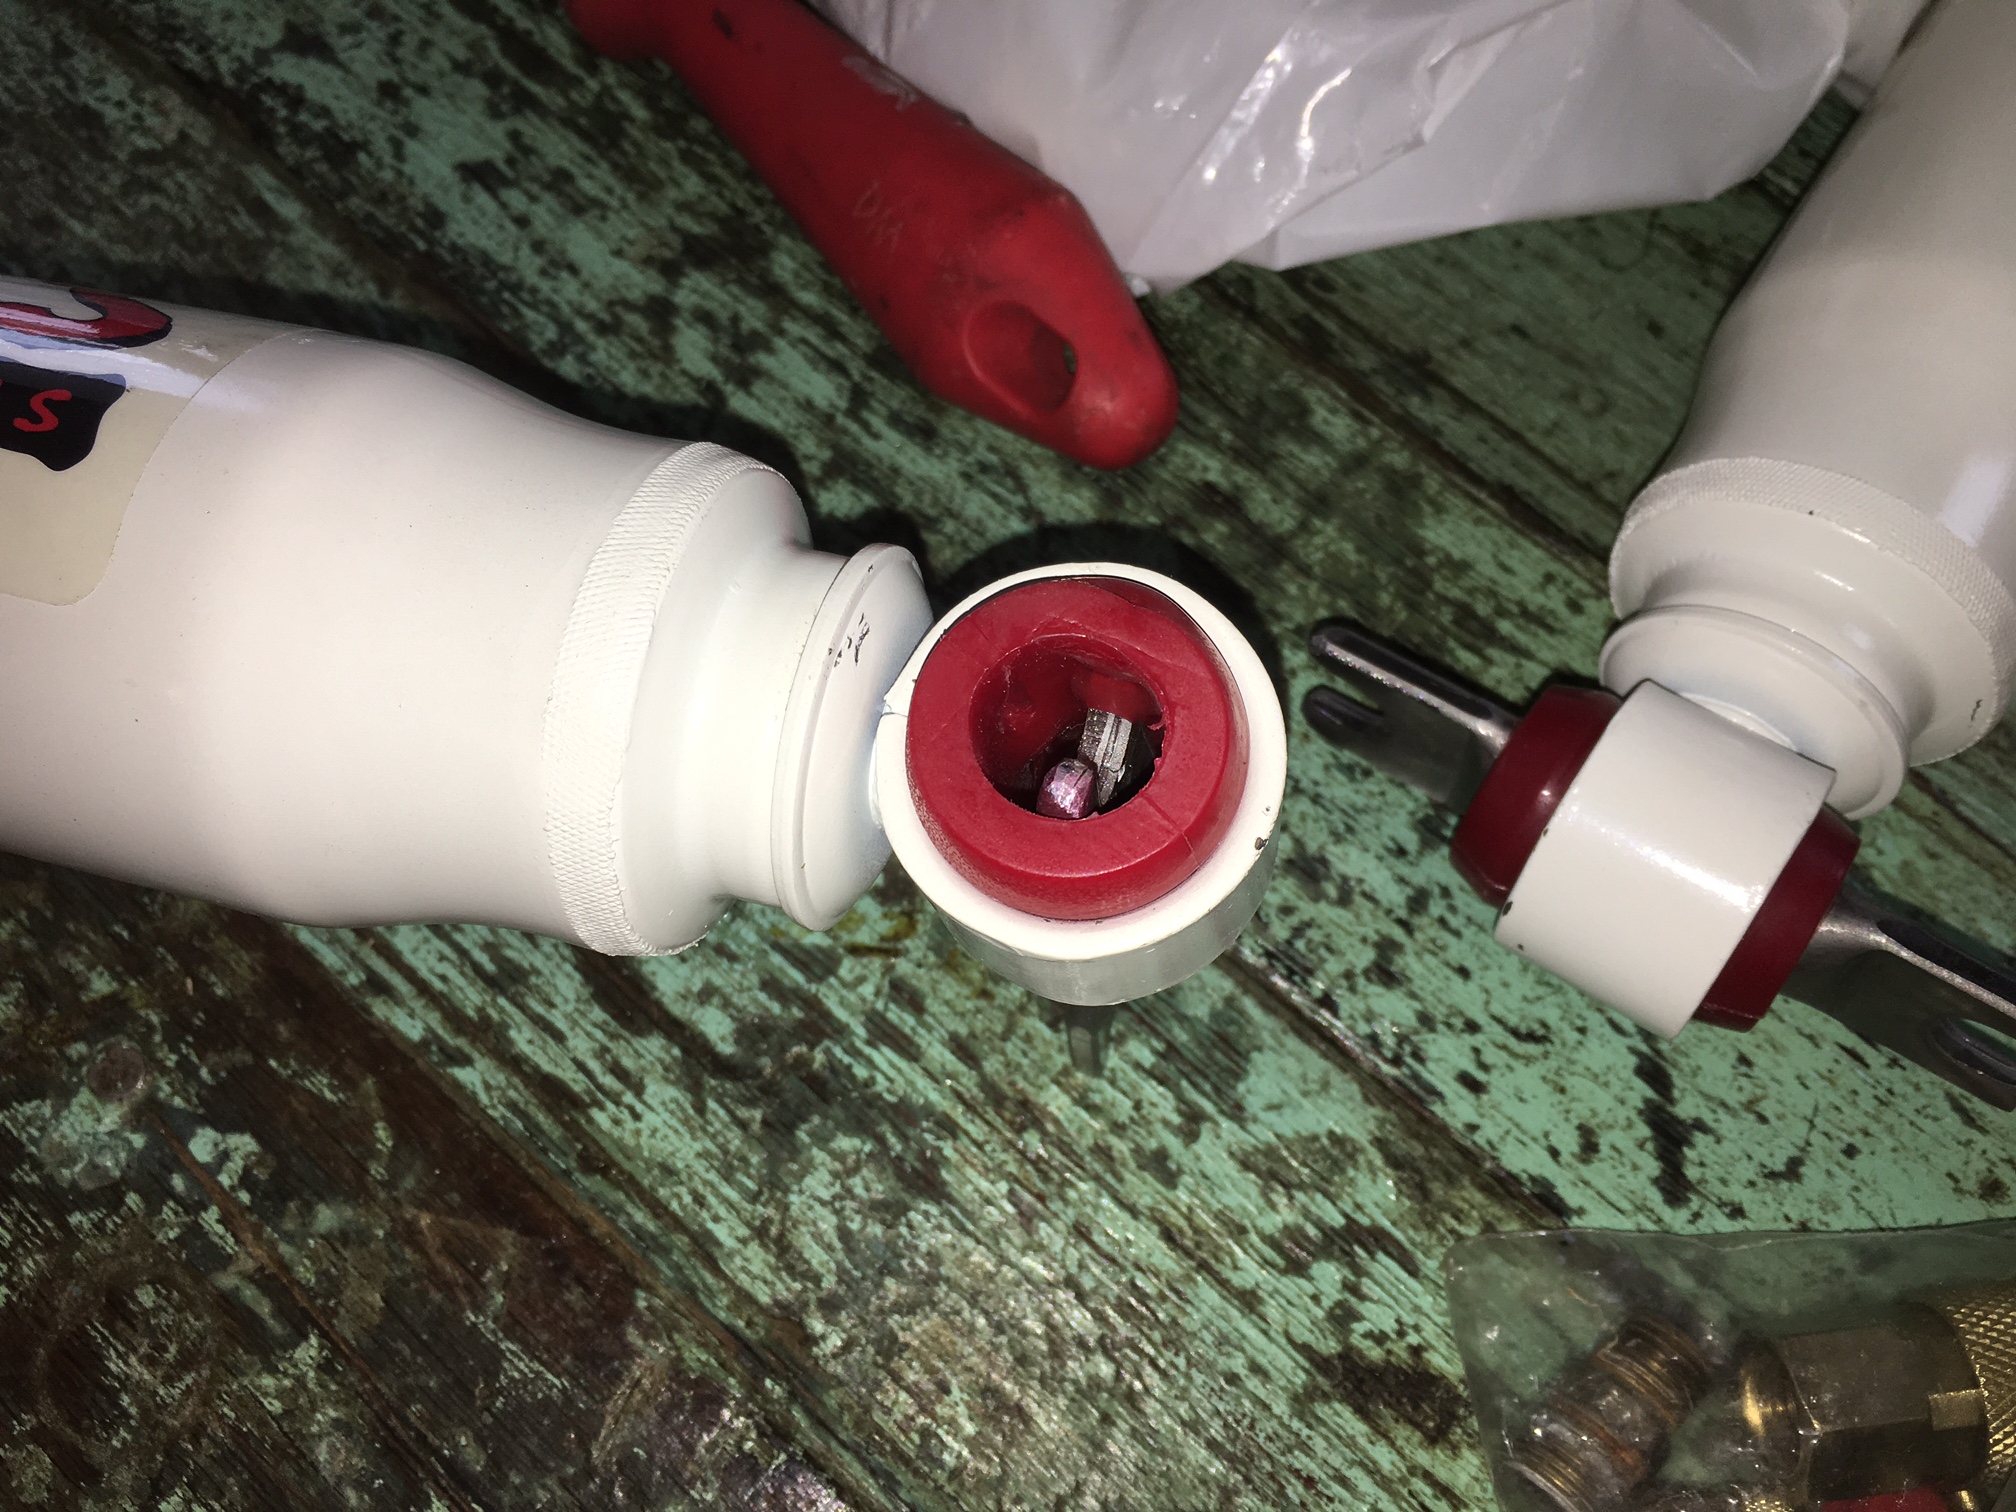
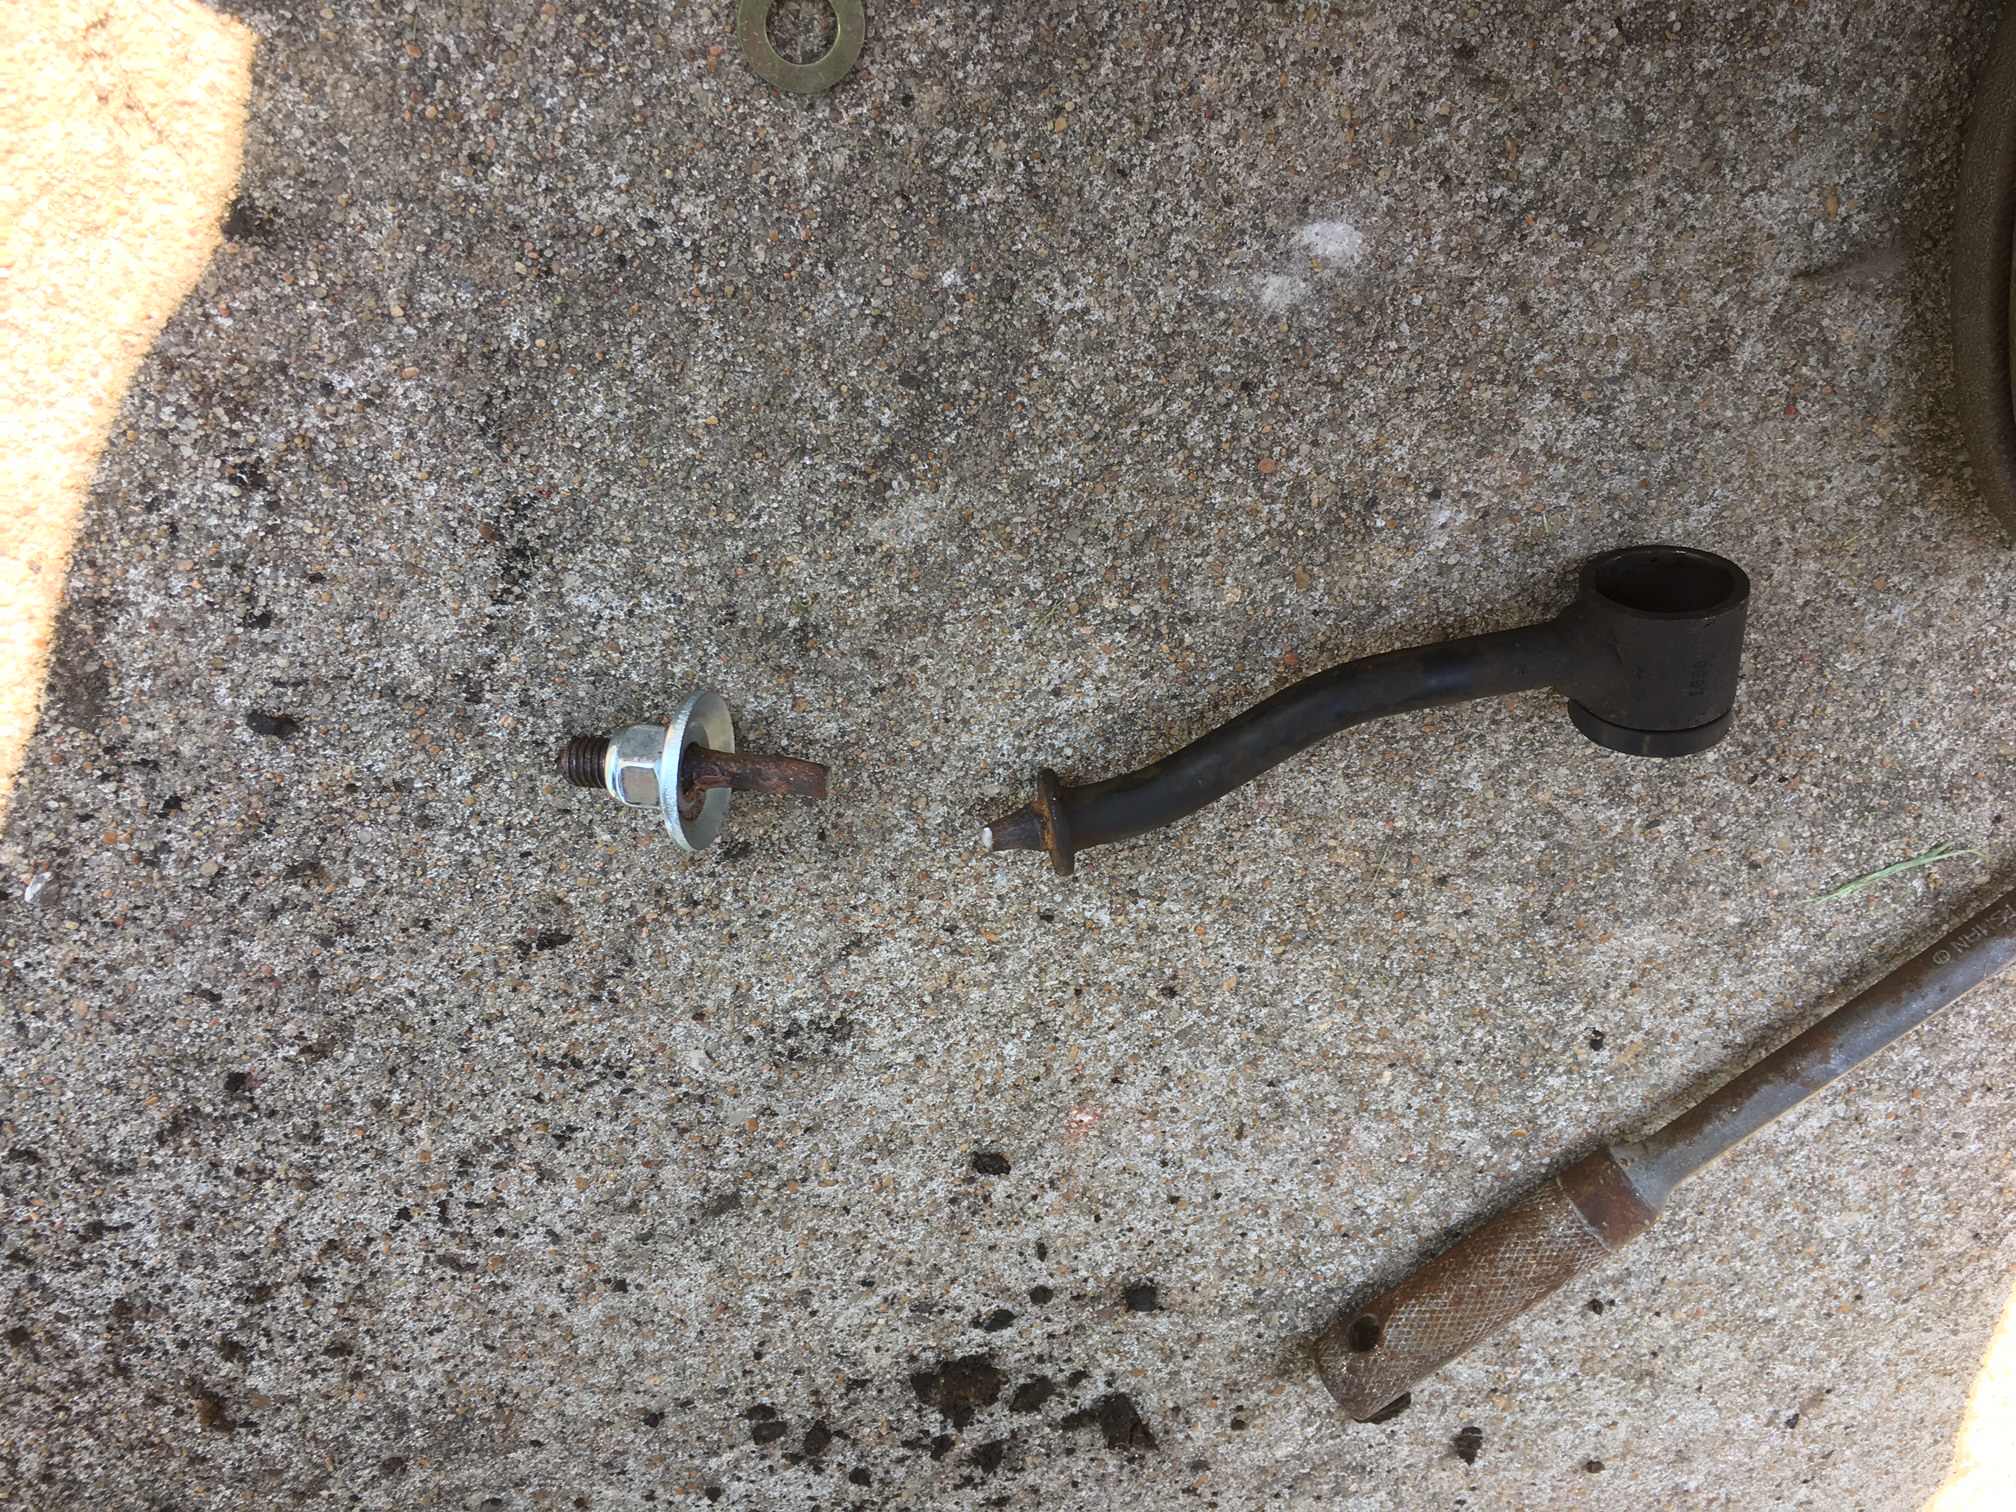
Now the new nuts somehow needed to get back up in the frame, and the leading idea on the forums was to tape it to a wrench and hold it there while the bolt goes up to meet it.
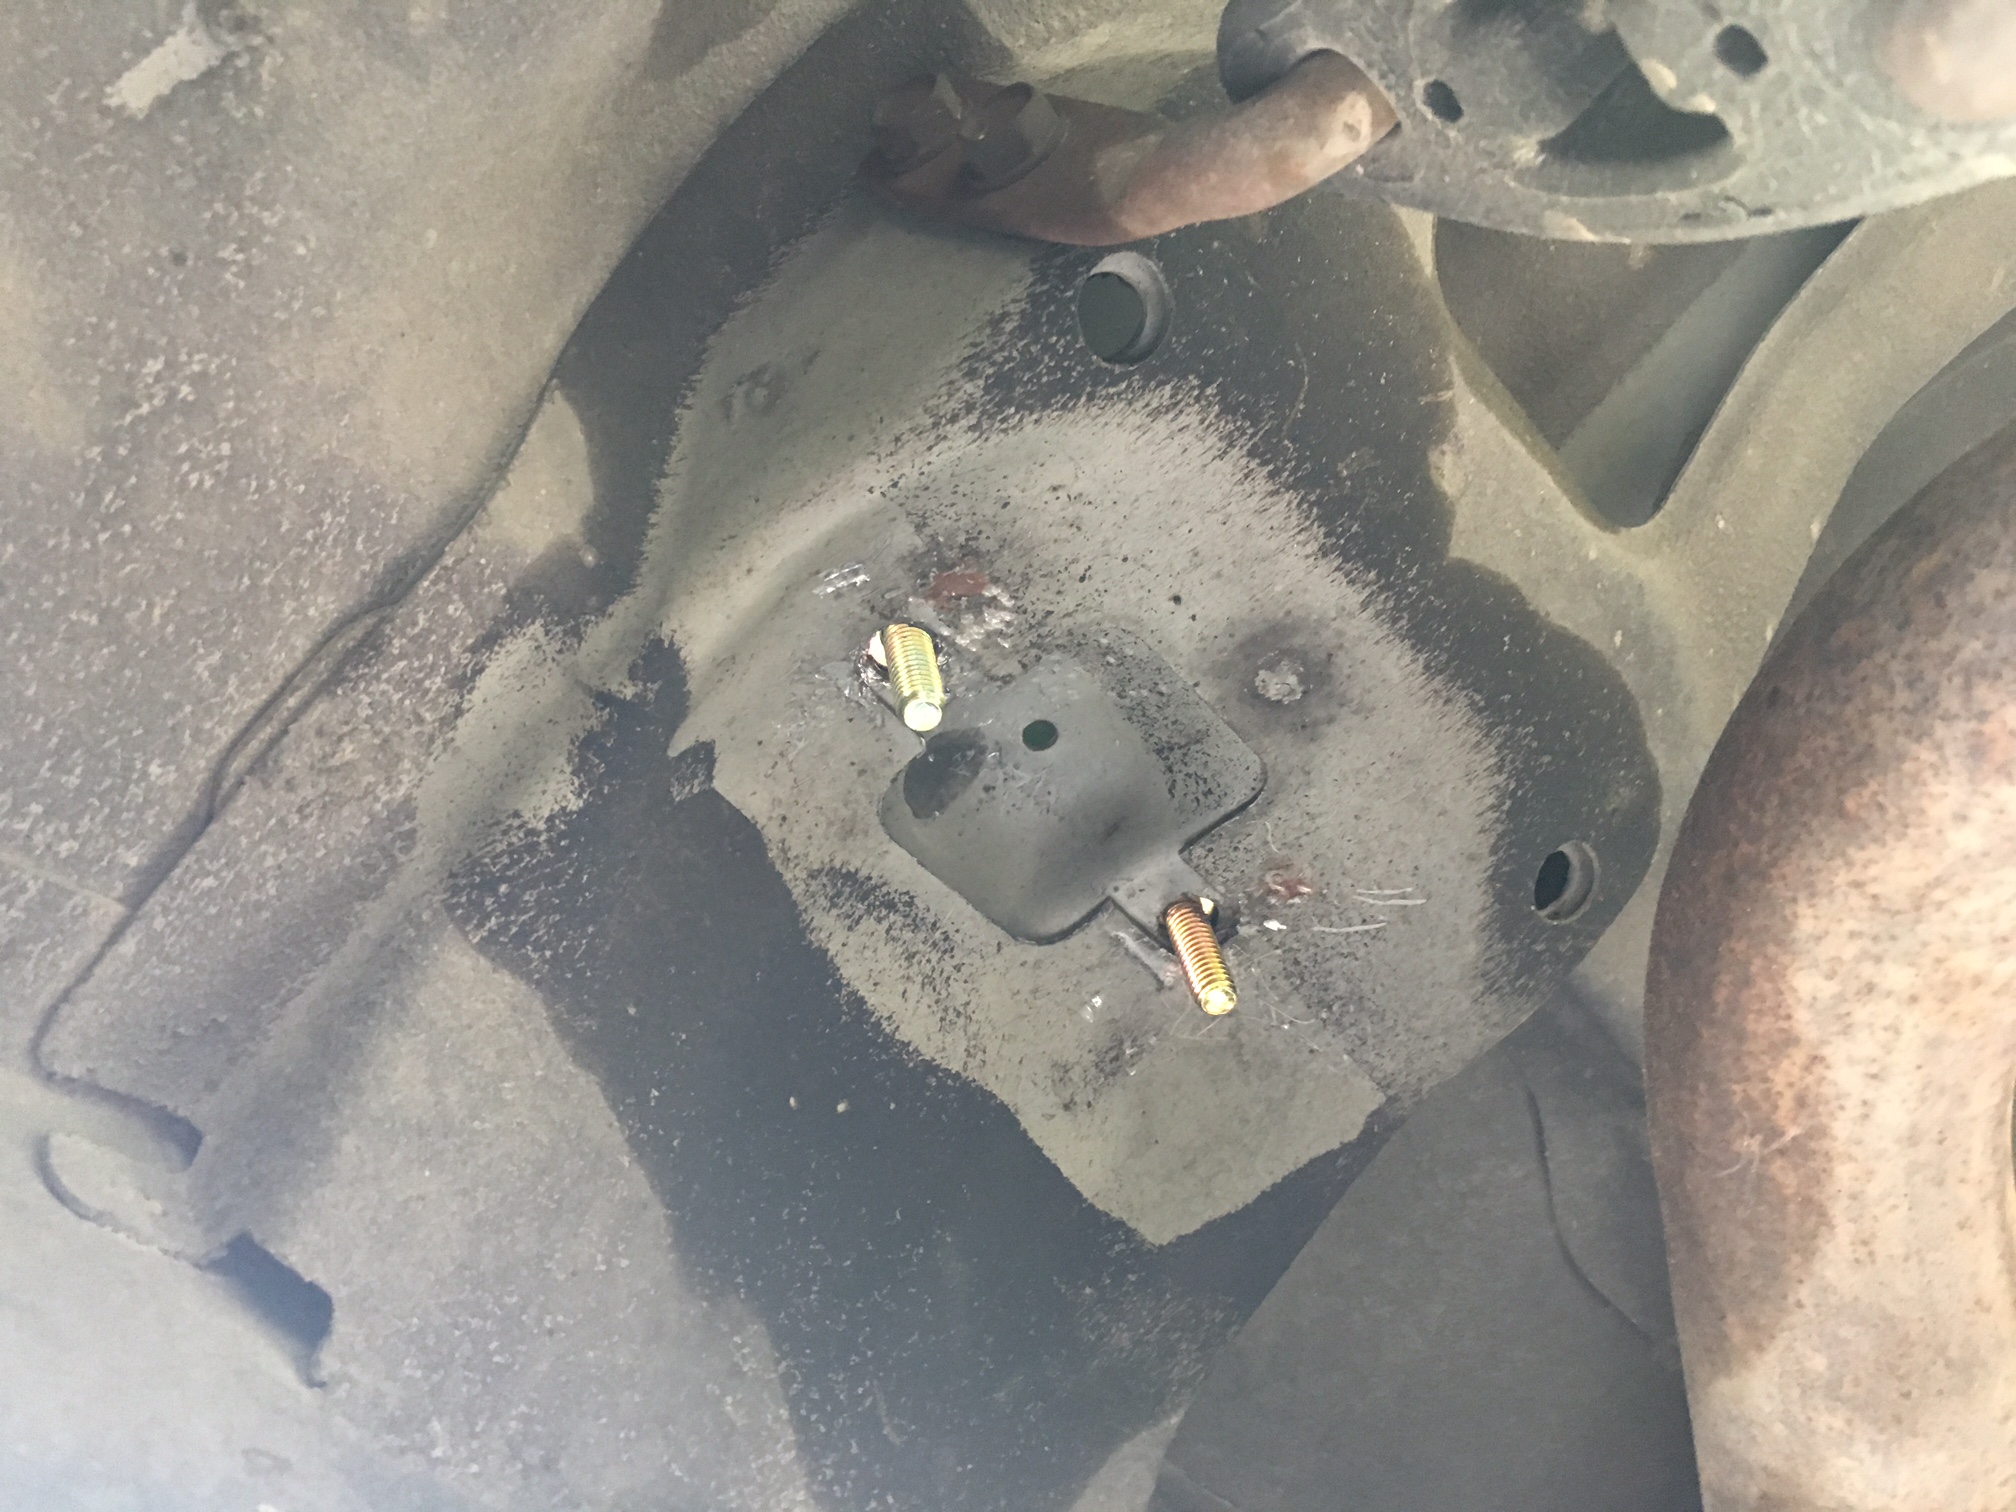
I had a better idea. I used my magnetic wand tool to drop the bolt through the hole where the nut was. It was easy and completely painless.
I total of 10 seconds elapsed between taking that pic and this one:
Onto the shocks. The new ones from Rusty's didn't have all the bushings and pins installed so I had to do that. Thankfully my bench vice just barelly fit.

I learned pretty on that it was best to round off the pins with a metal file so they don't snag on the bushings. A forum member suggested inserting them into the bushing first and then insert both the pins/bushings into the shocks as the same time. Whatever floats your boat.
The lift kit came with an "Add-a-leaf" for the rear leaf springs, and the idea is that the extra leaf spring in the leaf spring pack gives it more sprung force to privide the lift height.
Well, for that to work, you have to get the leaf springs off. That was a problem! On the very first bolt, the rear shackle bolts, which are supposed to be the easier ones, I really struggled to get it off. I went to the hardware store and dropped $100 on bigger tools and a MAPP gas torch which helped the most I believe (I now call it the heat wrench). Onto the second bolt and the heat wrench couldn't even help there so I gave up. Back was in pain and I was looking for a way out.
I cheated and got a set of lift blocks up the road from the parts store. Needed the longer U bolts too so it ended up coasting me $60 more. The folks on the online forums say that the lift blocks will cause the leaf springs to sag and frown, but for now they'll do. They're kind of temporary I guess but I also was running out of time before my trip to colorado which is what this Jeep build is all about.

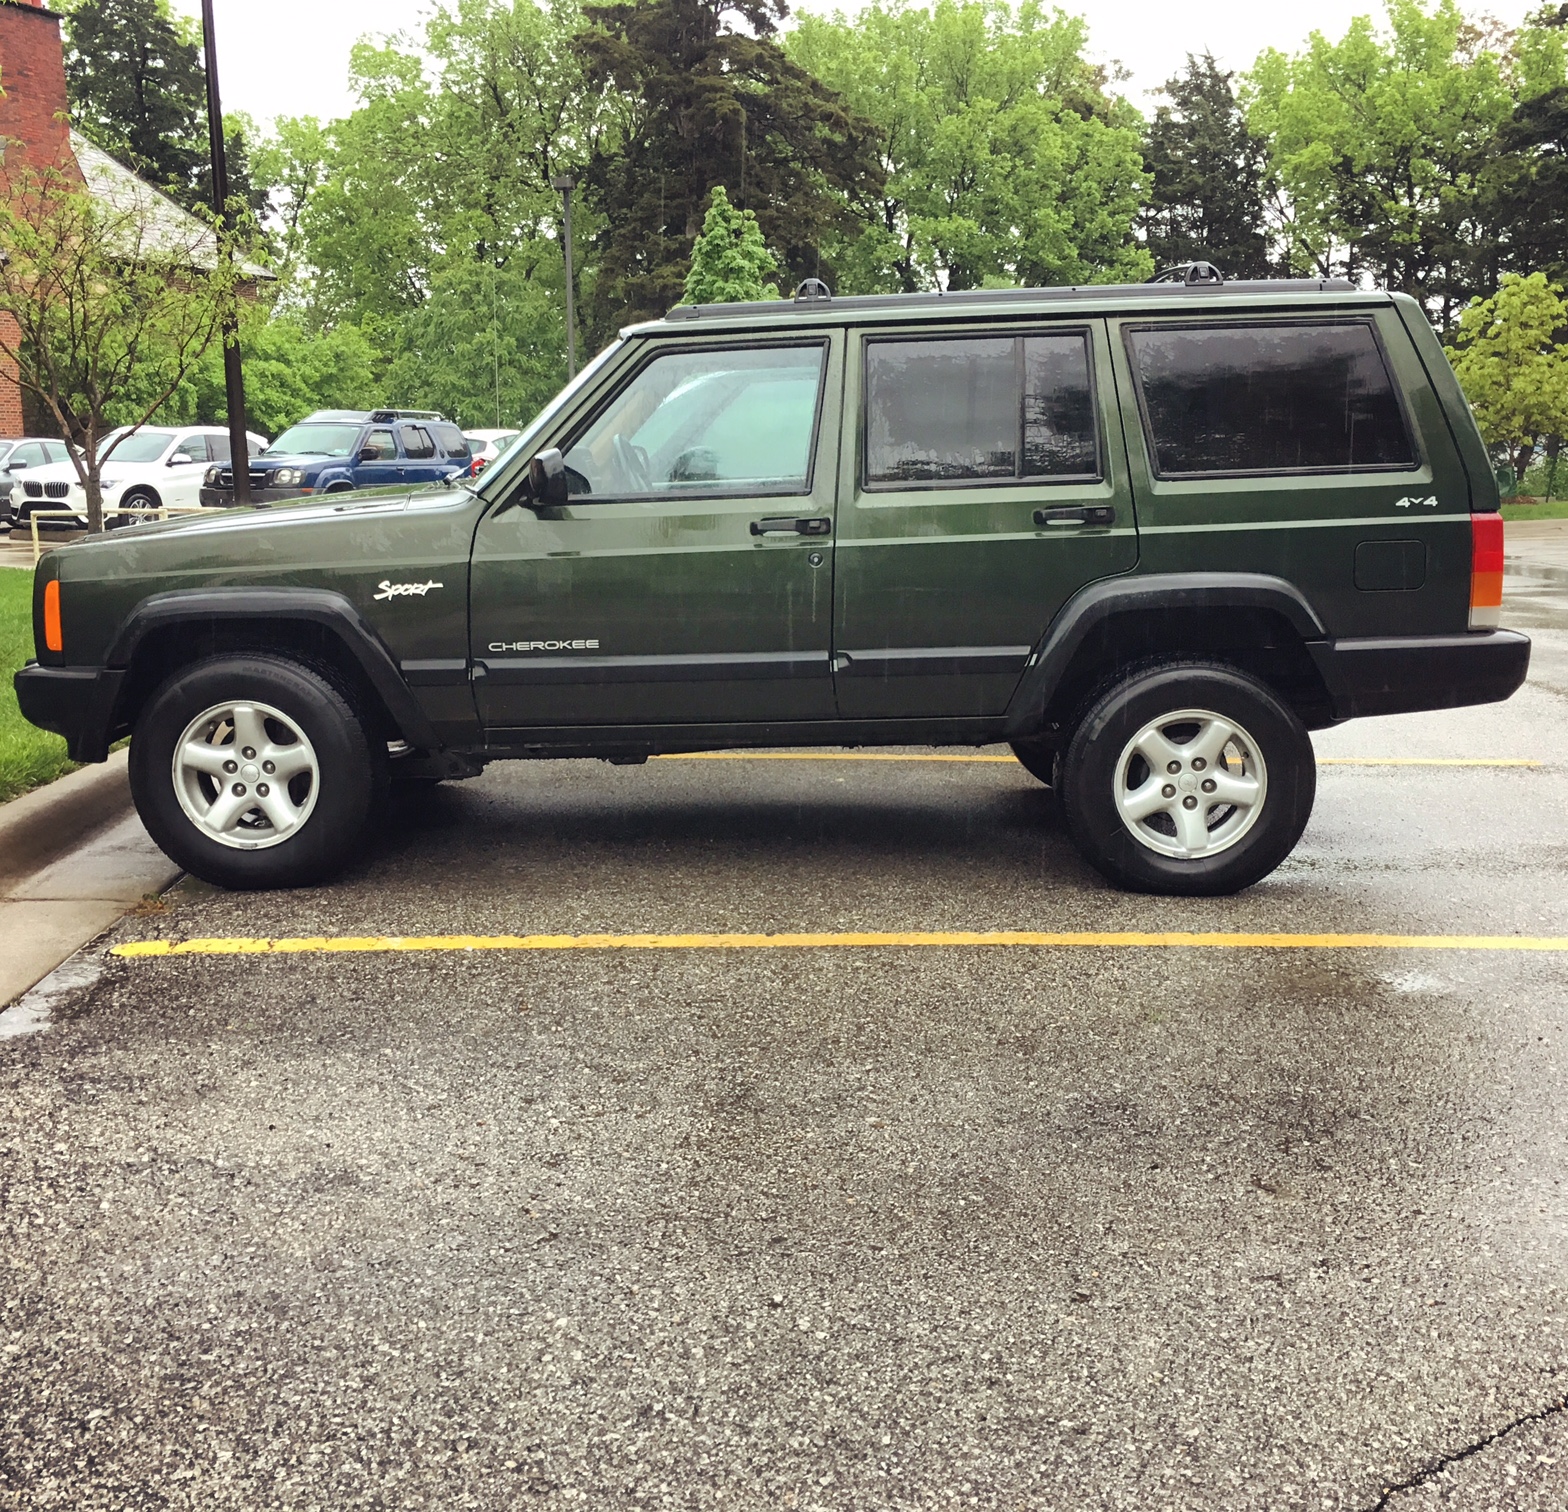
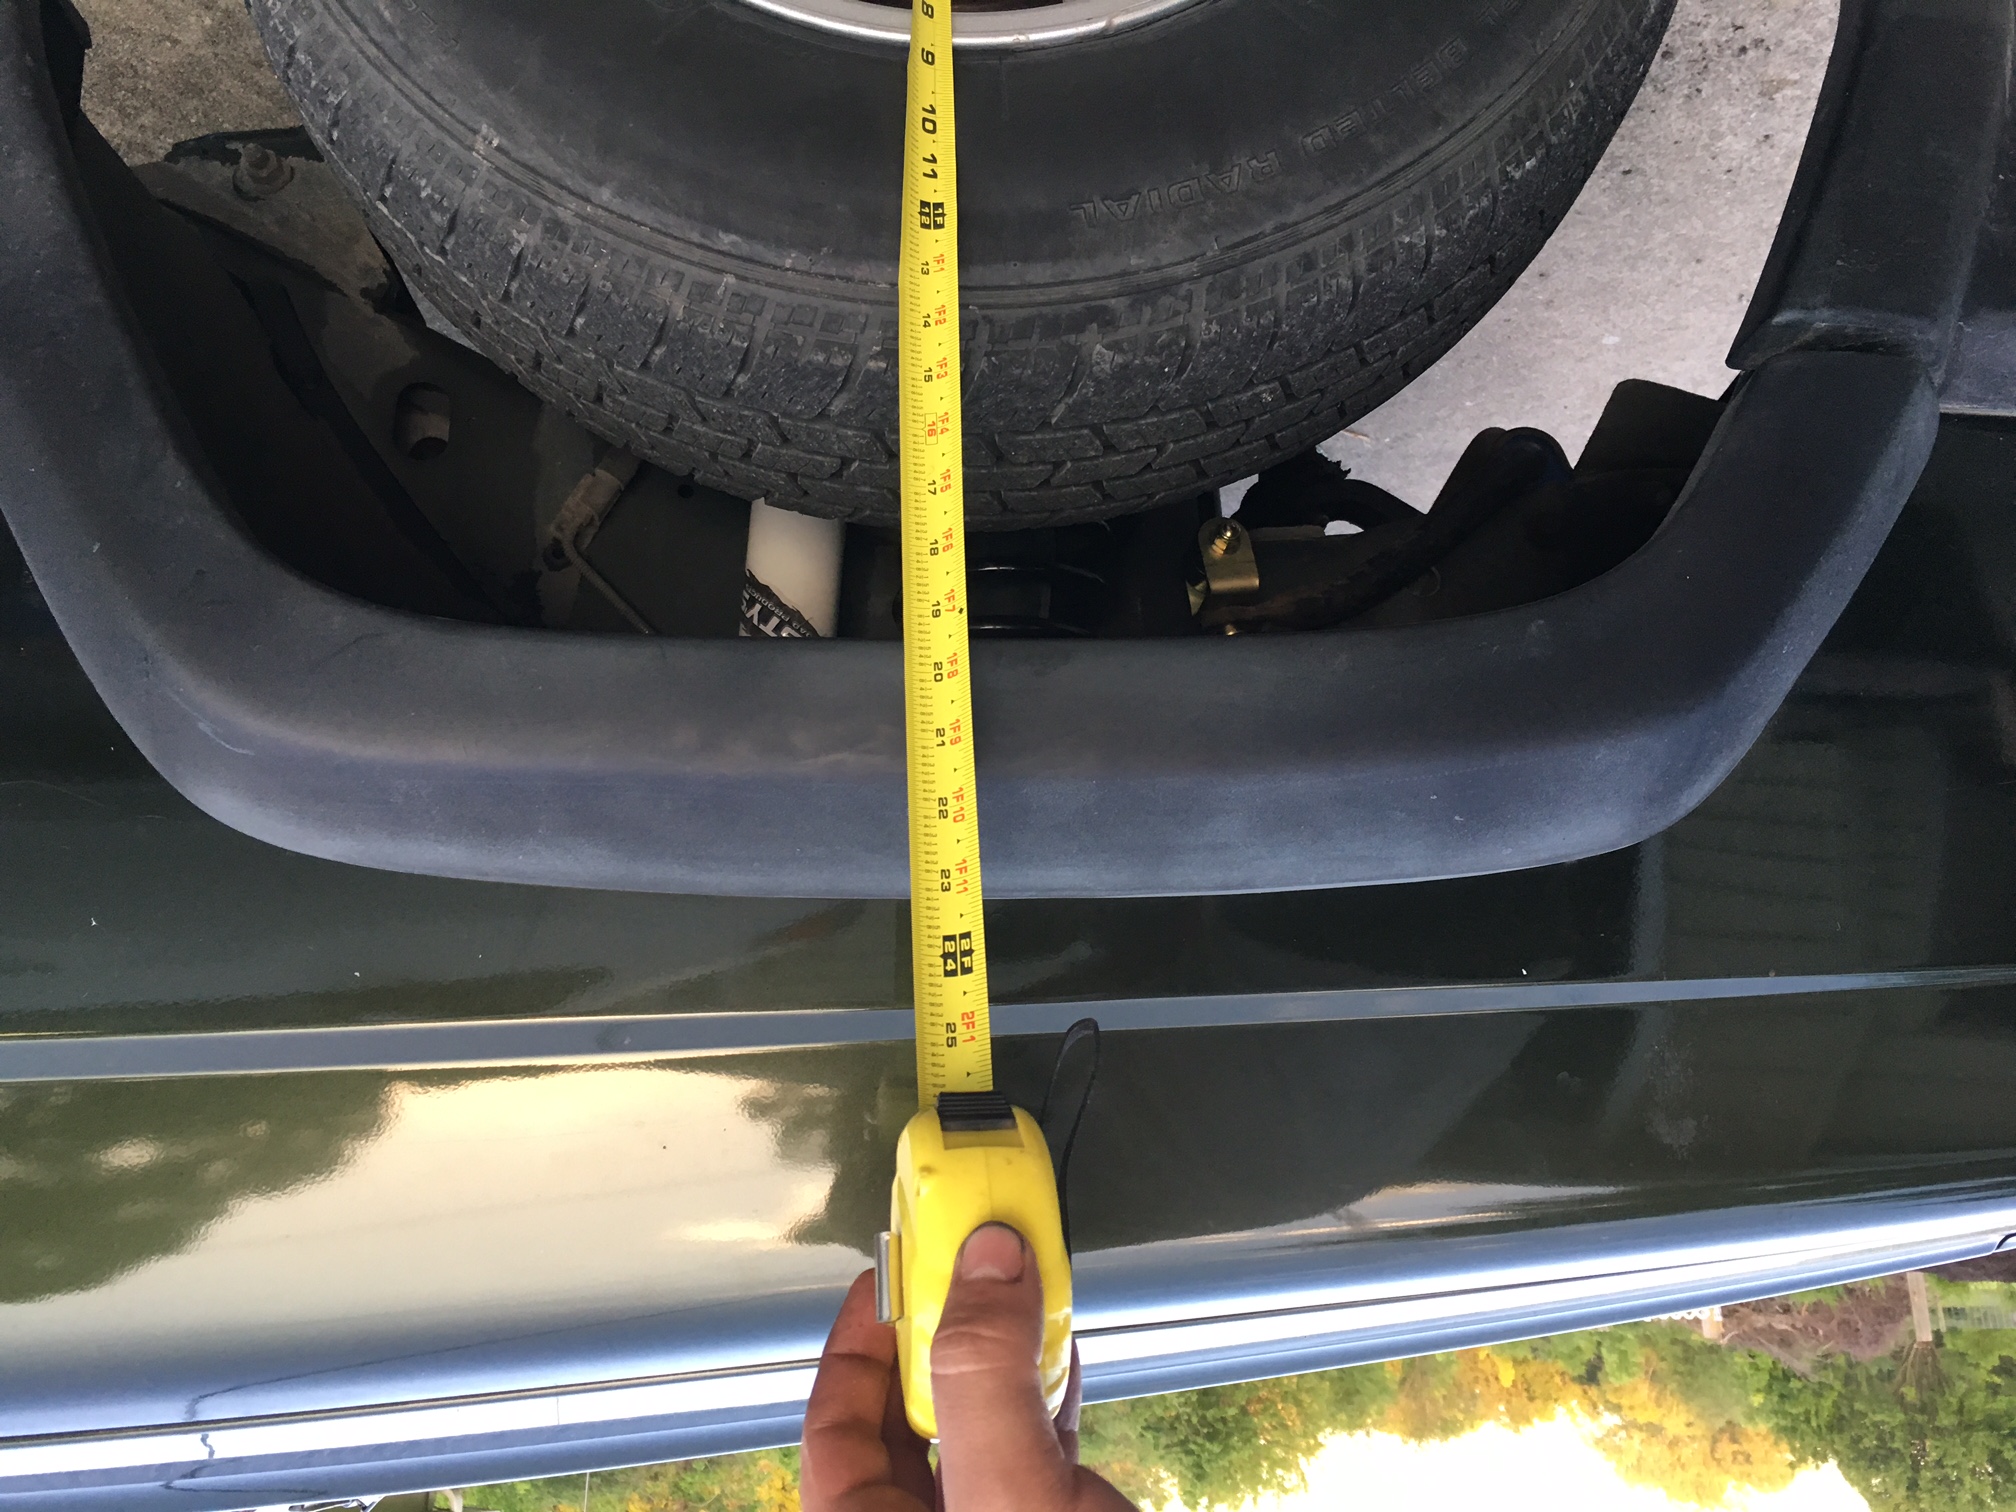
A little taller in the back now. Measuring from the center of the wheel rim to the edge of the fender flare prooves that it's 2 inches taller even if it doesn't look like it. Up to 20" from the 18" is was before.

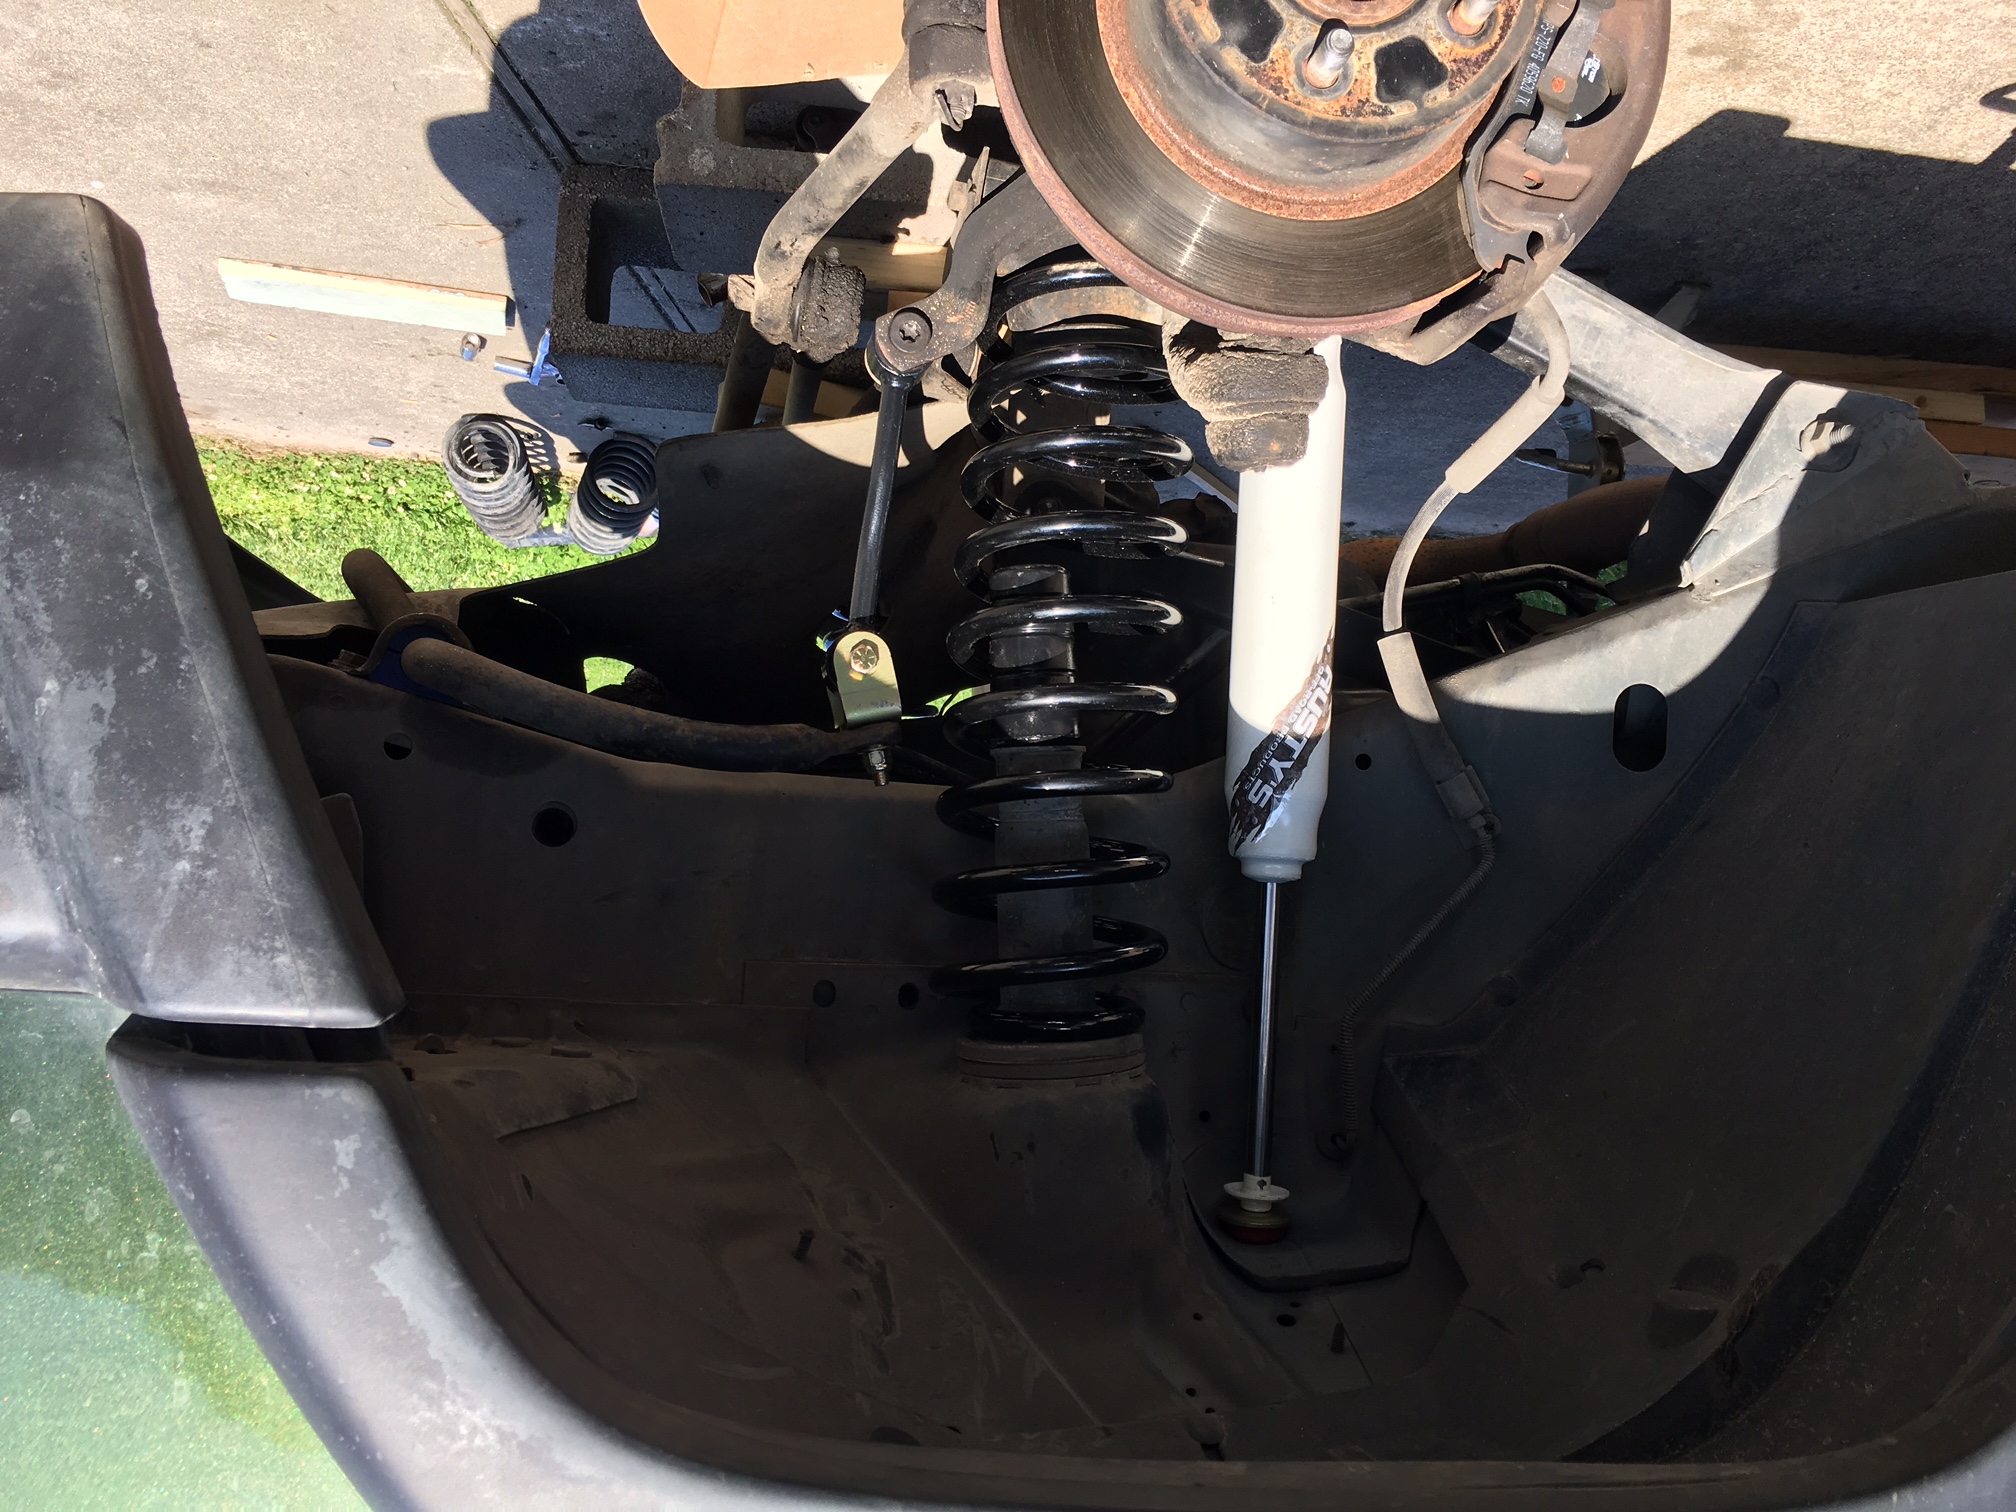
Next was the front suspension...
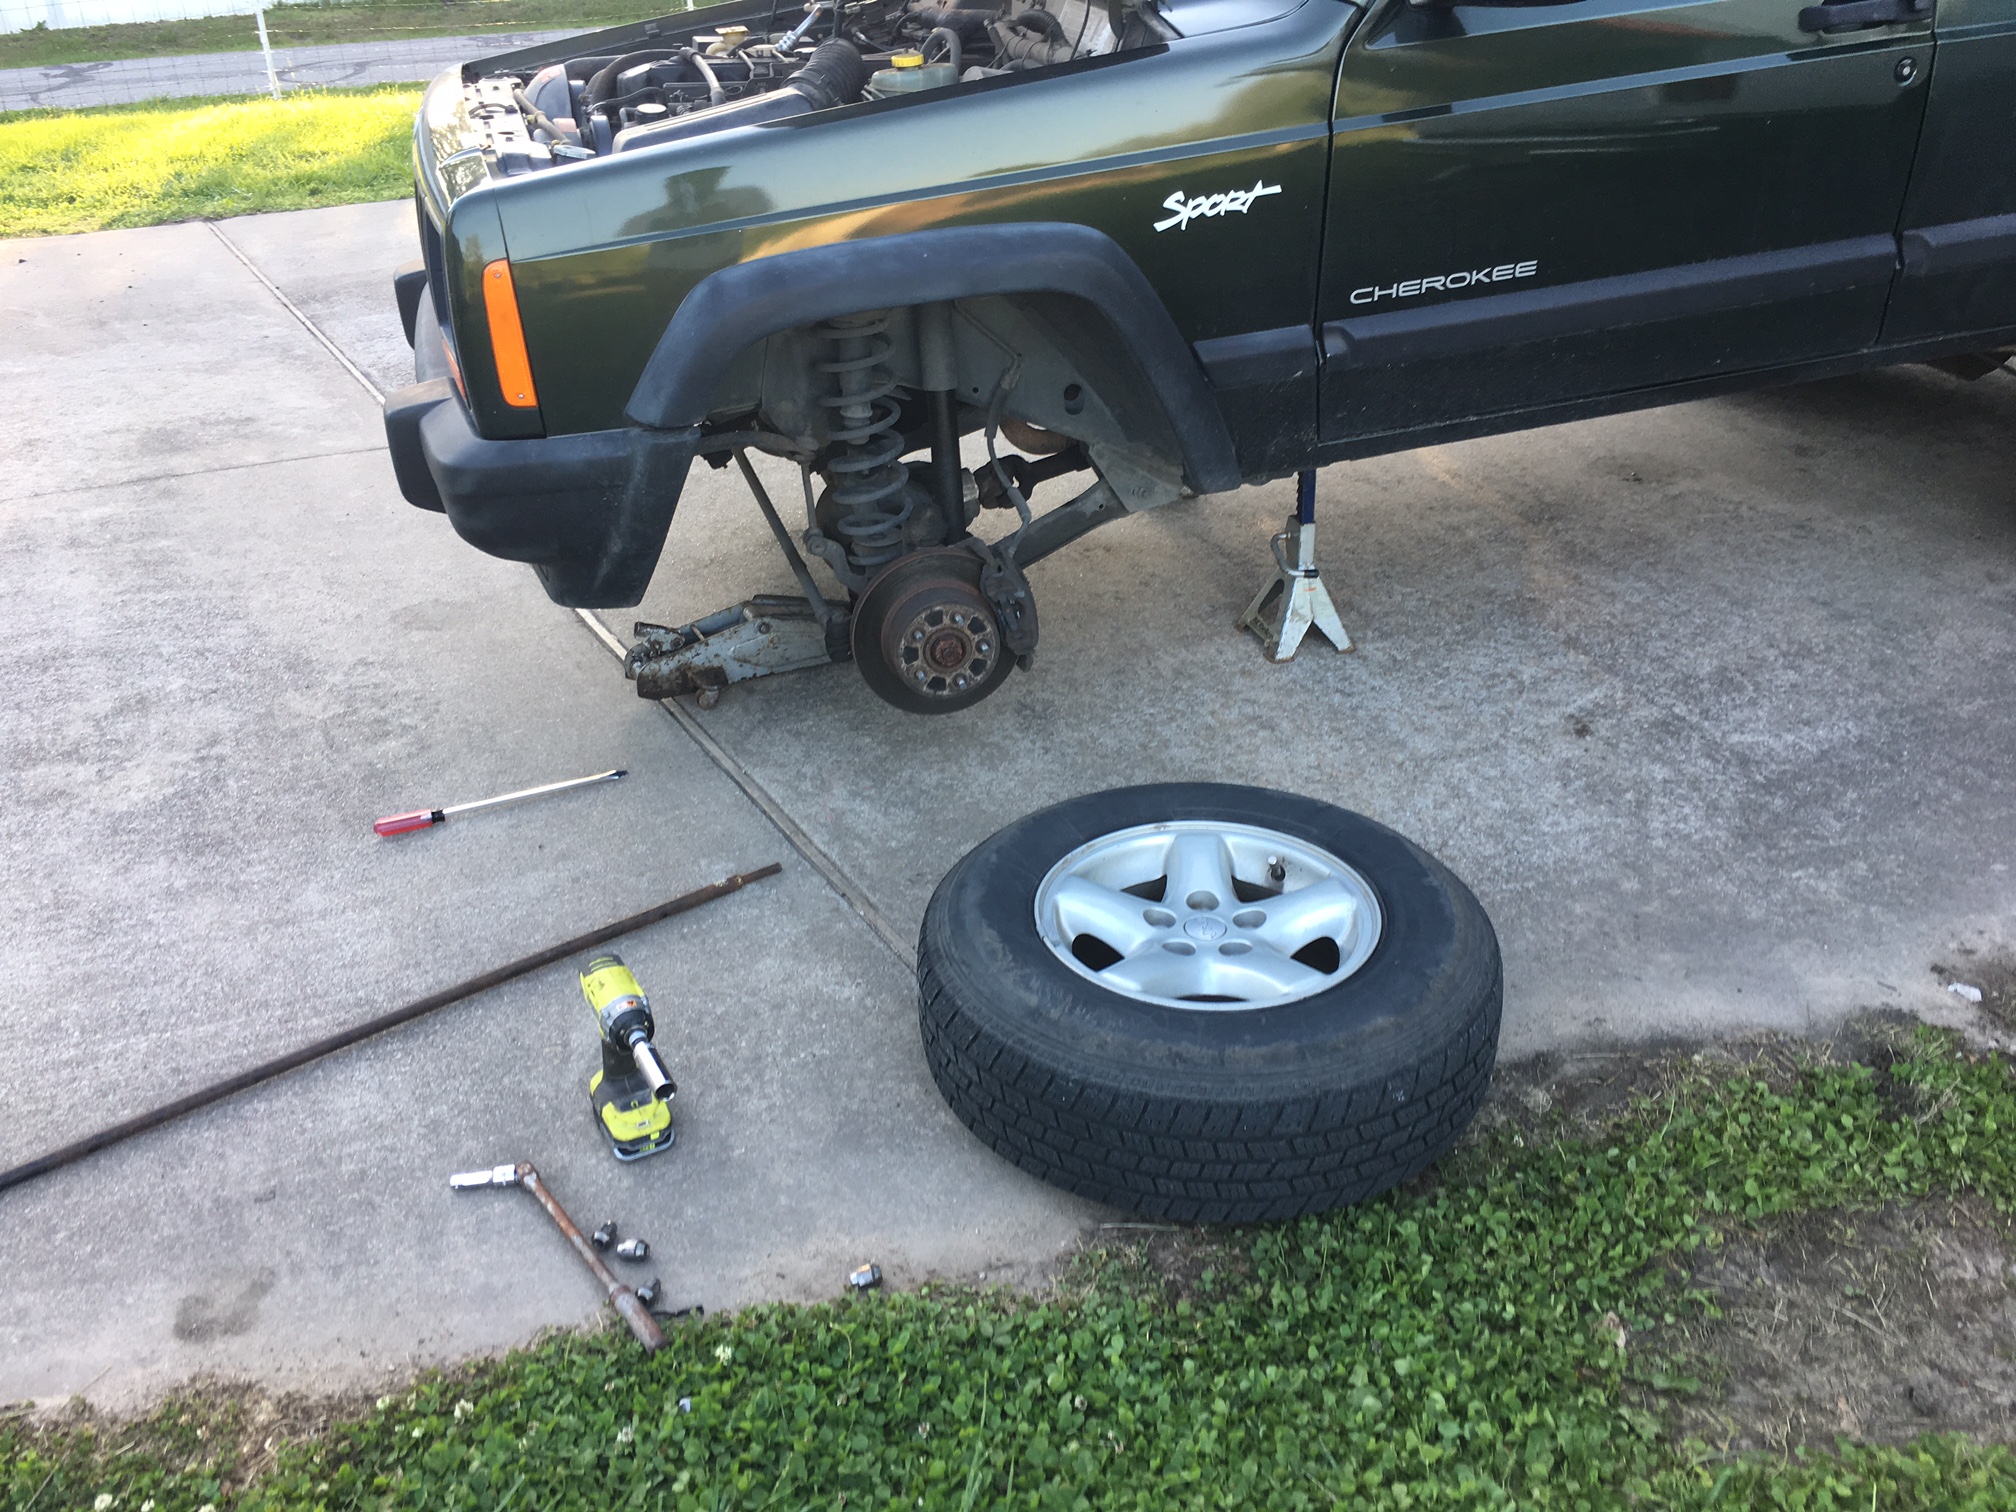
After disconnected the sway bar links, I still couldn't lower the front axle enough to pop the springs out because the lower control arm was jamming into it's mounting bracket welded to the axle.
So I went to Oreilly's and borrowed some coil spring compressors. They were pretty easy to use, but they made my weak power ratchet tool smoke!

I tried to put the sway bar links back on with new bushings, but the first one snapped when applying just a small amount of torque to the nut.
Good thing I already had some aftermarket ones. They're a little long for only a 2" lift which is why I wanted to use the stock ones but they're much beefier.
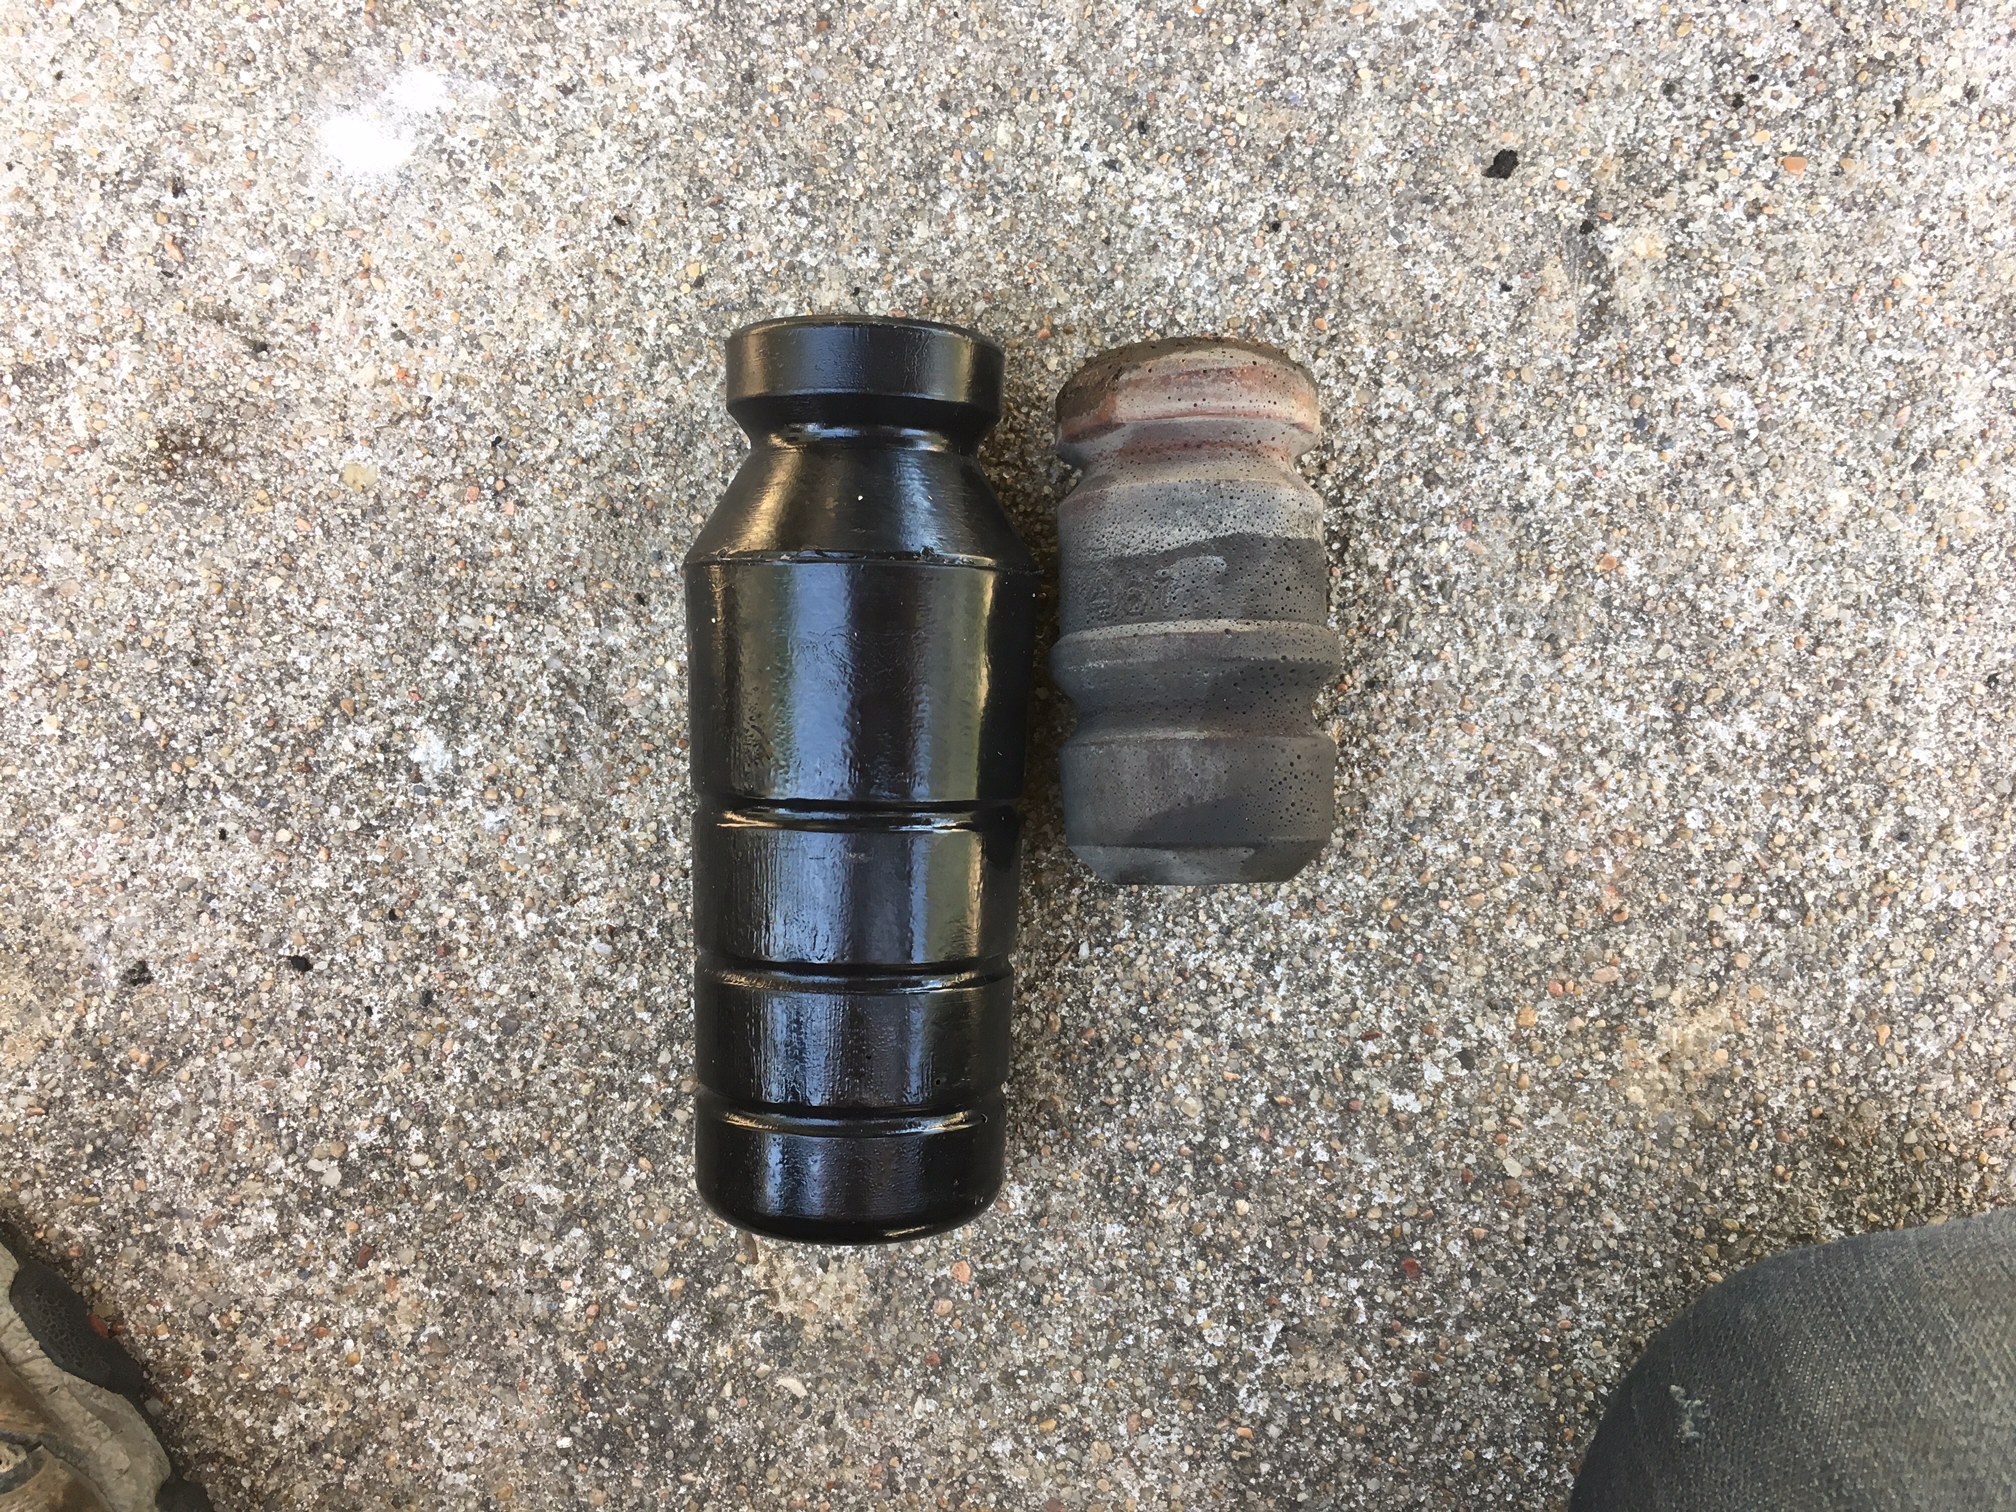
Last but not least, I added some larger bump stops because the 31" tires would stuff these wheel wells pretty well with only 2" lift. Here they are compared to the stock ones, and I can trim them down as needed:
[Update: I ended up trimming them to virtually the same length as the old ones, which I was allowed to do after trimming the fenders.]
All done!
It was measuring 17" before, now it's measuring 19". *thumbs up*
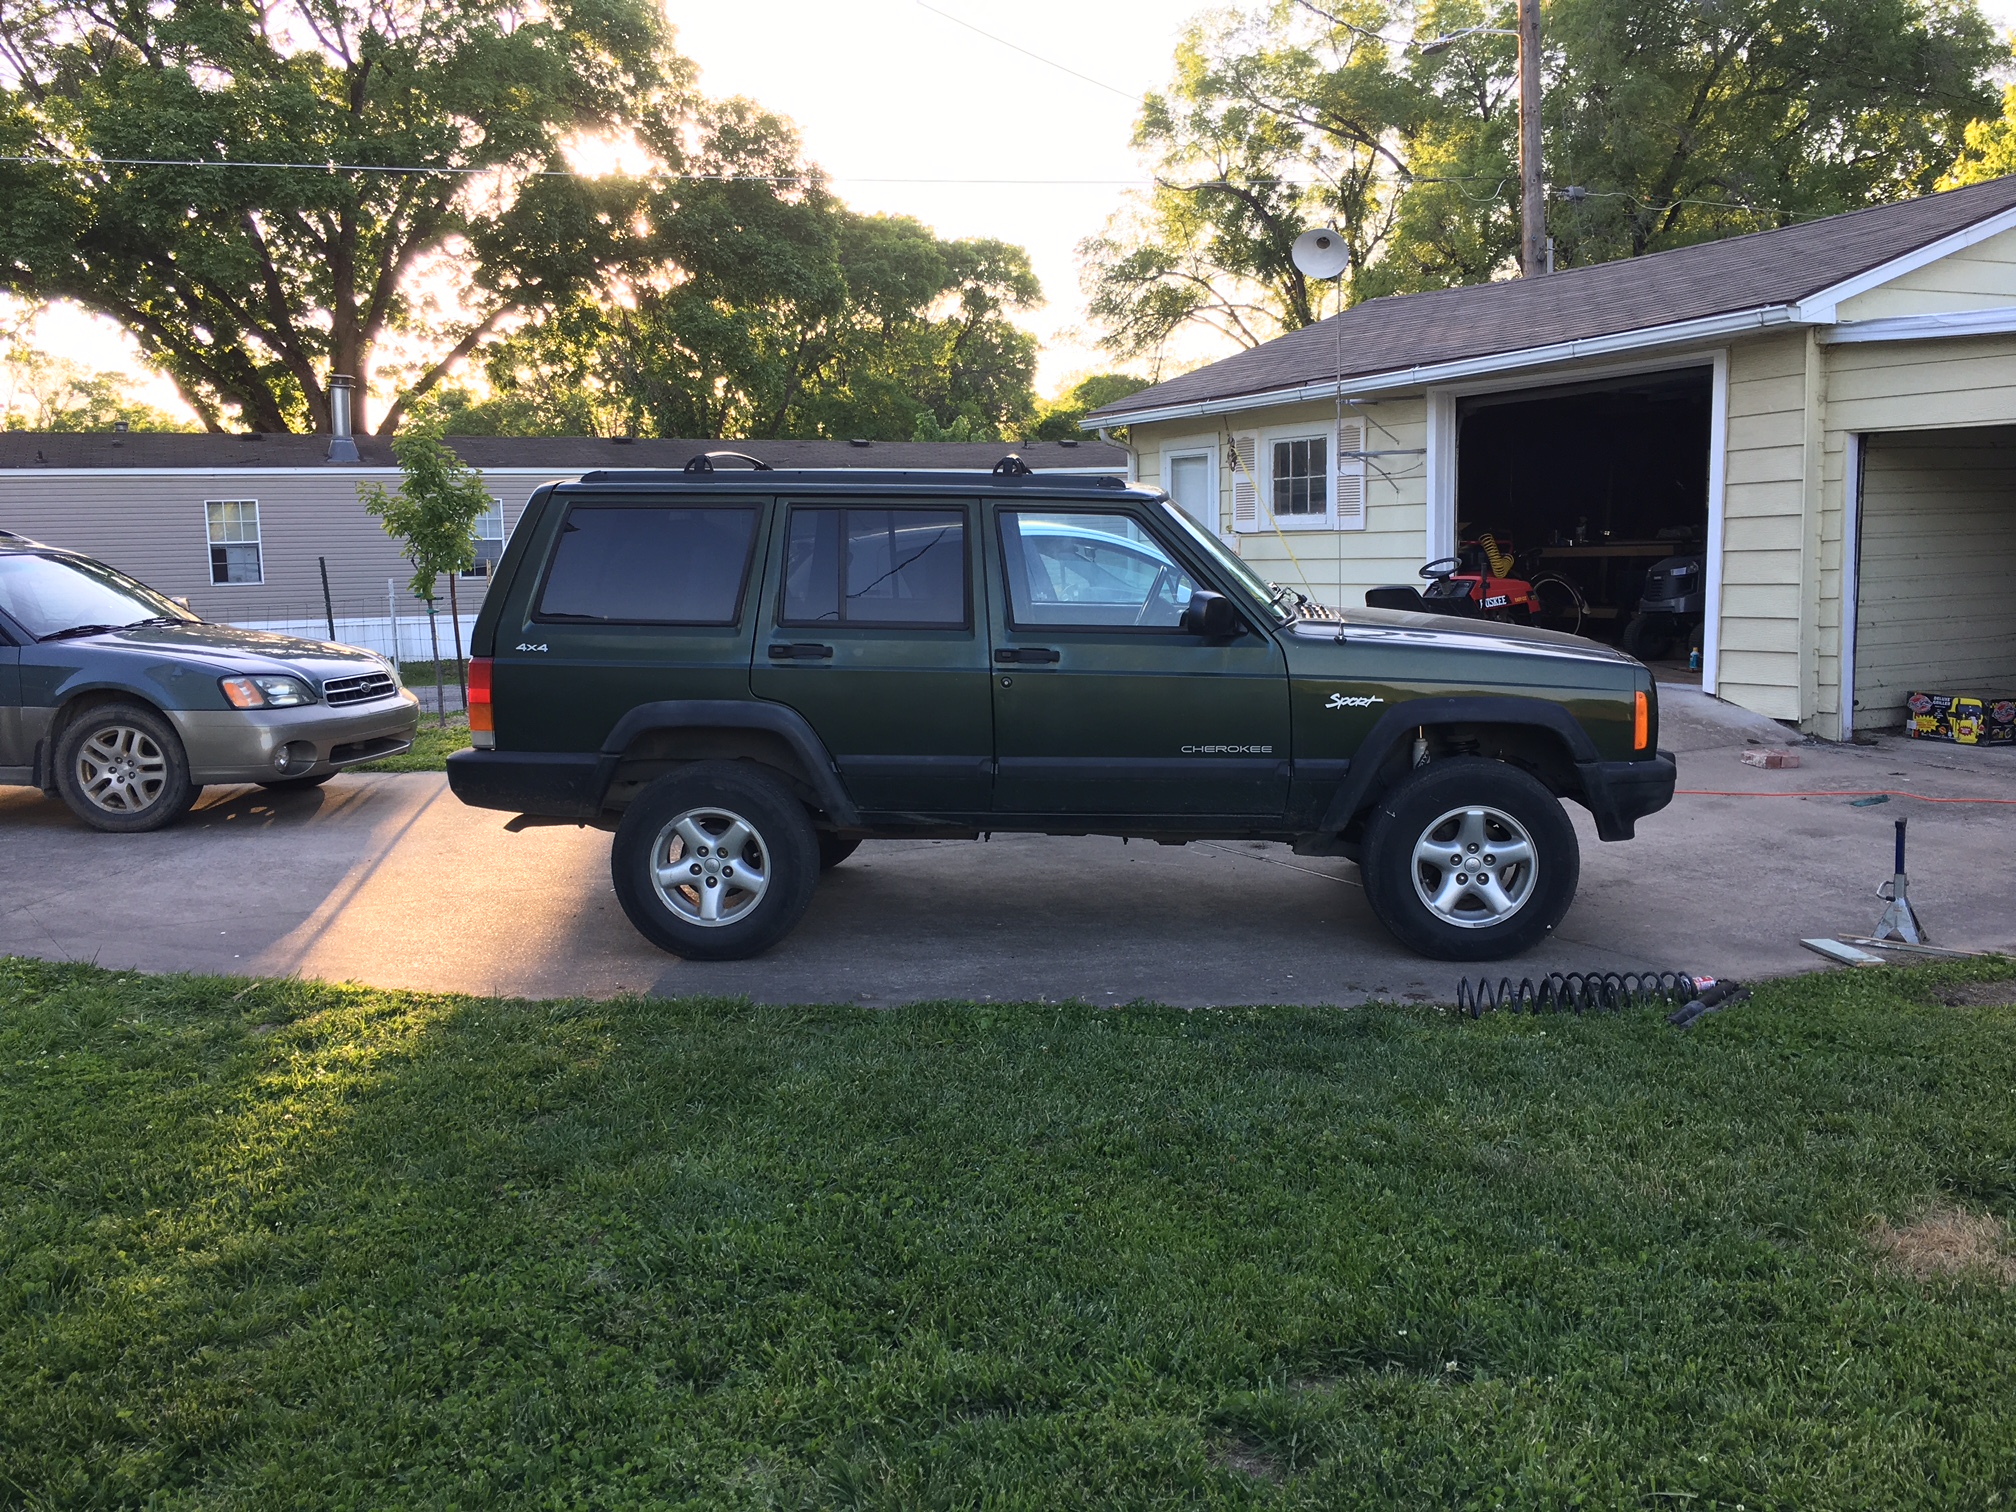
Before and after:

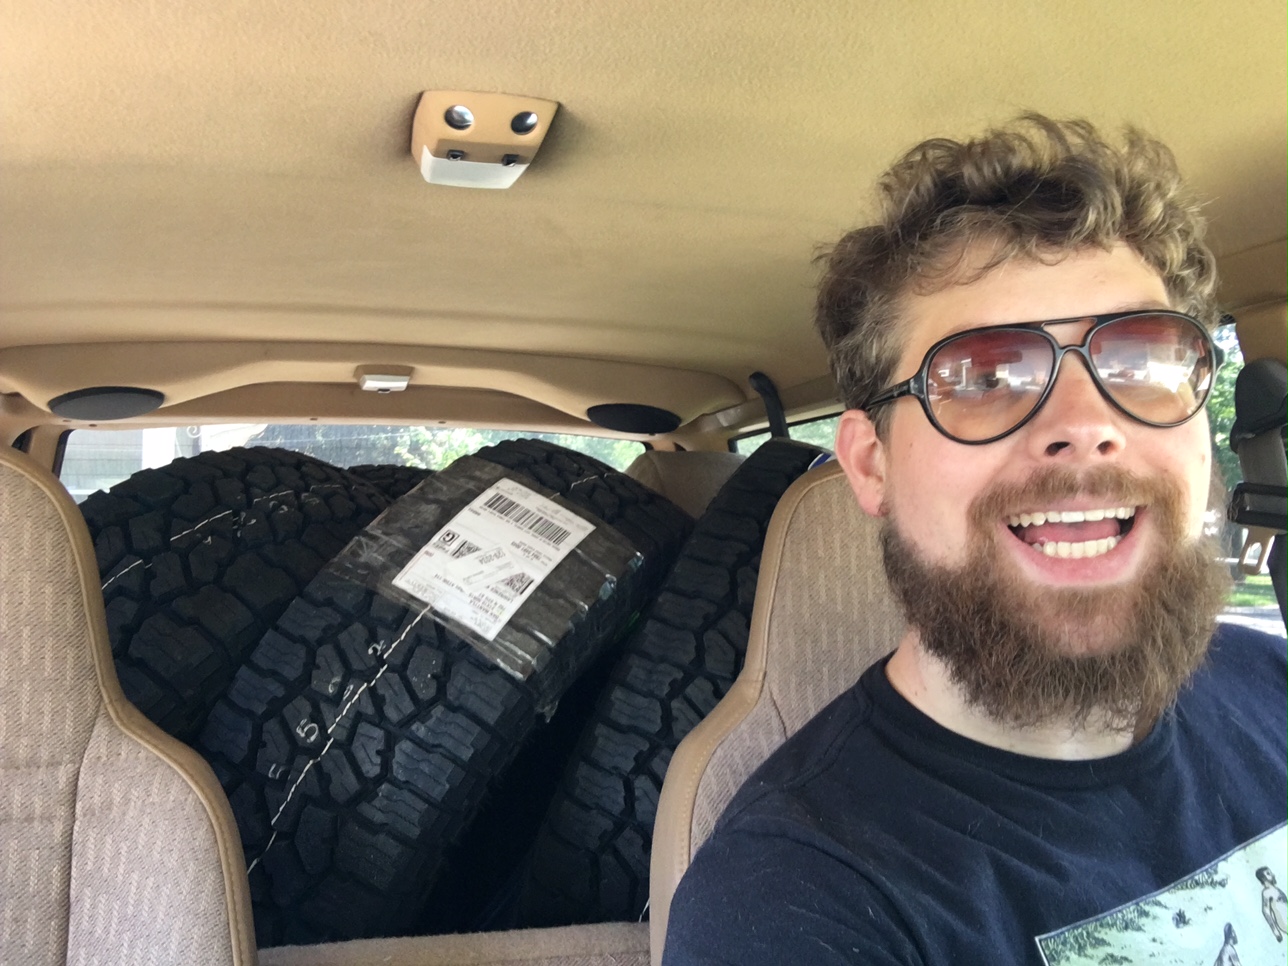
Finished just in time for the new tires! 31"x10.5"x15" Falcon WildPeak AT3W all-terrains. They were very affordable at $135 each from Amazon with free shipping. $140 to have the mounted and balenced by Discount Tire but they gave me a good deal on their warrenty in which if anything at all goes wrong I can have them fix it for free, even though I didn't buy the tires through them. Was an extra $5 per tire if I remember correctly. Deal!
They certainly look good and they're not at all loud on the road, can't hear a difference even at highway speeds.

Almost ready to take this Jeep to Colorado now! Stay tuned...
Update:
With the help of these upgrades, I had a great time four-wheeling around Colorado! I did find the front bump stops on several occasions so I do see the advantage of a larger lift like 4" or more, but I think that the trade offs wouldn't have made it the better choice. Trade offs such as increased driveshaft vibrations, higher center of gravity, more stress on bushings and steering componants, rougher ride because of changes to control arm angles, etc.
Speaking of driveshaft vibrations...
I did need to lower the transfer case by a little less than an inch. This was easily accomplished by using longer screws to bolt the transfercase crossmember to the "frame" and big metal spacers in between the crossmember and the "frame". Before I made that adjustment, there was a noticable vibration around 40mph and at 70mph it felt like the Jeep was going to shake itself apart... After the adjustment it felt completely stock!