Time to wire everything together!!
Here is my final version of the wiring diagram:
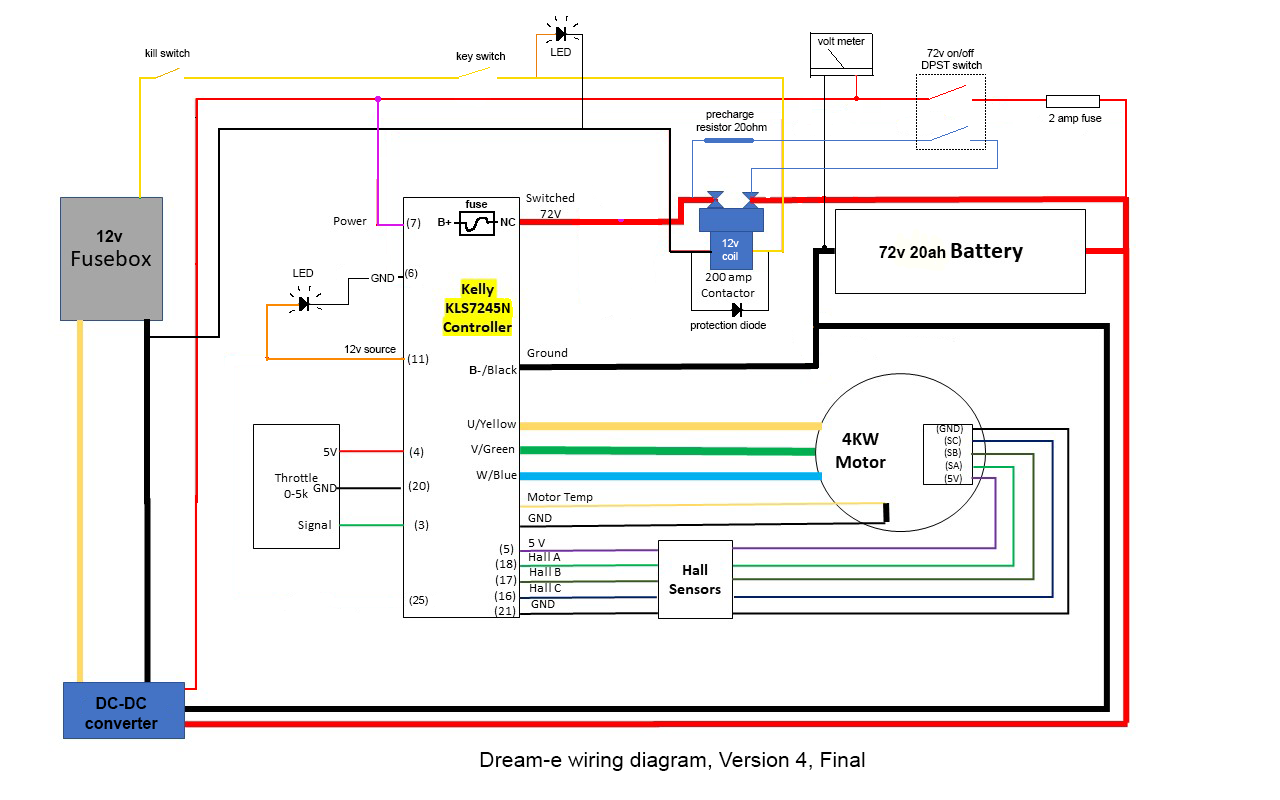
This is excluding anything that is not required to get the wheel spinning. So, no headlight, taillight, horn, etc. (I still wired up the headlight, tail light, and brake light, just didn't need to see a diagram for that. No turn signals and horn, yet.)
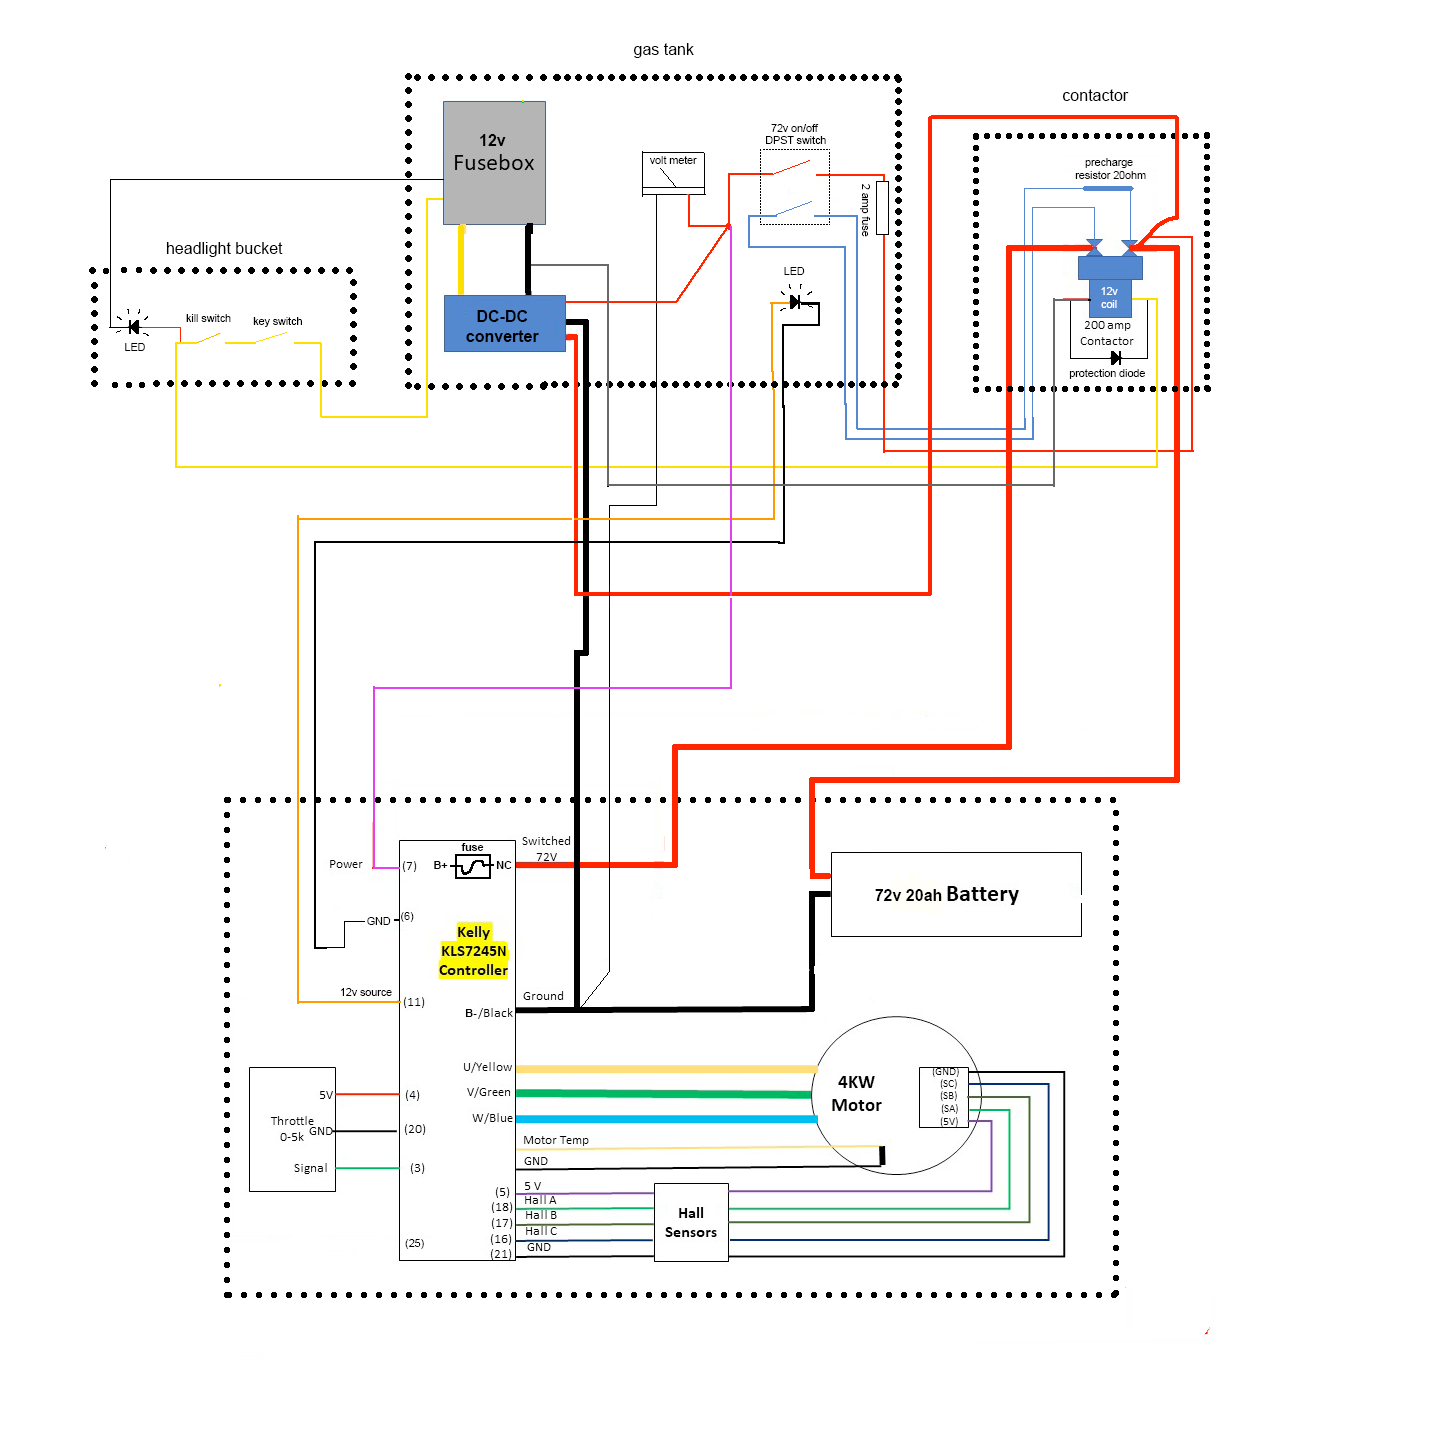
Then I re-arranged the diagram to organize it into the sections of the bikes where the wires would go, this helped me to visualize it while I was doing the wiring, and this is the diagram I kept open while wiring the bike:
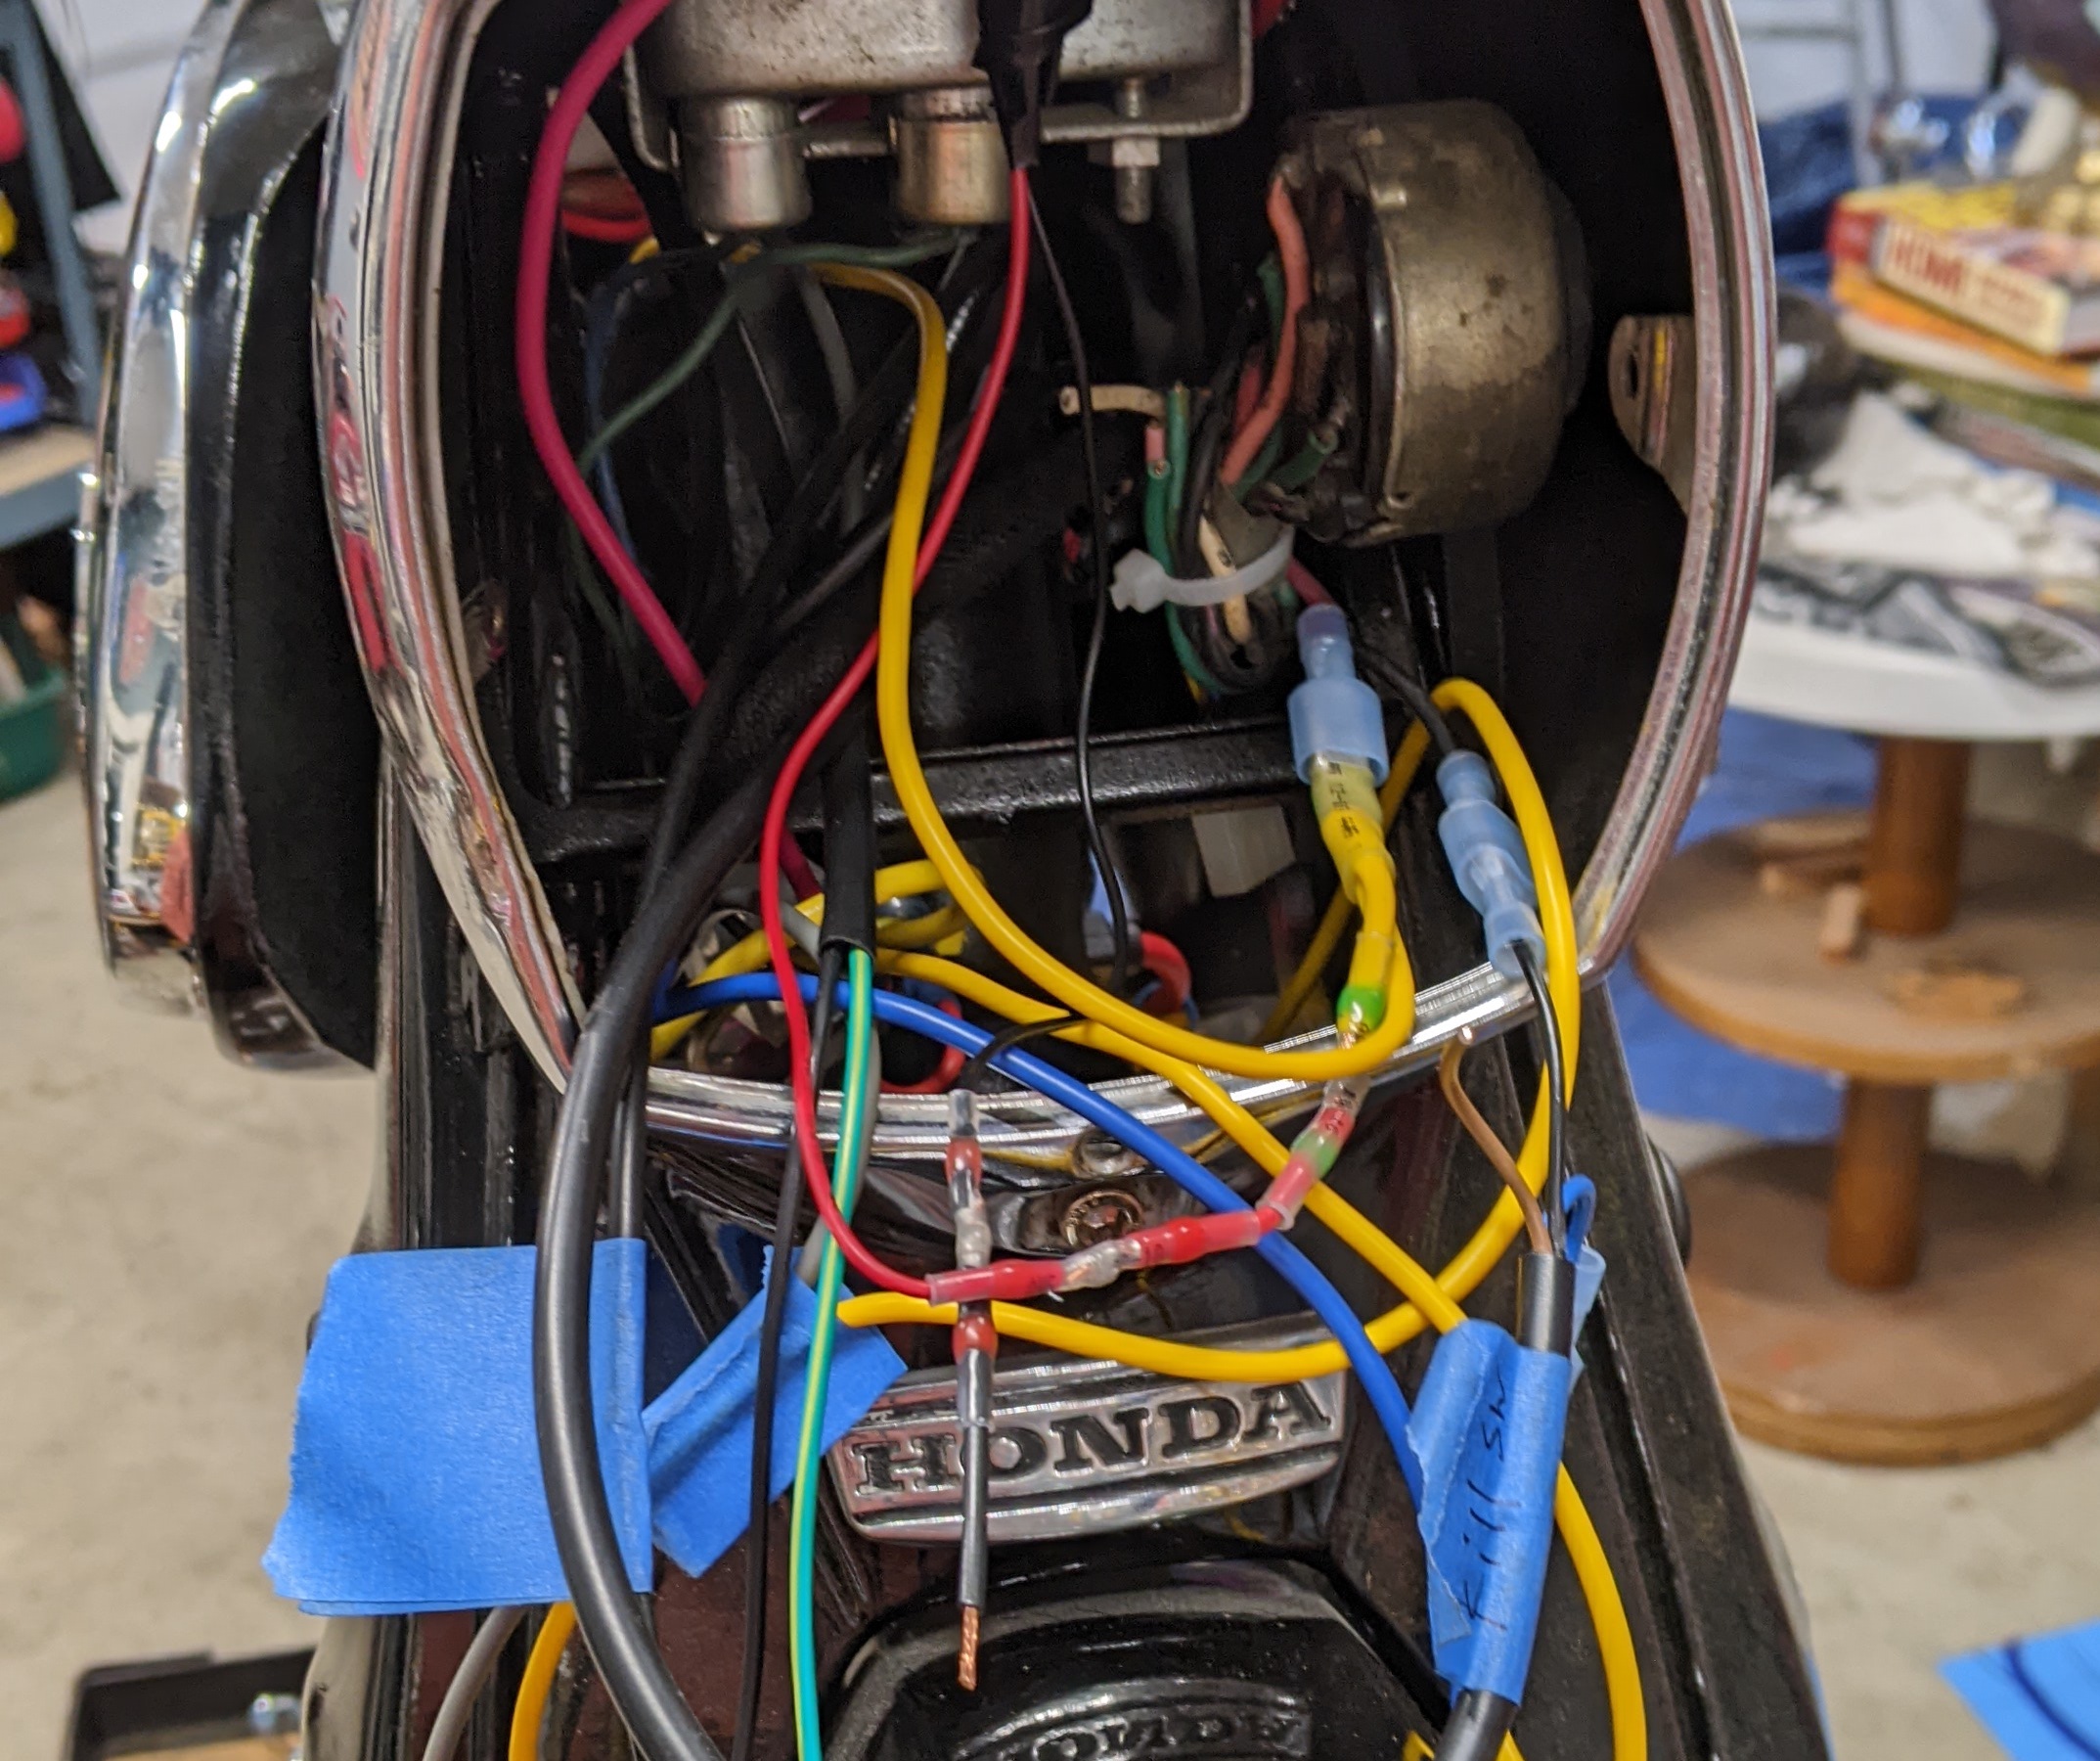
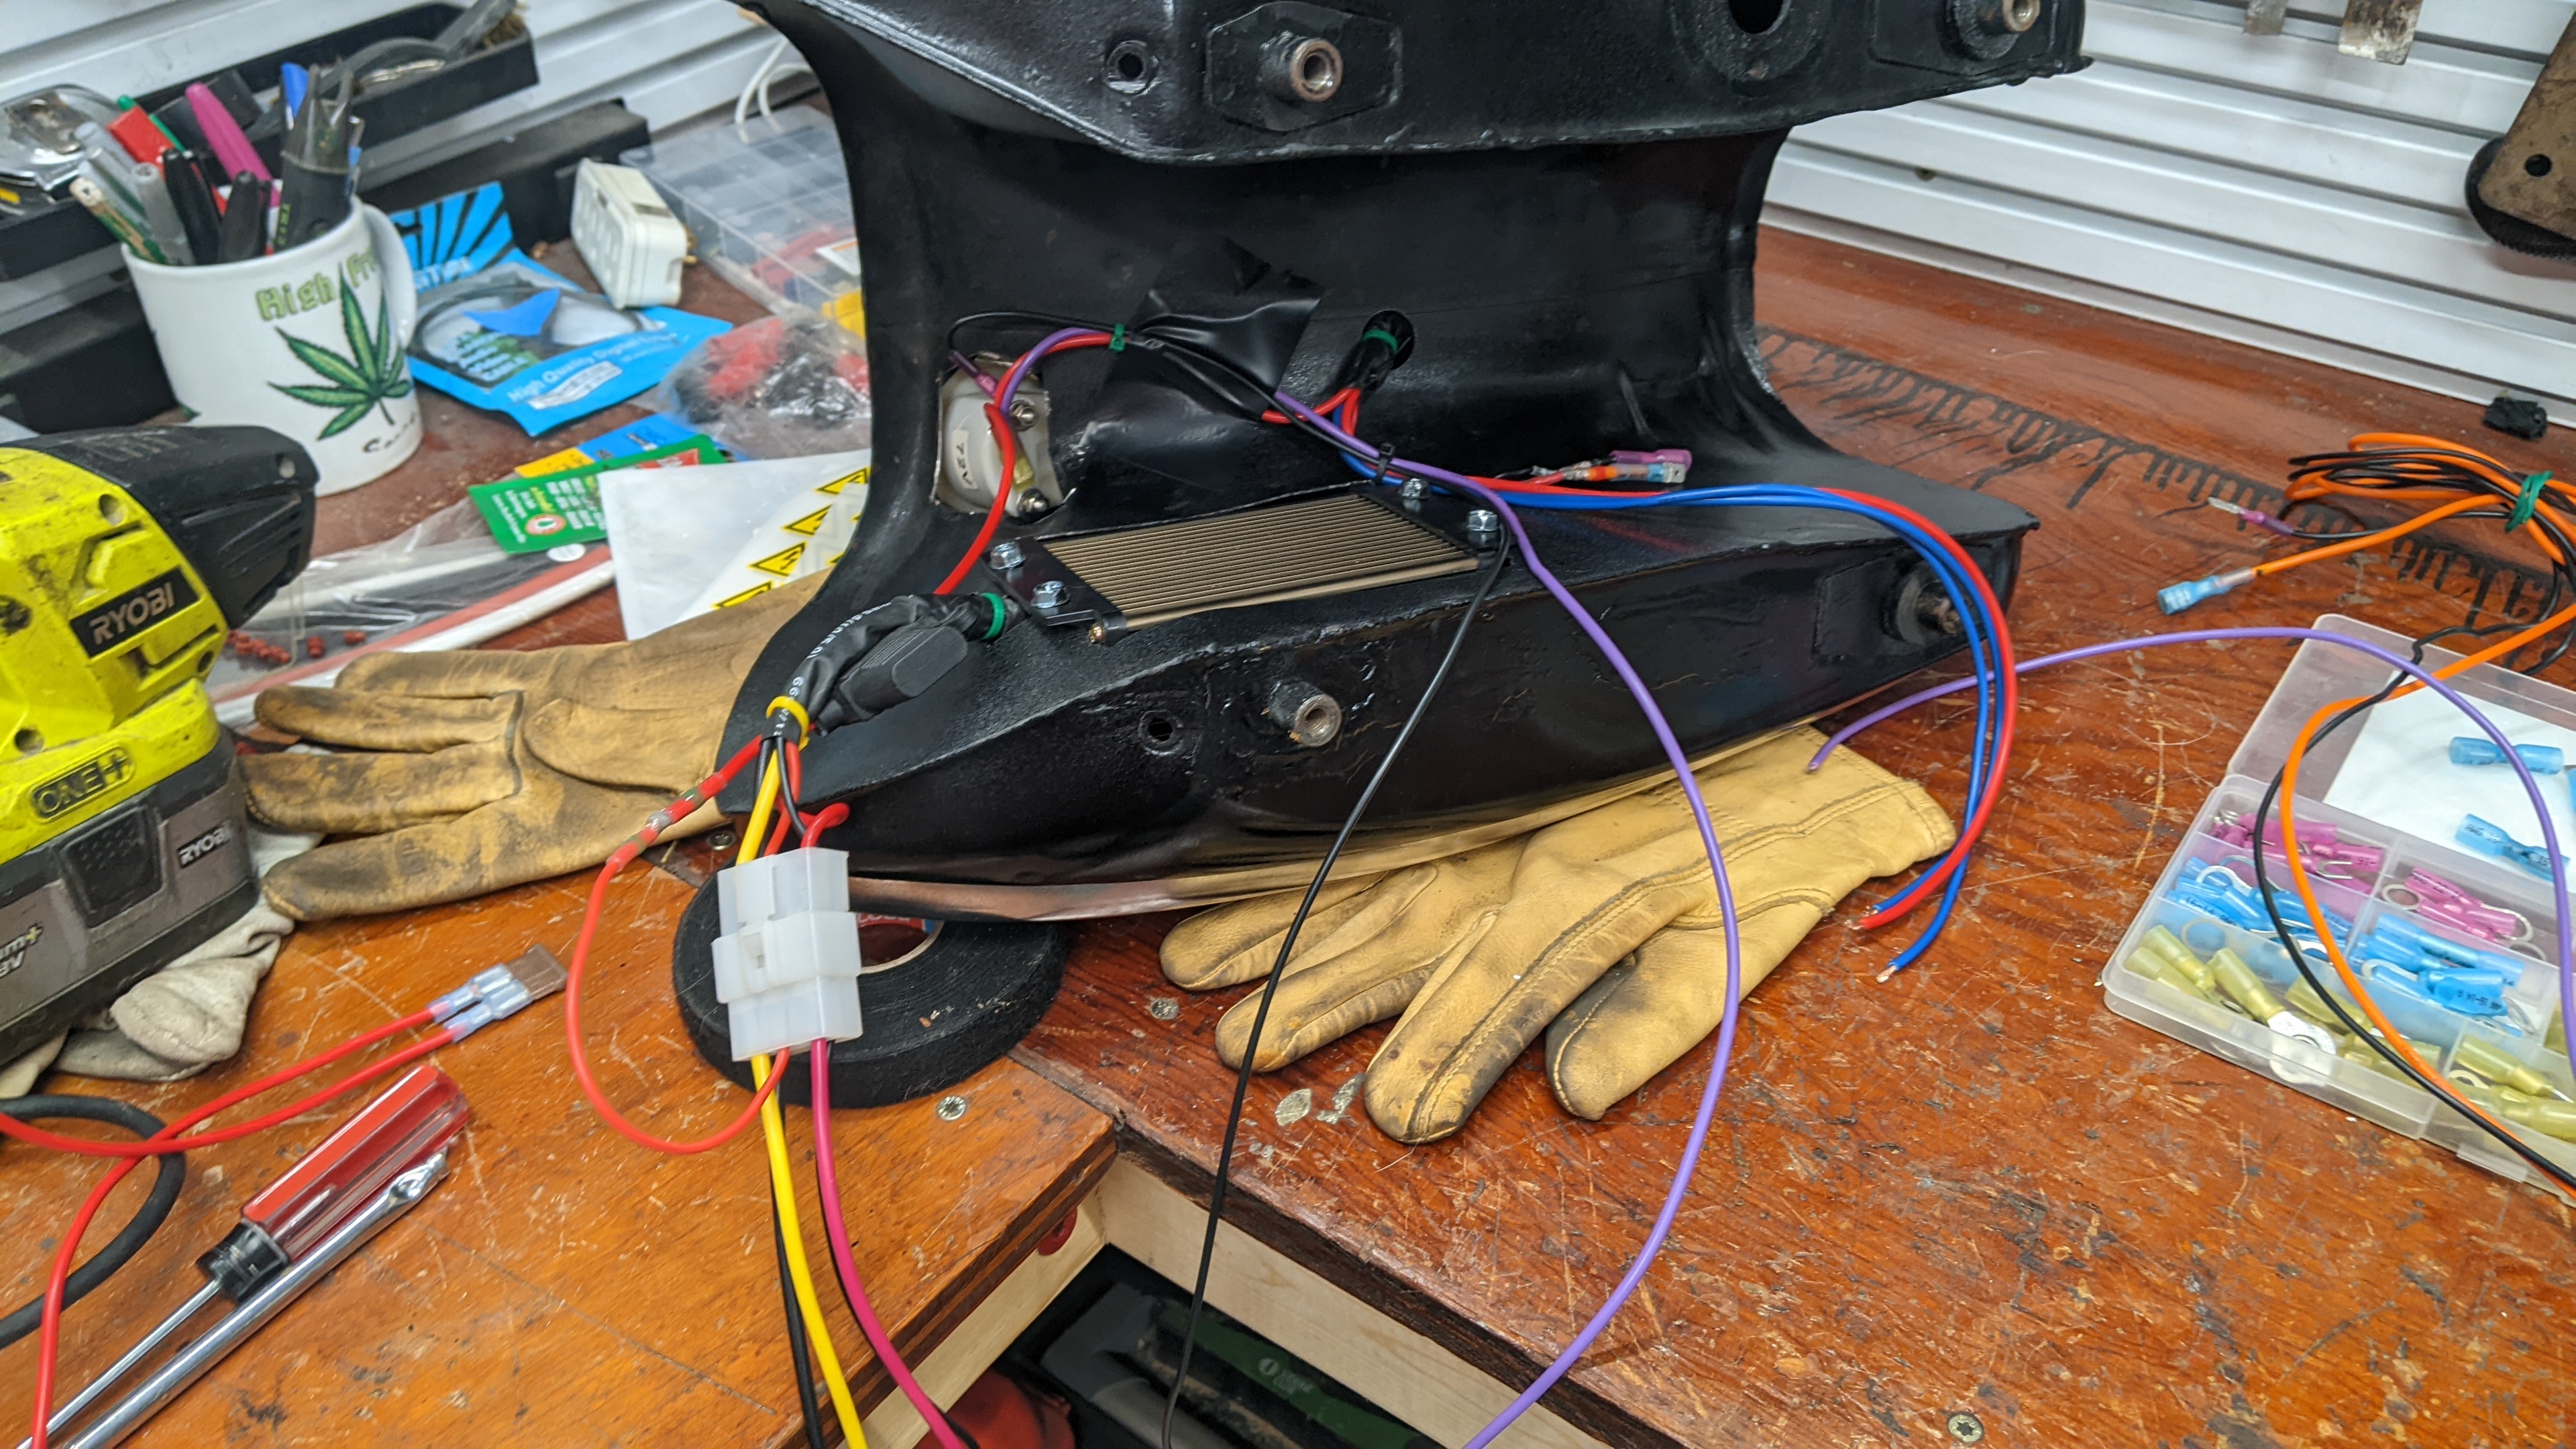
The contactor is located deep into the frame, under the seat. I connected all the wires to it before bolting it into place, and there were many of them because I used one of the large lugs as a distribution terminal for the 72v circuit.
Tiny wires suck. This is for the throttle.
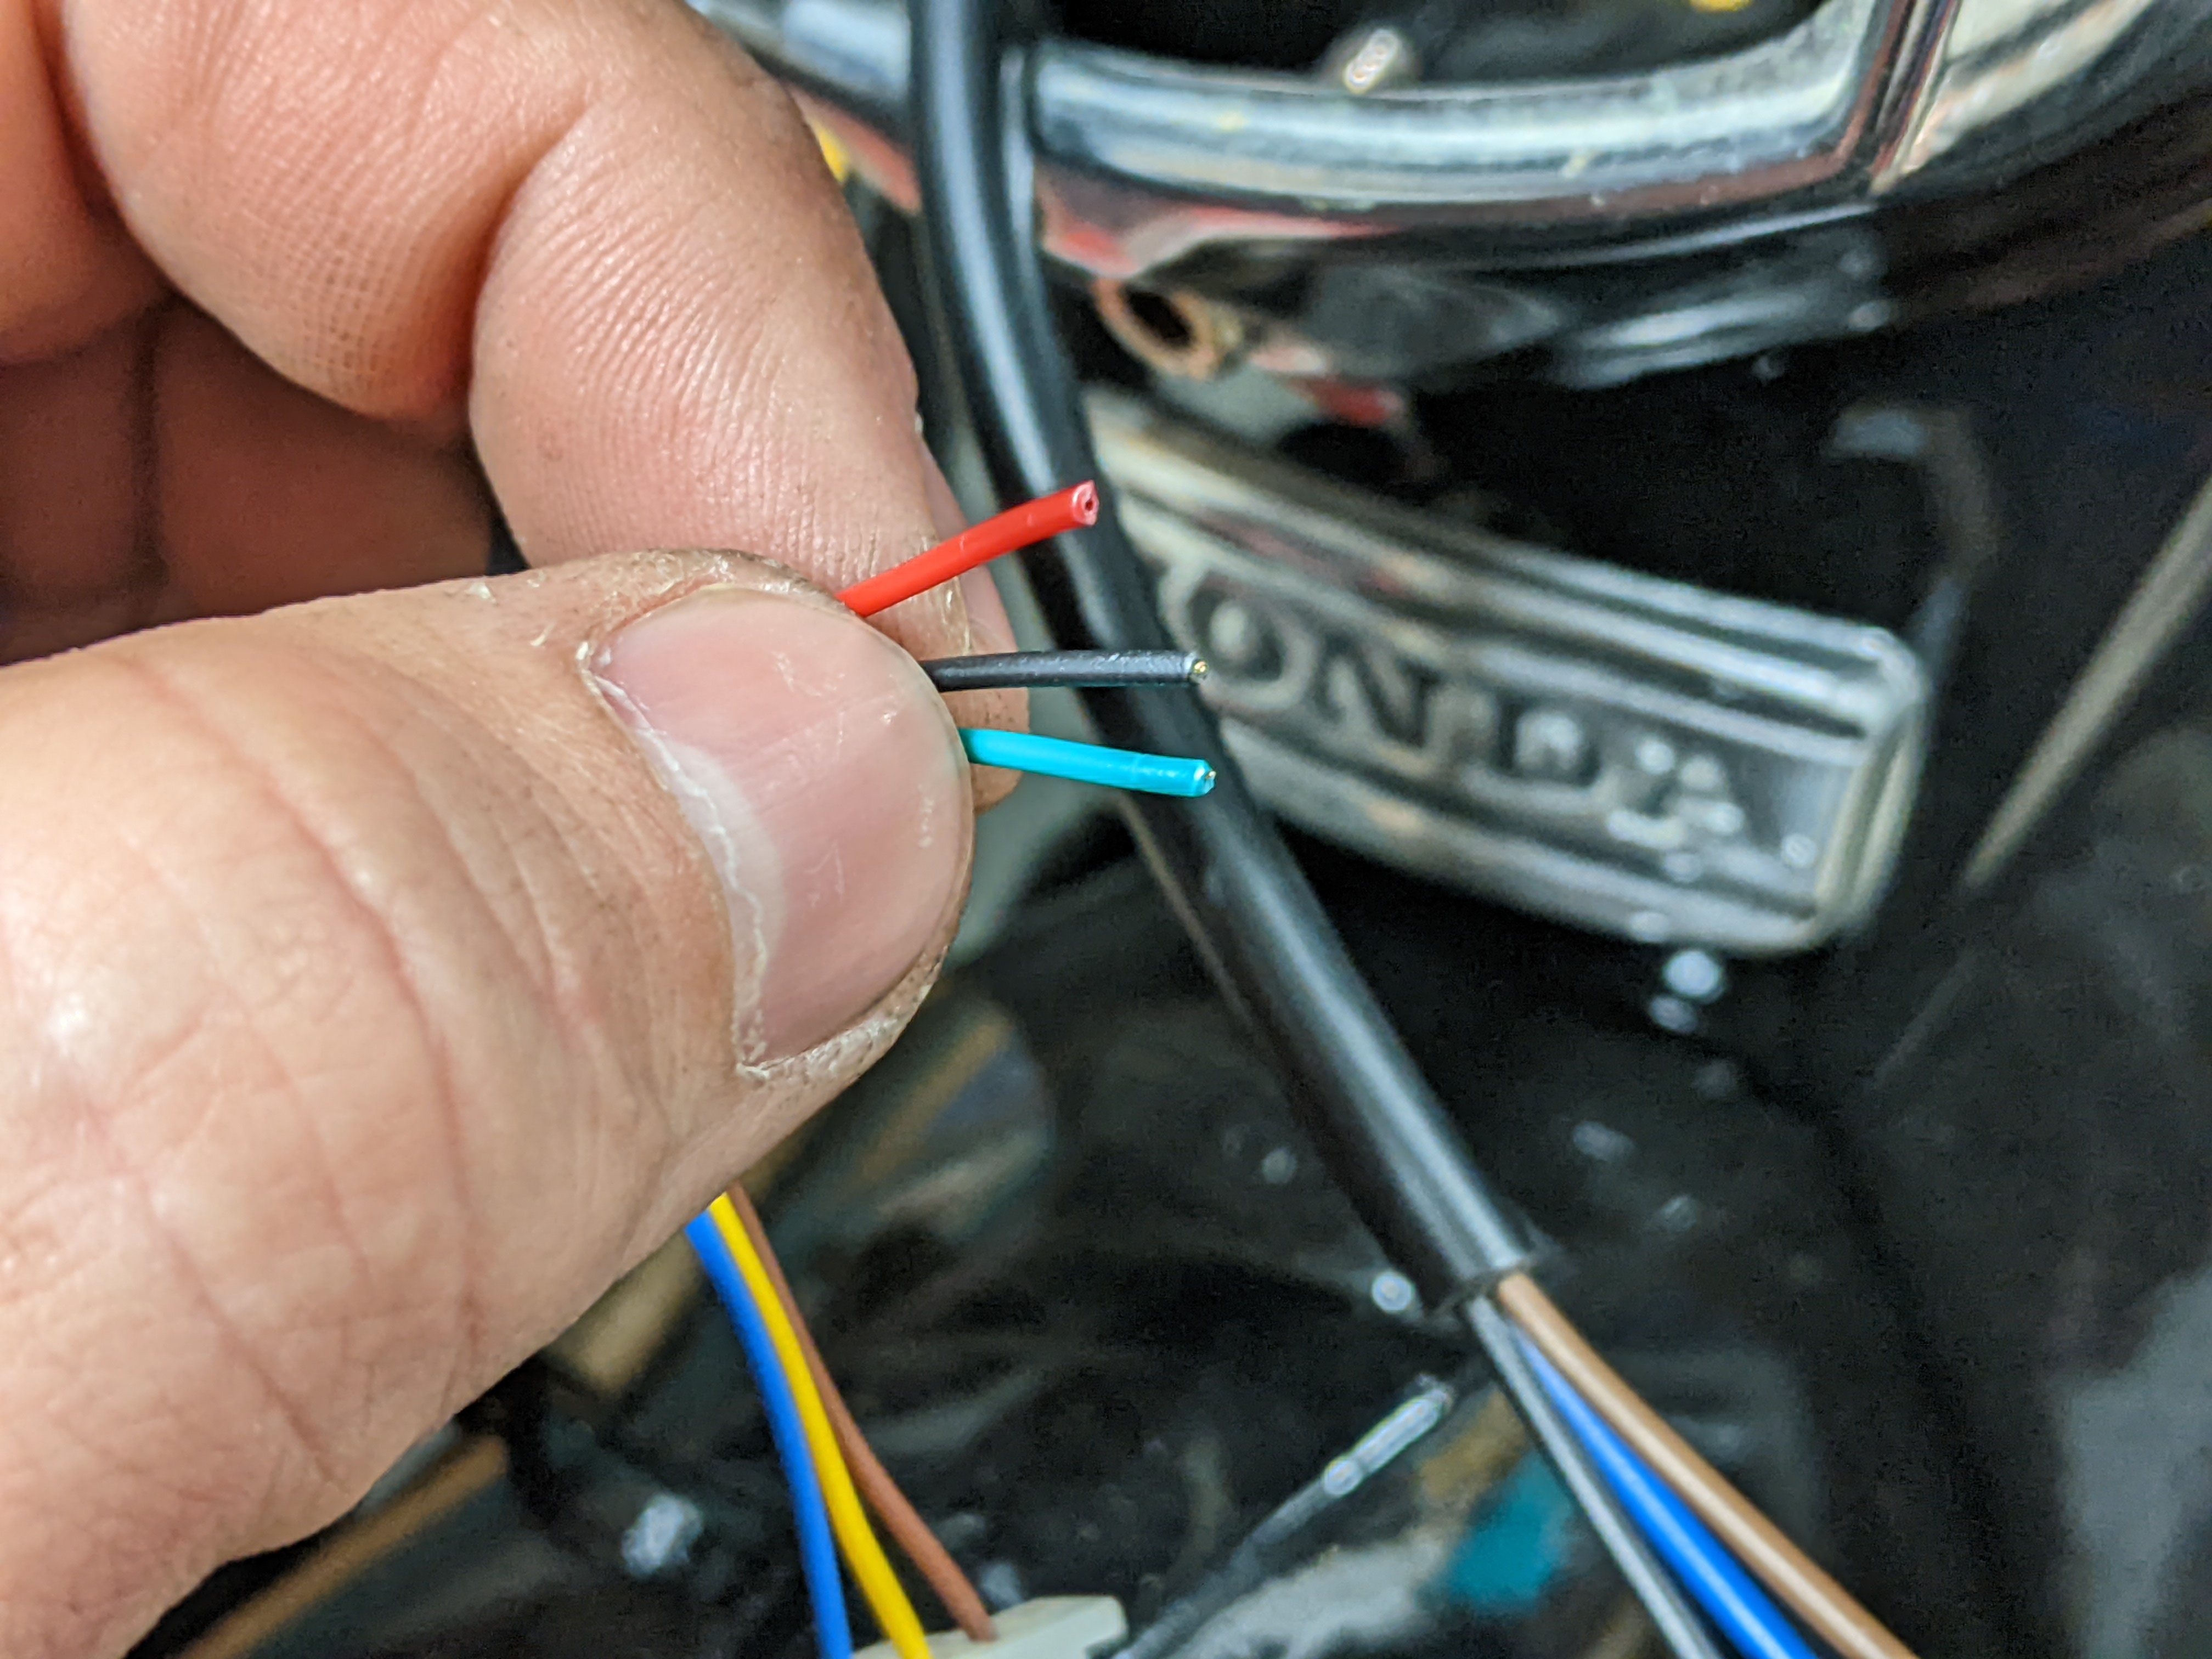
Here's what you DON'T want! Especially for the throttle, which if shorted out would cause the motor controller to receive all 5v and think you want WOT. (There is actually a safety feature of the Kelly controller that prevents this, but I wouldn't rely on it).
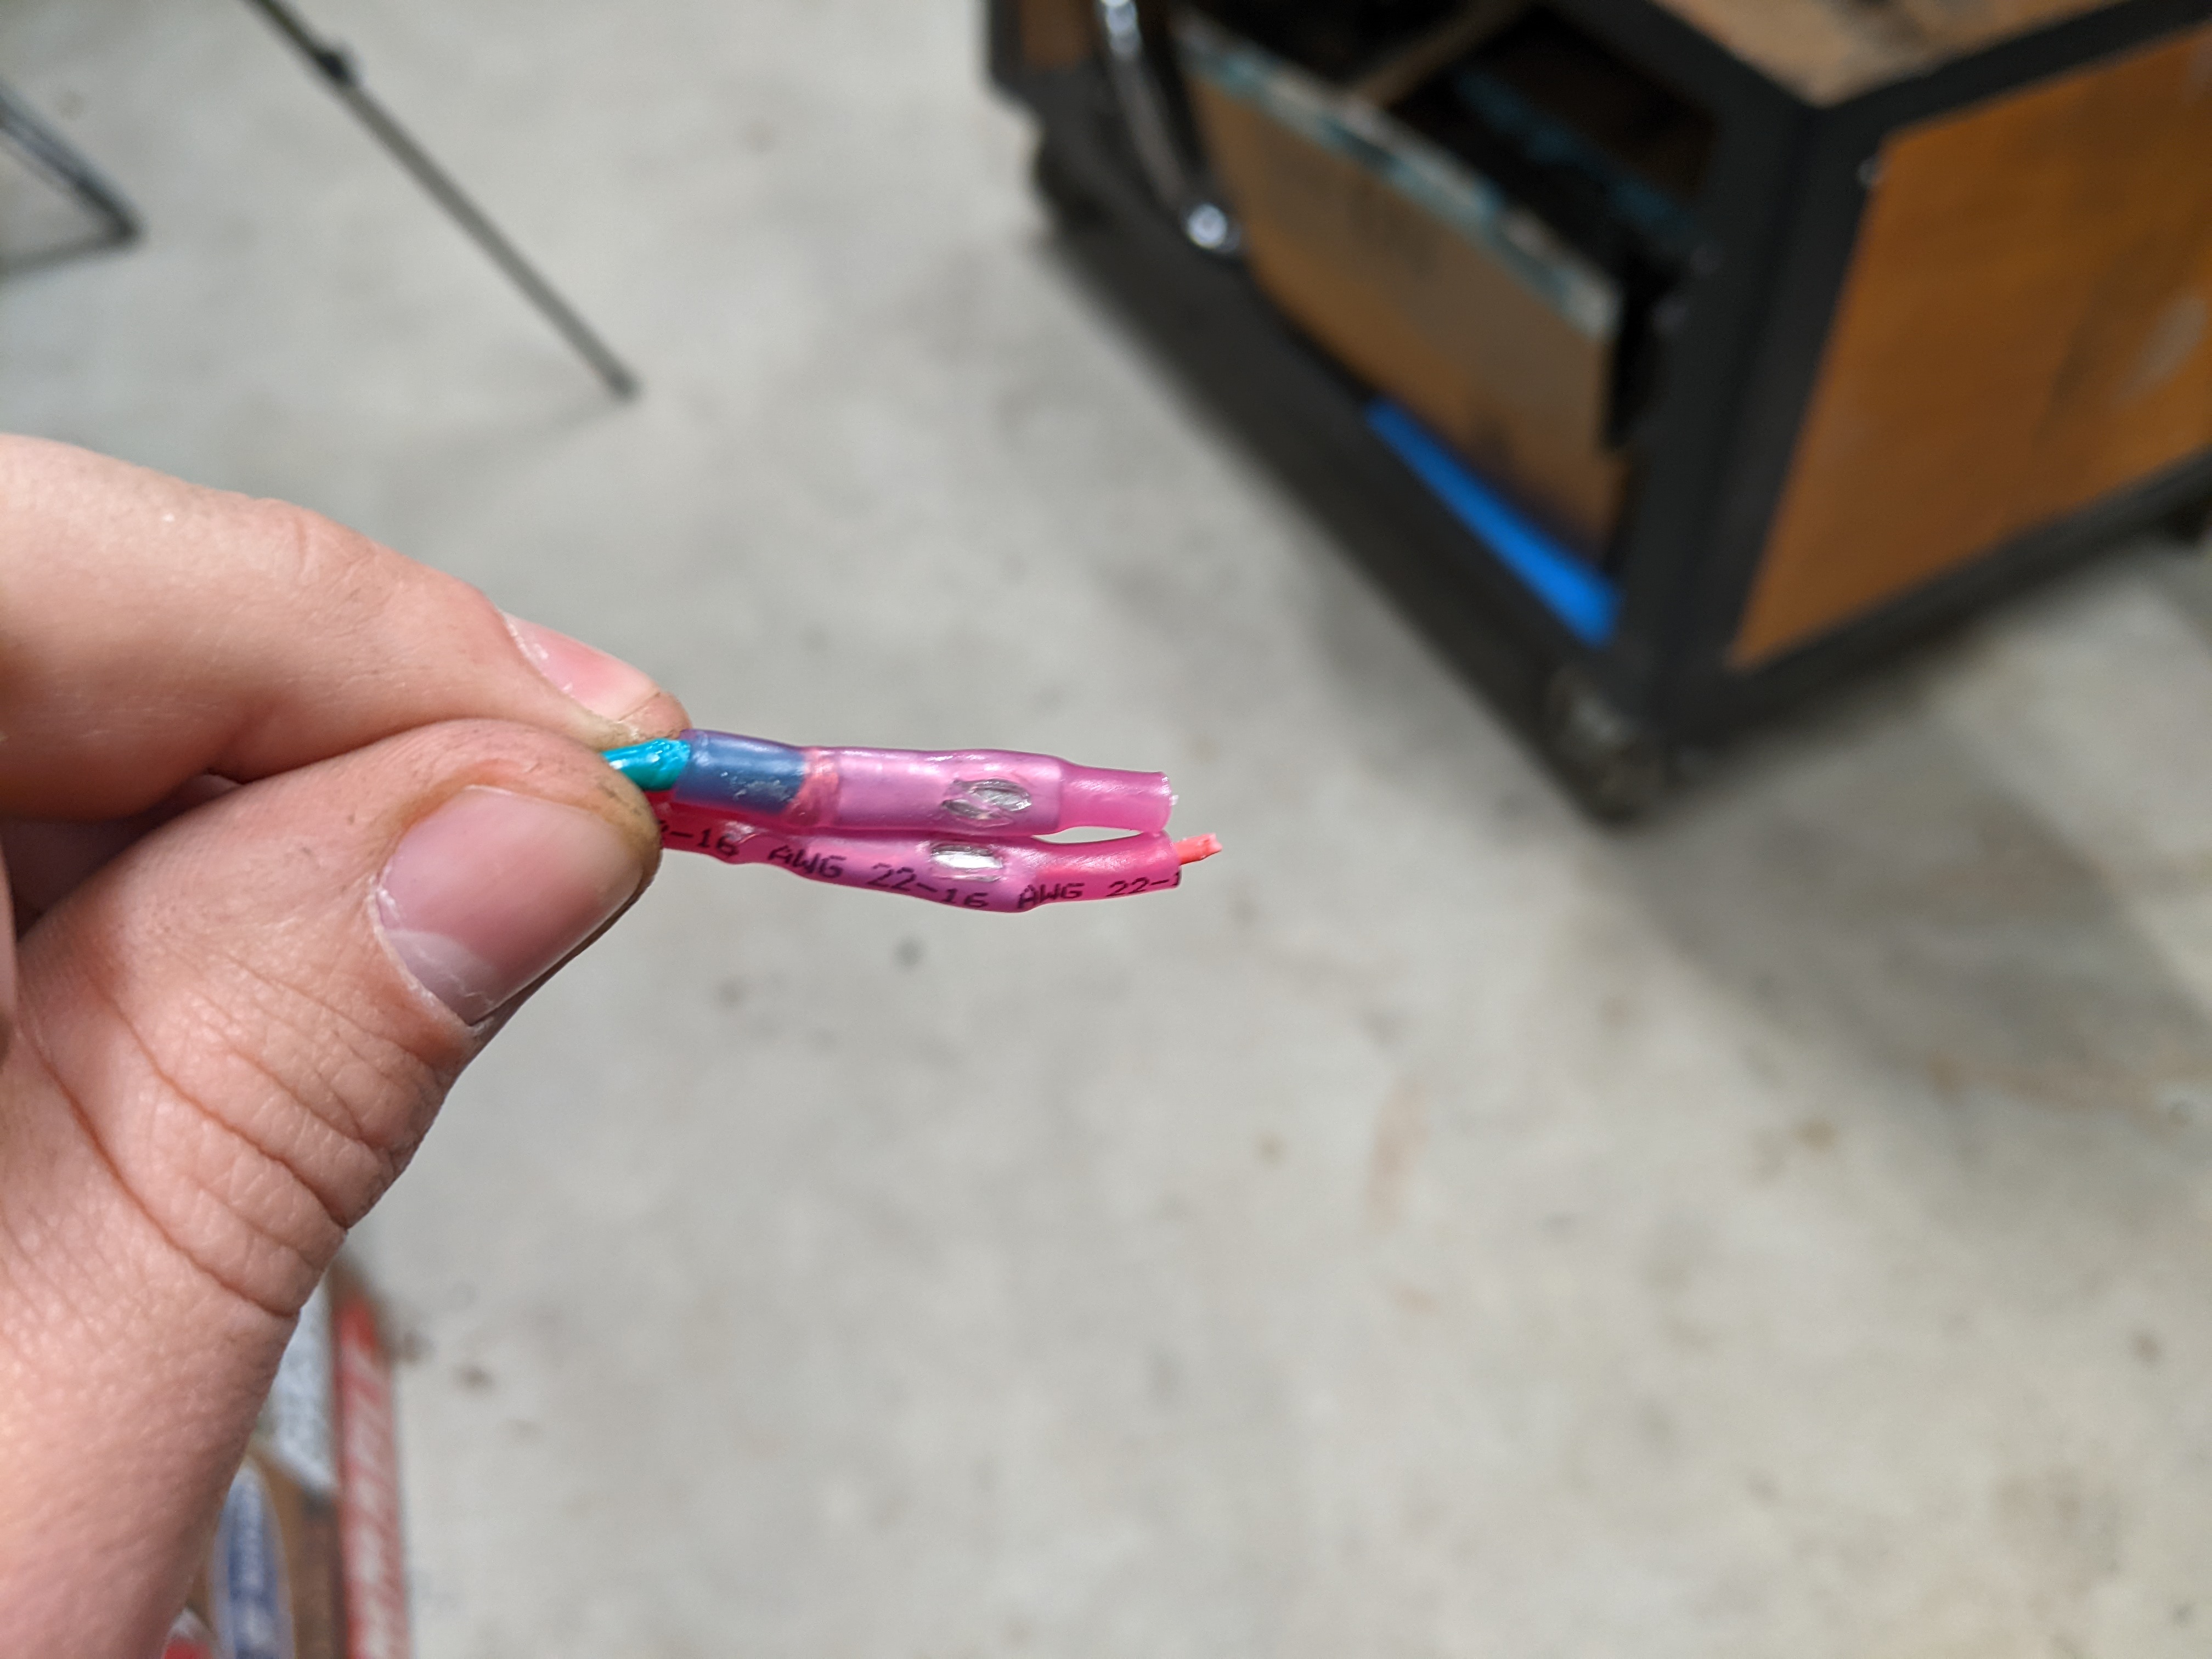
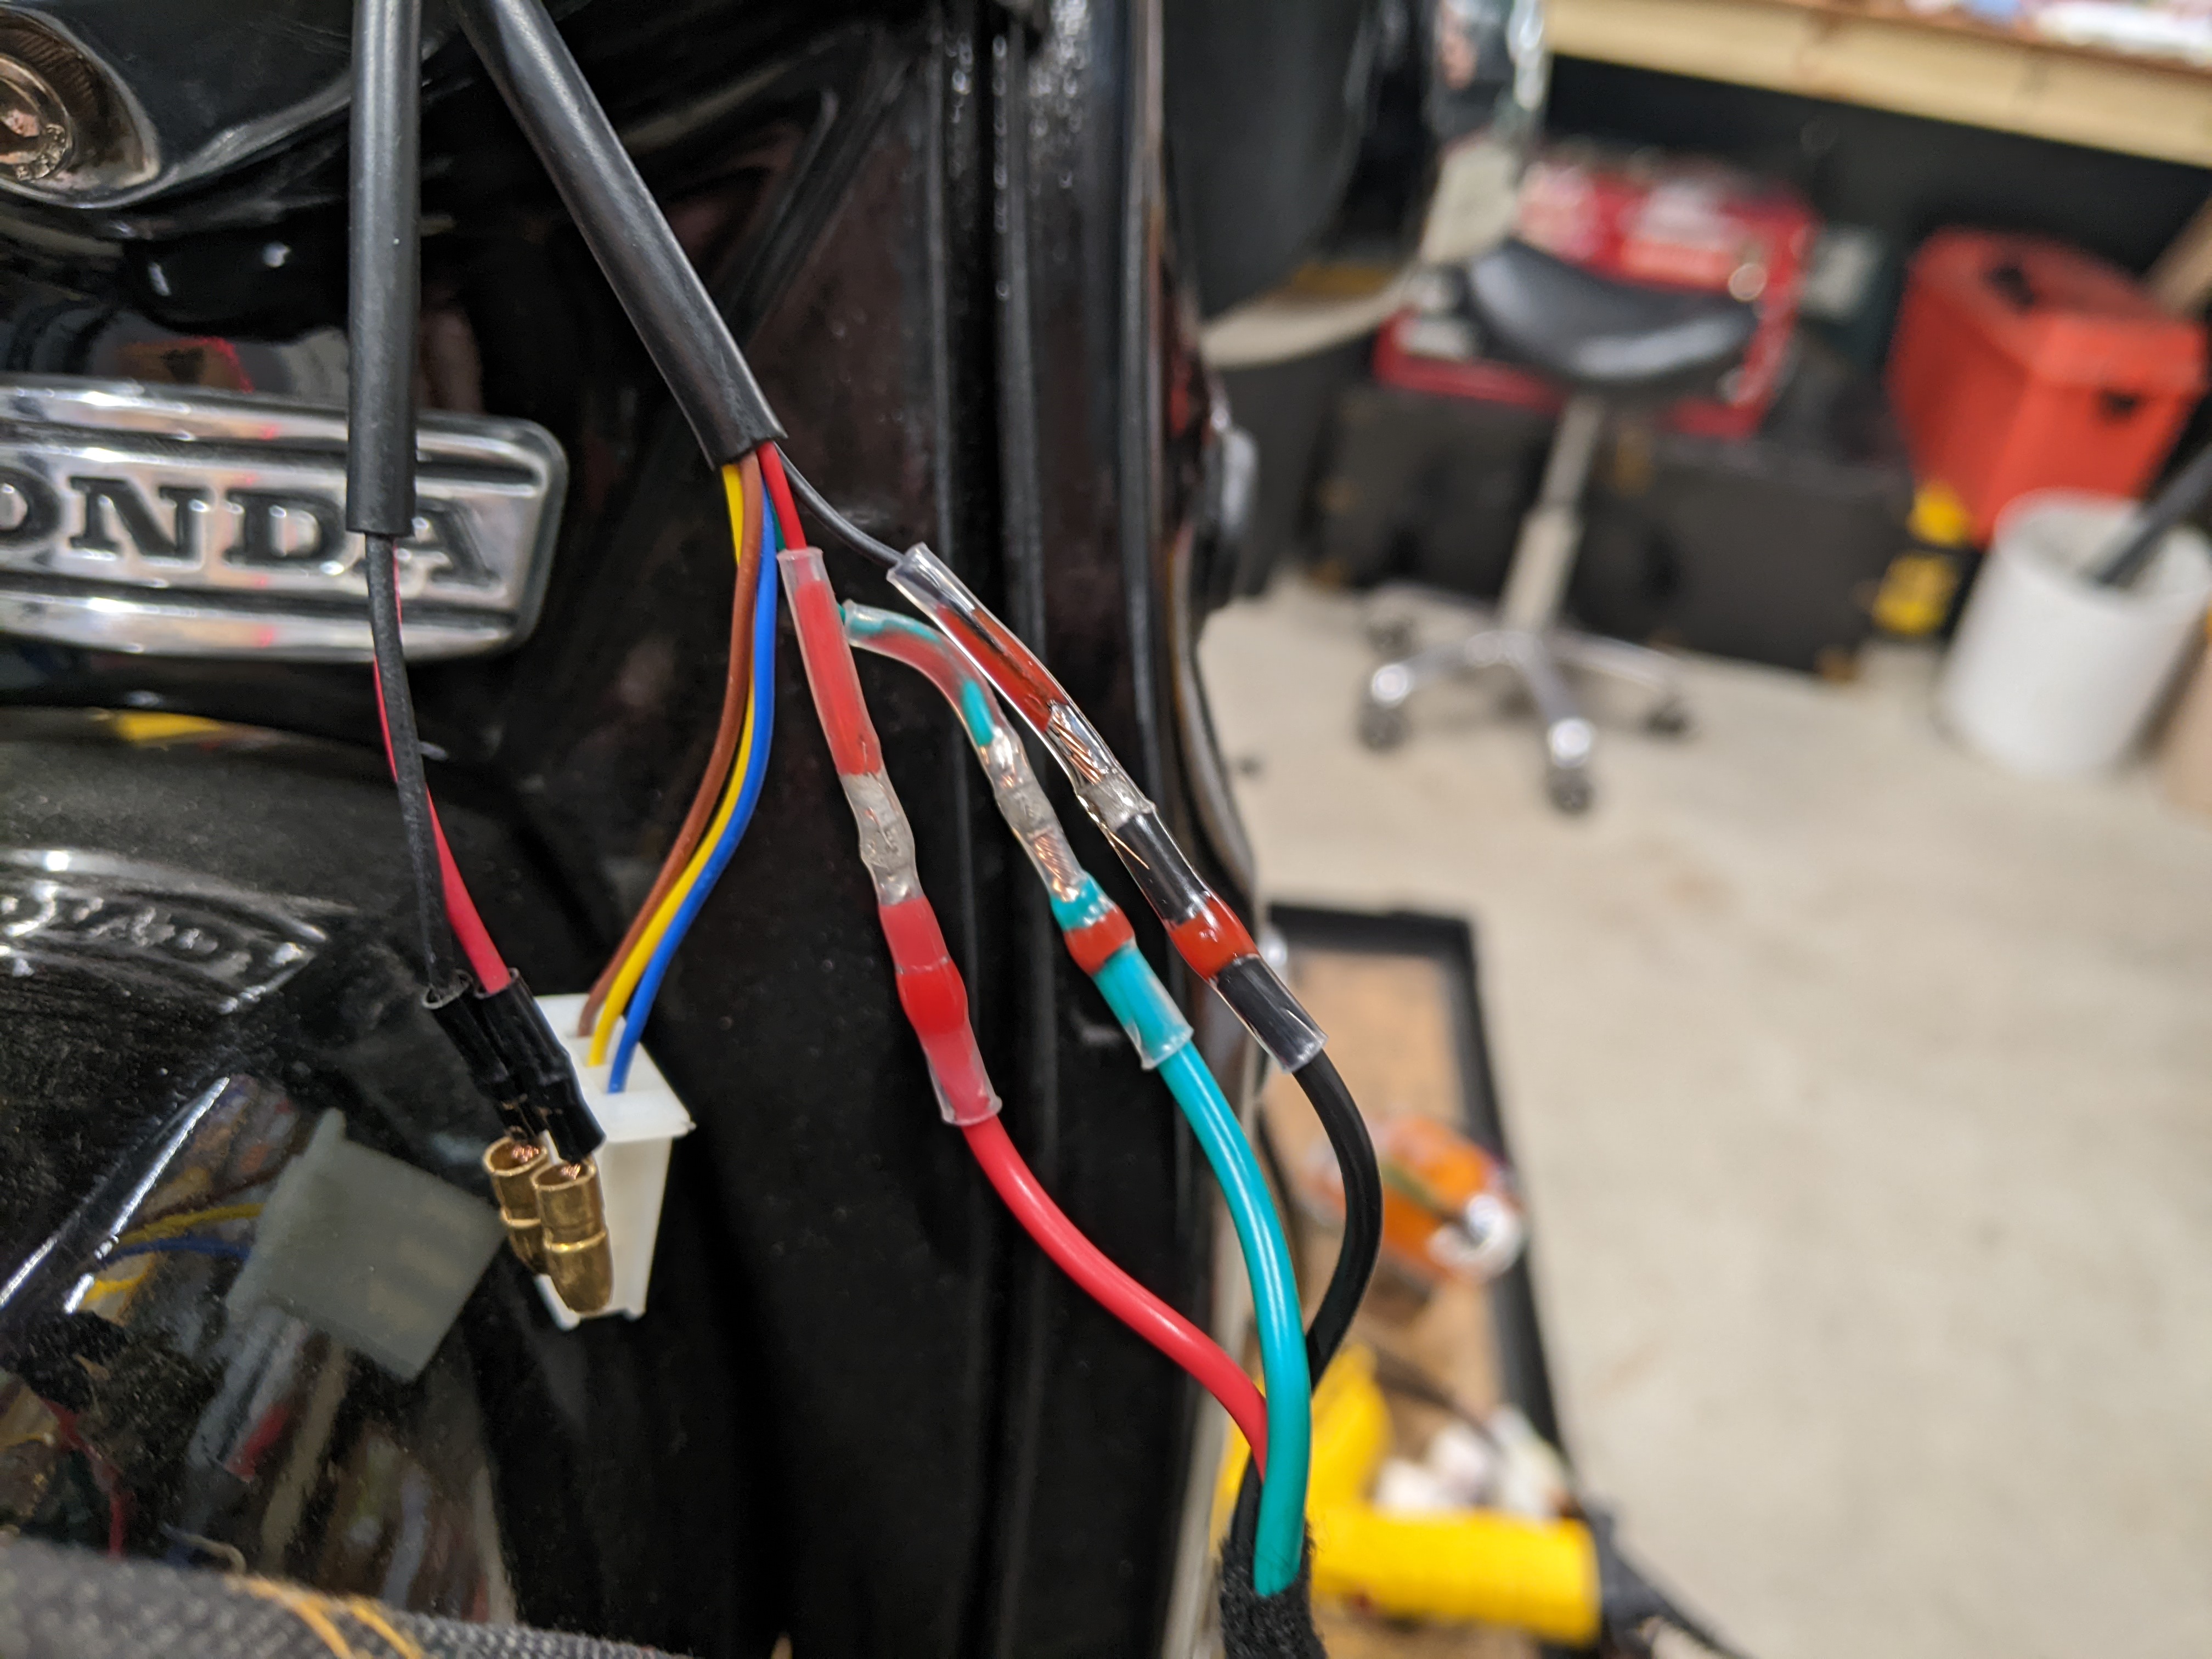
Ah, that's much better! I'm using those new heat shrink tubes that have low-heat solder rings in them, and they're extremely good if you ask me.
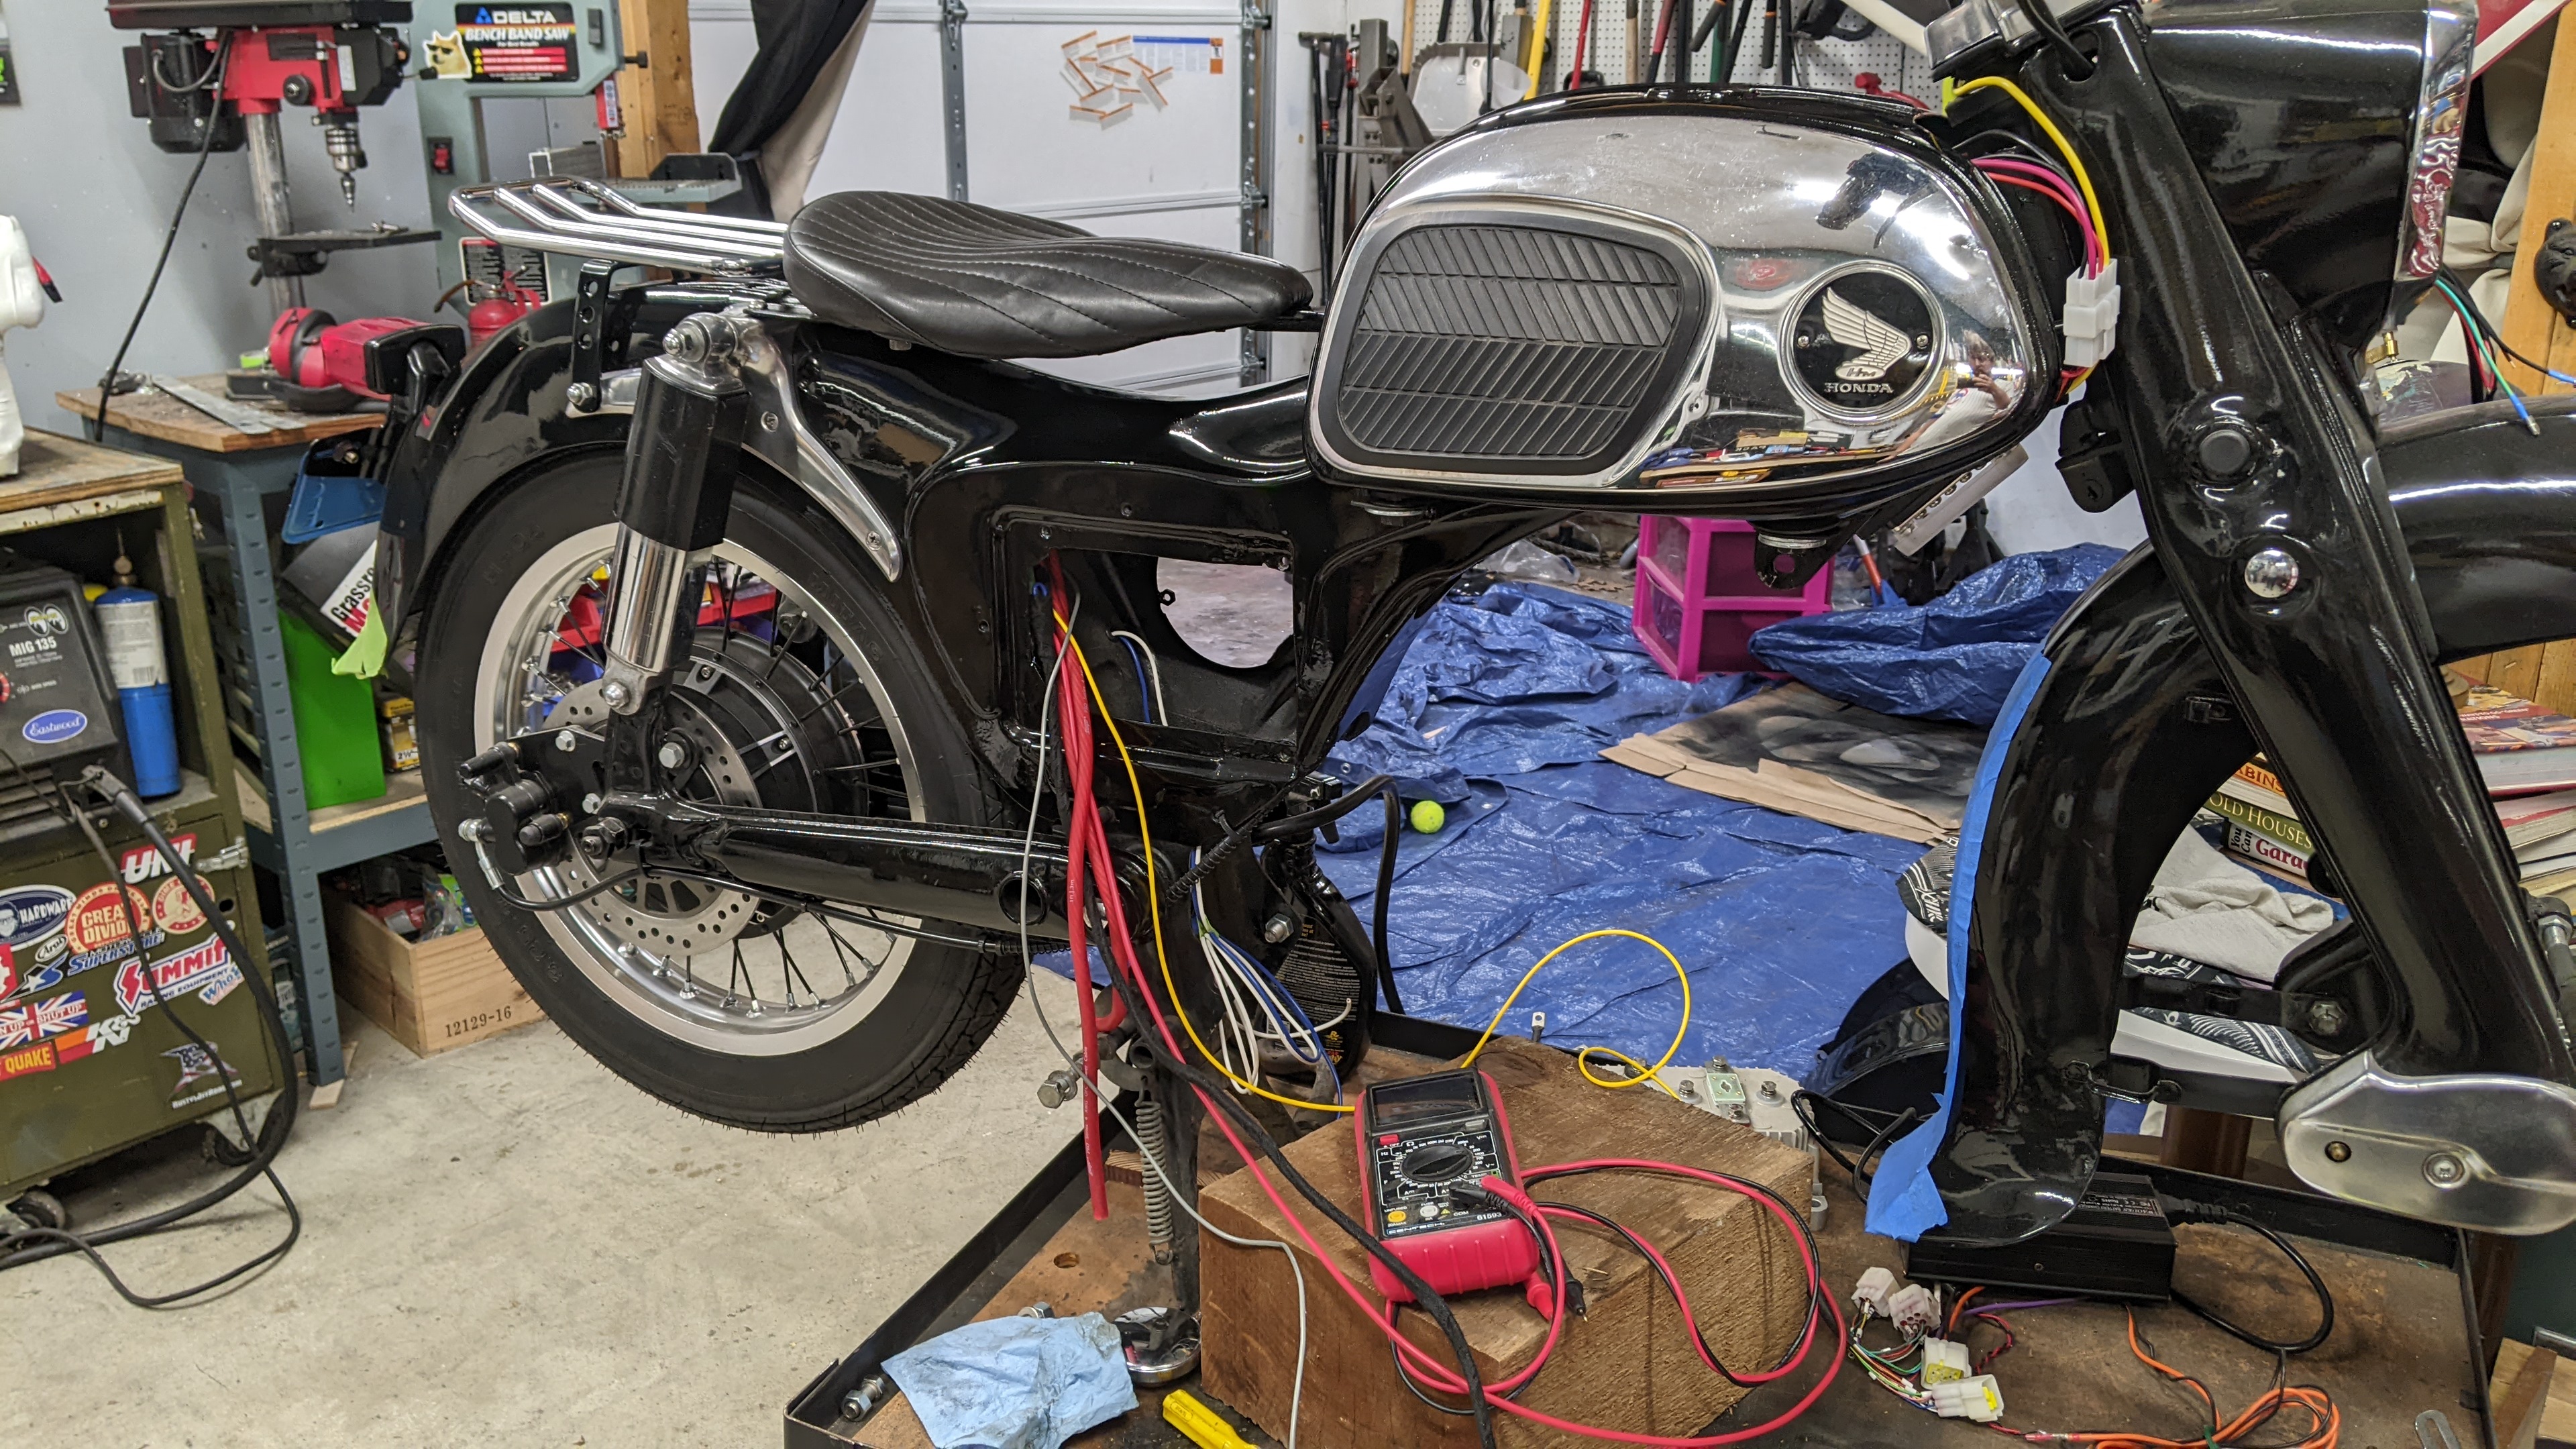
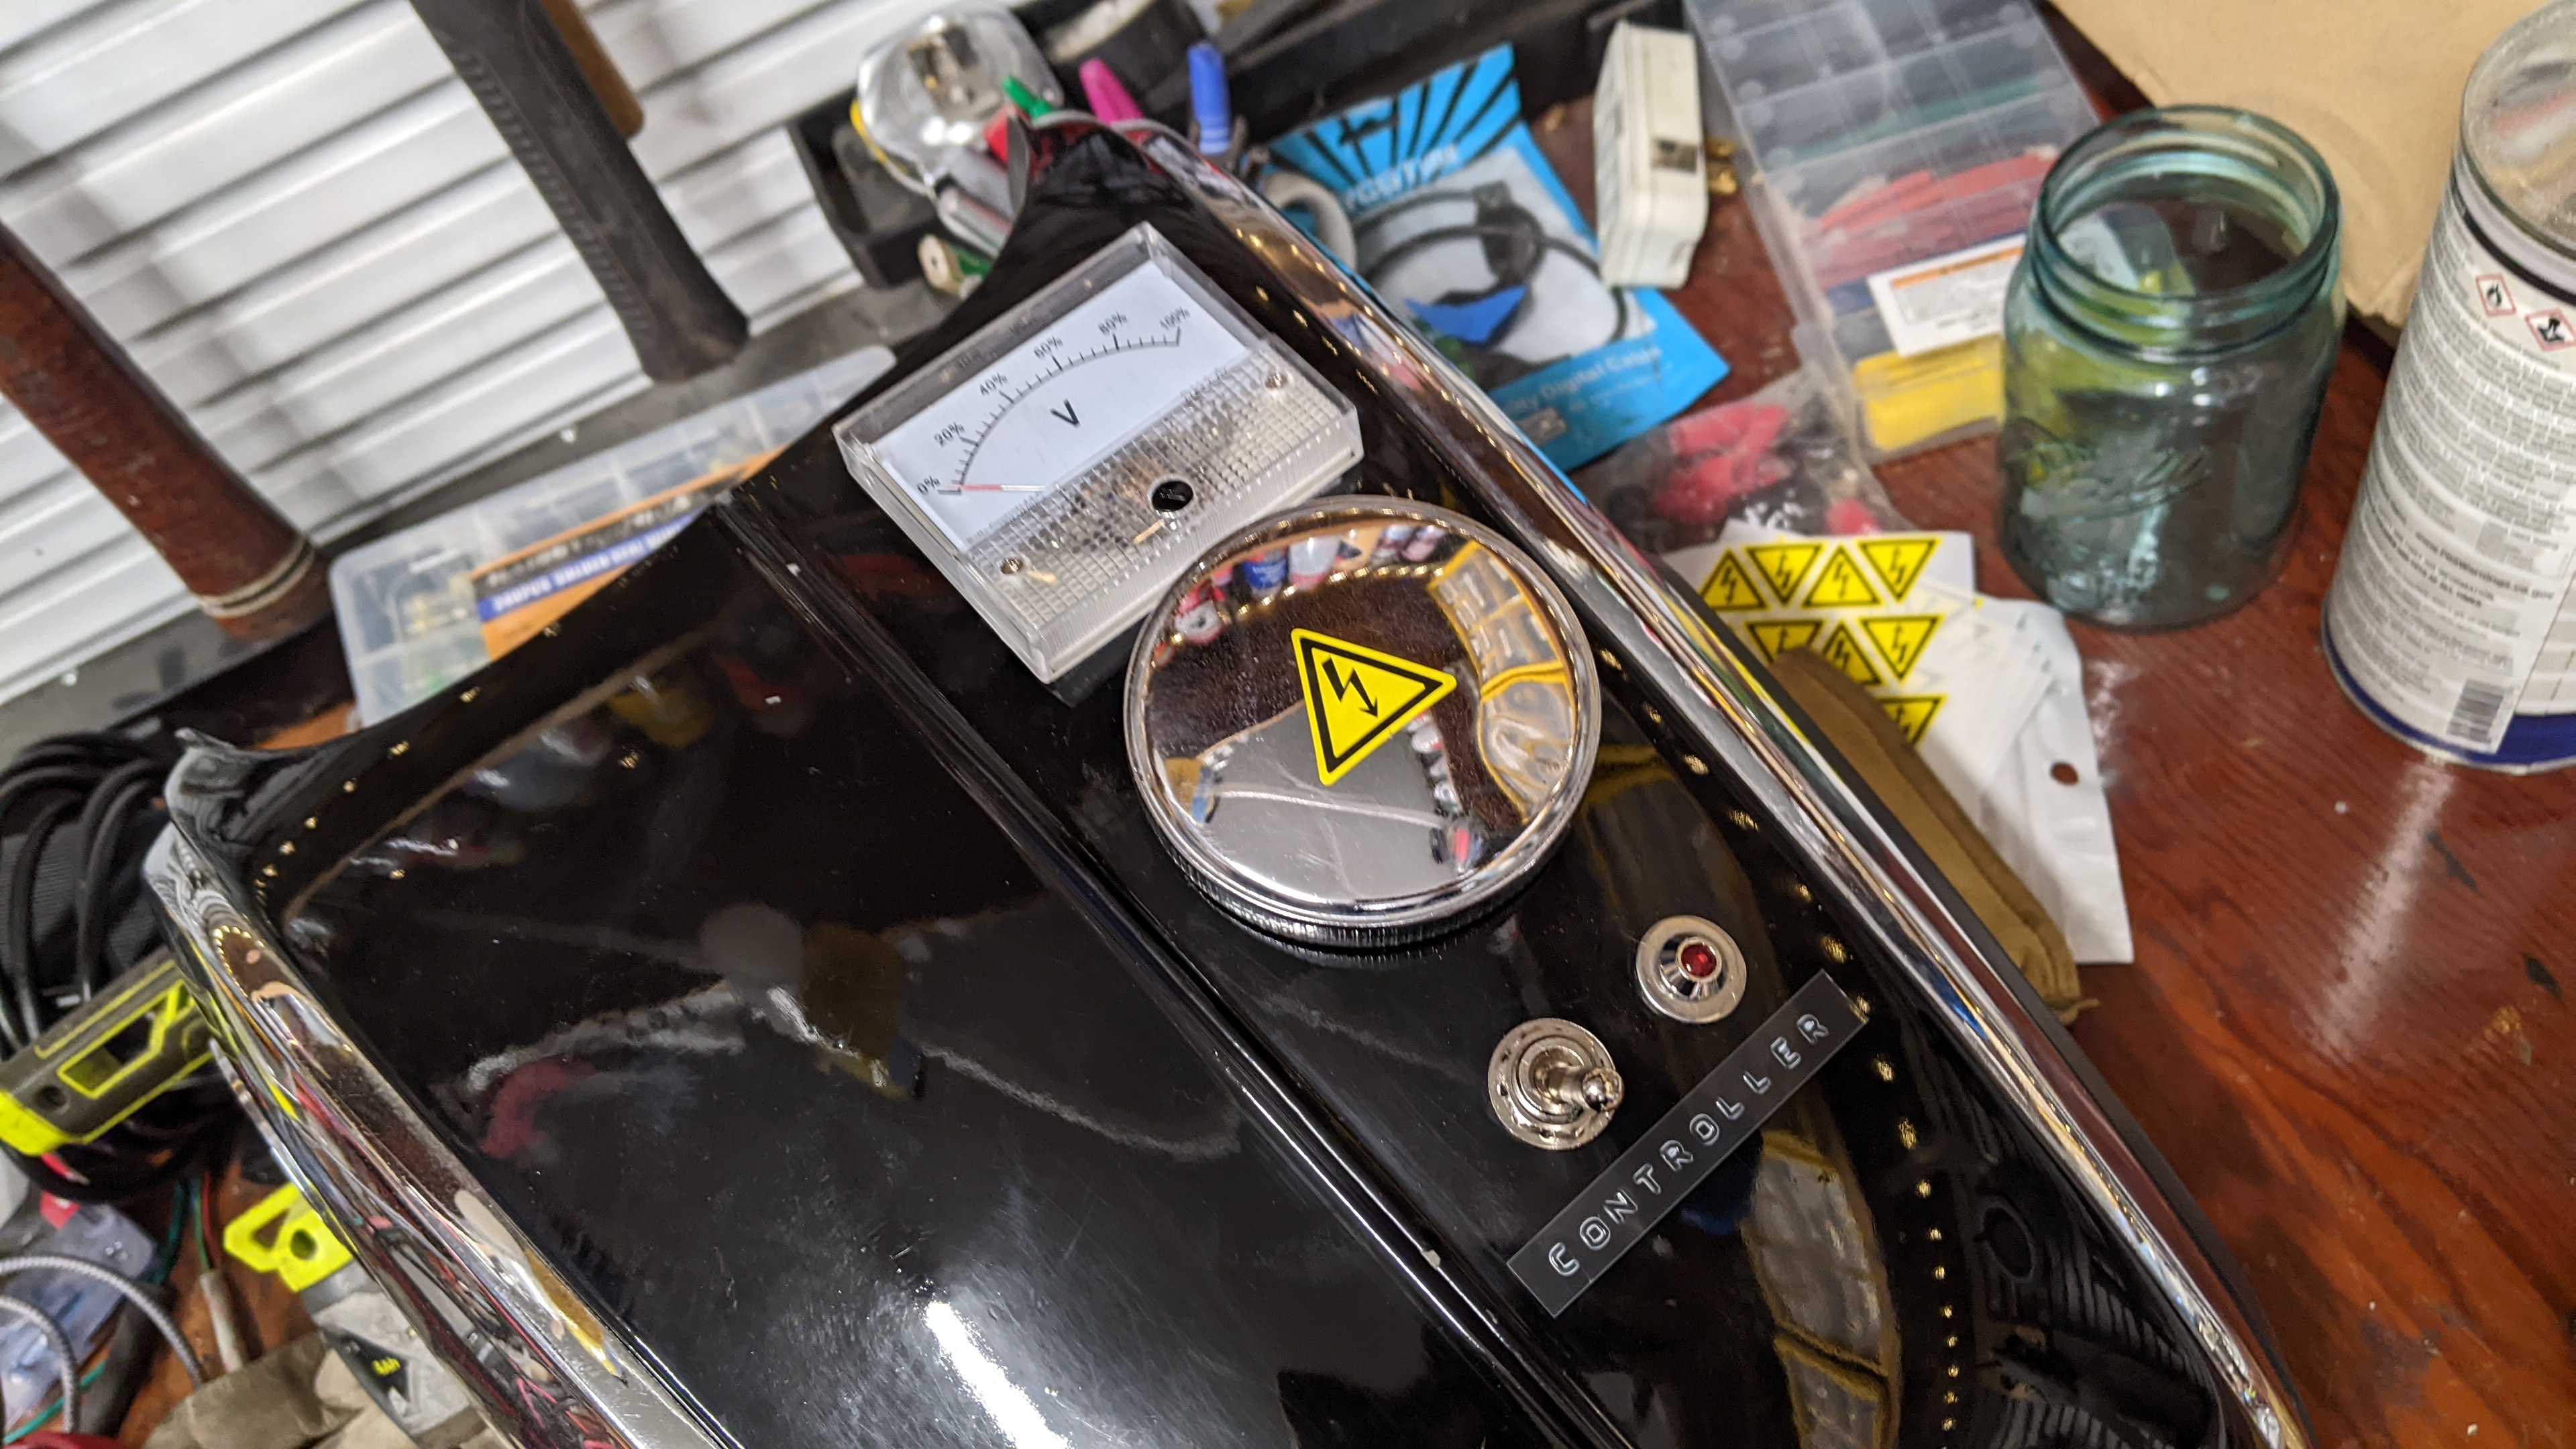
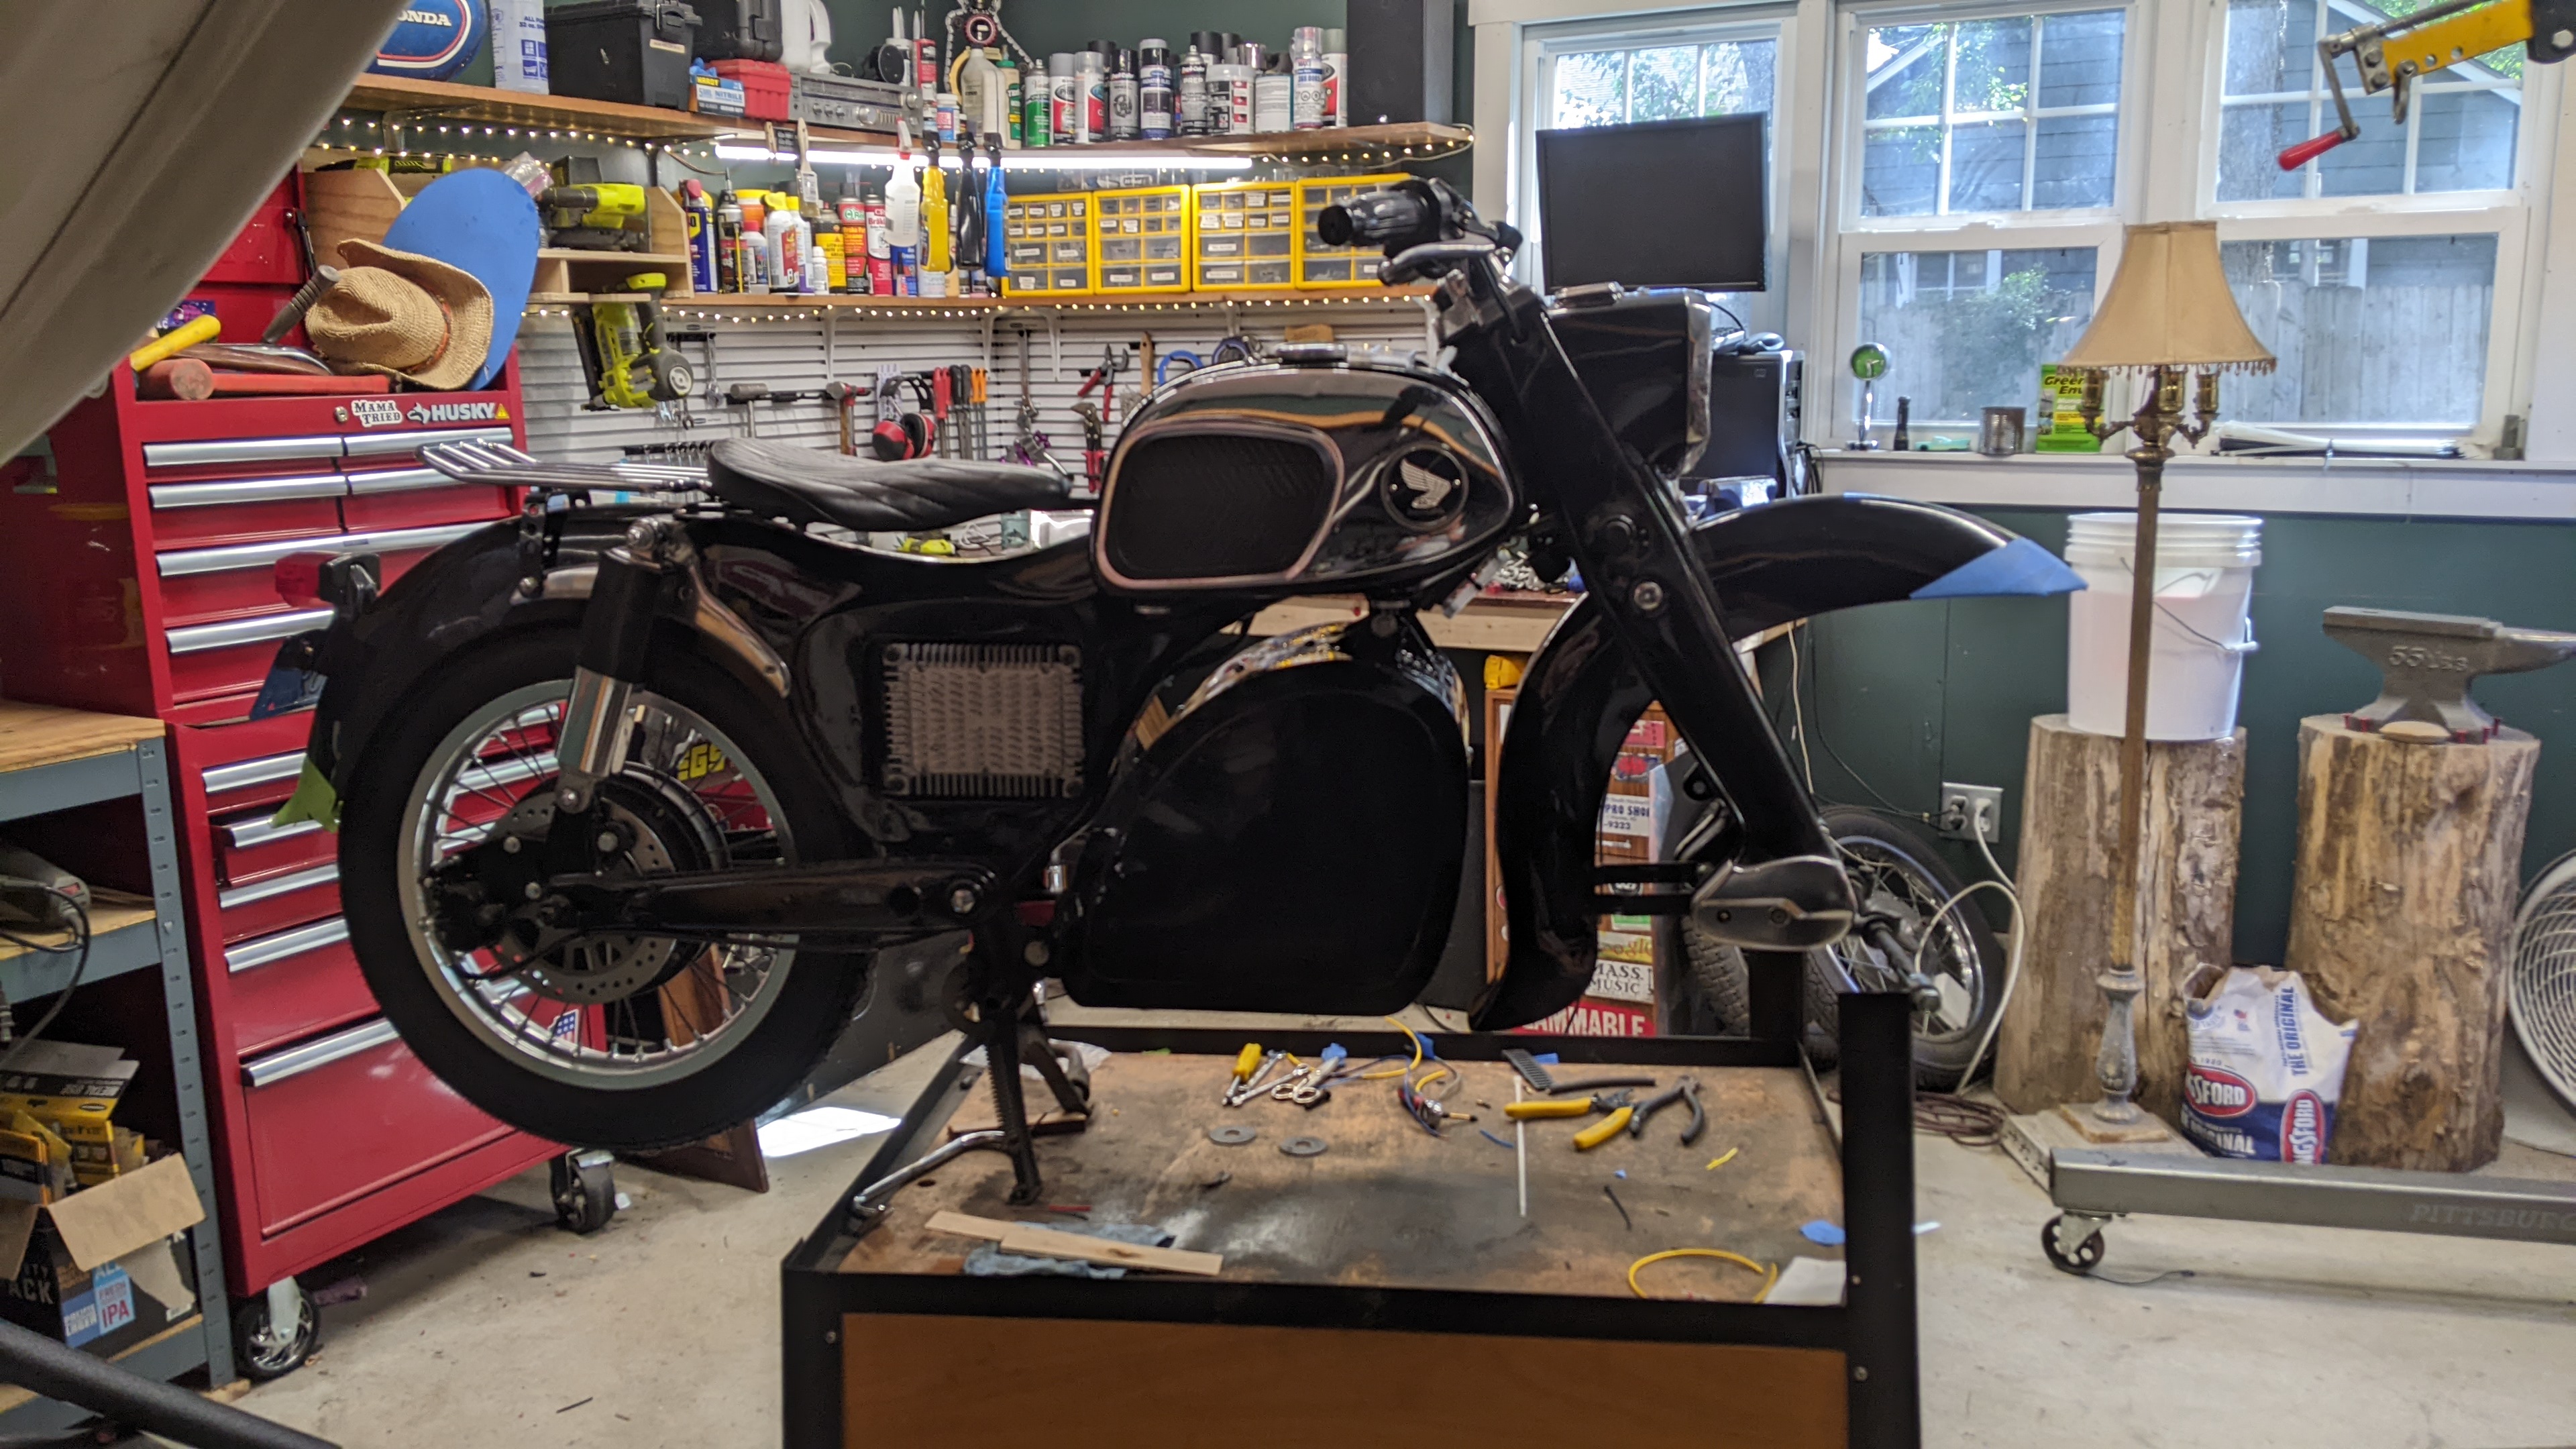
I didn't want to do this at first, but I finally accepted what had to be done. I had to cut and drill holes in the top of the gas tank for some of the components. But I must say, it does look good! (I ended up not keeping the label bellow the rocker switch and LED).
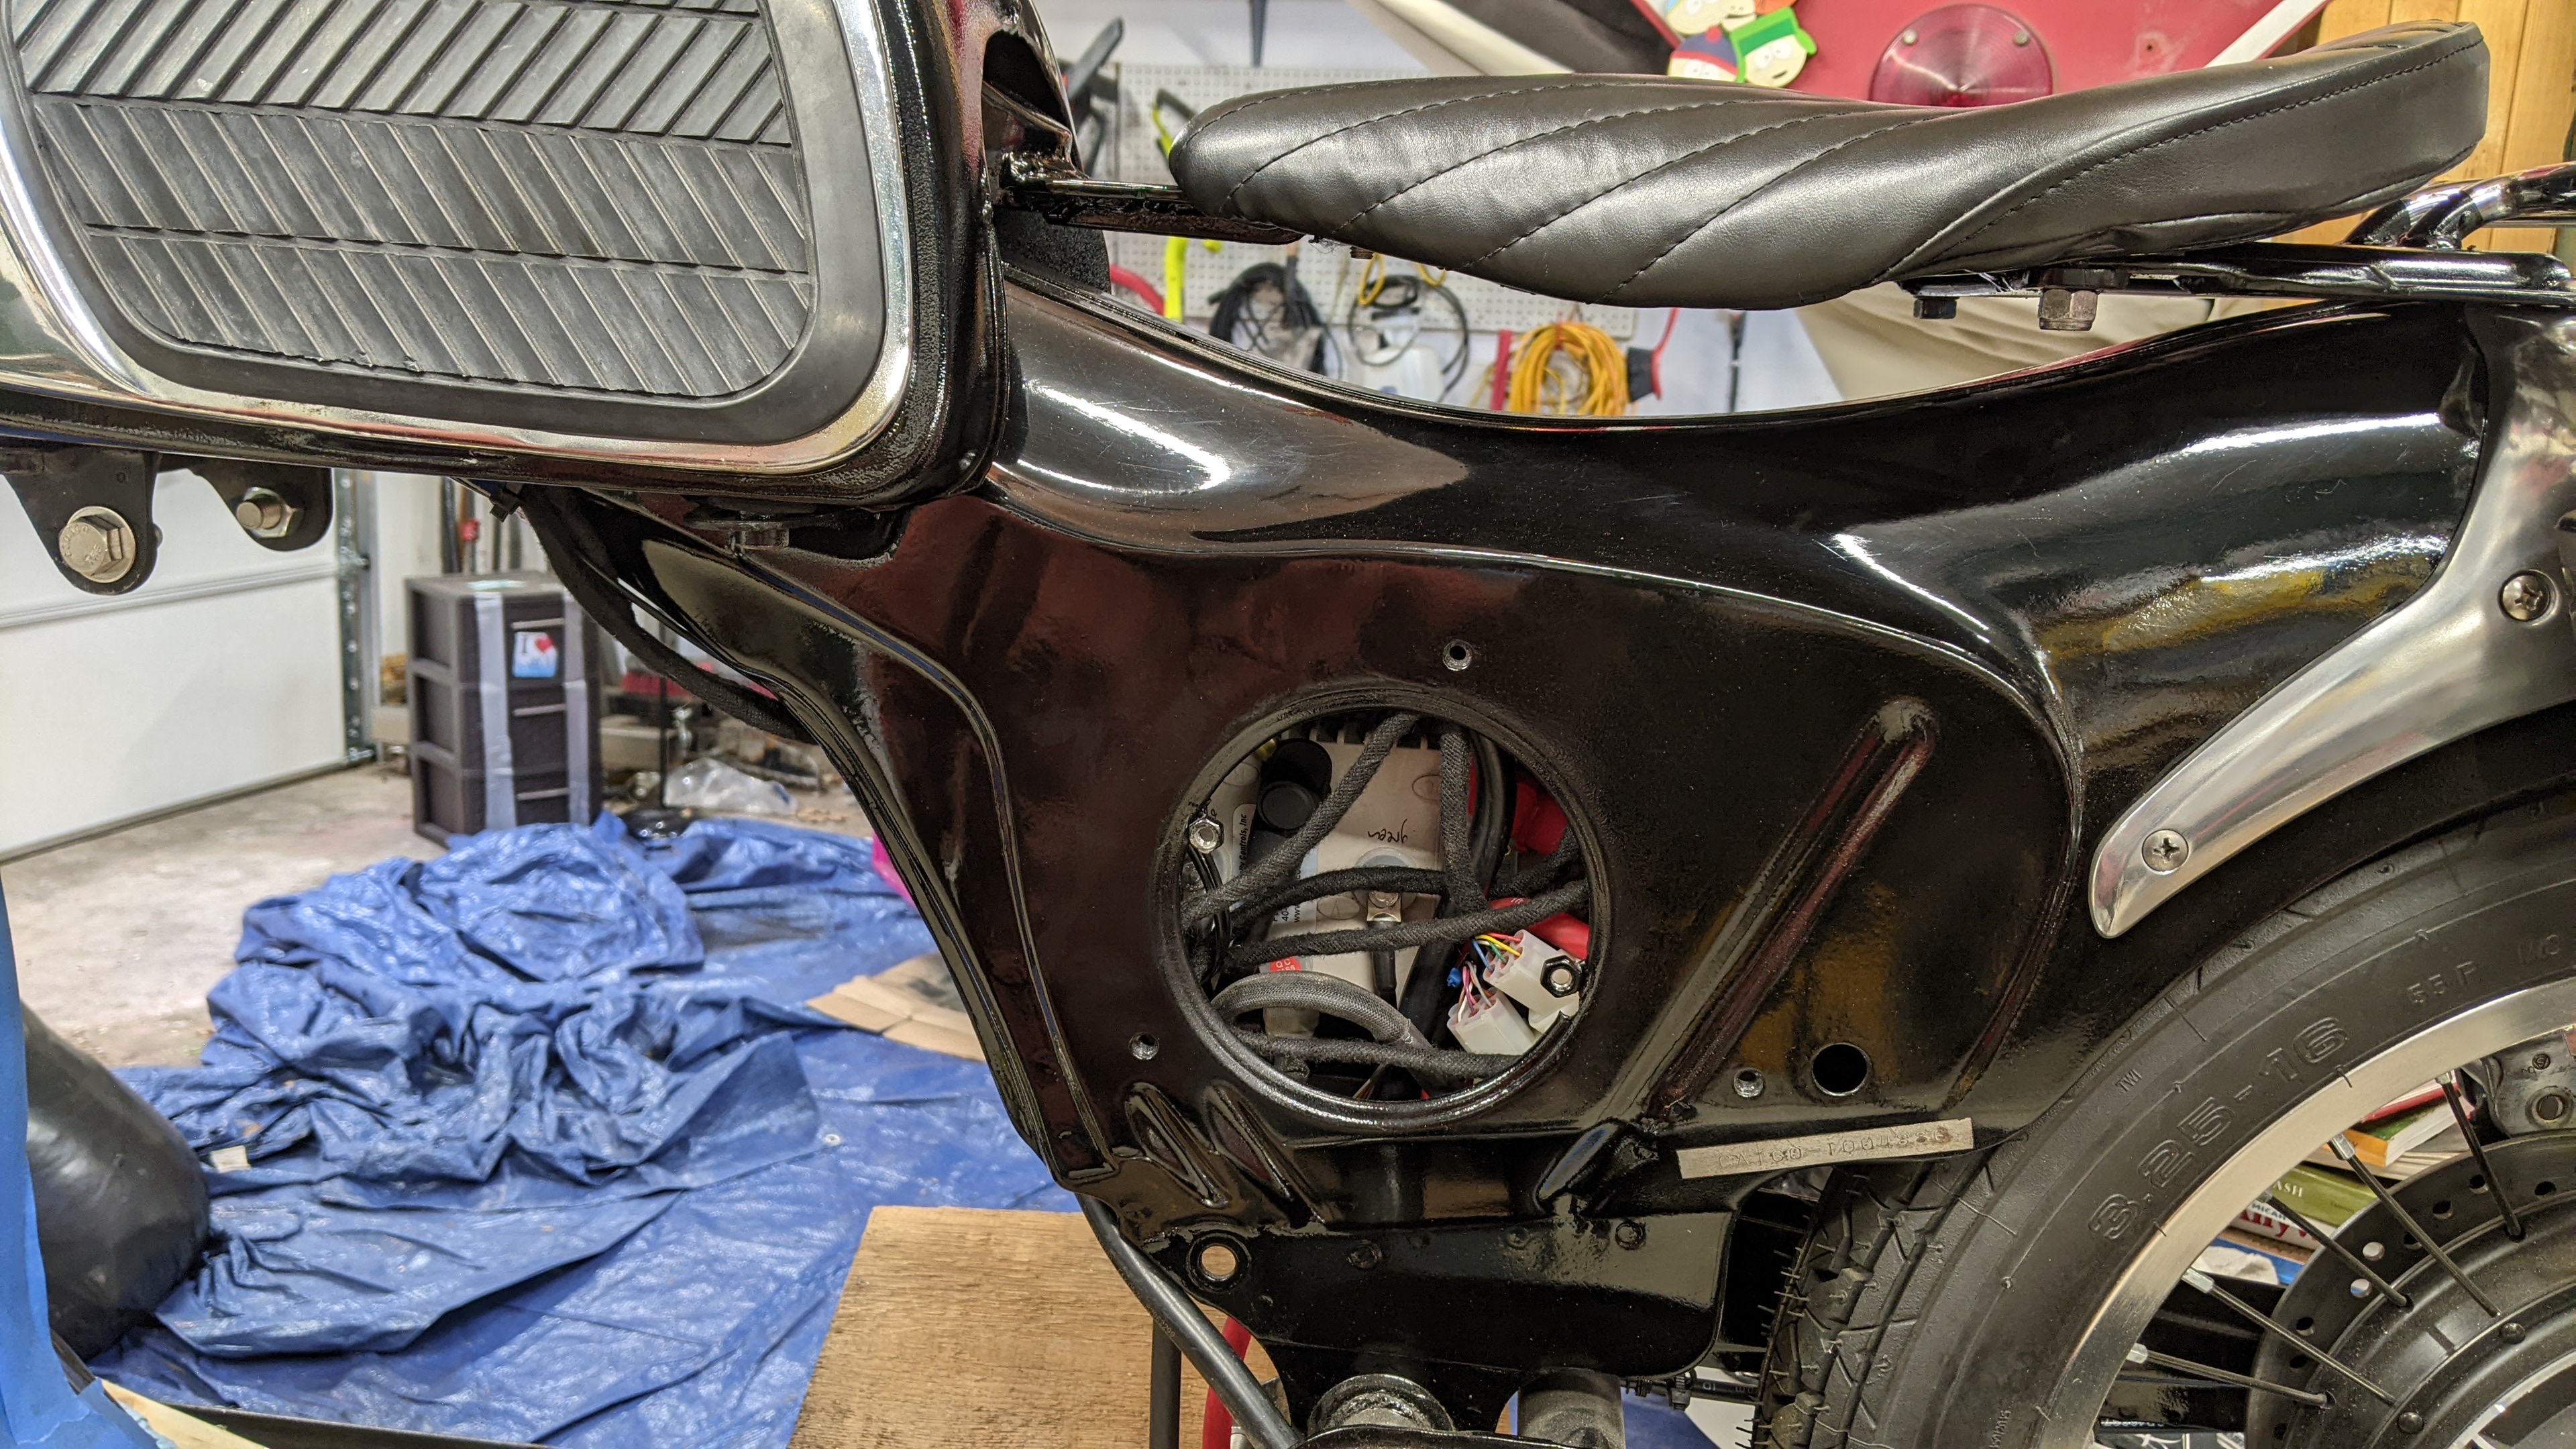
I had access to the back of the motor controller via the hole in the other side of the frame, that made it easy to access the wire lugs. I then covered the hole with a re-purposed chrome Honda clutch cover that I found in a parts bin.
Almost done now!!
Now it was time to put it all to the test, go through the first-startup procedure, and then program the Kelly controller.
Here are the steps I followed to get the wheel spinning and get the controller programmed correctly:
- Wire up everything but have the contactor switched off
- connect the battery ground to B-
- switch on the contactor
- ensure that the motor turns when the throttle is lightly applied, in either direction
- open the program and connect to the controller (will take a few tries?)
- set all the motor parameters (# of poles, etc)
- set the identification angle to 170
- save:
- write
- read again and check that its still there
- quit the program
- disconnect the battery
- wait 3+ seconds
- connect the battery again
- the motor should begin moving, this is the identification angle function working
- wait about three minutes and wait until you hear a beeping noise from the control. This is the "reset error" telling you that it needs to be reset again. You can connect to the bluetooth adapter with the app to verify this error code.
- disconnect the battery from the controller and wait 3+ seconds
- reconnect battery
- open config program
- read the parameters
- check that the identification angle has been changed to 85
- check that the motor turns when given throttle
- check full speed!
- set all the vehicle parameters in the config software, save, reset, etc.
I found that when I got to step 4, the throttle would not cause the motor to spin. This worried me, but I discovered that it was because the "three way switch" option was enabled. And neither pins for reverse or forward were getting 12v, so it assumed neutral and therefor did not spin the motor.
How to use the bluetooth adapter and Kelly's AC Aduser android app:
- scan for bluetooth devices before powering up the controller
- power up the controller
- scan for bluetooth devices again and look for a new one, it might be labelled 20102202 or something
- the PIN is 1234
- open the AC Aduser app
- select Bluetooth com
- connect by pressing the leftmost black button, then tap the numbers
- press the 3rd button from the left, to read
- change the parameters where needed
- press the rightmost button for write
- press the 2nd to left button, to disconnect
Here are some of my parameters that I configured:
- set the nominal motor current to 90 (this is used by the angle identification function).
- set the battery current limit to 60%. My battery can do 60 amps continuous, the controller can do 100 amps continuous. The rest of the math is pretty simple.
- max speed can be set to 1140 - because that’s max rpm of my motor. FYI 1140rpm for a ~23 inch diameter wheel will give me a theoretical top speed of 78 mph. I'll want to balance the rear wheel before I do anything near that!
- accell time should be 10 (thousands of a second)
- keep these as set up from factory: torque speed kp, torque speed kj, speed error limit
Continue Reading:
- Part 1: Converting a '67 Honda CA160 to Electric!
- Part 2: Body Work
- Part 3: Battery Pack
- Part 4: Swing Arm Modifications
- Part 5: The Return of Project Dream-E
- Part 6: The Battery Enclosure
- Part 7: Wiring & Programming the Motor Controller
- Part 8: Final Assembly & Test Driving