For my This Old Fixer-Upper project, we decided to cover the plaster ceiling with pine tungue-and-groove panels rather than try to scrape off the wallpaper and paint the ceiling.
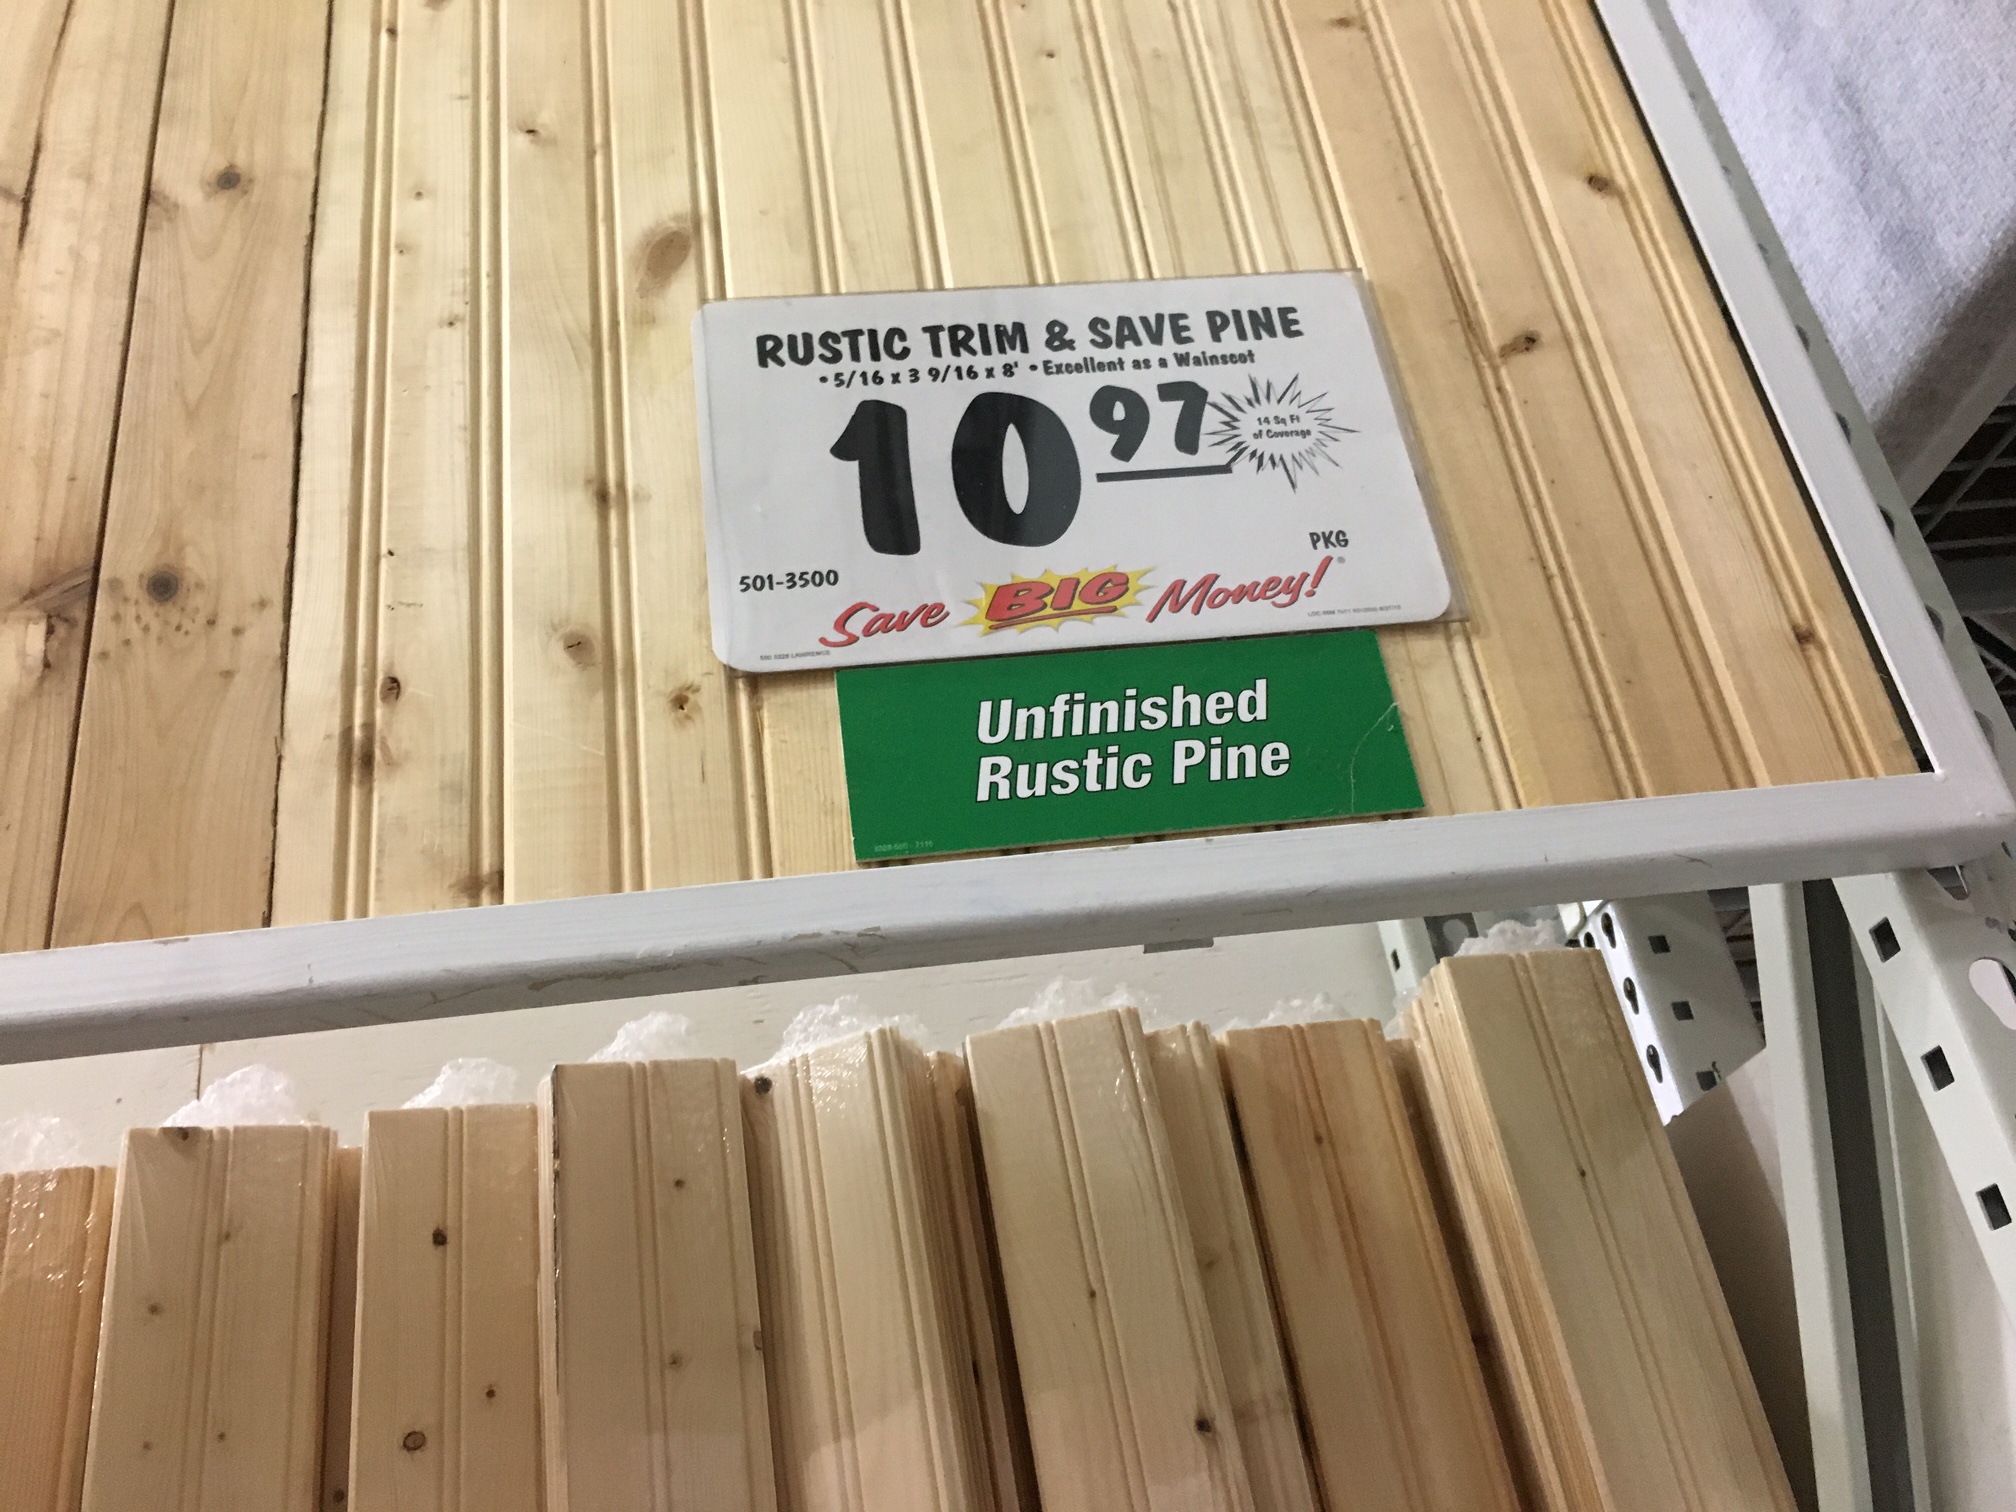
The original plan was to use 4' x 8' panelling sheets that looked like tongue-and-groove boards painted white, but we found the actual stuff at Menards for only a little bit more money per square foot (no particle board or similar sawdust+glue products allowed in my house!!). A pretty good deal I thought. All of the materials cost me a little over $400, including the brad nails (using a Ryobi lithuim-battery-powered brad nailer, I love it!), paneling adhesive, polyurathane, etc.
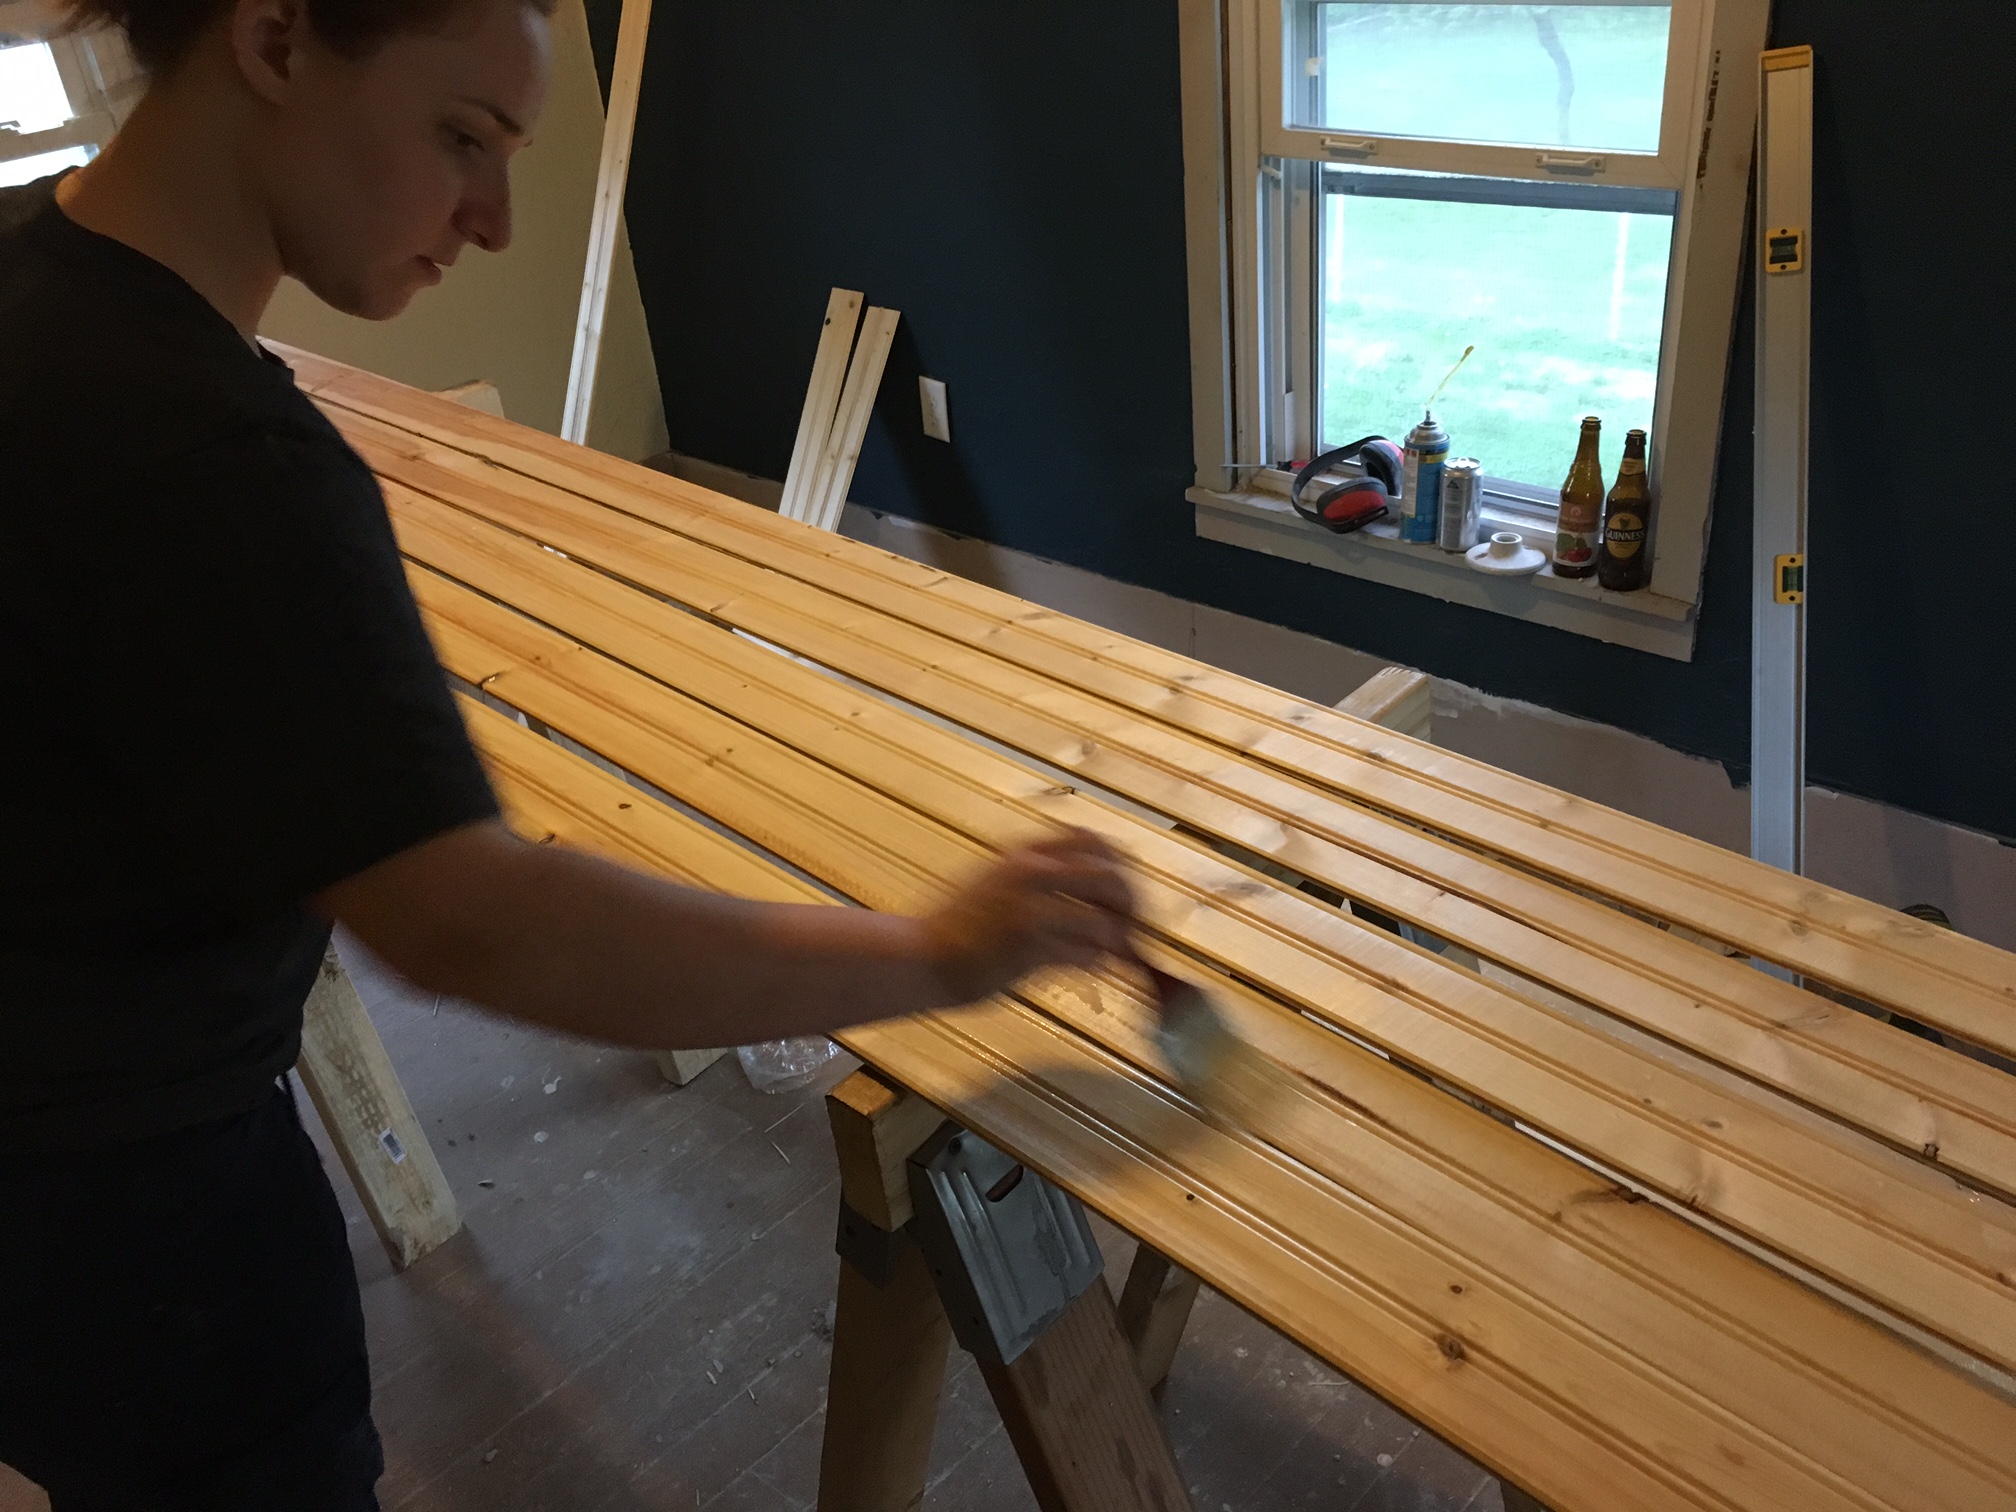
The boards are very knotty (bad boards! bad!!) and I knew that if we tried to paint them white there would be a few knotts that would bleed through no matter how much B-I-N primer we used. So we didn't paint them at all and instead we simply put a single coat of polyurethane on them. I chose a water-based polyurethane so that the pine wouldn't be yellowed at all - trying to avoid the "Uncle Teddy's creepy cabin" look. It worked really well and I love water based polyurethane now because it didn't stink at all in the slightest. If it was regular ol' oil based, the ceiling would stink for weeks. If I had to do if over again I wouldn't change a thing except I would have gone with a higher gloss finish. We went with a satin sheen and it looks like we didn't put any treatment on the wood at all. But it will not absorb liquids (there's a coffee stain on the ceiling of my old rental house, no one knows how it got there!), make it easy to clean and dust off, etc.
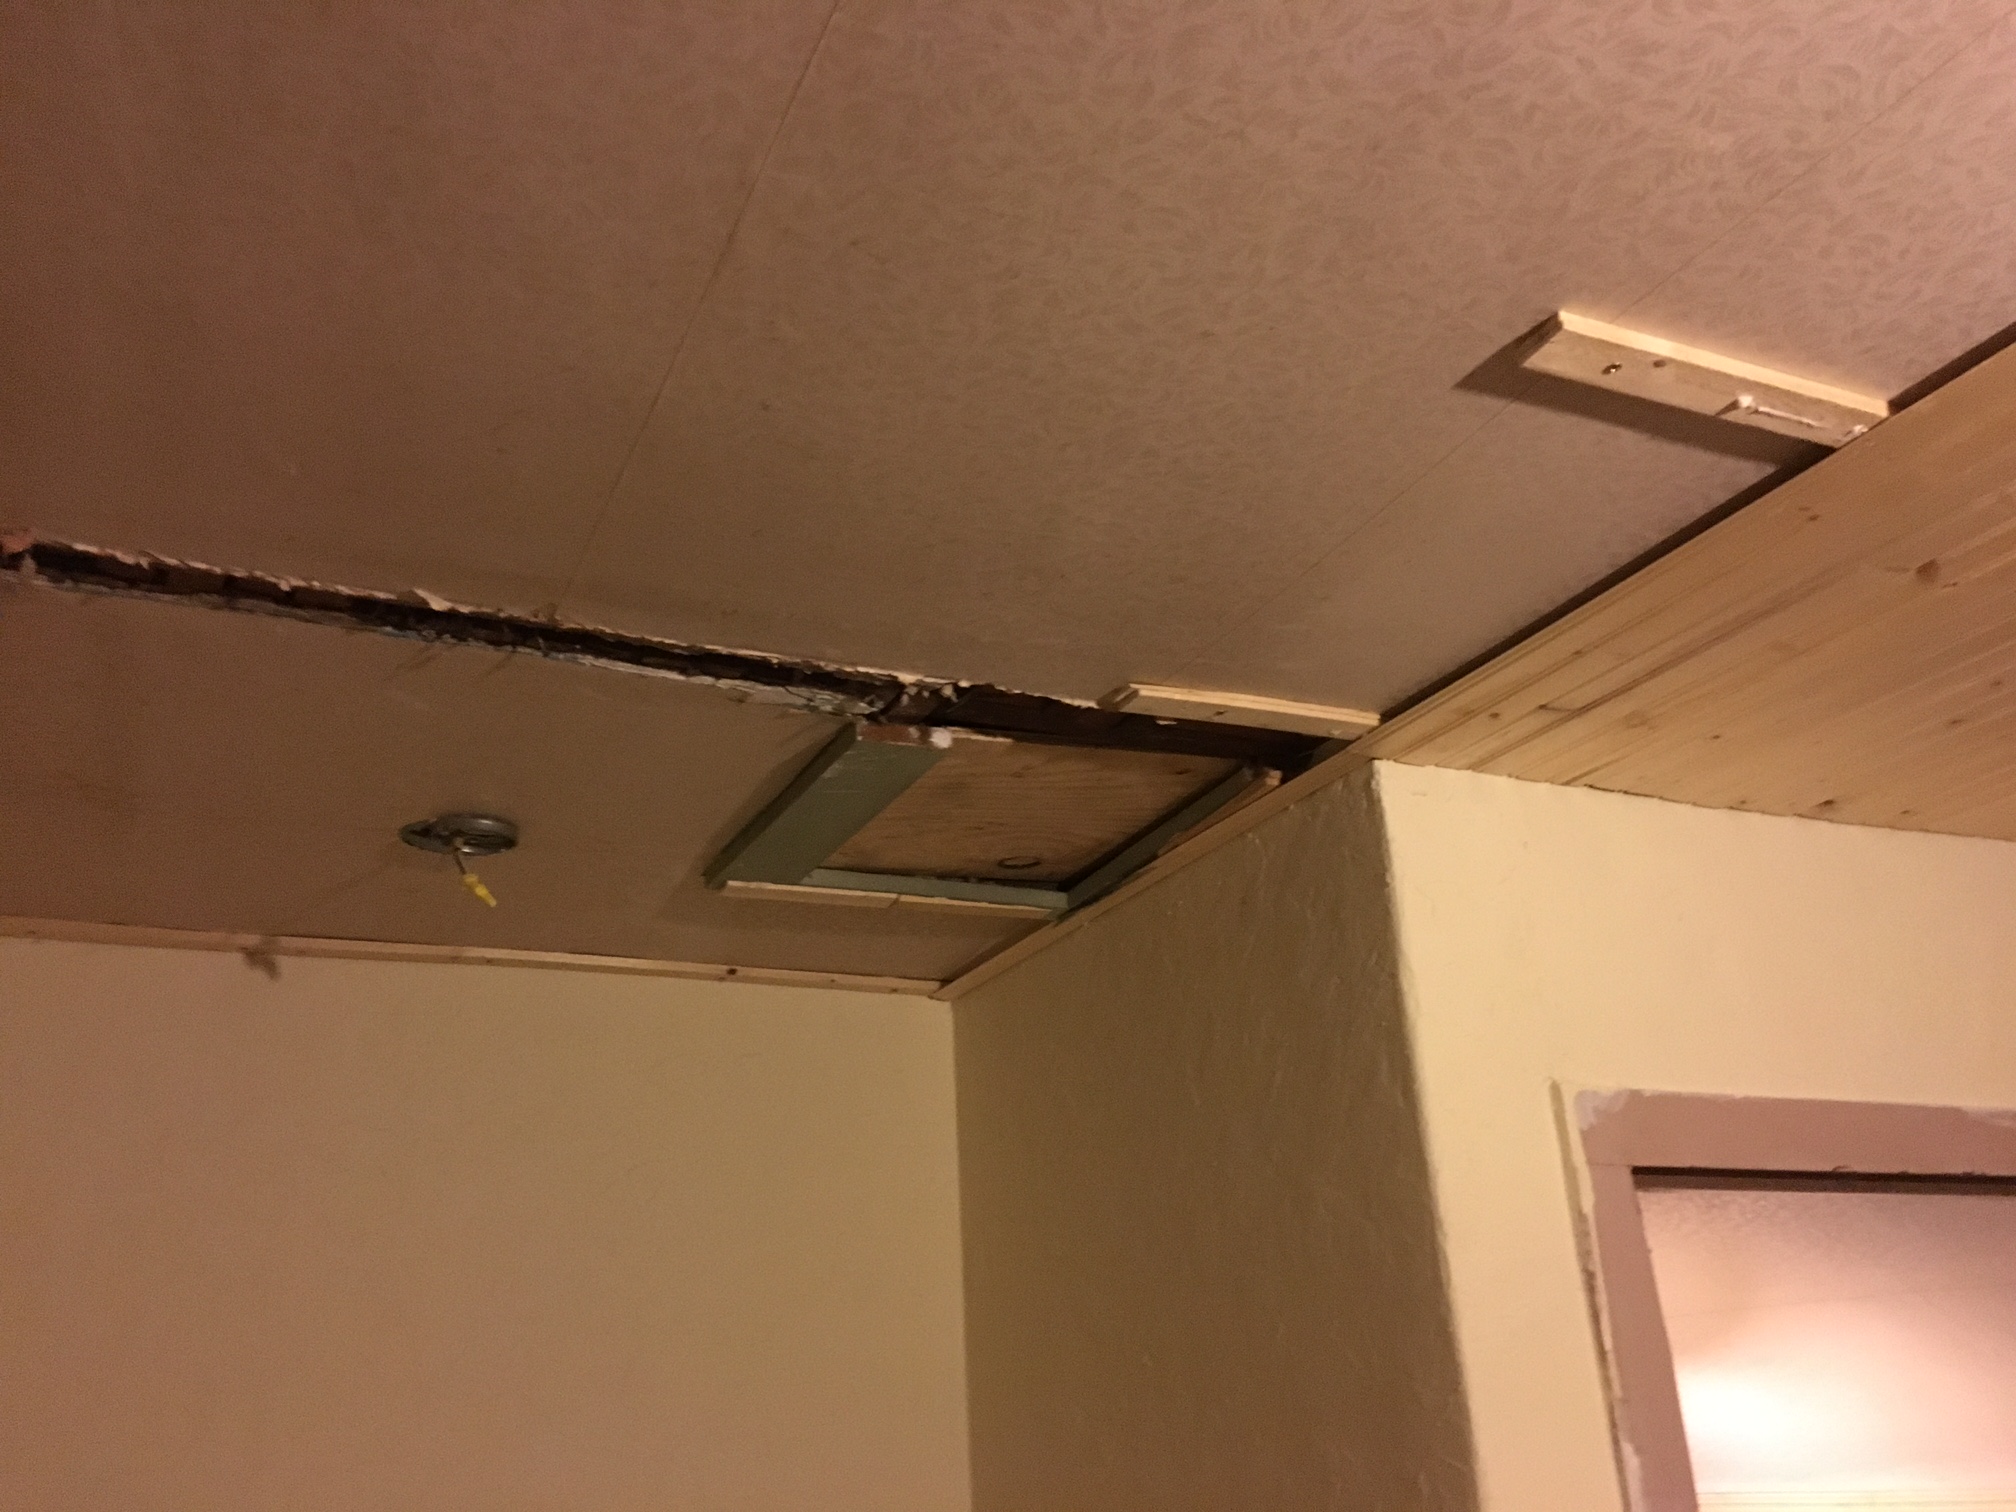
The first step was to give the boards something to be nailed to. Our ceiling was covered in plaster and it would have been a disaster if we tried to knock it all out of there because it would be a huge heavy mess, and it was also holding up all the insulation we just installed.
You can't nail into plaster, it won't hold the nails, so we screwed in furring stips into the rafters and rafter ties behind the plaster. Finding them behind the plaster was a pain - I used a concrete drill bit a series of holes through the plaster, then a wood drill bit to drill through the lathe behind it, then if the drill bit kept drilling into wood then we just located the rafter. Had to do this for almost every rafter as they weren't evenly spaced out!
With the rafter locations marked with a big red sharpie, I used long wood screws to screw the furring strips to the rafters, parrallel and directly bellow them. We actually used this lathe boards stacked on top of each other as the furring stips, this way we could stack two or three or use only one stip to adjust the thickness of them to account for any unevenness in the ceiling.
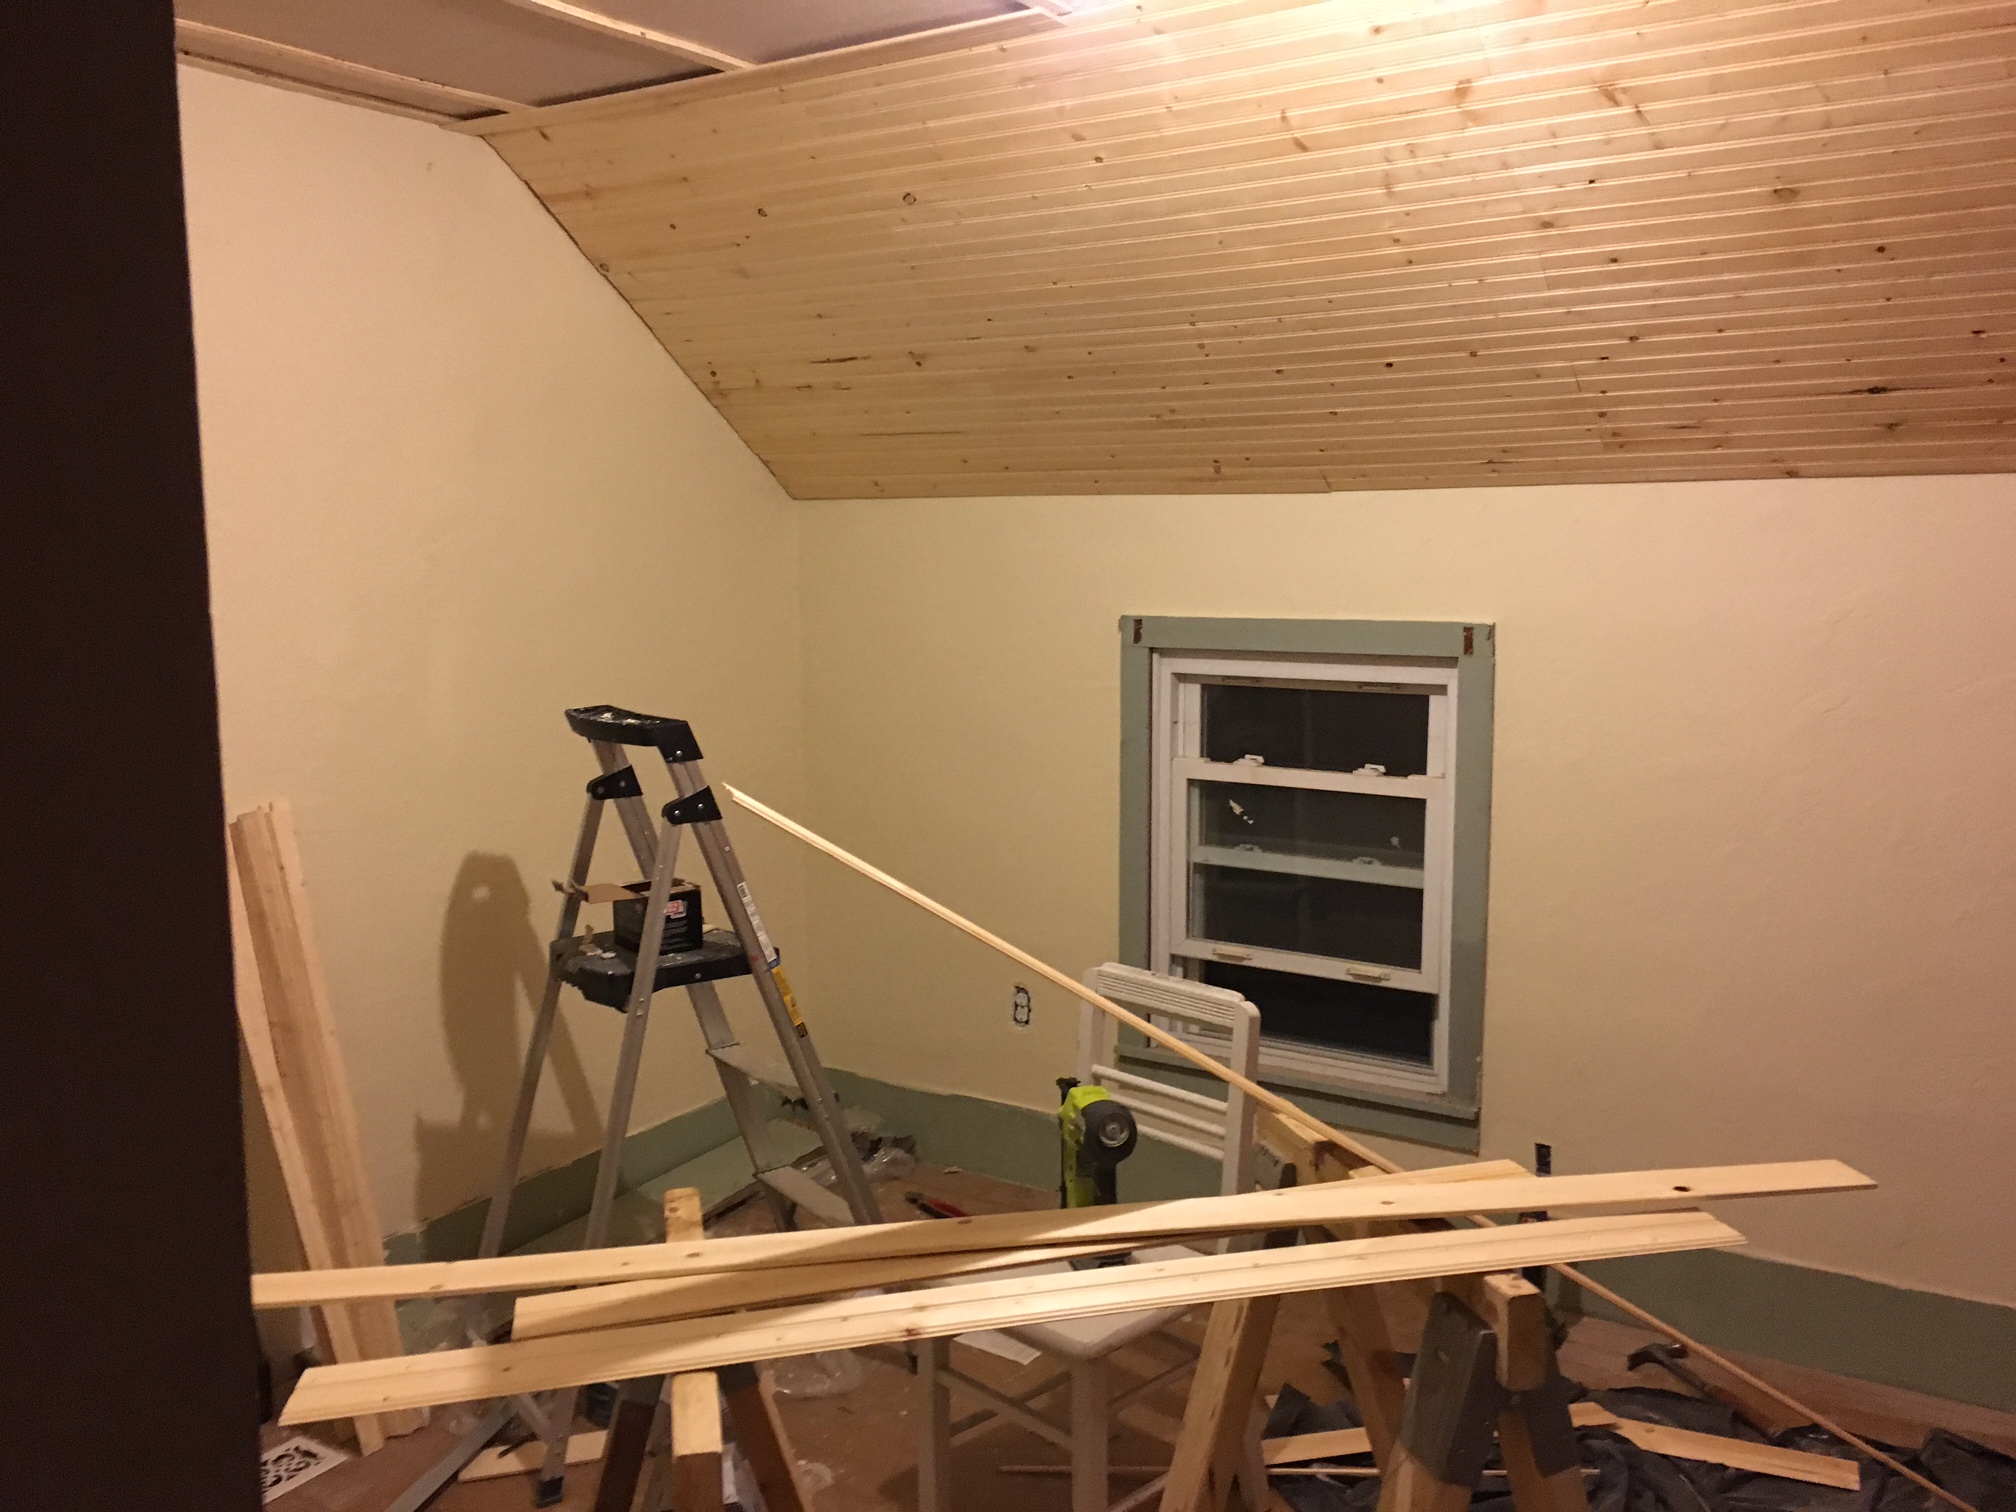
Then the tungue-and-groove boards could be nailed perpendicular to the furring strips. Used 1" #8 brad nails.

It was like installing a floor, only on the ceiling. We had to cut the boards to be the correct length such that the end that wasn't against the wall would meet at a furring stip. Then the next board would complete the length to the other wall, with the joint between the two boards in the middle of the furring strip. This way the ends of the boards would always get nailed to a furring stip to make it good and secure. We also used panneling adhesive since we were only using small brad nails, and the tongues and grooves also helped of course.
Here's some more tips:
- We also made sure to stager the joints randomly and spaced as far away as possible as to not catch the eye.
- We sent all the nails through the tongue, so that way when the groove of the next board slid of ther tongue of the previous board, it would hide the nail. Or, at least that was the plan, but most of the nails are still visible because the wood was just too small. Bigger boards with bigger tongues and grooves it would have worked better. At least the little brad nails we used are small (#8, 1" long).
- We face-nailed the ends of the boards where they would be covered by trim.
- Using a miter saw to cut the boards was an absolute must. We first tried cutting the boards with a 45* bevel so that the joint would be much cleaner. However, this made the cut much less accurate and we abandonded that idea. It wasn't until later that I learned that we should have tried it with something like a 20* bevel. Next time!
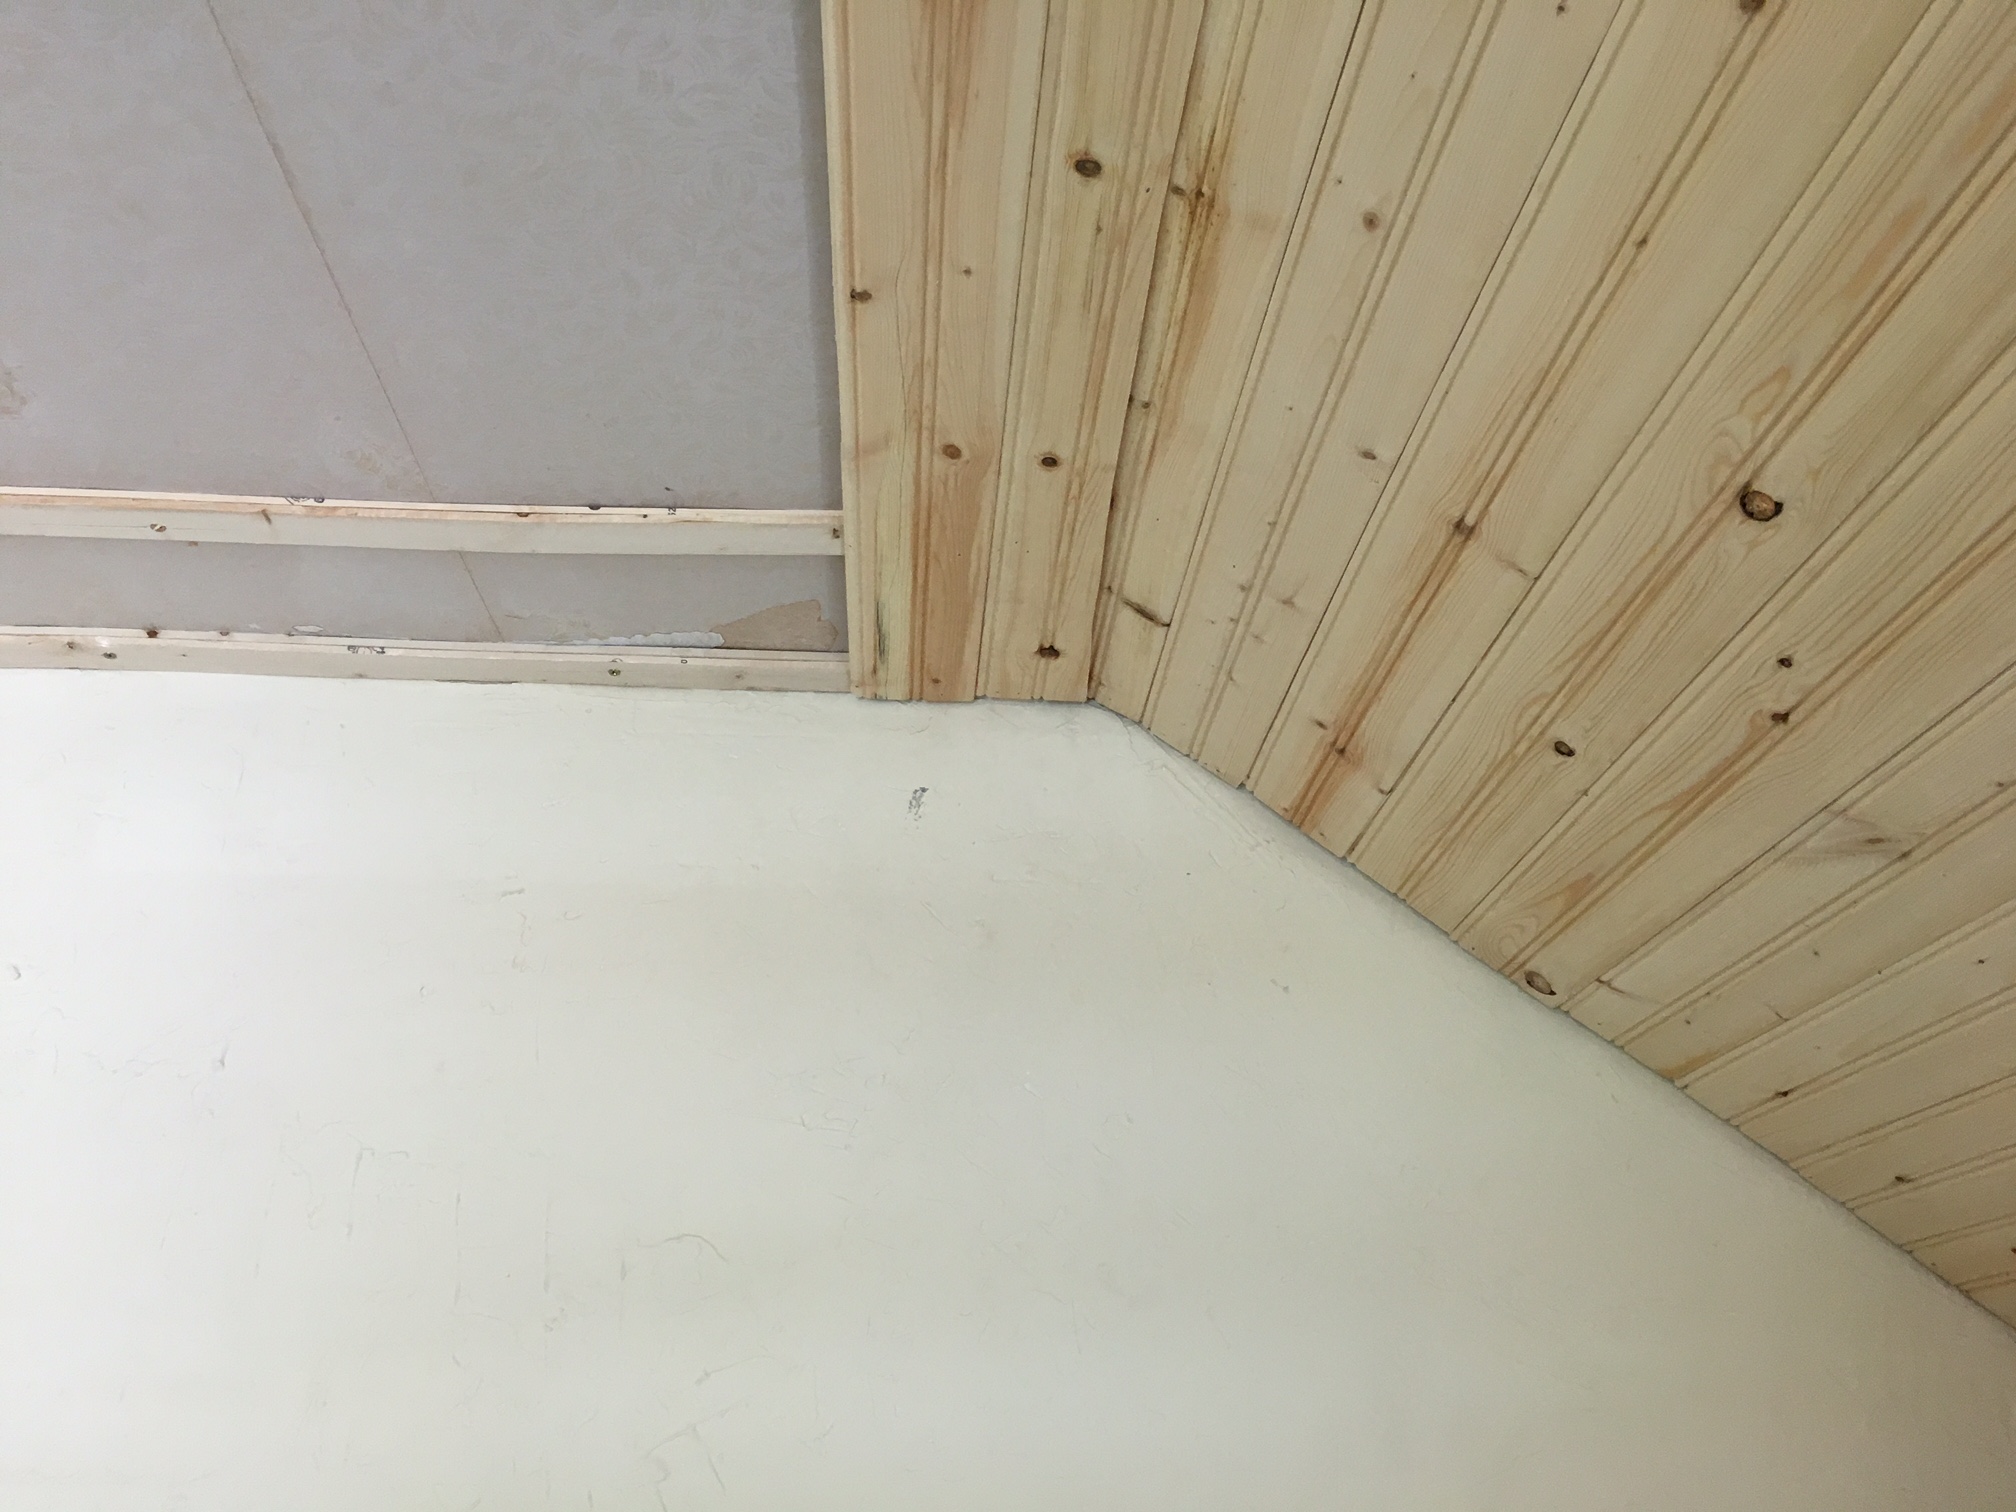
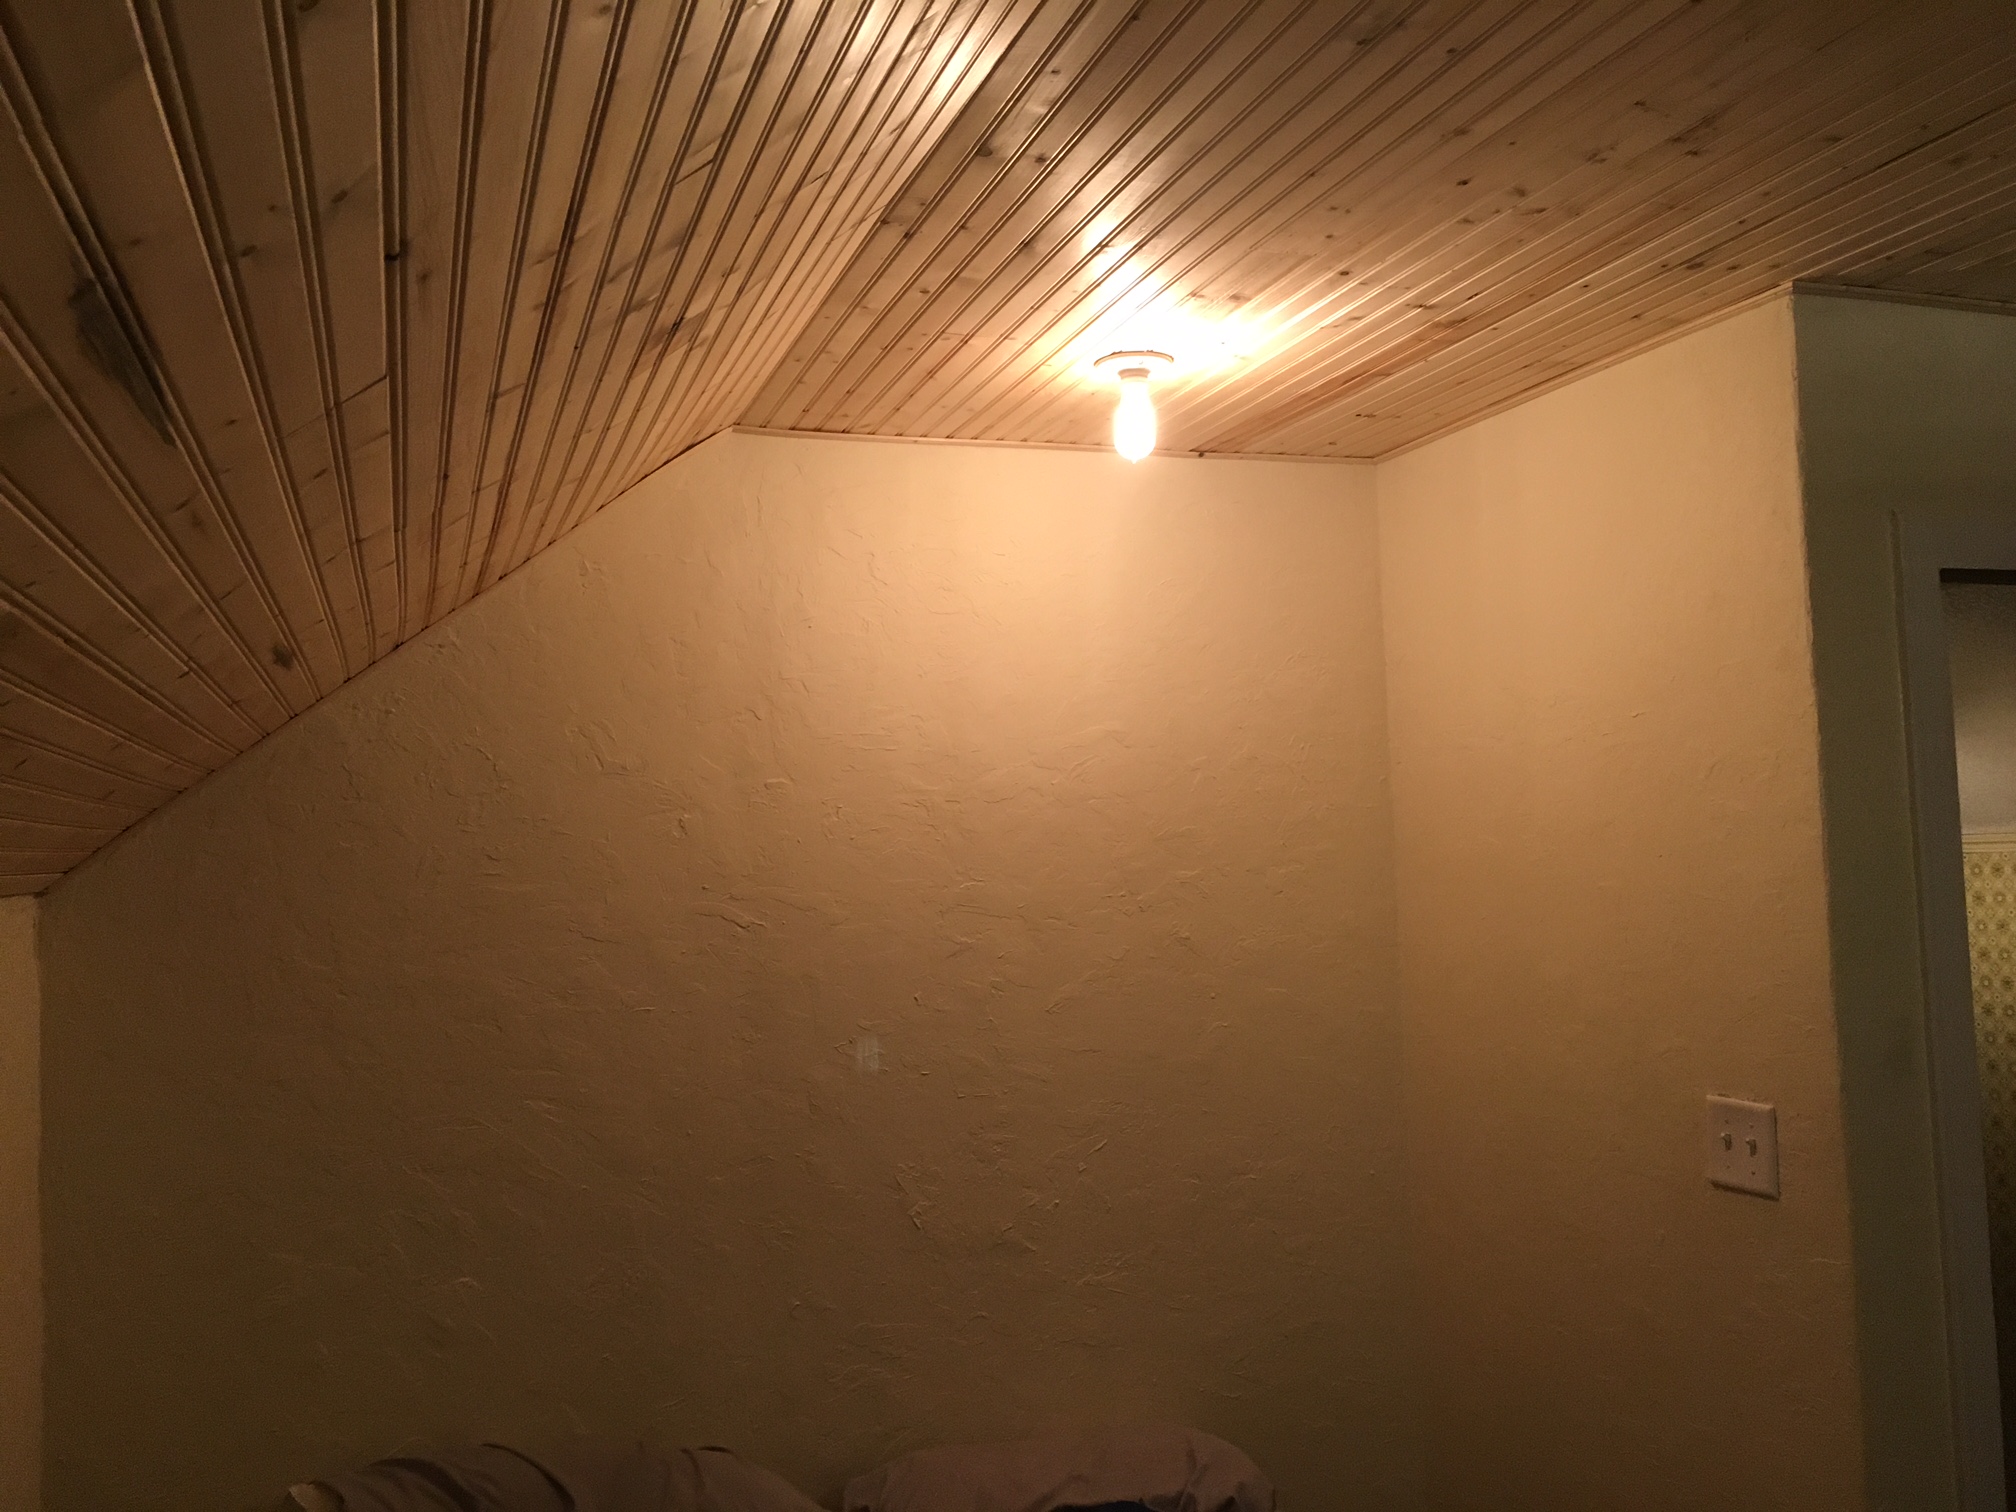
I ran into a problem trying to go around the first corner.
I had to rip the board going into the ceiling corner so that it would fit.
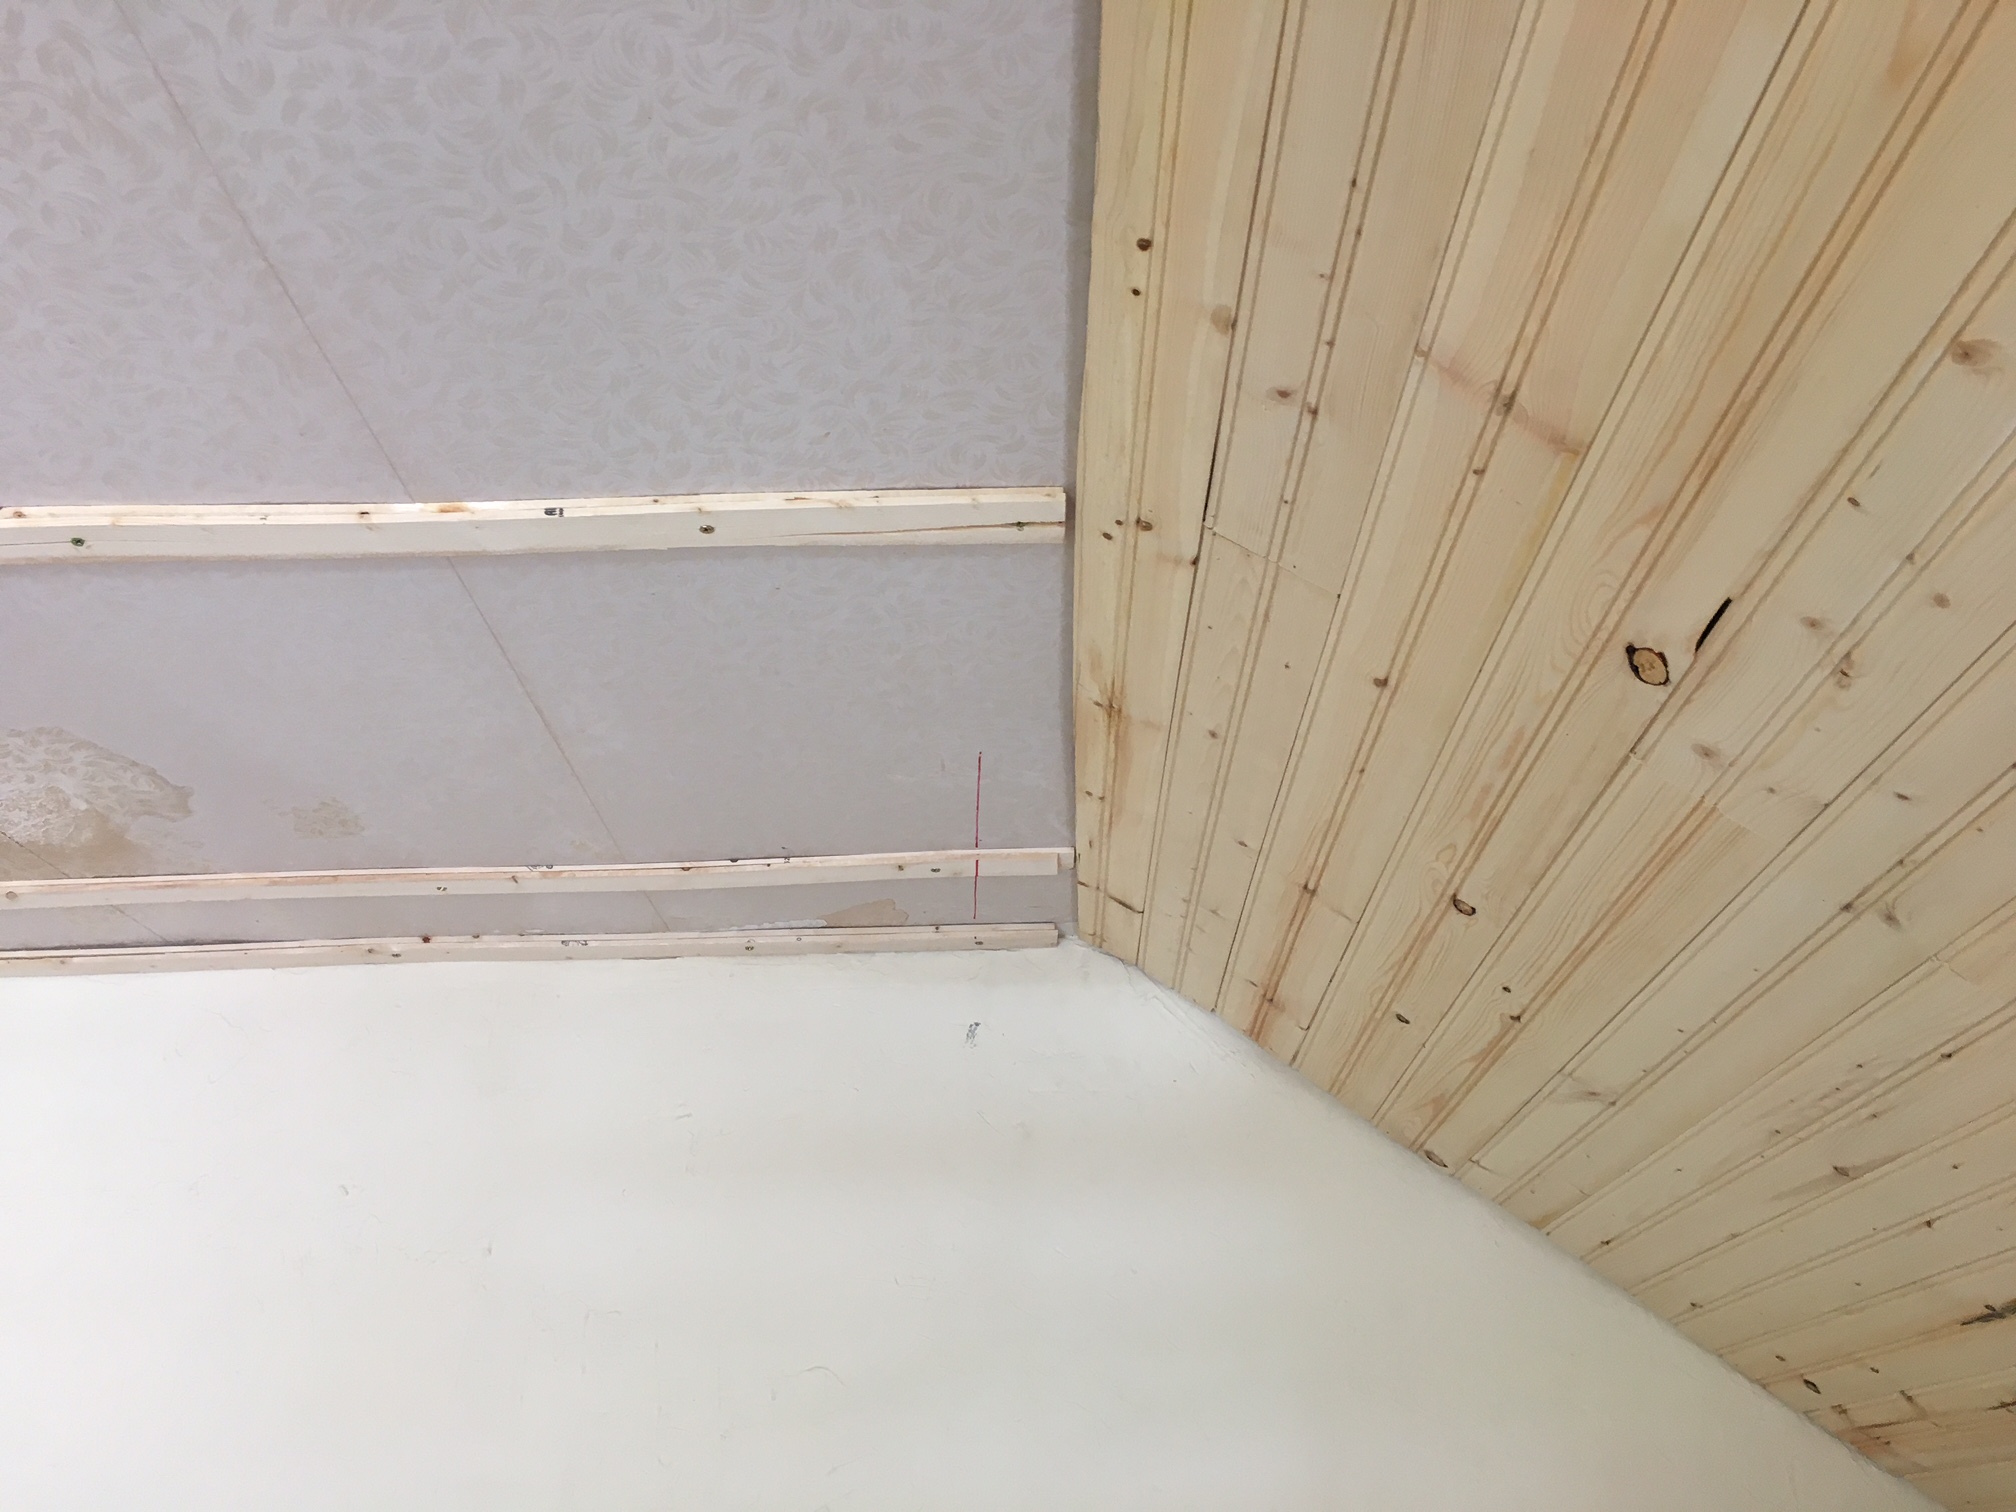
Then I tried to use a scribe to transer to the line to another board and to keep everything as square with the walls as possible.
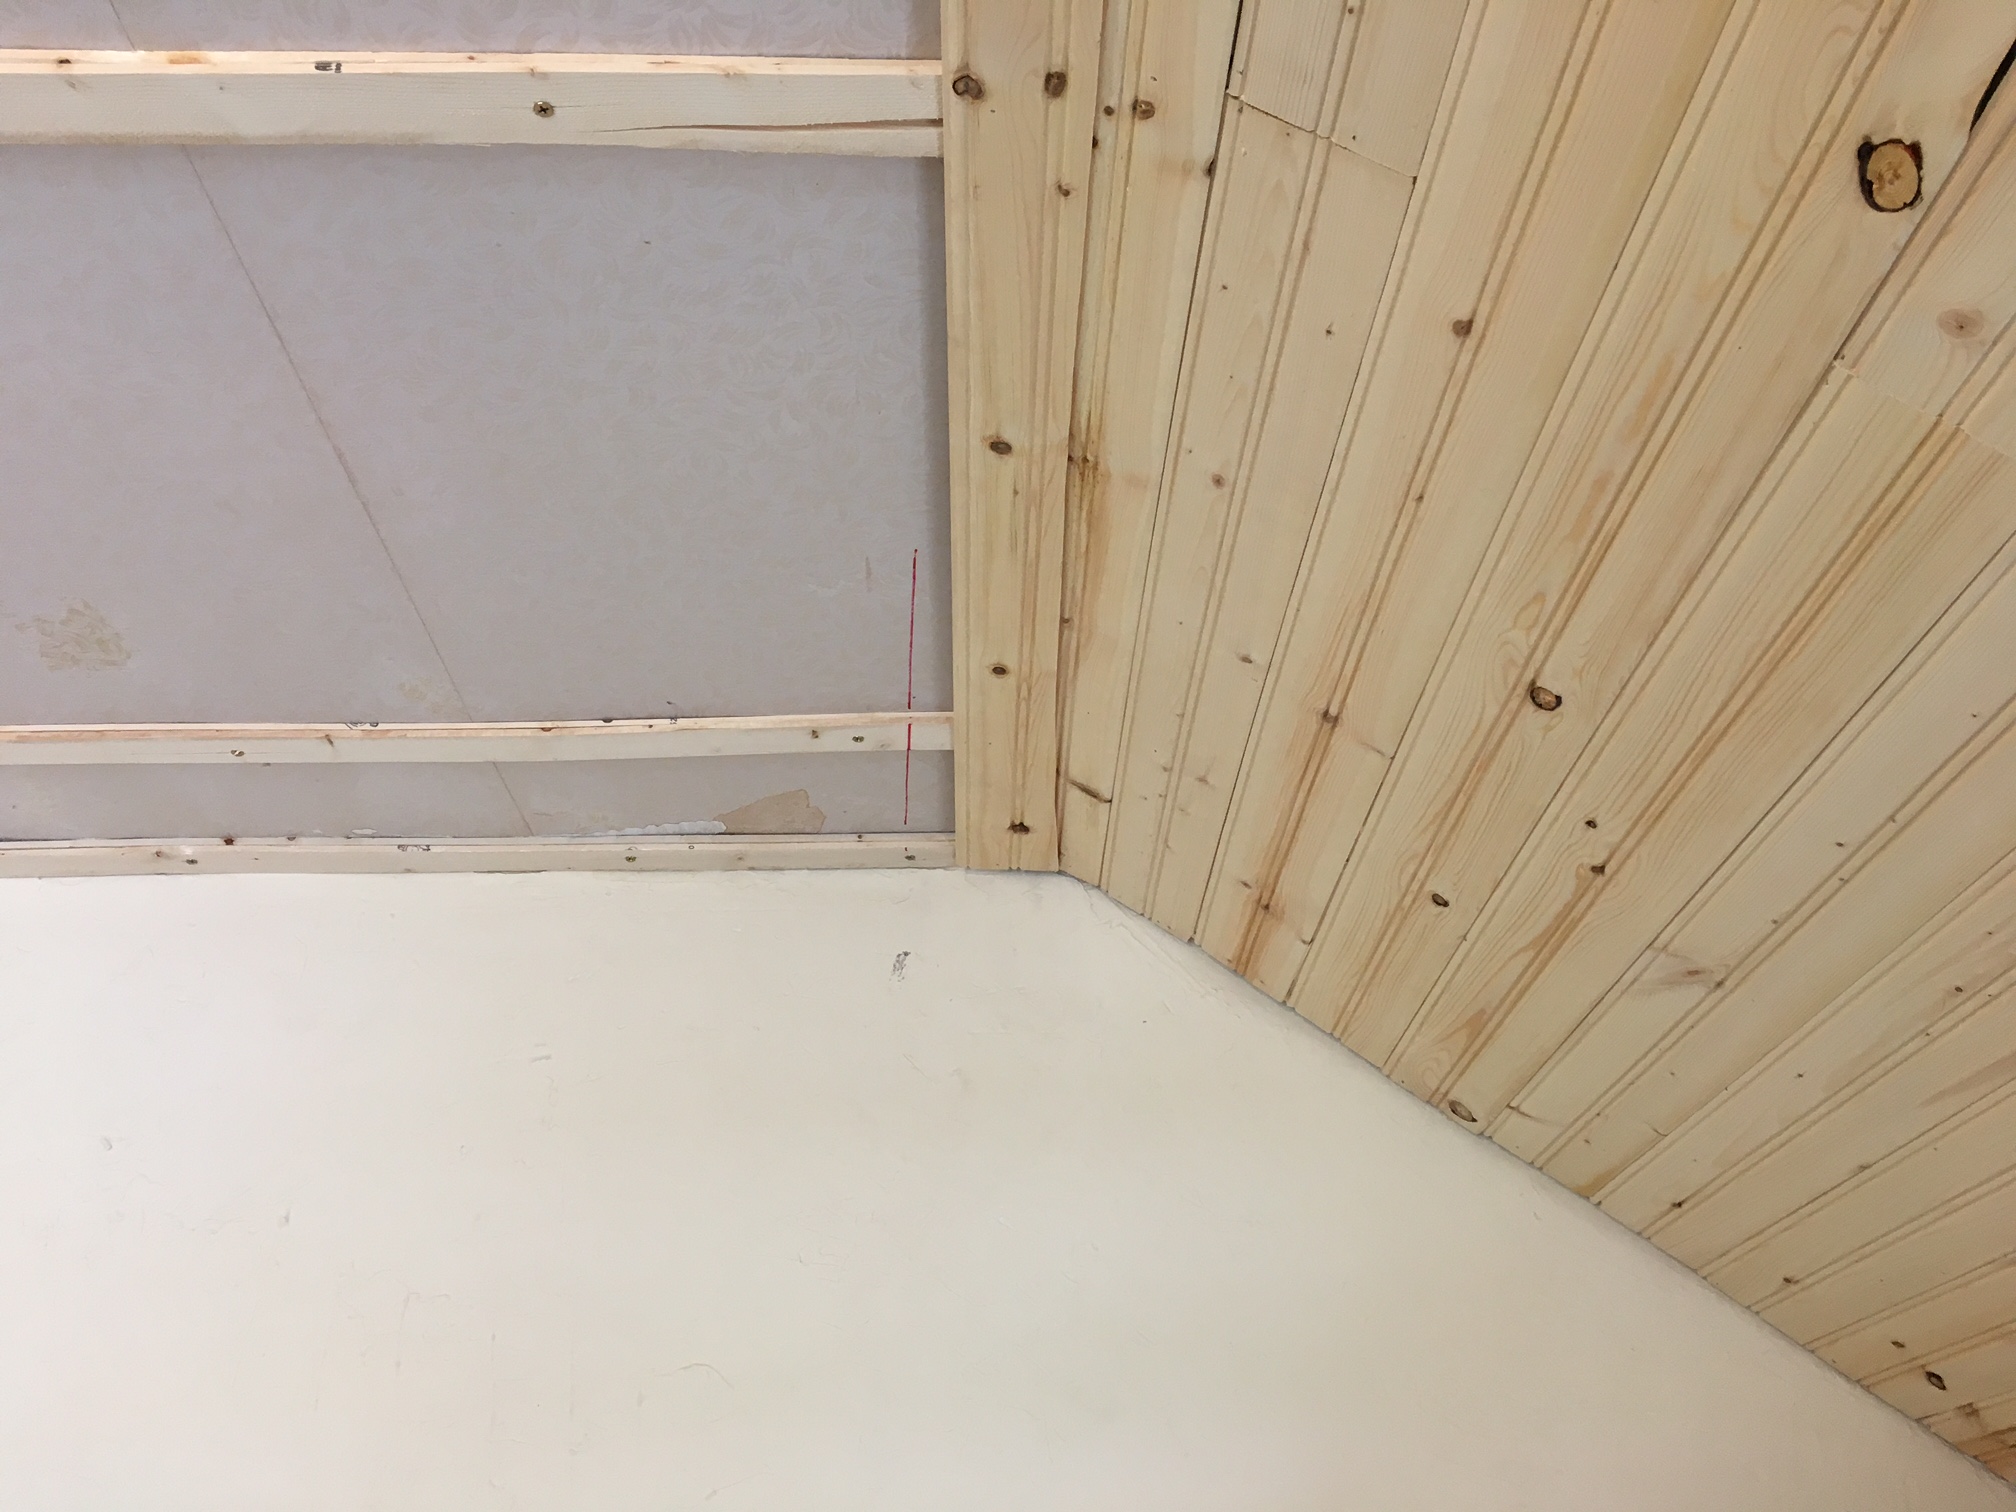
It looks kind of funny but it worked. For the other ceiling corners like this, we abandoned this method and just made the tongue of one board go into the grove of the other even if that meant it would be at an angle rather than cut the boards and try to geth them to meet like a really long butt joint. It was way easier.
DON'T DO IT THIS WAY!
Used a jig saw to go around any obsticles like this one:

Trim was needed to hide the gaps between the ends of the boards and the walls. I made the trim myself by taking unused peices of the tongue and groove boards and ripping them with my table say. I cut off the tongues and grooves, and cut them into 1" strips such that they had a profile'd edge that would face the outside.
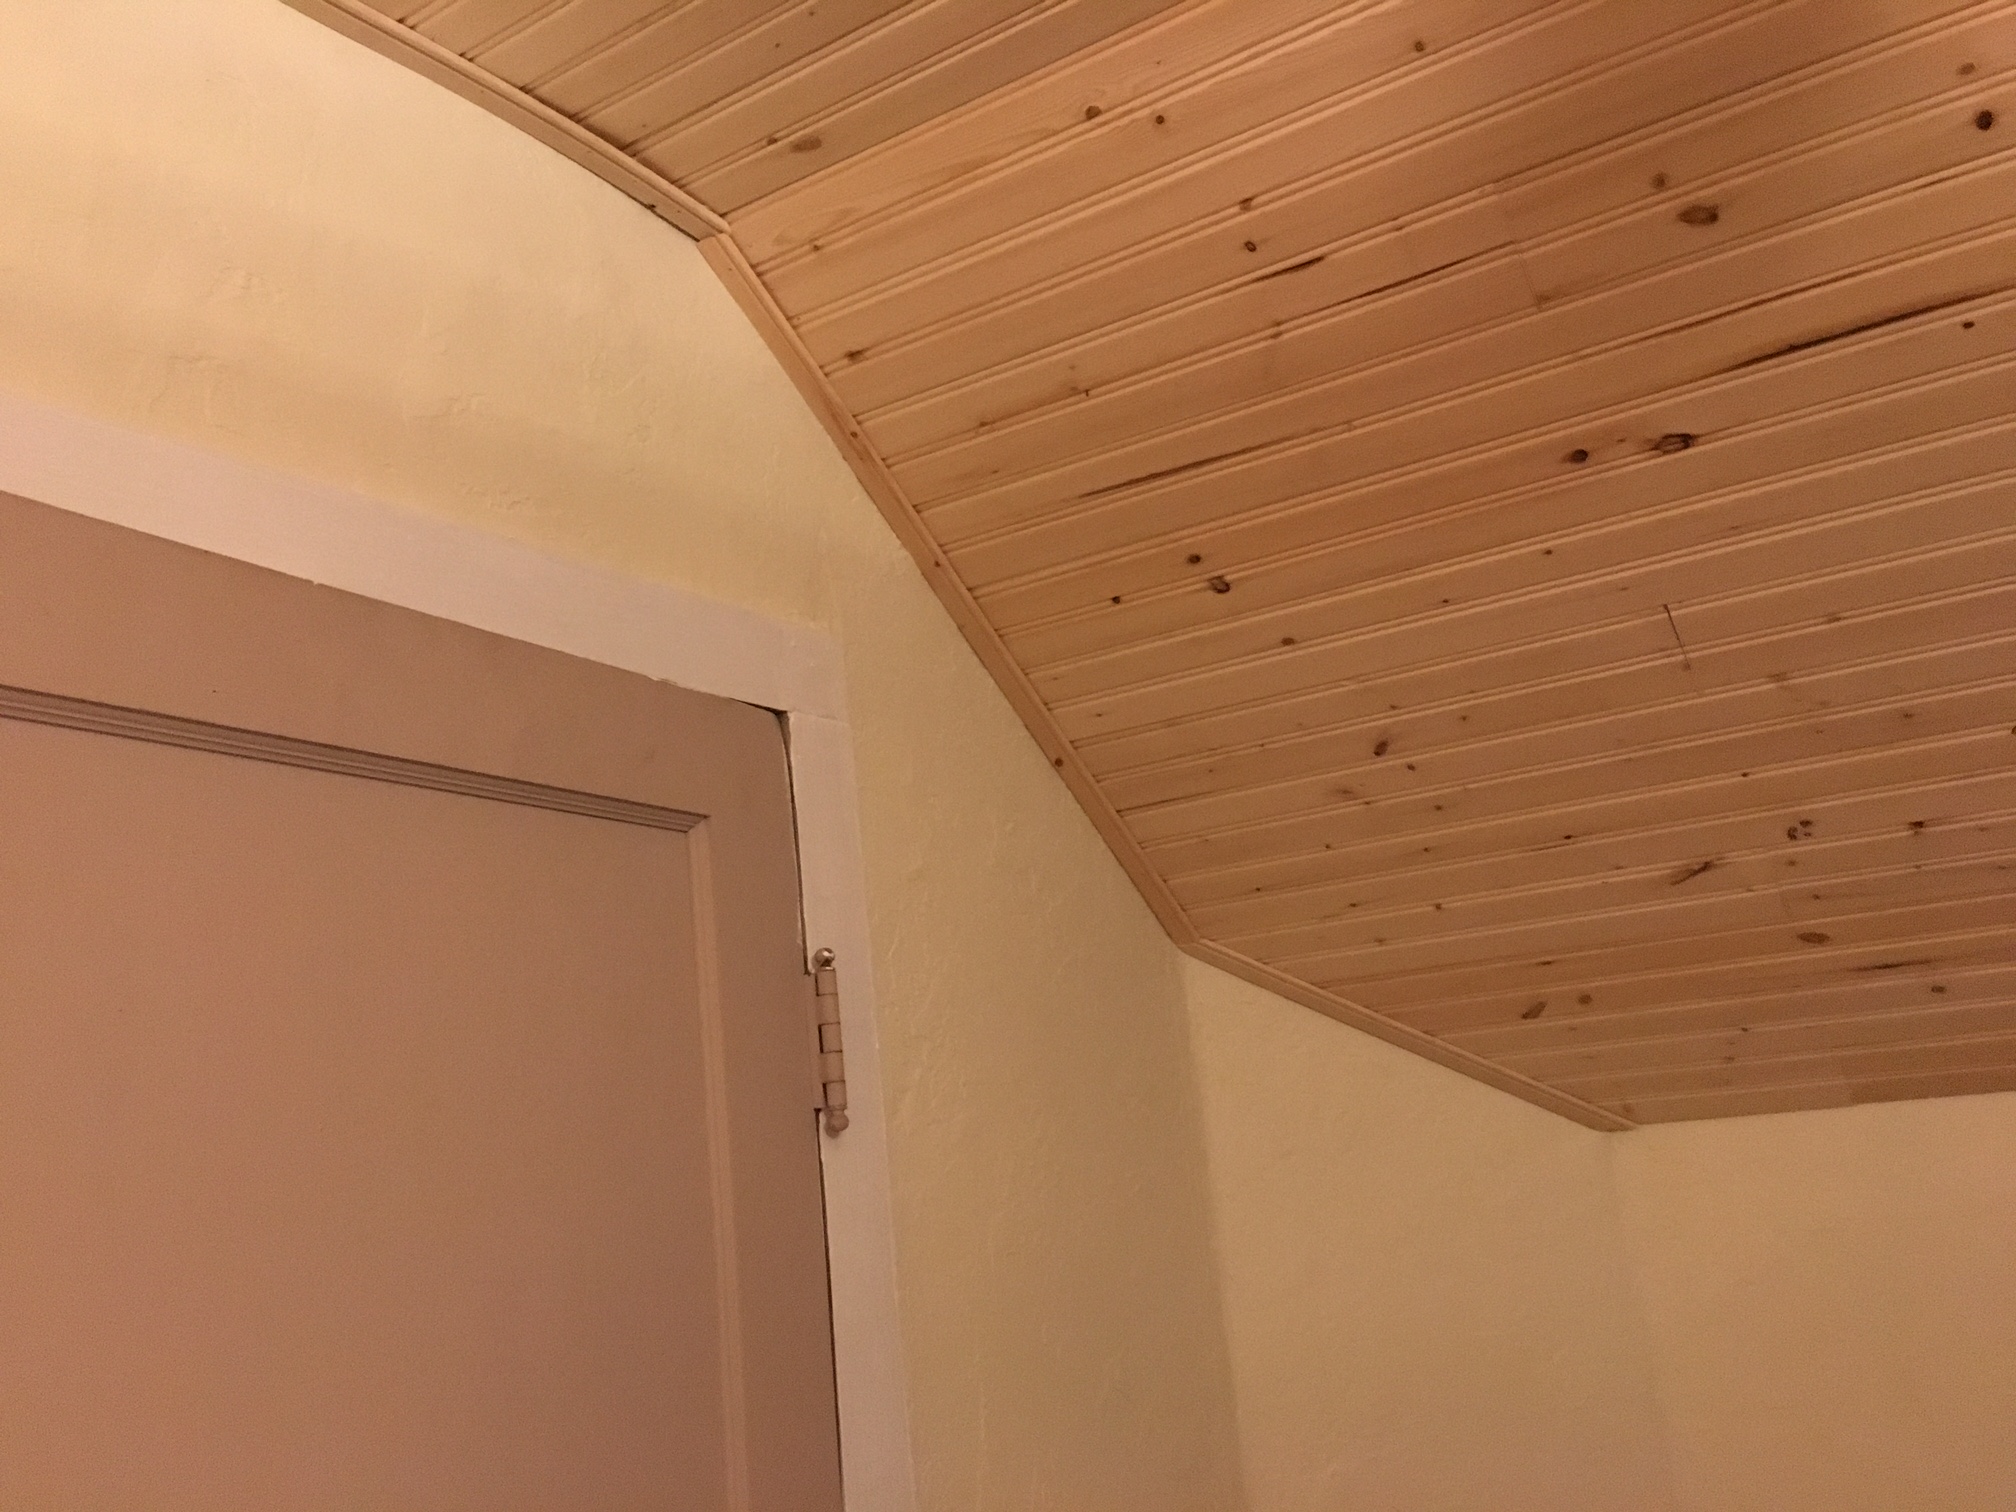
It looks great! We love the ceiling!
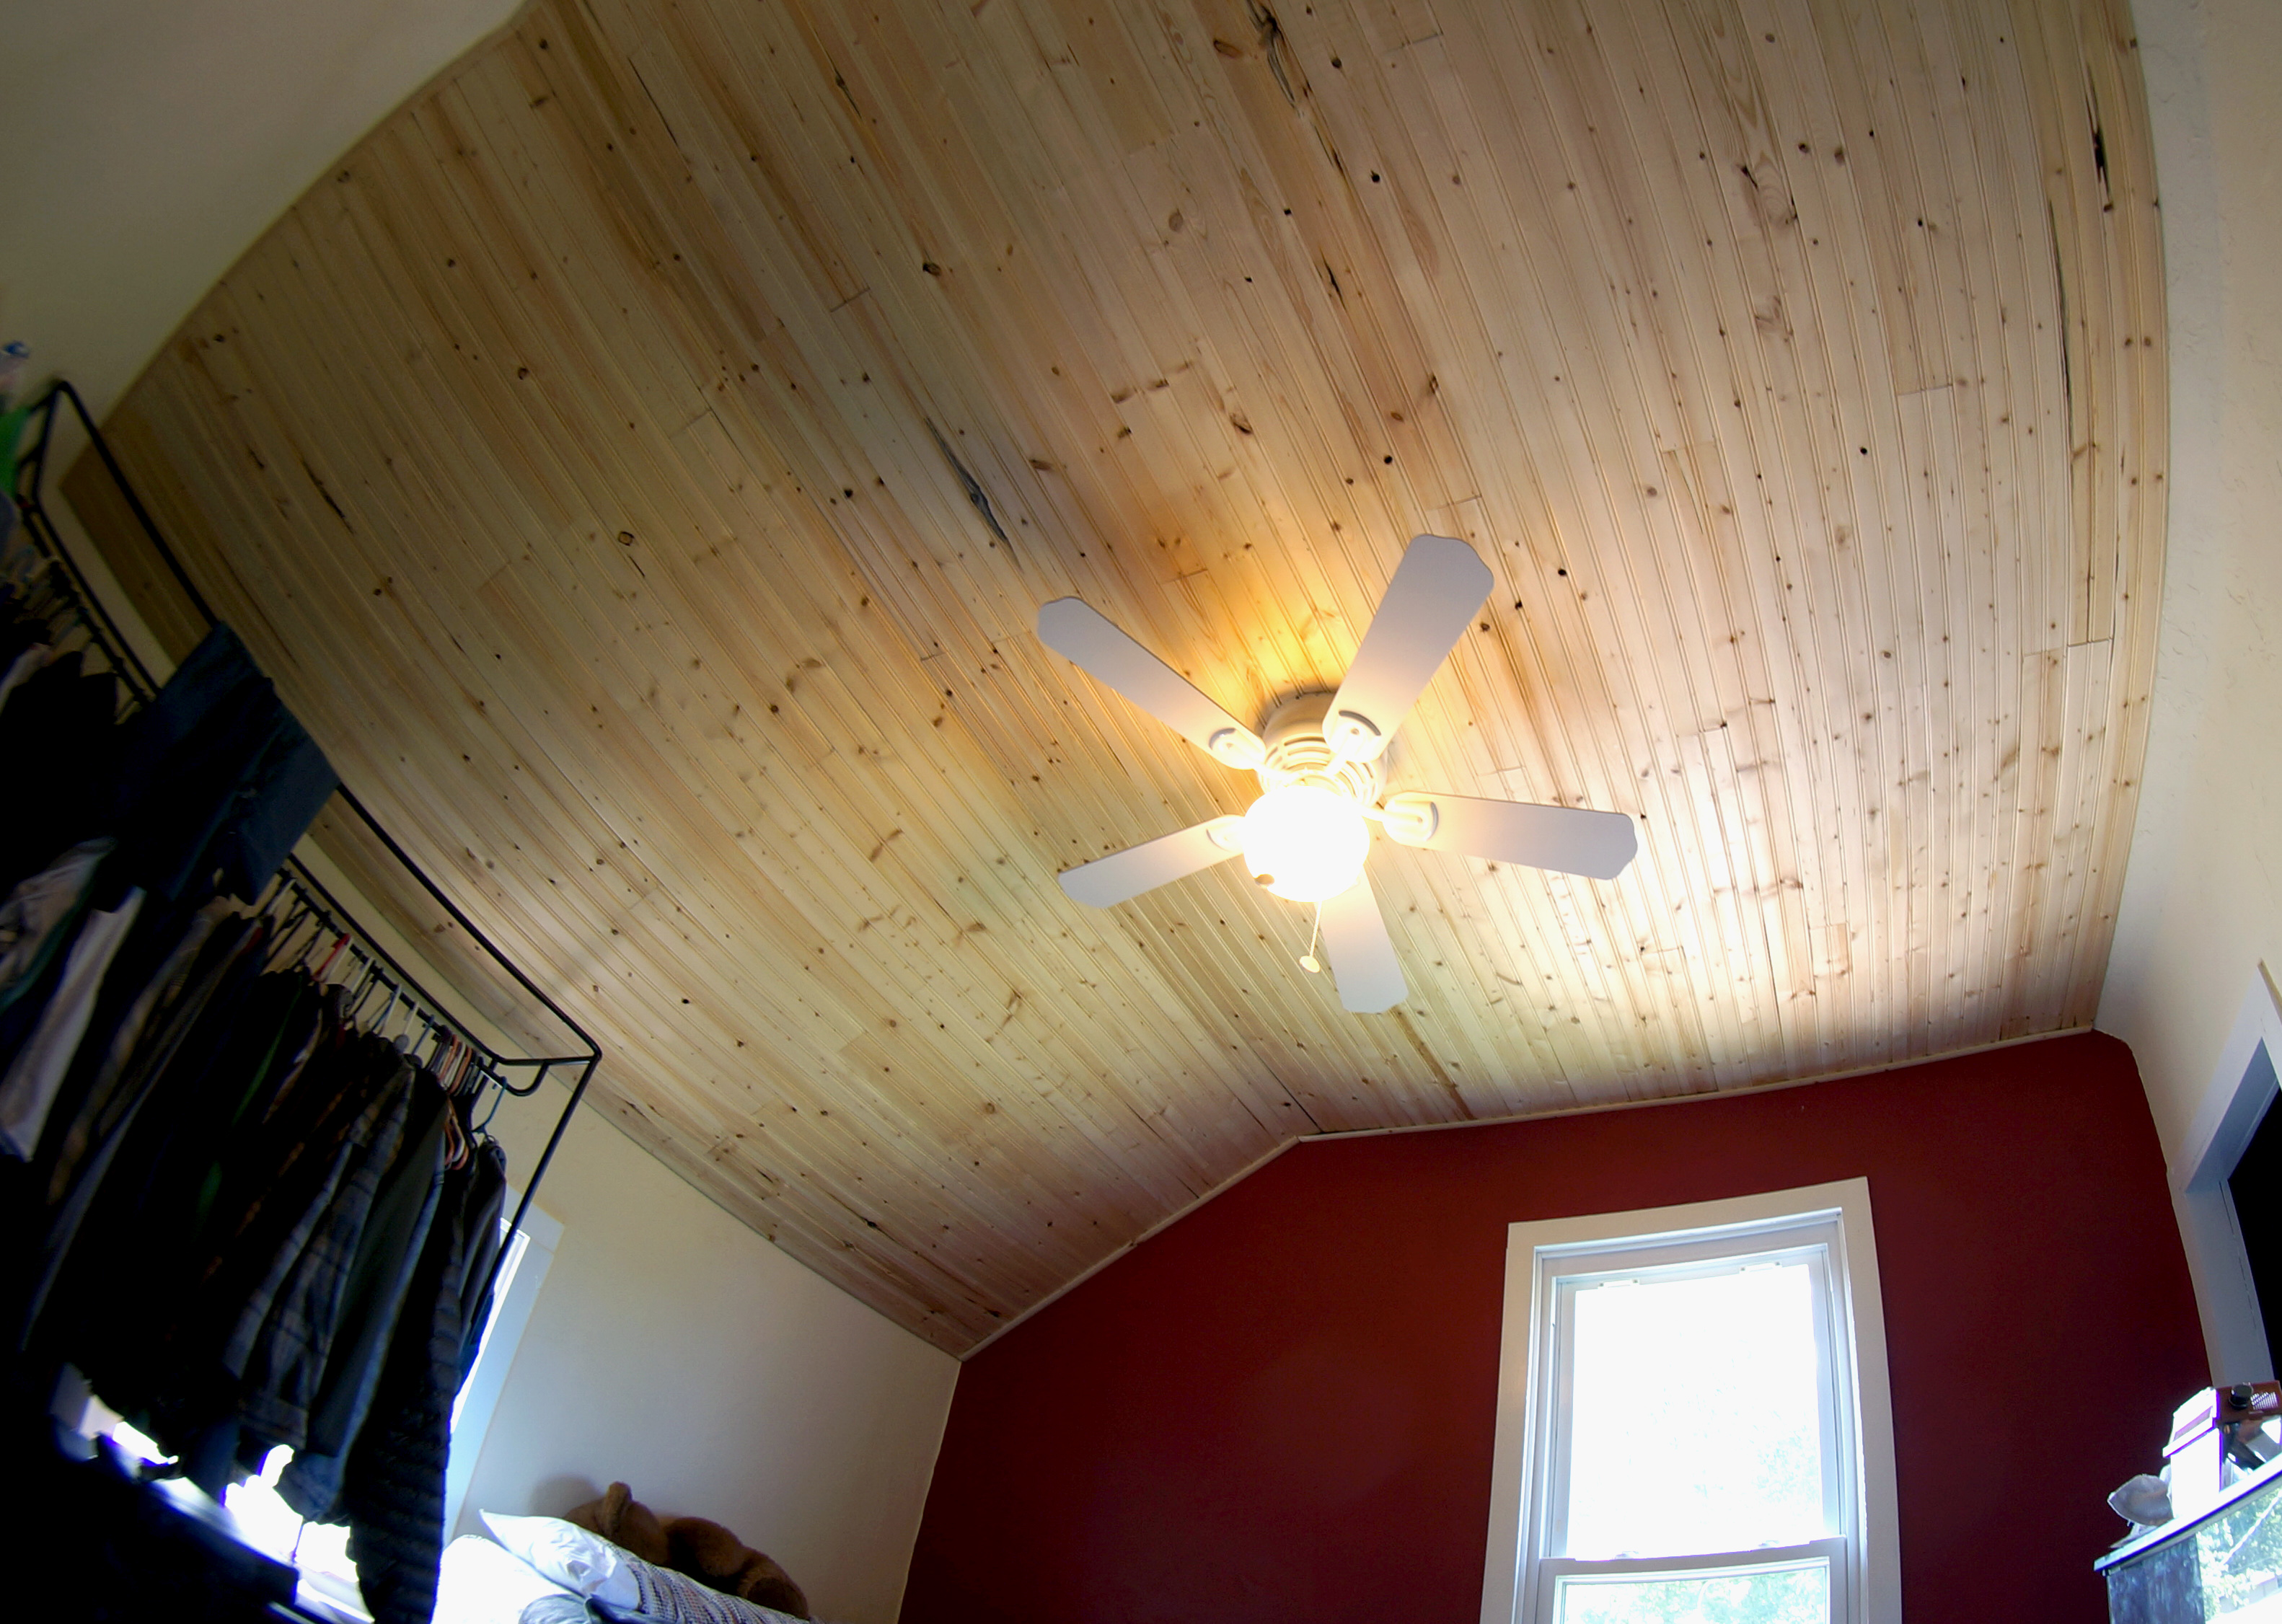
It took a very long time! Like, two weeks. It wasn't very much fun at all. If I had to do it all over again, I might just try to scrape off the old wall paper and paint over anything that couldn't be reasonable scrapped off. Wouldn't look nearly as good though!!