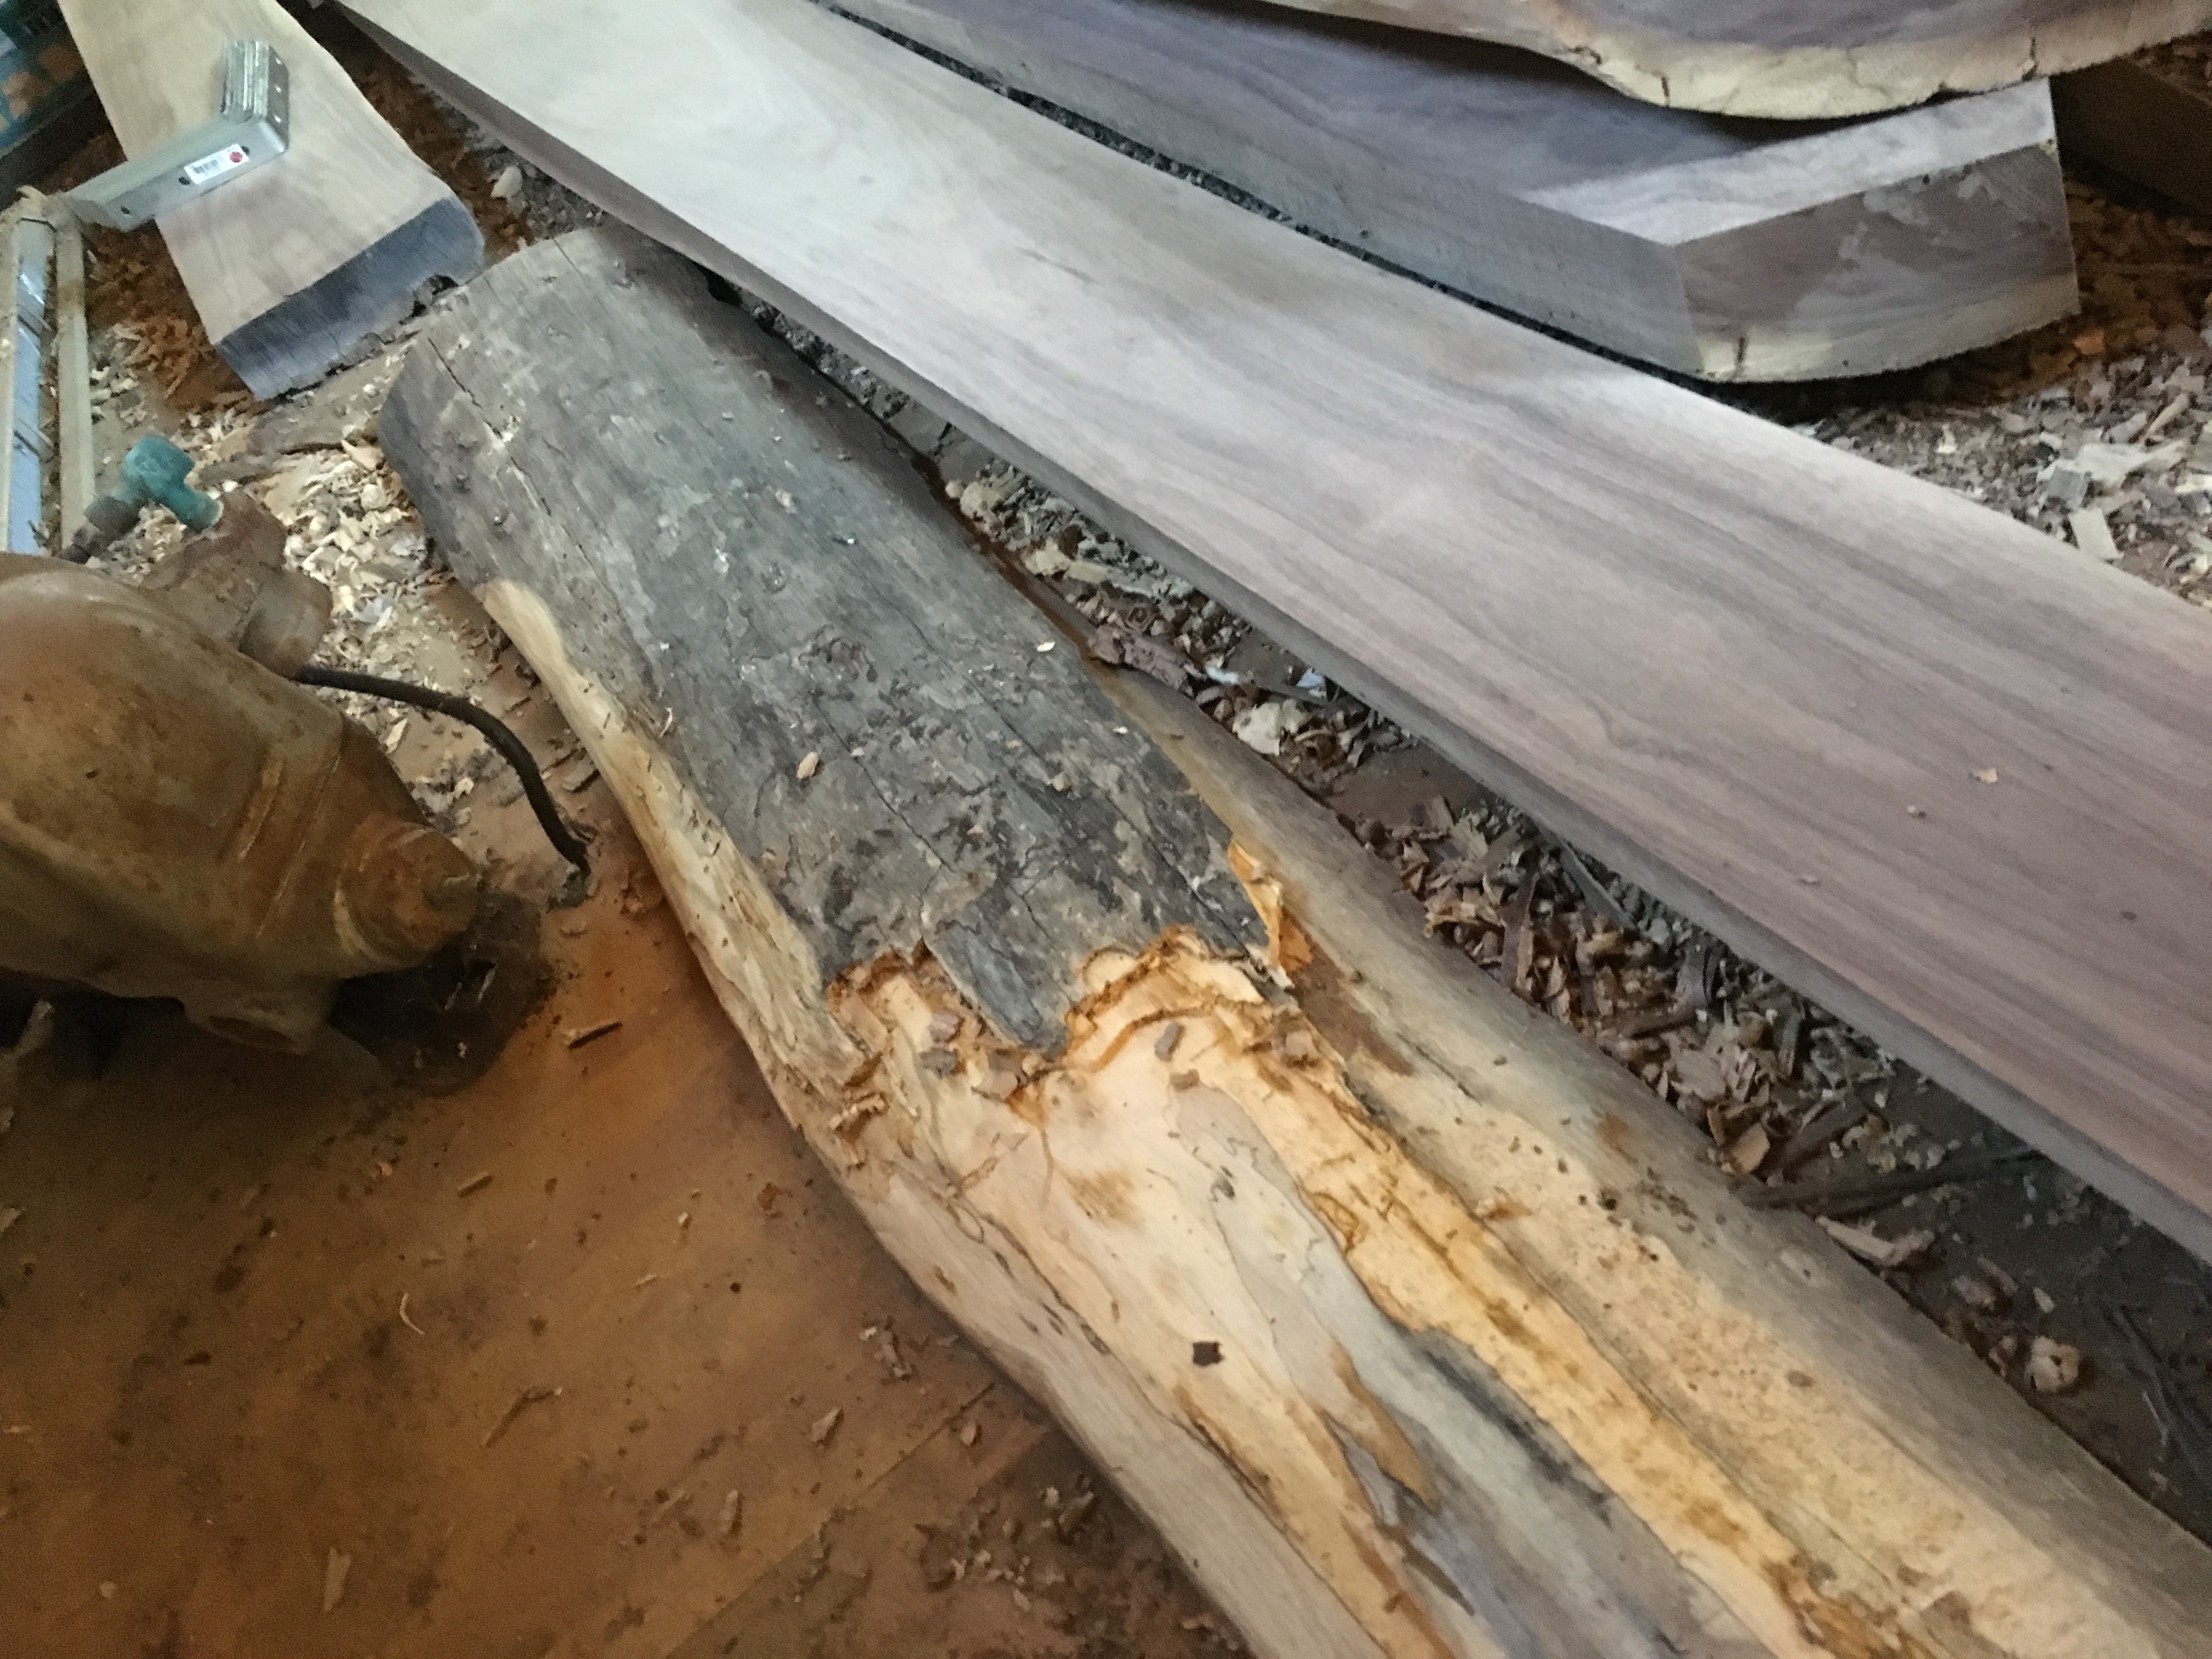
I was gifted some walnut slabs. Actually, the truth is, my friend didn't want them and threw them into a bonfire, and before the flames could devour them I pulled them out and loaded them onto my trailer. You see: he considered them to be waste because they're not flat on both sides. One side is flat and the other is nothing but live edge bark. It's the side of the tree trunk, basically. But I knew that they were not trash, I knew I could find some sort of creative use for them. So I stowed them in my workshop, and waited for an idea to spring to mind. Then, one night while lying awake in bed unable to sleep, it hit me. I knew exactly what I would use these for—and you'll have to continue reading to find out. ;)
Alright, here you can see what I'm working with. Most of the outer bark had fallen off long ago and it was the cambium or phloem or whatever that needed to be removed as it was pretty ugly and far too soft, not to mention rotten in several places.
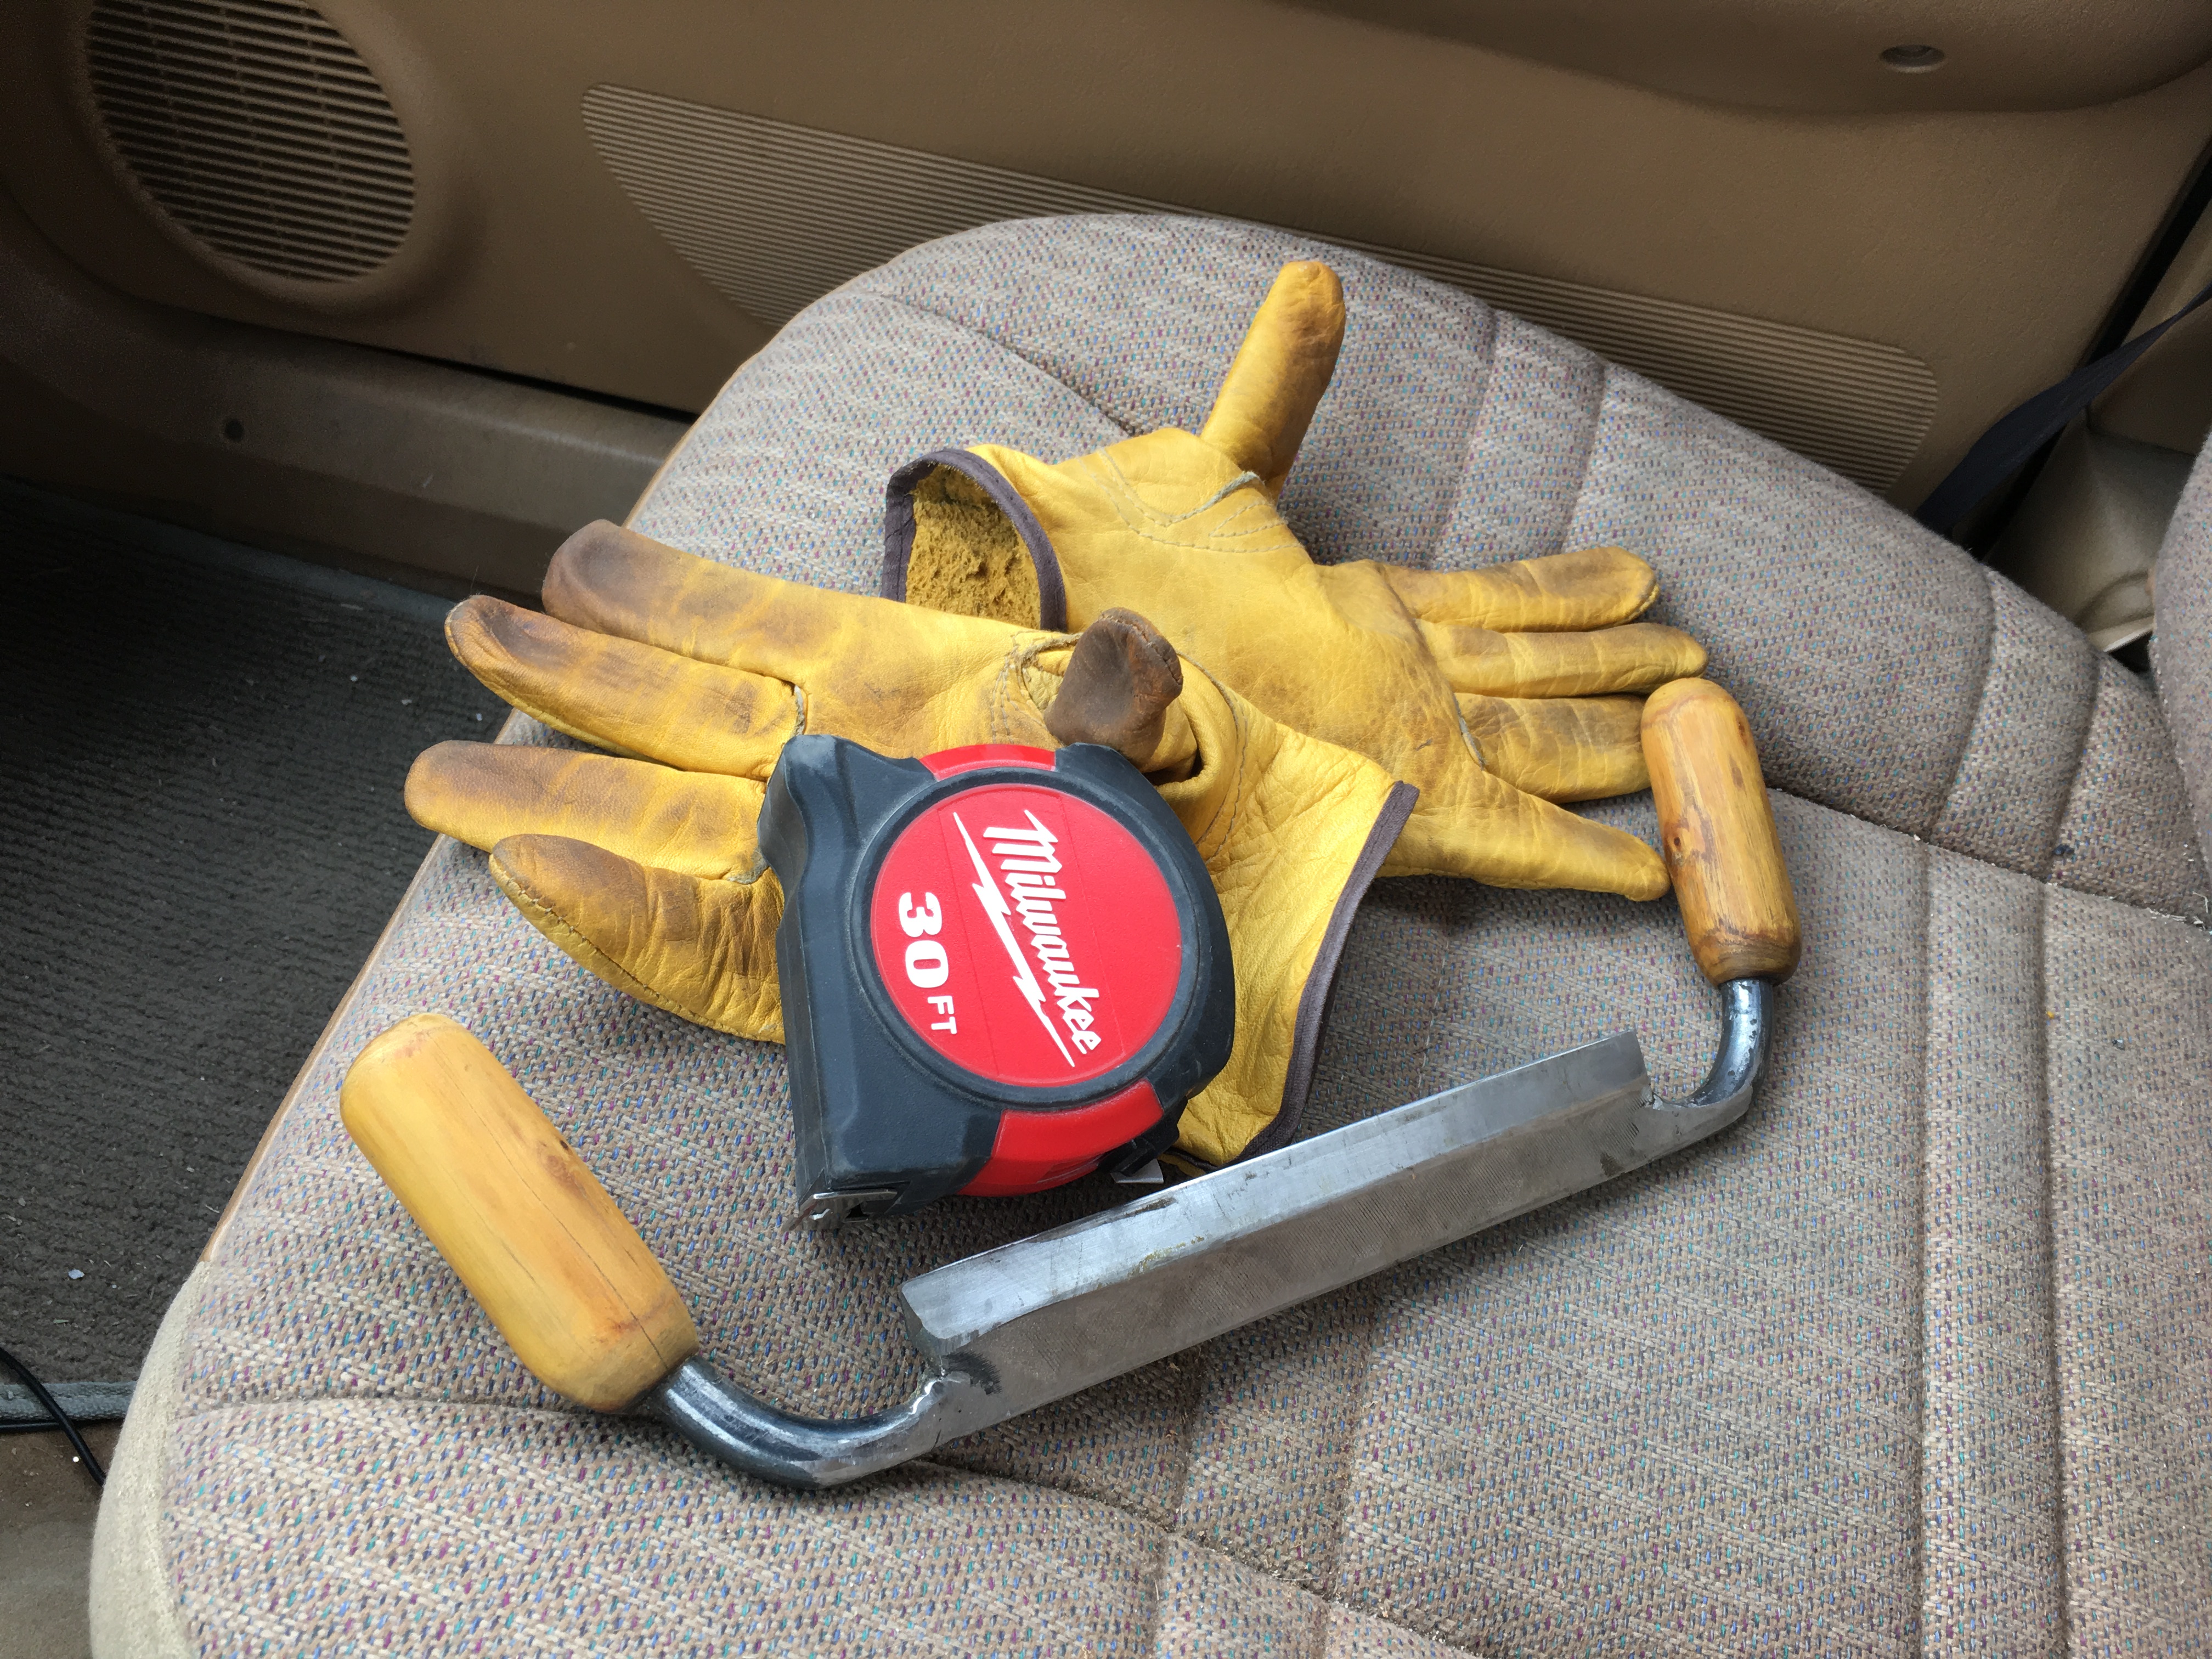
My secret weapen for removing it was this draw shave that my friend made himself. He used a old metal file (very hard tool steel), welded on handles wrapped in osage orange (hedge) wood, and grinded and then sharpened it to an insanely razor sharp edge. Very well done. He let me barrow it and it really helped with this job.
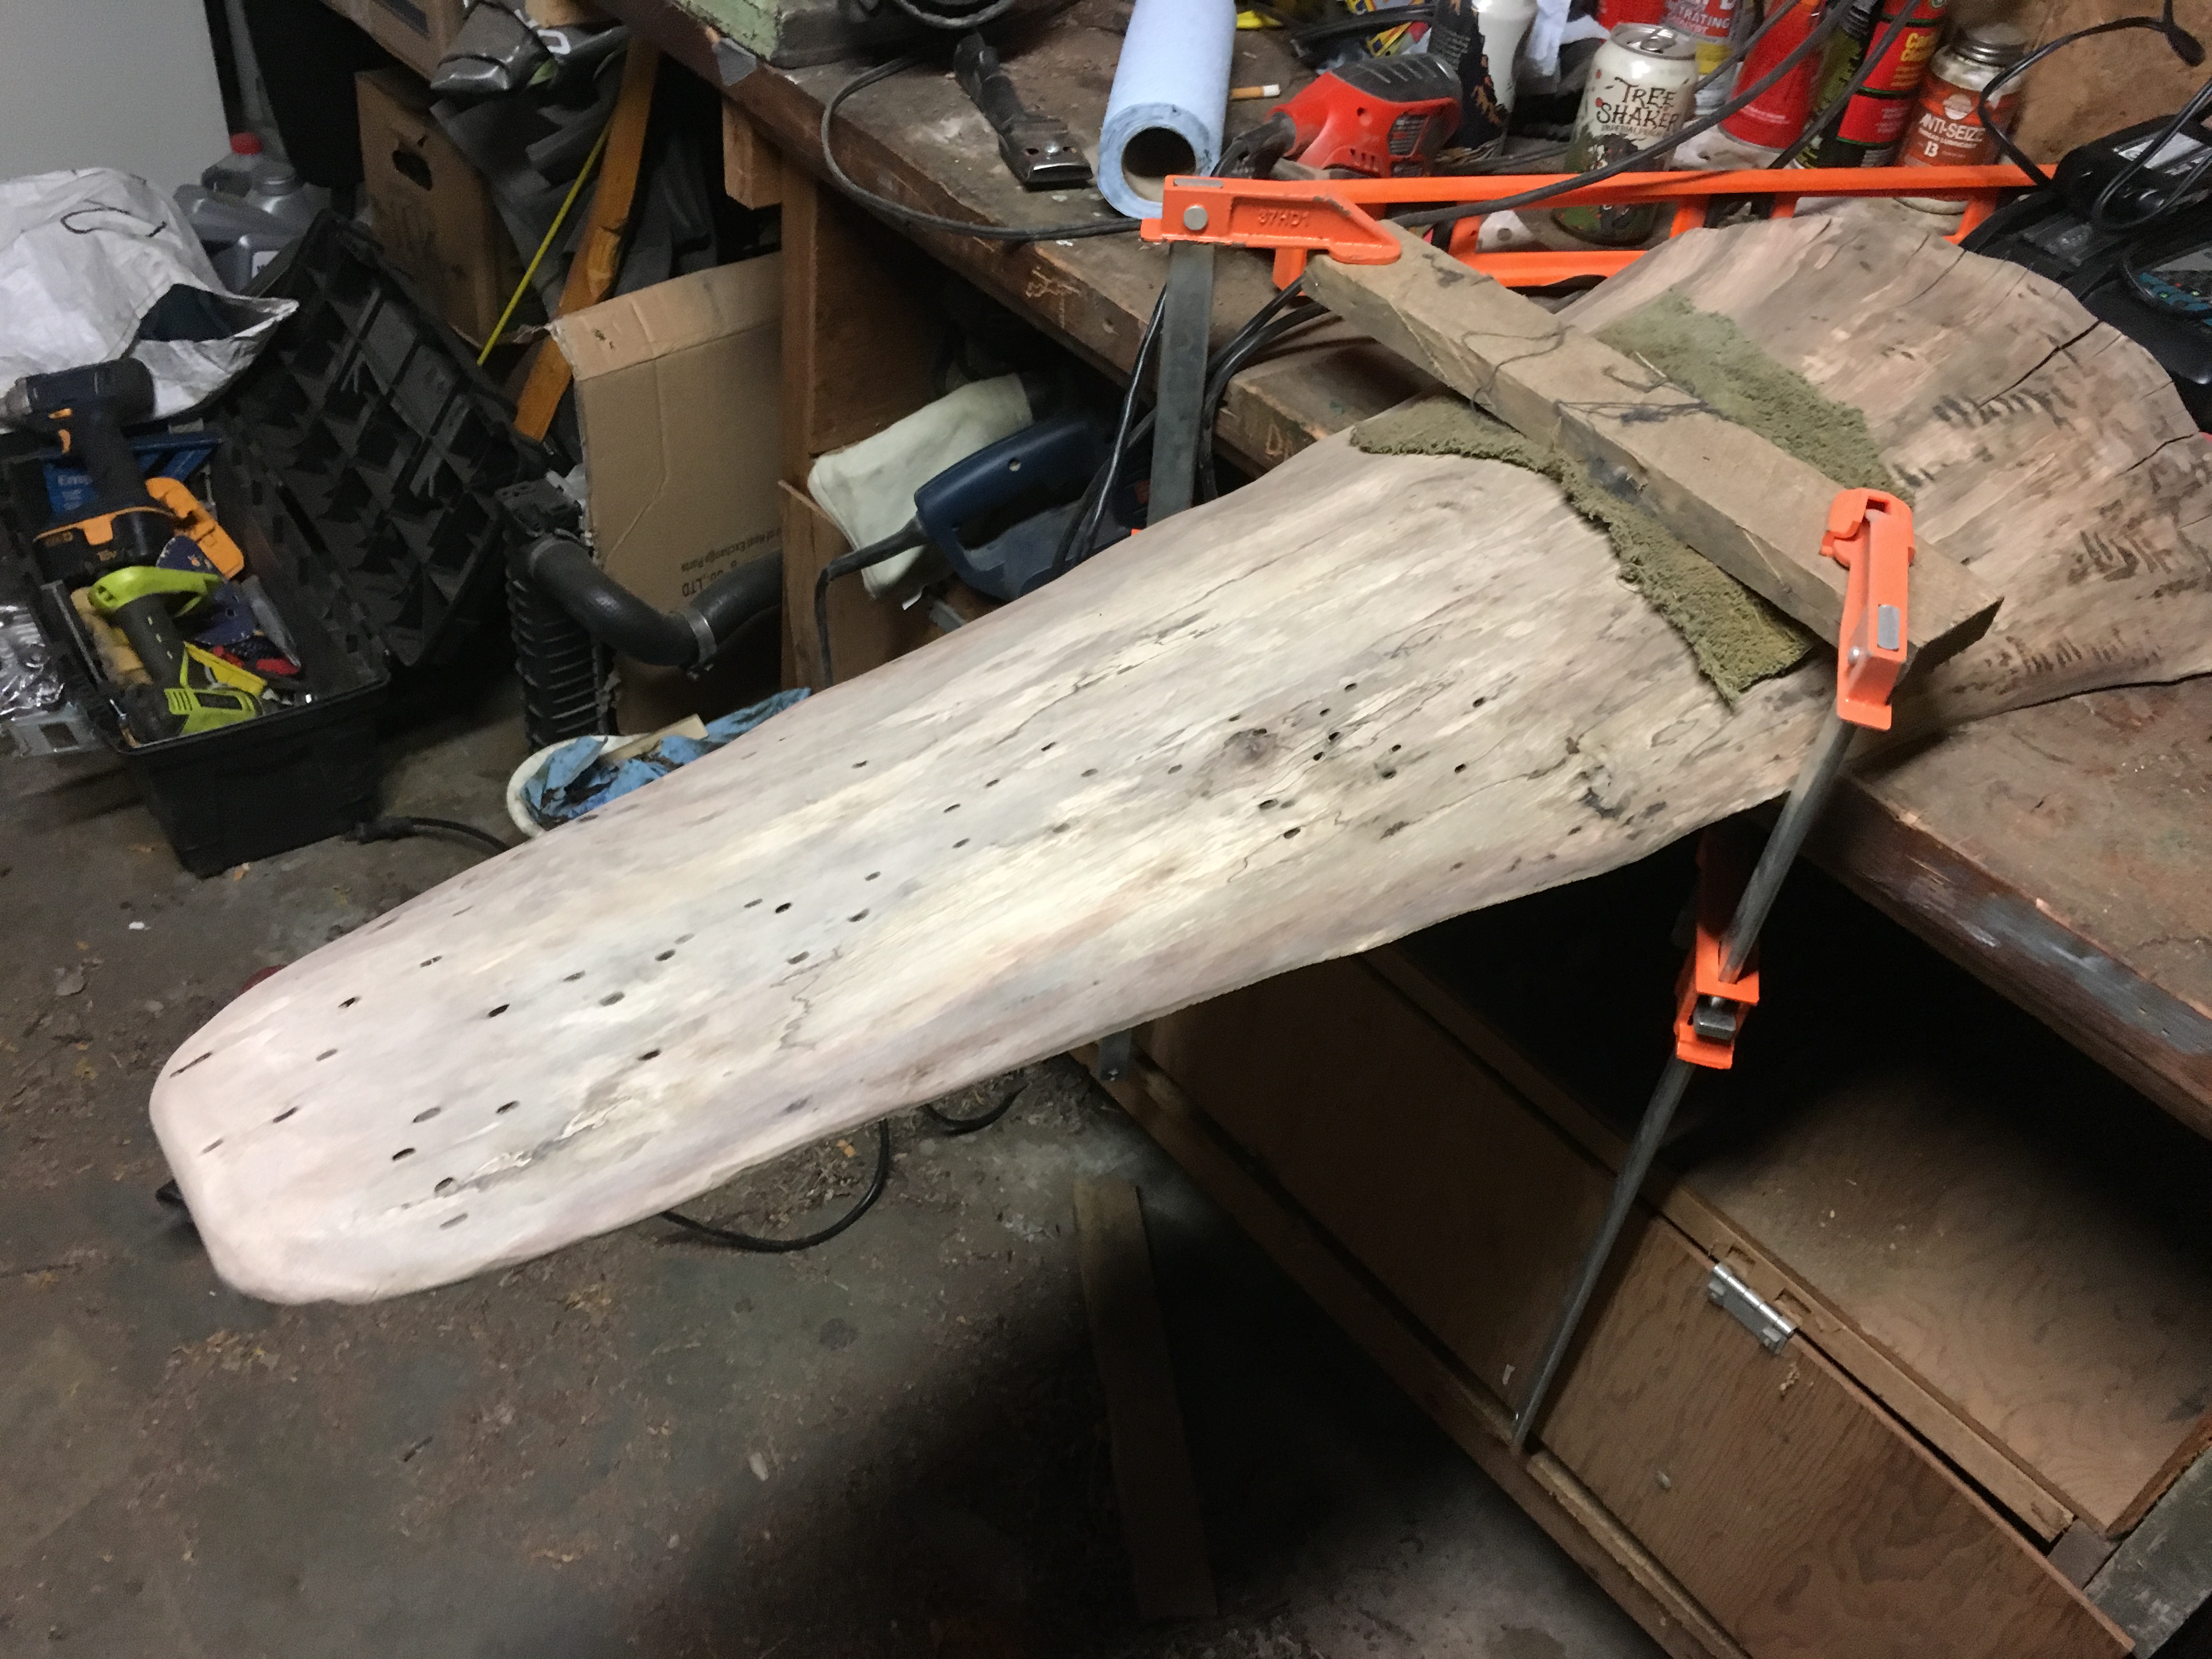
I also want to share that I found this method of clamping the work peice to the bench to be very effective. A later moved the workpeices inside (it was cold in the garage!) and tried clamping them to saw horses but it did not work nearly as well.
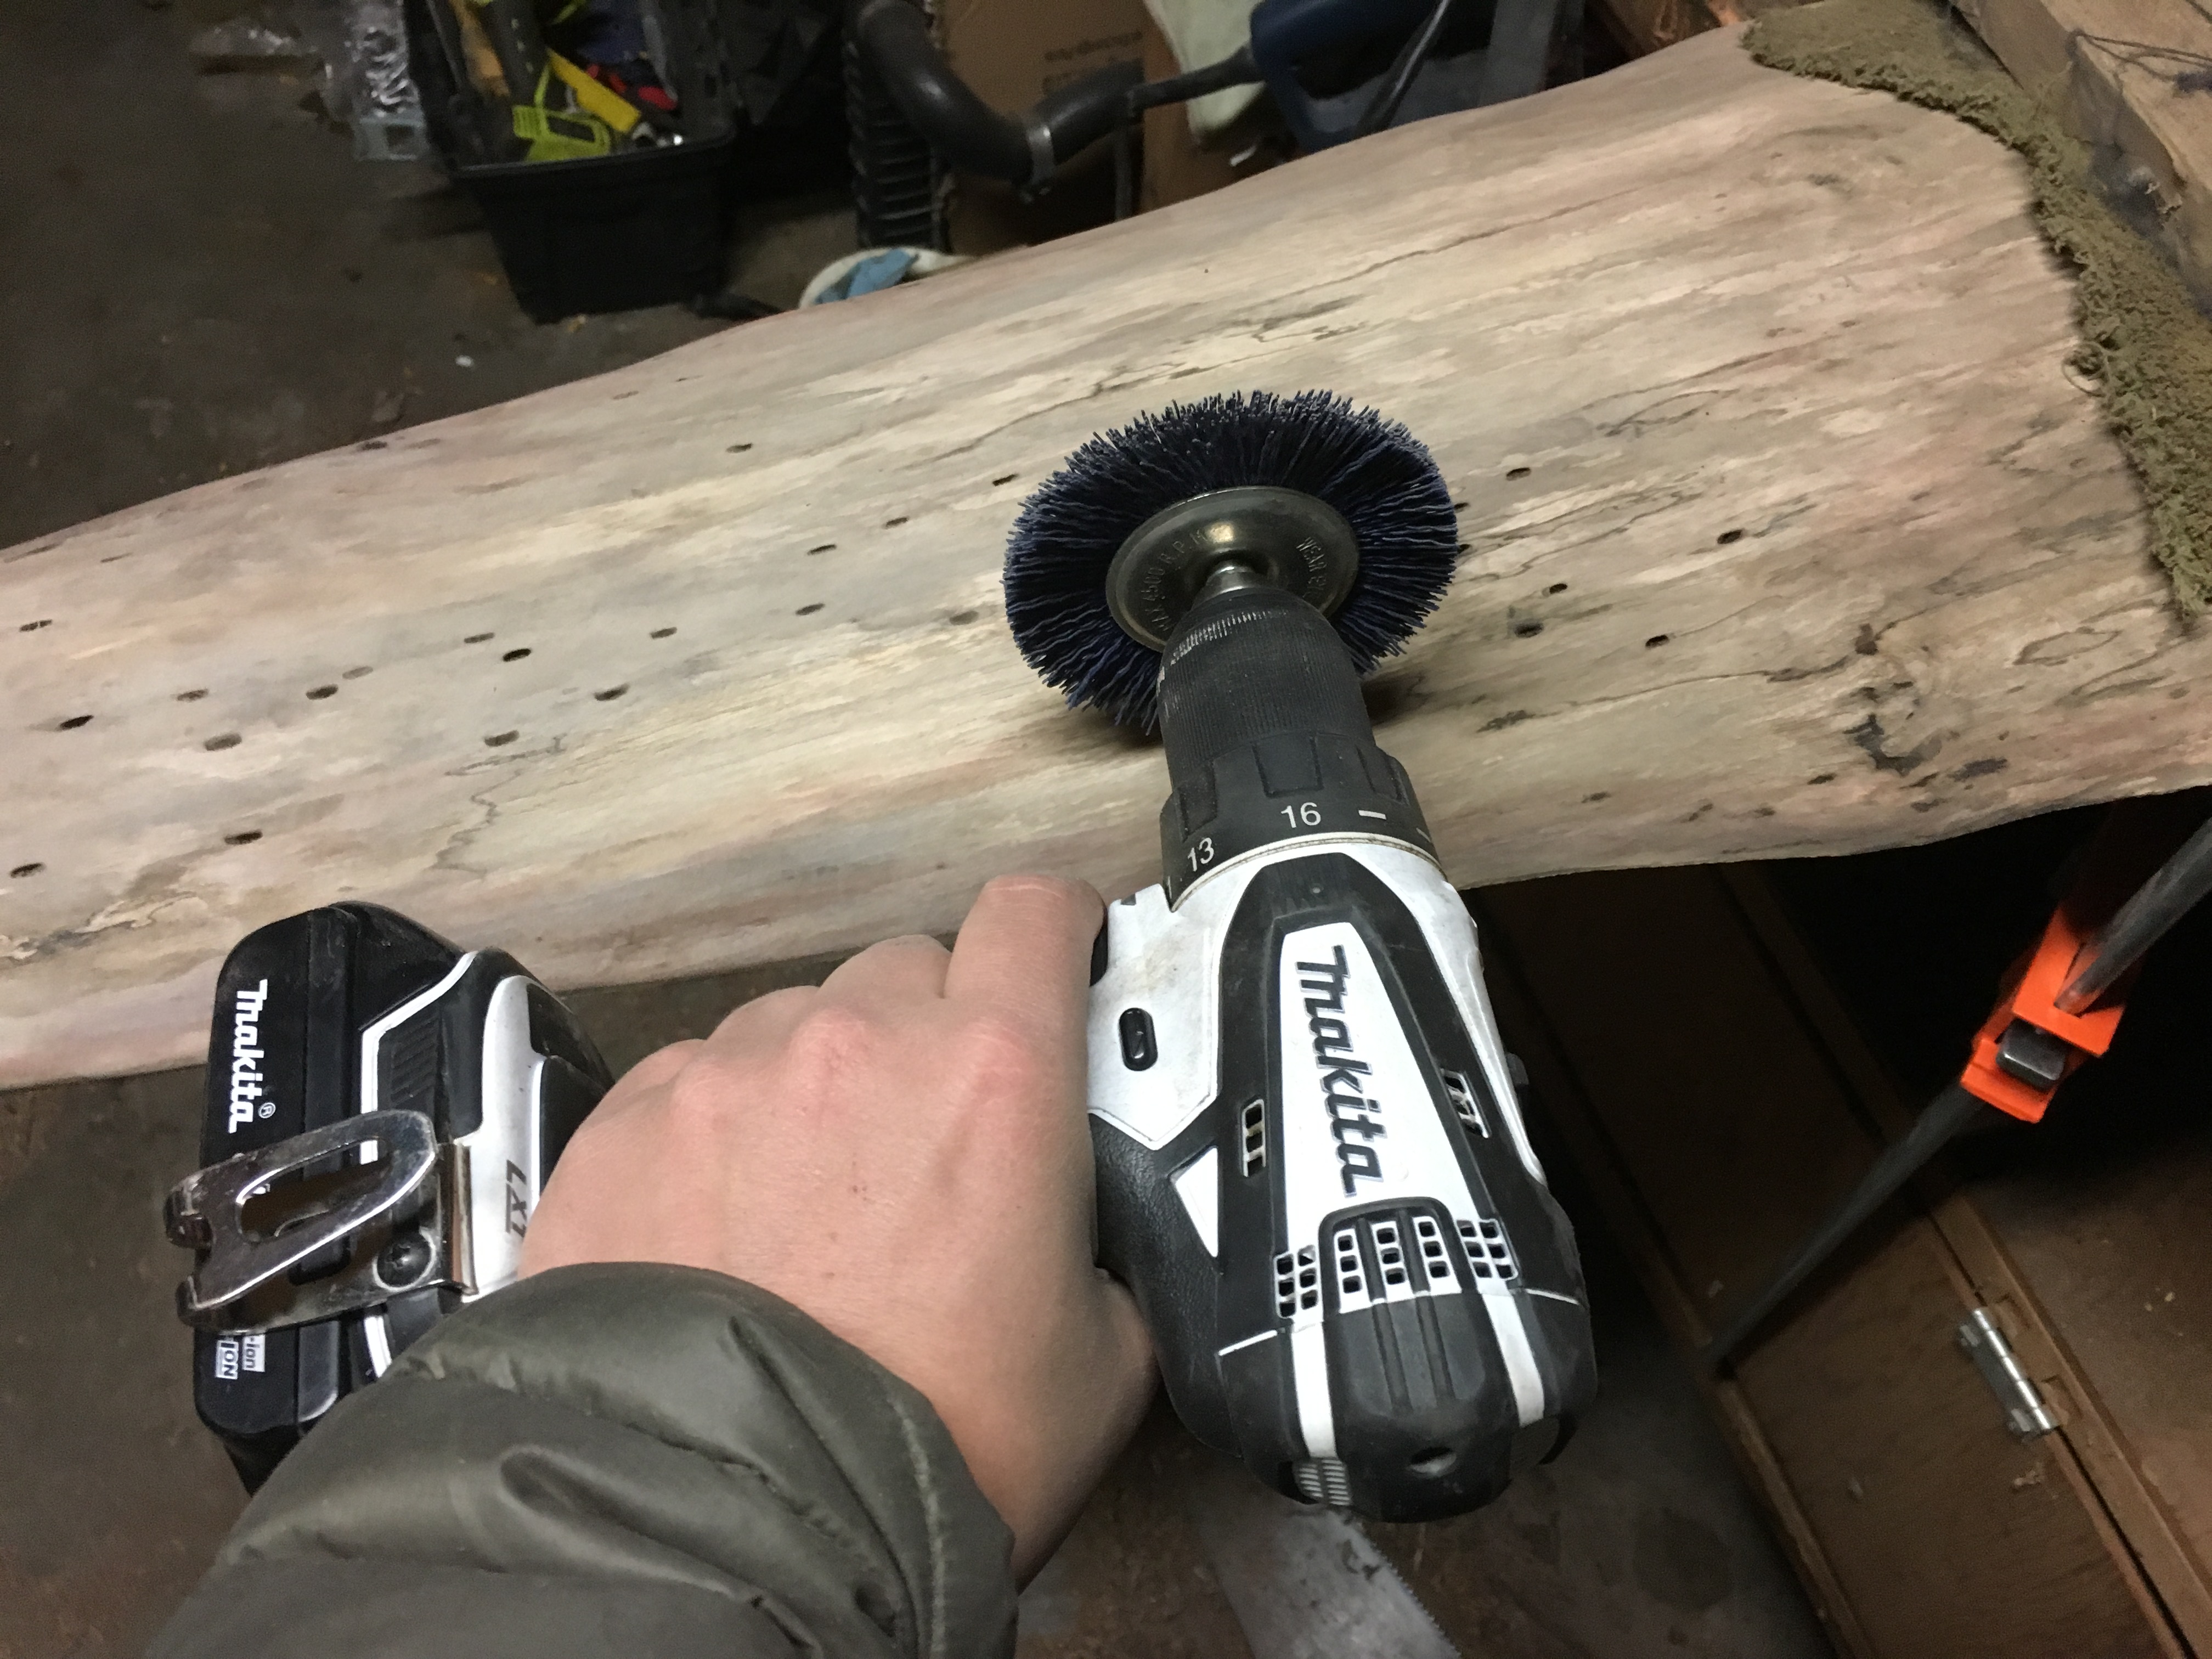
Here's my other secret weapon. It's a drill-attached nylon brush wheel. The nylon bristles are pretty stiff and where great at cleaning out any remaining soft woody stuff, finding and digging out rotten sap wood, clearing out bug holes, etc. (I swear my hand doesn't look this puffy in real life, lol). If you look hard enough, you can see what might be called spalted wood (?). Cool!
For areas where I wanted to maintian as much of the original profile of the trunk, like in this peice shown bellow, but still removing soft outer wood material, I used a double-edge scraper tool. But first I used an angle grinder to cut the blade of the scraper into more of a round shape rather than flat, and made sure it was sharp too. This allowed me to get into little grooves and scrape away anything soft and all the way down to the white sapwood.
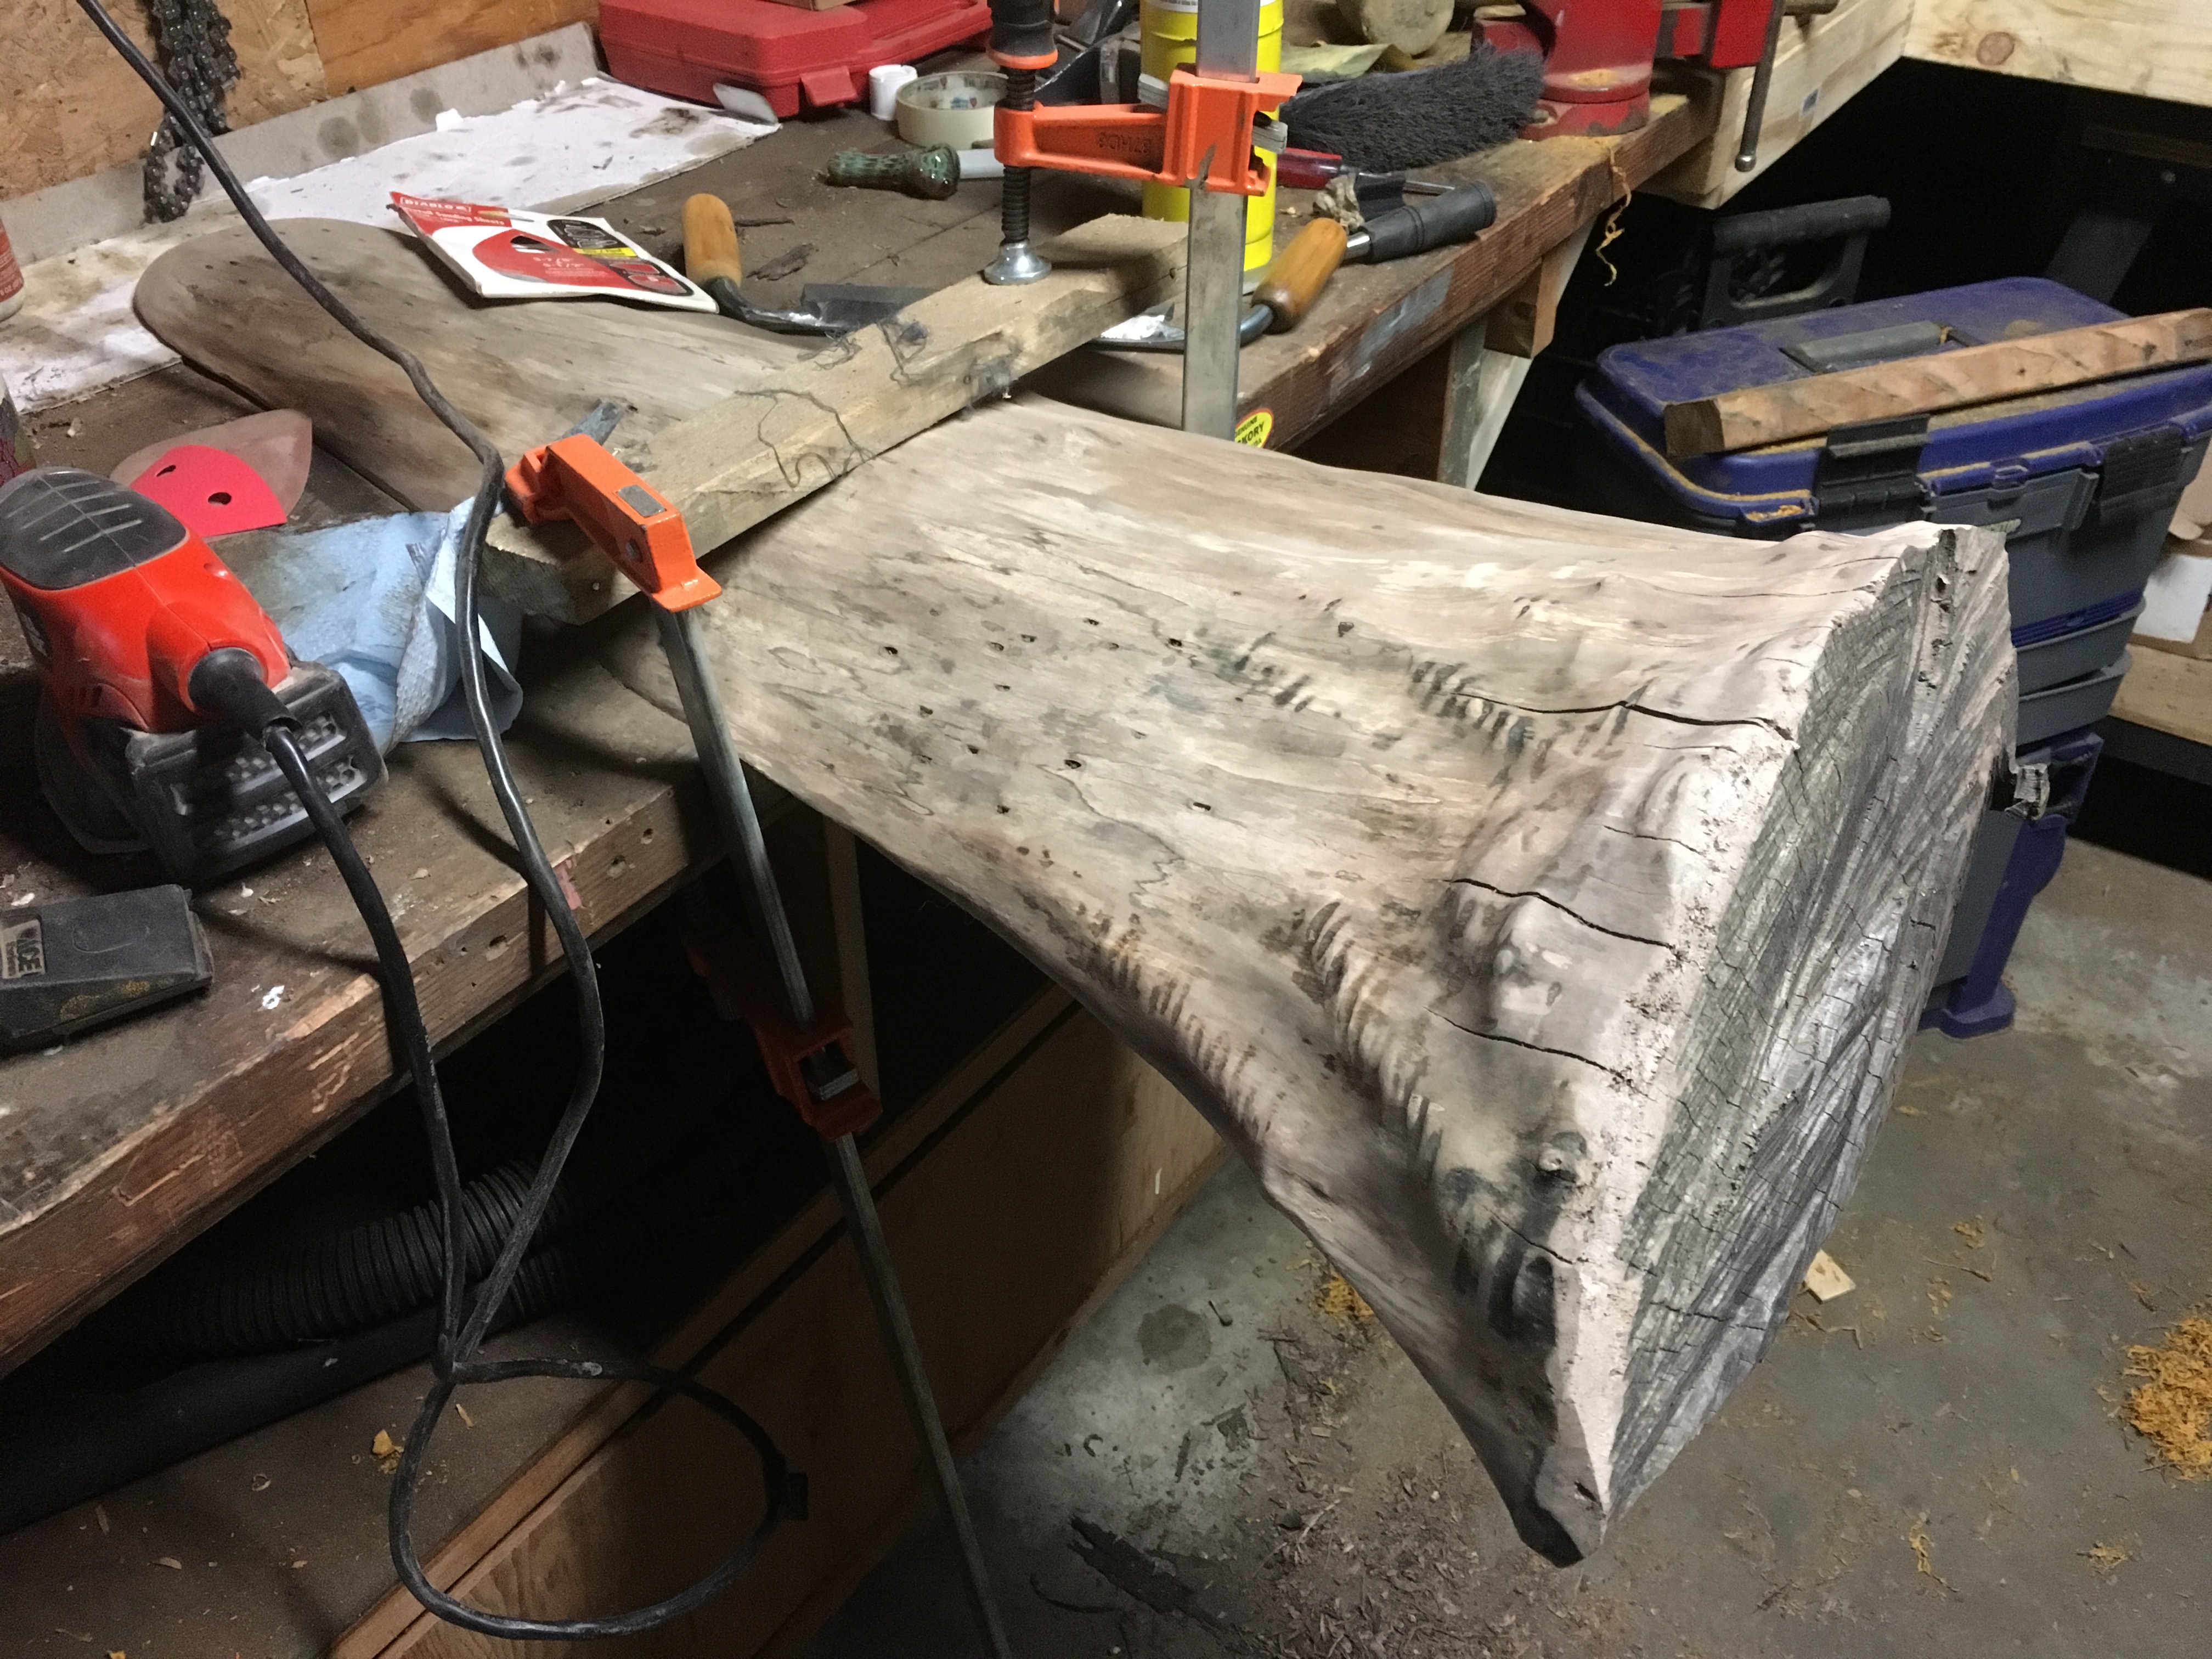
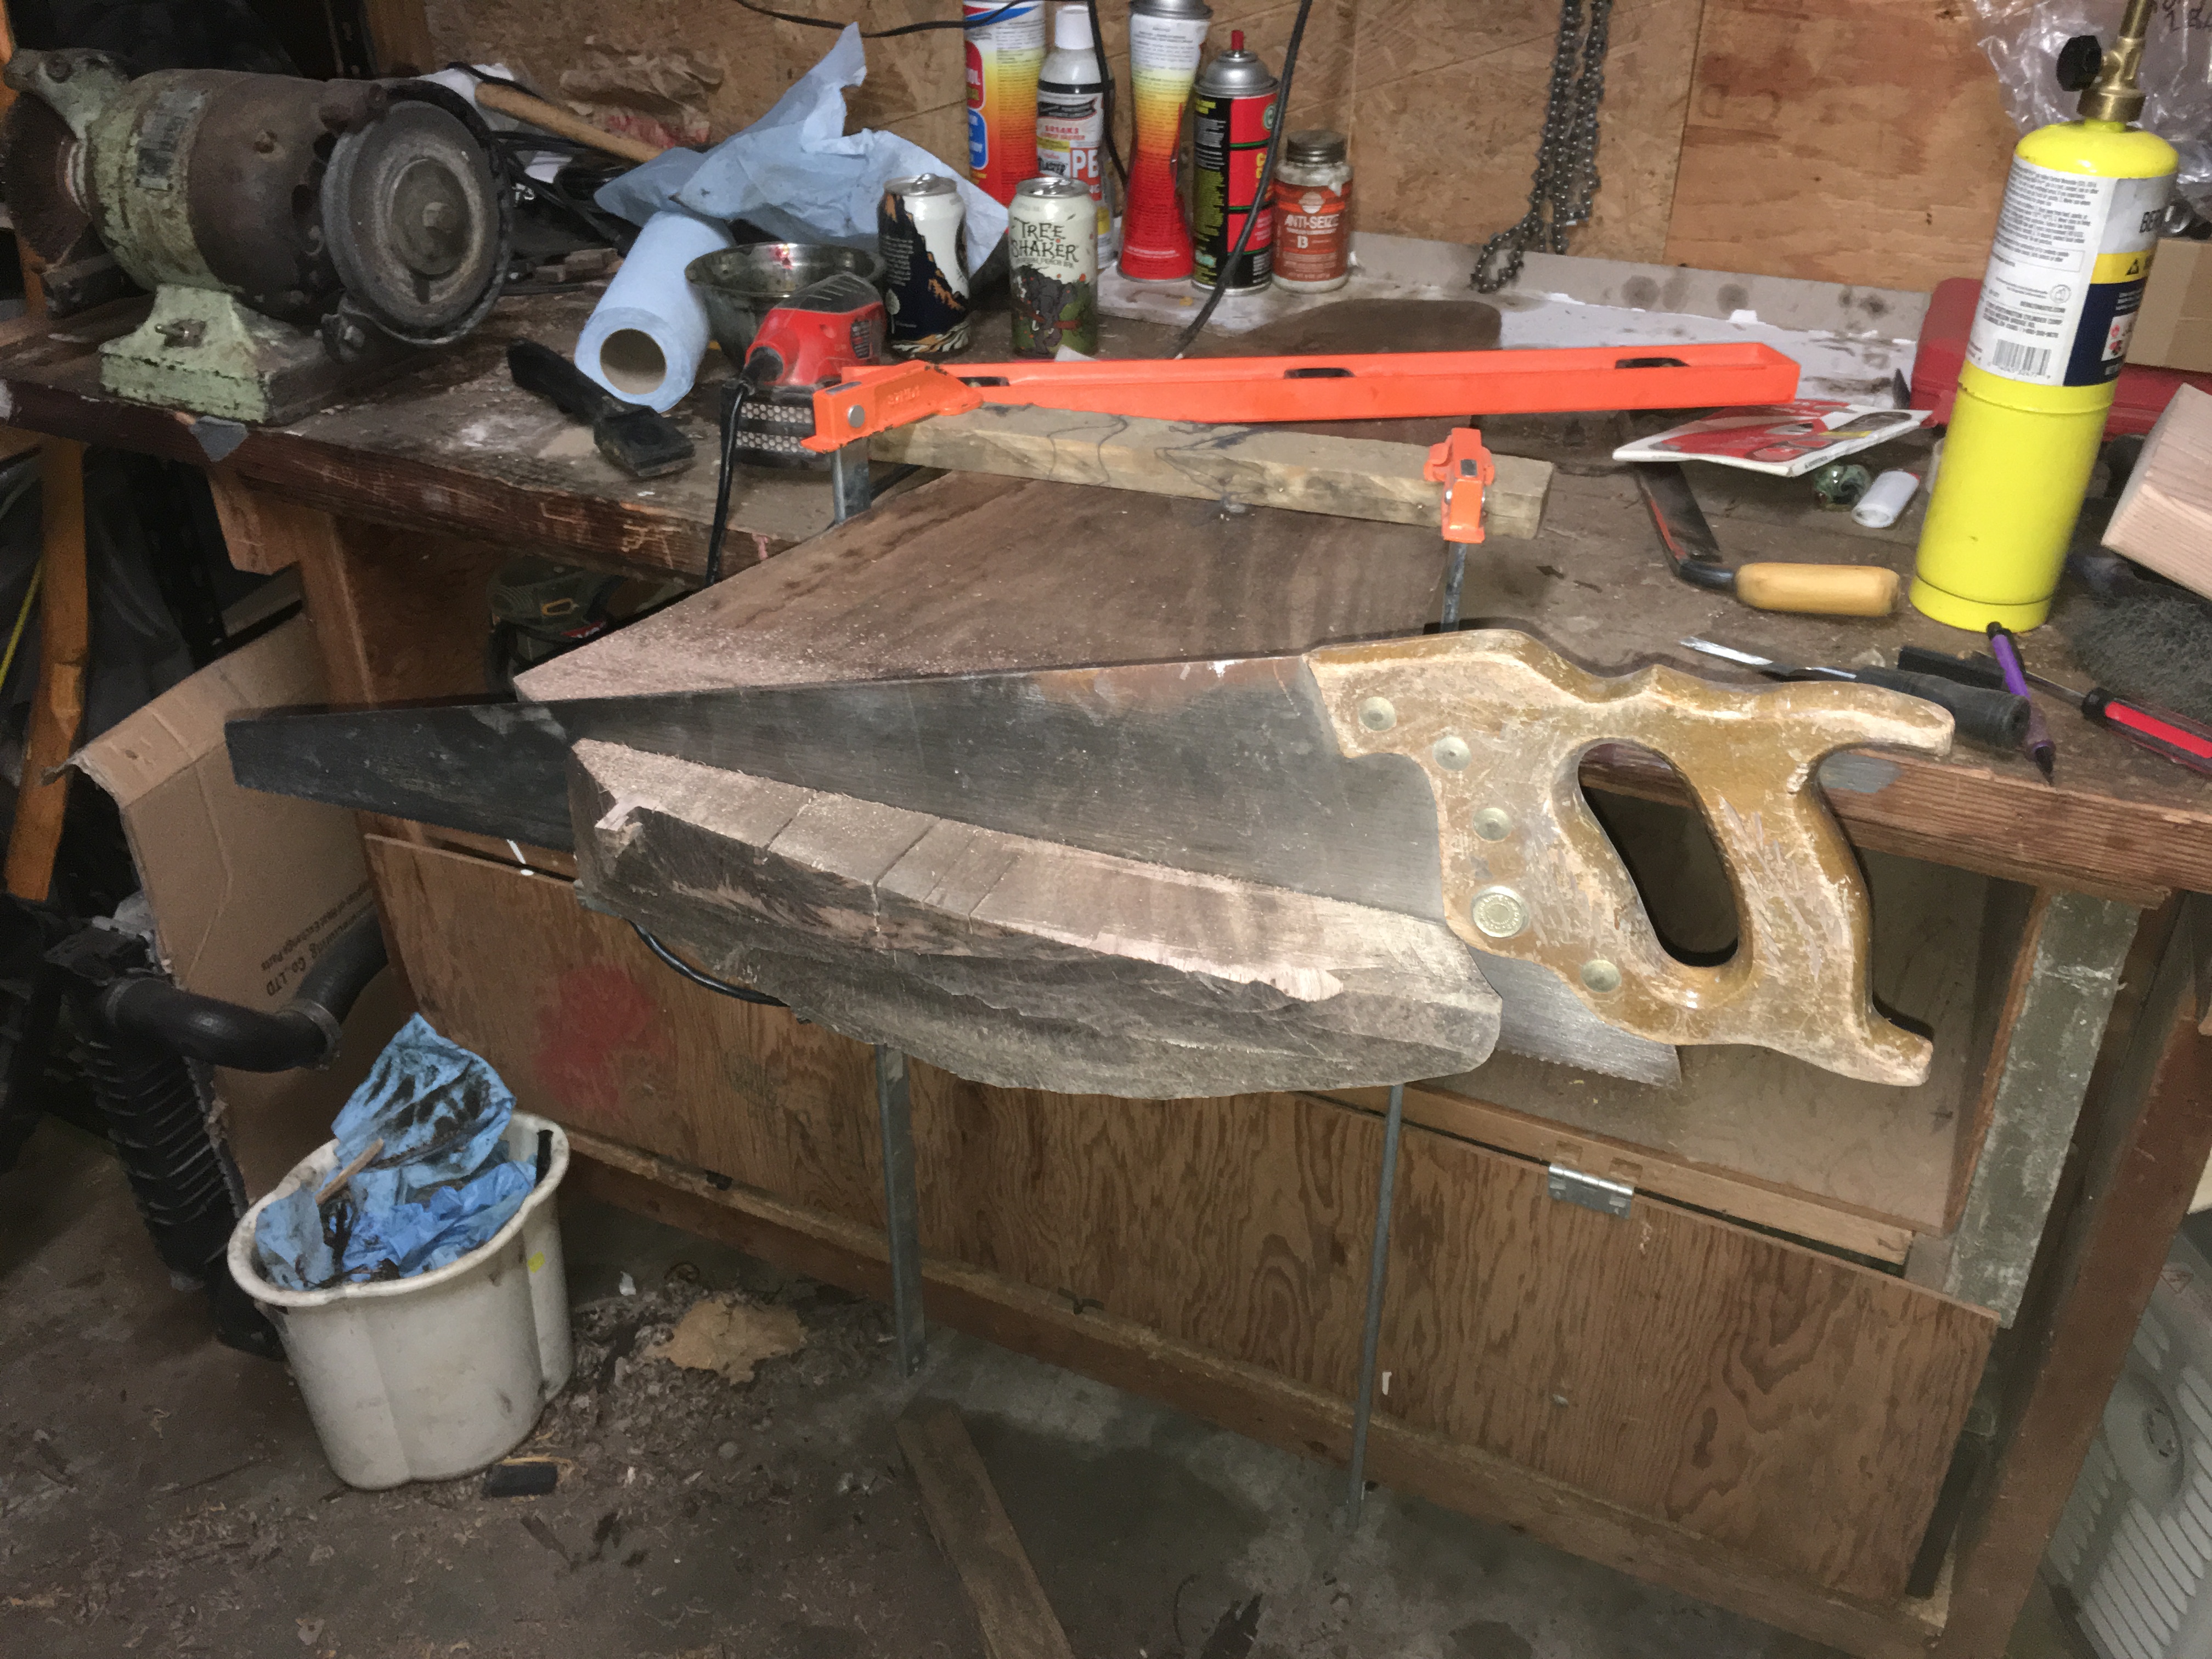
Next, I squared up the ends. I used a 7-1/4" circular saw to get a good square cut (I was only concerned about it being square between the two flat surfaces and not down the length of the board, if that makes sense. You'll see why soon enough). Where the blade wasn't thick enough to cut all the way through, I finished it up with a hand saw.
Here's the rotten sap wood. I got most of it out I think. I just used the nylon brush wheel drill-attachement which dug out anything soft and left anything hard, then went over it with the detail sander.
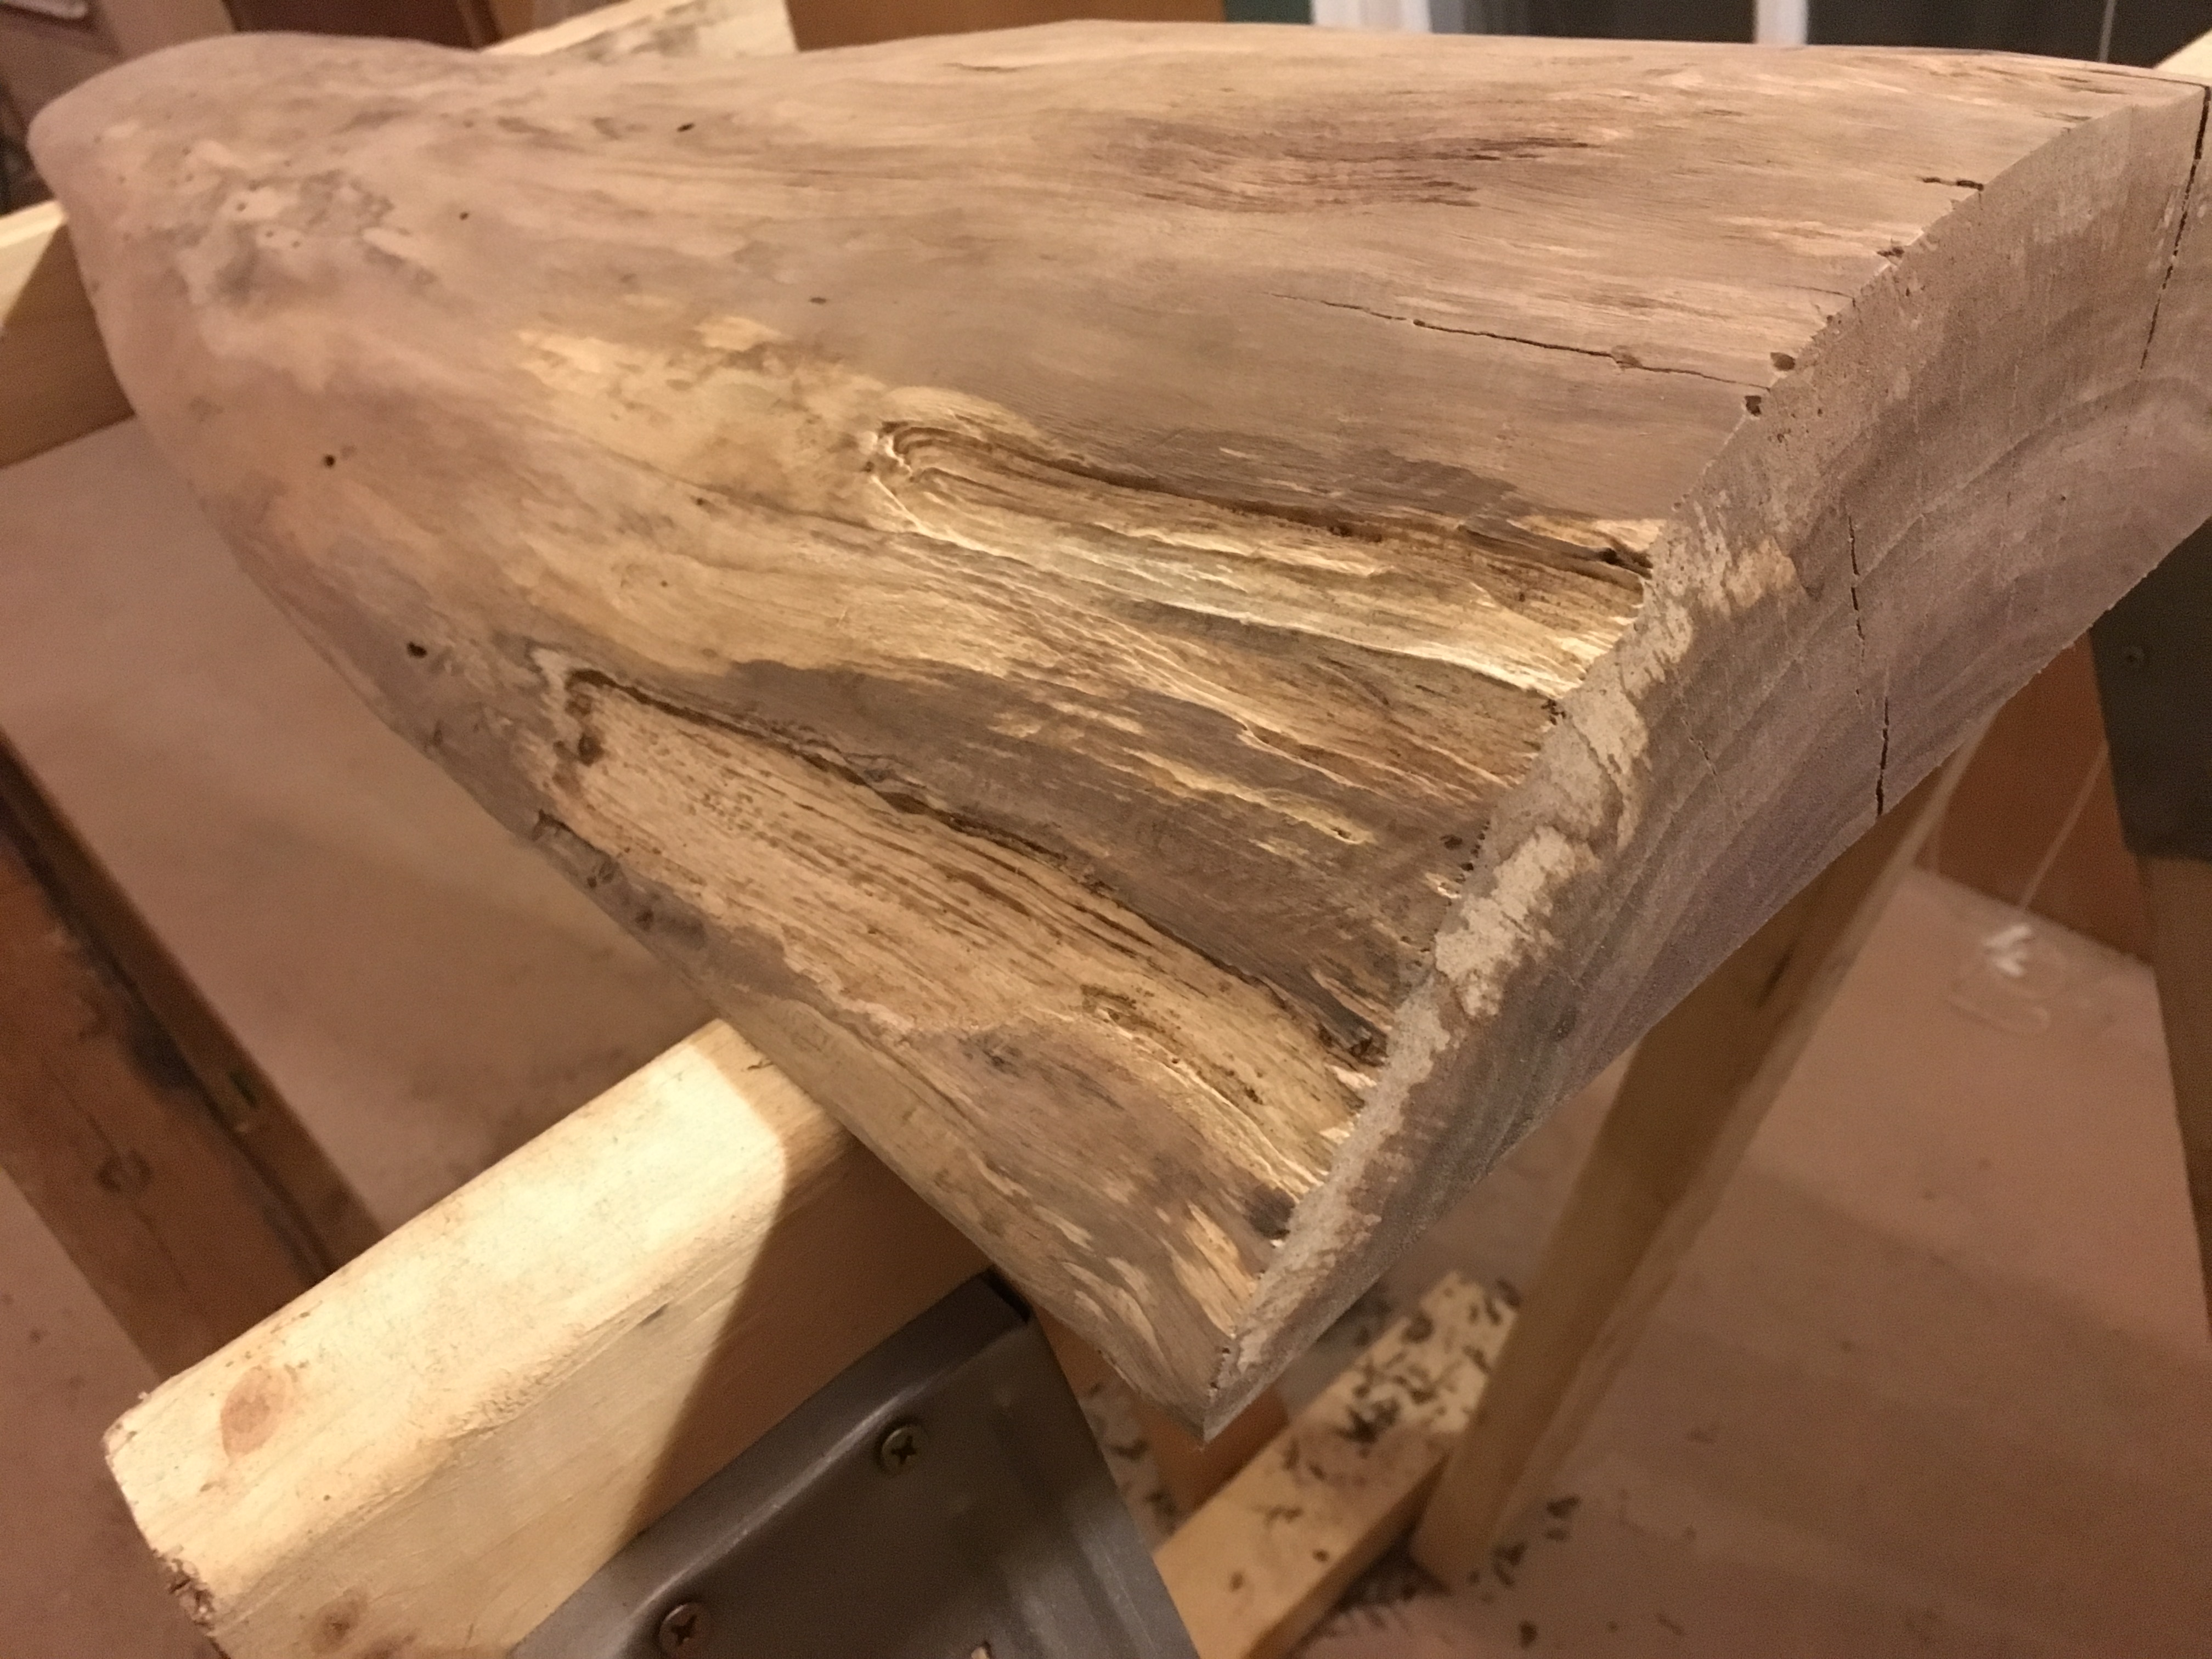
The last thing I did to the live-edge side of the slabs was use my palm sander to further smooth things out. I have a Black & Decker "Mouser" (onlye $30 on Amazon!) that worked perfect, but the sanding attachement on my multi-tool would have worked just as well if I didn't run it over with my truck last month.. I used 120 grit then 220 grit sandpaper. Sanding by hand would have been great too but these aint no french polished relics, so I called it good.

Time to finish them!
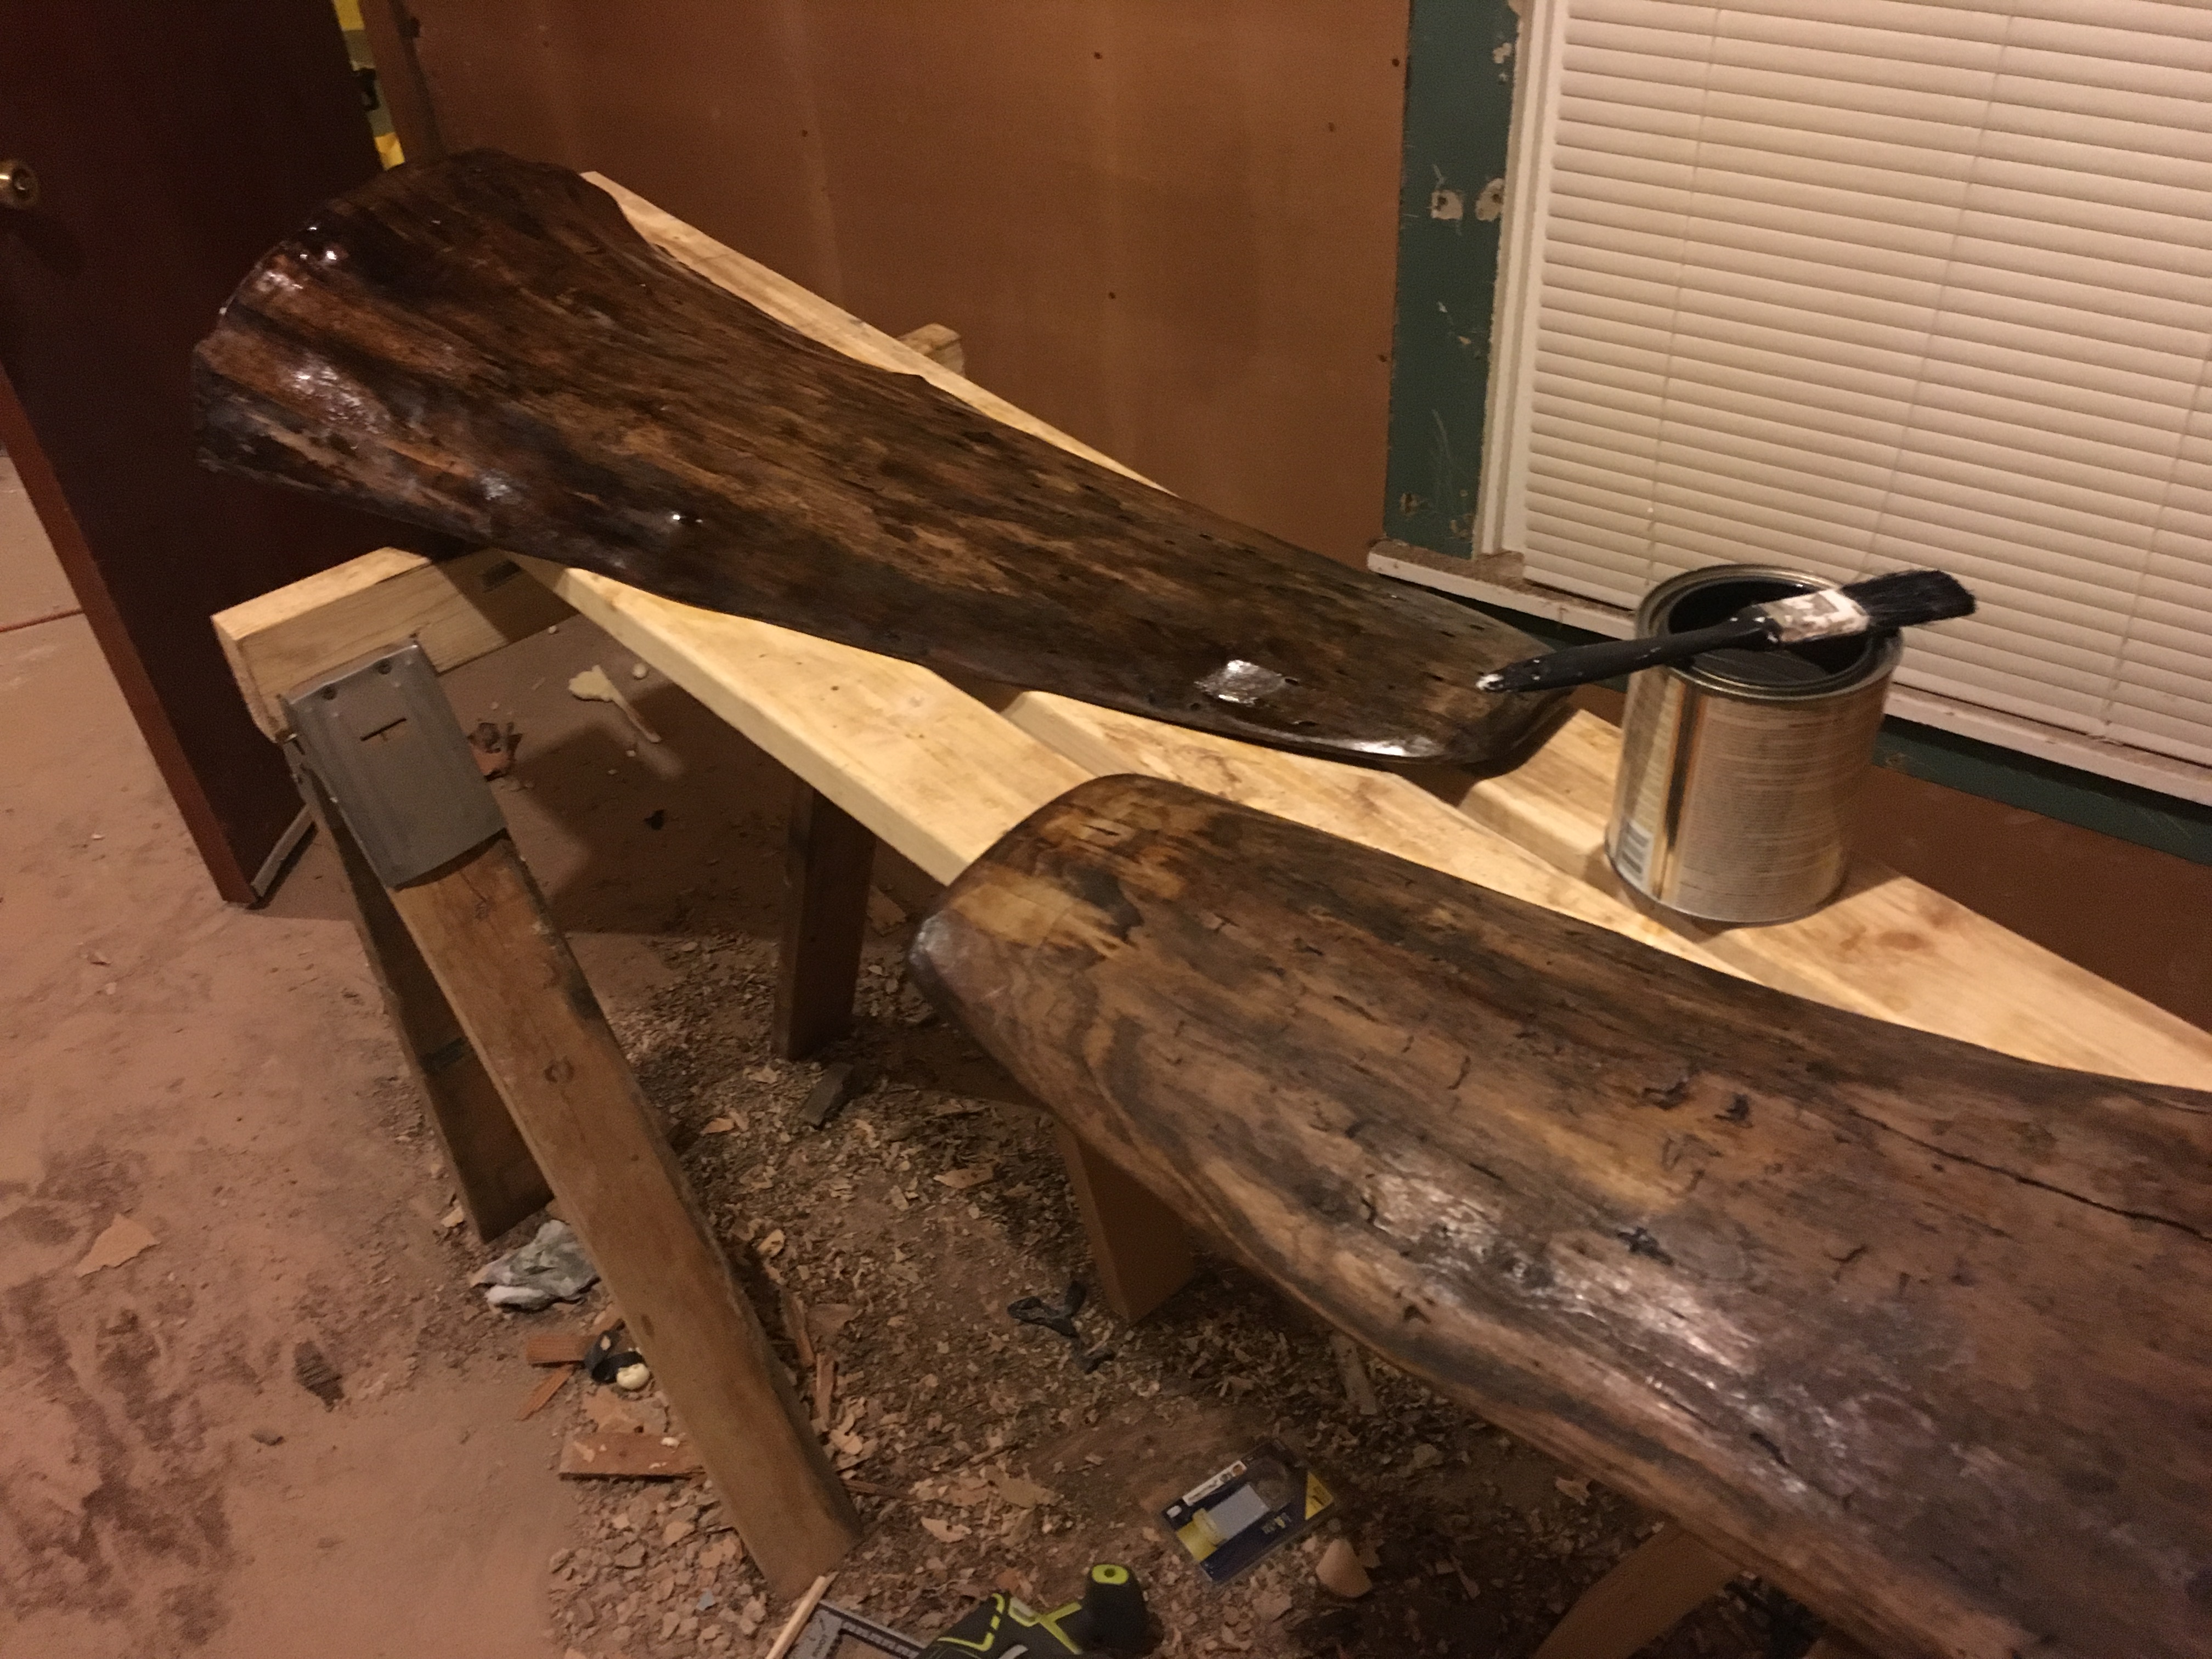
To lighten up the sap wood exterior, I stained them with Minwax Dark Walnut thinned down 50/50 with paint thinner (mineral spirits, mostly). Then I gave it a coat of Boiled Linseed Oil (BLO). I think it helped a lot but as you can see it came out a little blotchy. I tried to avoid this by conditioning them first with a 50/50 mix of BLO and paint thinner. Not great, but it could be worse...

The end grain looks amazing! I was hoping it would not turn out too dark but I'm afraid it did however. I should have used Tru Oil, not BLO.


After letting the BLO cure for a week or two, I put on a coat of shellac sanding sealer, followed the next day by three coats of water-based spar urethane. Spar urethane becase they will be exposed to sunlight and I don't want the walnut to fade at all, and water-based because I didn't want it to darken the finish at all. It goes on perfectly clear as demonstrated in this experiment.
All done! Here they are. They're weird shelves!
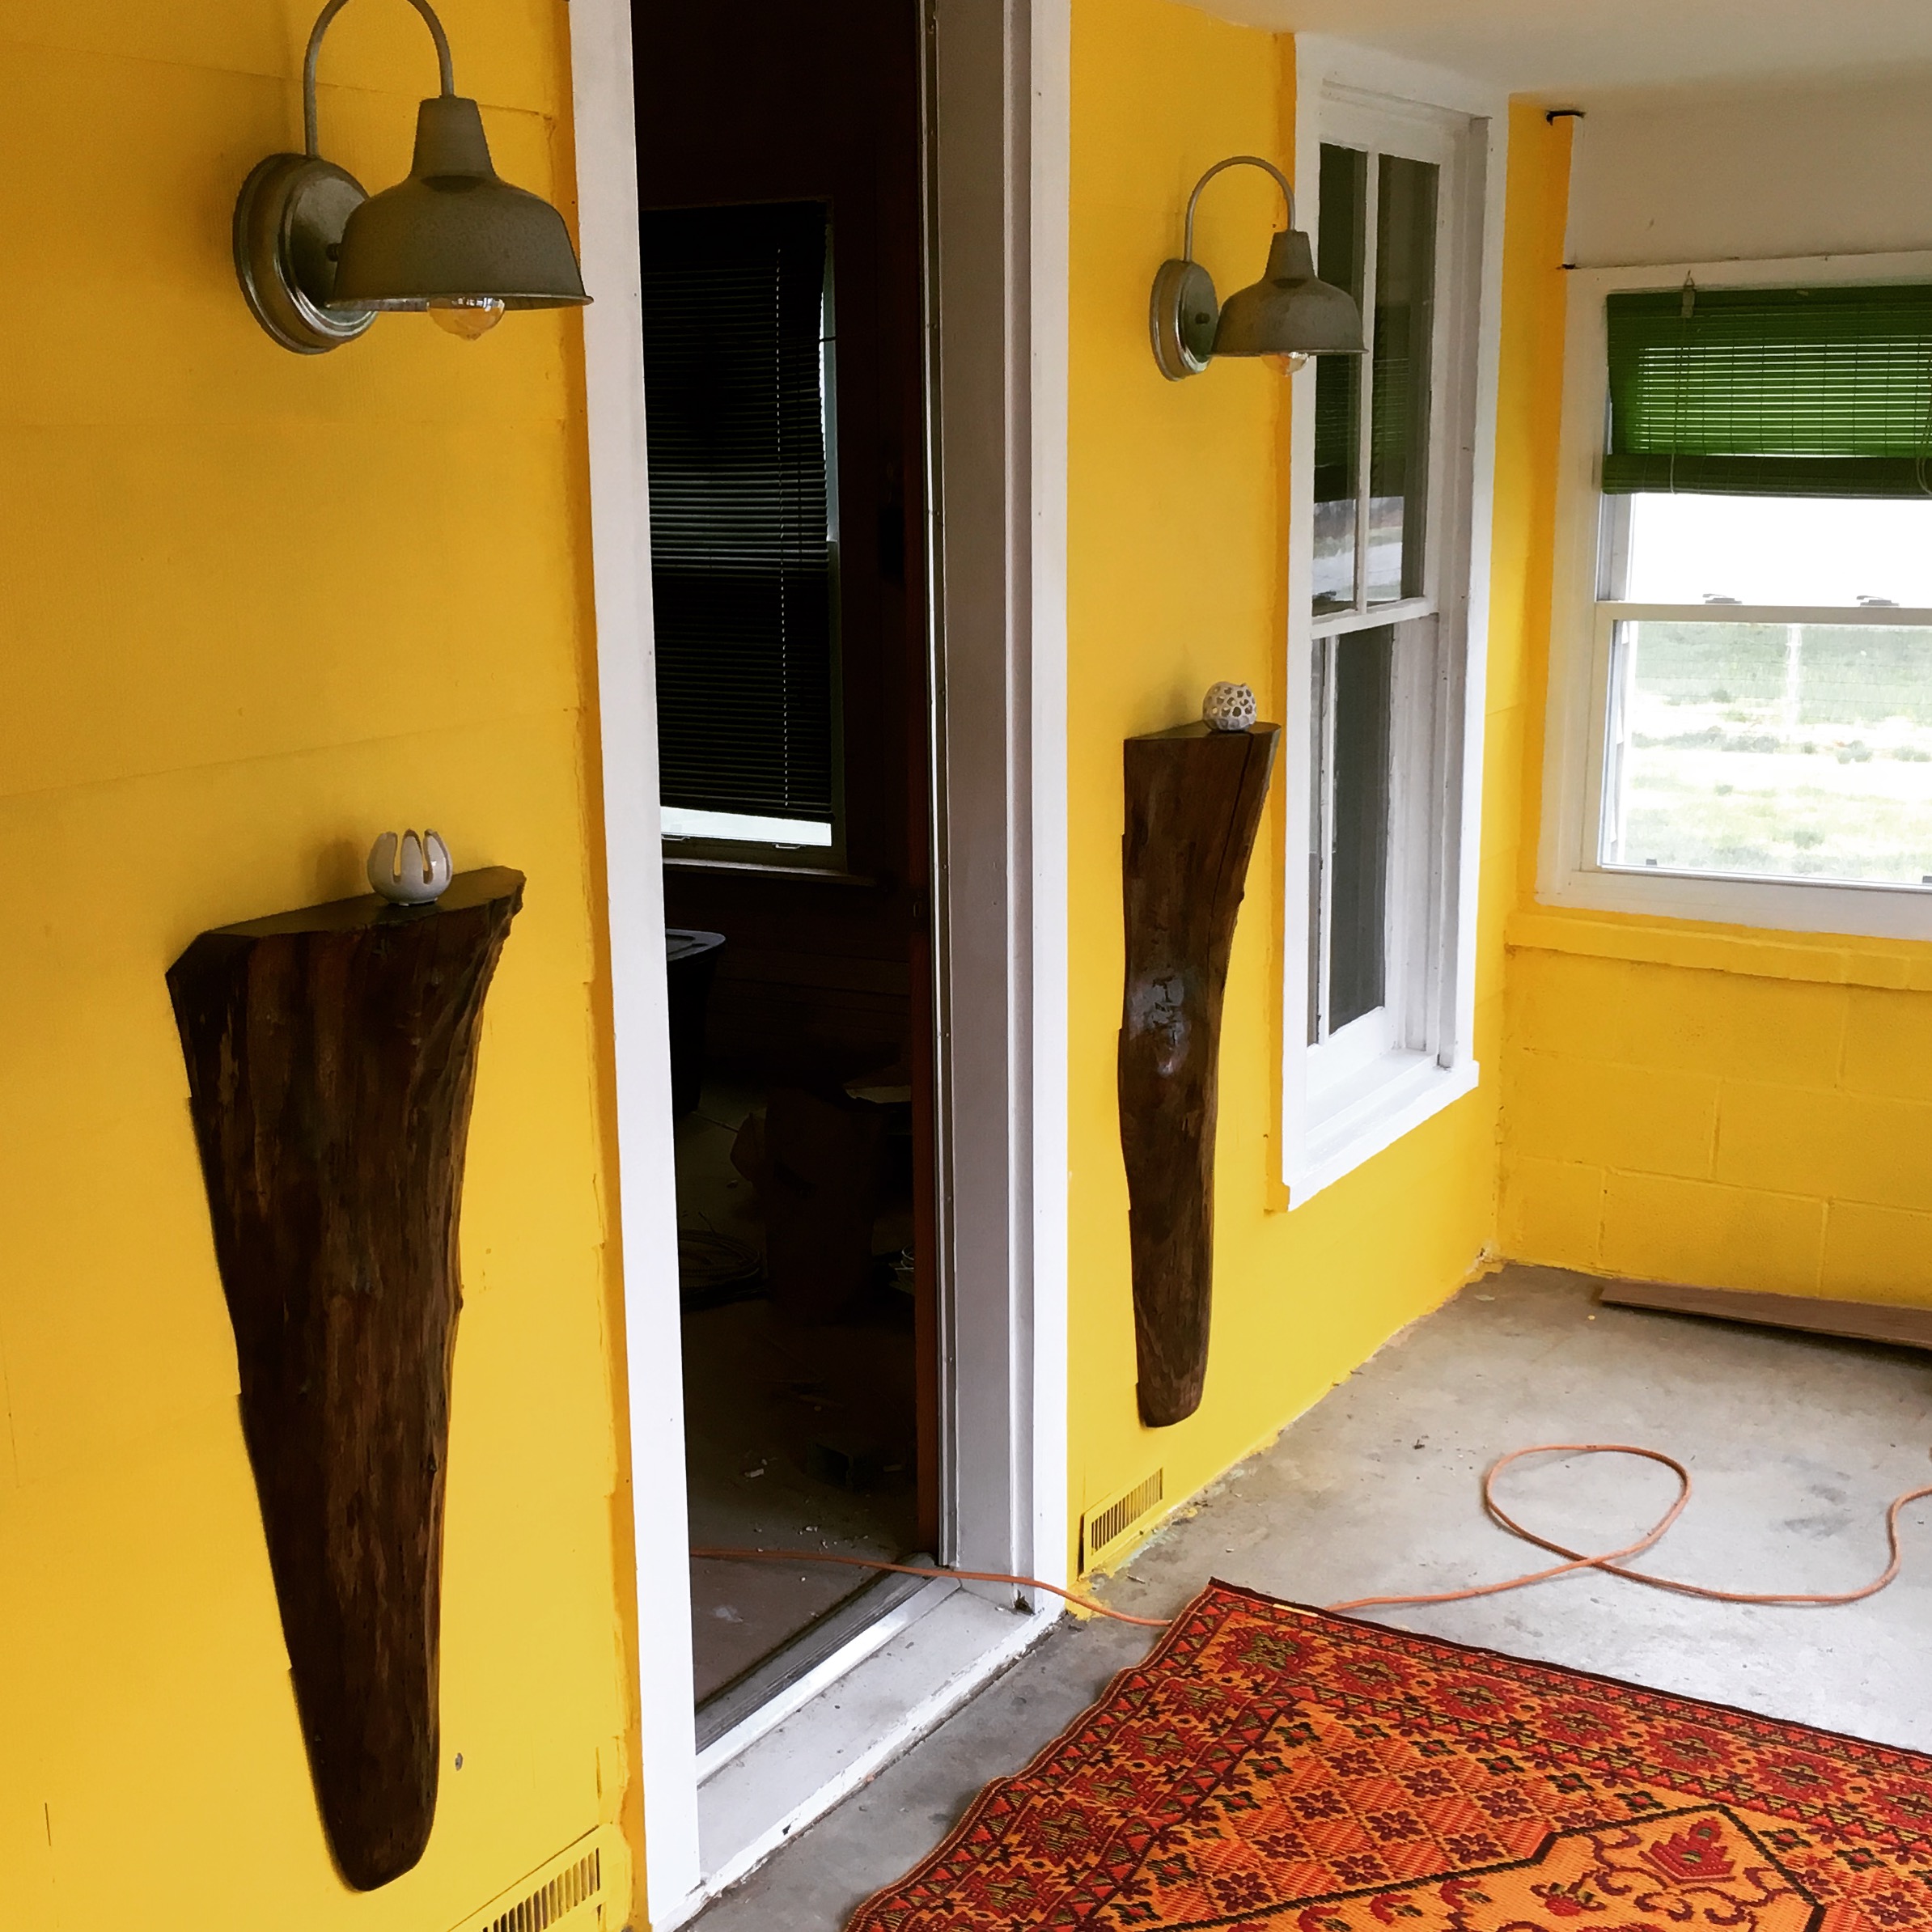
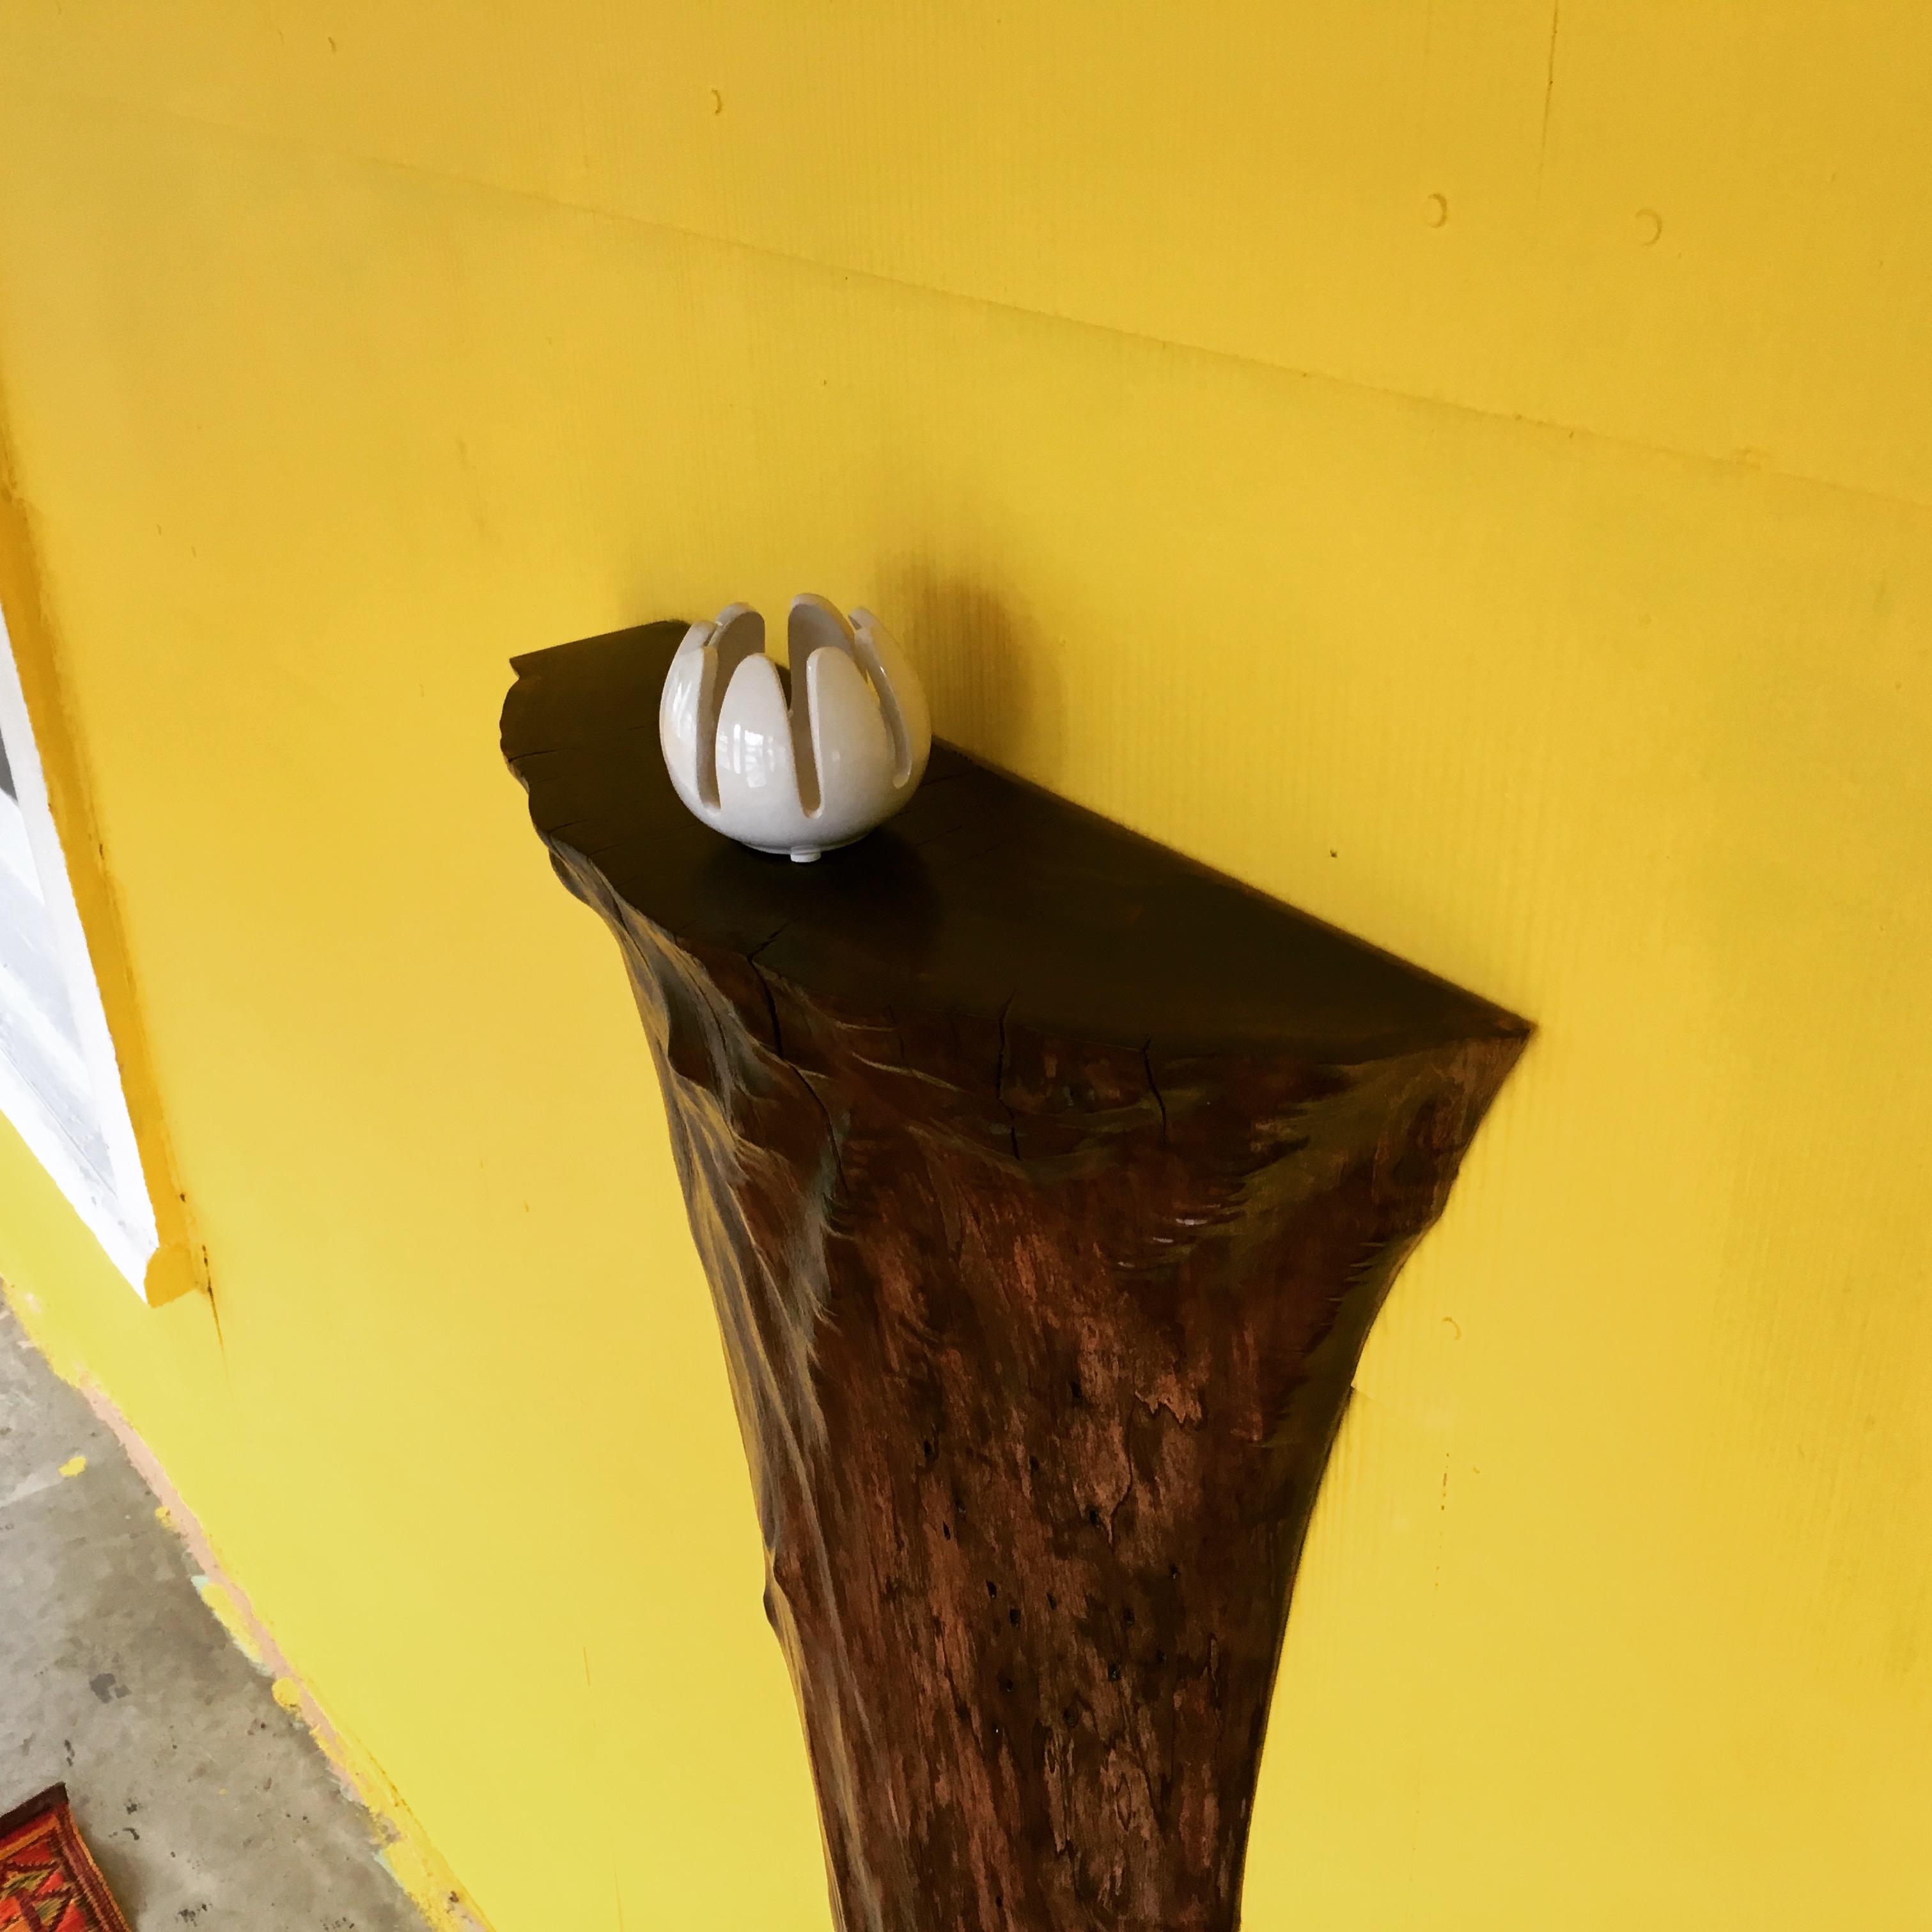
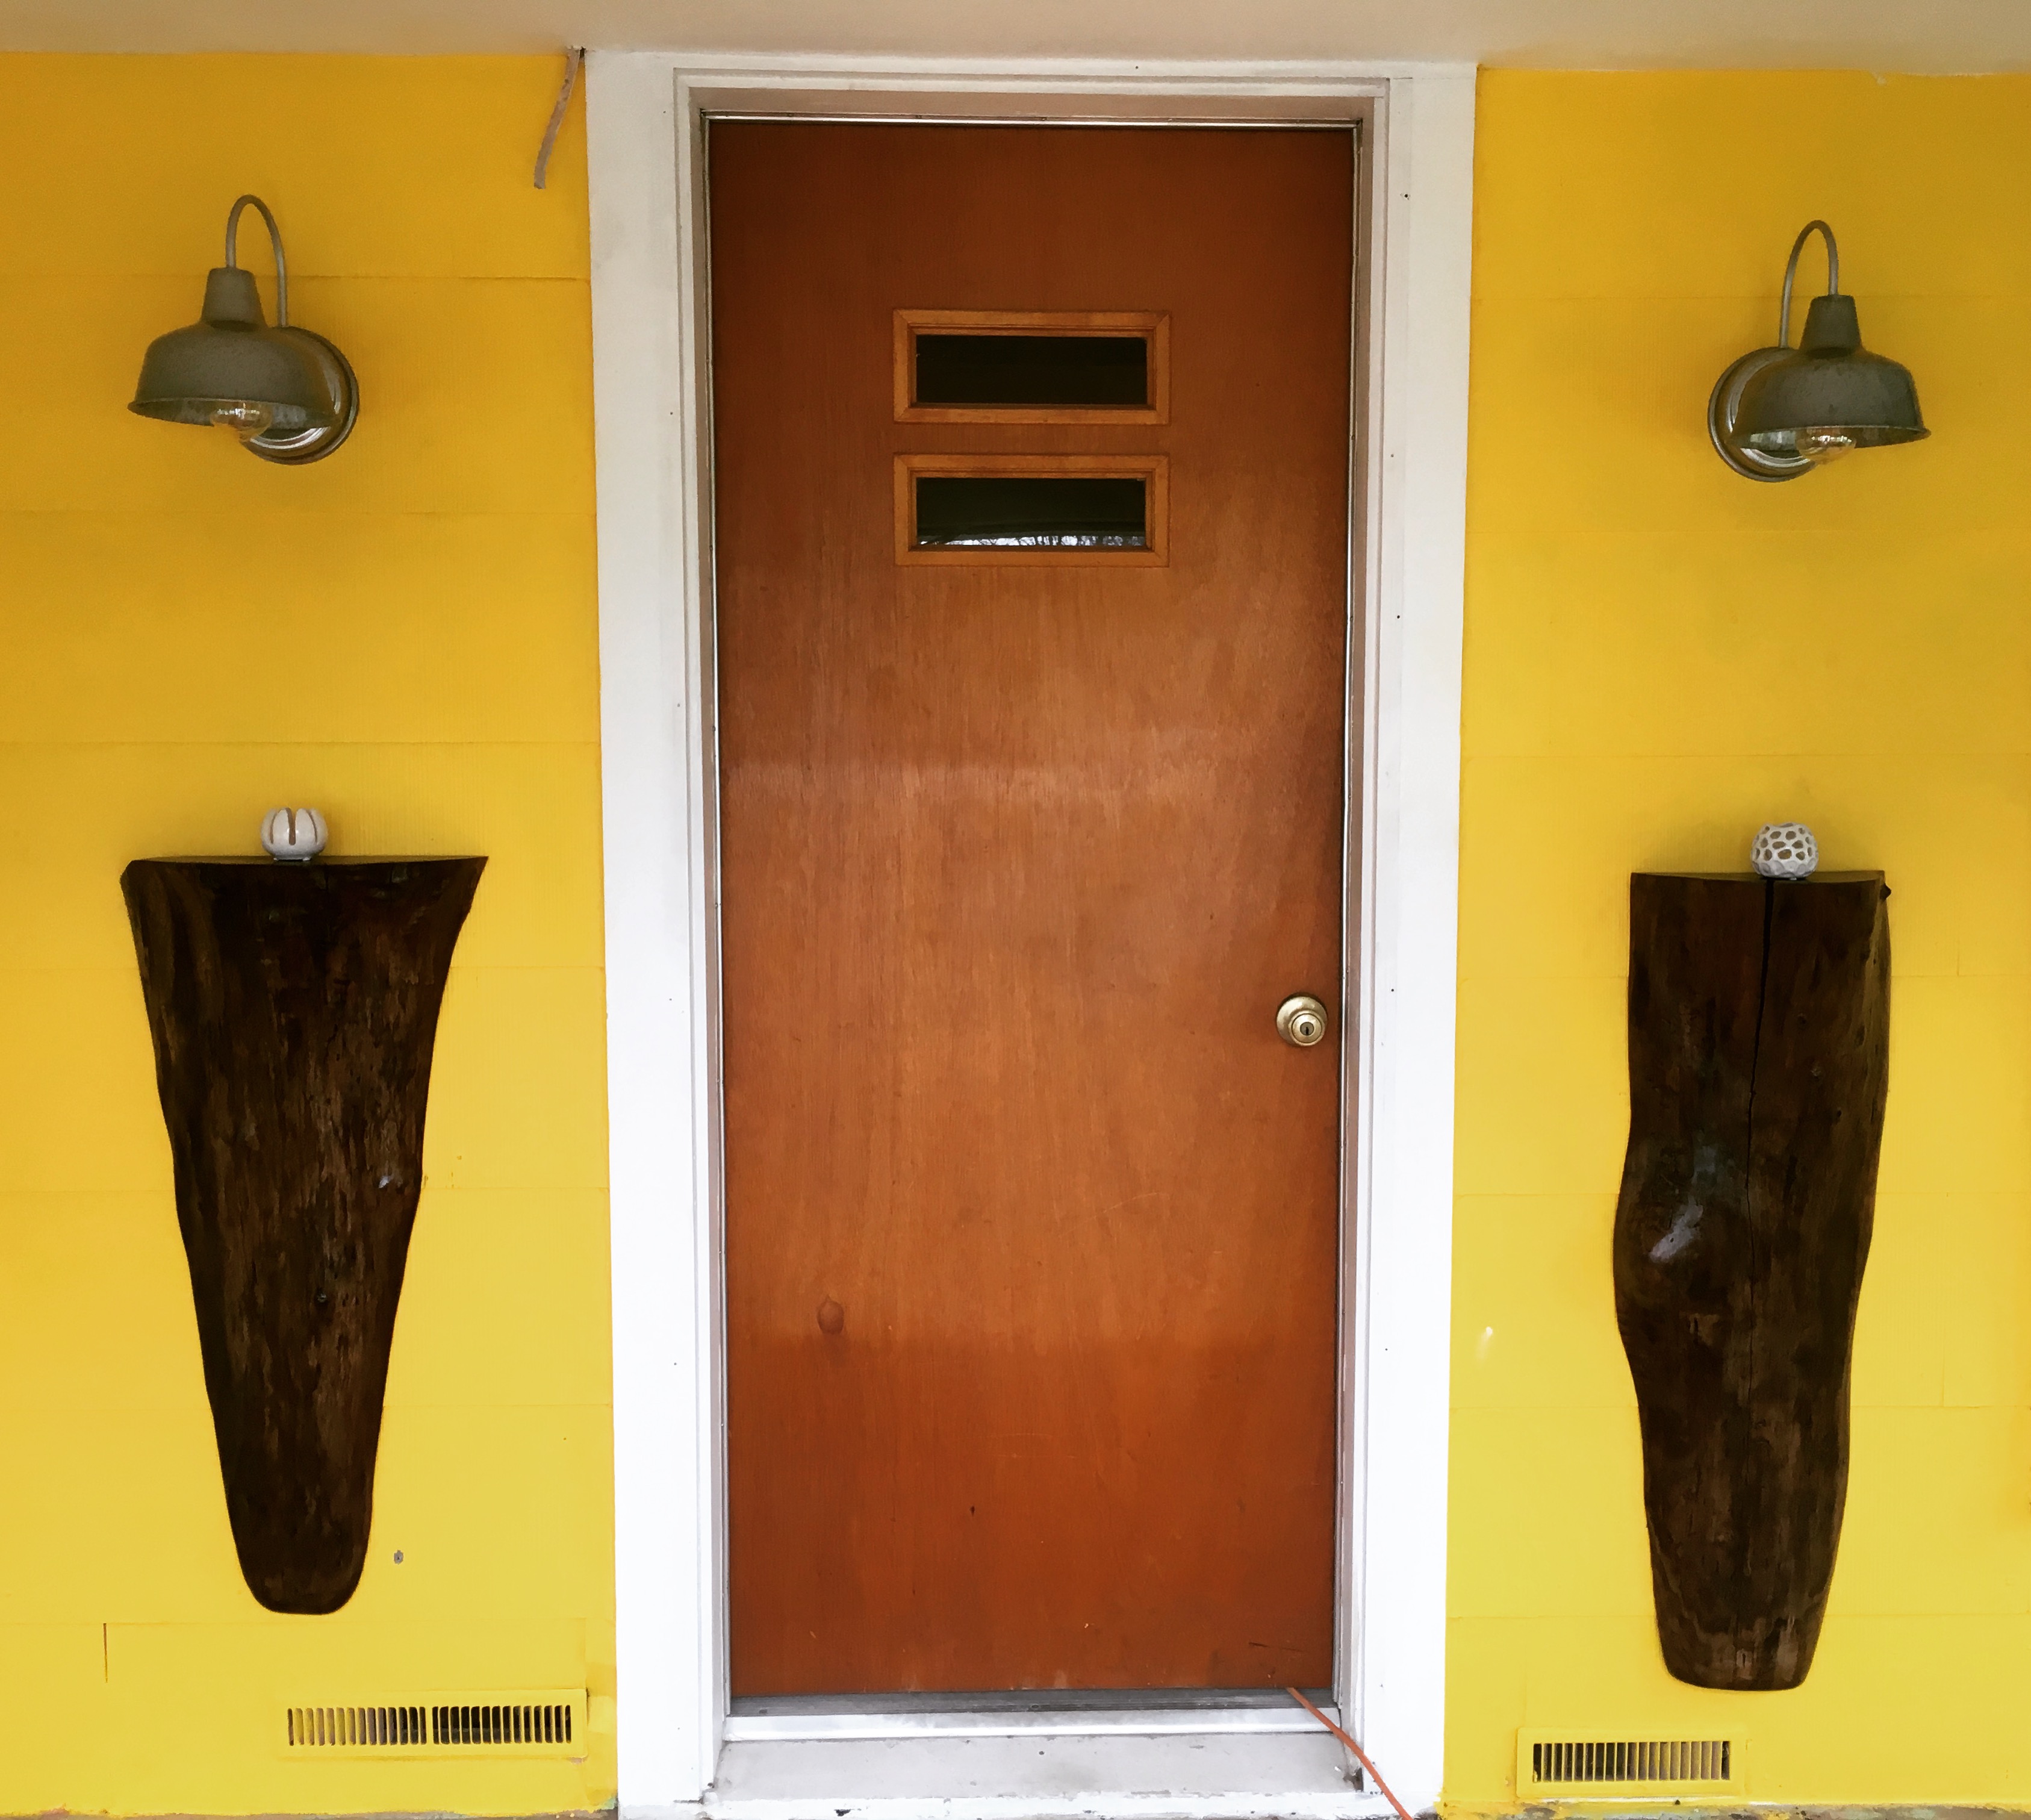
I think they look perfect.
Now, if you're saying to yourself, "But he has the most beautiful side of the walnut facing the wall!" Well, you'd be right, but don't worry as I have more walnut slabs and those are definitally going to be a show stoper! Stay tuned for that update, coming up next week on This Old Fixxer-Upper.