I had a round-back live-edge walnut slab and I wasn't sure what to do with it. It wasn't wide enough to a table on it's own. So I added some oak to widen it and turned it into a long, narrow console table!
Here's how I did it.
These are the black walnut slabs I salvaged. They're the round-back, off-cuts from the saw mill - you know, there very first and last cuts when sawing a log into slabs. Usually there's too much white sapwood for them to be usable, but in the case of these wild, old-growth Black Walnut trees from my buddy's land, there was plenty of gorgeous heartwood! He was going to burn them because he didn't know what else to do, and he tossed them into a brush pile to burn. He was litterly igniting the brush pile into a bon fire when I saw these and quickly pulled them out of the fire! The bottom two will be shelves, the middle piece might be a coffee table or something, and the top piece is what I used for this project. (Sorry for the harsh instagram filter, I accidently deleted the original photo).

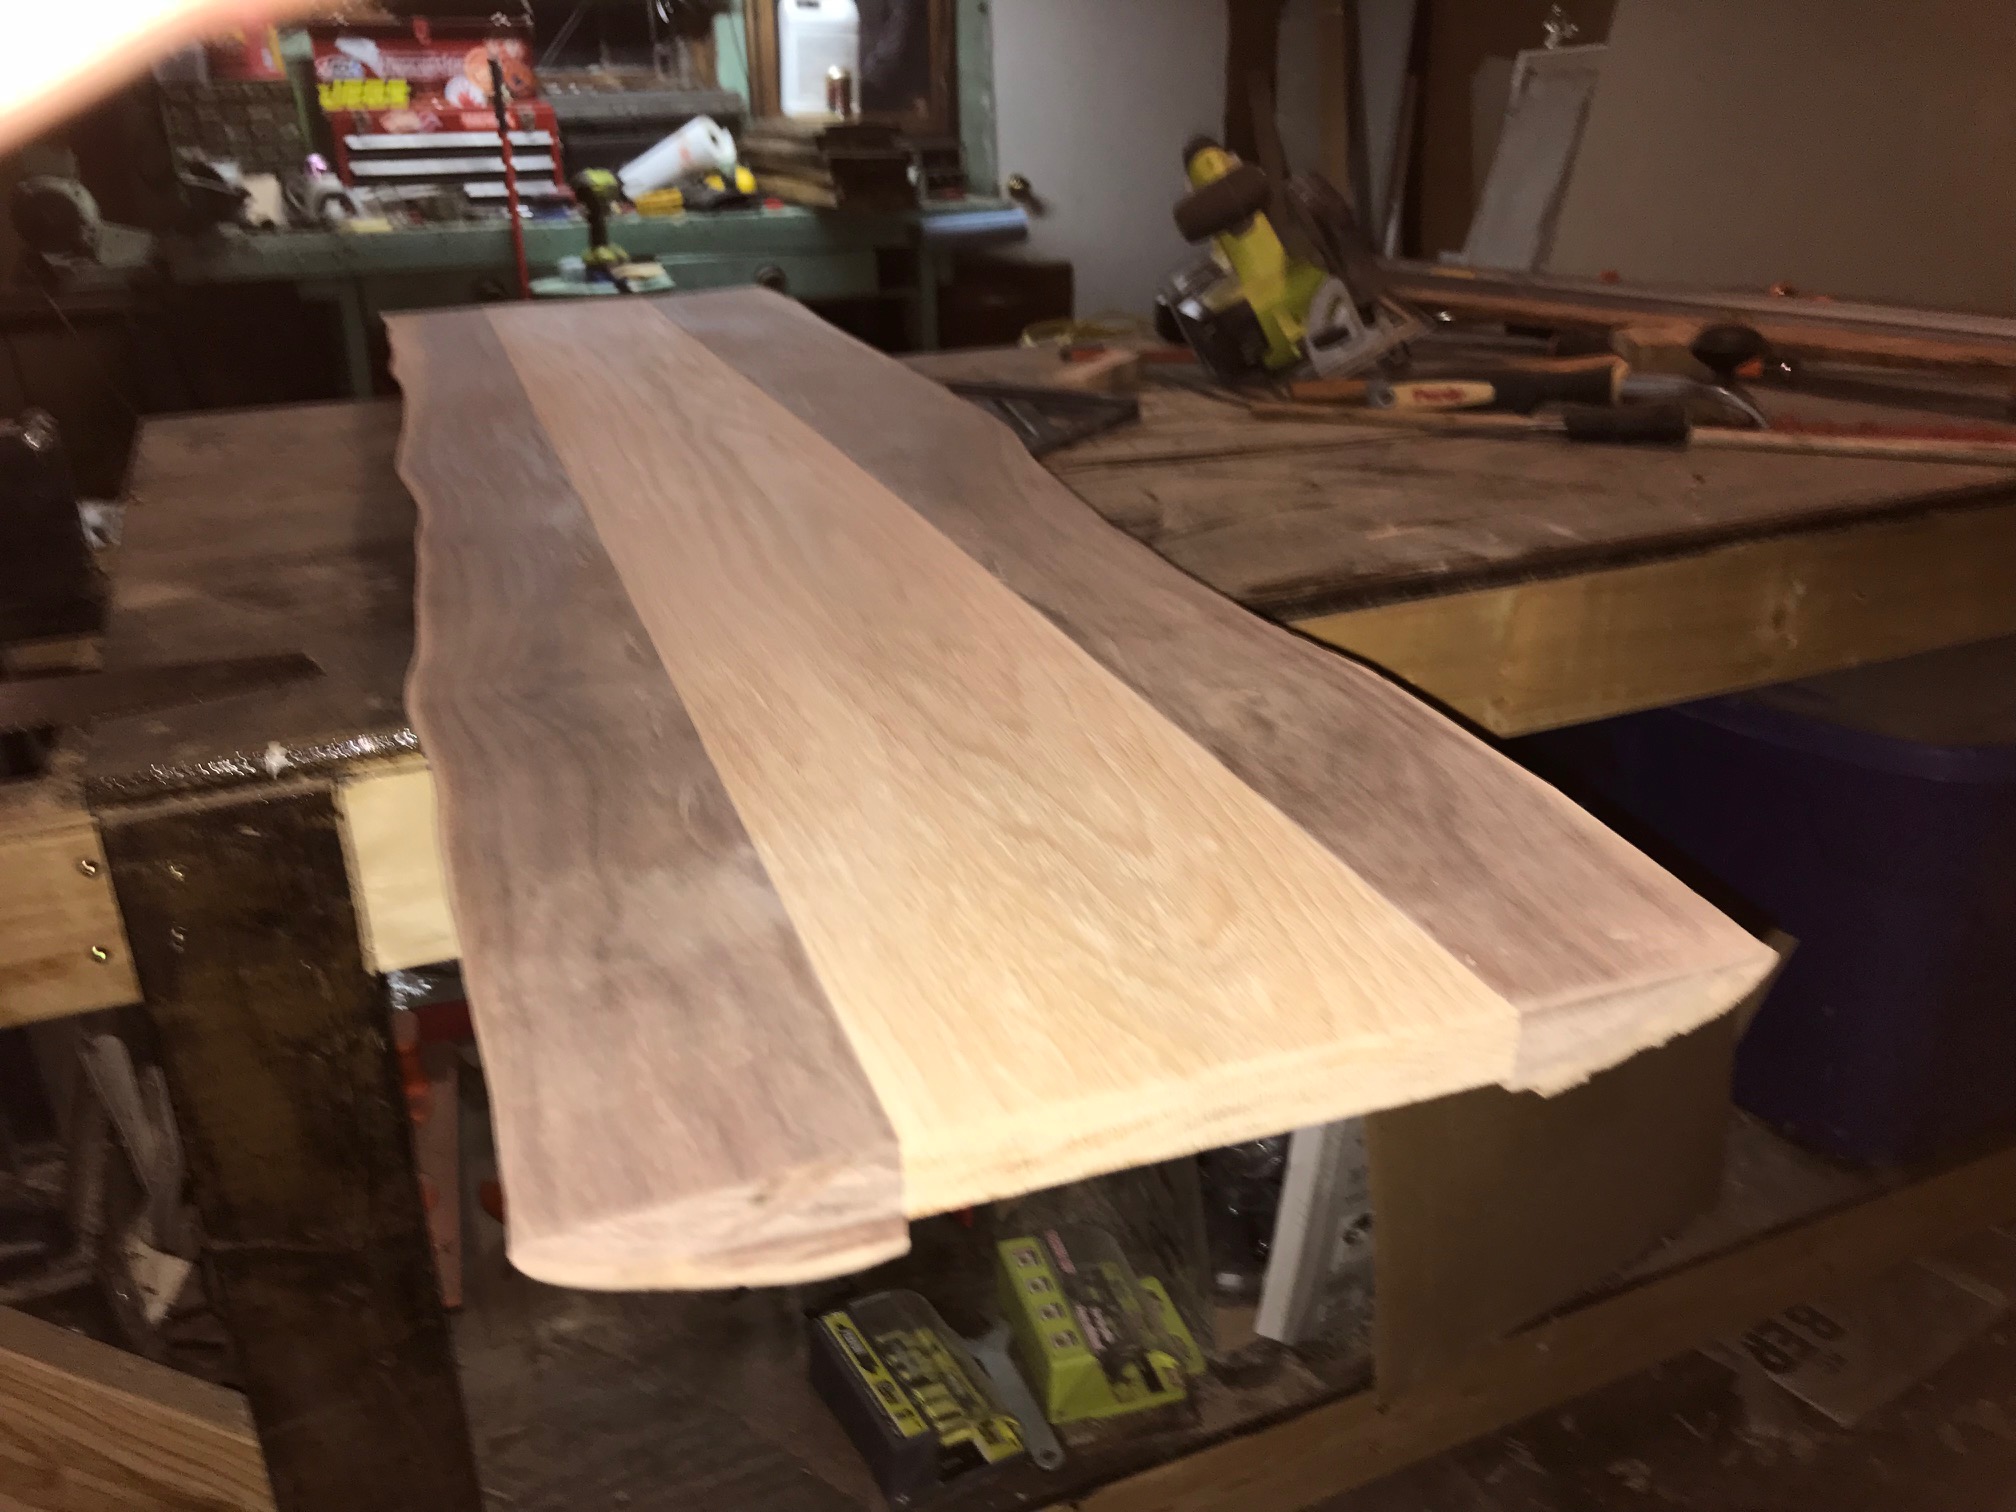
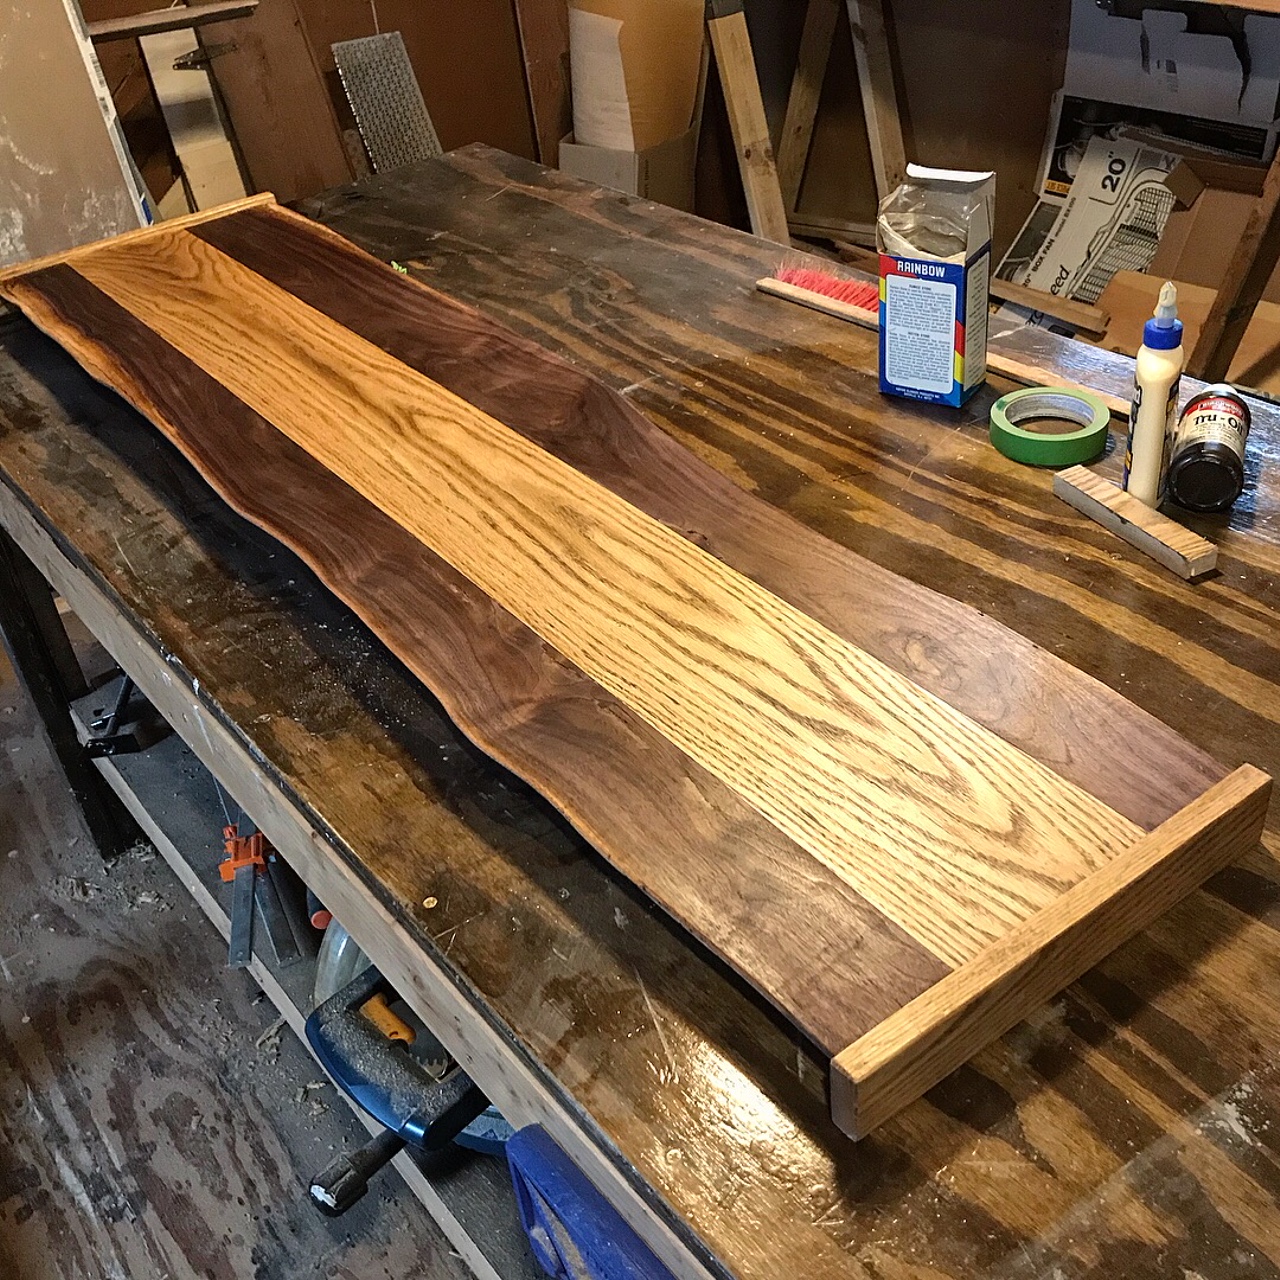
Now, because the round-back slab was not very wide at all, I needed a way to widen it. I decided to join in a length of oak down the middle, which will make a nice two-tone effect.
To do this, I first needed to rip the live-edge slab right down the middle, and it needed to be perfectly straight so a table saw and not a circular saw was required. However, when both side are not straight, it's not possible to simply push it through the table saw. I needed to make a jig that held the piece on one side and have a stright edge on the other side, like what is shown the picture below. I used a piece of MDF because it's what I had avaiblable. It also wouldn't have been possible without my workbench that doubles as an outfeed table for the table saw.
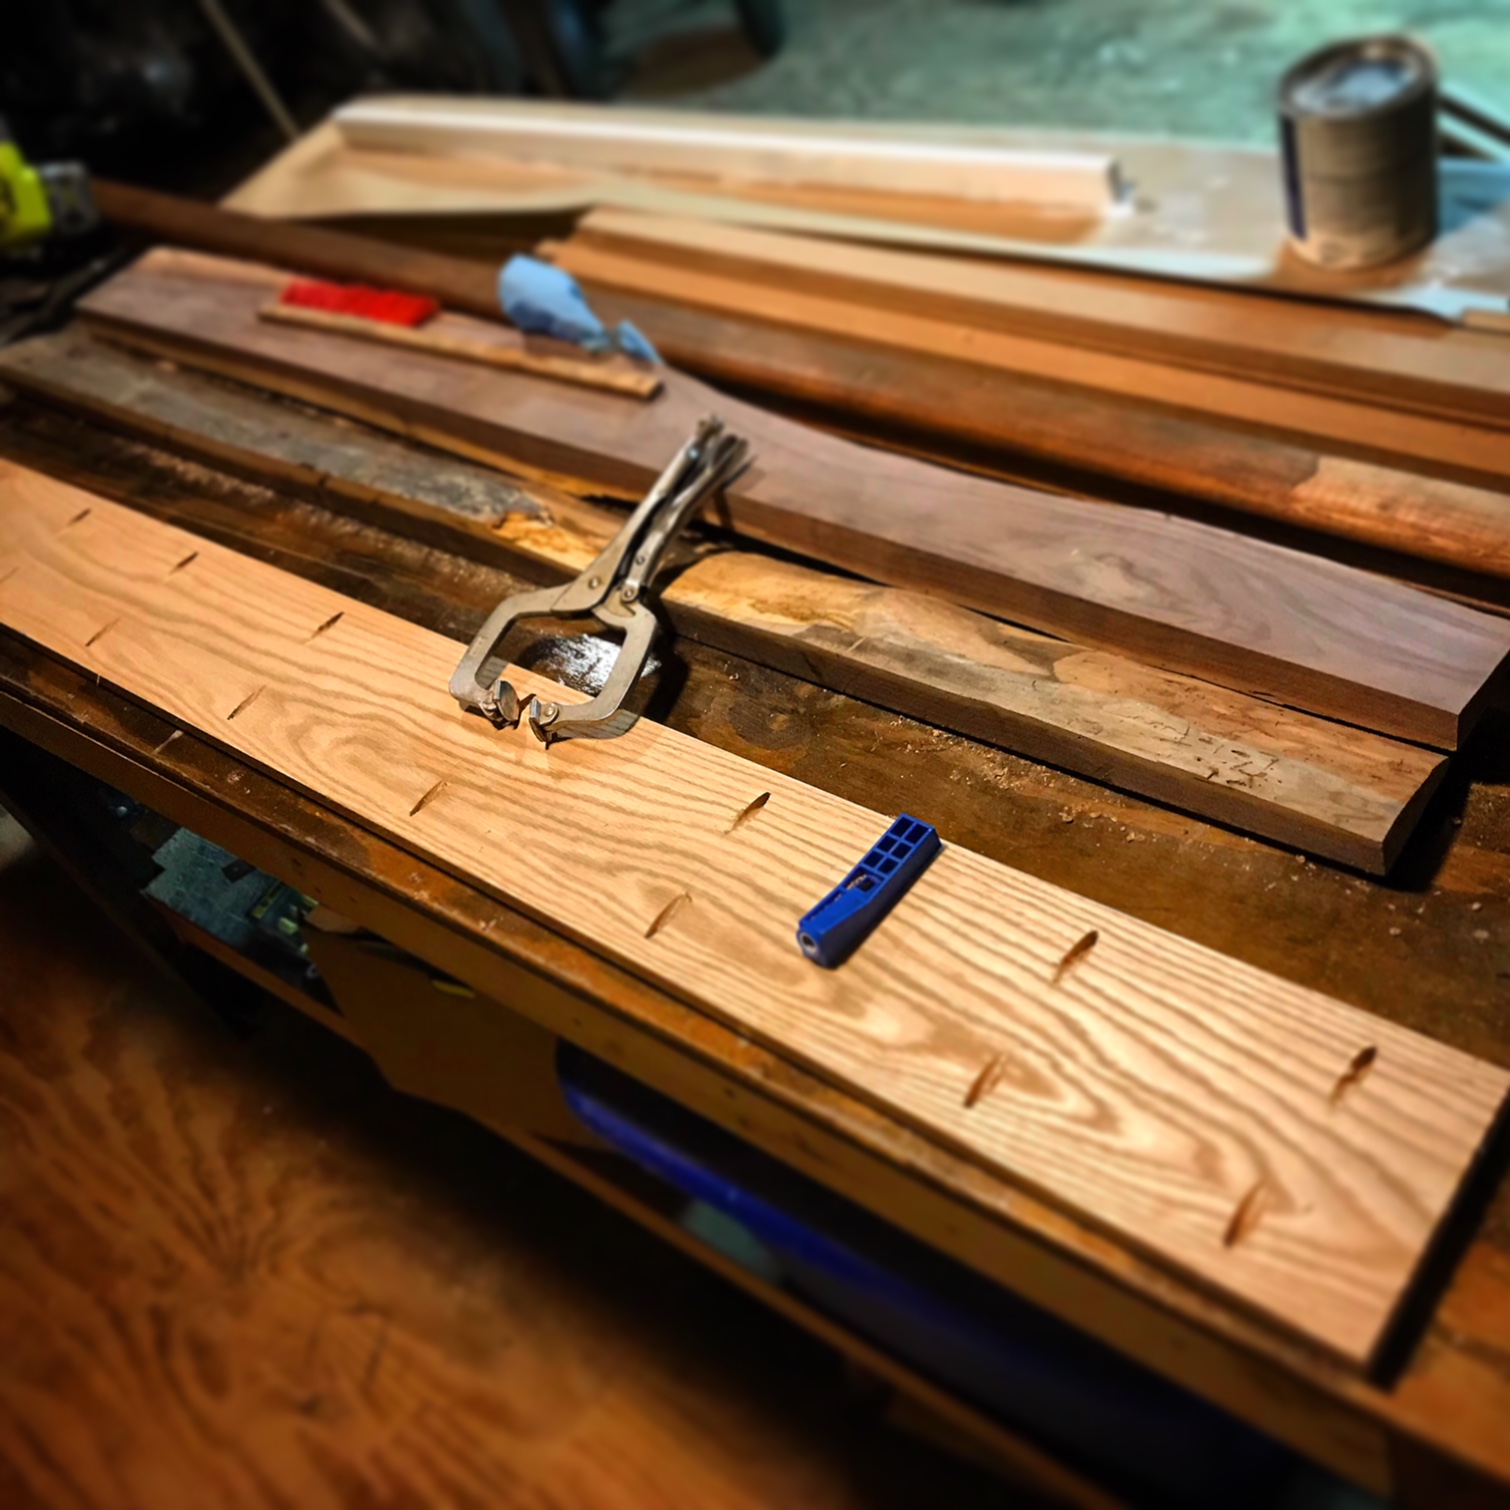
To join the oak and walnut pieces together, I cheated. I used used pocket screws instead and only wood glue. I did this because the walnut pieces had a very slight bow down their length, and I couldn't pass them through a planner because it wasn't flat on the other side.
The oak helped straighten them but I do not recommend this as it adds tension to the table top and it's possible that the walnut may split, if not immidiatly then after a couple of years. Hopefully that doesn't happen here. I ended up needing several more pocket holes for the screws then shown in this pic:
In the above pic you can aslo see how I cruedly removed the bark and the soft wood beneath it with a draw-knife. Here's more info on how to do that: http://dannix.net/lib/abode/walnut-bark-removal

Next I squared up the ends with a circular saw.
I thought it would look a lot better if the ends of the table where not exposed like that, so I made some oak peiced so cover them.

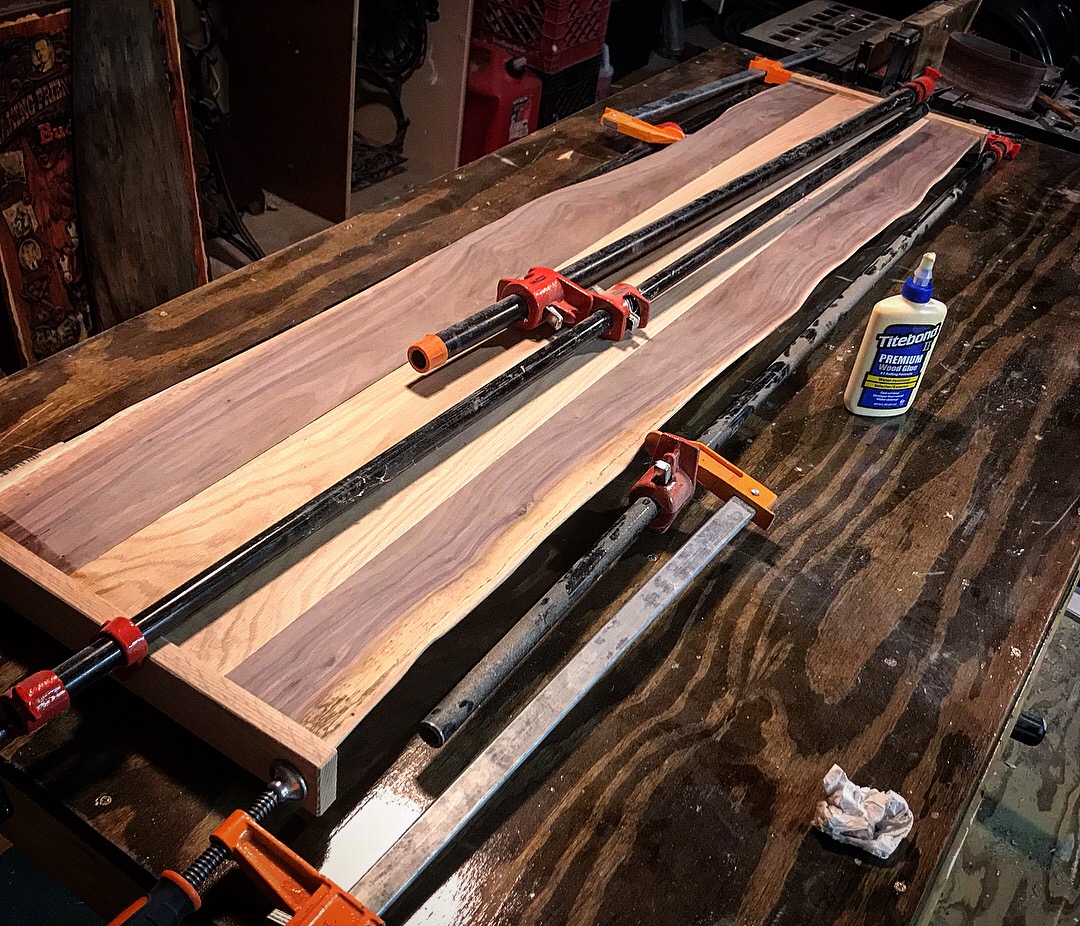
A few pocket holes and screws where needed since it's joining end grand to long grain, and the wood will move slightly and possibly break the bond if it's only glue. However I still used lots of glue and clamped them tight to dry over night. I finally got to use my 5 foot pipe clamps! However they where still not long enough! LOL

Time for the finish! I used Birchwood Casey's Tru-Oil and, on the oak only, I filled the grain with rottenstone. The rottenstone darkens the grain of the oak, makes it look very nice, especially on white oak (this is red oak). It's easy to do too: after first masking off the walnut, I mixed the rottenstone and tru-oil on top the oak surface, mixed it up with my finger to make a slurry, spread it around, and then whiped away the excess. I have a whole article on my experimenting with rottenstone on oak and walnut: http://dannix.net/lib/abode/walnut
Onto the legs...
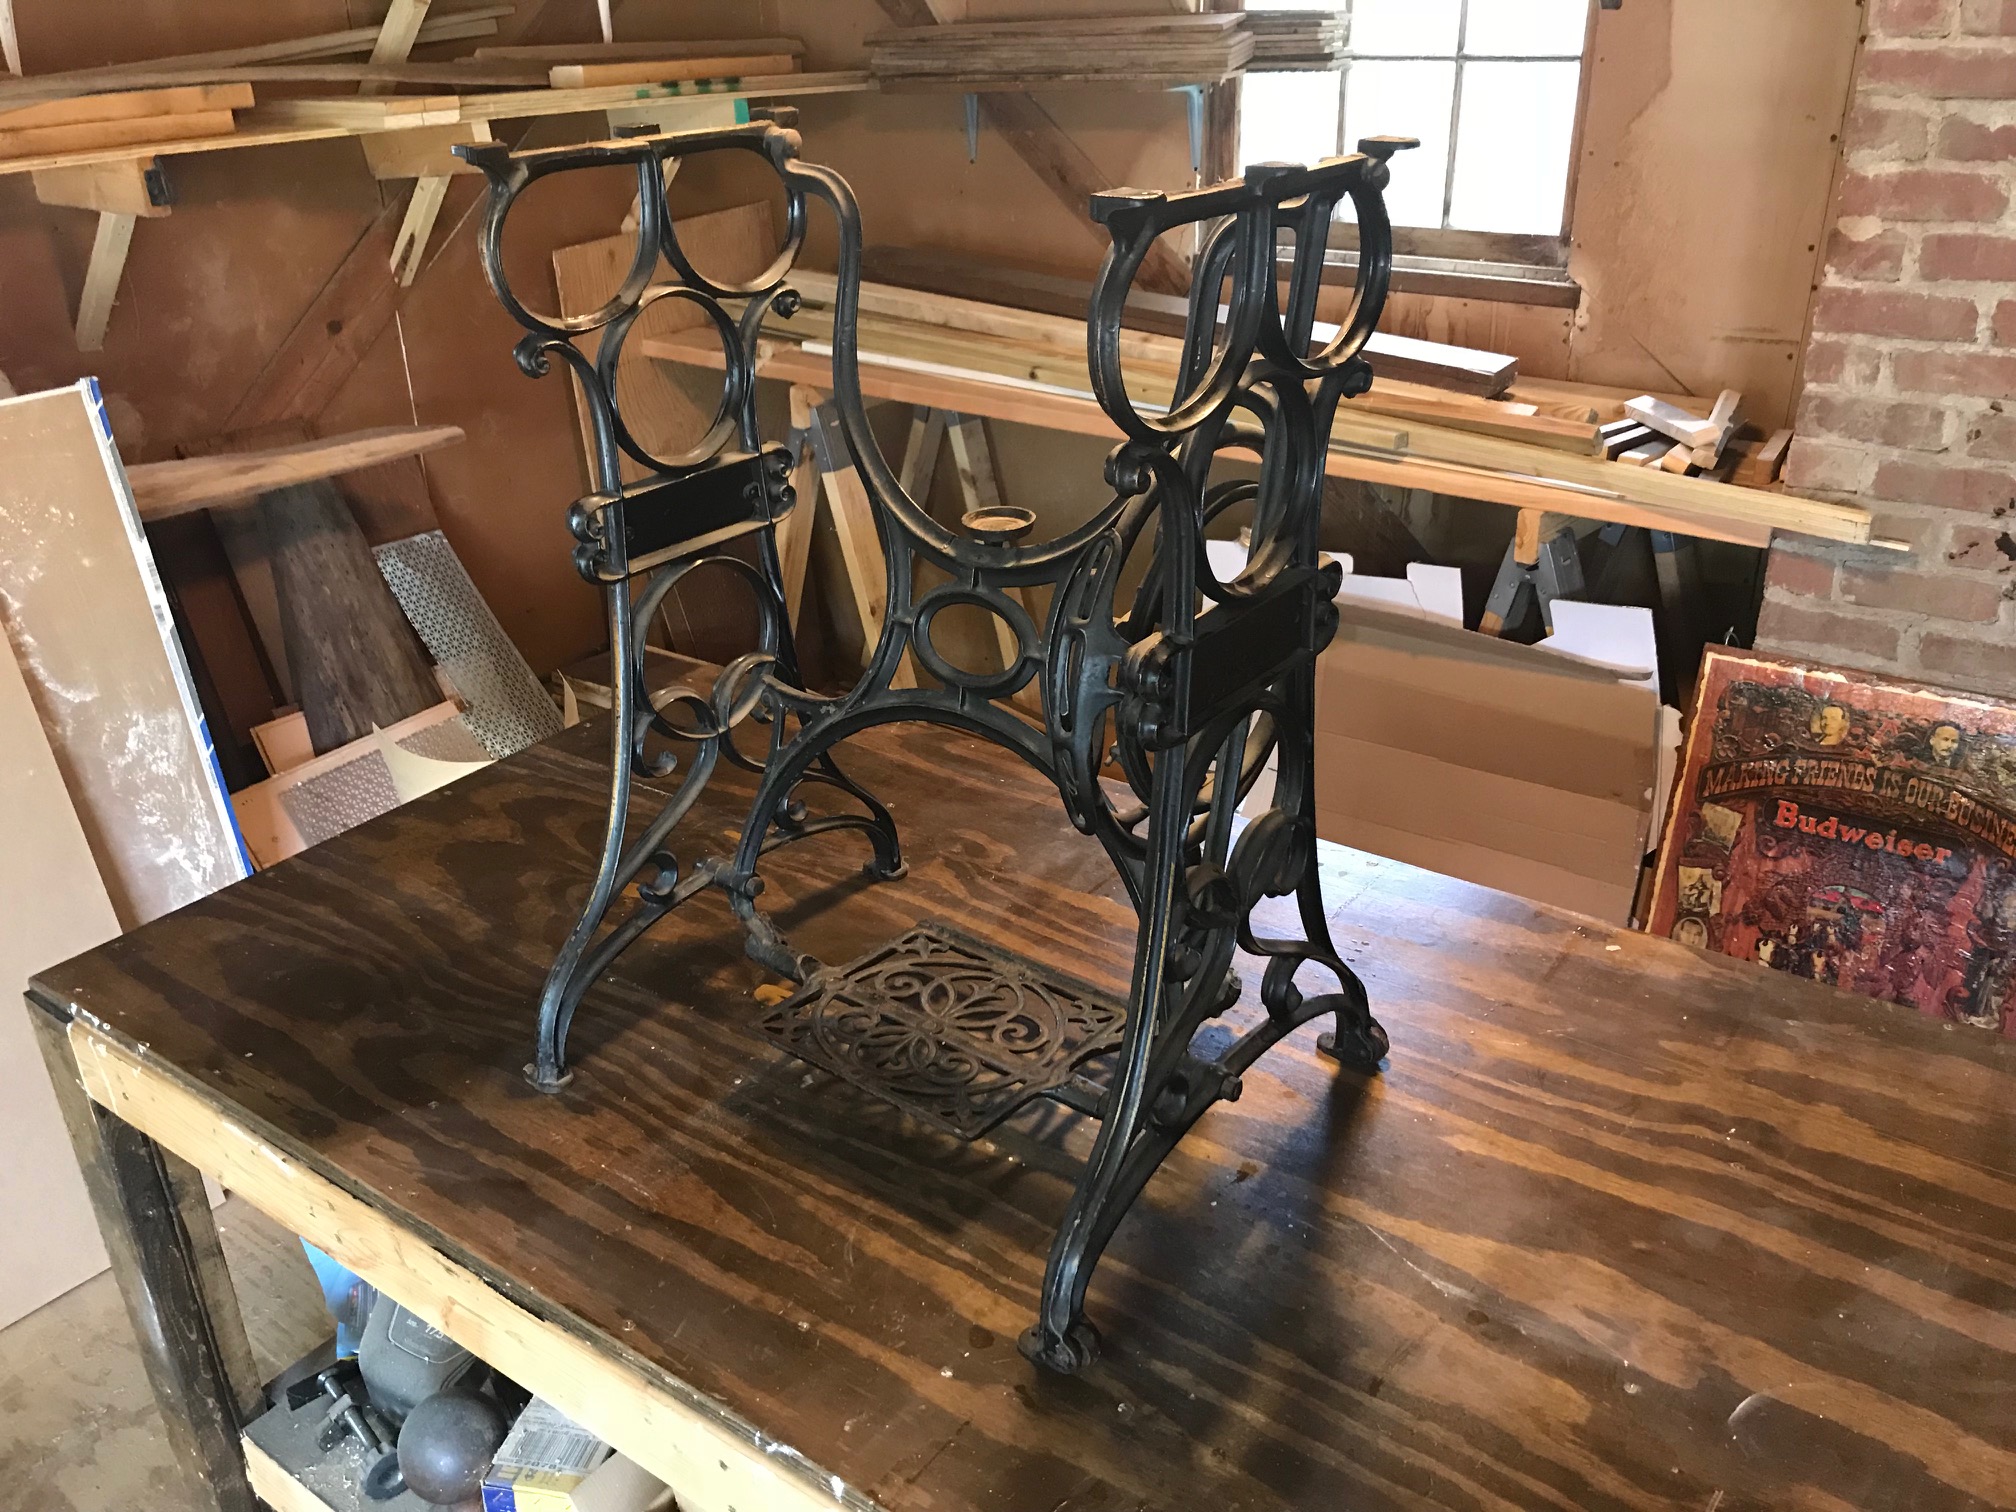
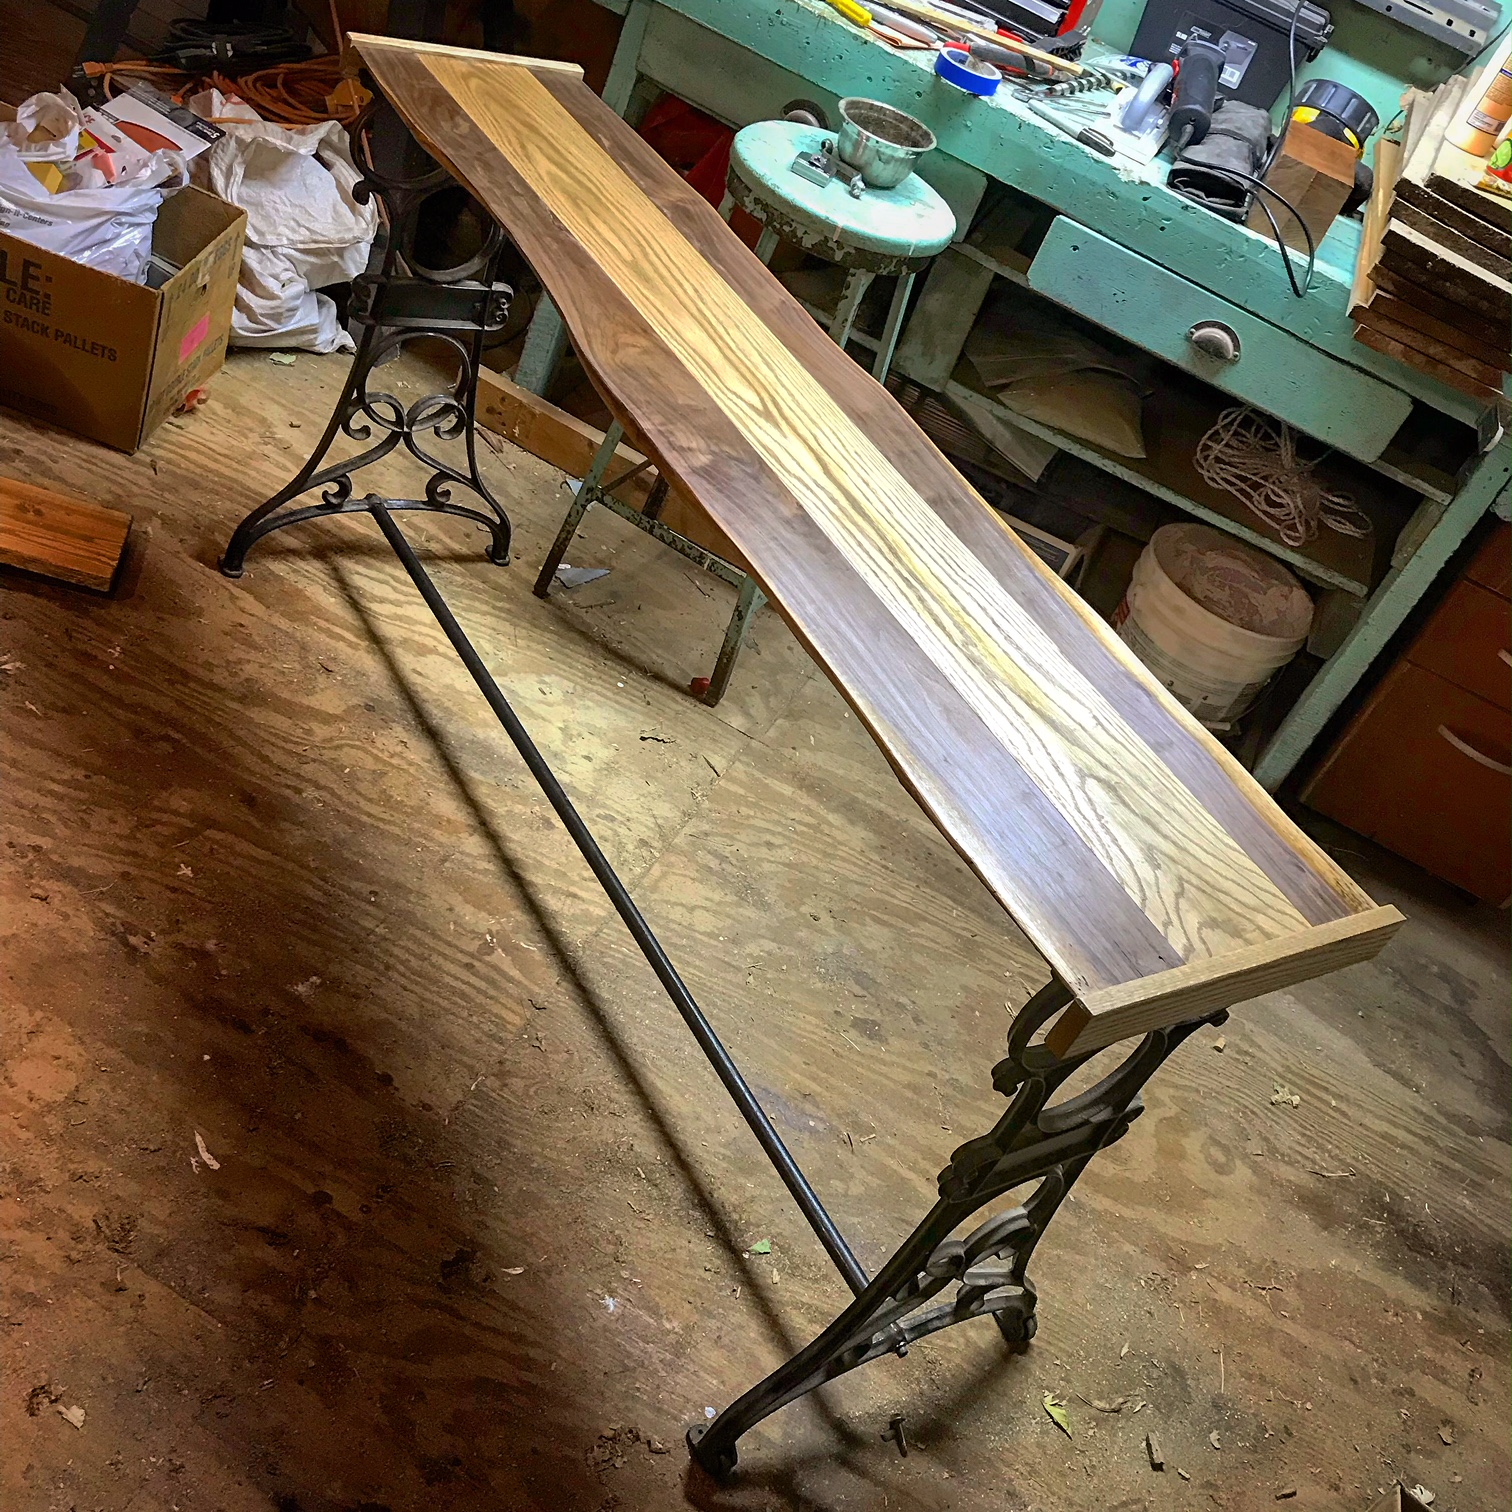
I found an antique sewing machine table on Craiglist (payed $100 for it) and it had these awesome cast irong legs that were the perfect height for the console table.
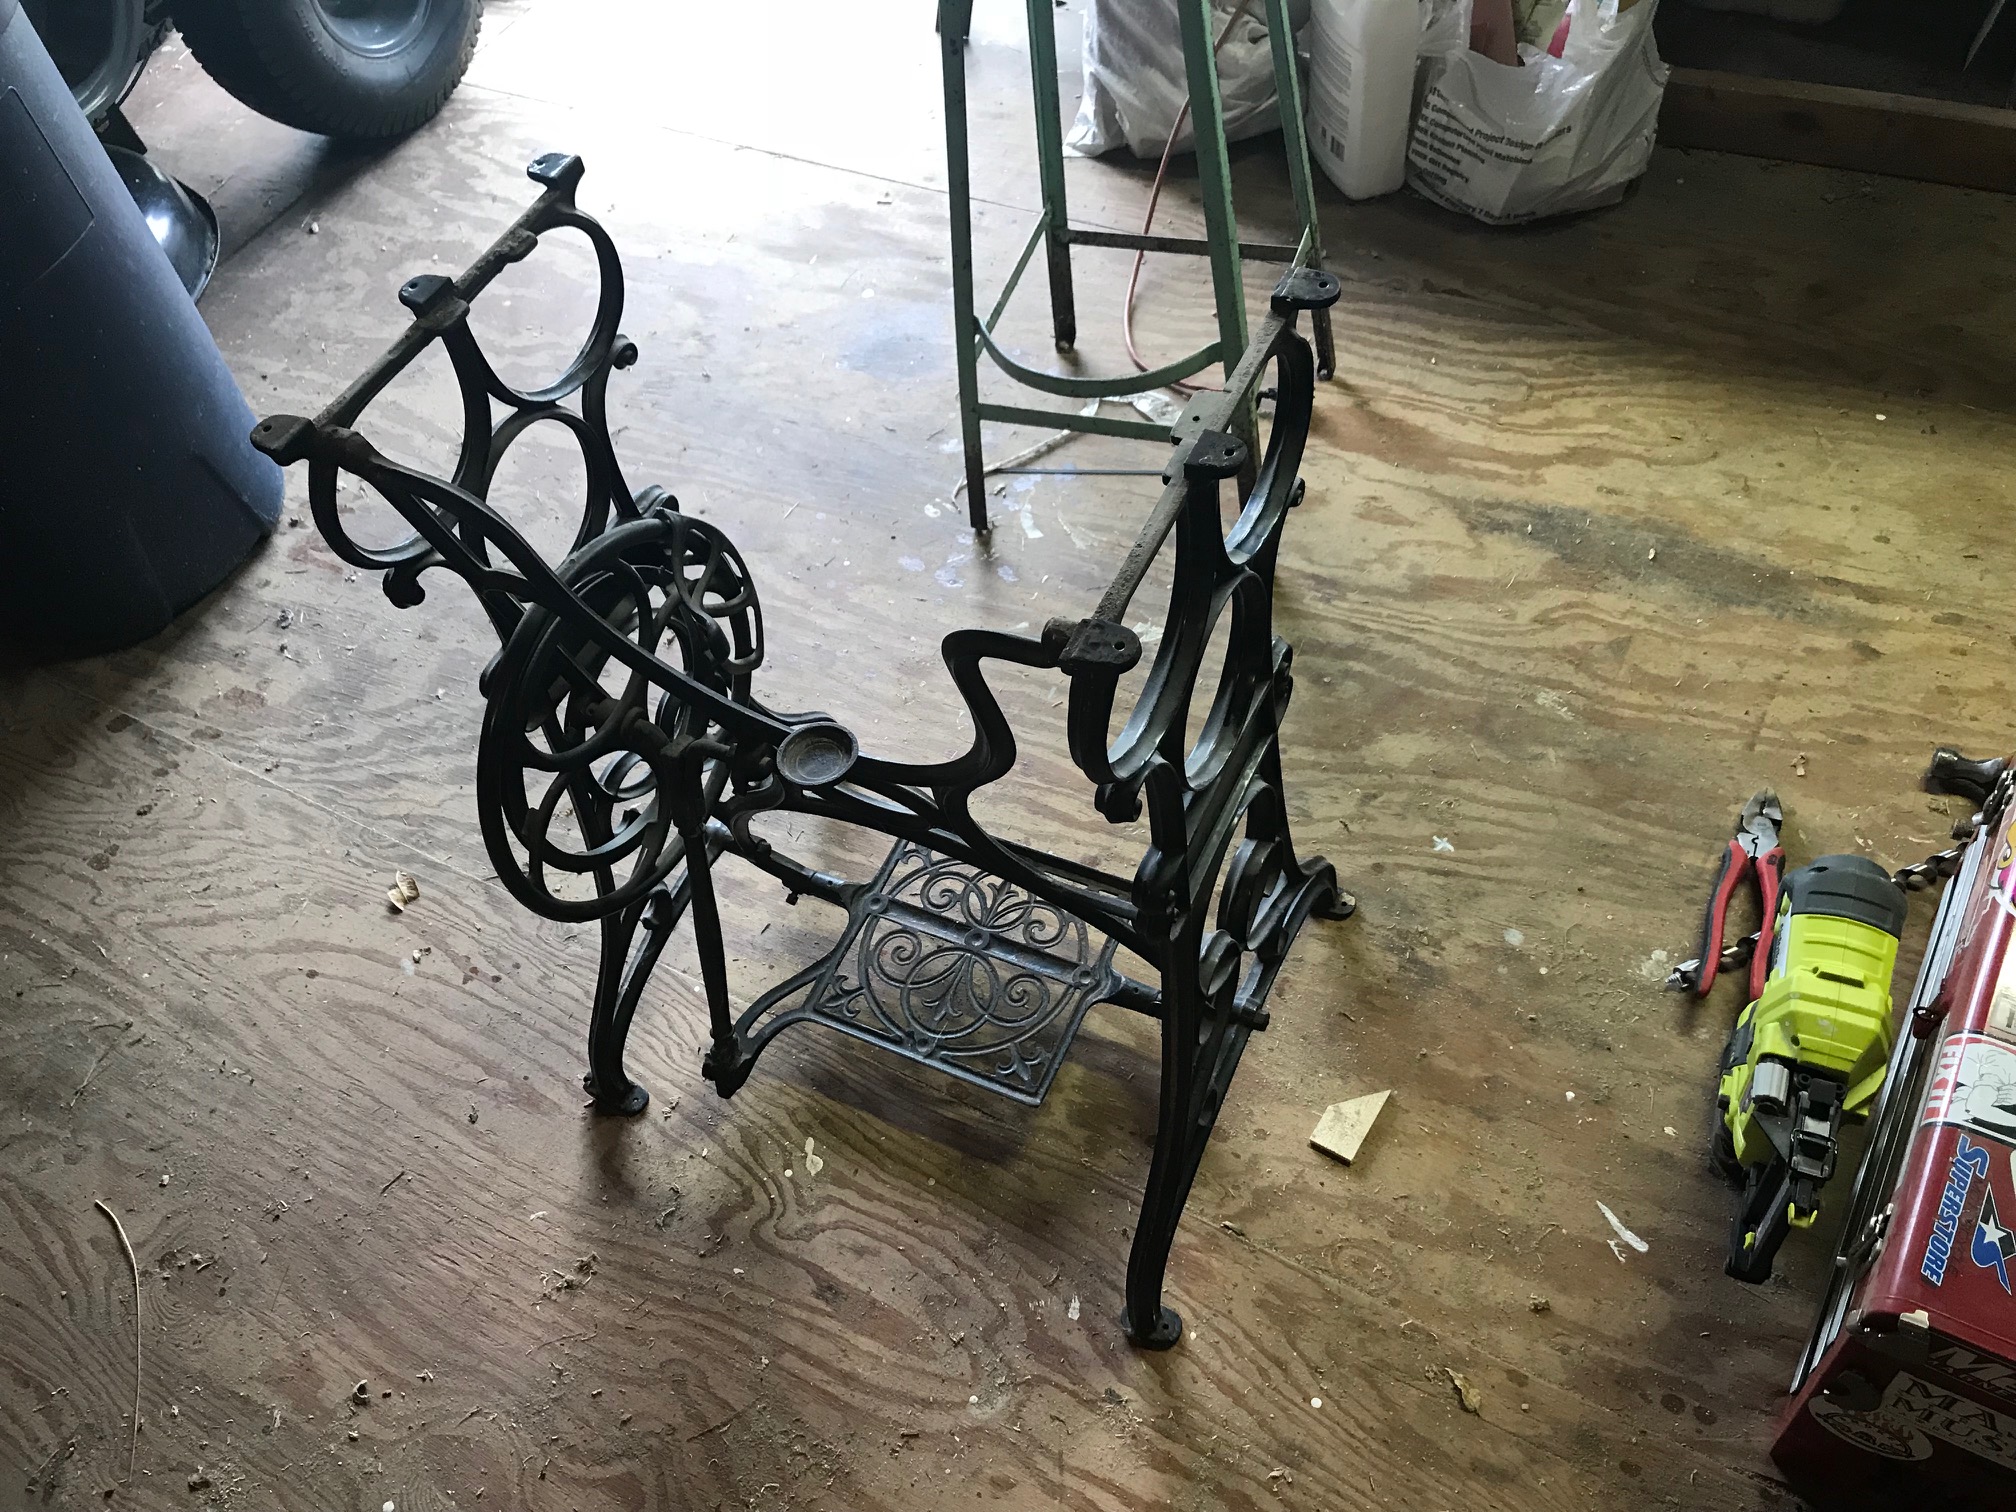
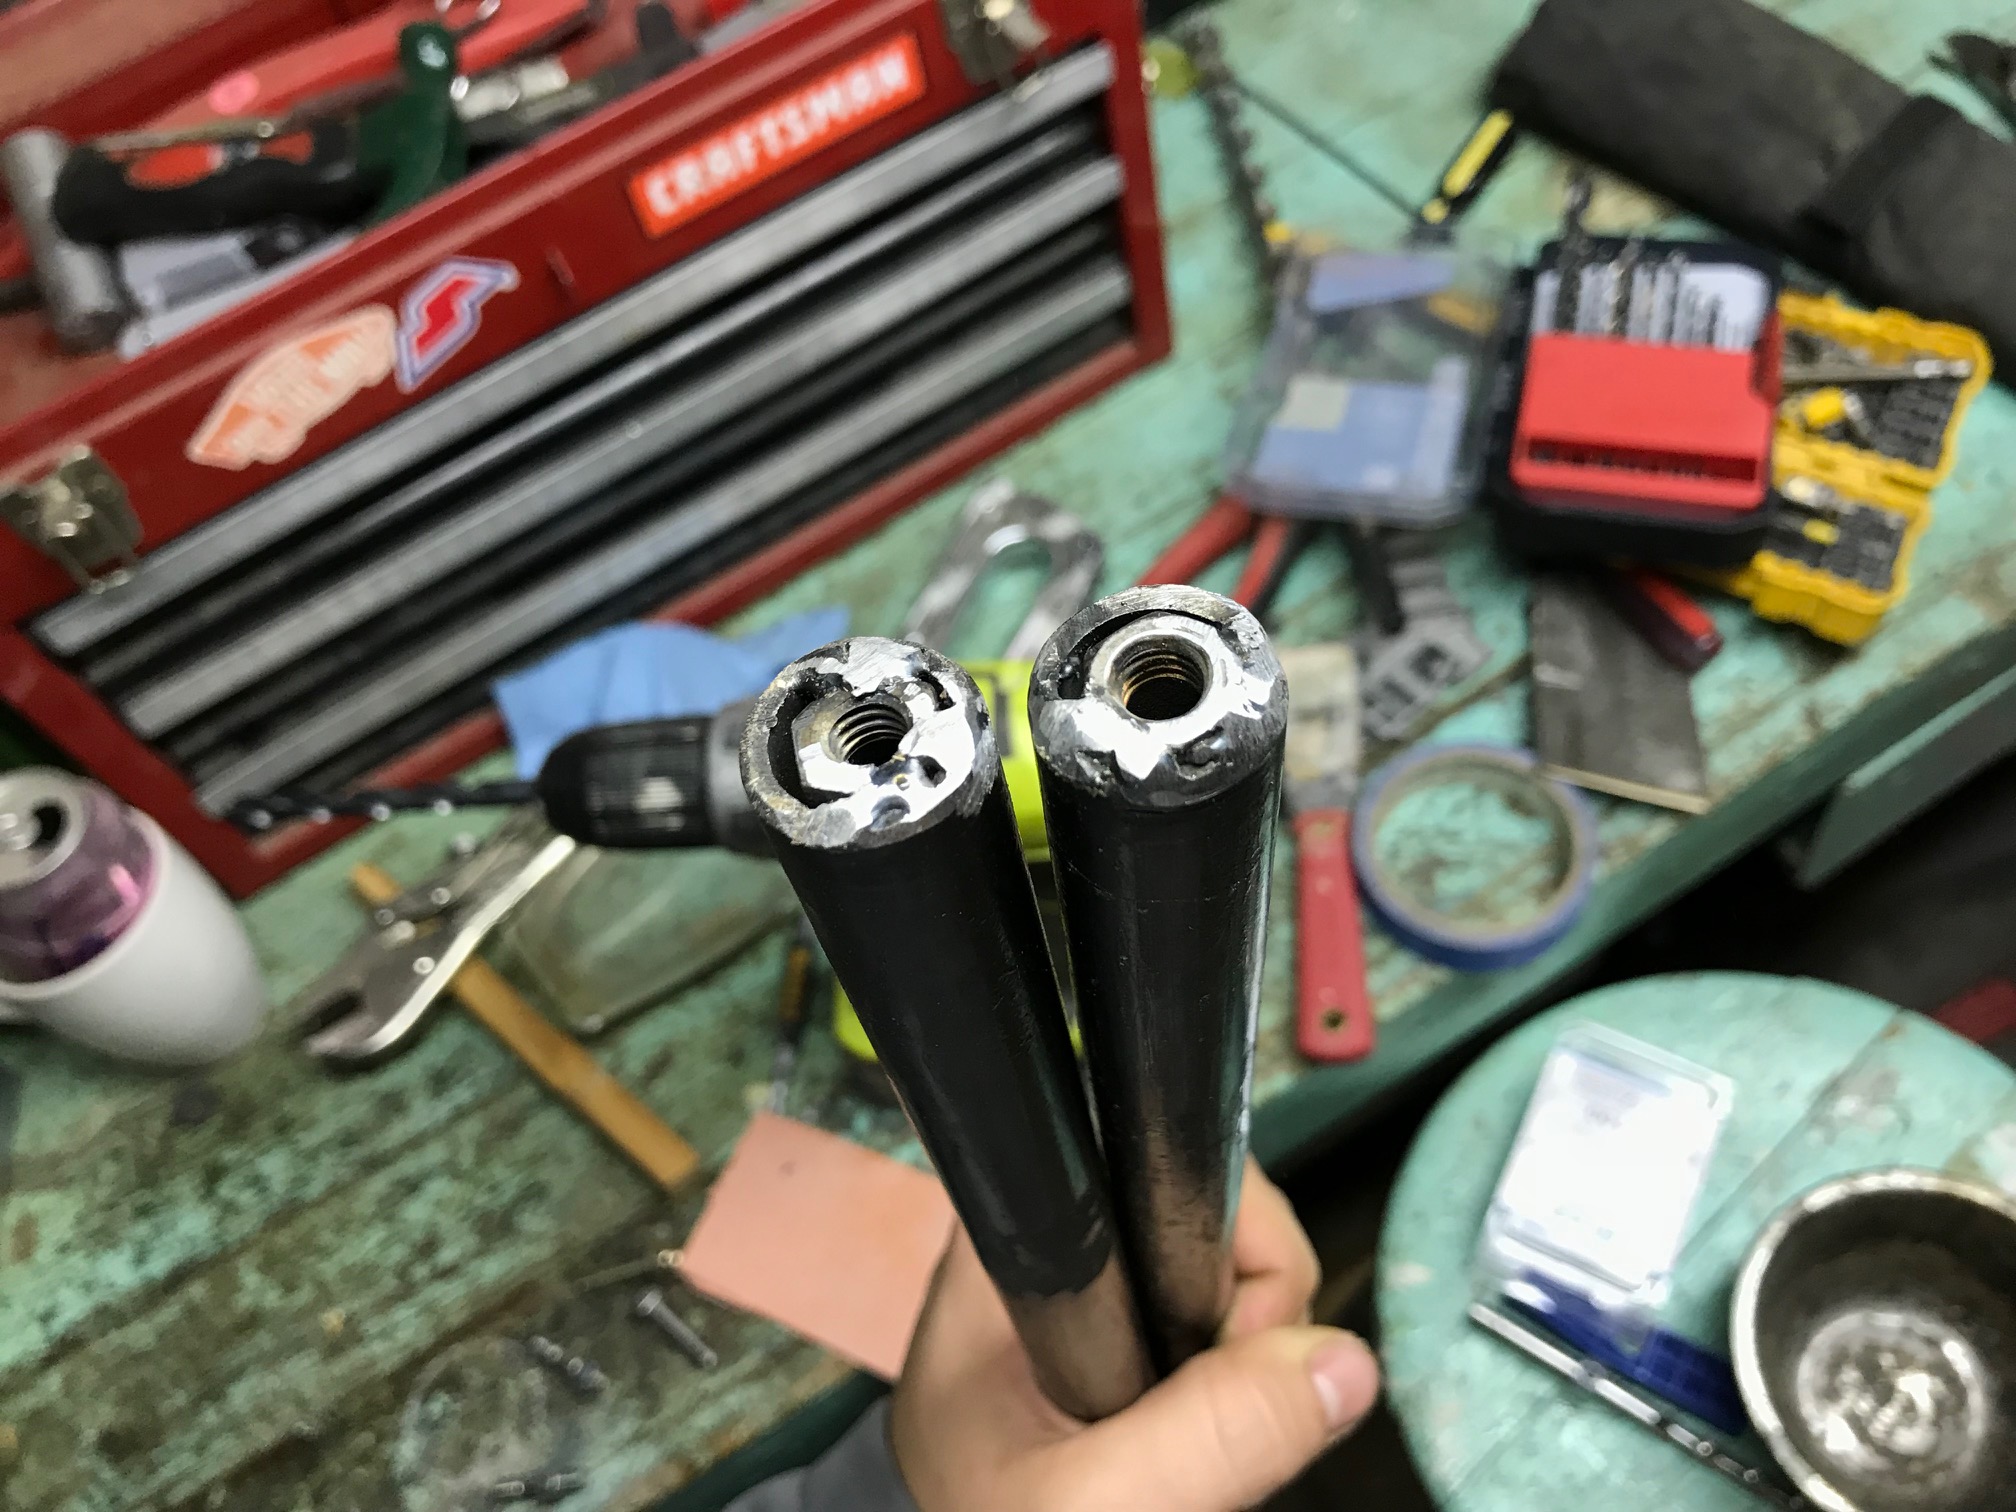
The sewing machine table was nowhere near wide enough, so I removed the parts in the middle and replaced them with 6 foot lengths of black pipe (aka black iron pipe, gas pipe, etc). It could be a little sturdier, it wobbles just a wee bit if pushed from the side, but I could fix that with an x-brace in the future if I need too.
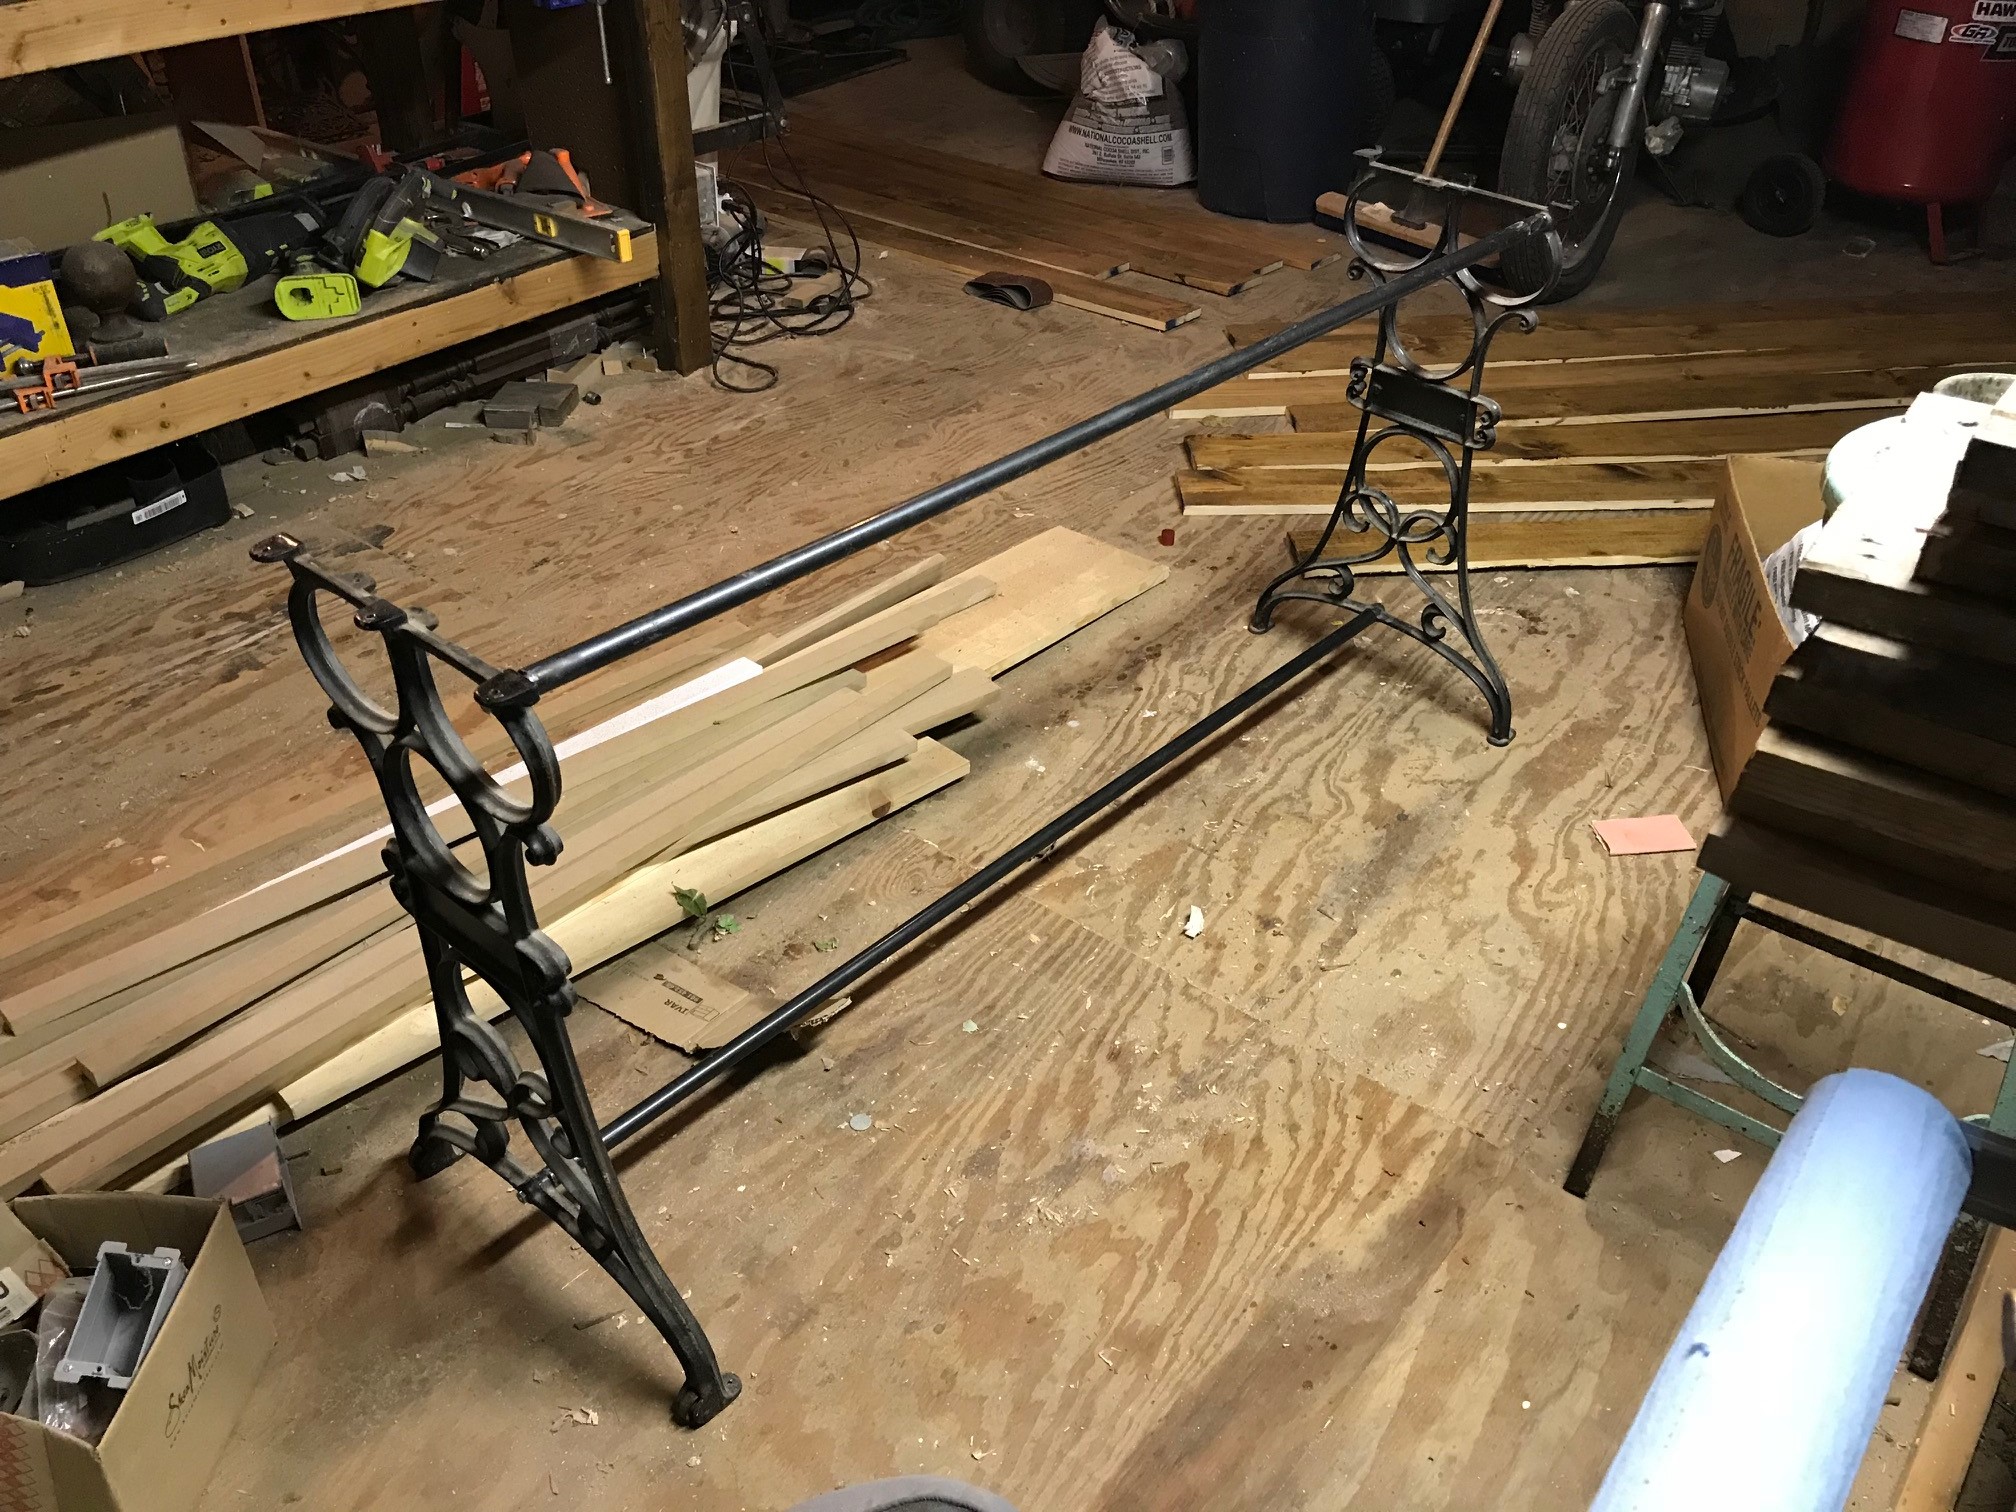
To attach the pipes to the lengs, I welded some nuts to the inside of the ends of the pipes, and used bolts that went through the holes in the legs where the original bolts were holding onto the sewing machine parts.
I had to do a little trimming and cutting with my Ryobi Mult-Tool on the bottom of the round-edge slabs to get the table top to sit flush and level on the table legs. It worked great! Then I just used wood screws, again using the same original holes on the iron legs where the old sewing machine table top screwed to the legs. Very easy.
And there ya have it!

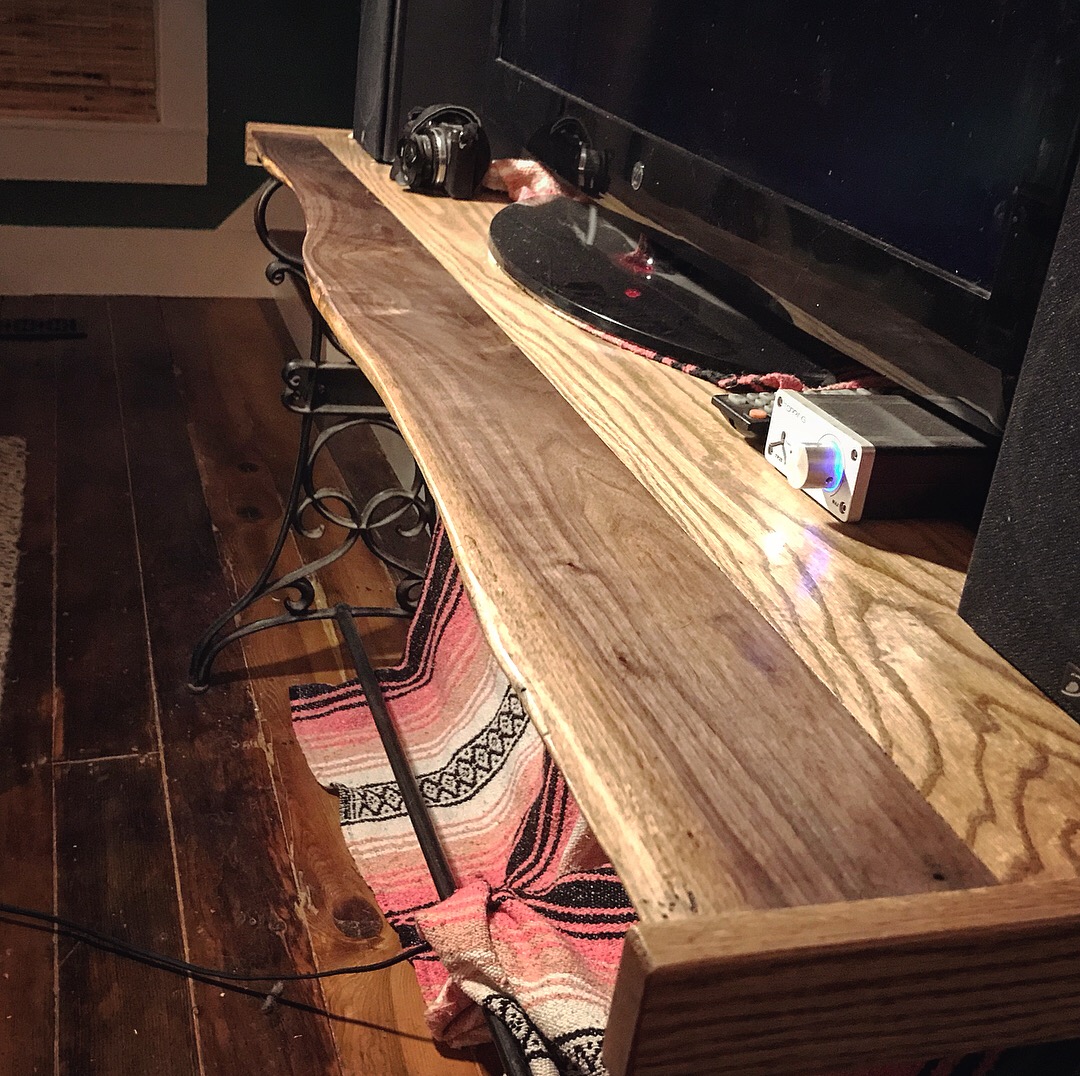
We're using it as a TV stand, for now. But it doesn't hide the wires at all and for that reason it will be replaced with a real TV stand and this table will probably be used for my liquor bar in the dinning room. Will make the table look a lot better too! I would also be great as a "sofa table" for a couch/sofa back that's facing the center of a room.
Thanks for reading!