What do you do with an old suitcase and a pile of stomp boxes and patch cables? Turn it into a pedal board! This was a really fun project, one that doesn't require a whole lot of planing and can be made with things laying around the house. Here's how I made it.
Step 1) Acquire the supplies
I needed:
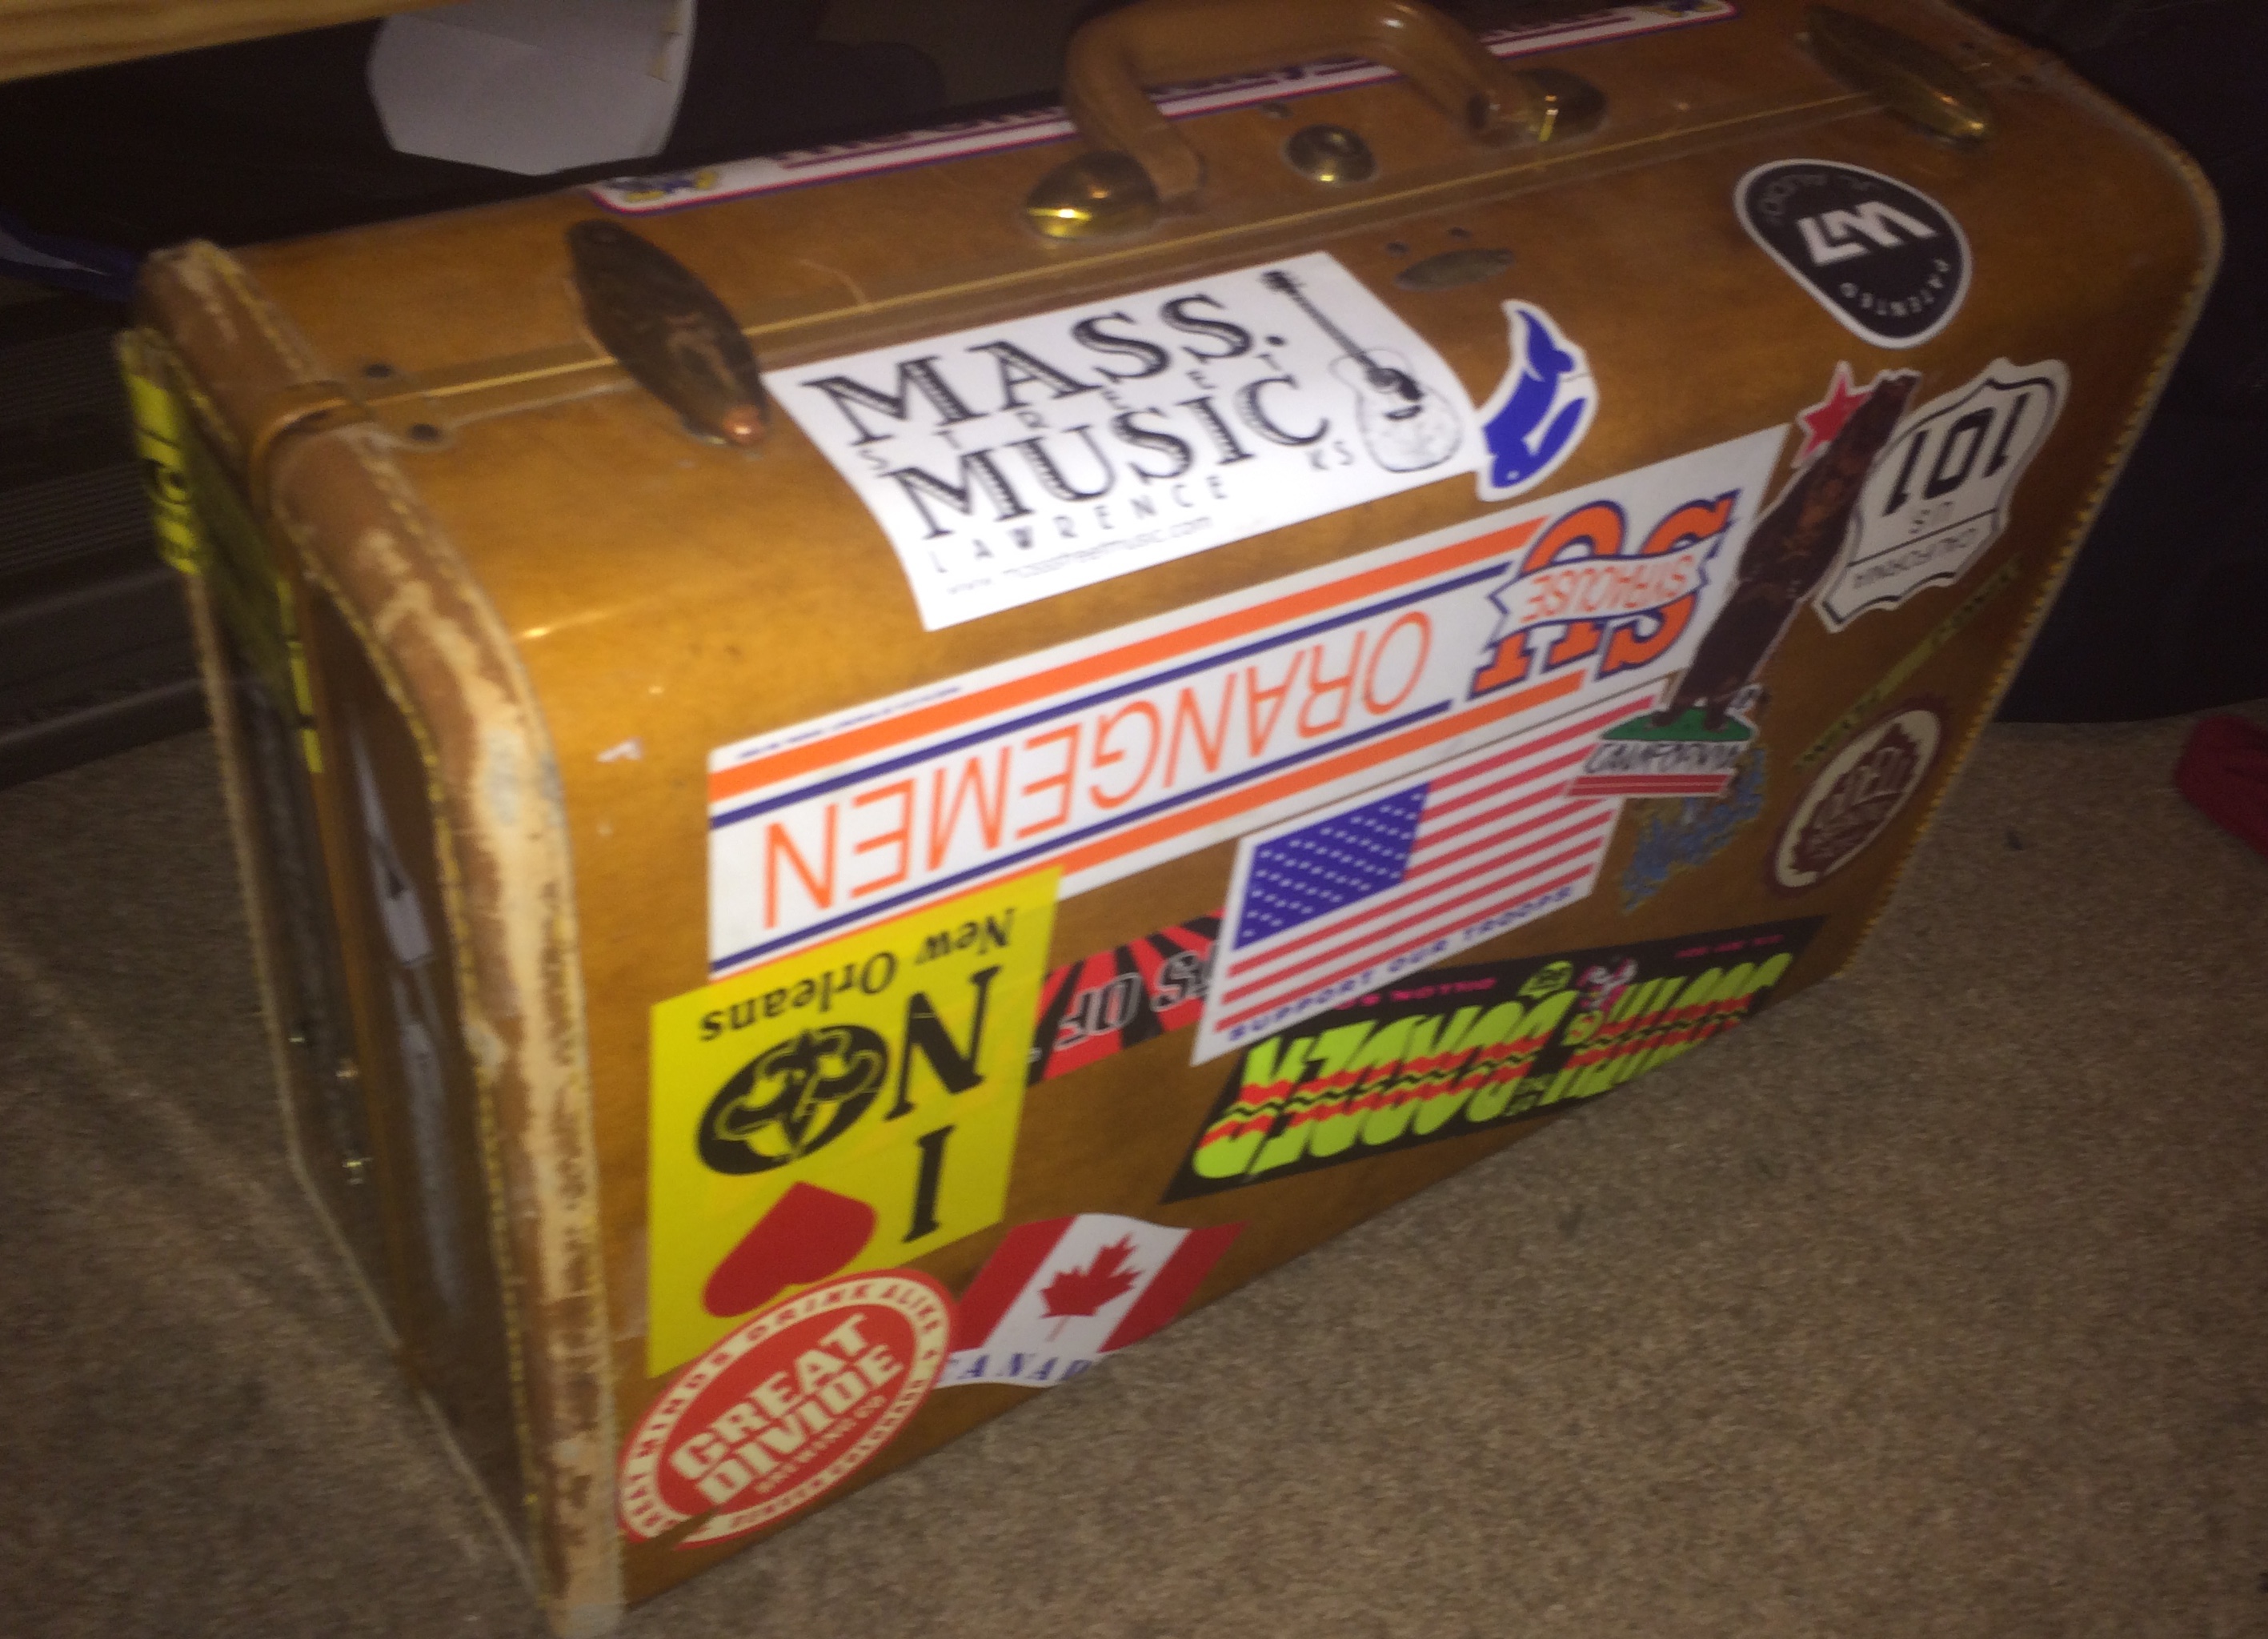
- An old, hard suitcase. My grandparents gave it to me in high school, where I quickly covered it in stickers while I traveled the country.
- Plywood (or nicer, if this isn't a budget build)
- Some hardware. For my design, I needed two hinges, several wood screws and a magnet.
- Power supply.
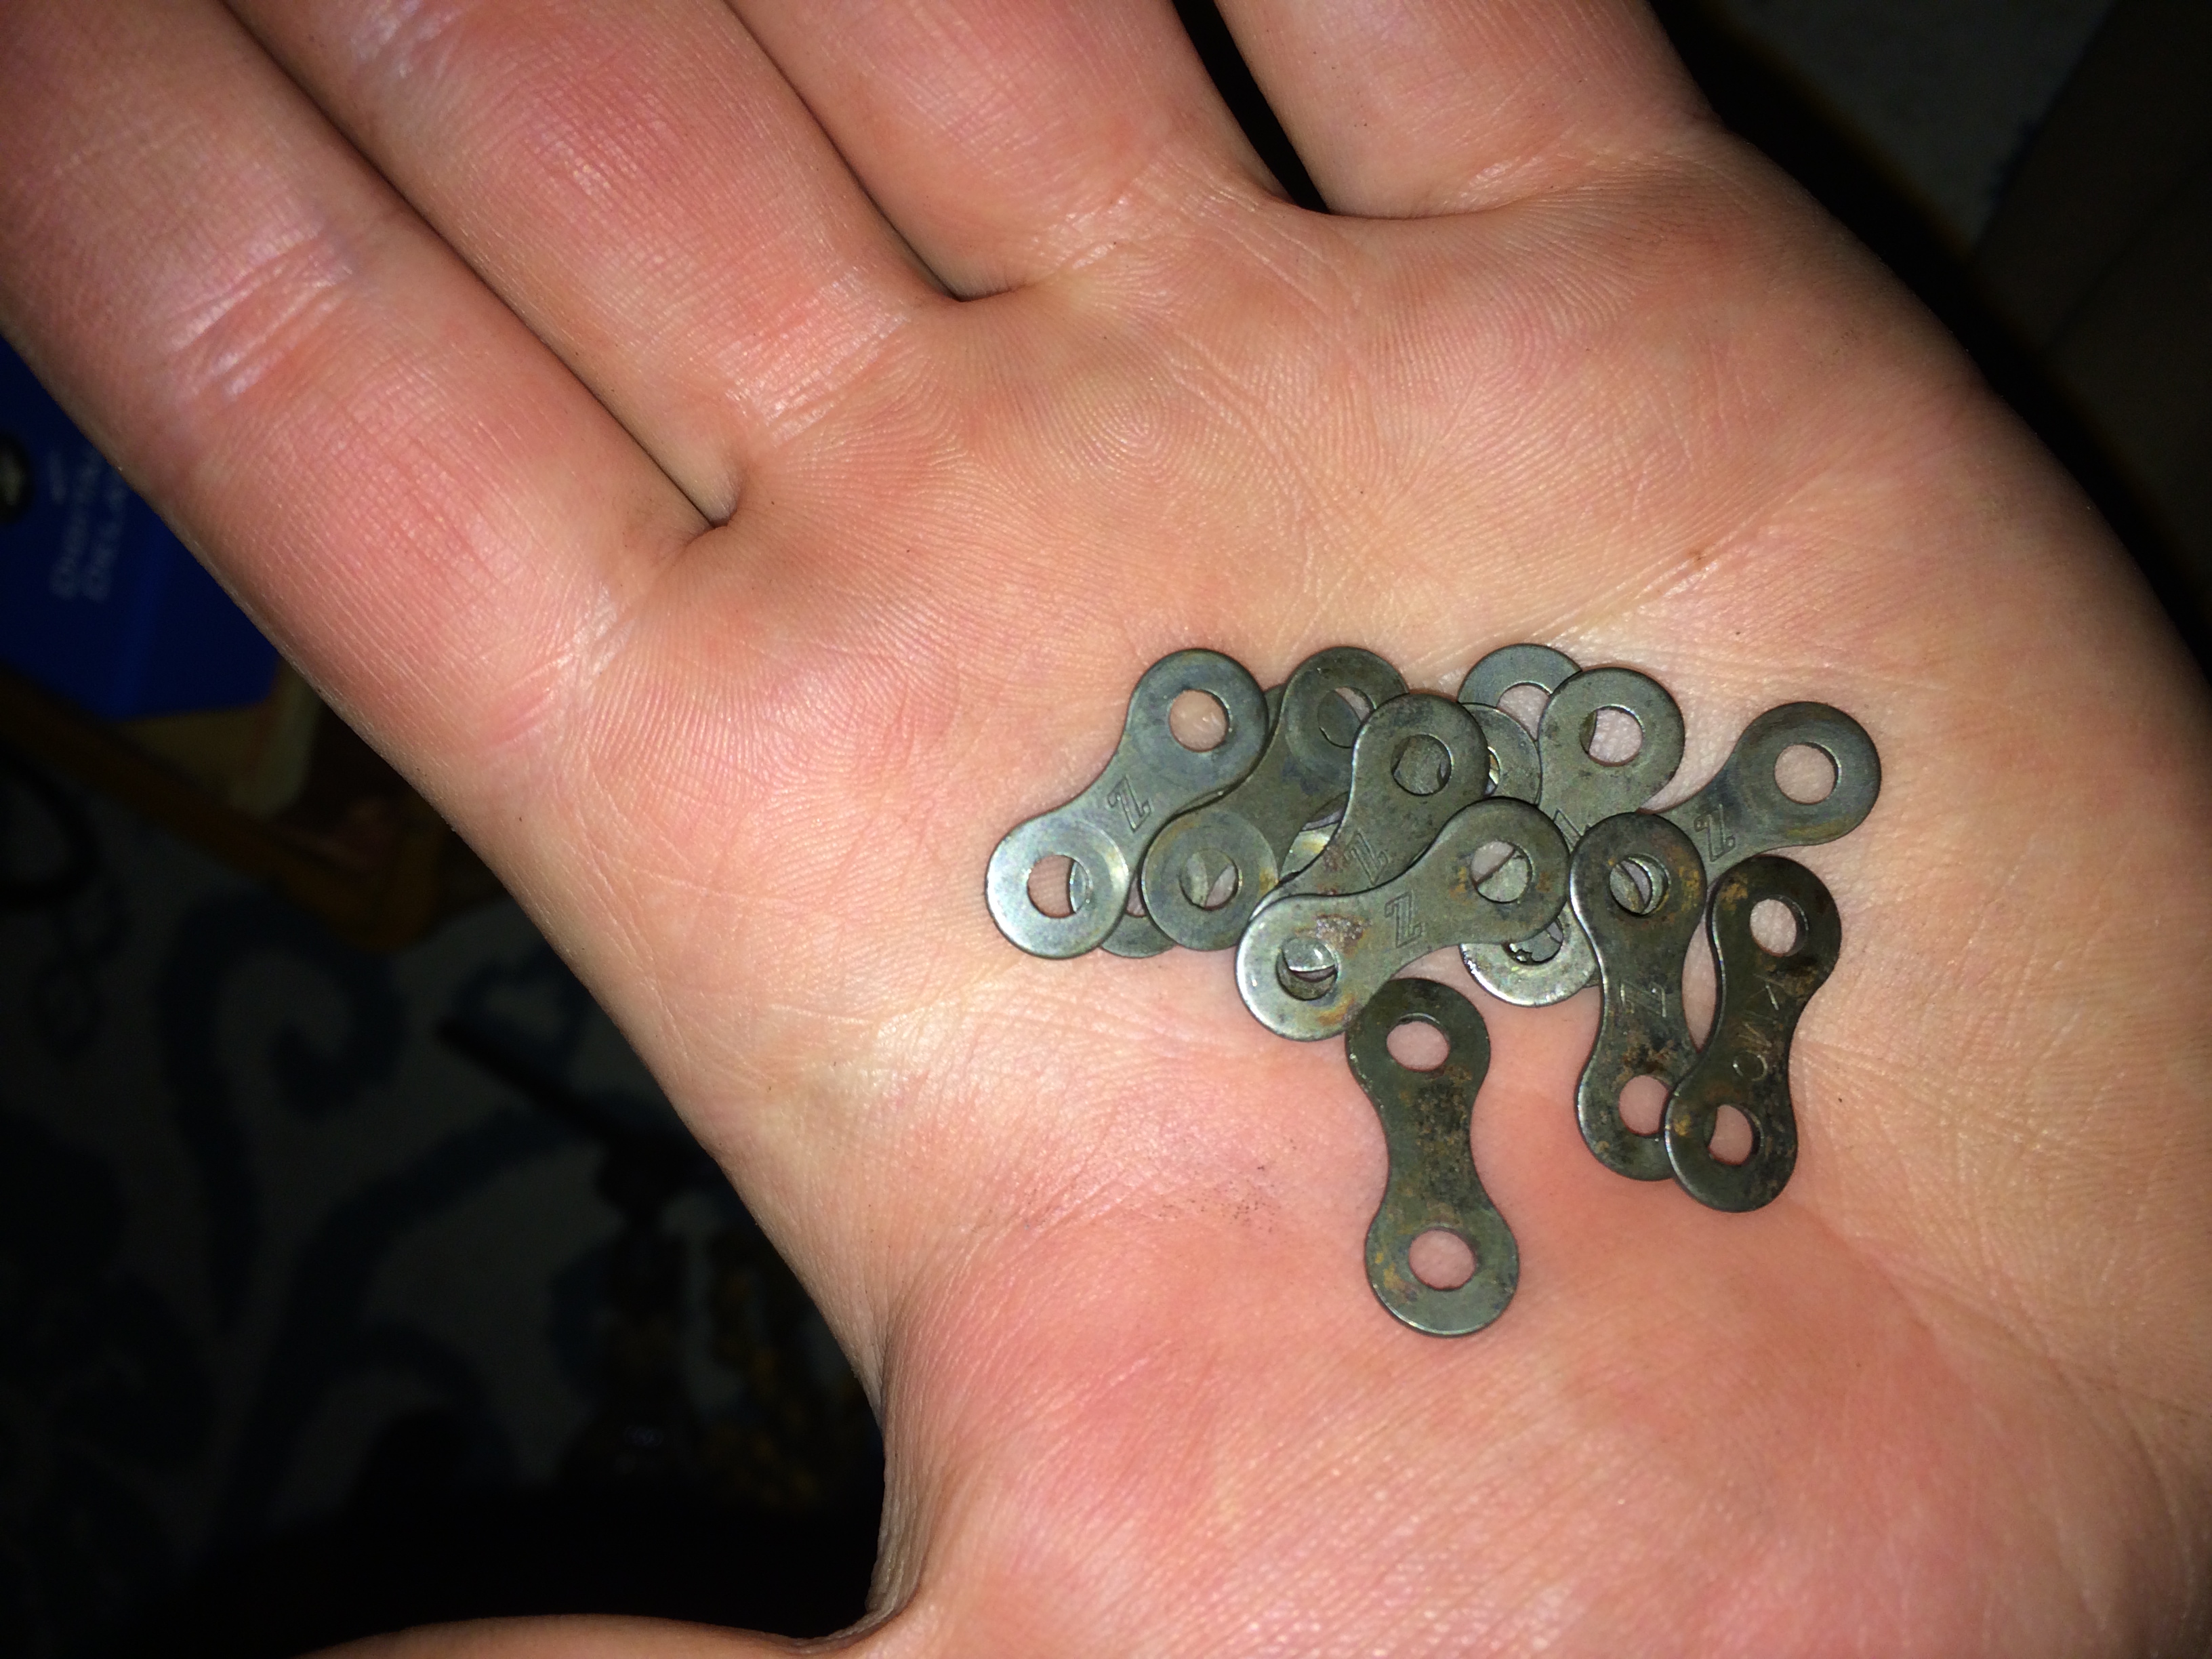
- Old bicycle chain and a chain breaker.
You'll also need a drill and drill bits, saw and screw driver.
Step 2) Design the pedal board
The effect pedals need to be on a platform, not just sitting on the bottom of the suitcase. Below is the design I came up with.
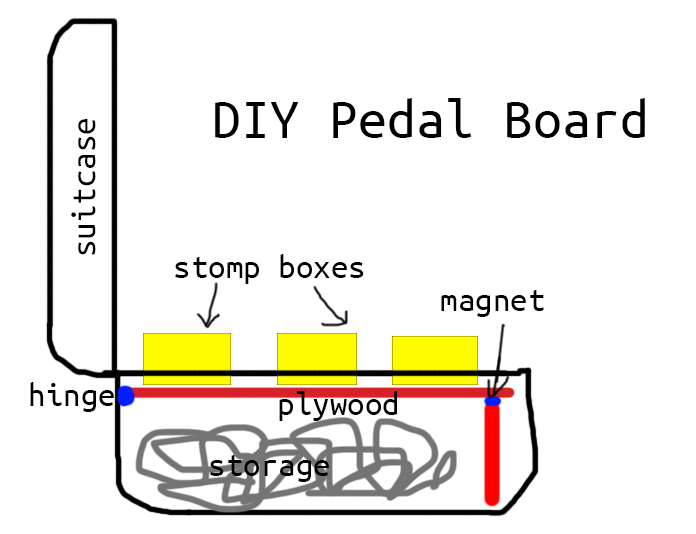
This design provides a few advantages:
- It encloses and can carry around the effect pedals safely, great for gigging
- Theres storage in the bottom for cables, tuners, strings, etc.
- It keeps the effect pedals organized and safe.
Step 3) Build it
This is the part where you do the drilling and hammering and screwing (why does that sound dirty?).
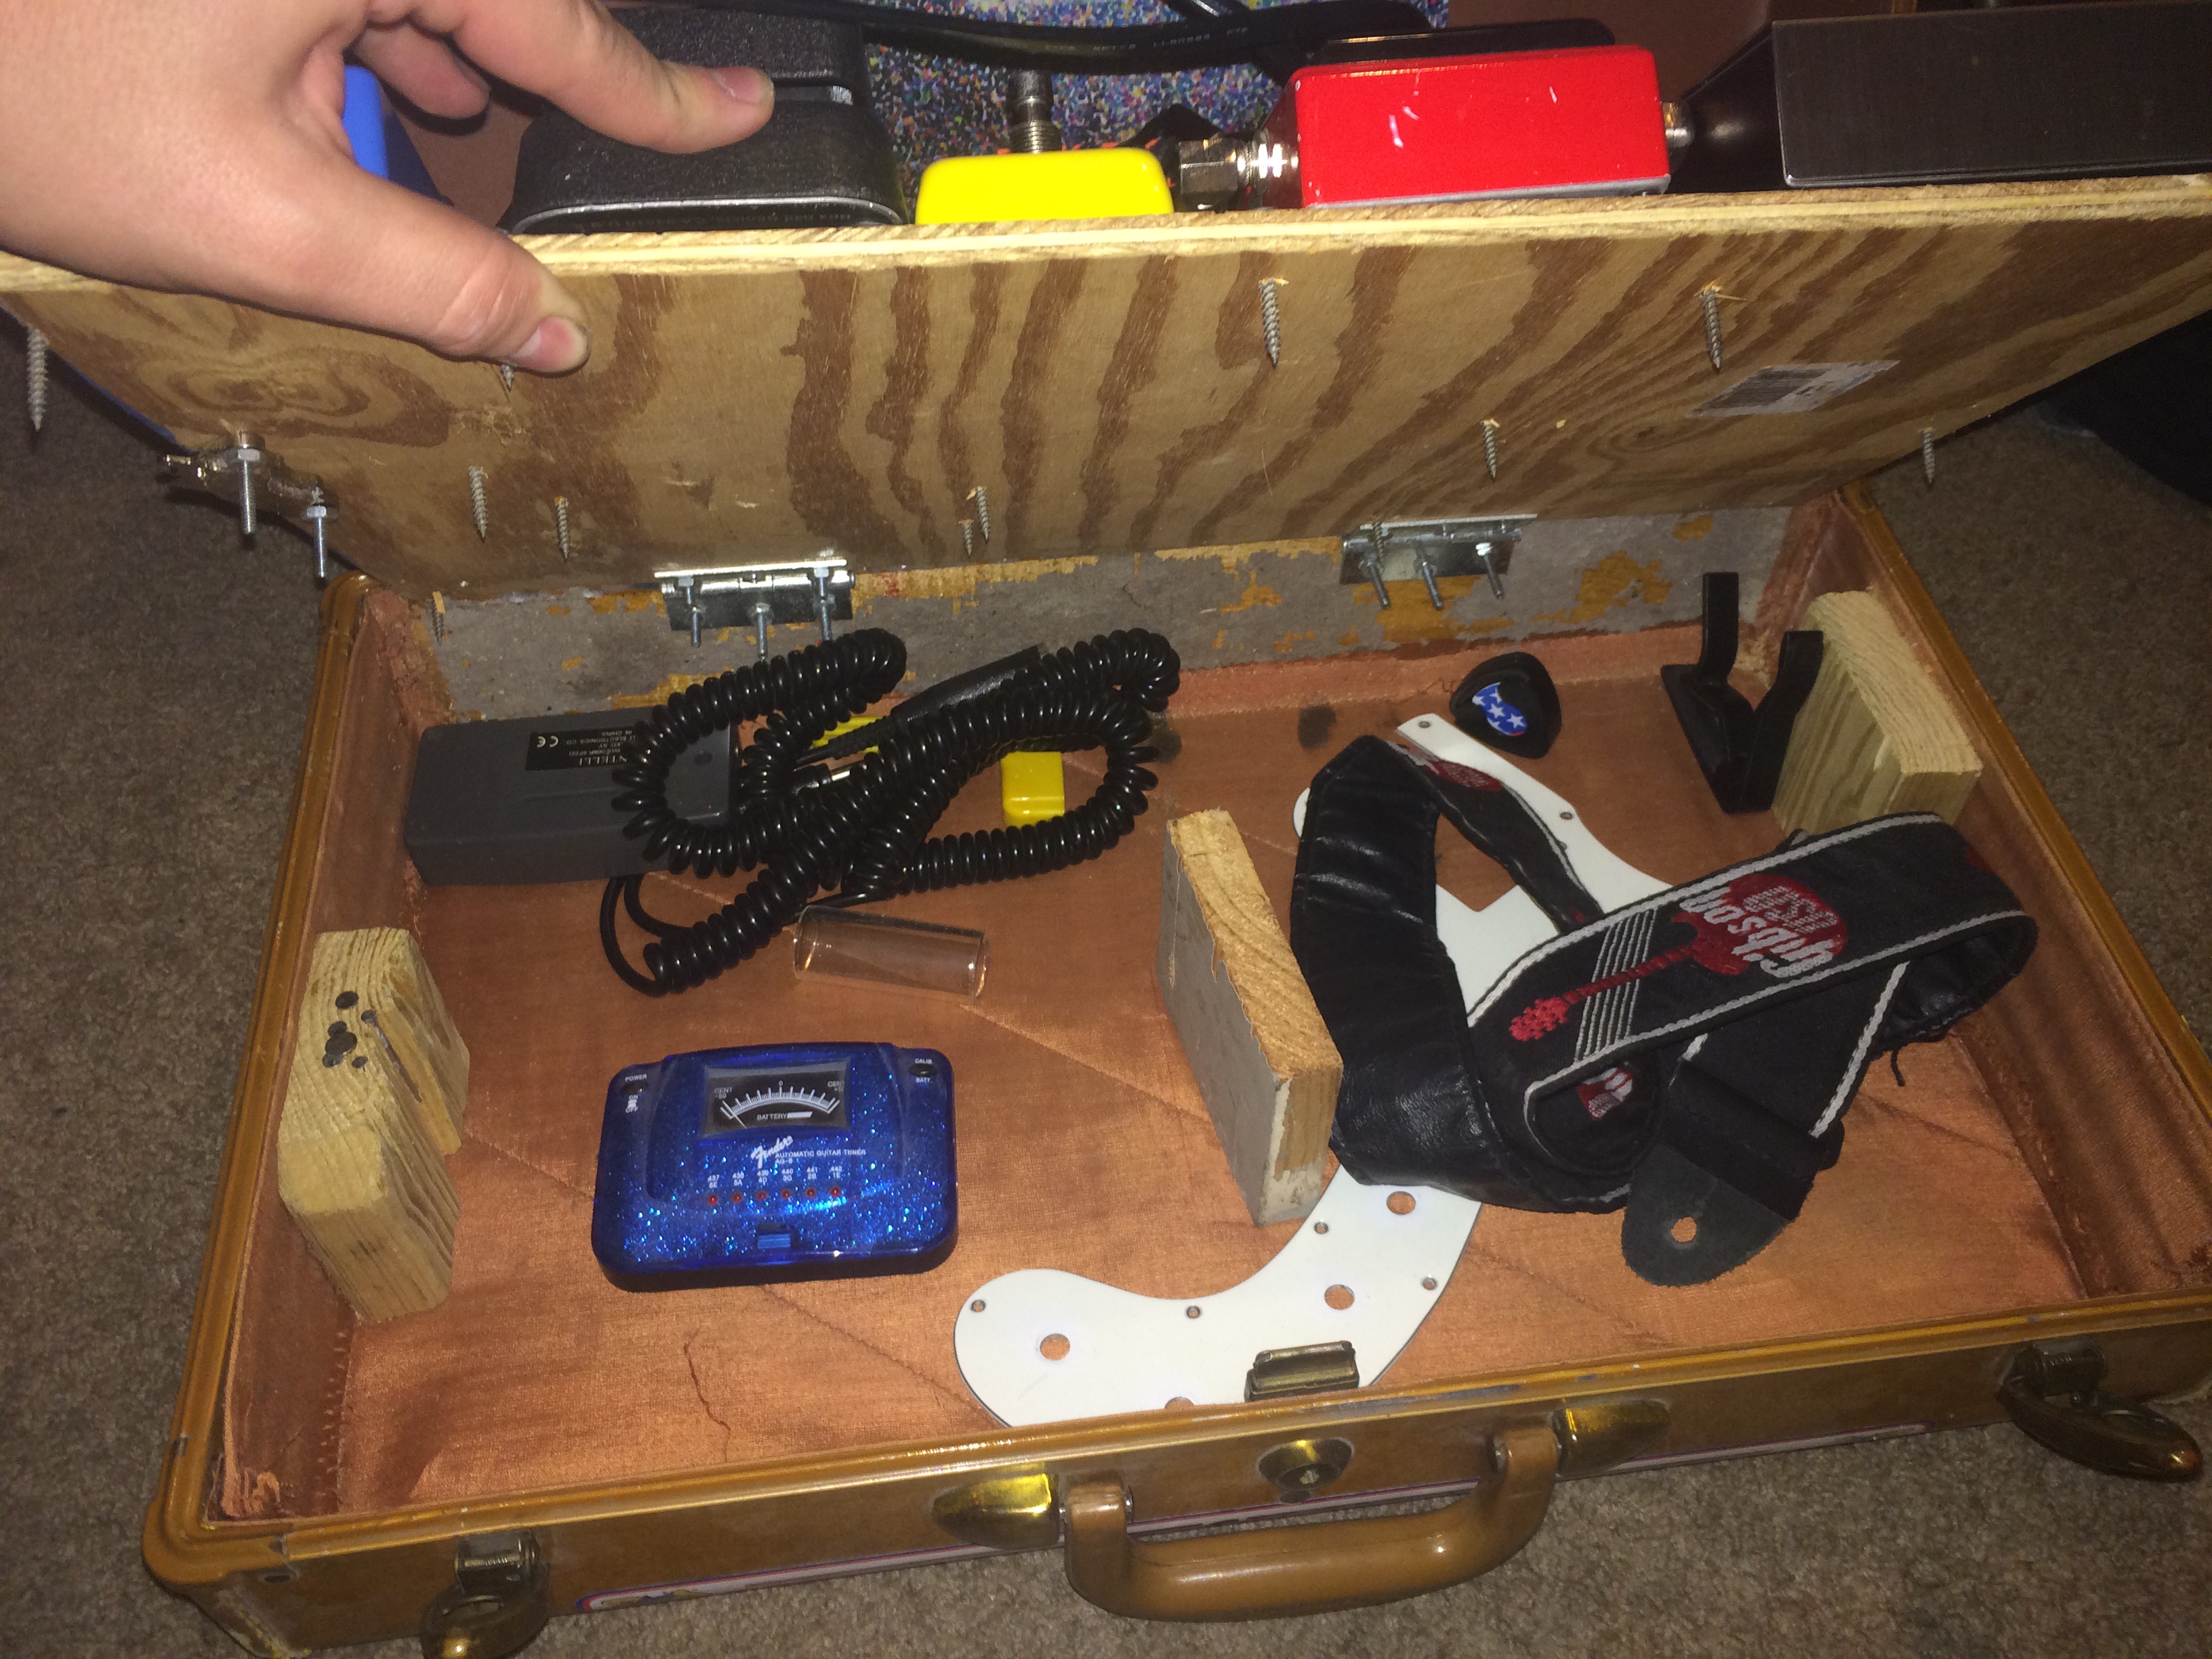
The board needed 1x4s to rest on. The magnet is on the left and attached to the underside of the board. It's taken from an old computer hard drive, very powerful. I hammered some nails into the 1x4 for the magnet to touch. The board is very heavy once all the pedals are on it, but this setup works really well.
Step 4) Secure the stomp boxes to the pedal board
Figure out the layout and organization of the pedals, and then attach them to the pedal board.
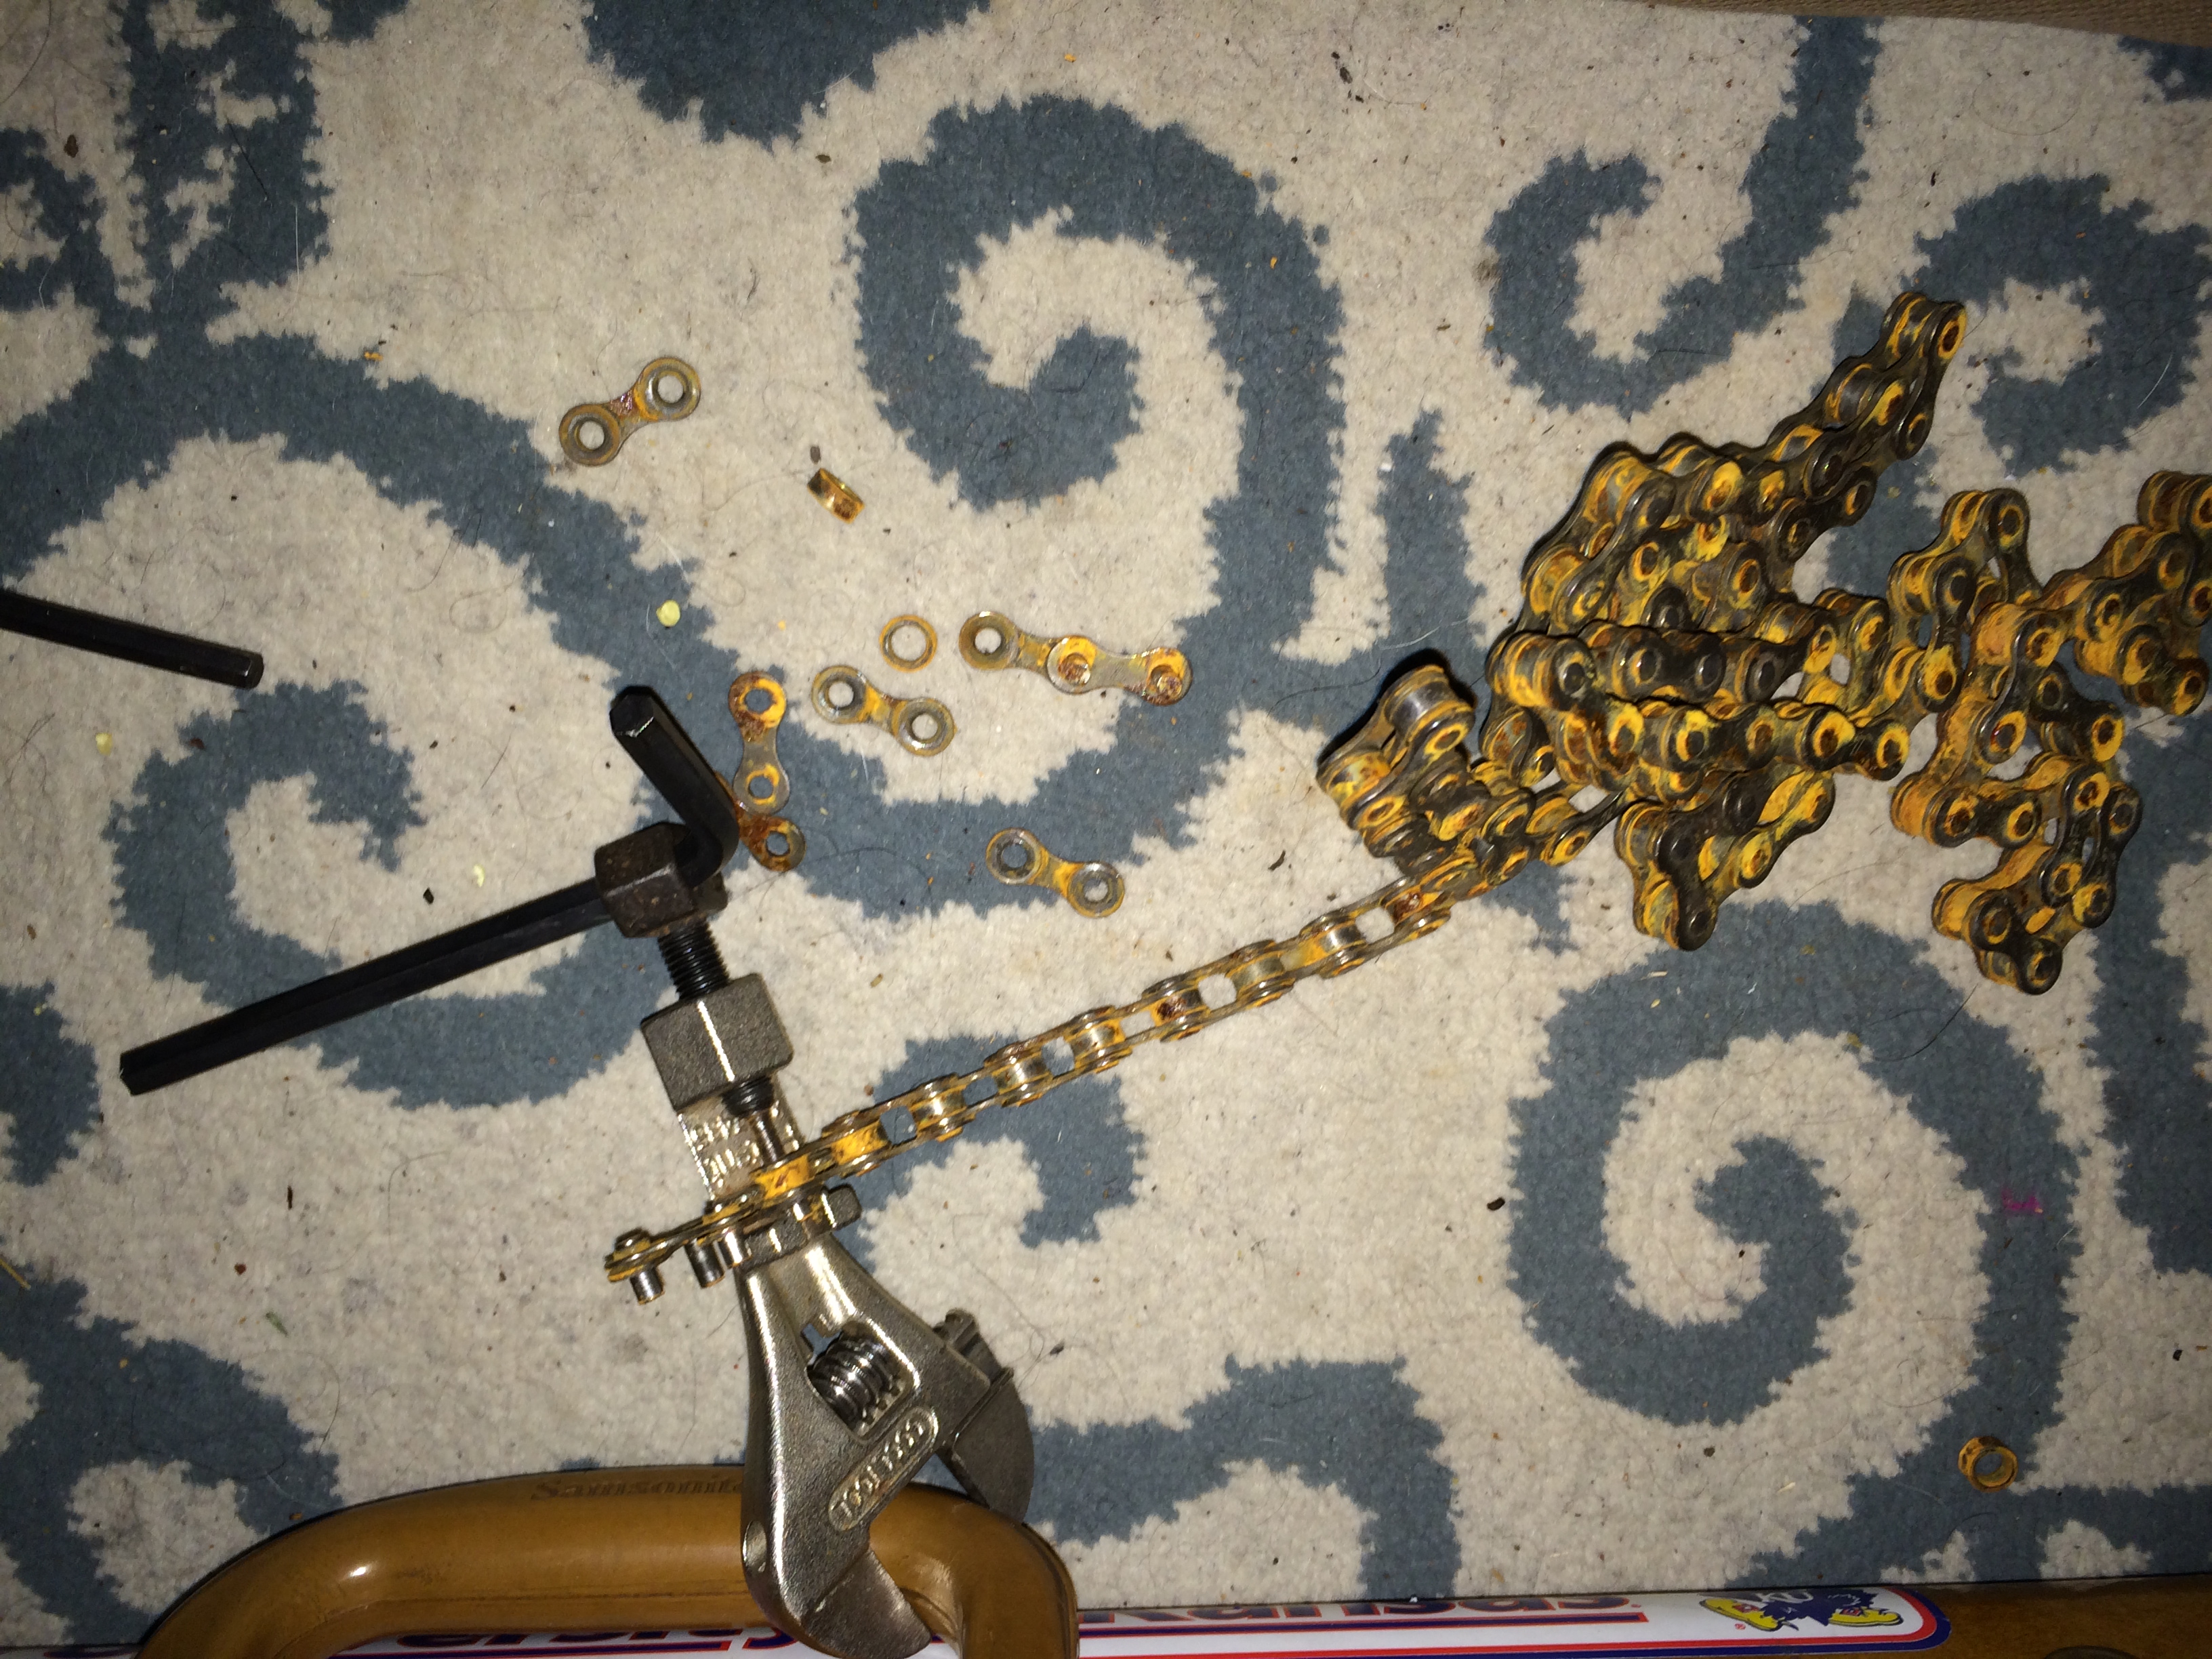
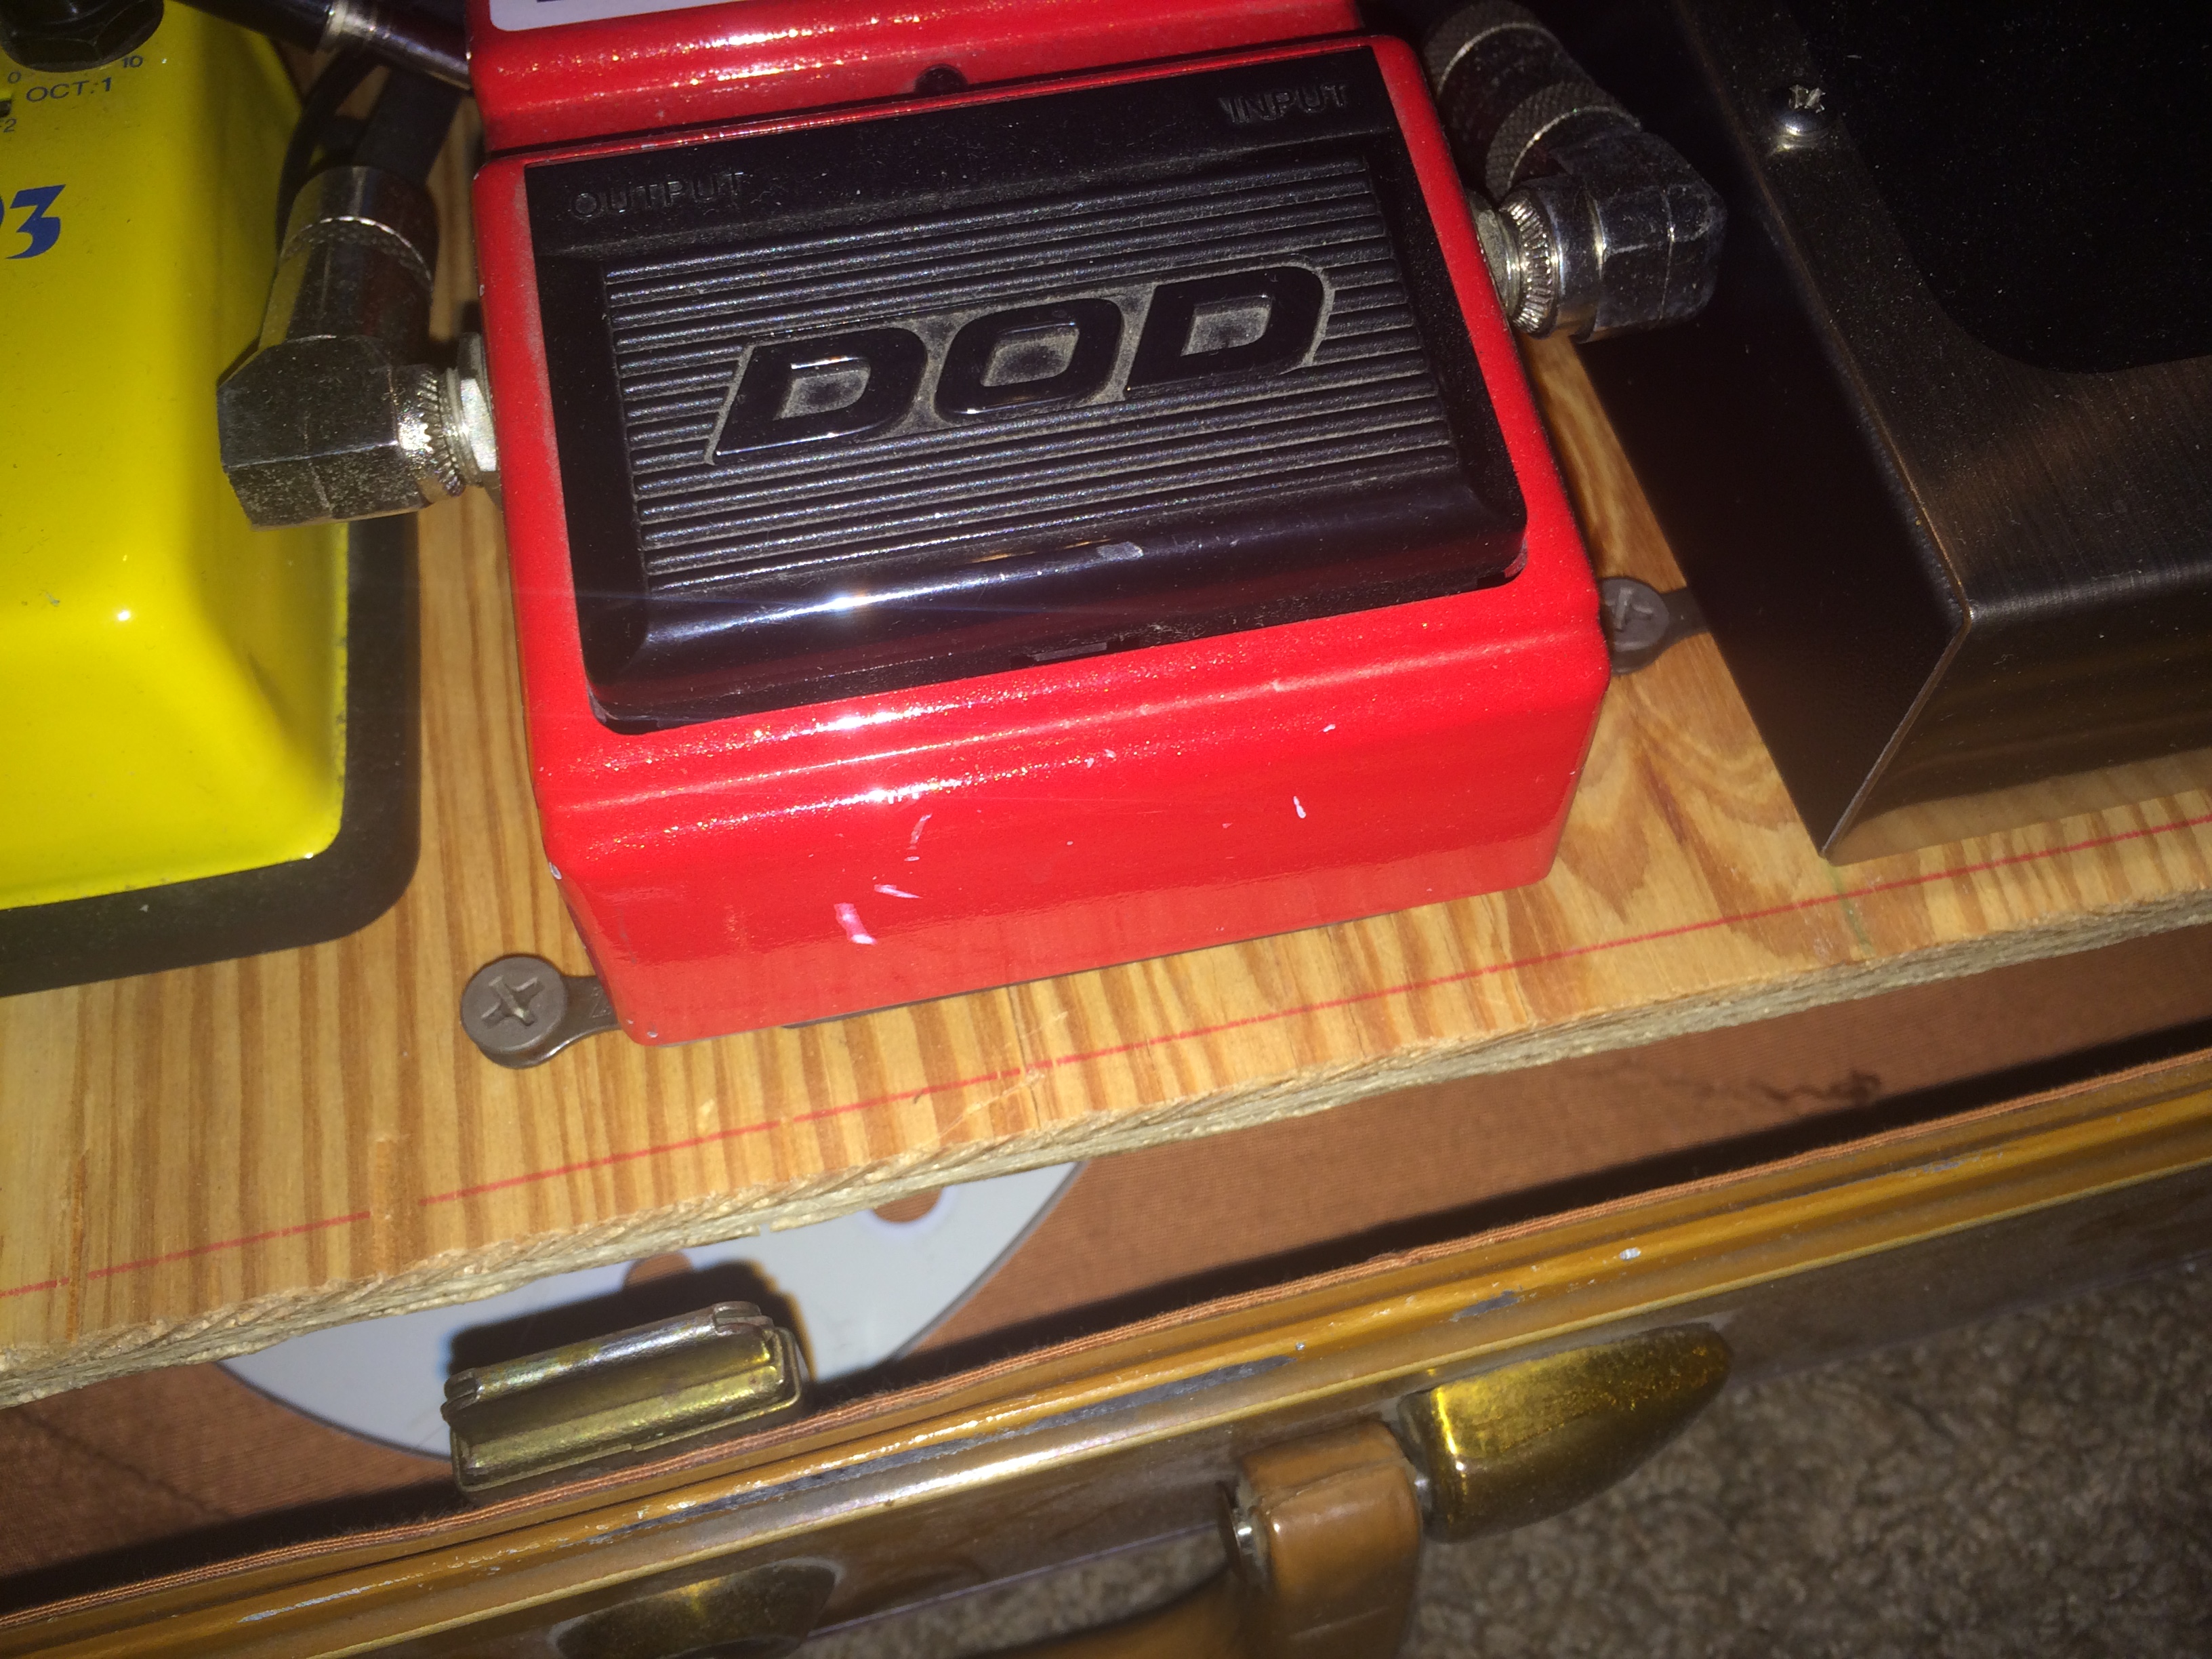
This can be easily done with an old bicycle chain! Break apart the chain (you'll need a chain breaker, no way around it) and break it down into individual links. They're perfect because most stomp boxes are screwed together on the corners. The link screws onto the effect pedal and then it's a perfect bracket for screwing to the board.
Step 5) Wire it up
Include a power supply to complete the setup, and give it a test drive!

OK so mine's a little crowded. But all my pedals fit perfectly! So much easier than trying to manage a pile of effects, patch cables and wall wart power supplies.

[Epilog: this is now sold :( but to a friend who will hopefully keep it all together]