This is a companion article to my VW Type 3 Windshield Install article.
This is how to install the headliner for an aircooled Volkswagen Type 3 Squareback/Variant, Notchback or Fastback. Notchback and Fastback install will be slightly different and a little easier. Also, your Type 3 is also probably going to be a lot different than mine, which has a Miata inside.
And it's more than just the headliner, it's like the entire interior upholstery except for the seats and carpet. What I'm saying is: it's a lot of work! And you gotta install it before putting in any windows except the rear door window on the Squareback.
Here's the supplies and tools you'll need:
- Your headliner - I'm using the TMI headliner kit that I purchased from https://www.vwispwest.com/
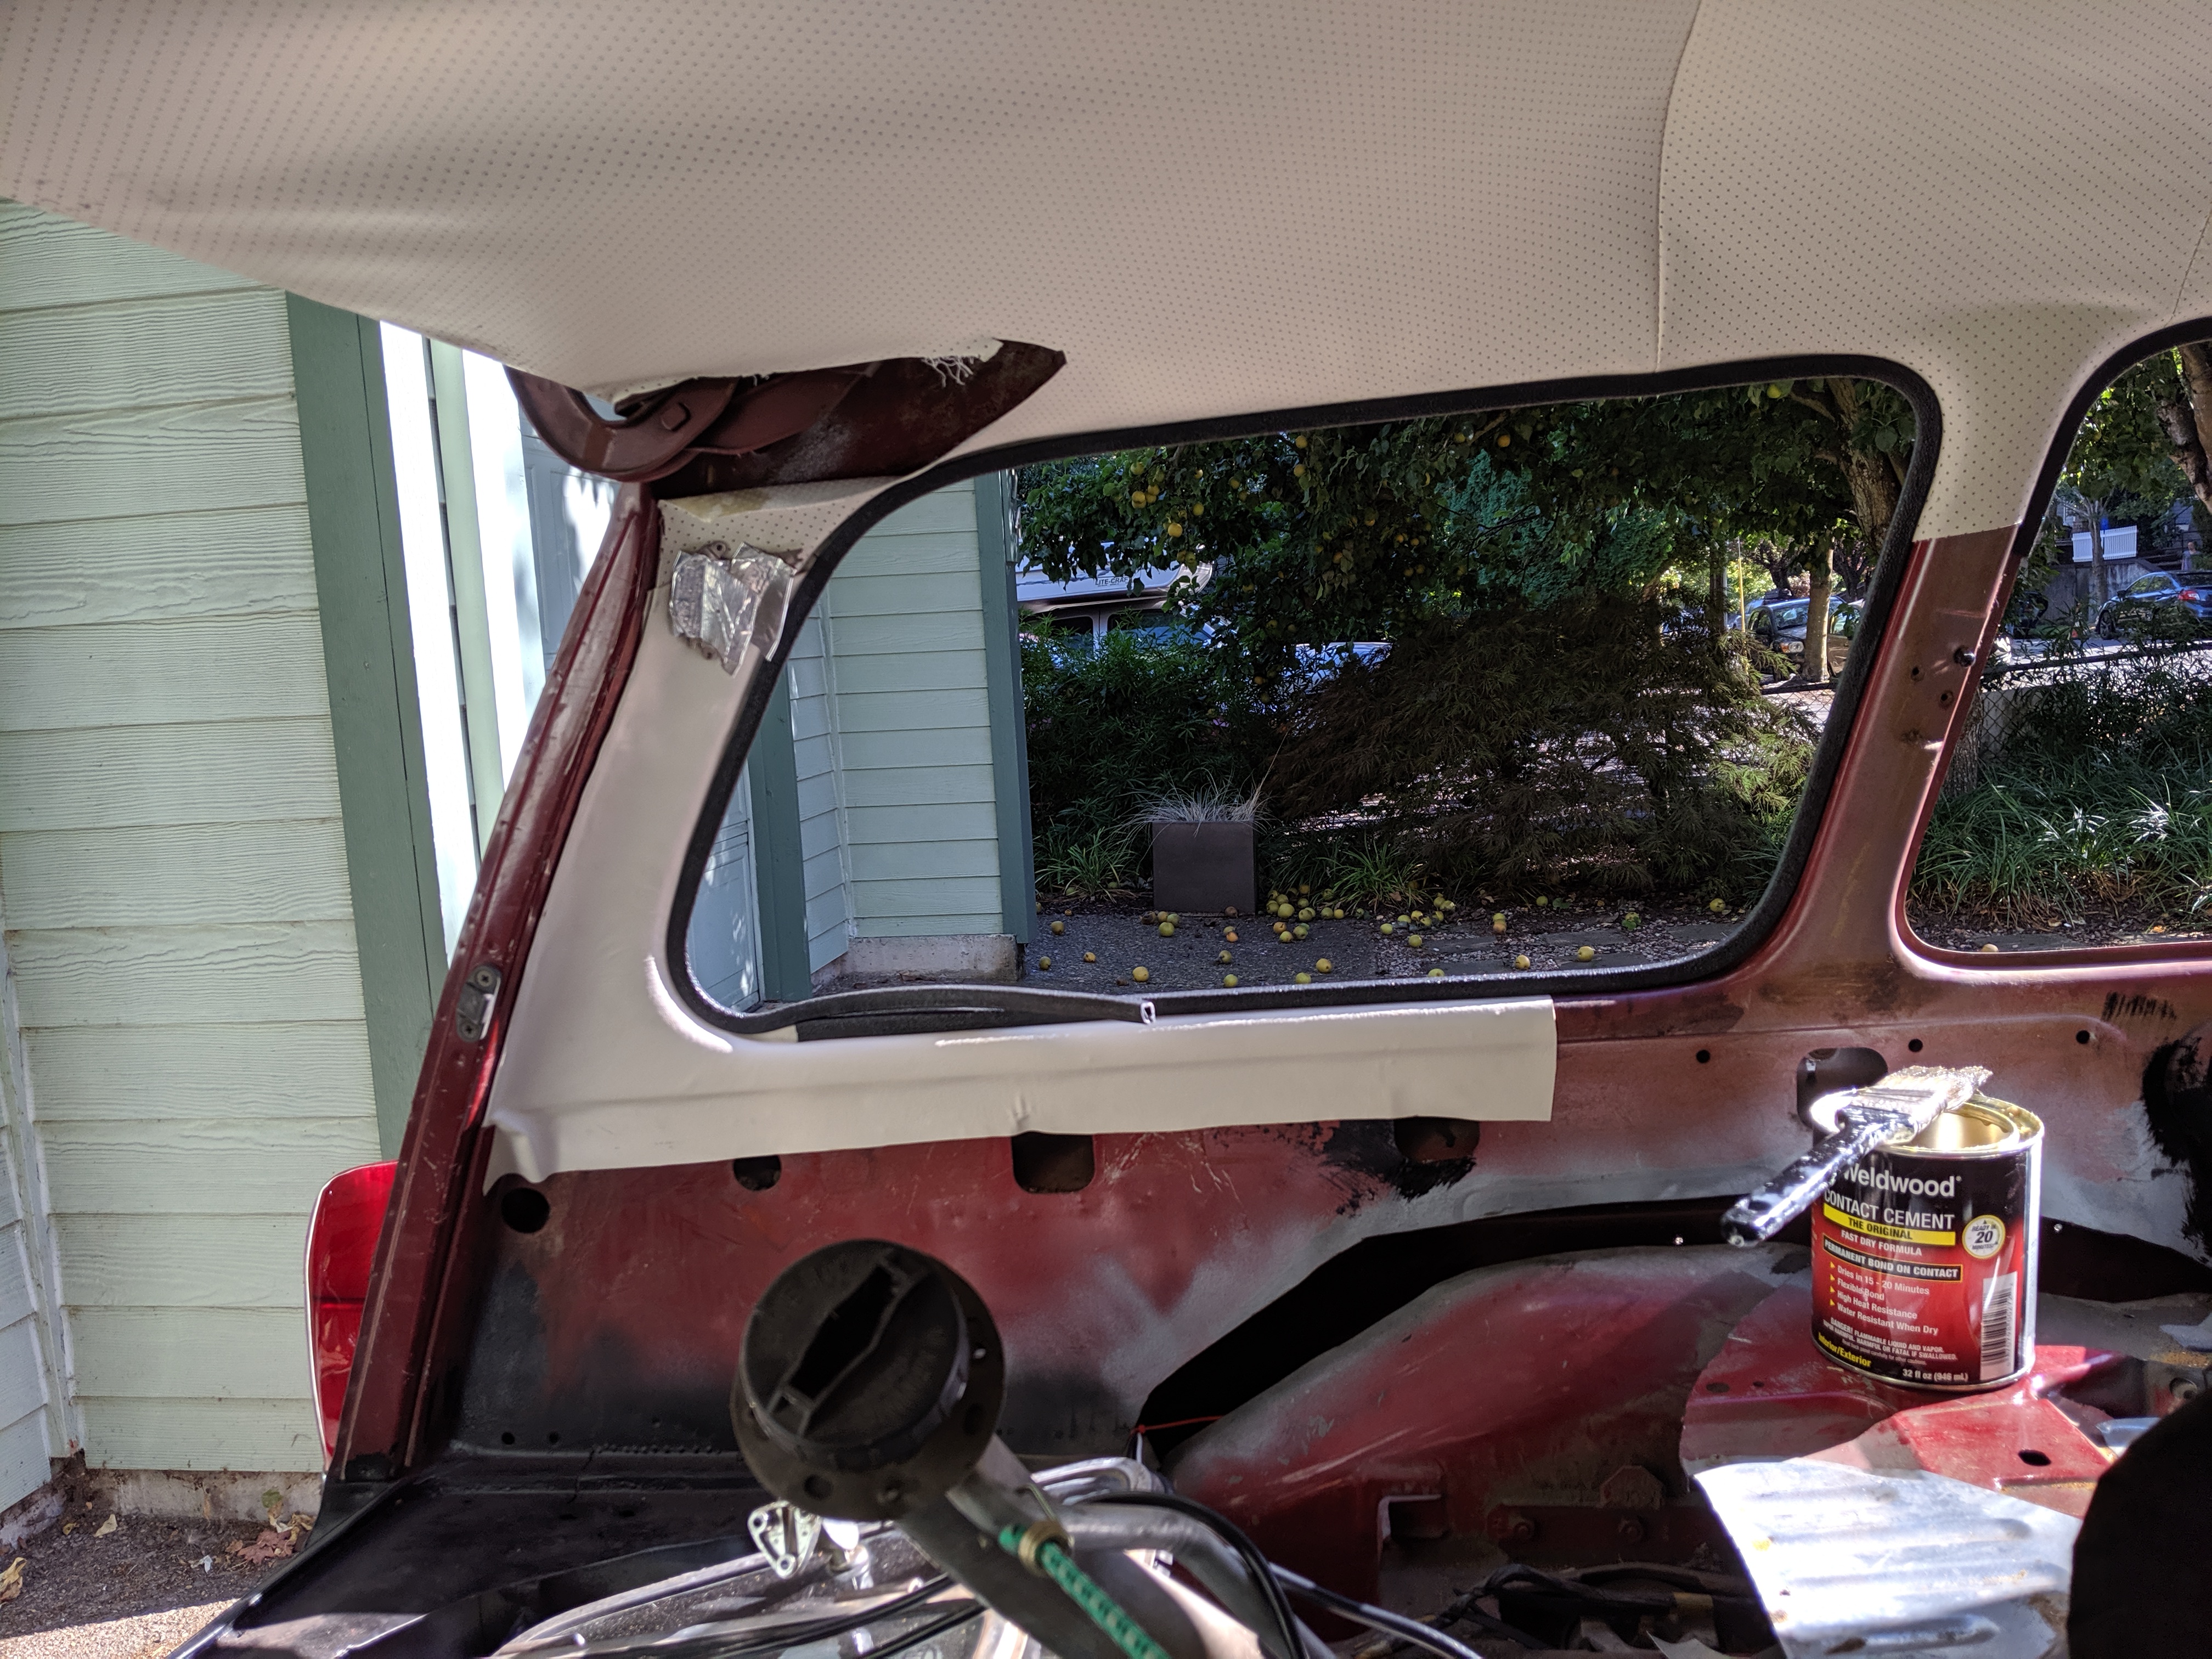
- glue - I used brush-on Weldwood contact cement - the more warning labels the better!
- brushes for the glue
- a heat gun
- large binder clips - I used close pins and they we're not really strong enough.
- sound deadening material
If you follow the affiliate links above and make a purchase, I'll get a tiny commission from Amazon, which is a great way to show your appreciation if you found this article helpful! Thank you.
A word on the glue: I got both spray on and brush on and the brush on was really the way to go. Much less messy, and it can really be worked into the fabric. Flood it into the fabric pretty liberally and also put some on the metal surface, let it dry for a few minutes, and then stick them together.

Before even starting, you'll want to put in some sound deadening. Instead of using horse hair like VW did (!) I used modern adhesive sound deadening mat made made by Noico. Make sure to knock off all the old adhesive before sticking on the sound deadening mat.
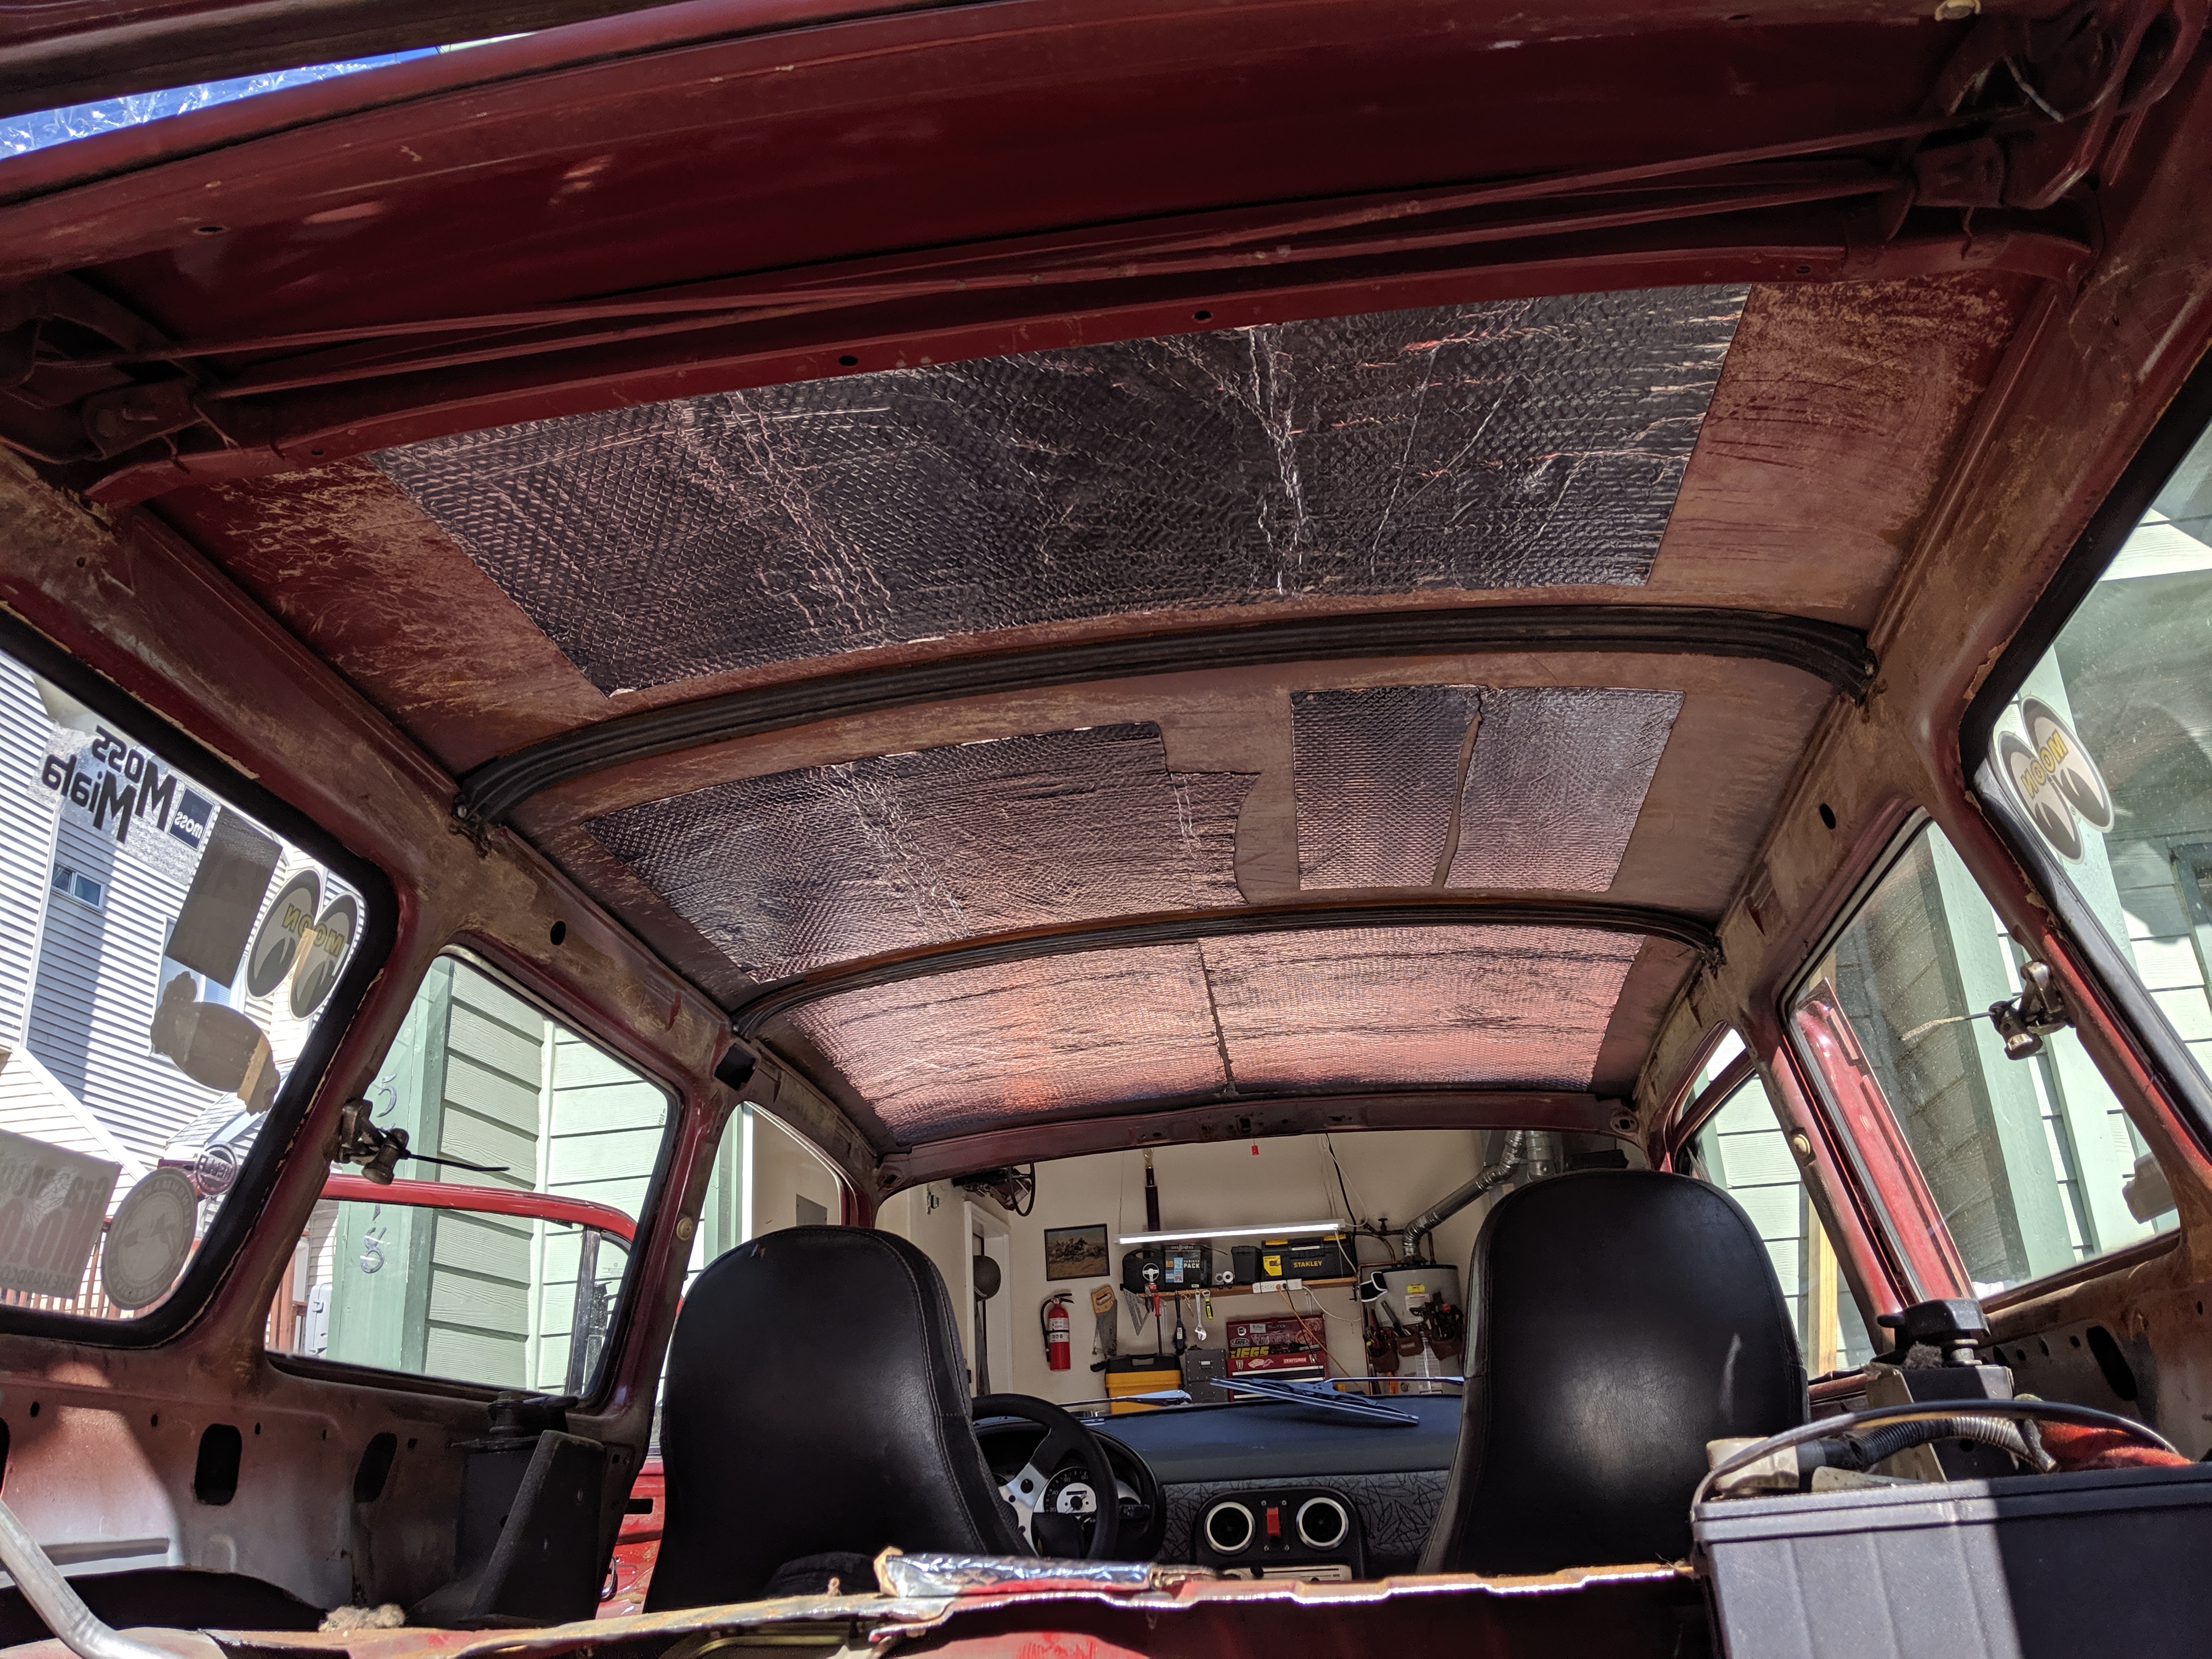
Now we can get started with the headliner.
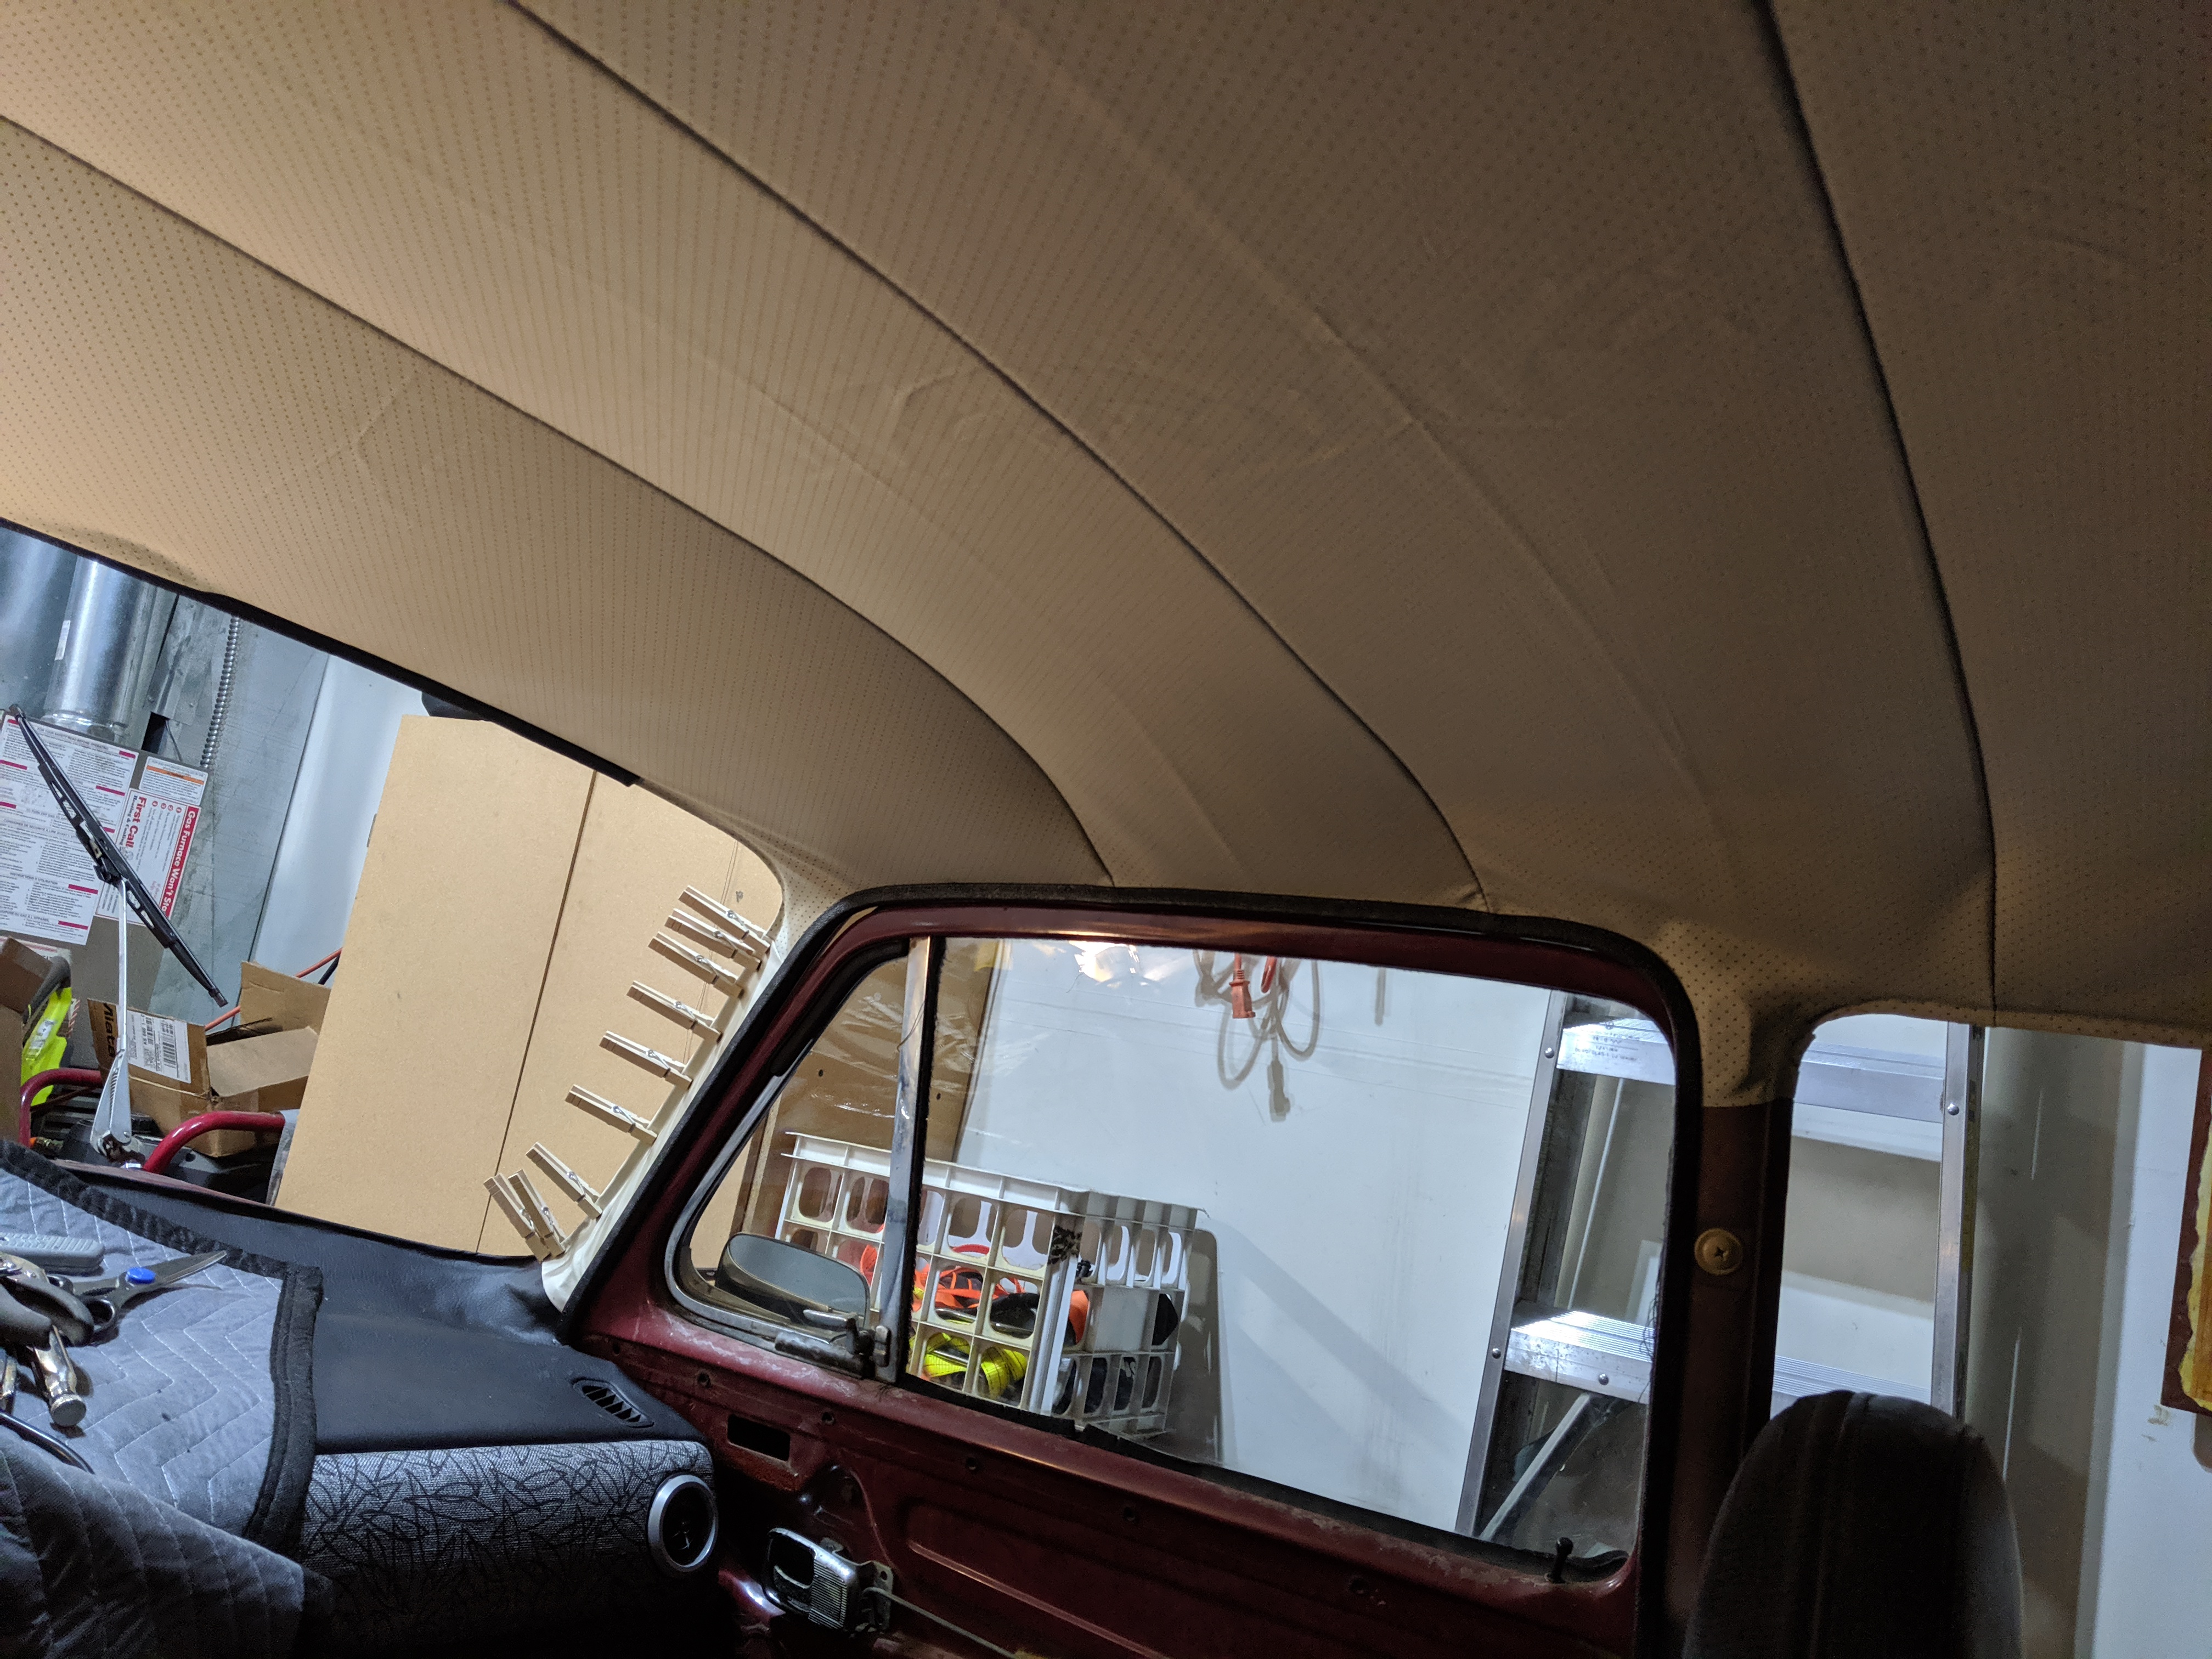
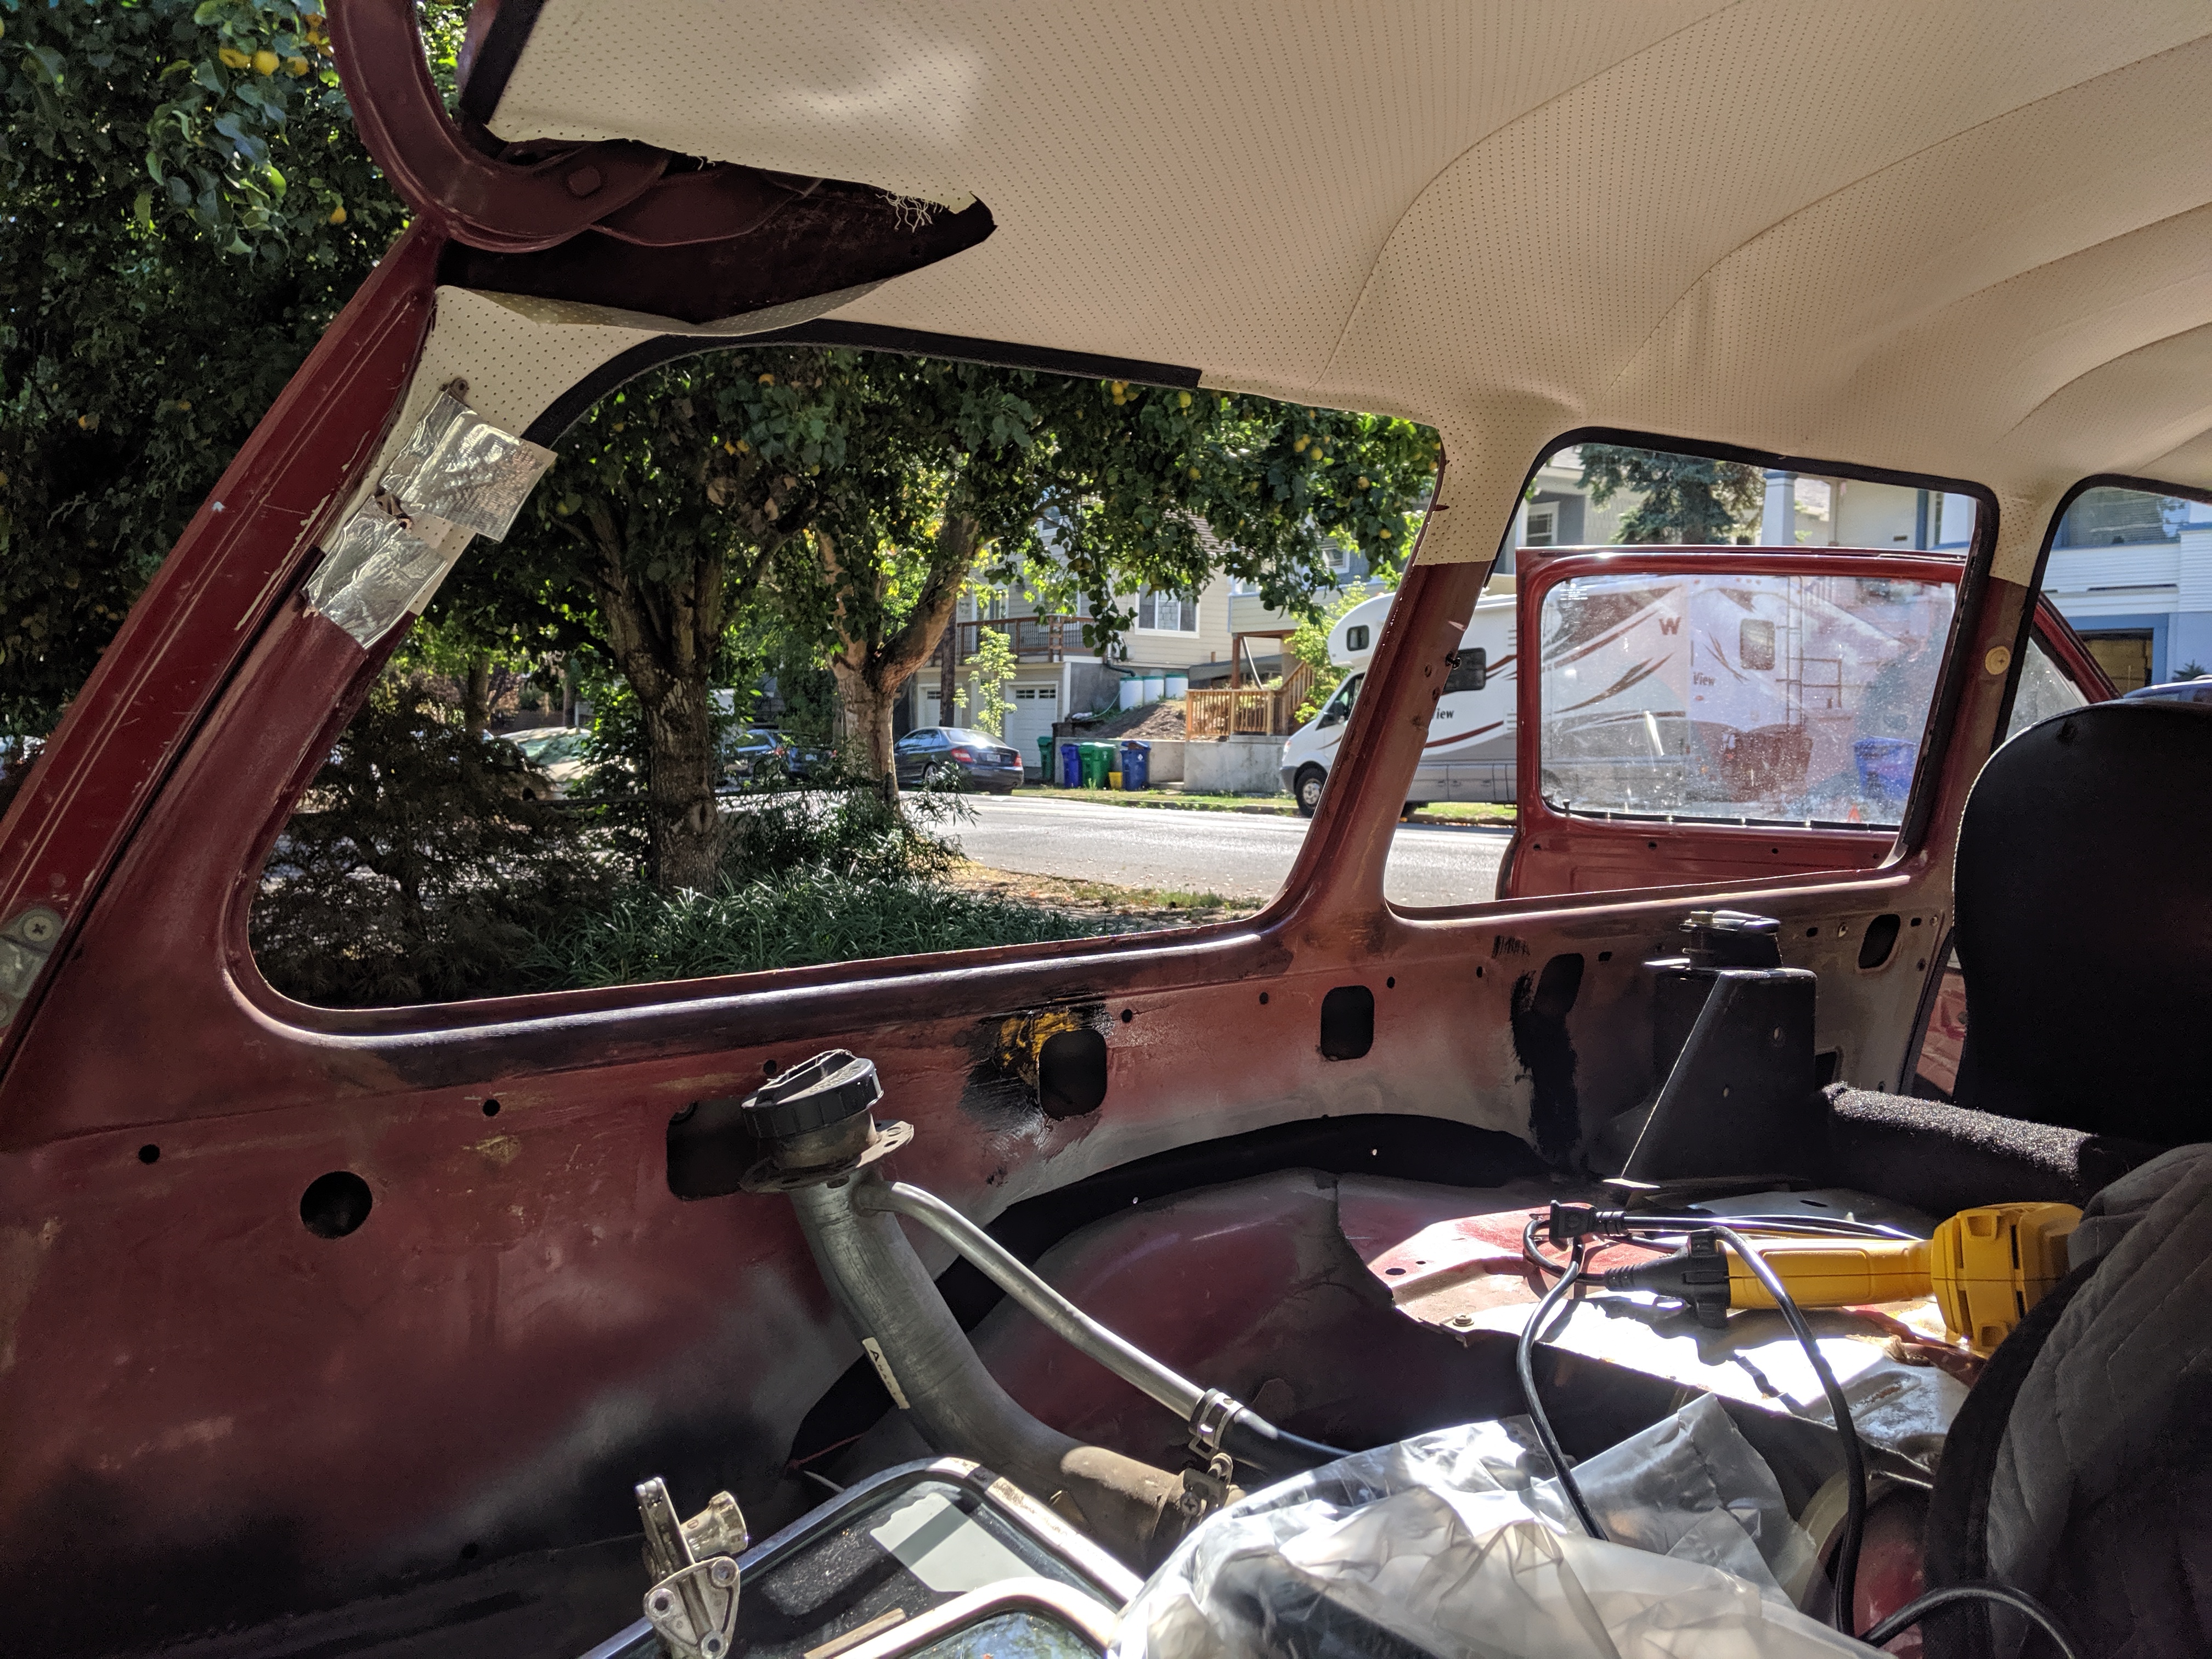
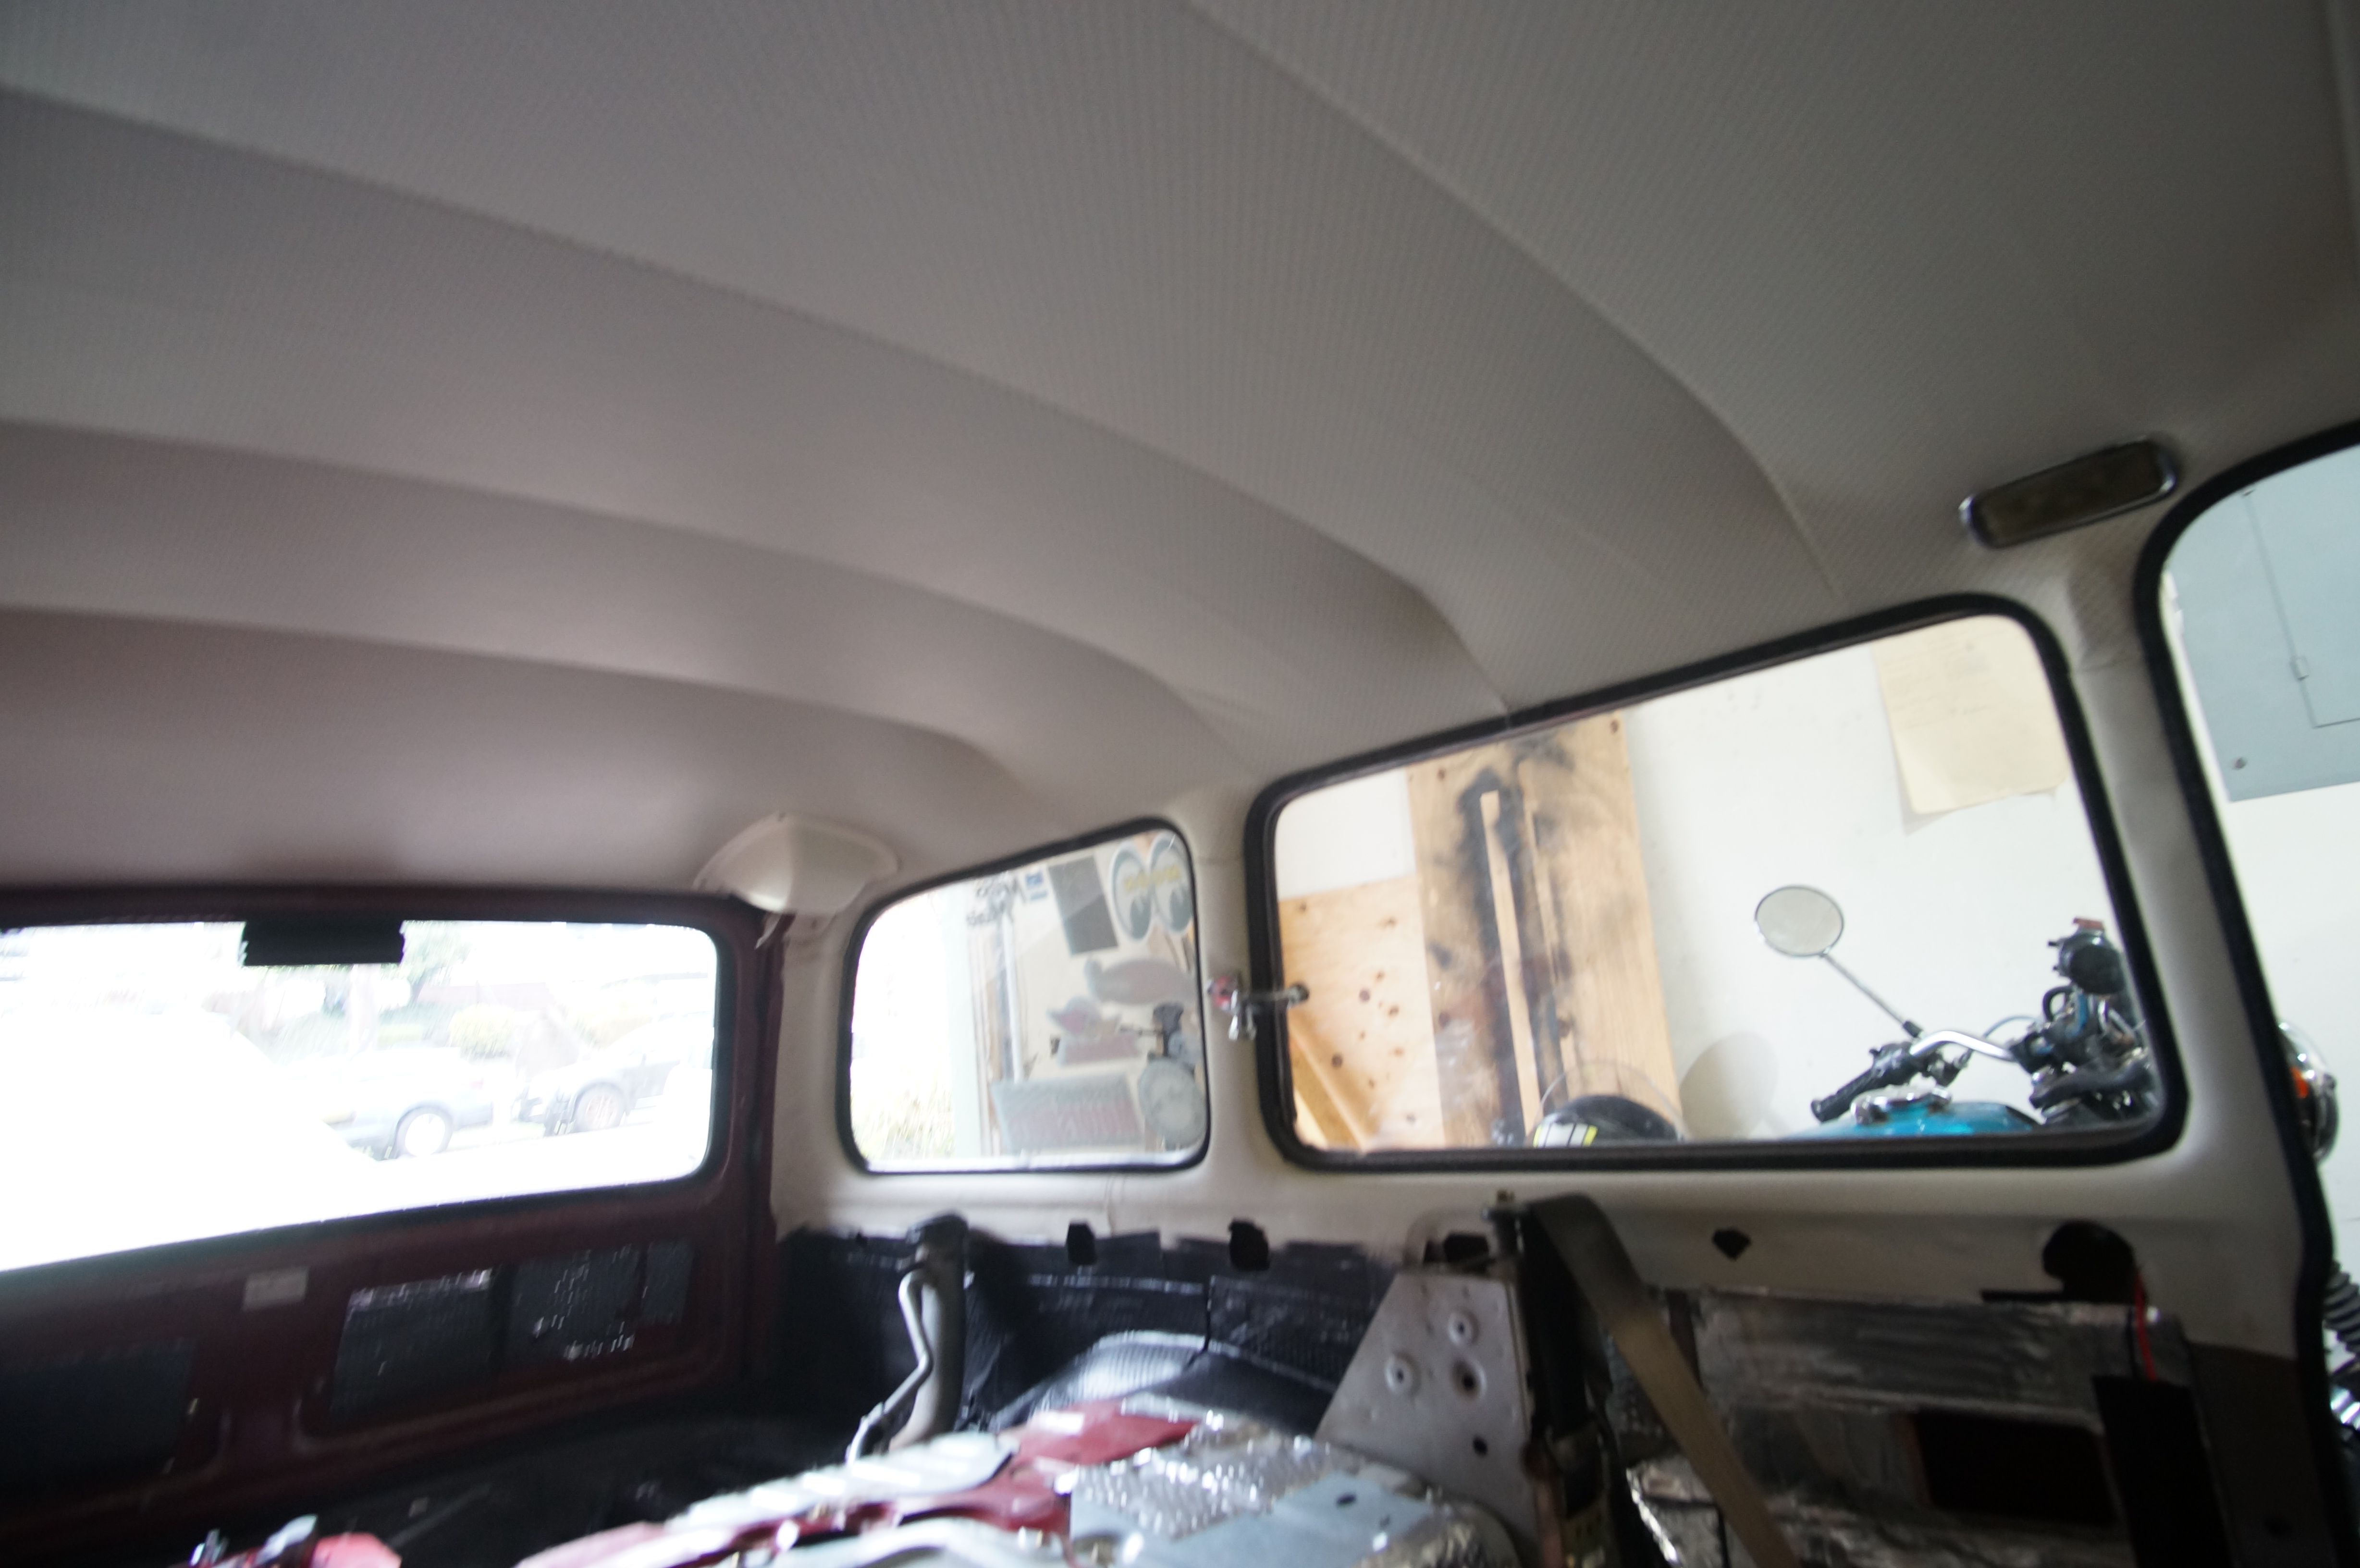
The first step is to insert the long metal rods into the sleeves in the headliner. You might need to cut the fabric sleeves a little so that the rods don't have any problems clipping into the roof. Use the spring clips to attach the rods to the roof, do it one at a time so they don't fall off and get lost. Make sure everything is evenly spaces and parallel. And the section without a sleeve for a rod, that goes in the back of the car.
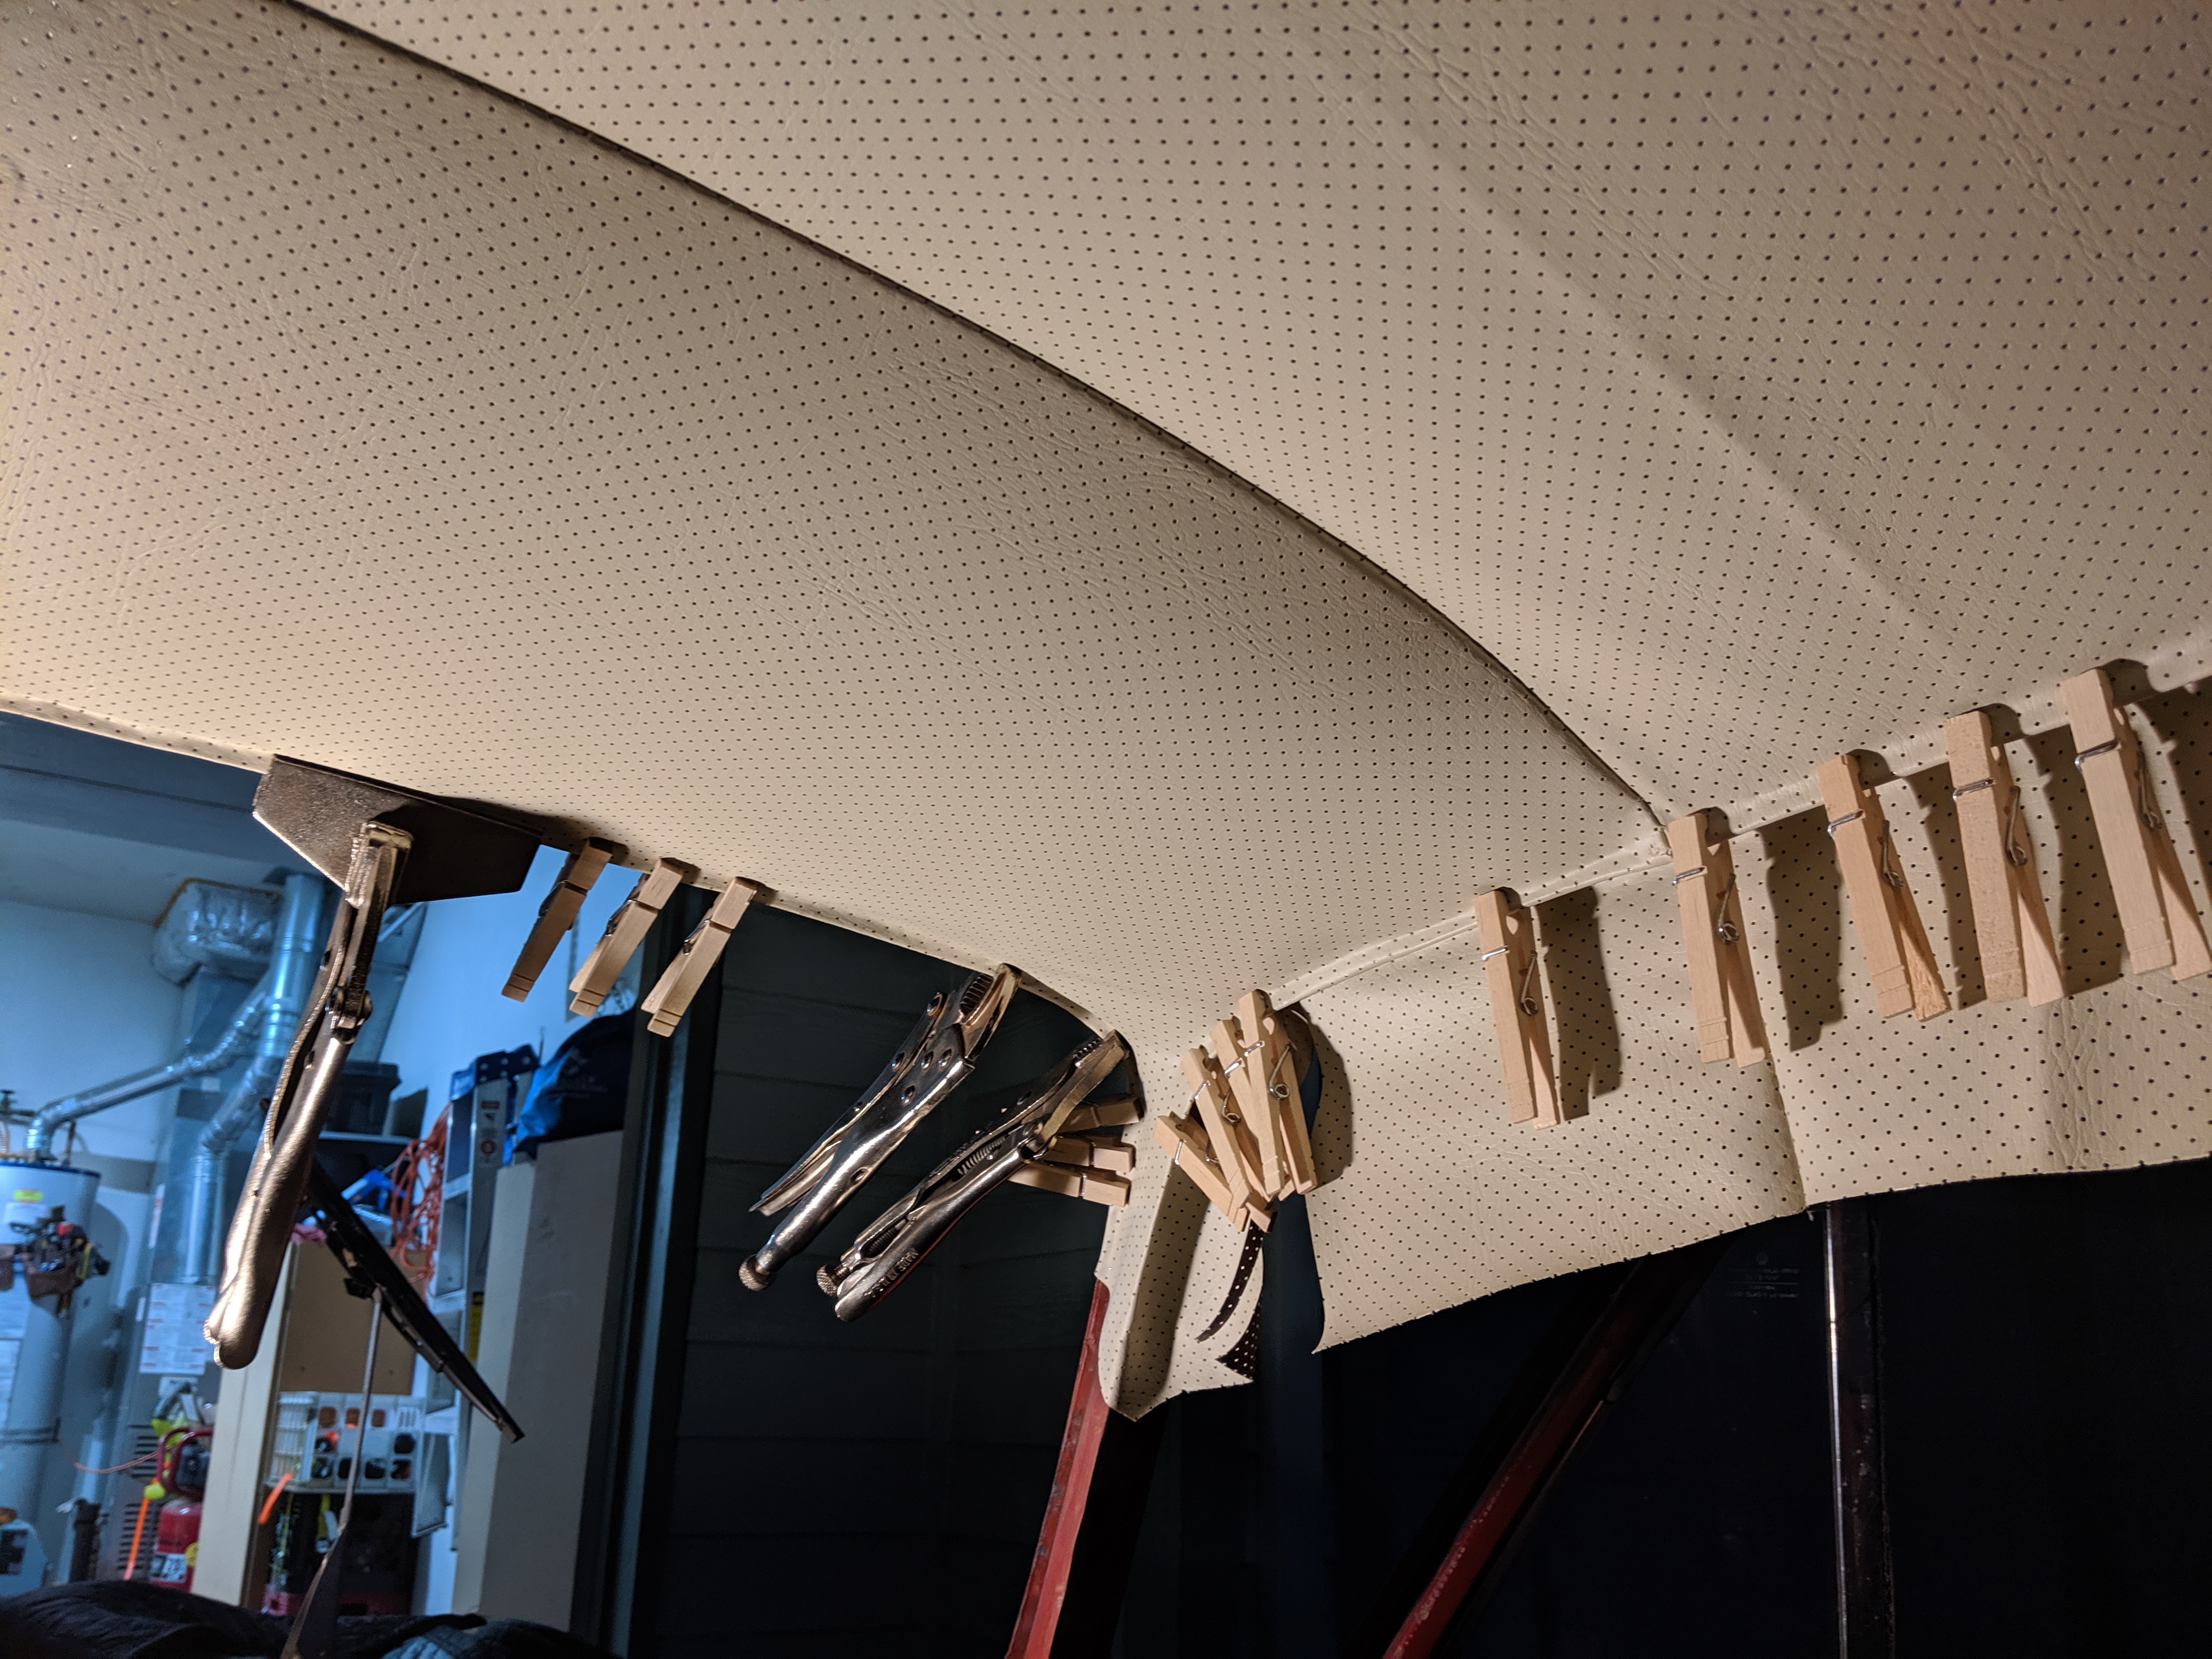
The second step is to start gluing the headliner material to the metal windshield and window frames around the body of the whole car. Start with the very center of windshield and the rear door (or window for you notch and fastback guys).
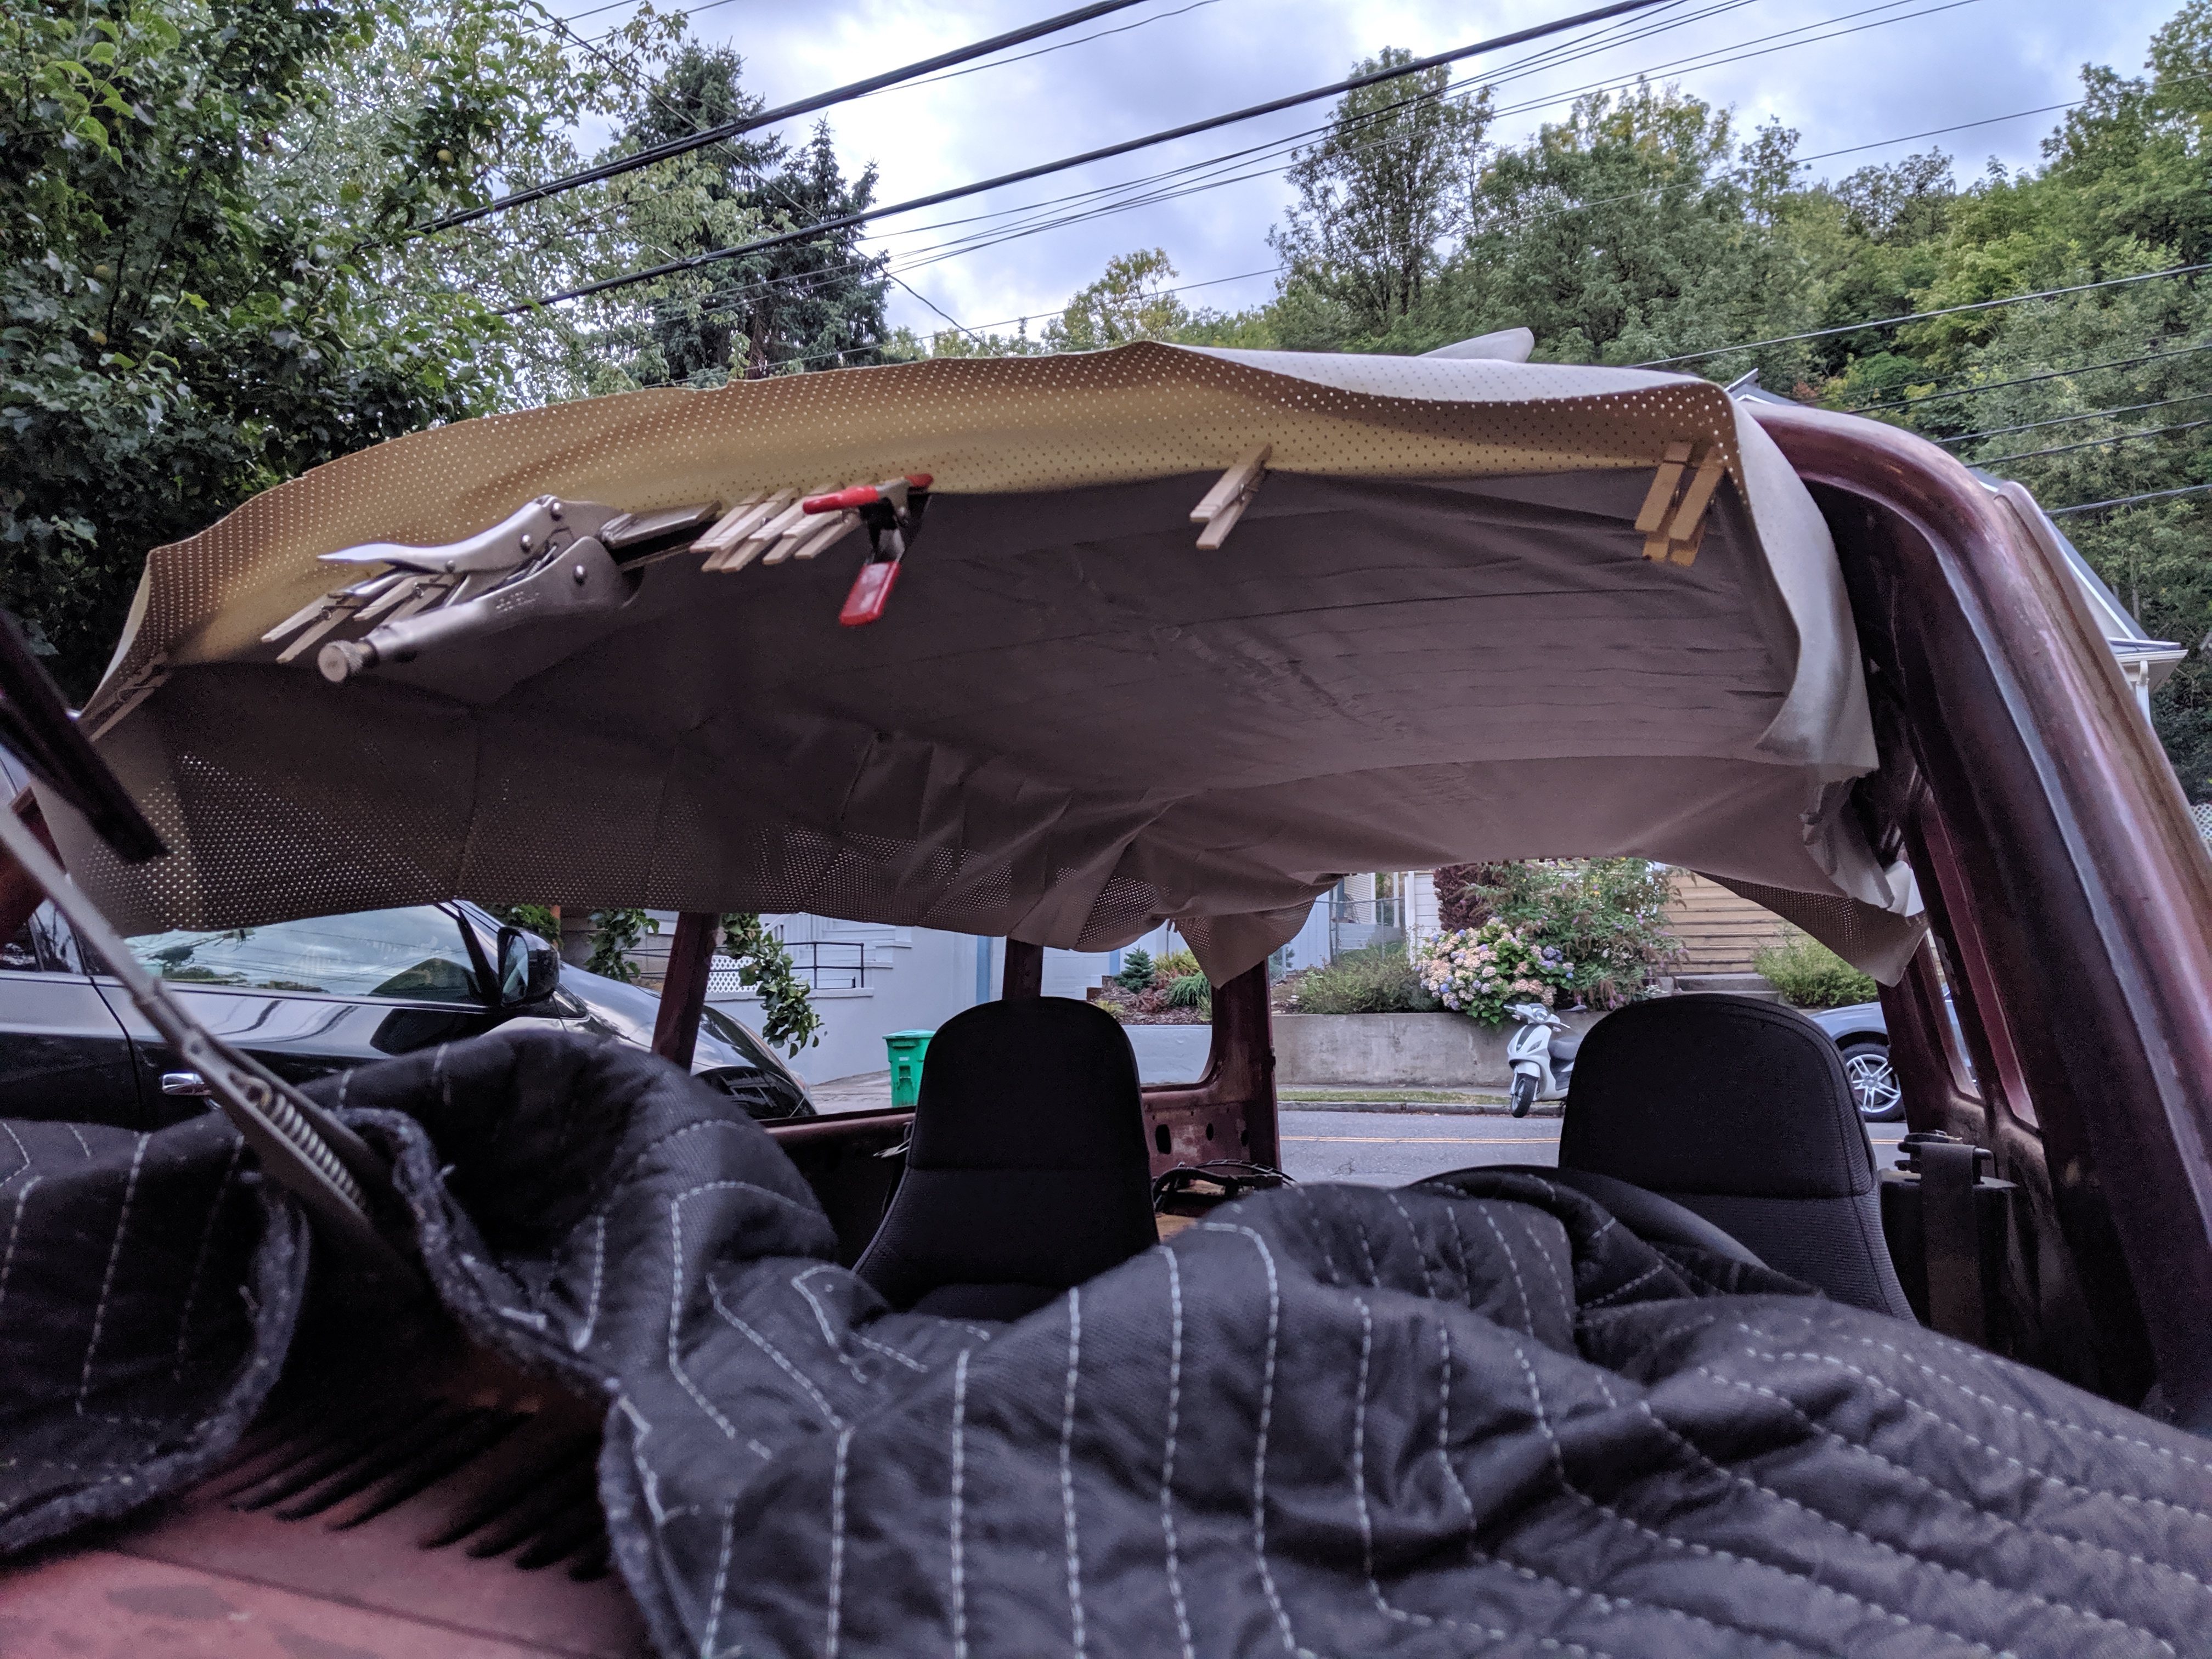
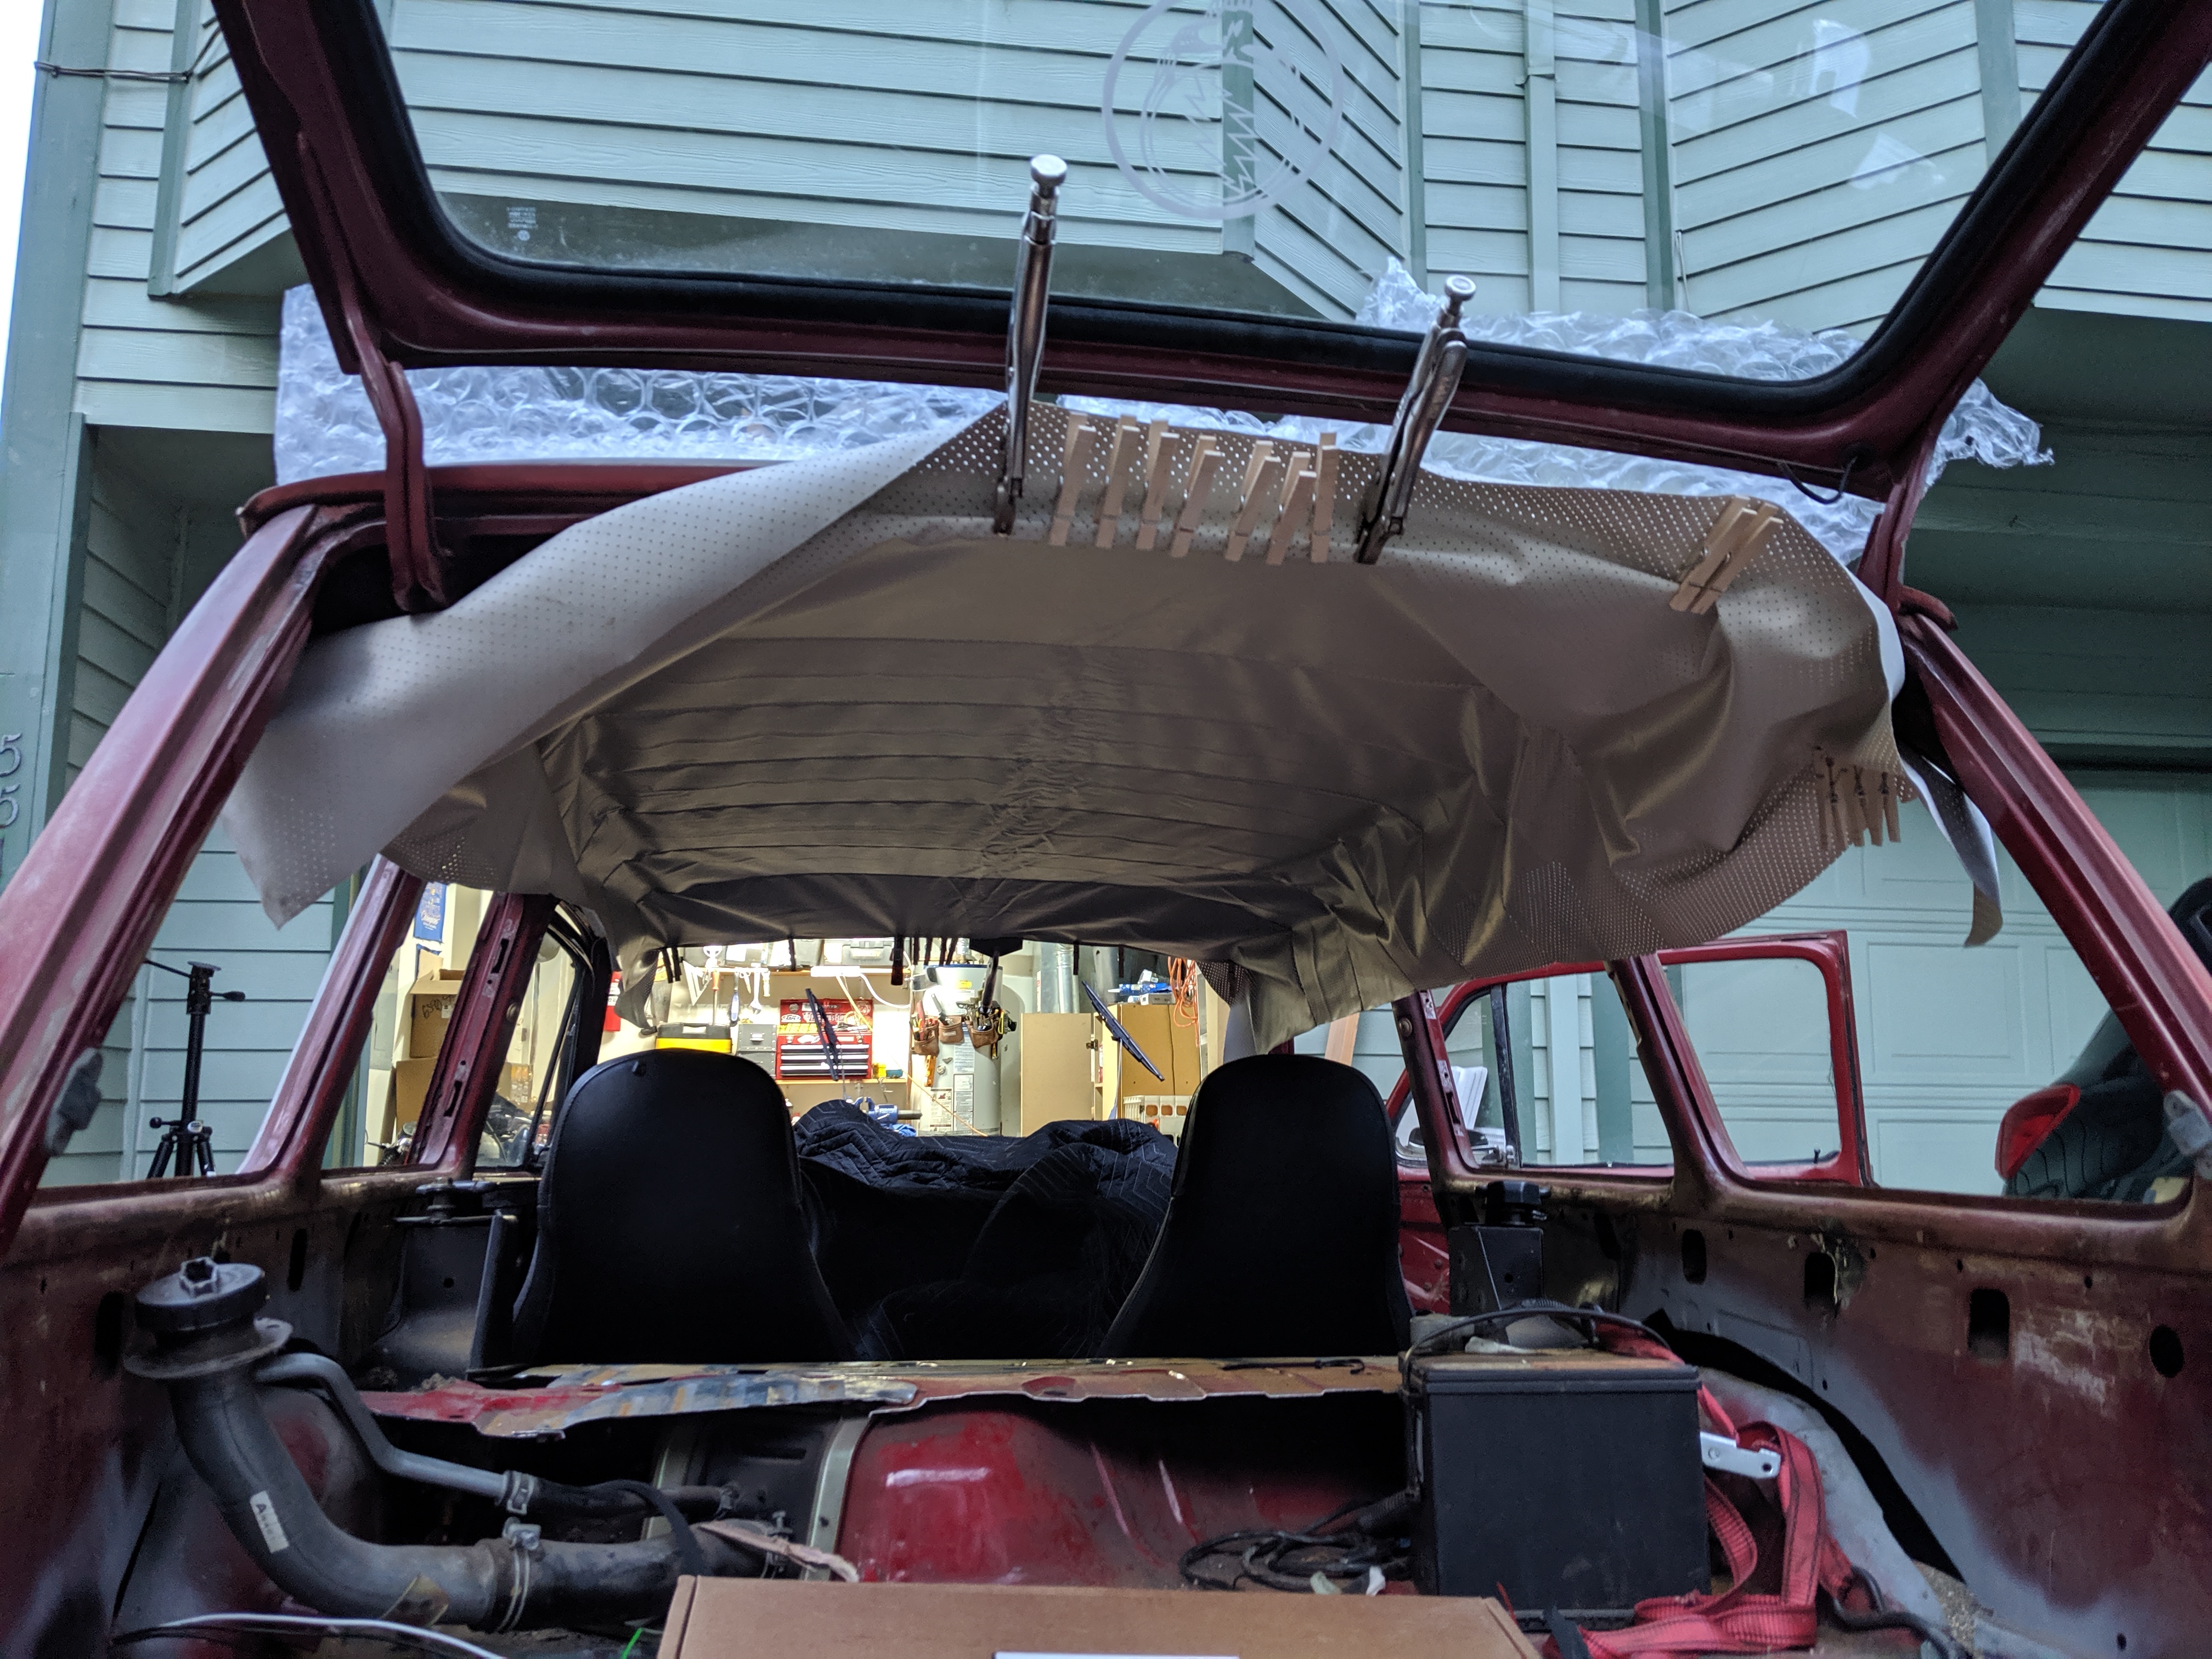
Stretch it tight! The wrinkles will slowly go away over time, but you can ensure it's totally wrinkle free with a heat gun while stretching it. Just don't get it too hot.
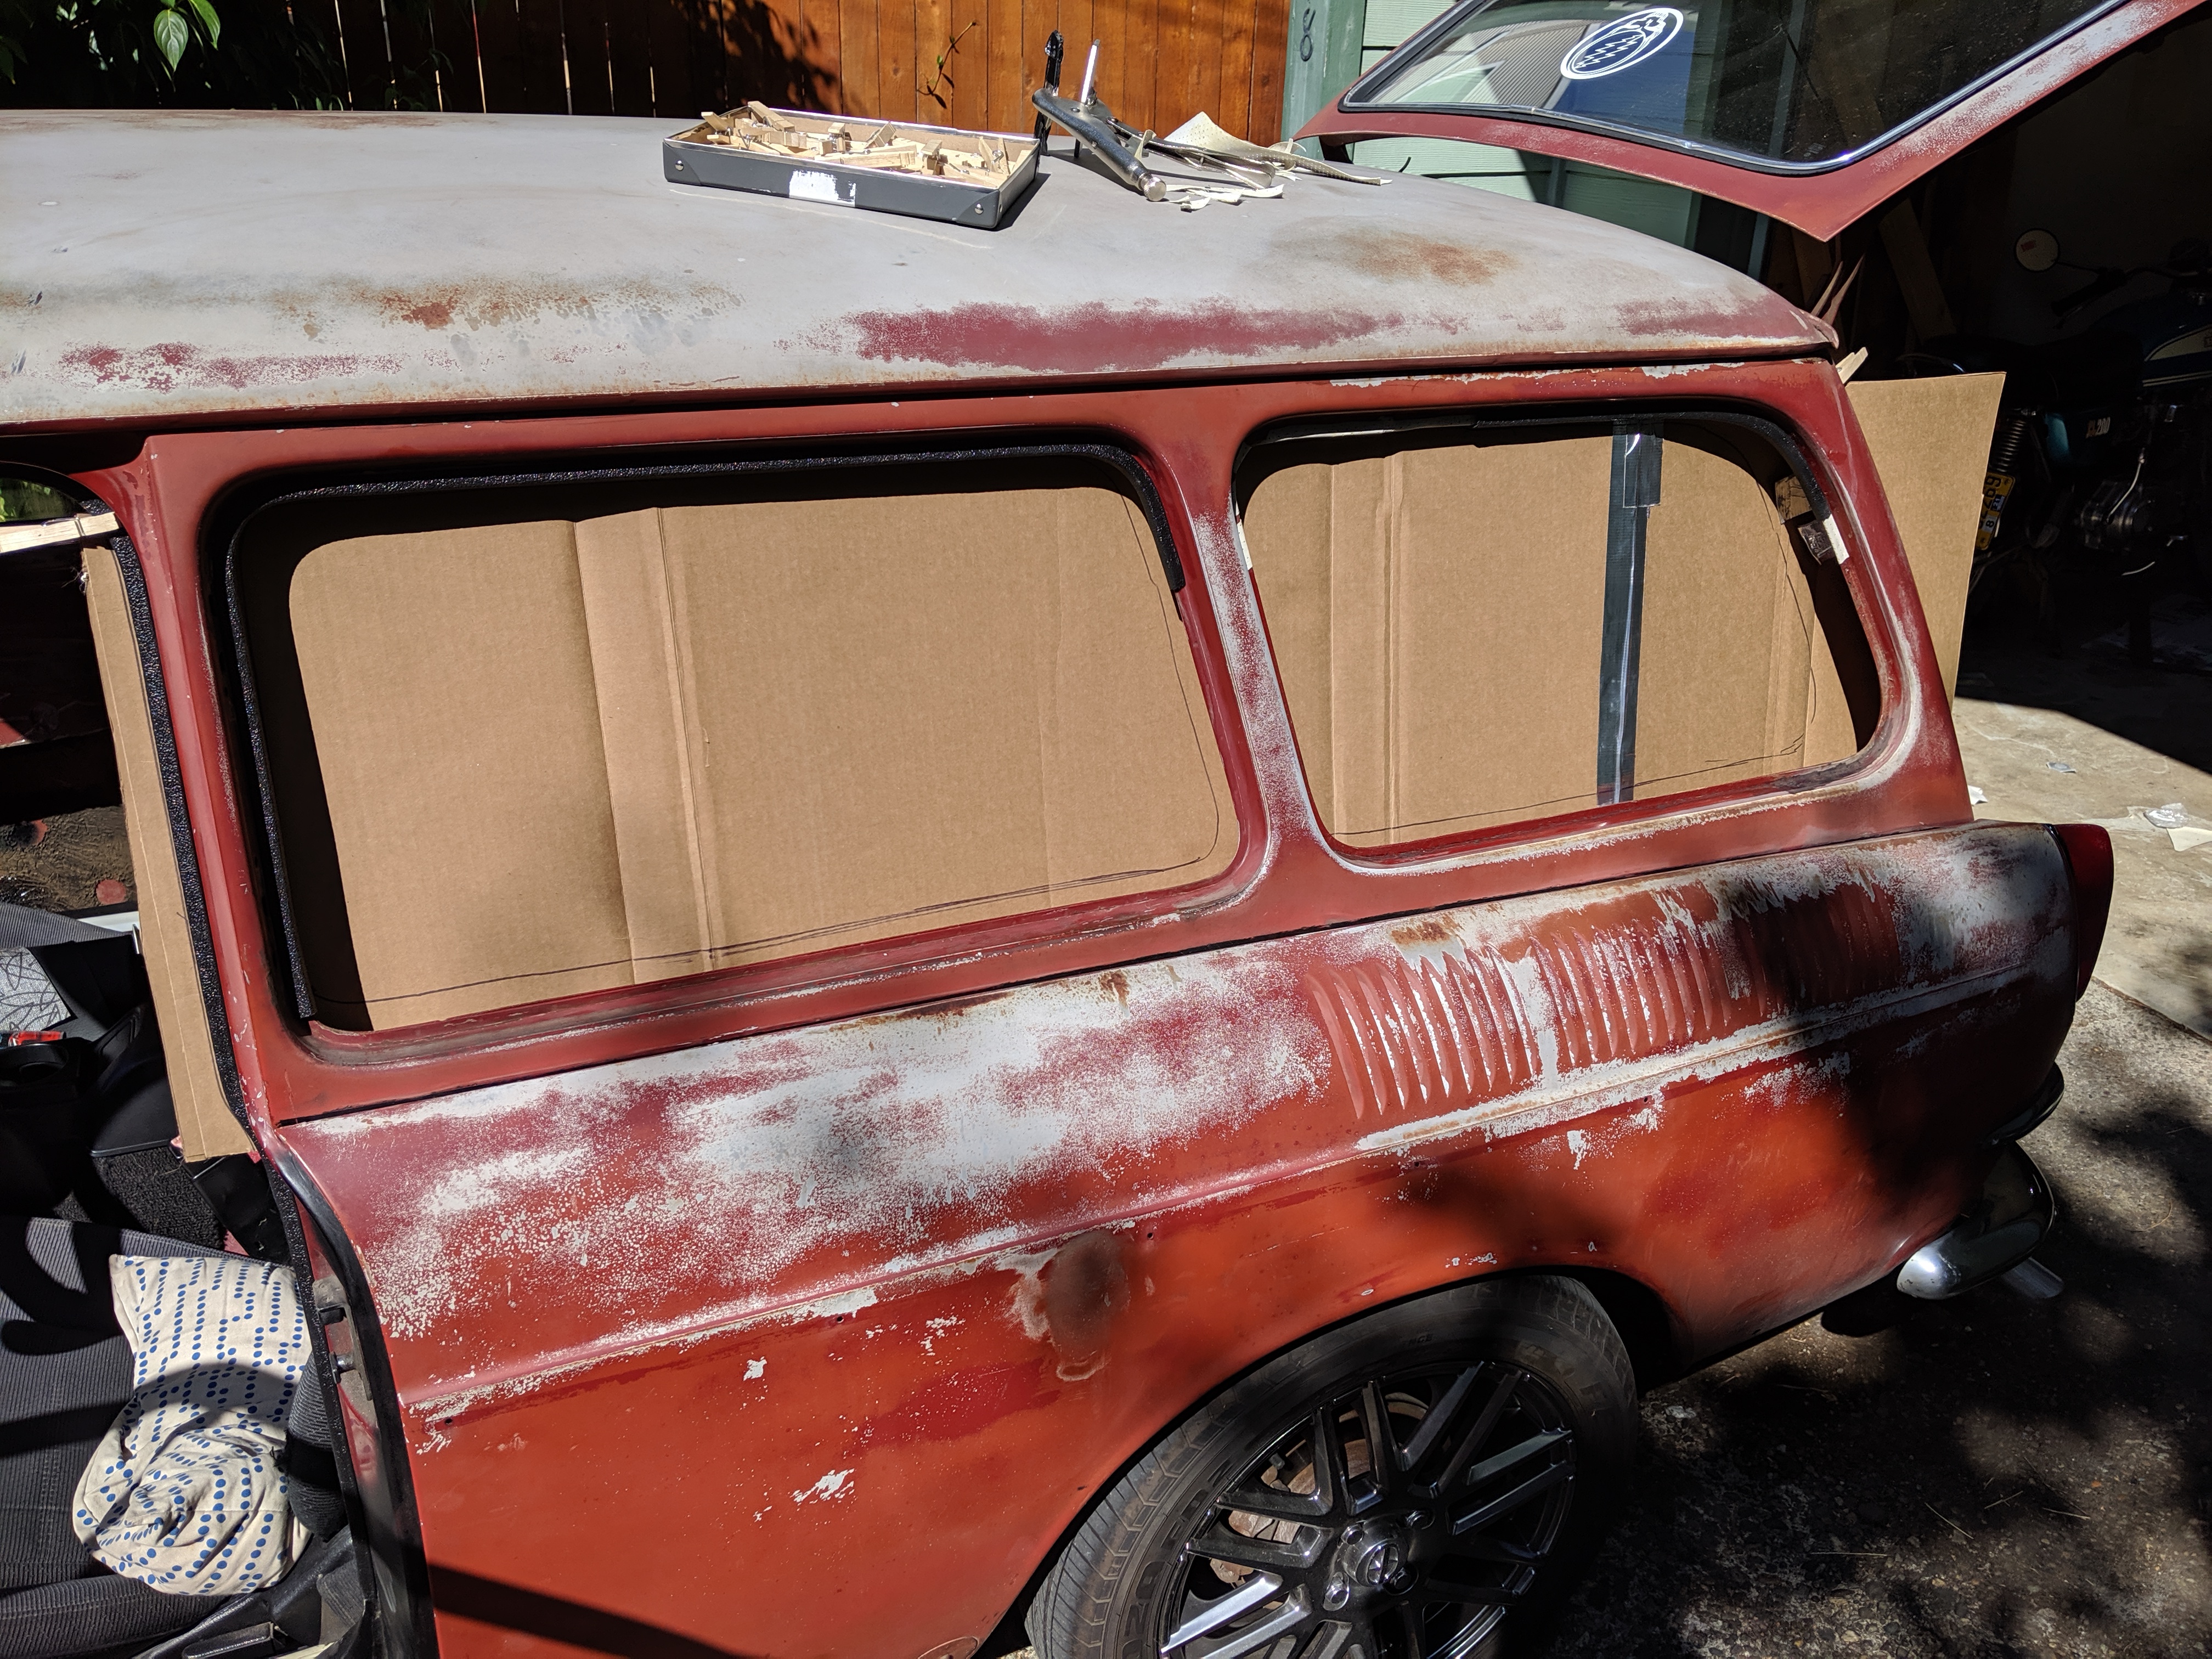
Then do the same thing to the sides of the headliner by attaching it to the center of the window frame between the B and C pillars.
Let the glue dry for at least an hour, overnight if possible.
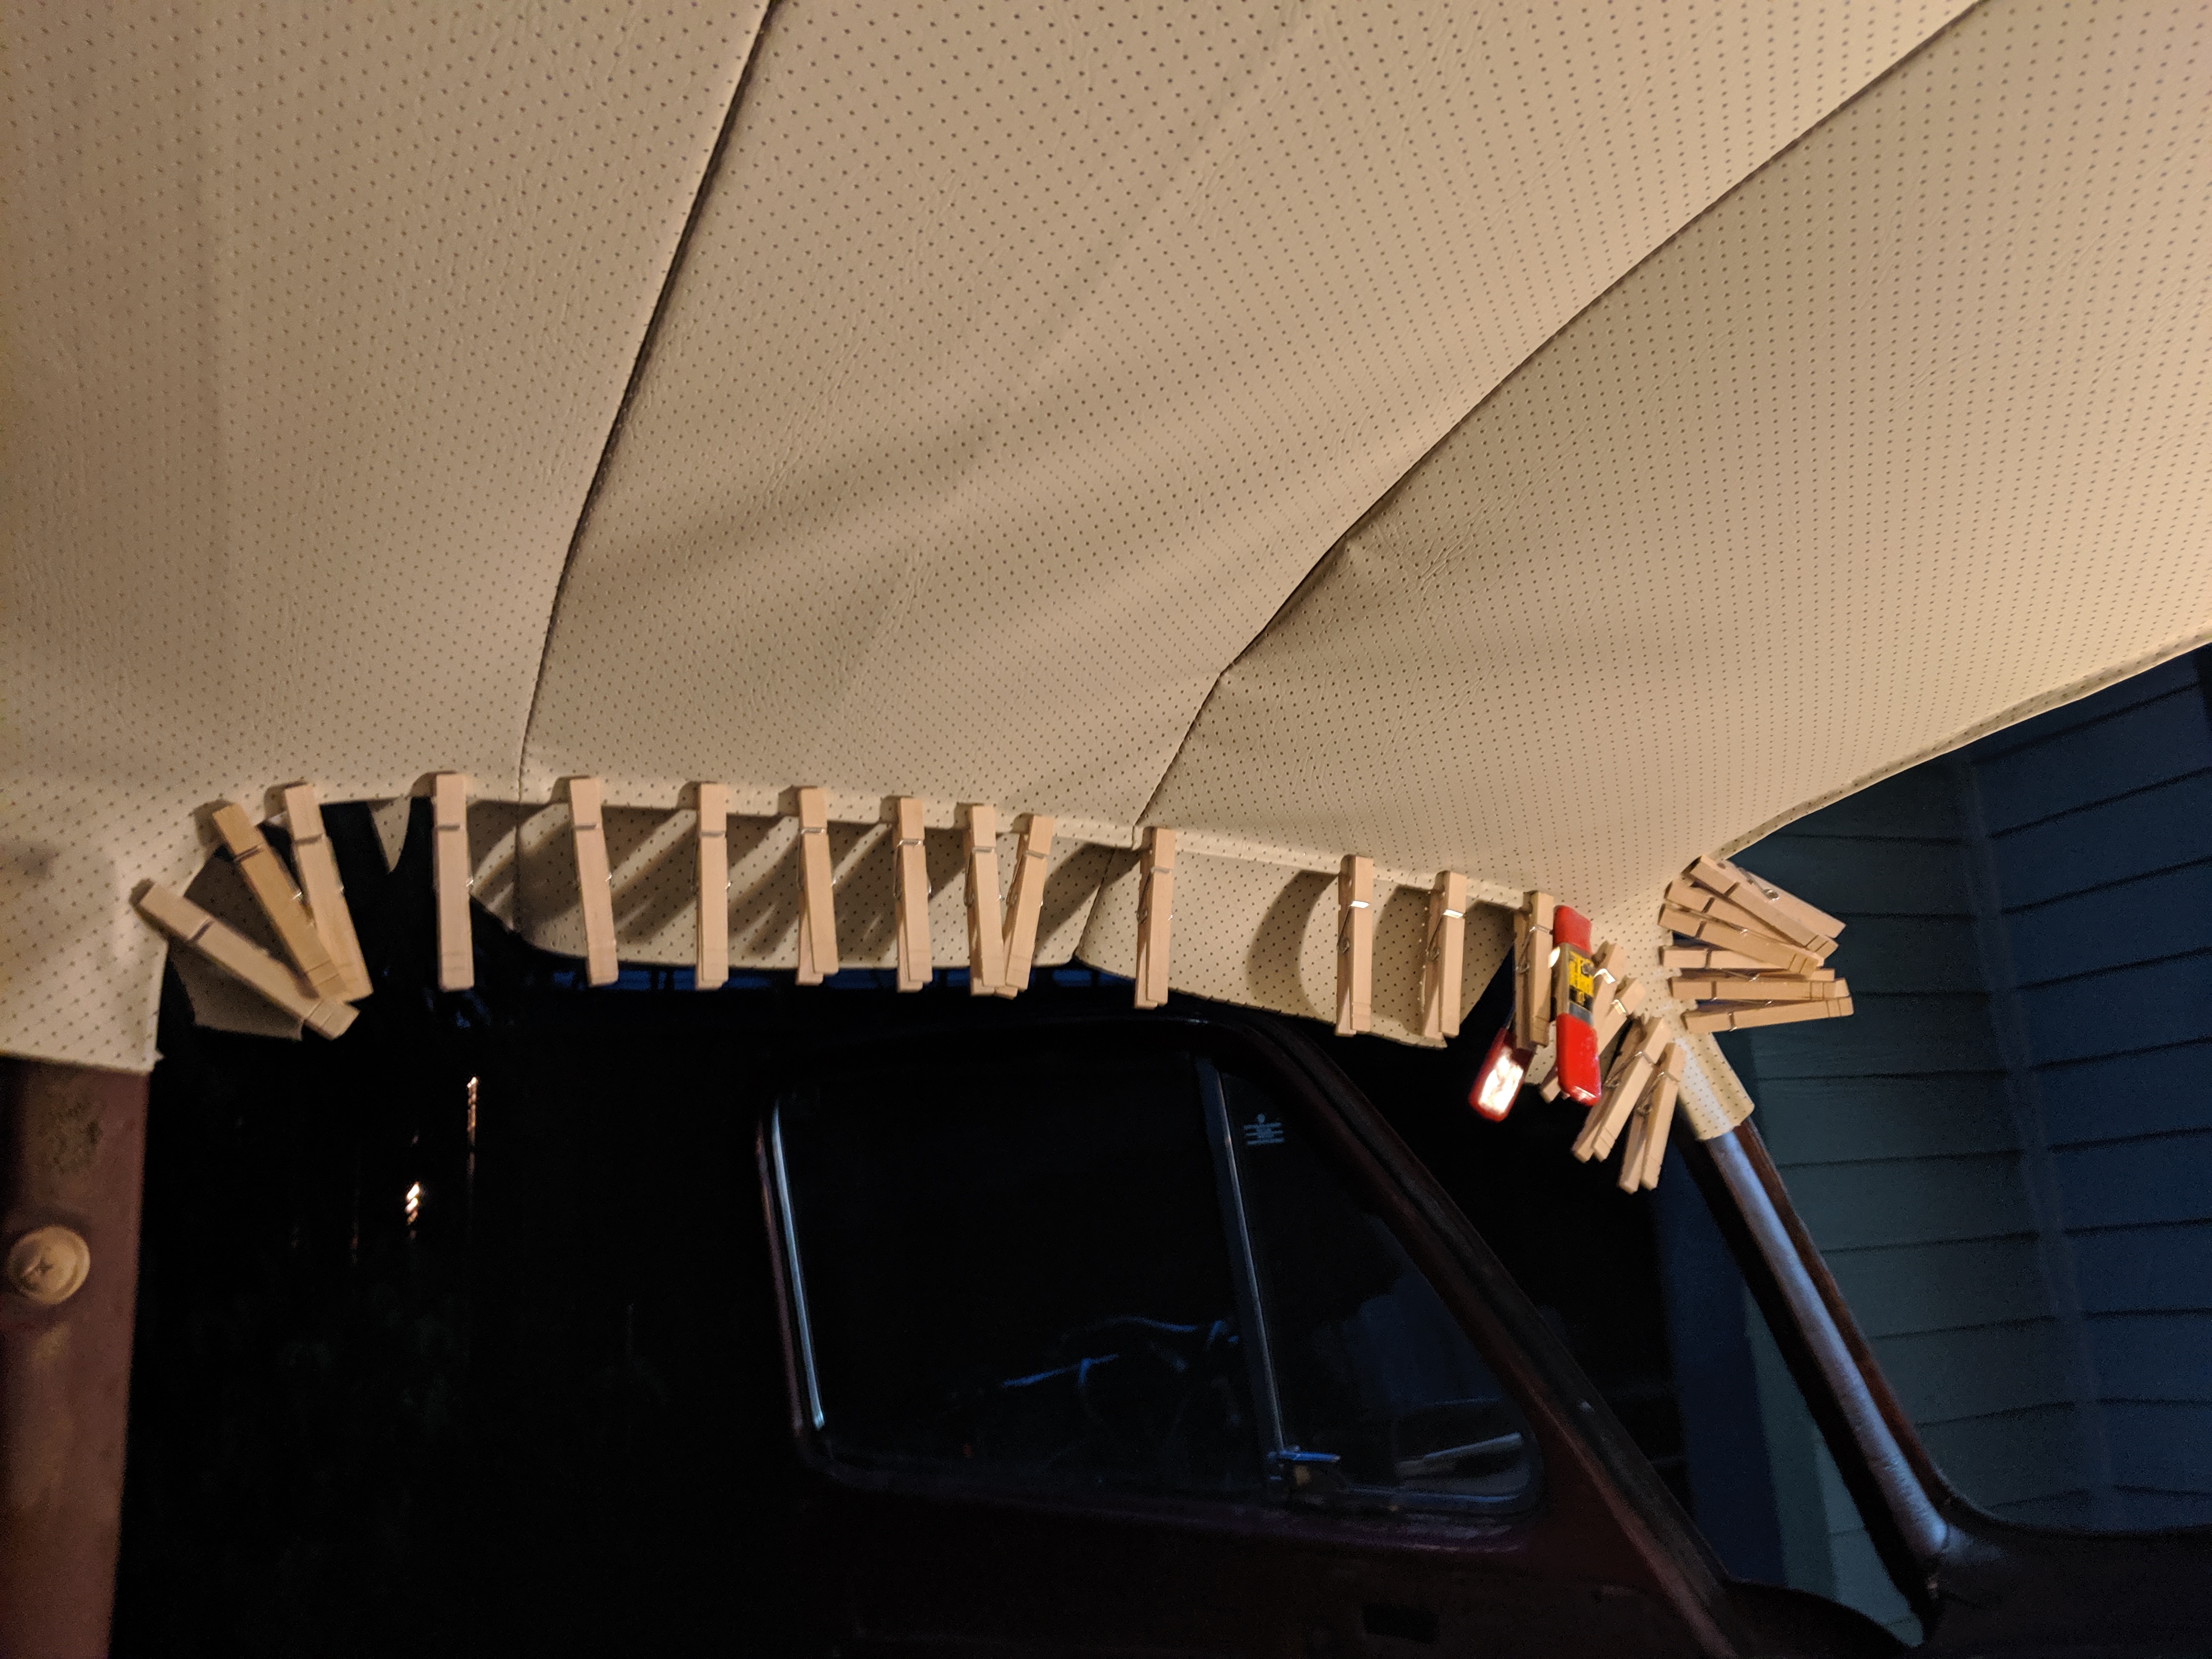
Next, finish gluing the headliner around the window, door, and windshield frames around the car. Start in the middle of the window frames and do the corners and pillars last. Work your way down the length of the car so that everything stays orderly.
This might sound like conflicting advice but what I did (or what I should have done) was I did the door frames first, just the top/center part, both sides. Then the A pillars, using a heat gun to pull it tight and smooth. Then the B pillars. Then the back windows. Then the C pillars. Then the back door and then finally the D pillars. Yes it took a long time! Probably took me over a week to do.
Now it was time to start cutting the post material and gluing that to the posts.
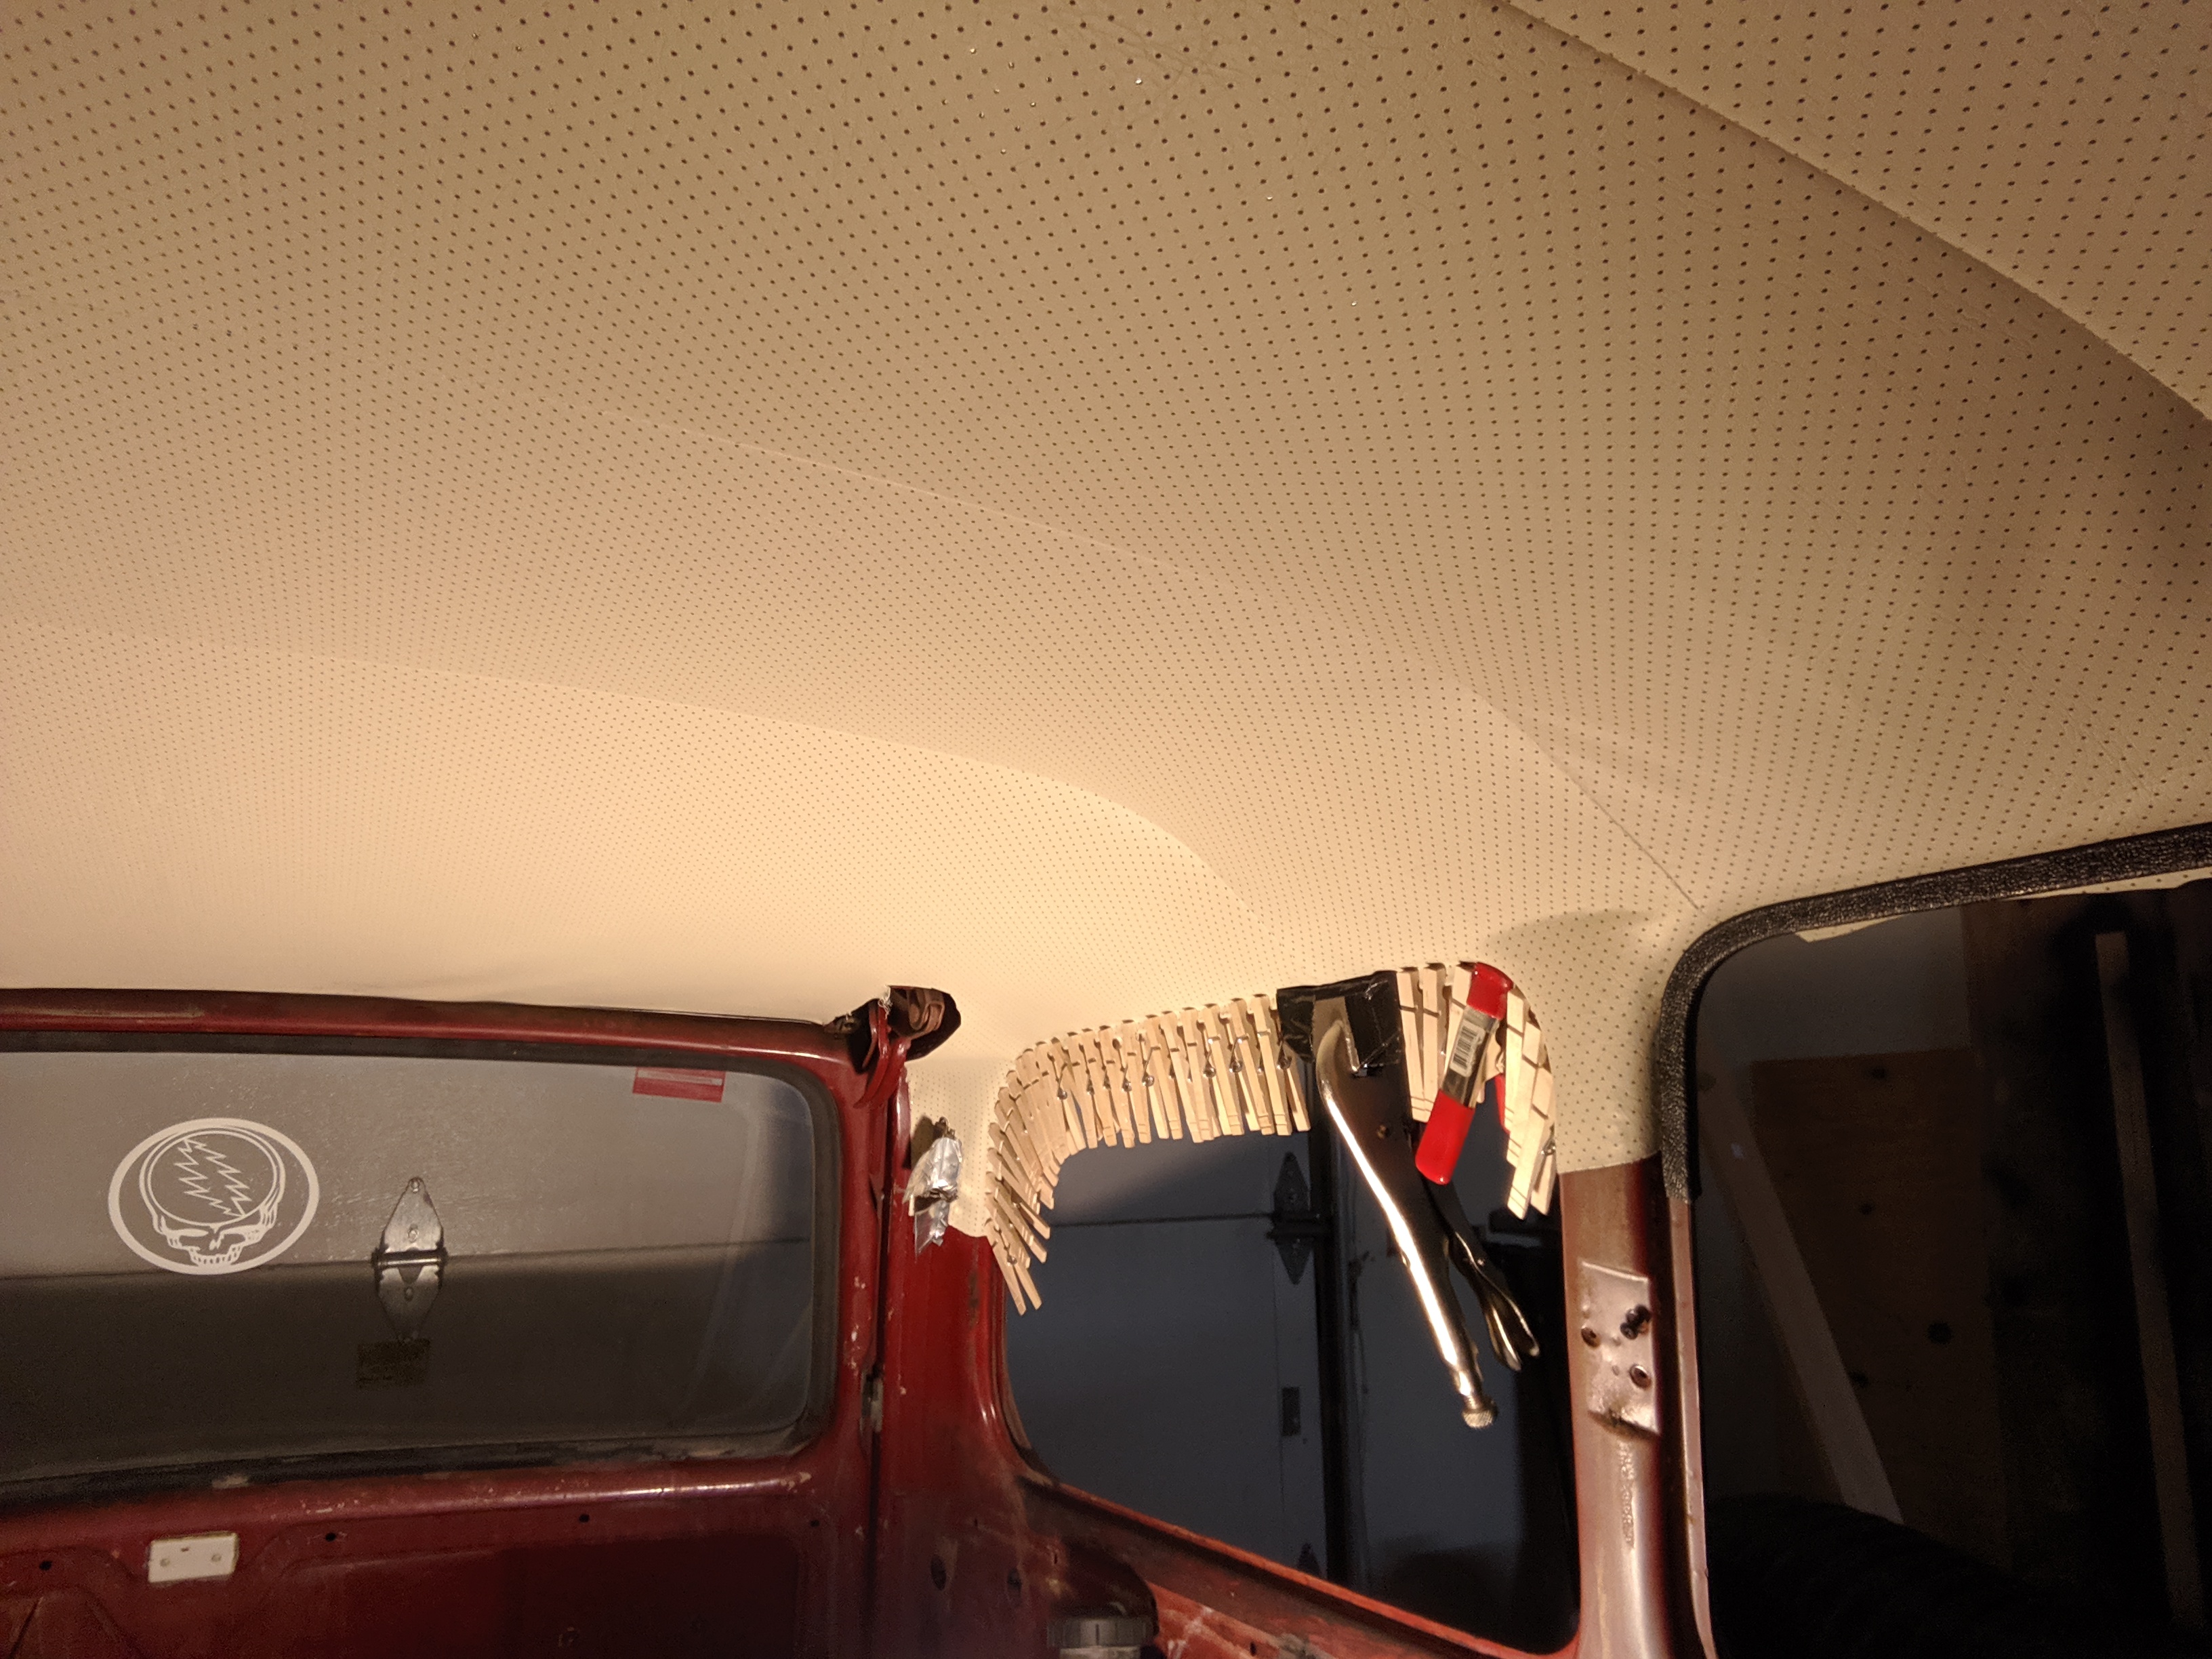
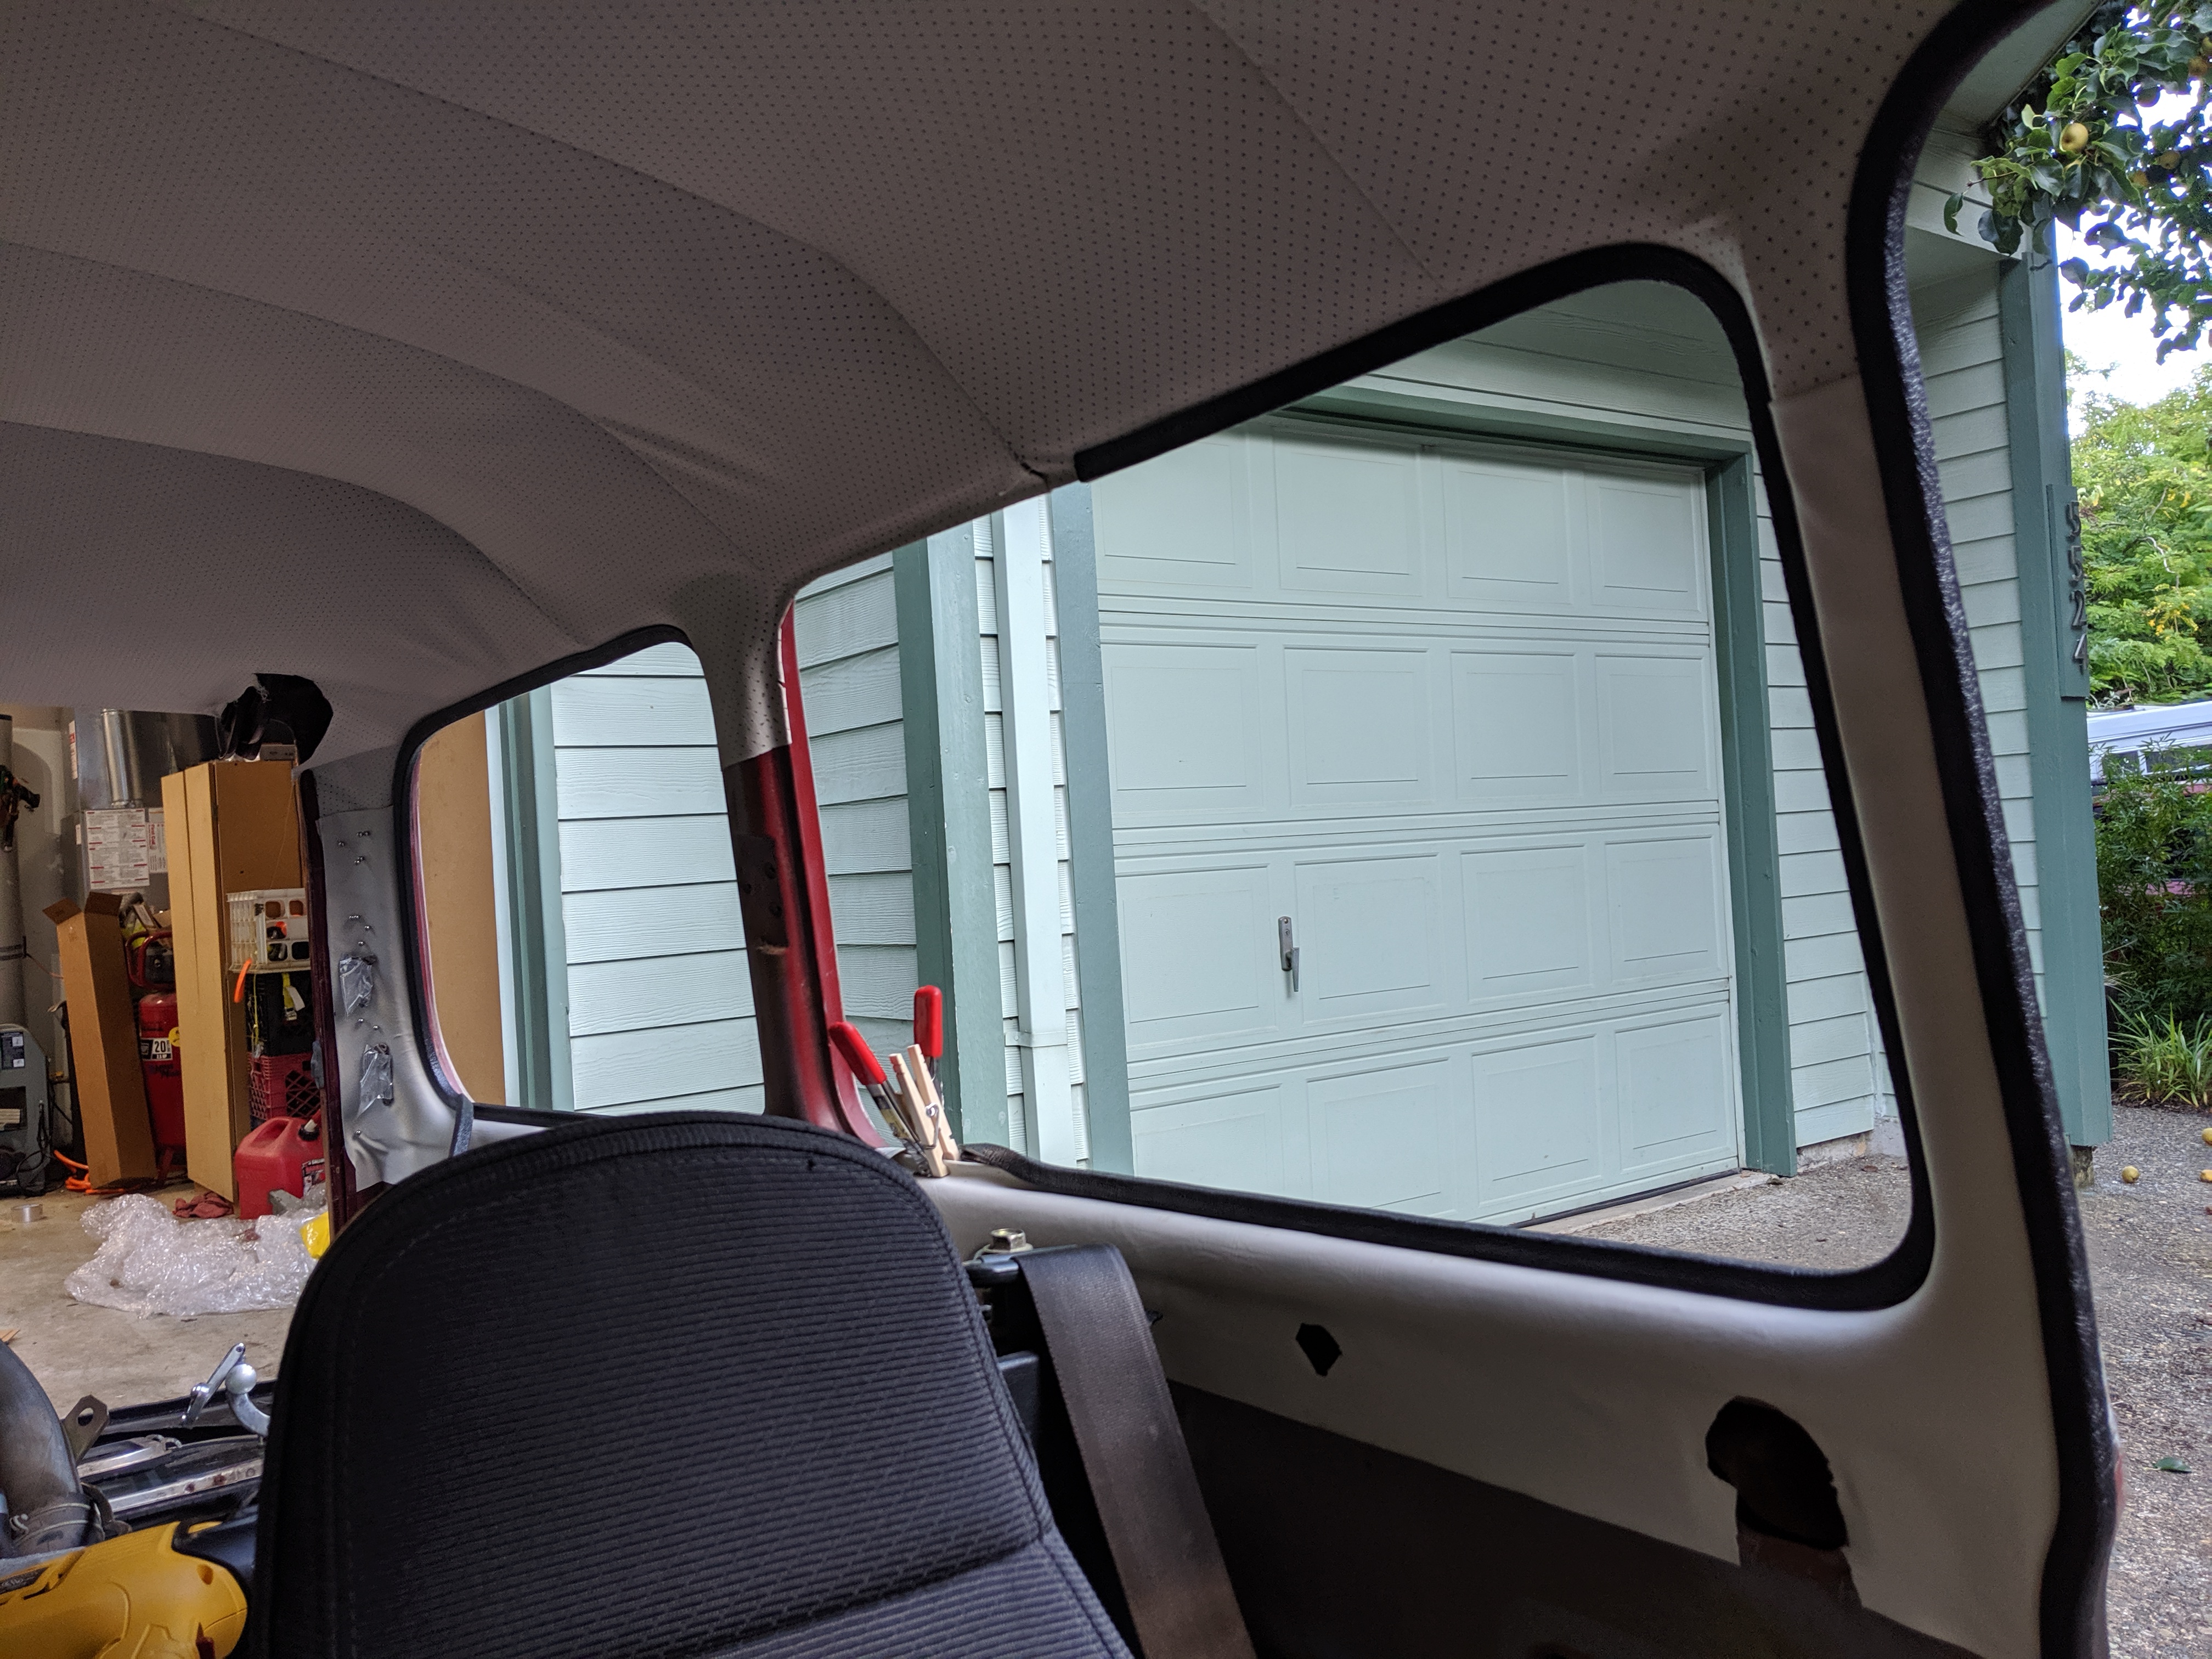
I started with the A pillars because I wanted to install the windshield asap. To make a nice transition, I fold the edge over and overlapped it about half an inch. Glued the whole thing down, not just the edges where the close pins are.
Tip: Once finished with a door or window opening, you can remove your pins and secure the headliner with the "windlace" material that goes into the door and pop-out window frames.
That was easy compared to the other posts/pillars, which are all continuously linked together in uphostery, making it much more difficult.
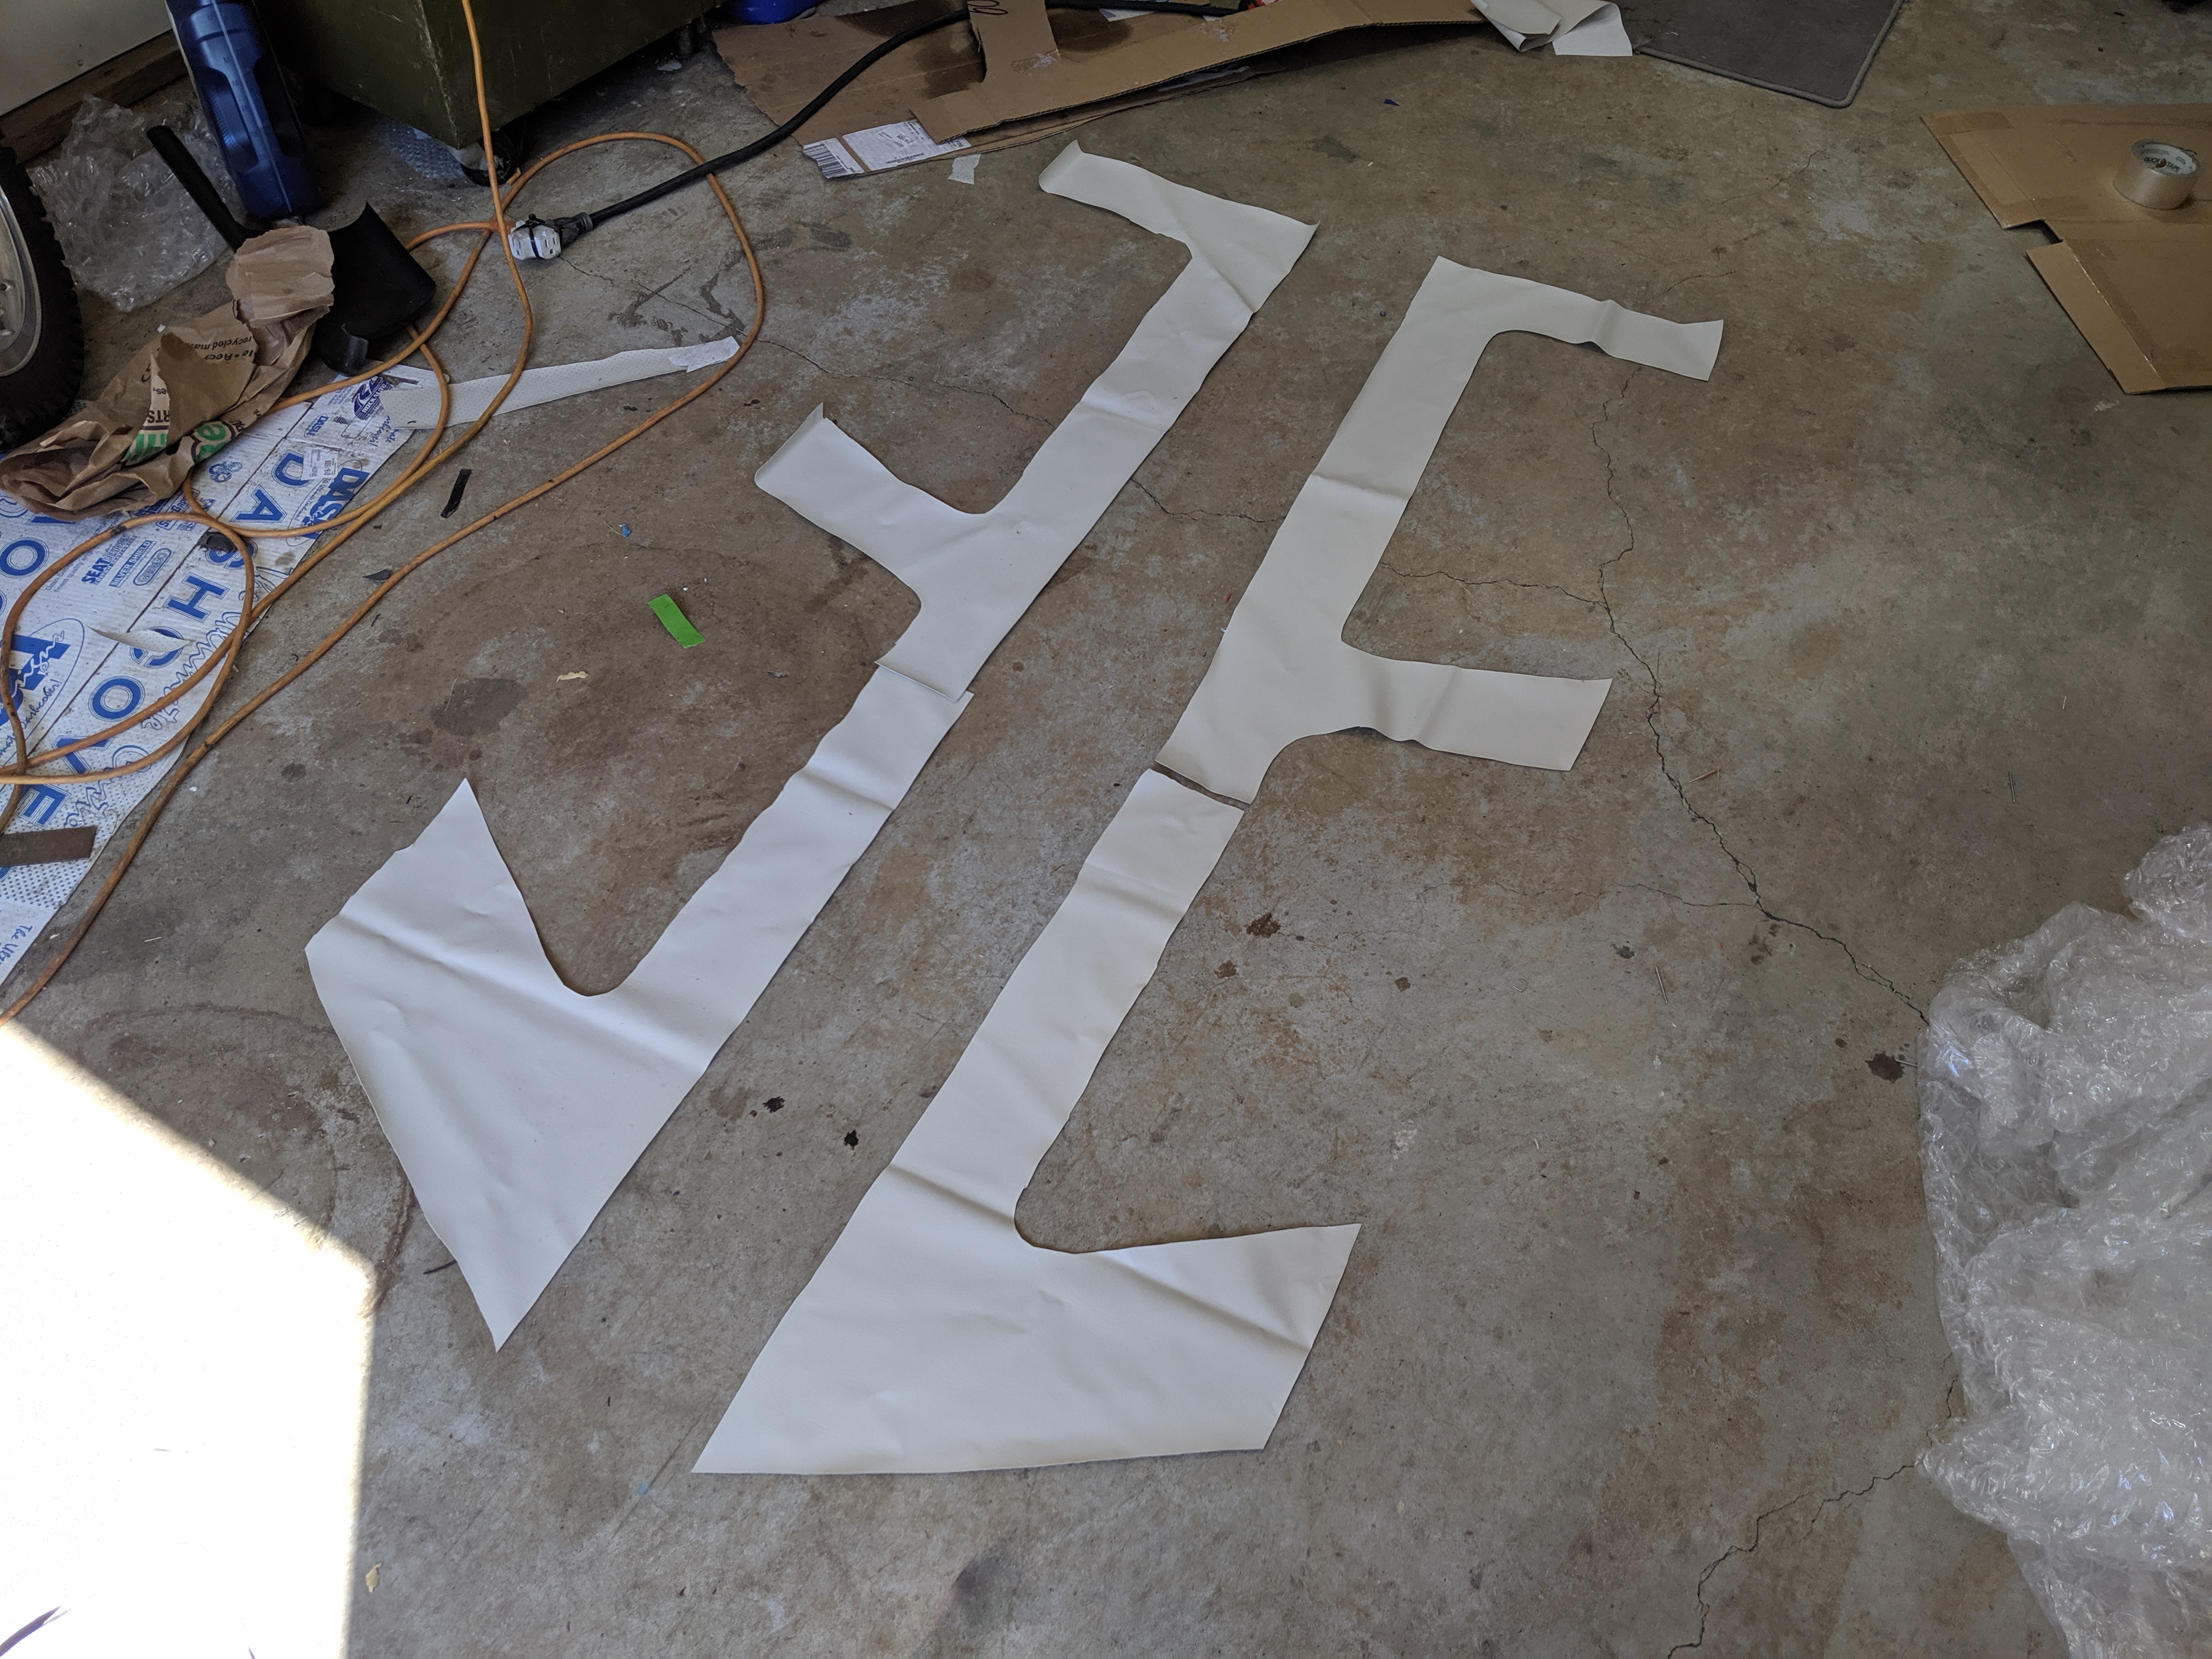
TMI provided me with one big sheet of "post material" and expected me to cut out what I needed. So the first thing I did was make a template:
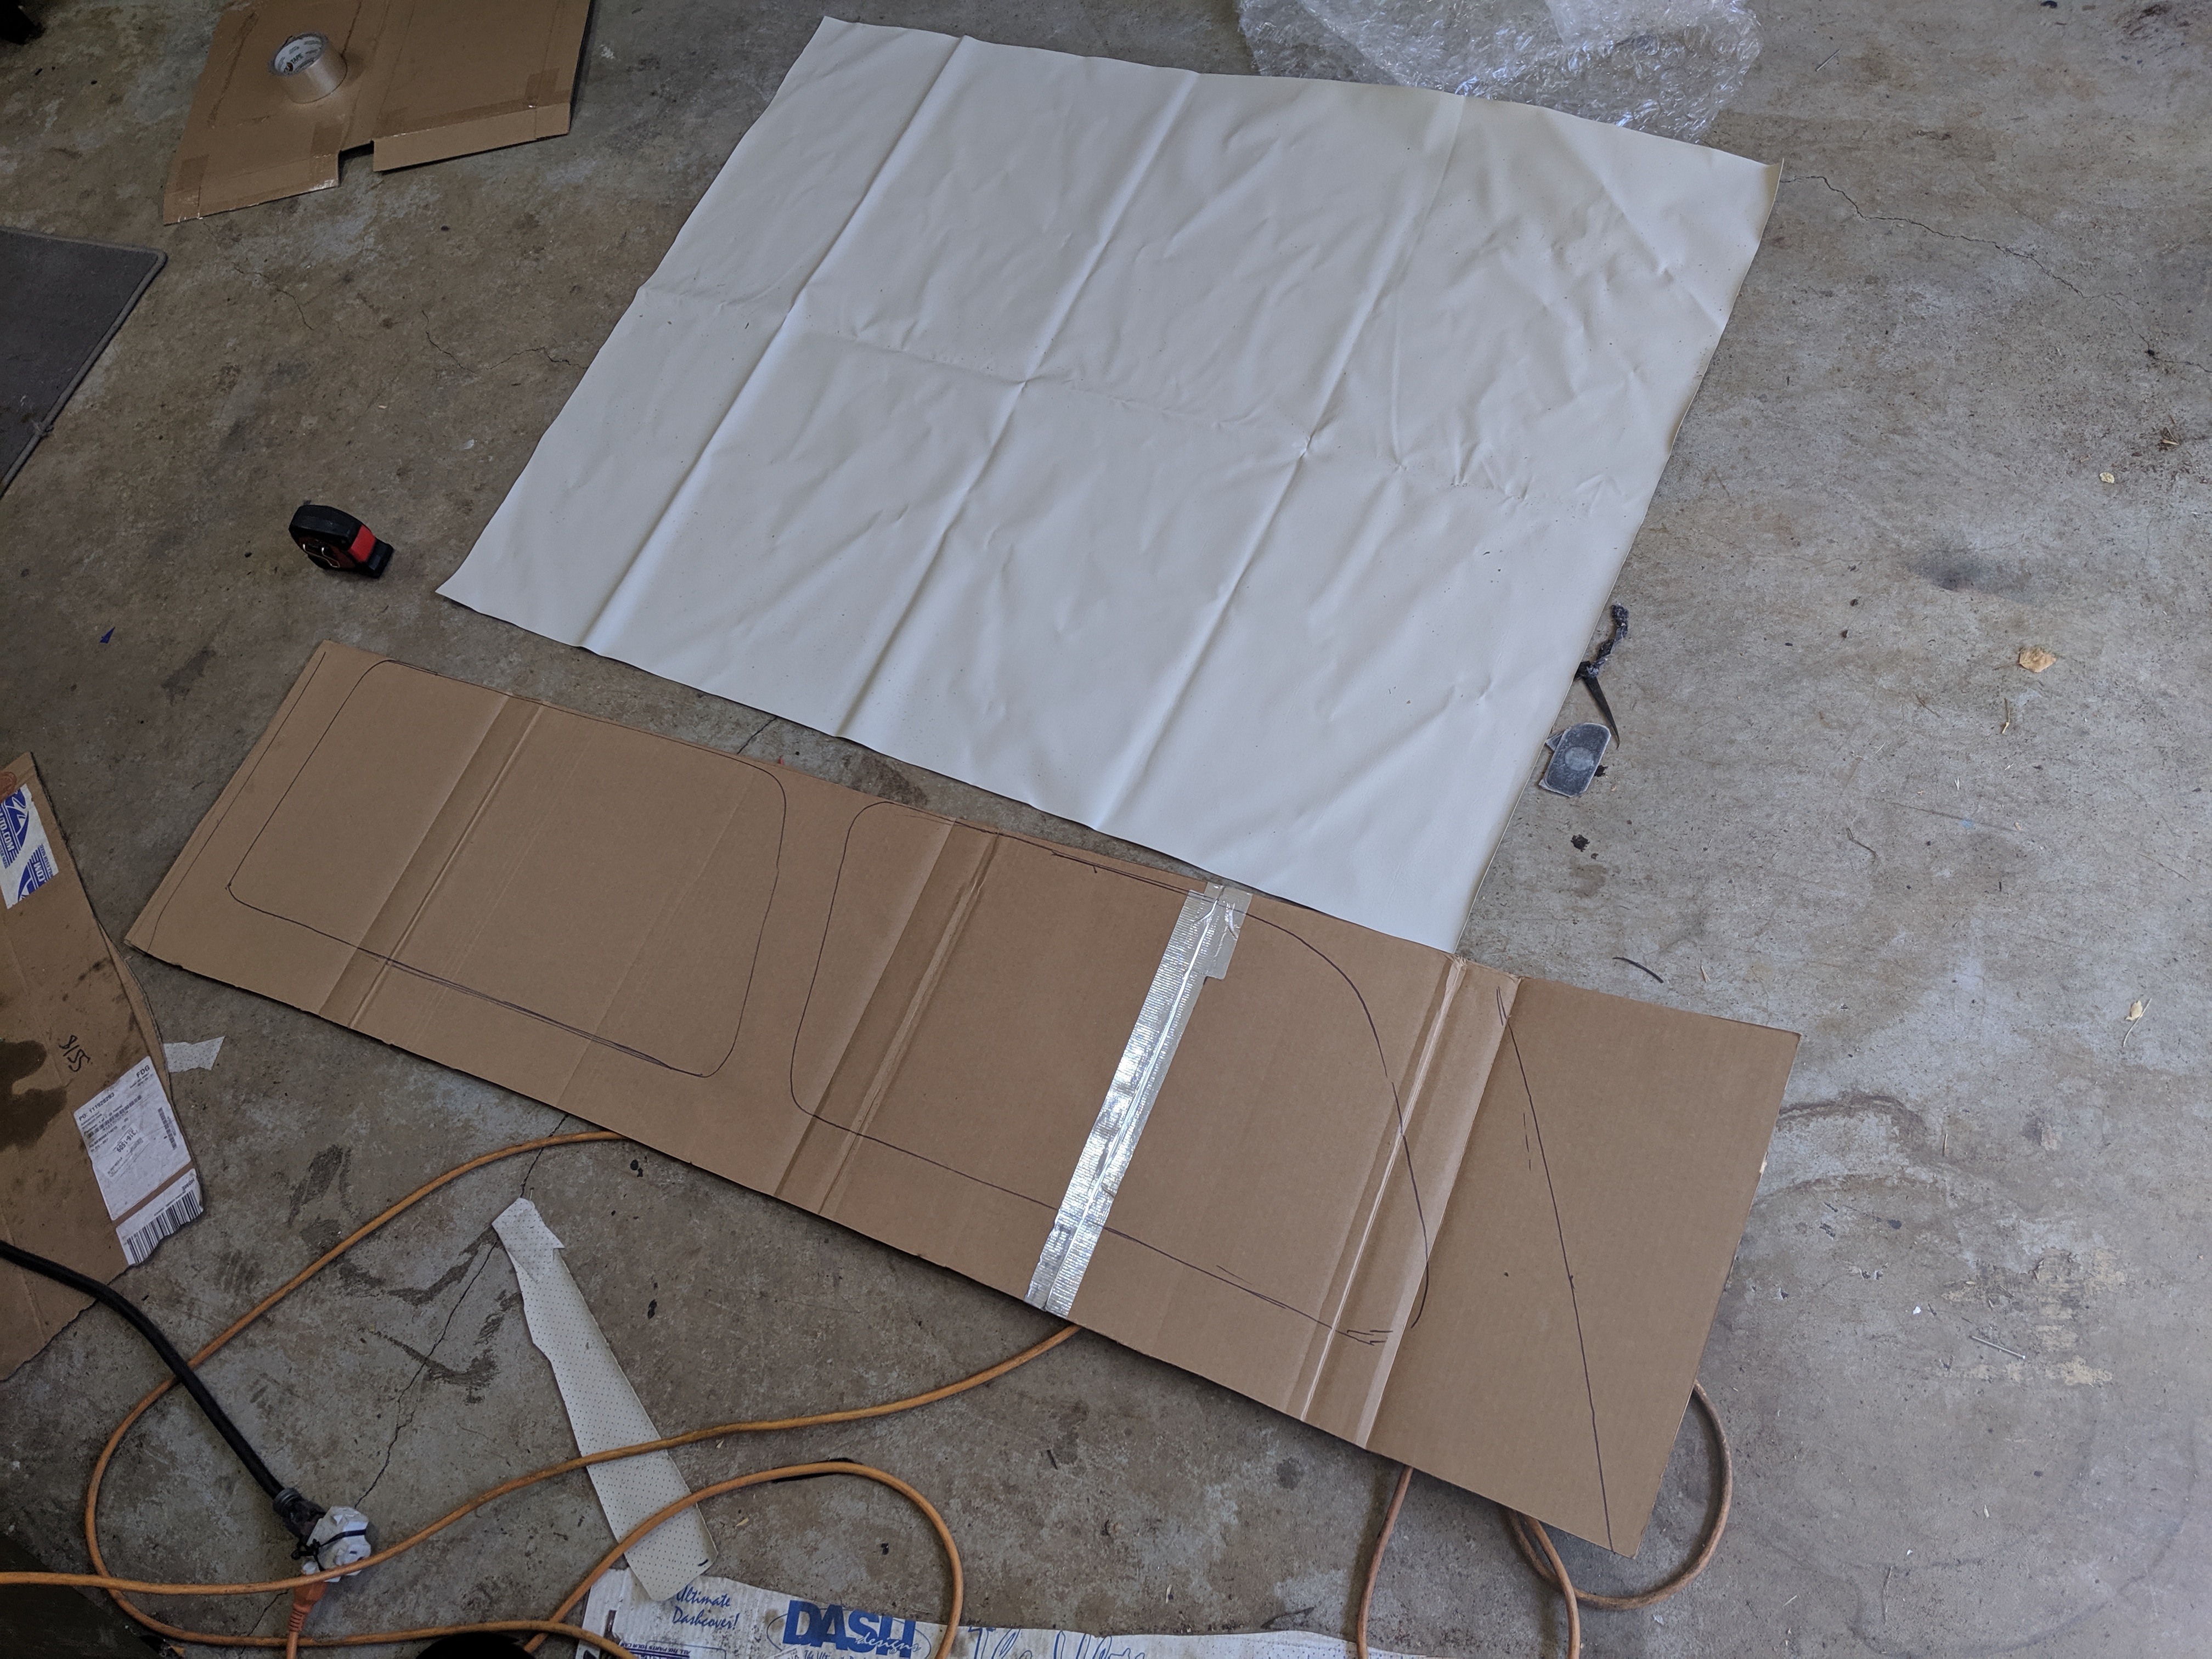
It was longer than the material they gave me! But that was OK because it would have been too difficult to install that long, so I cut it in half and made sure to have plenty of overlap.
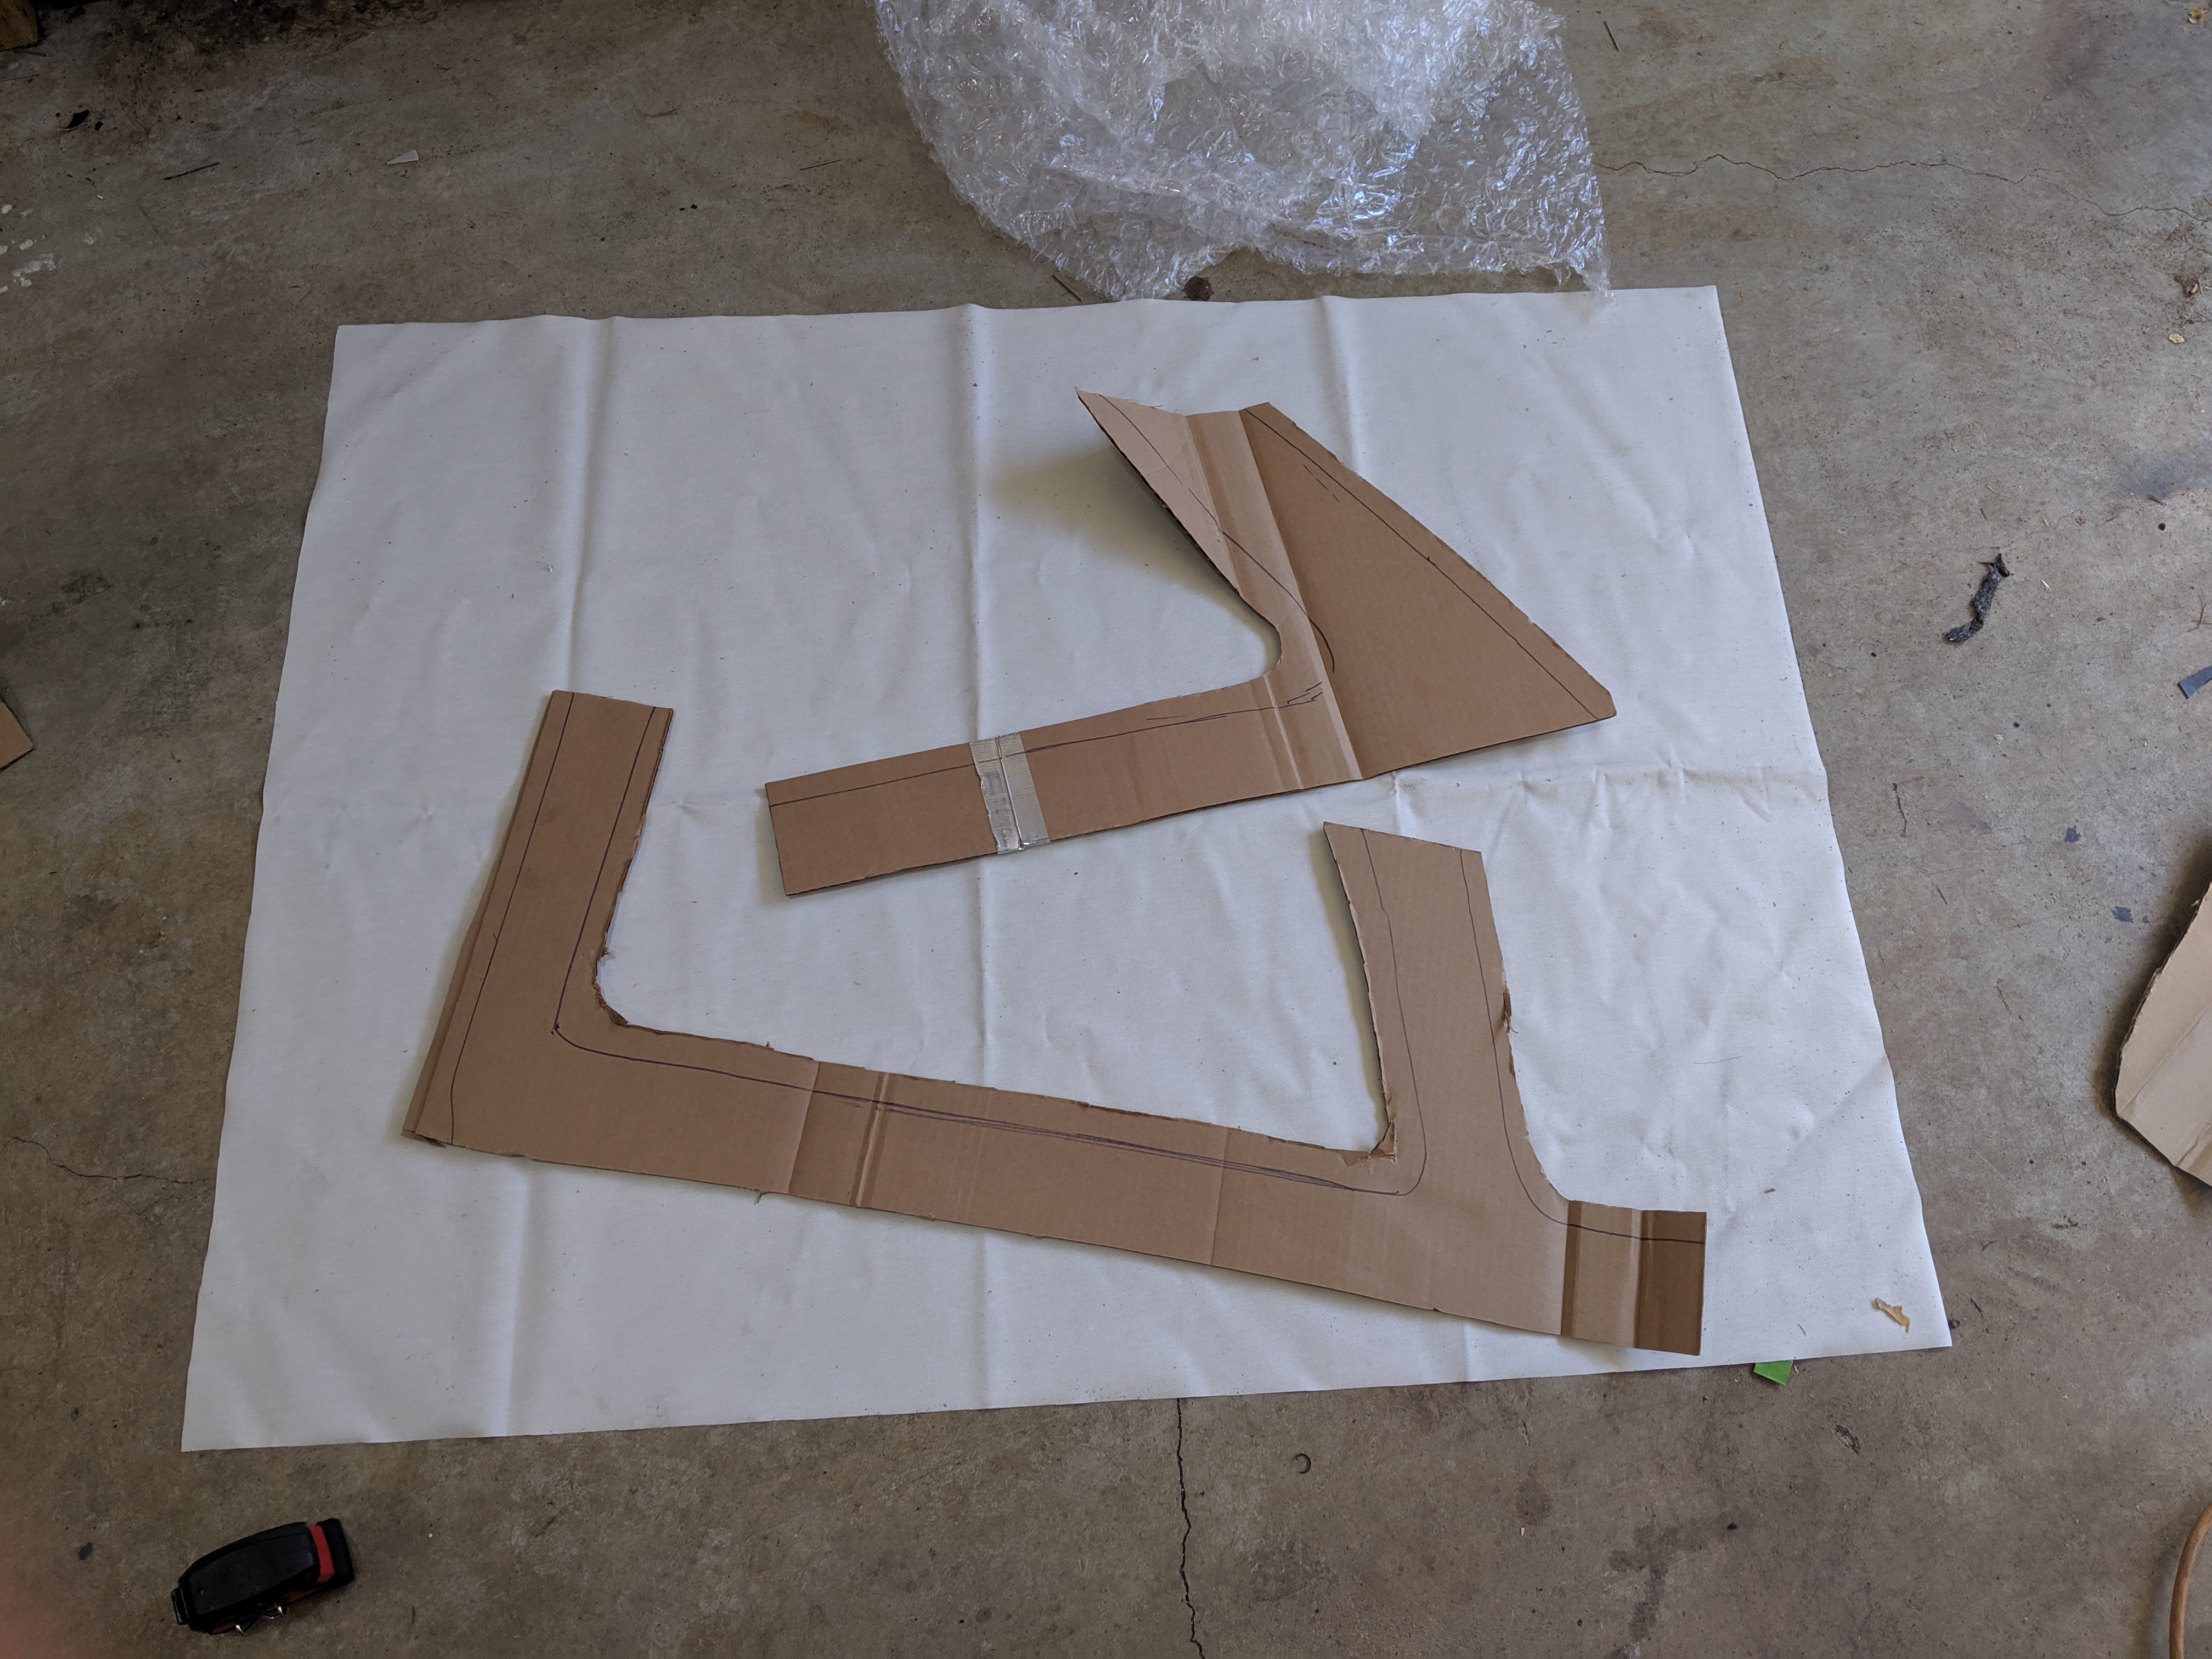
Trace the pattern onto the back of the fabric but cut out more fabric than you think you need. You can always trim some off but its a lot harder to add material.
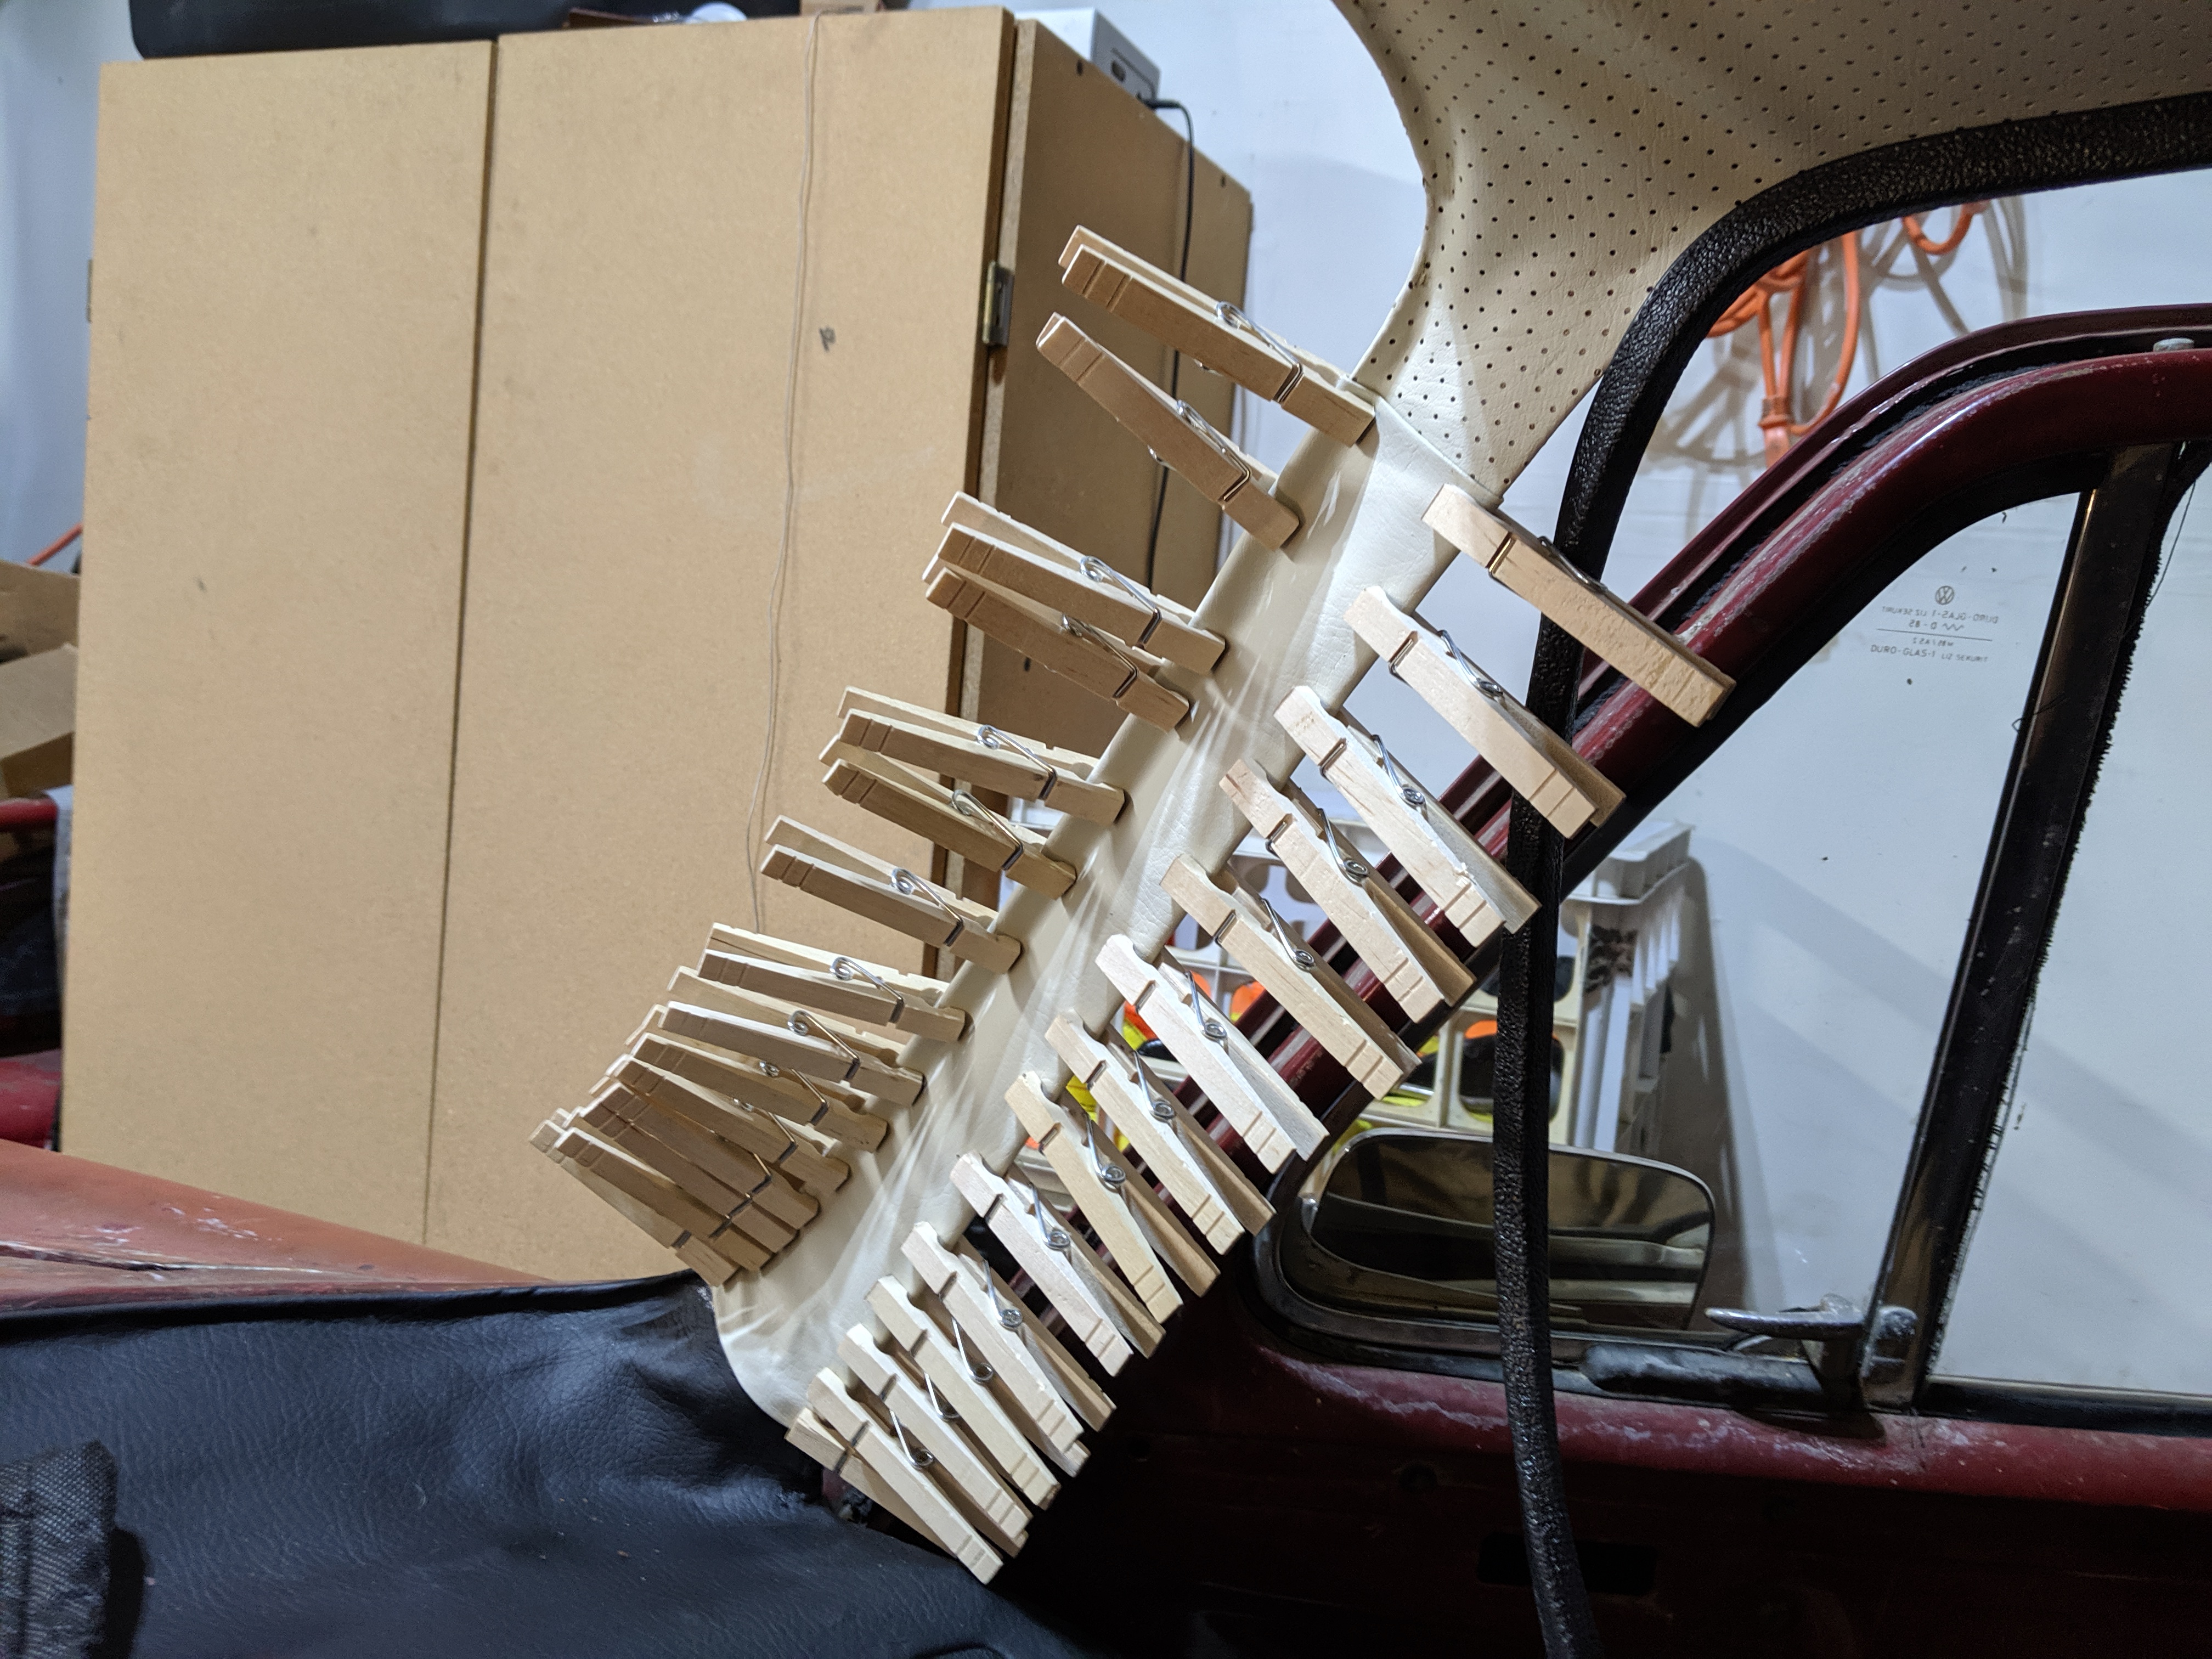
Then I started gluing it on, again by starting in the middle and doing the corners last.
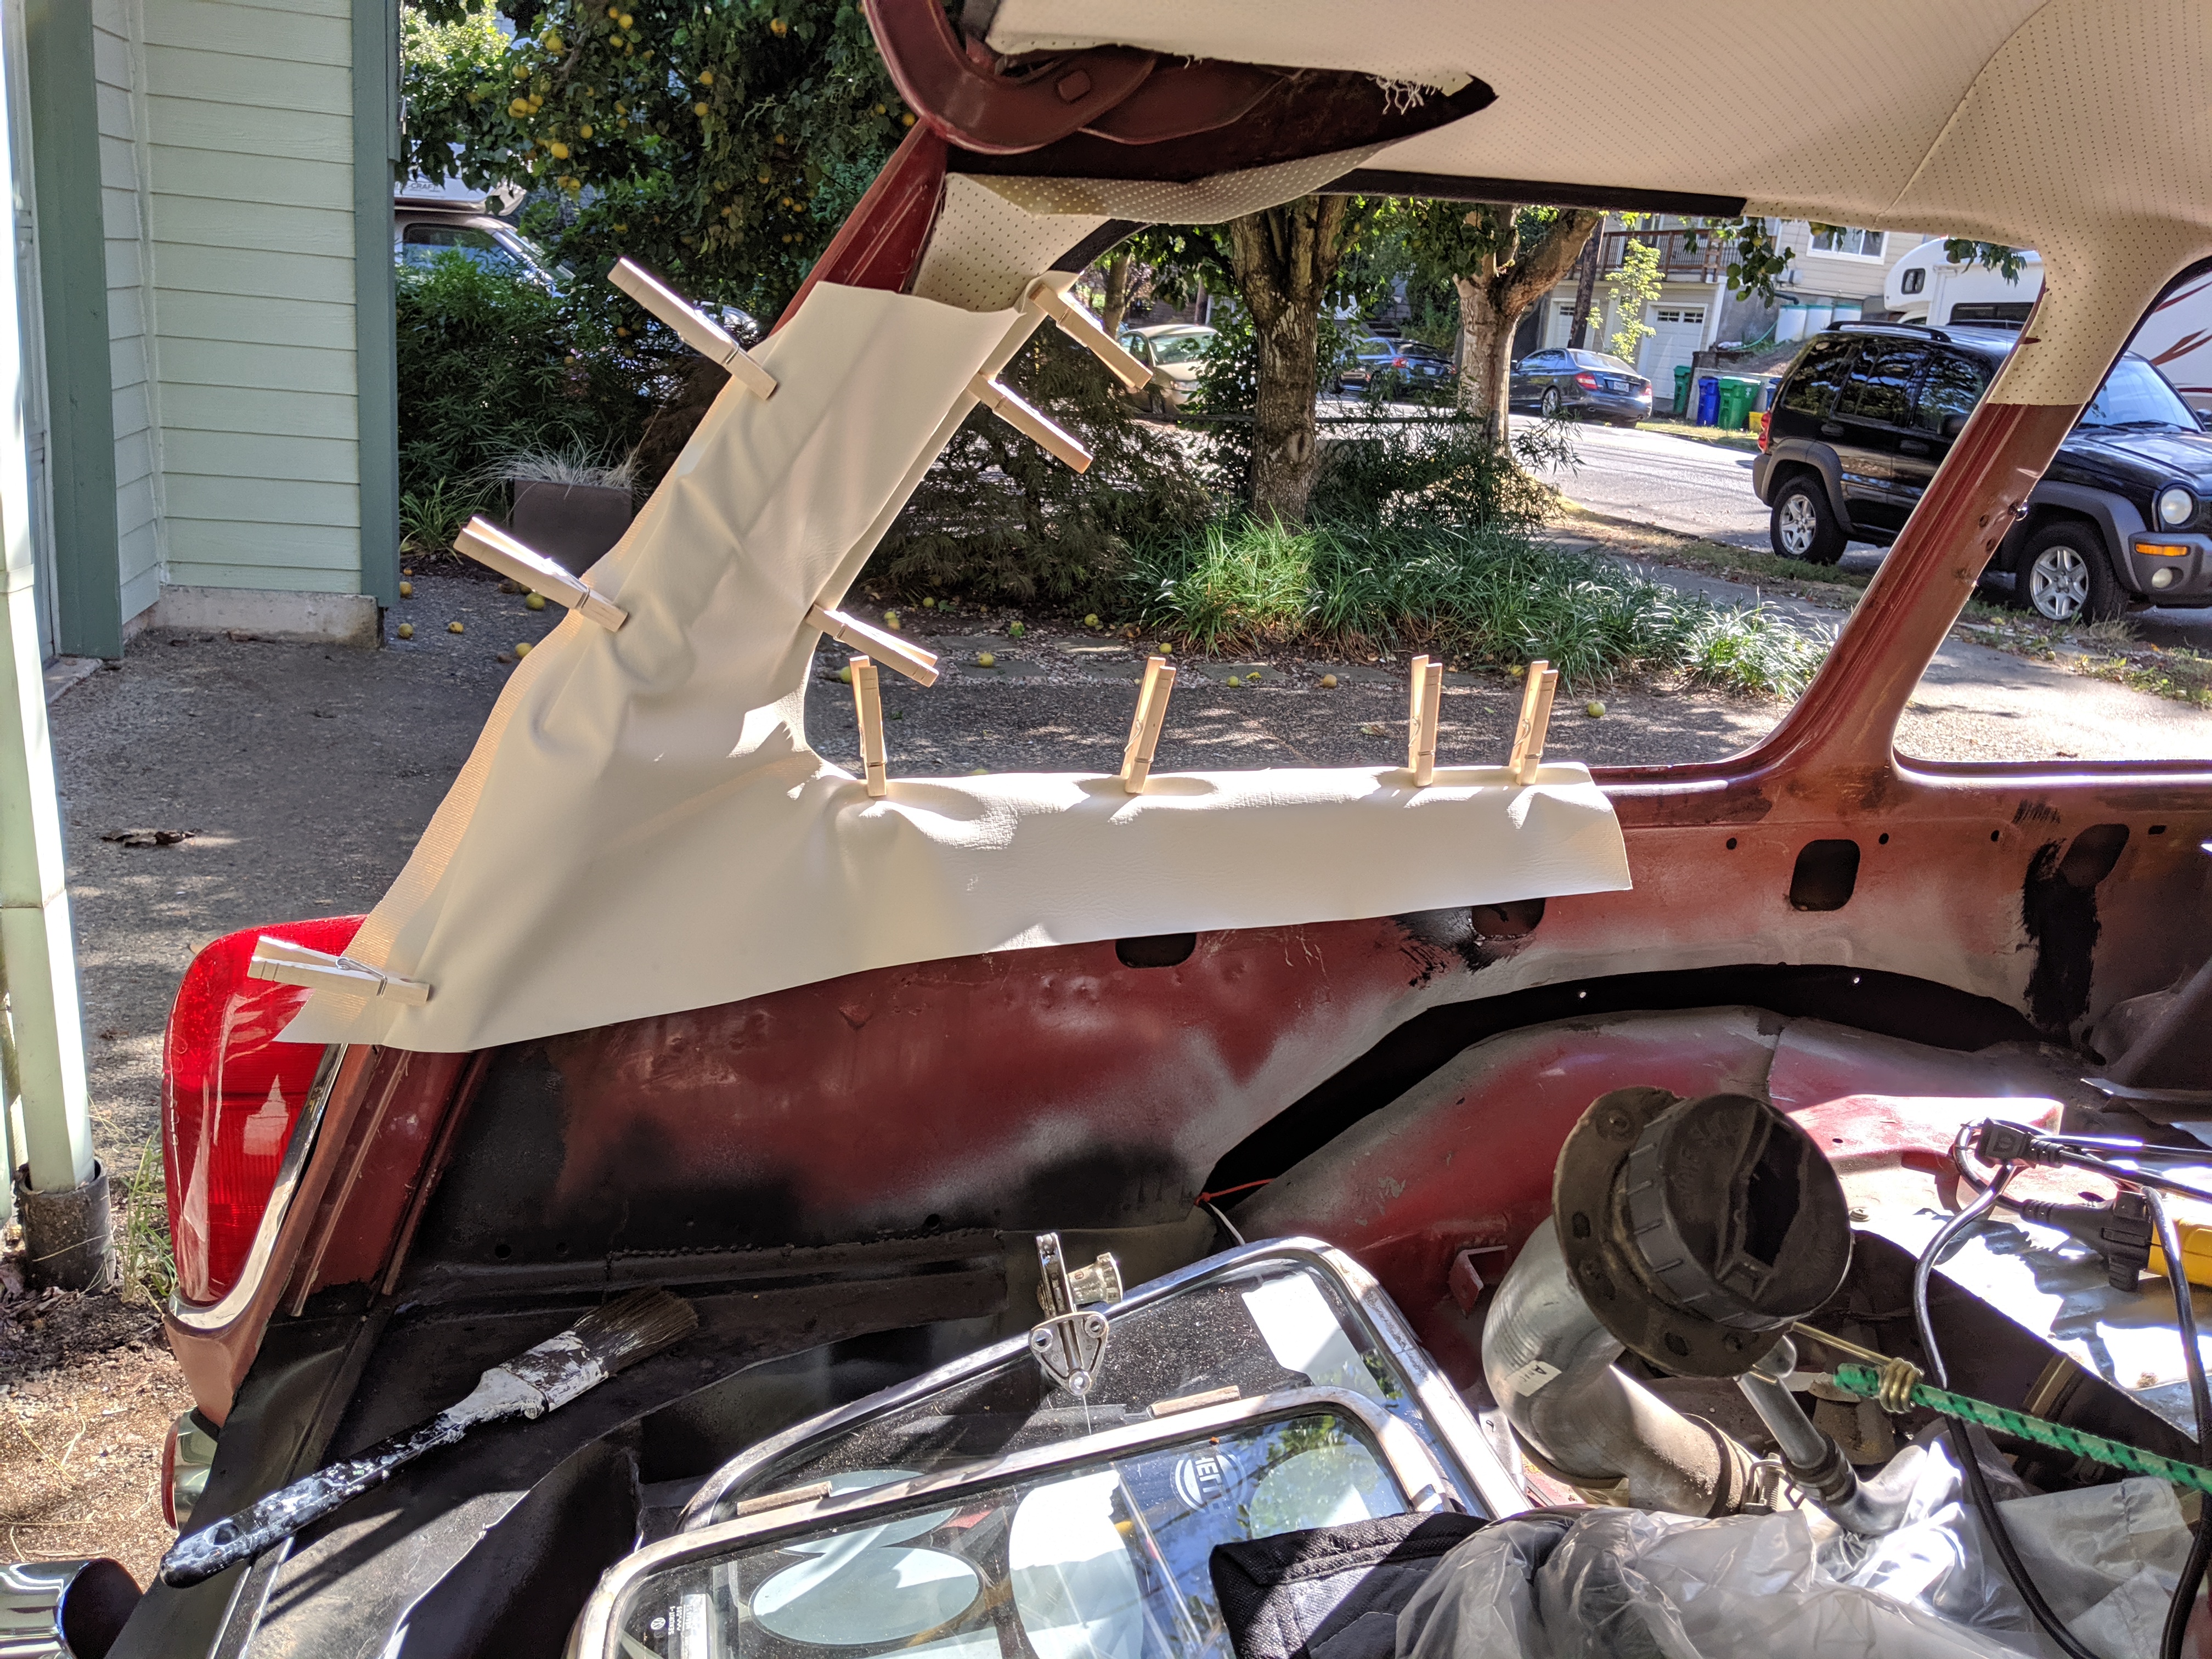
Above, you can see that the very back area doesn't actually go around the door frame. Instead it goes into a metal strip that can be gently hit with a rubber mallet (so to not rip the fabric) which will fold it down and pinch the fabric right. If you're also wondering why theres a gap in my wheel tub, I just hadn't finished welding it together yet.
And again, I made sure that all transitions were smooth by folding over the material and tucking it in on the inside.
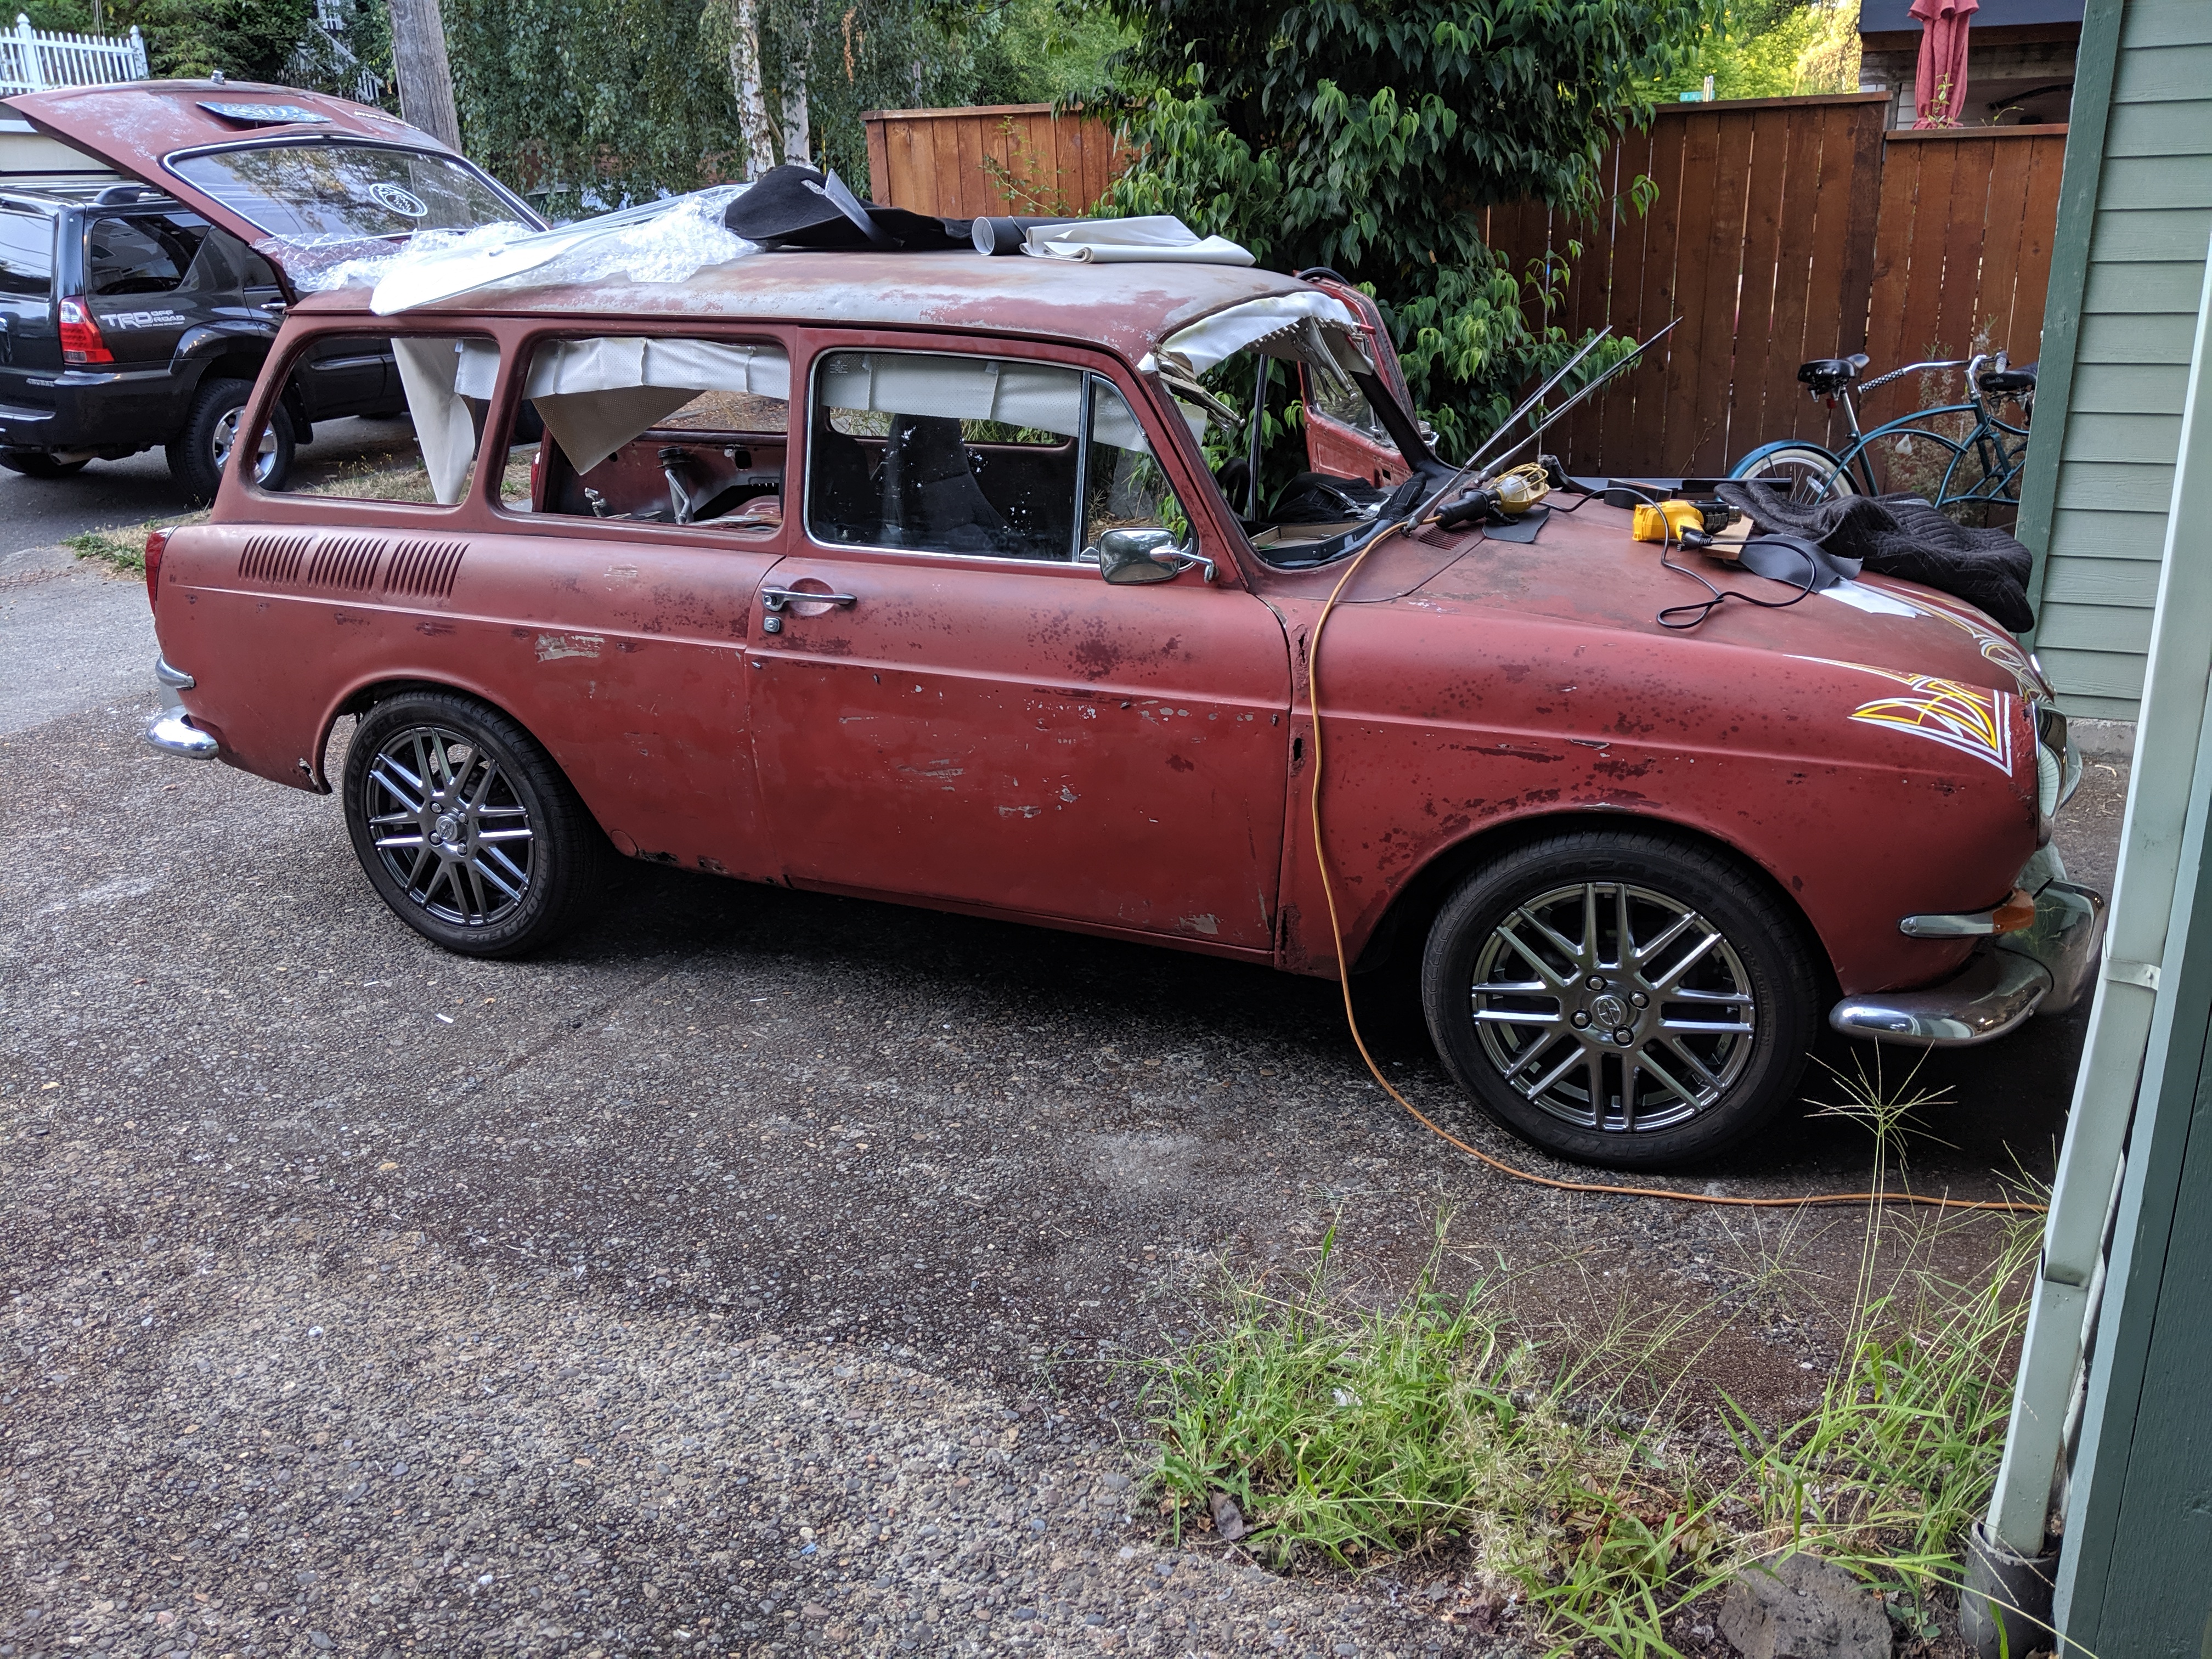
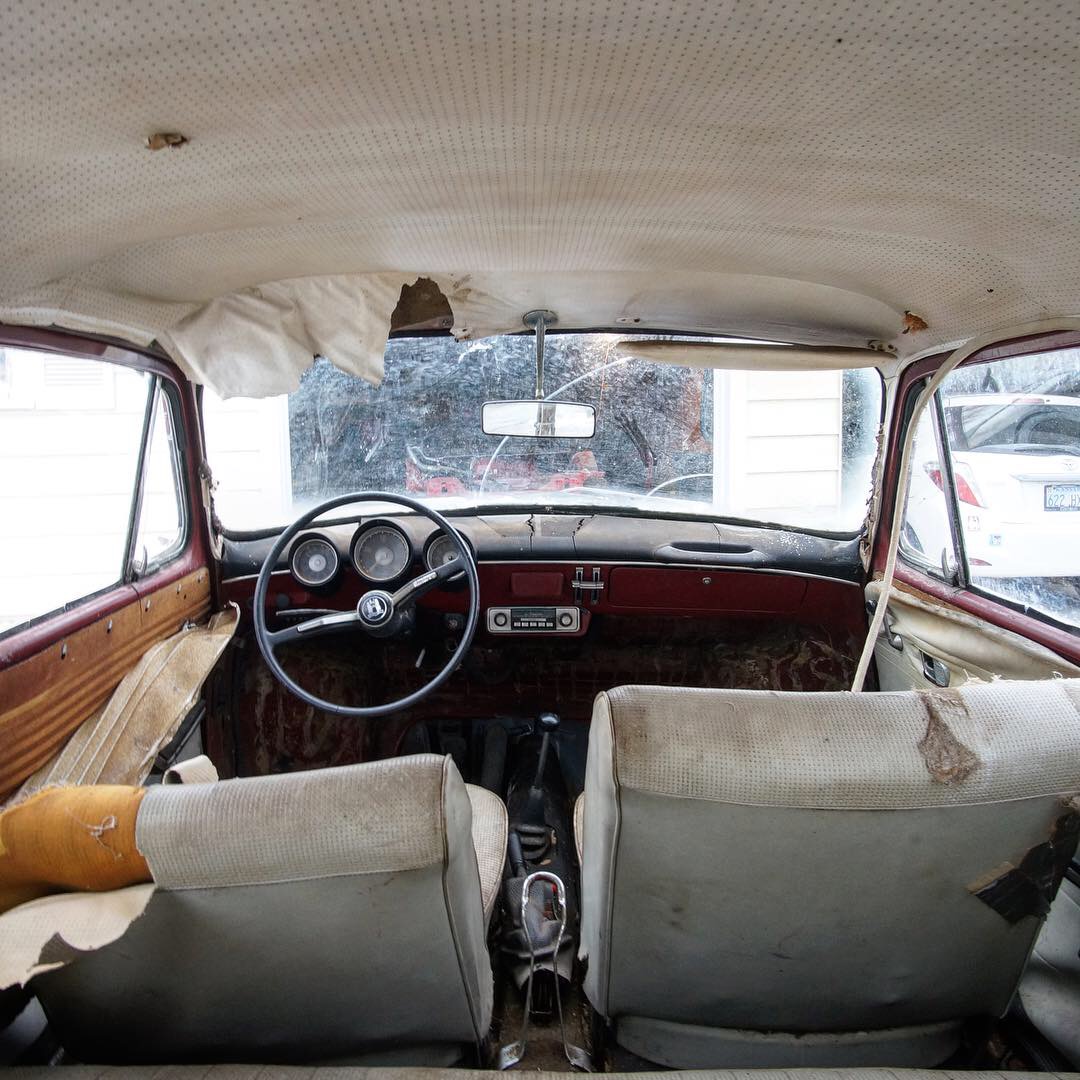
Before long, I was done!

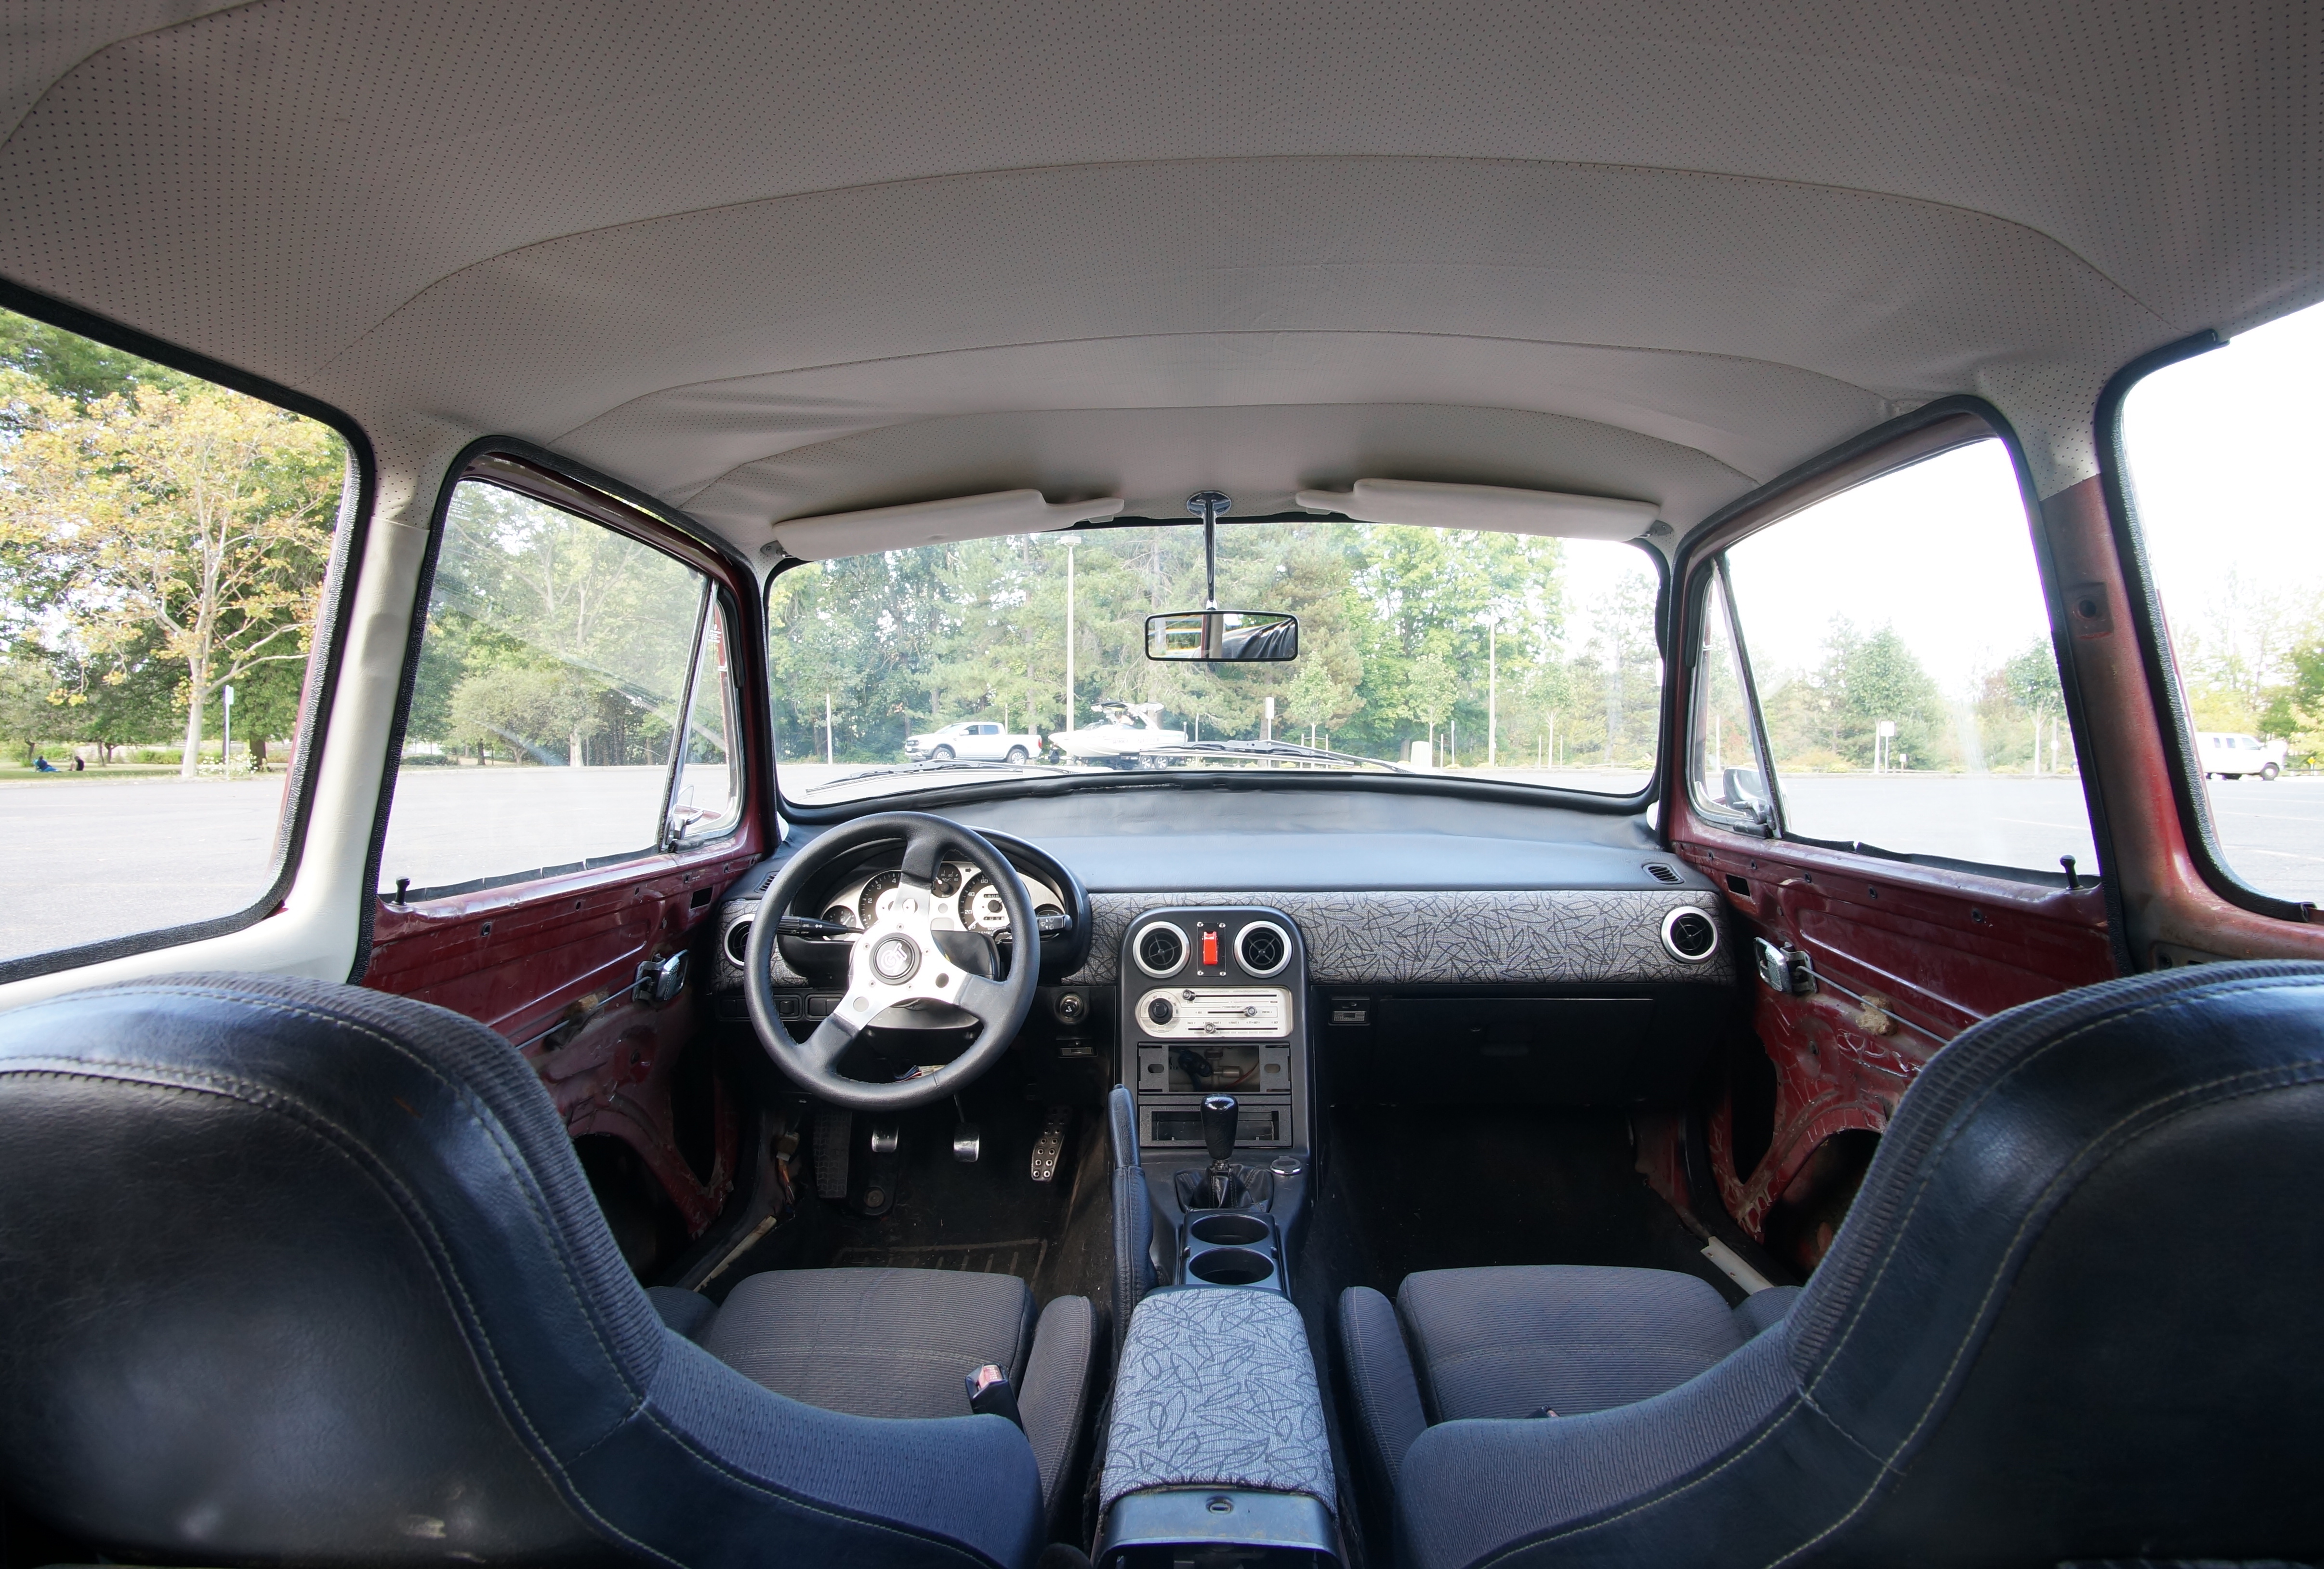
Not bad for how it used to look, huh?!
Thanks for reading!