This is a companion article to my VW Type 3 Headliner Install article.
The goal of this article is to be a TREASURE TROVE of information on how to install a windshield w/ trim on a classic Volkswagen Type 3 Squareback, Fastback, or Notchback. Might also be valuable information for other air-cooled VWs with curved glass windshields such as the Super Beetles, Bay Window Buses, Karmann Ghias, and Type 34 Razors. It's also called a "windscreen" in some parts of the world.
Roping in the damn windshield is tricky, it really is. But it can be done by a novice, even without help from a buddy. I tried, and while it wasn't perfect, I got the windshield installed on my first try* without cracking it. However, there are a few ugly defects in my installation, and I should do it over again really. One day I might. I have learned that, unlike many DIY projects in the automotive restoration field, there's an obvious difference between a pro install and my amateur install. So if you want a perfect install, you might want to find an experience VW restoration pro who will do it for around $500.
*third try in the same day, but who's counting?
Alright enough talking.
Below is windshield replacement info straight from the Volkswagen blue service manual:
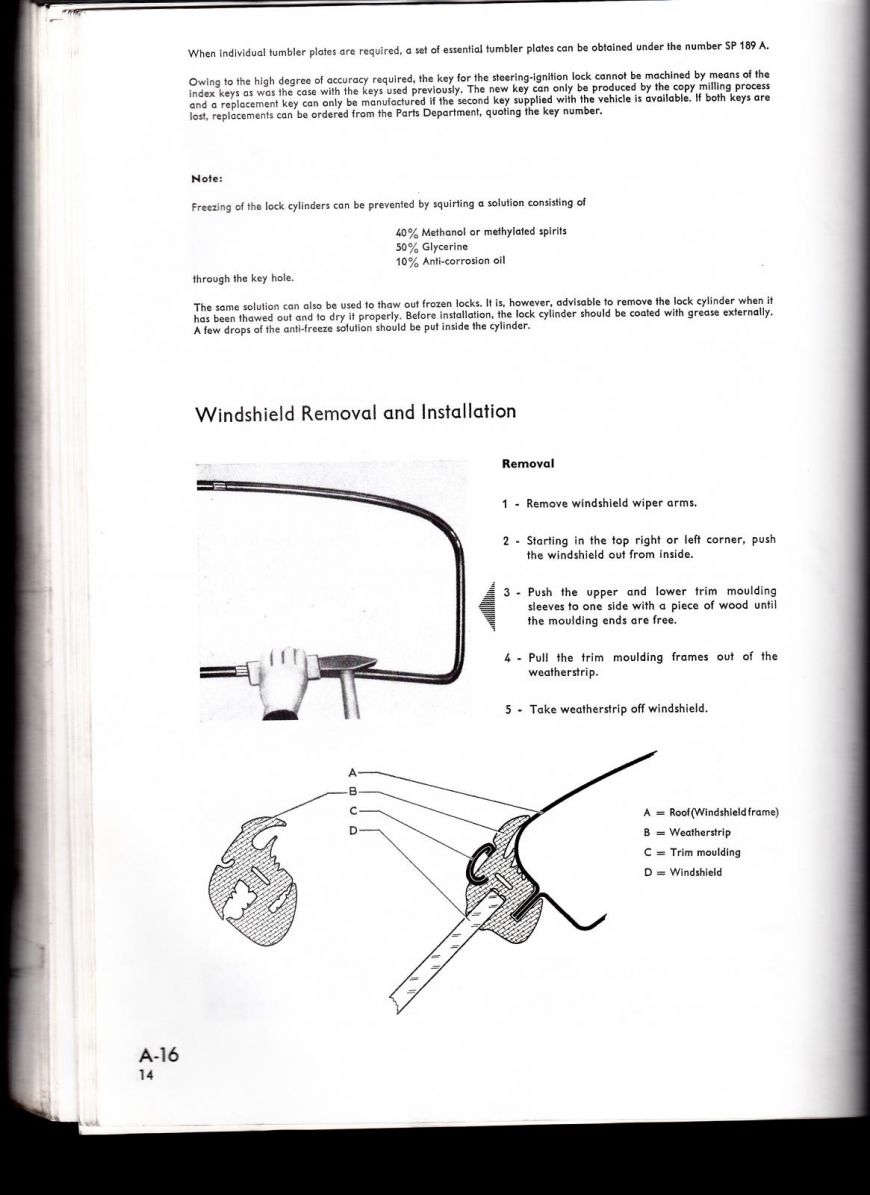
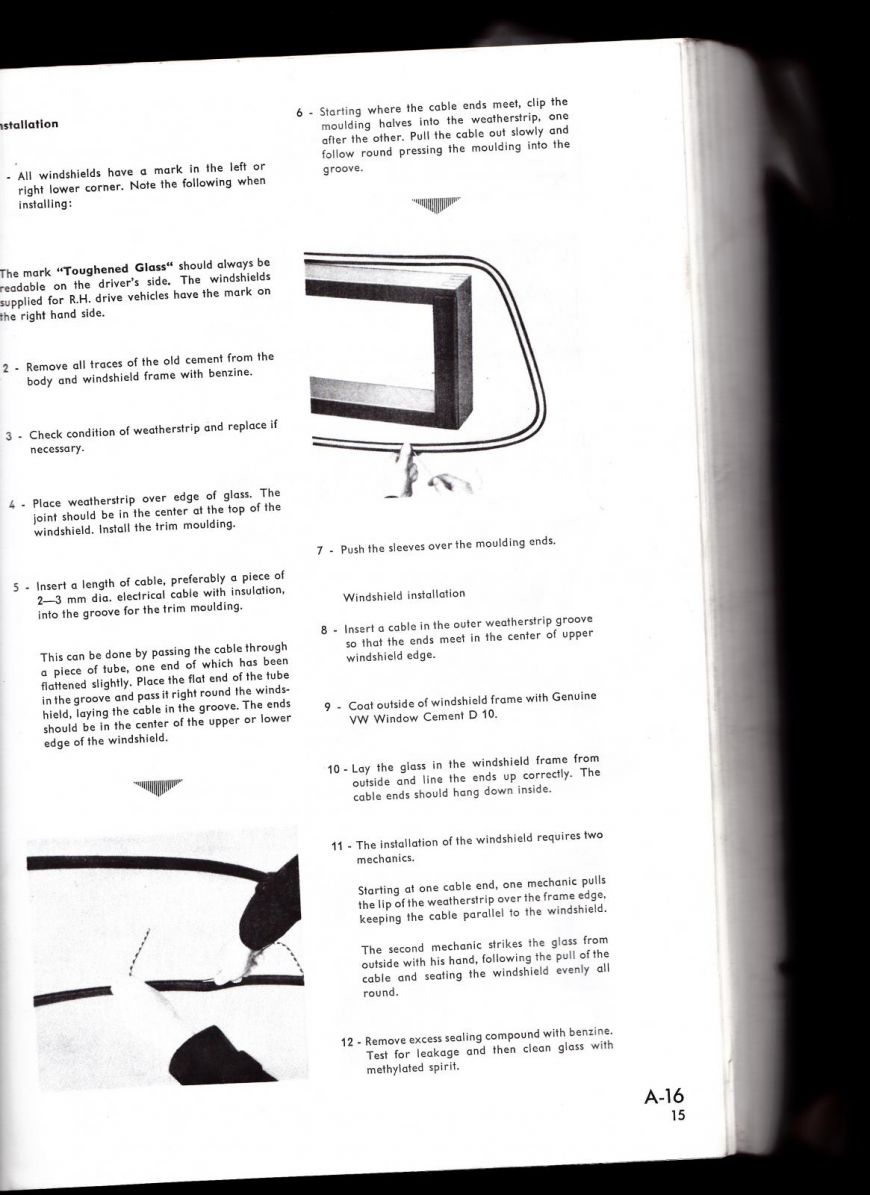
I actually didn't follow those steps closely at all. Maybe I should have. But seeing the cross section of the rubber seal was very helpful.
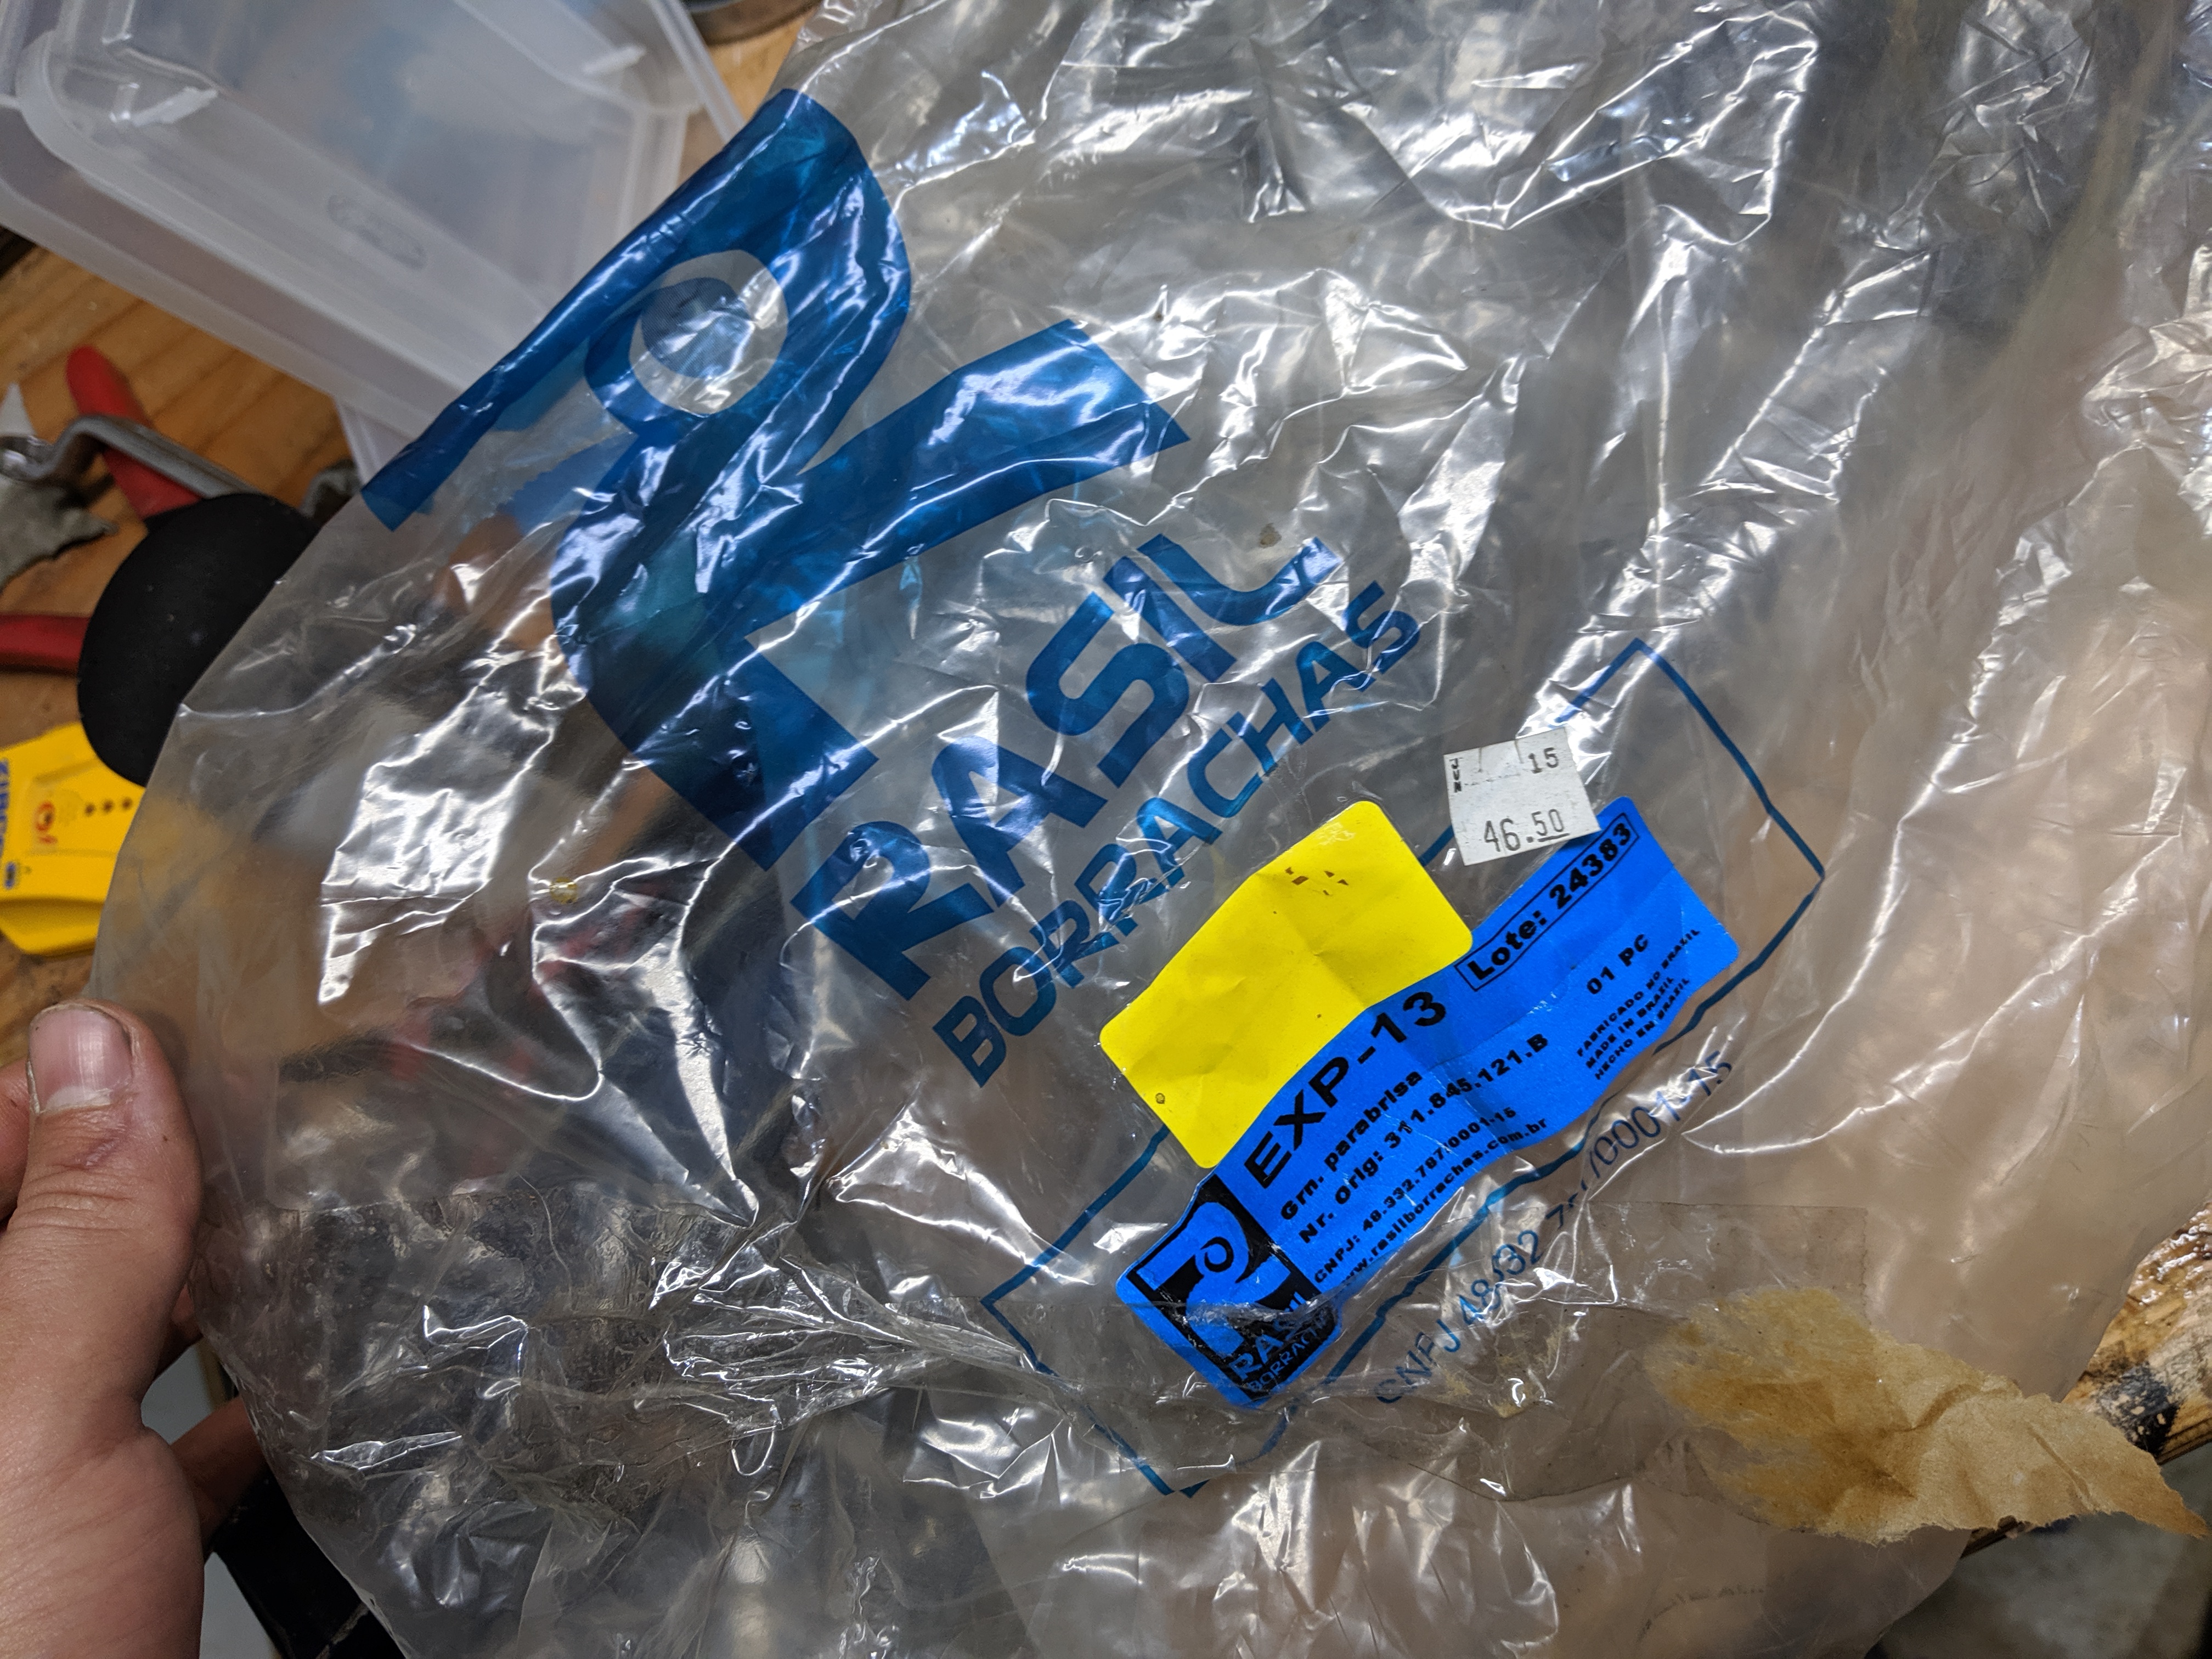
Here's the windshield, seal and trim that I purchased. I got the seal and the windshield from a local VW repair shop, Always-V-Dub, and the seal looks likes its from Brazil but the windshield has no origin markings or anything. The trim is from https://www.vwispwest.com
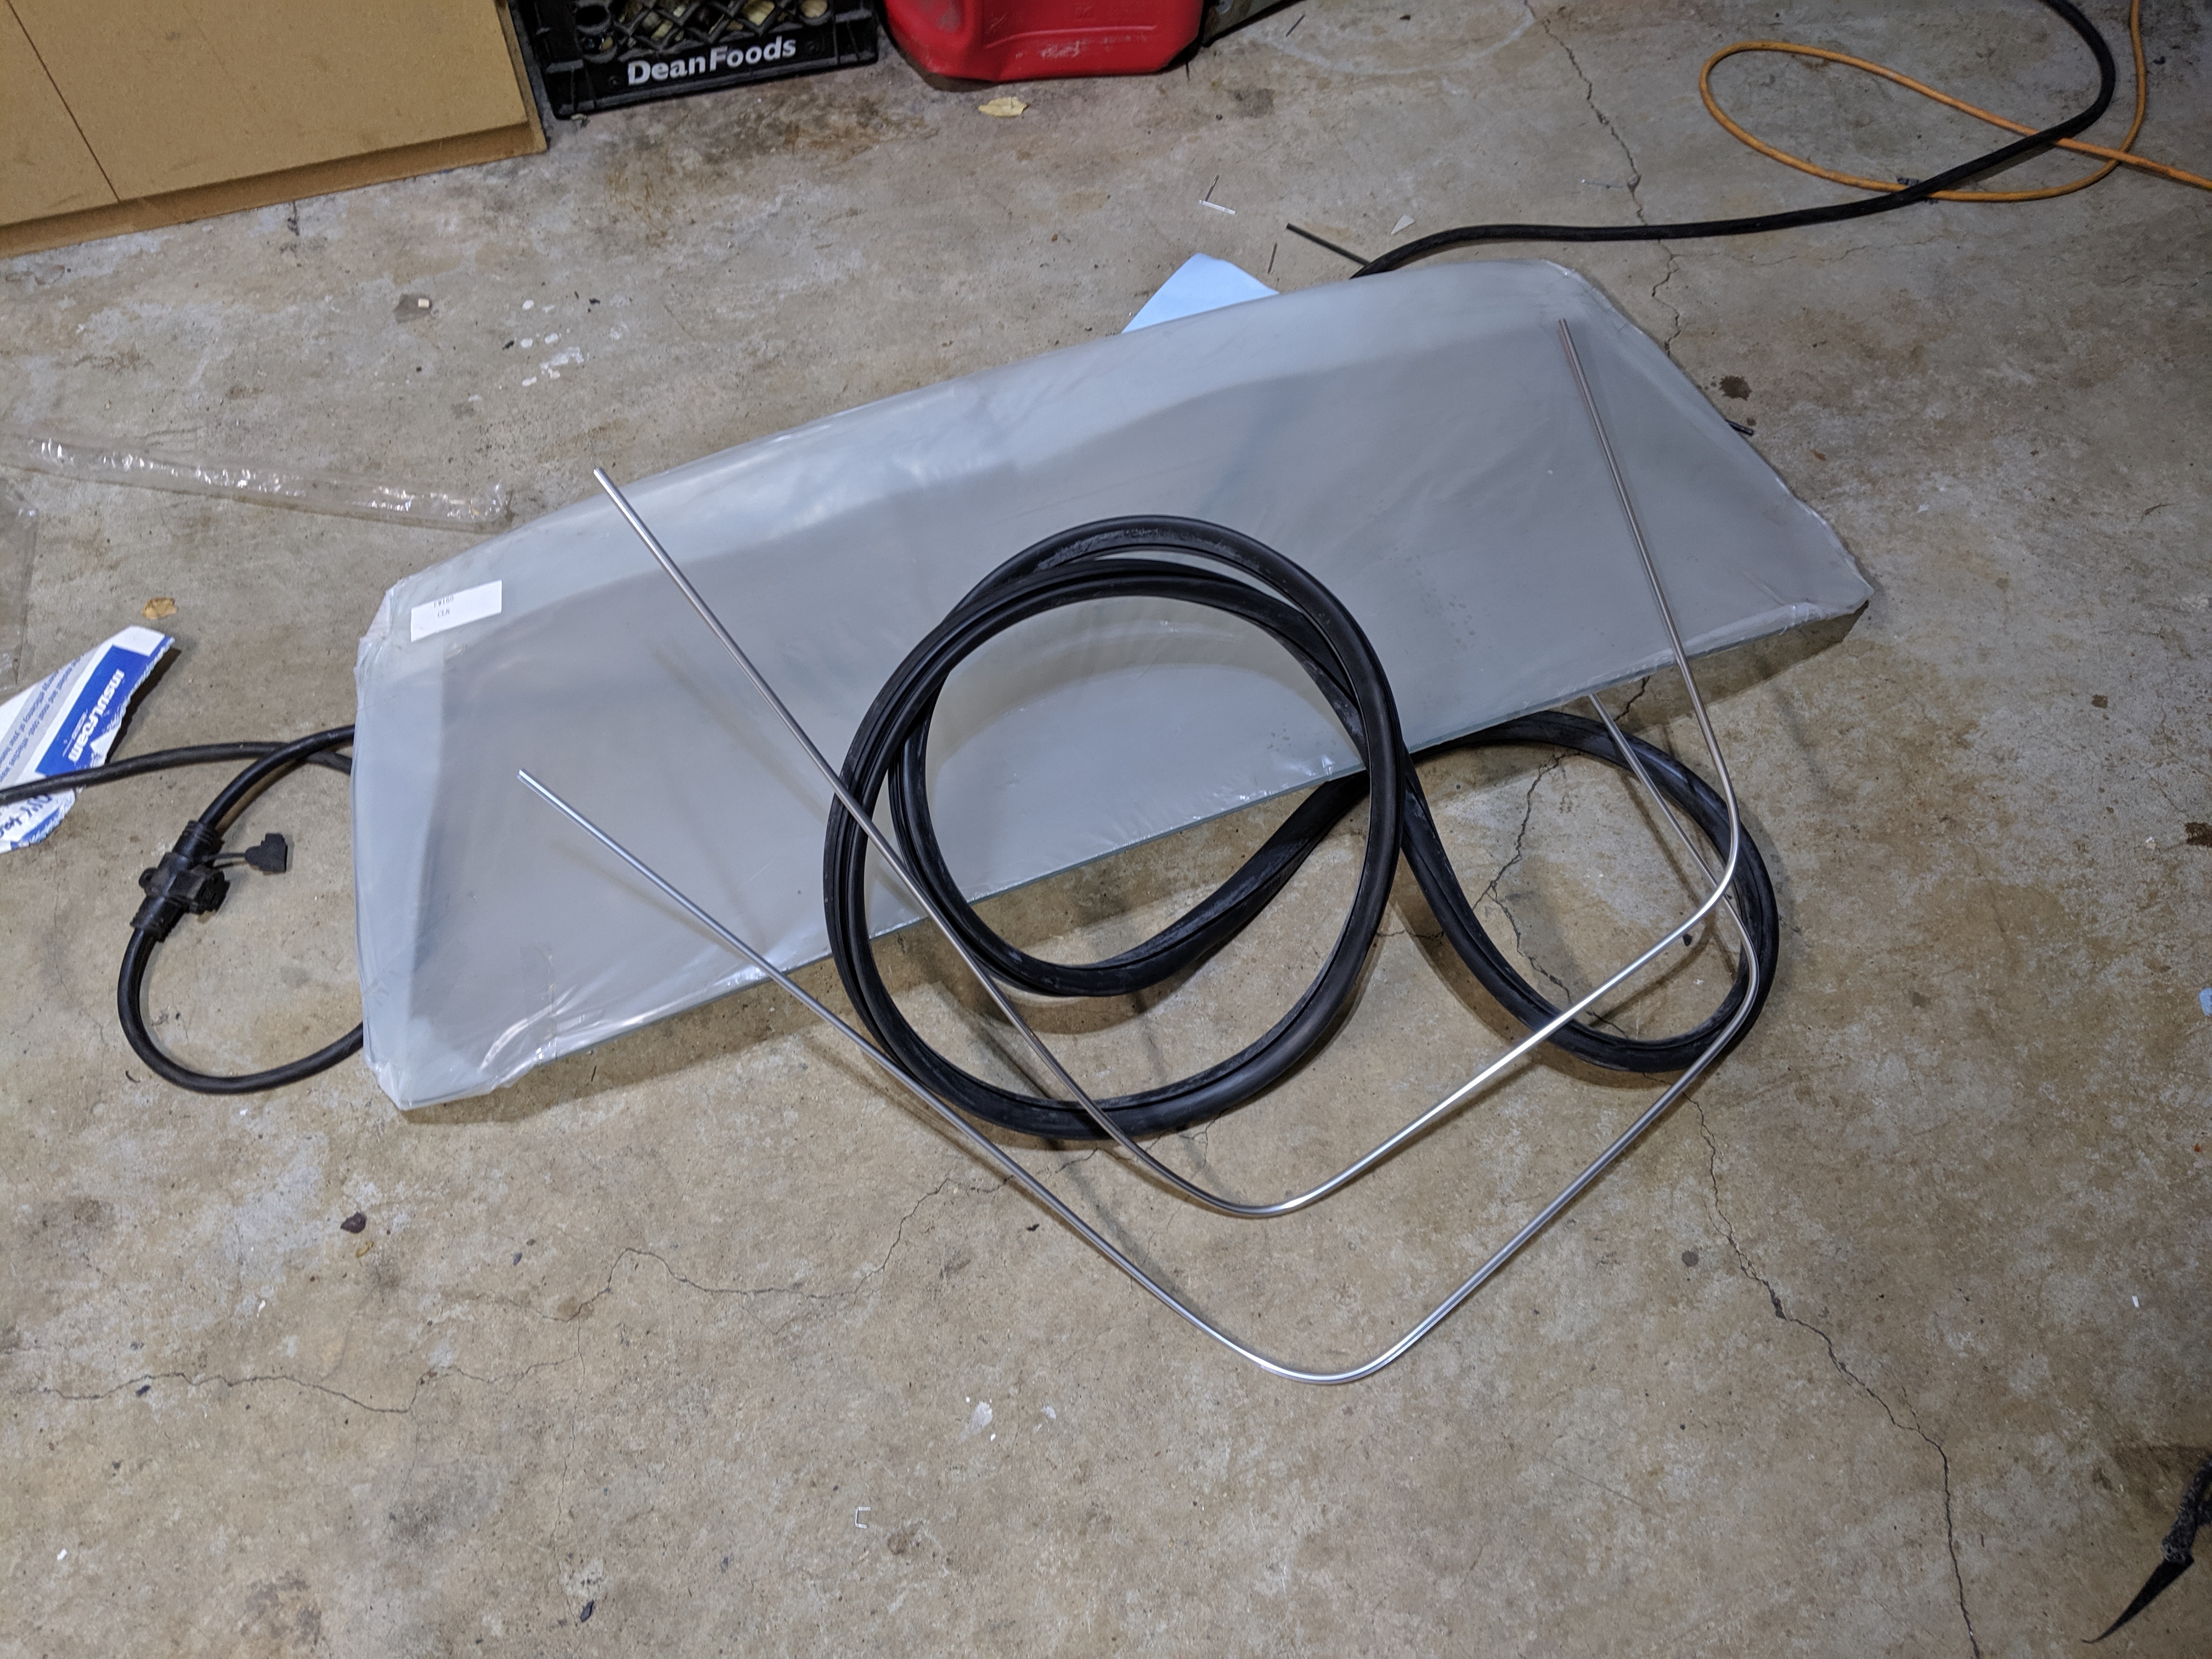
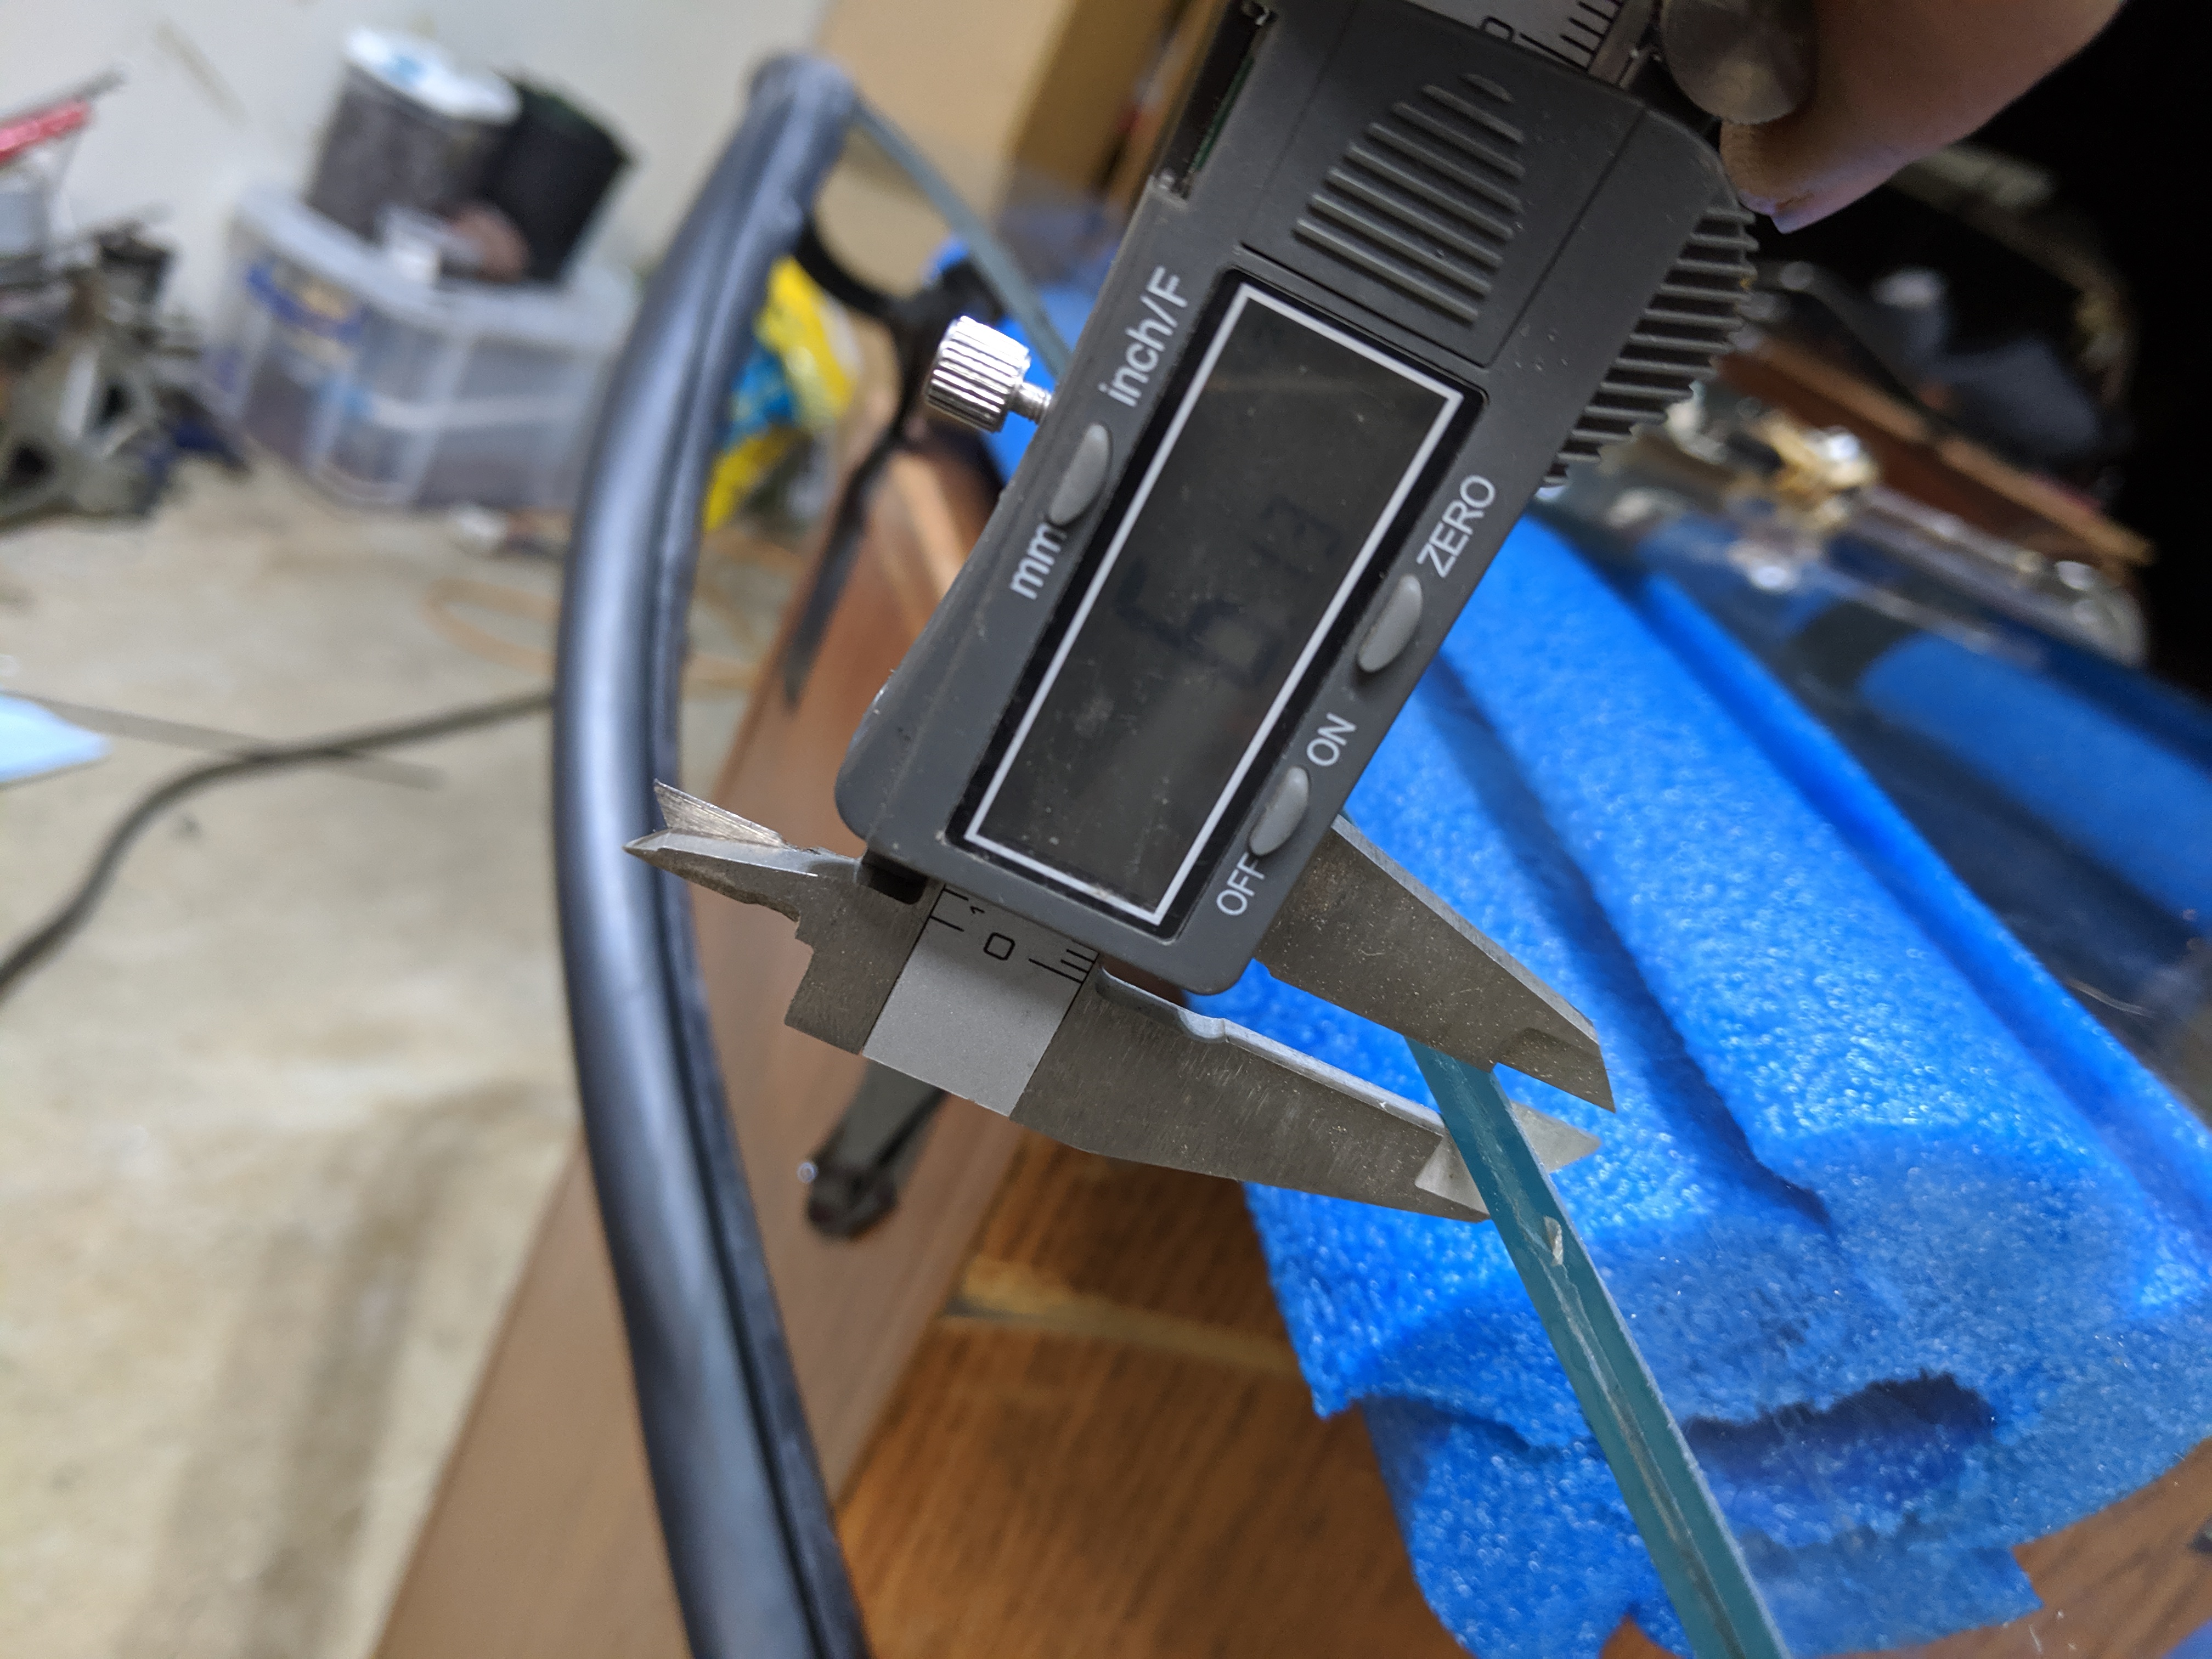
The aftermarket windshield glass is 6.1mm thick. I don'k now how thick the stock VW glass is but maybe this info can be helpful to somebody.
Getting the seal around the windshield glass
First thing you gotta do is get the new rubber seal around the glass. Ah... it's harder than it sounds. Even though it's the easiest part of the whole job. Took me an hour probably. I don't have much advice, just gotta wrestle it on there. I didn't use any lube as I read that the wrong lube can weaken the rubber.
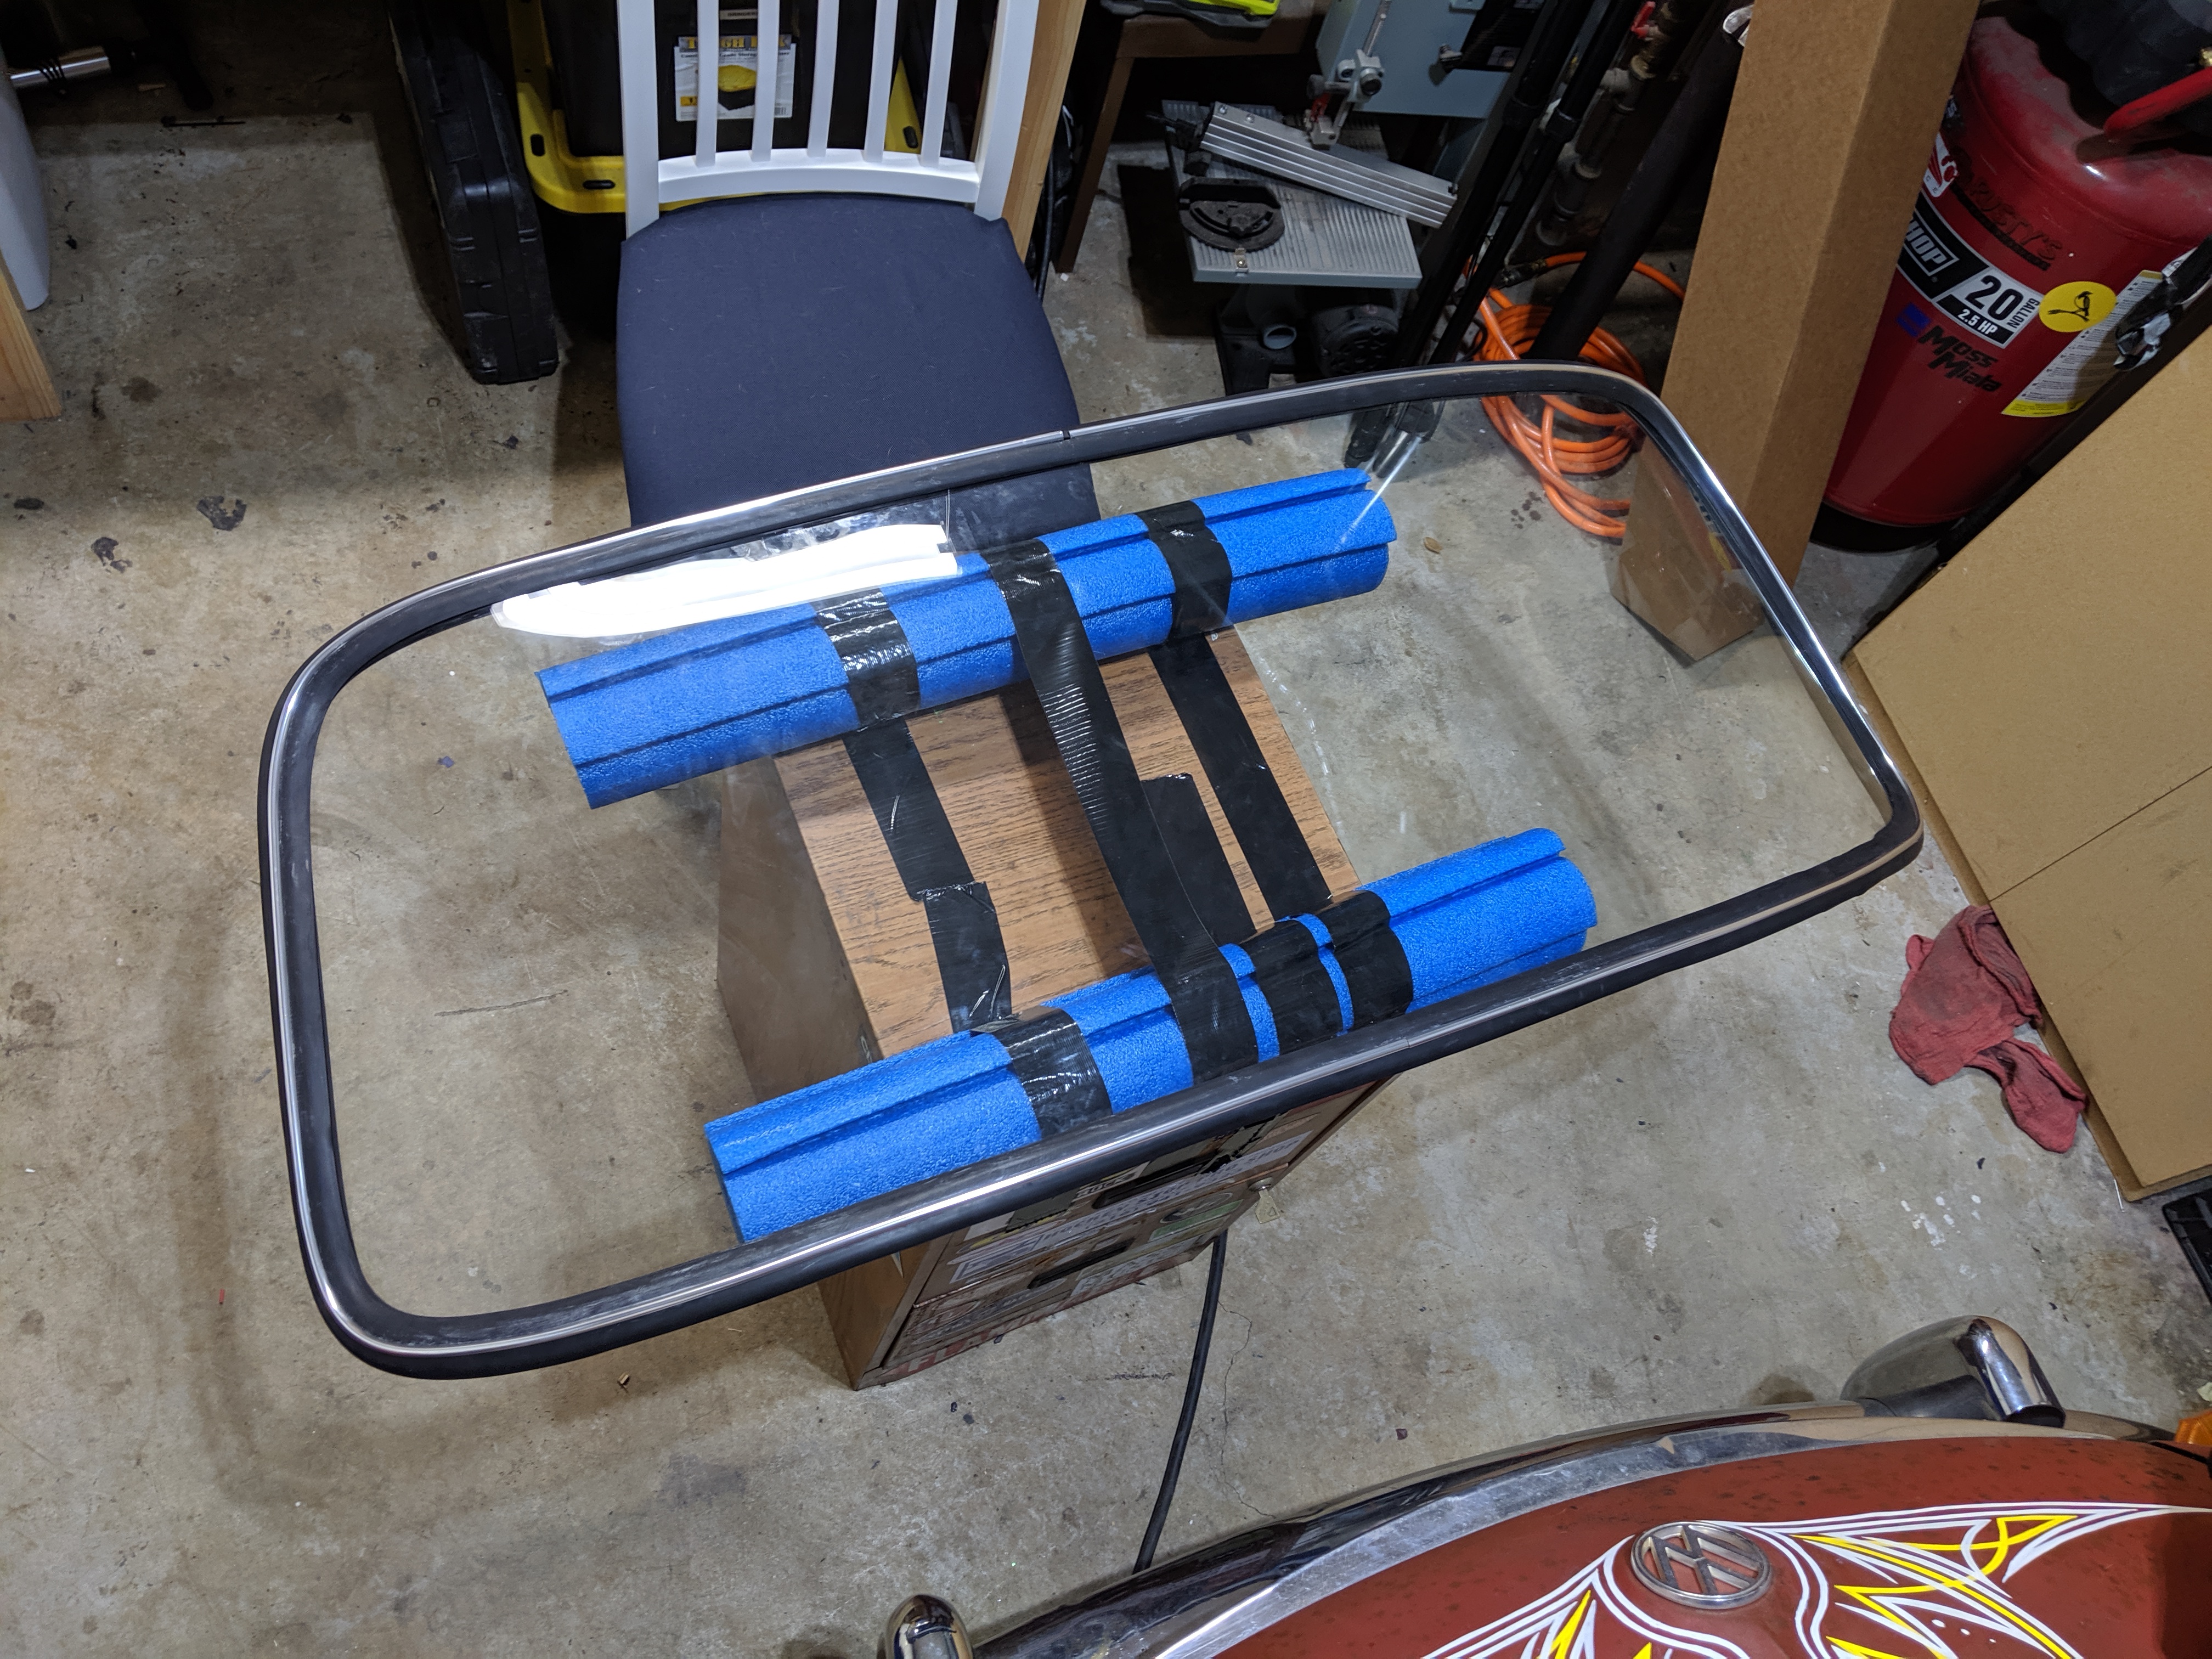
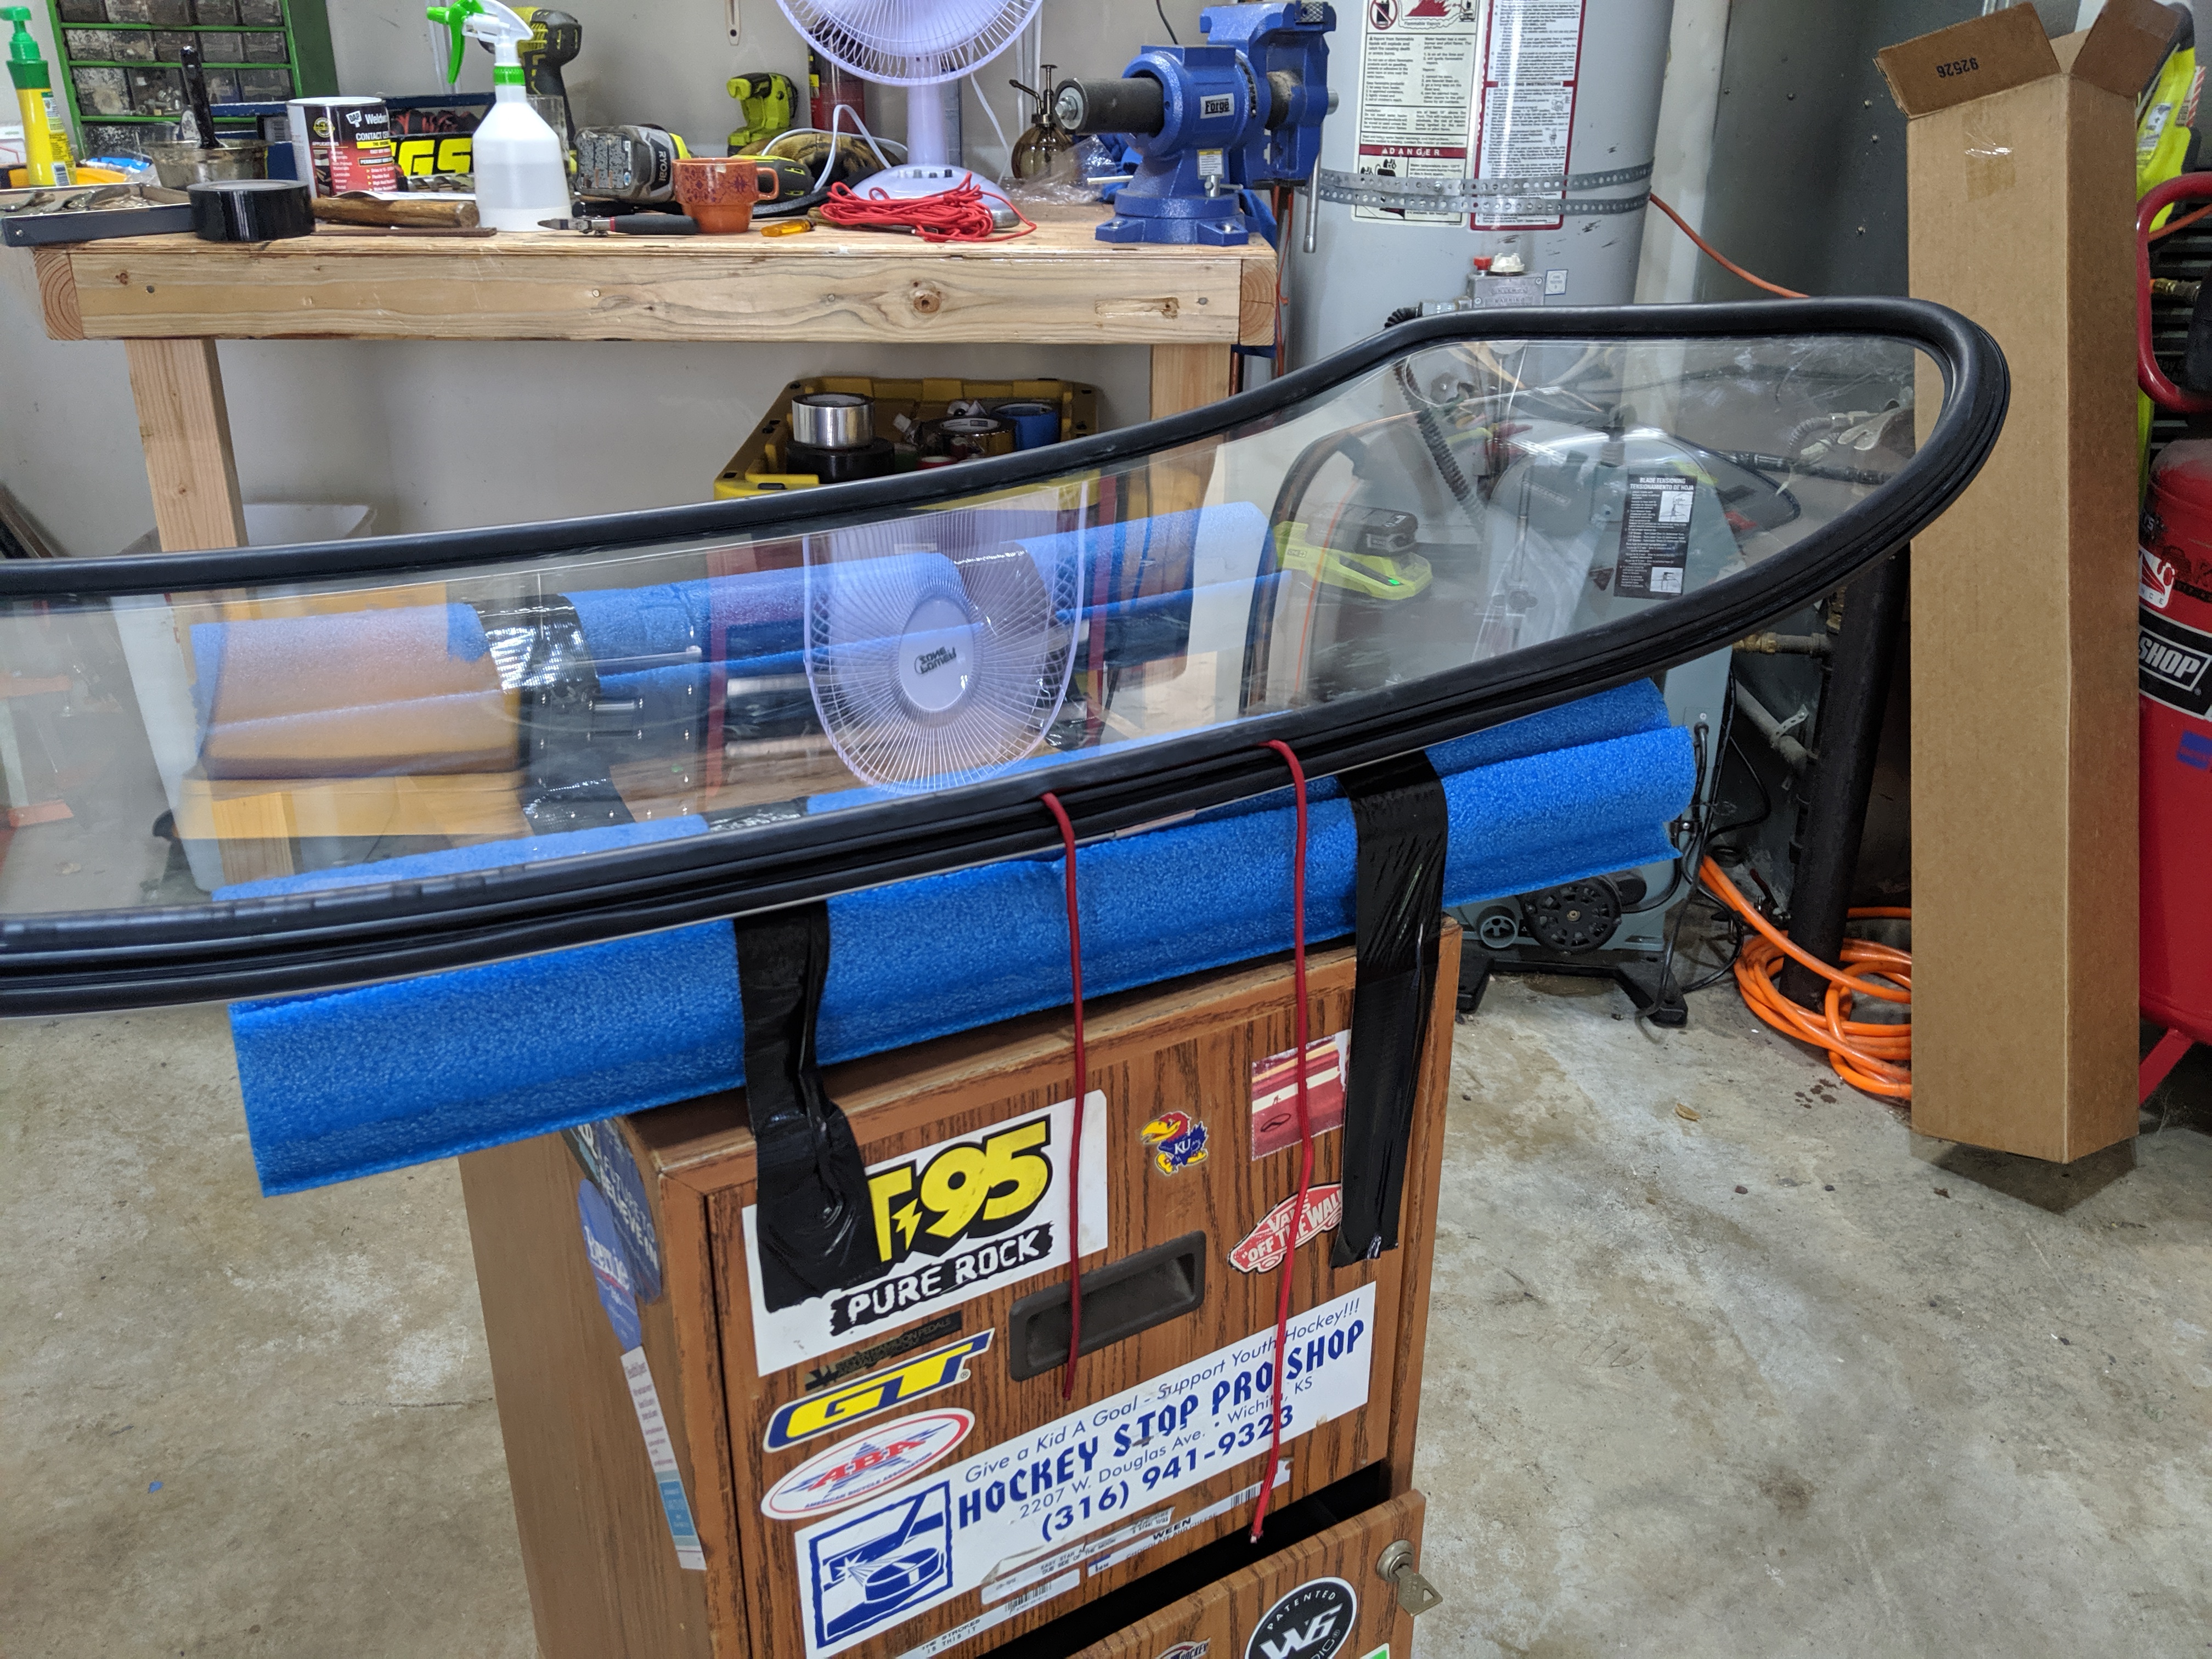
First thing I did was make a little table to set the windshield on using an old filing cabinet and some pool noodles.
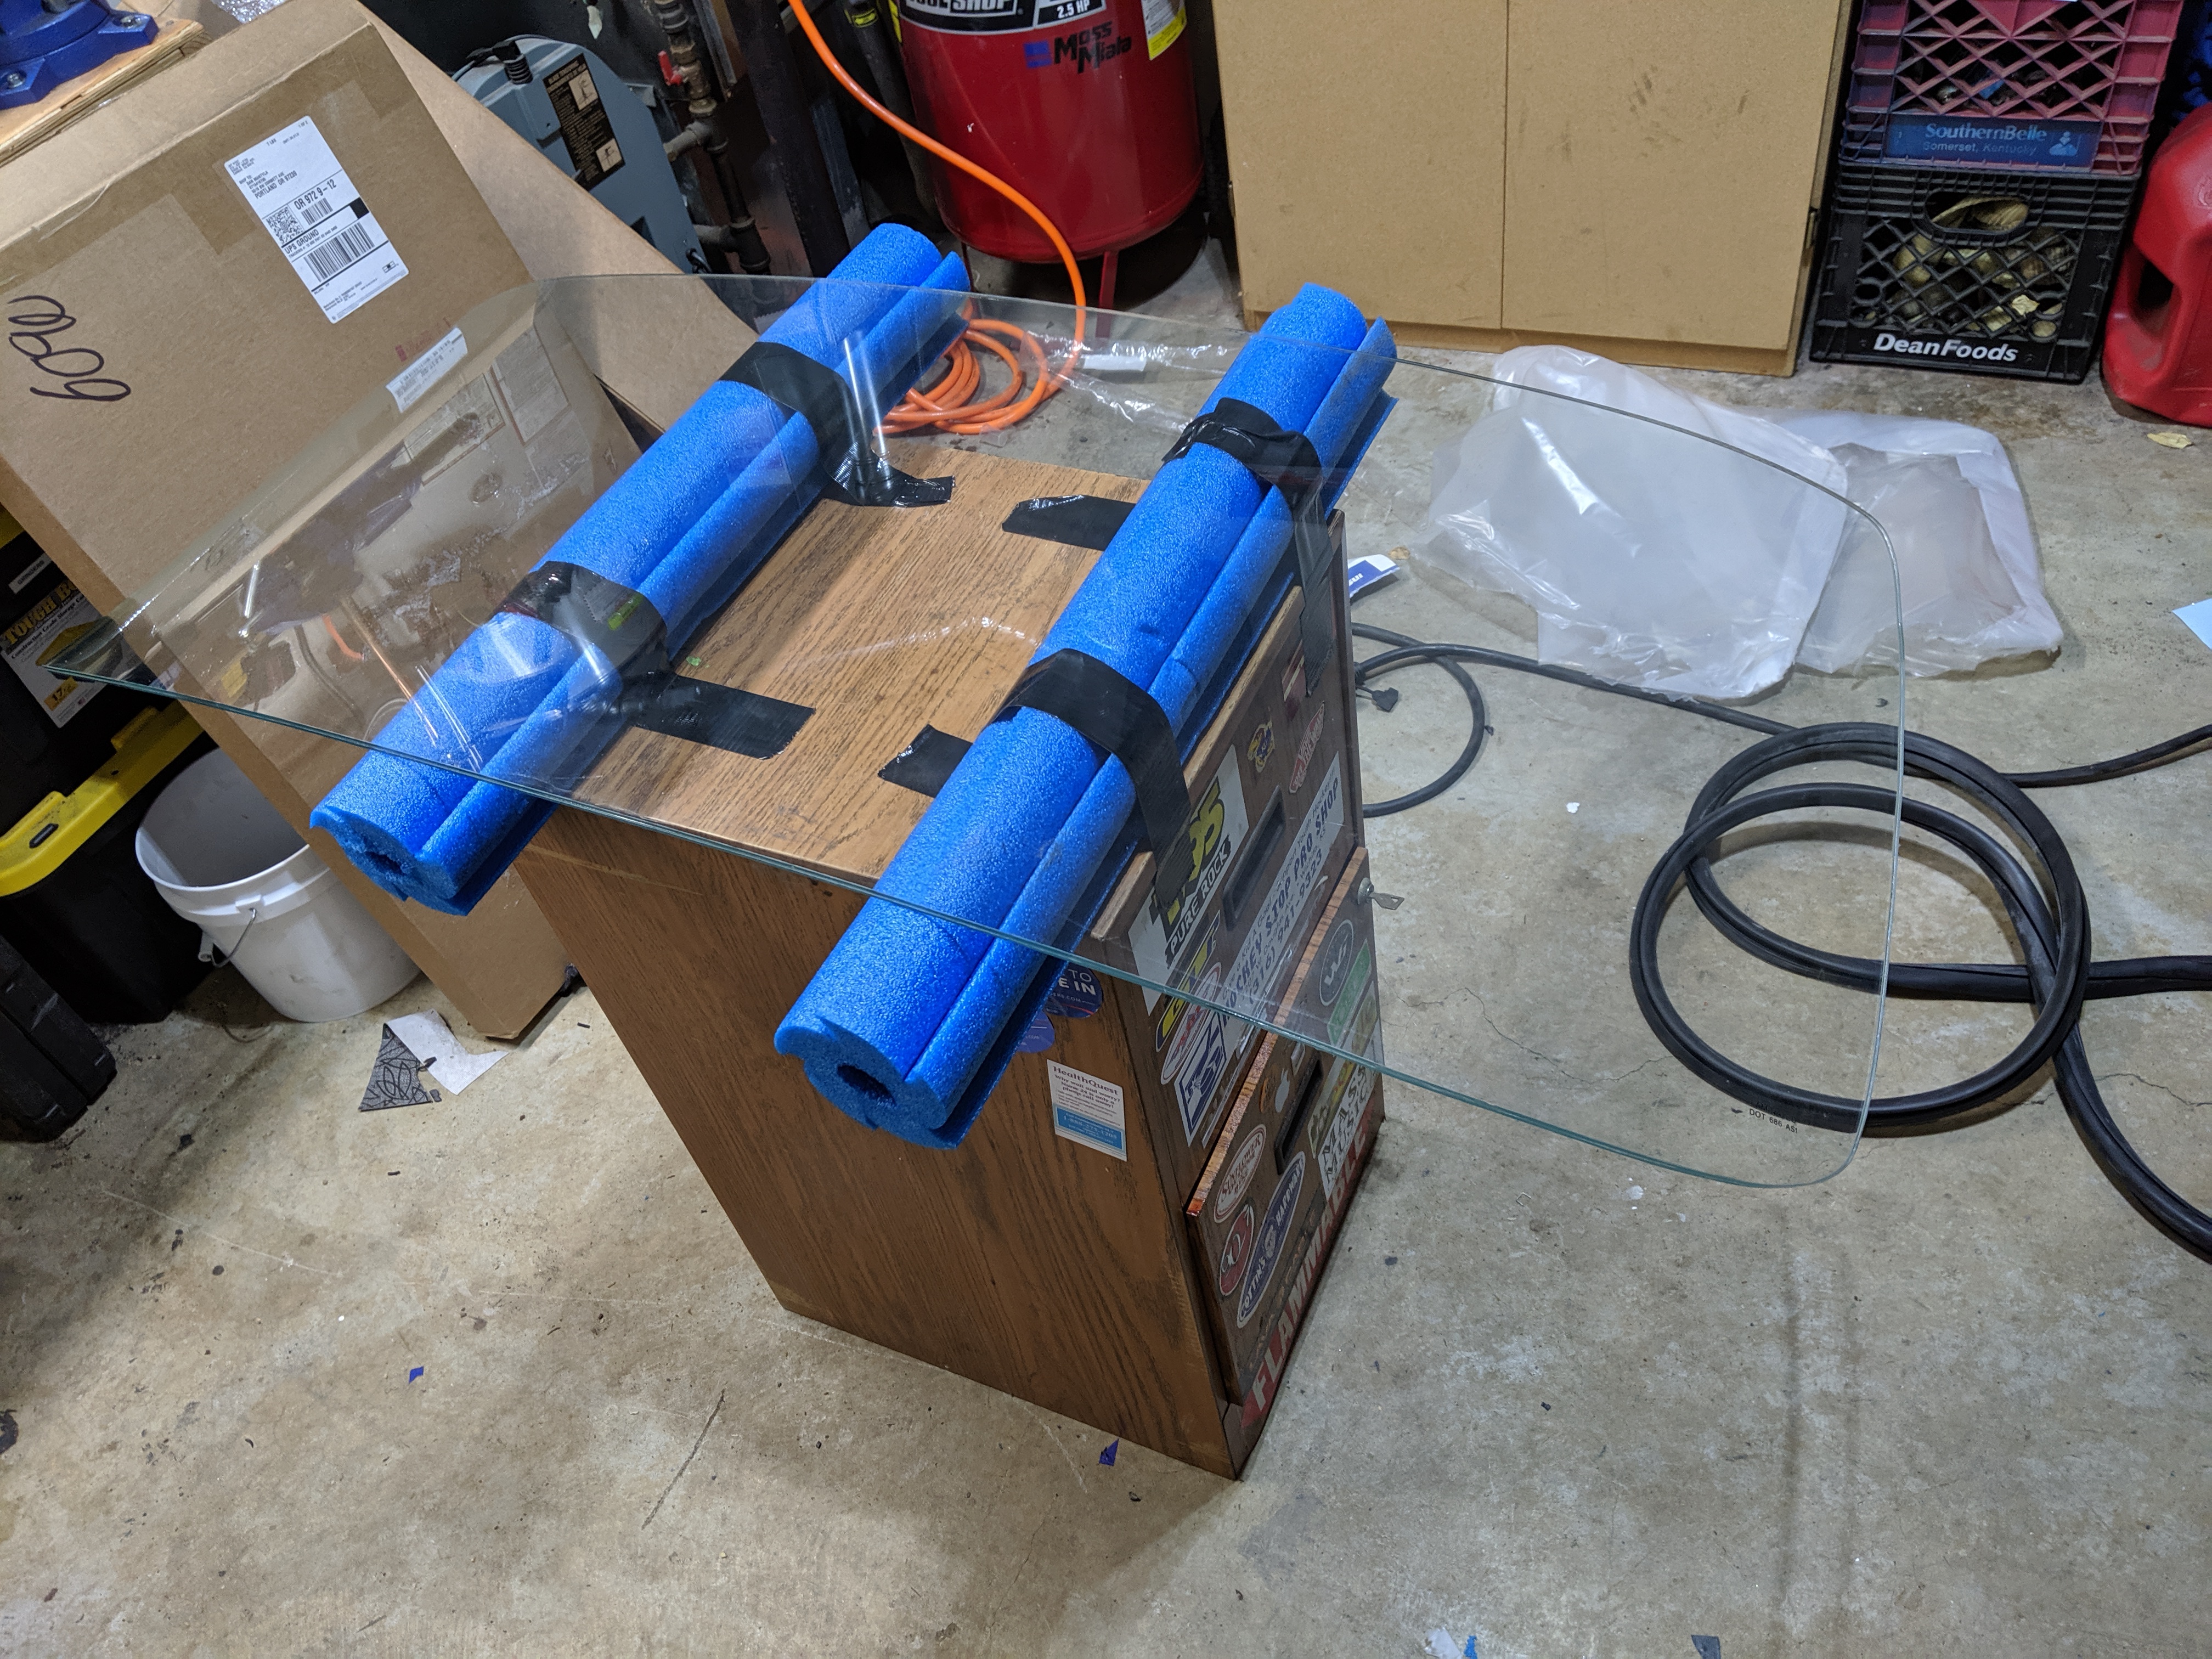
Then I started wrestling it on. First I tried getting it started in a corner, but I found that it was easier to get it started on a flat edge, work it around two corners on the same side, then stretch it over the other two corners. Just "be patient" (you hear this phrase a lot with auto restoration tasks like this, it means don't get frustrated and smash the windshield out of anger). I also used electrical tape to help hold the seal against the edge of the glass, but I don't know if it helped much.
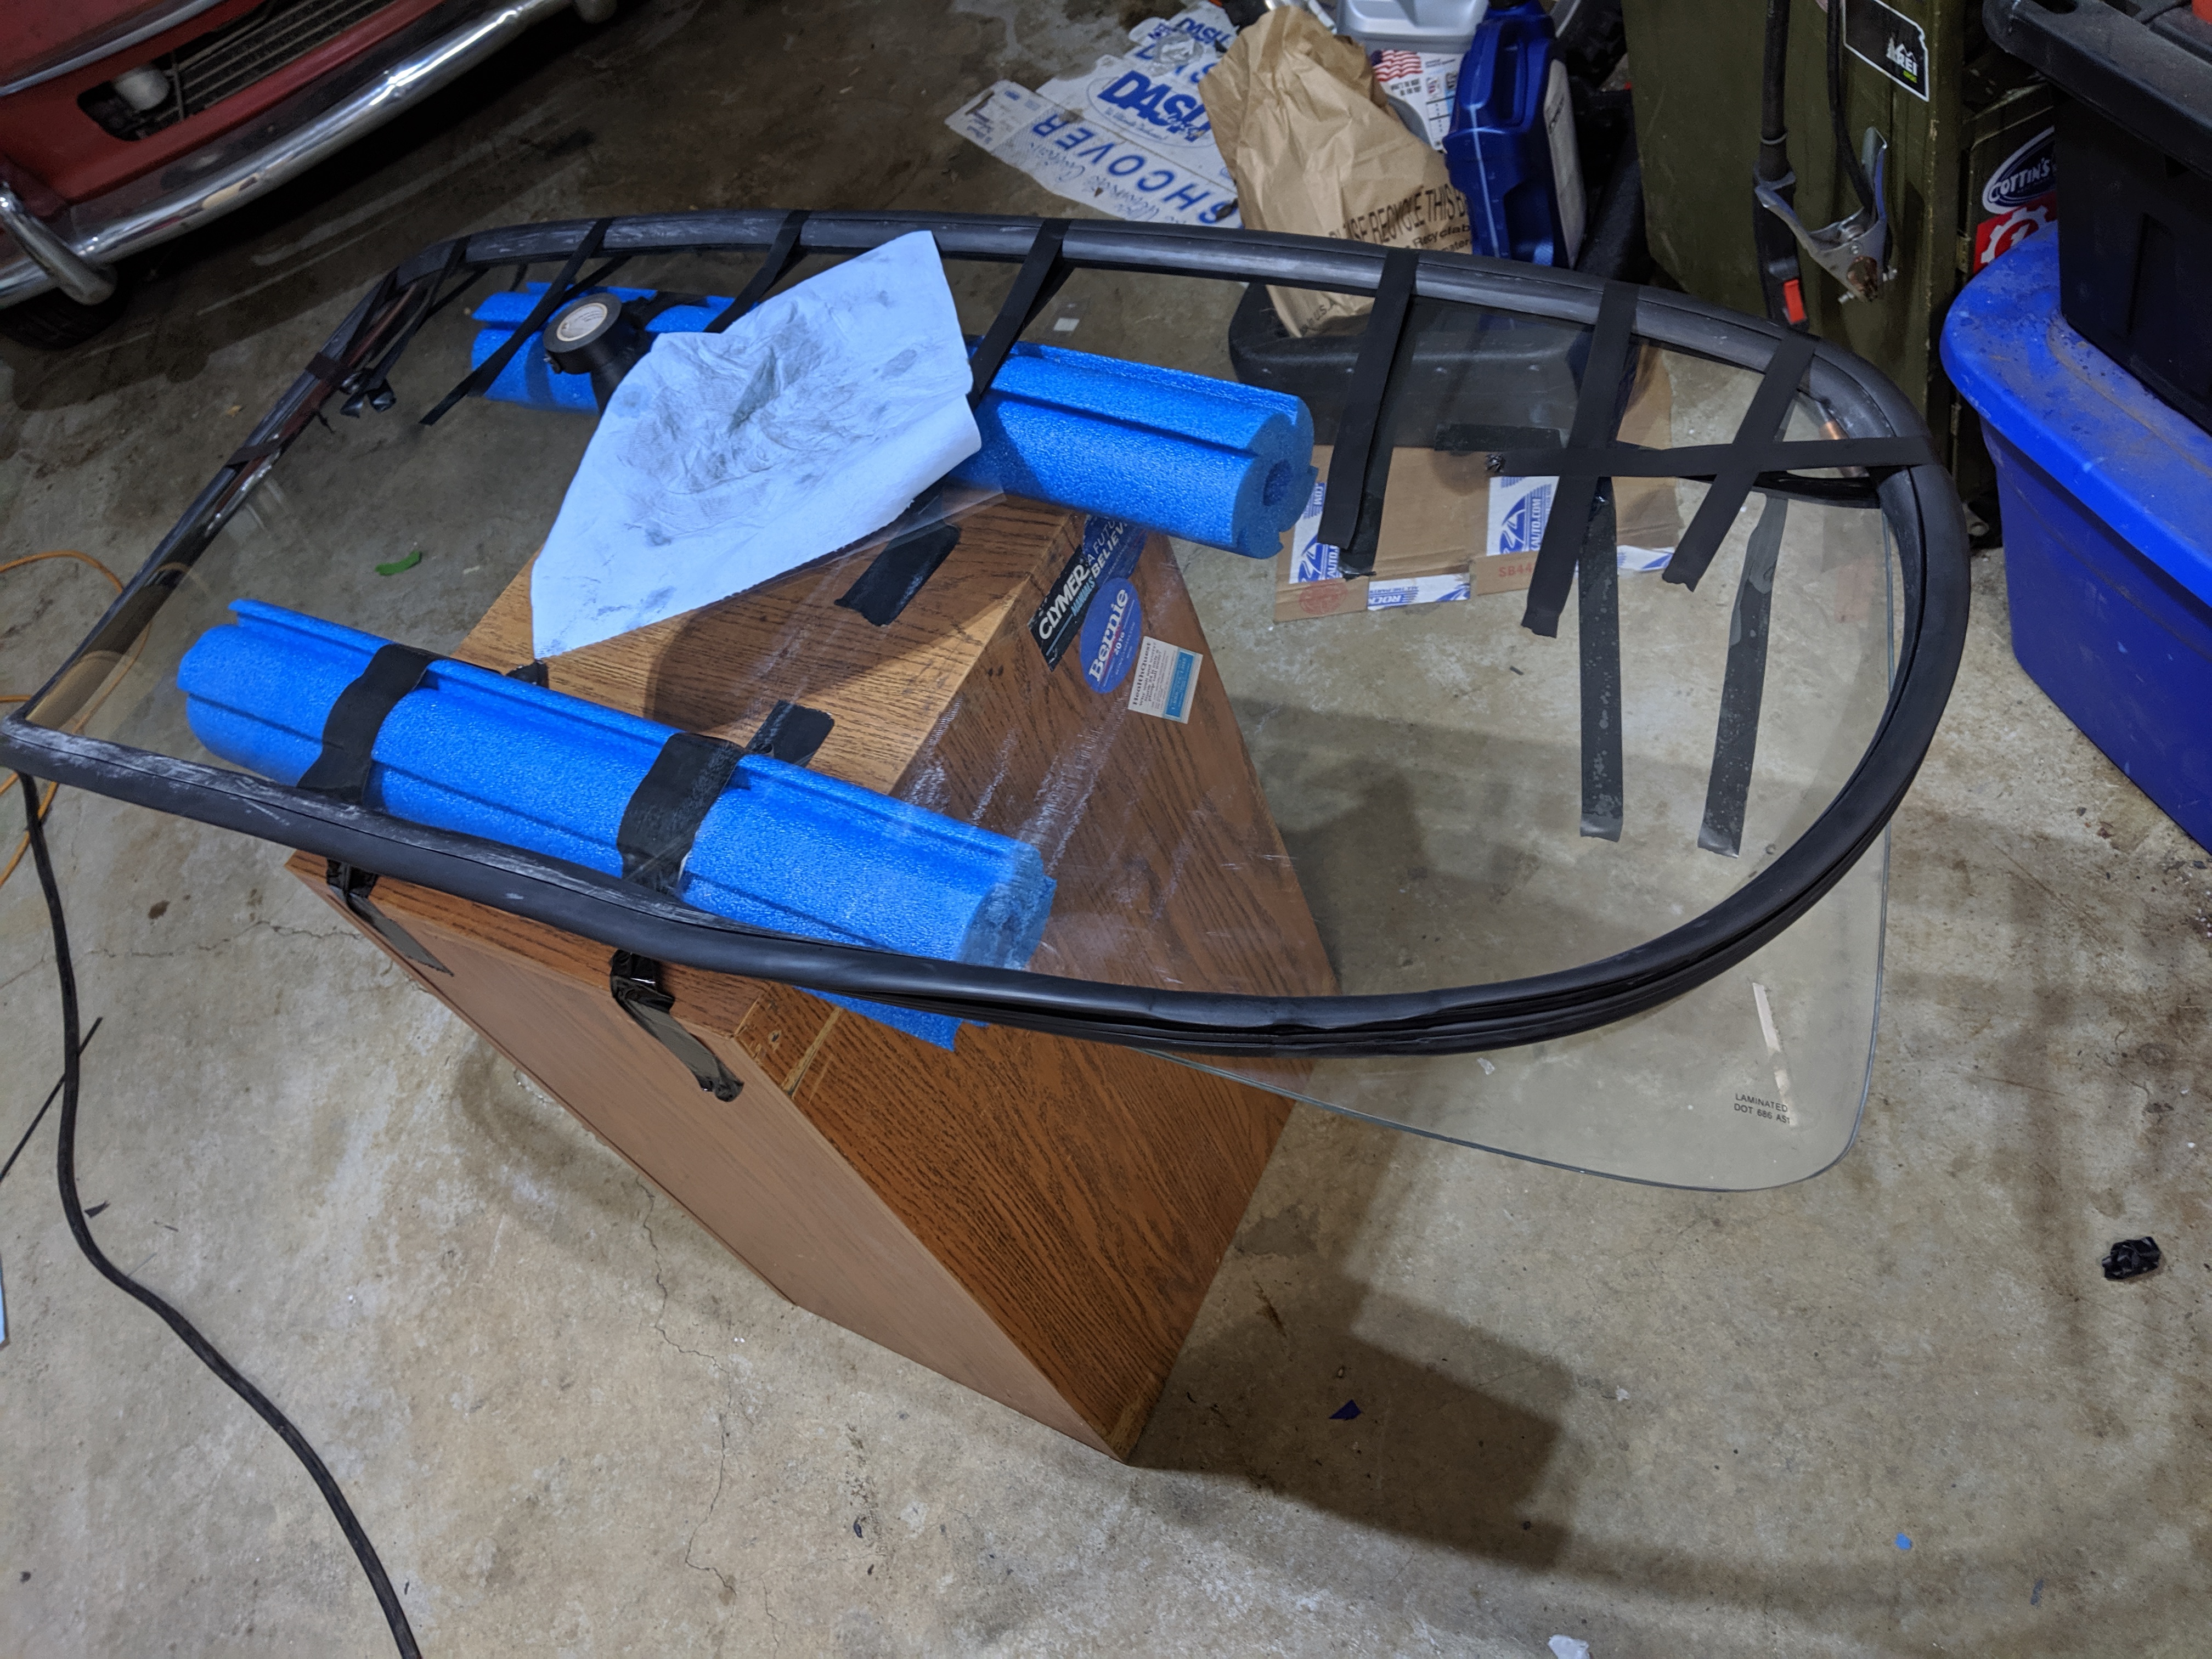
Despite my cheap seal not having molded corners, I didn't have any problems with the seal getting wrinkly in the corners
Getting the trim into the seal
Next is getting the chrome/aluminum trim into the seal. This needs to be done before the windshield is installed, everyone says that it's impossible to do afterwards.
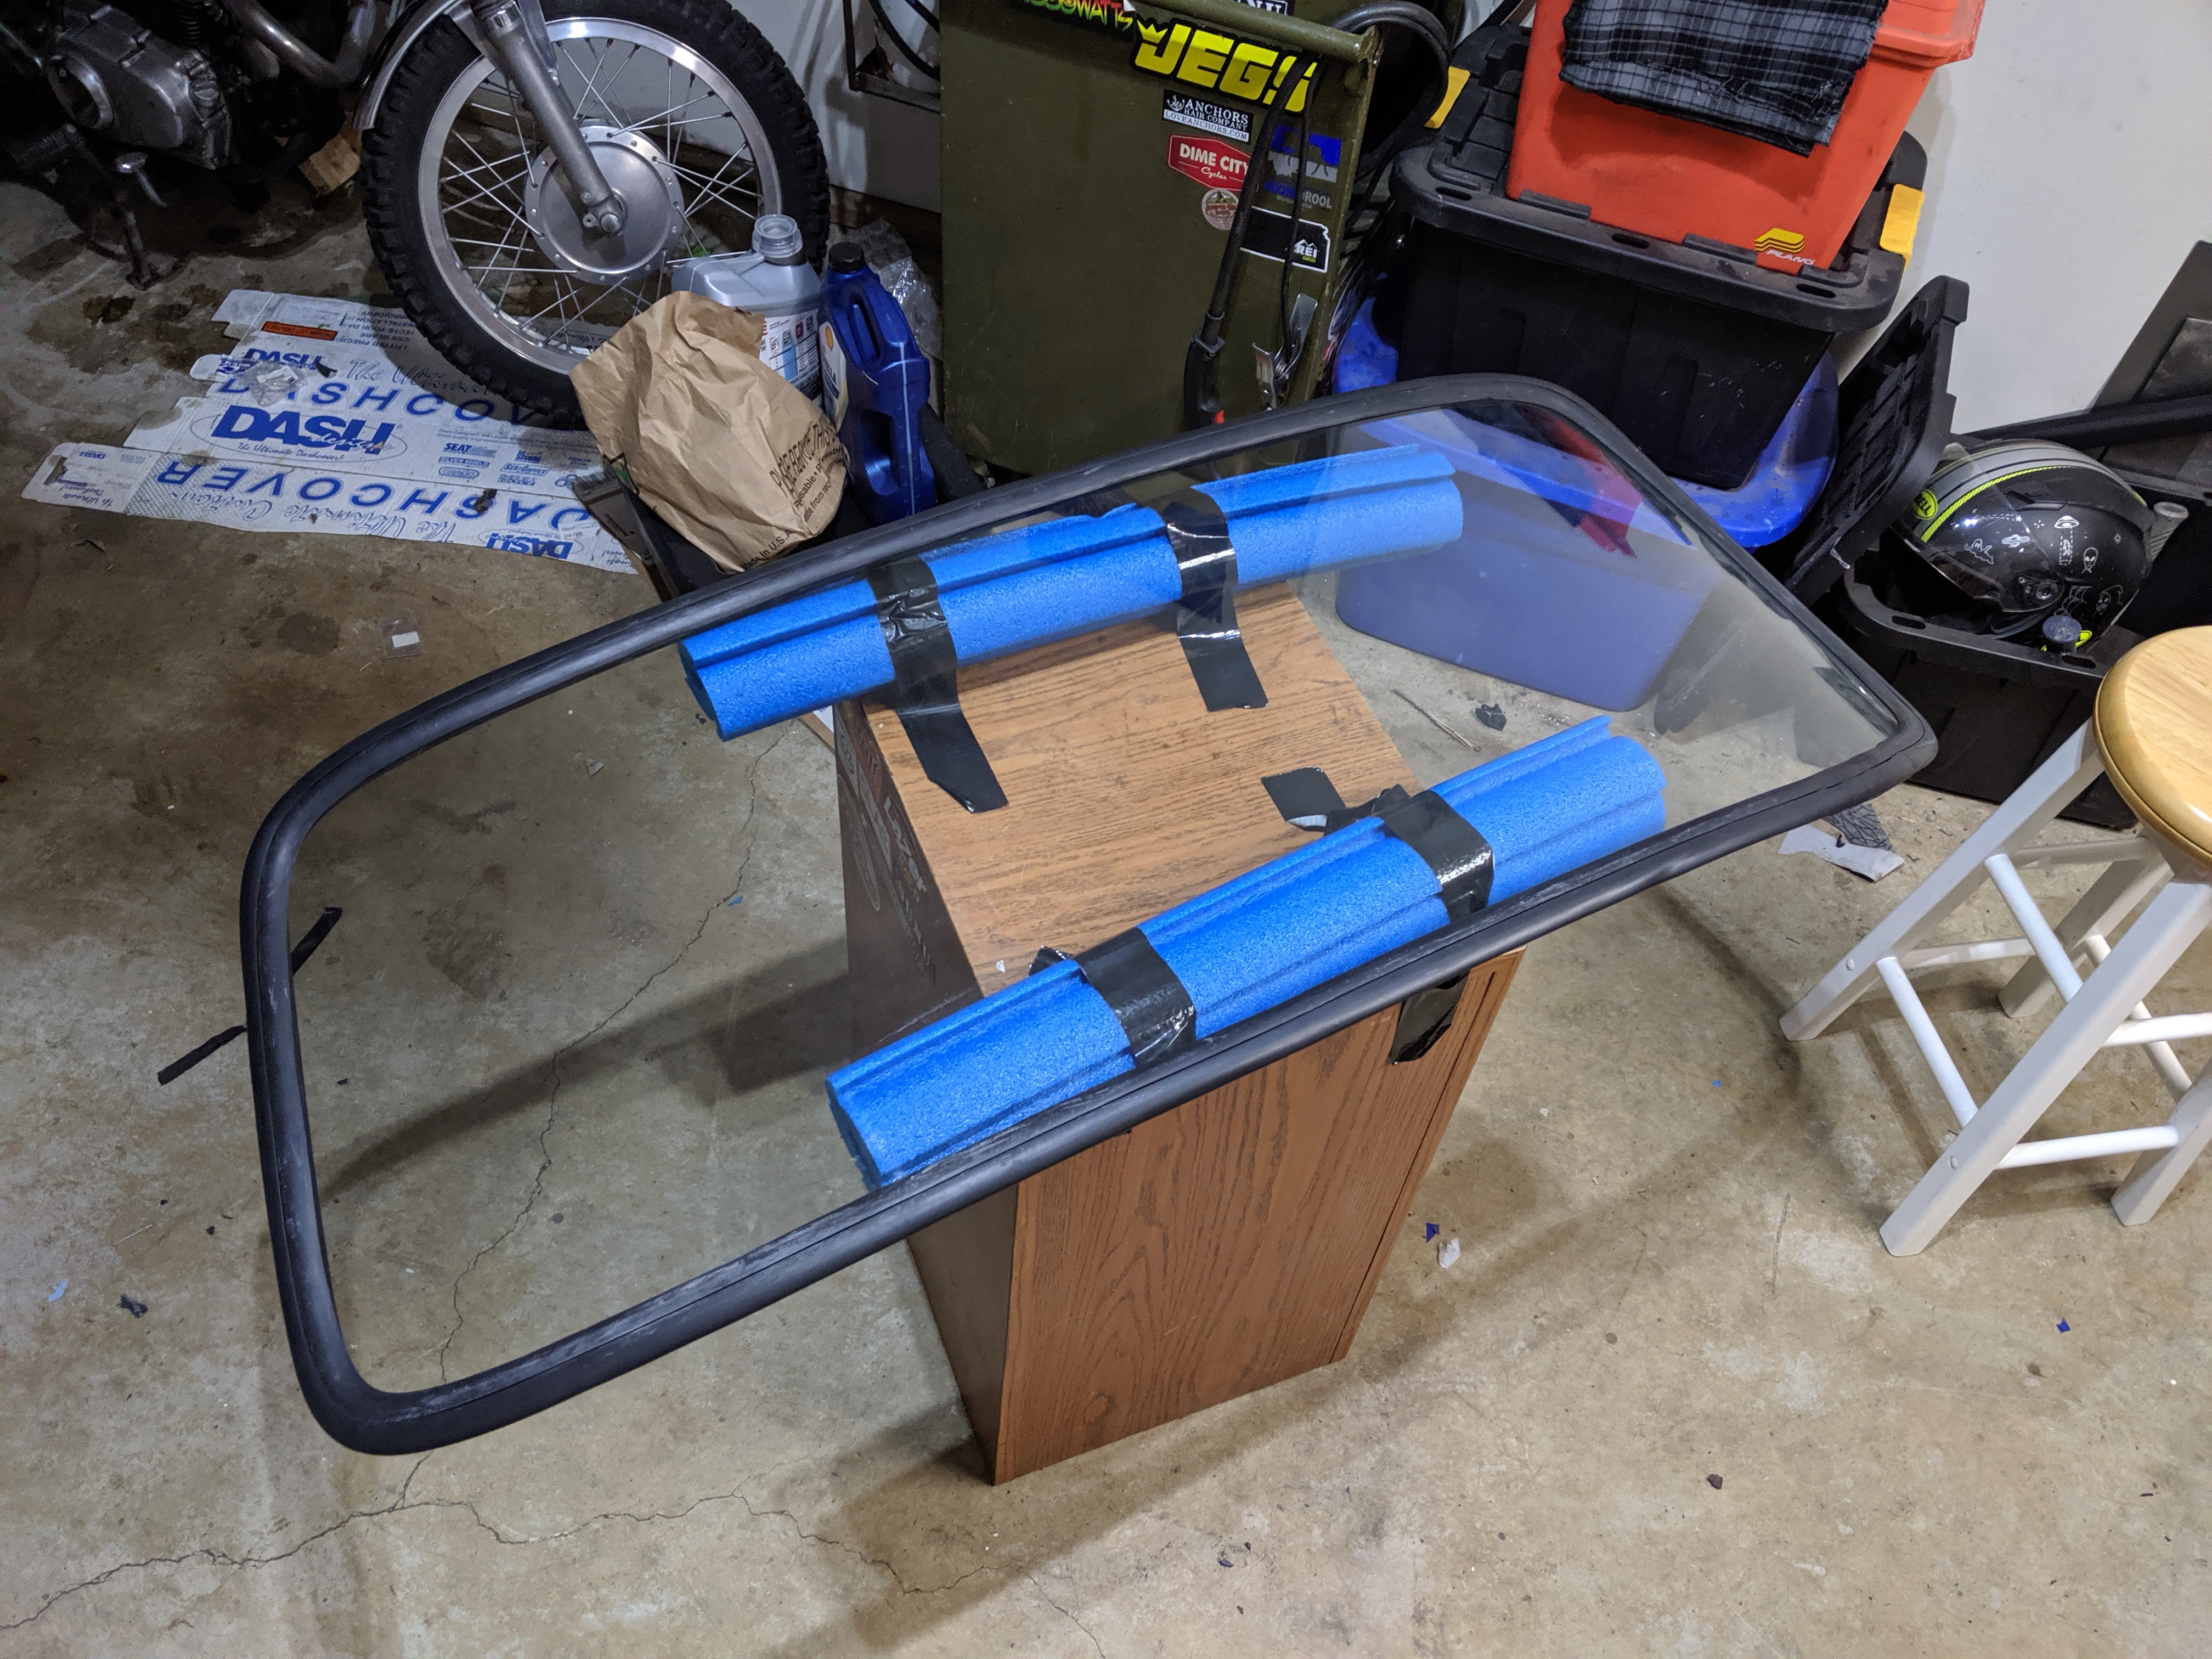
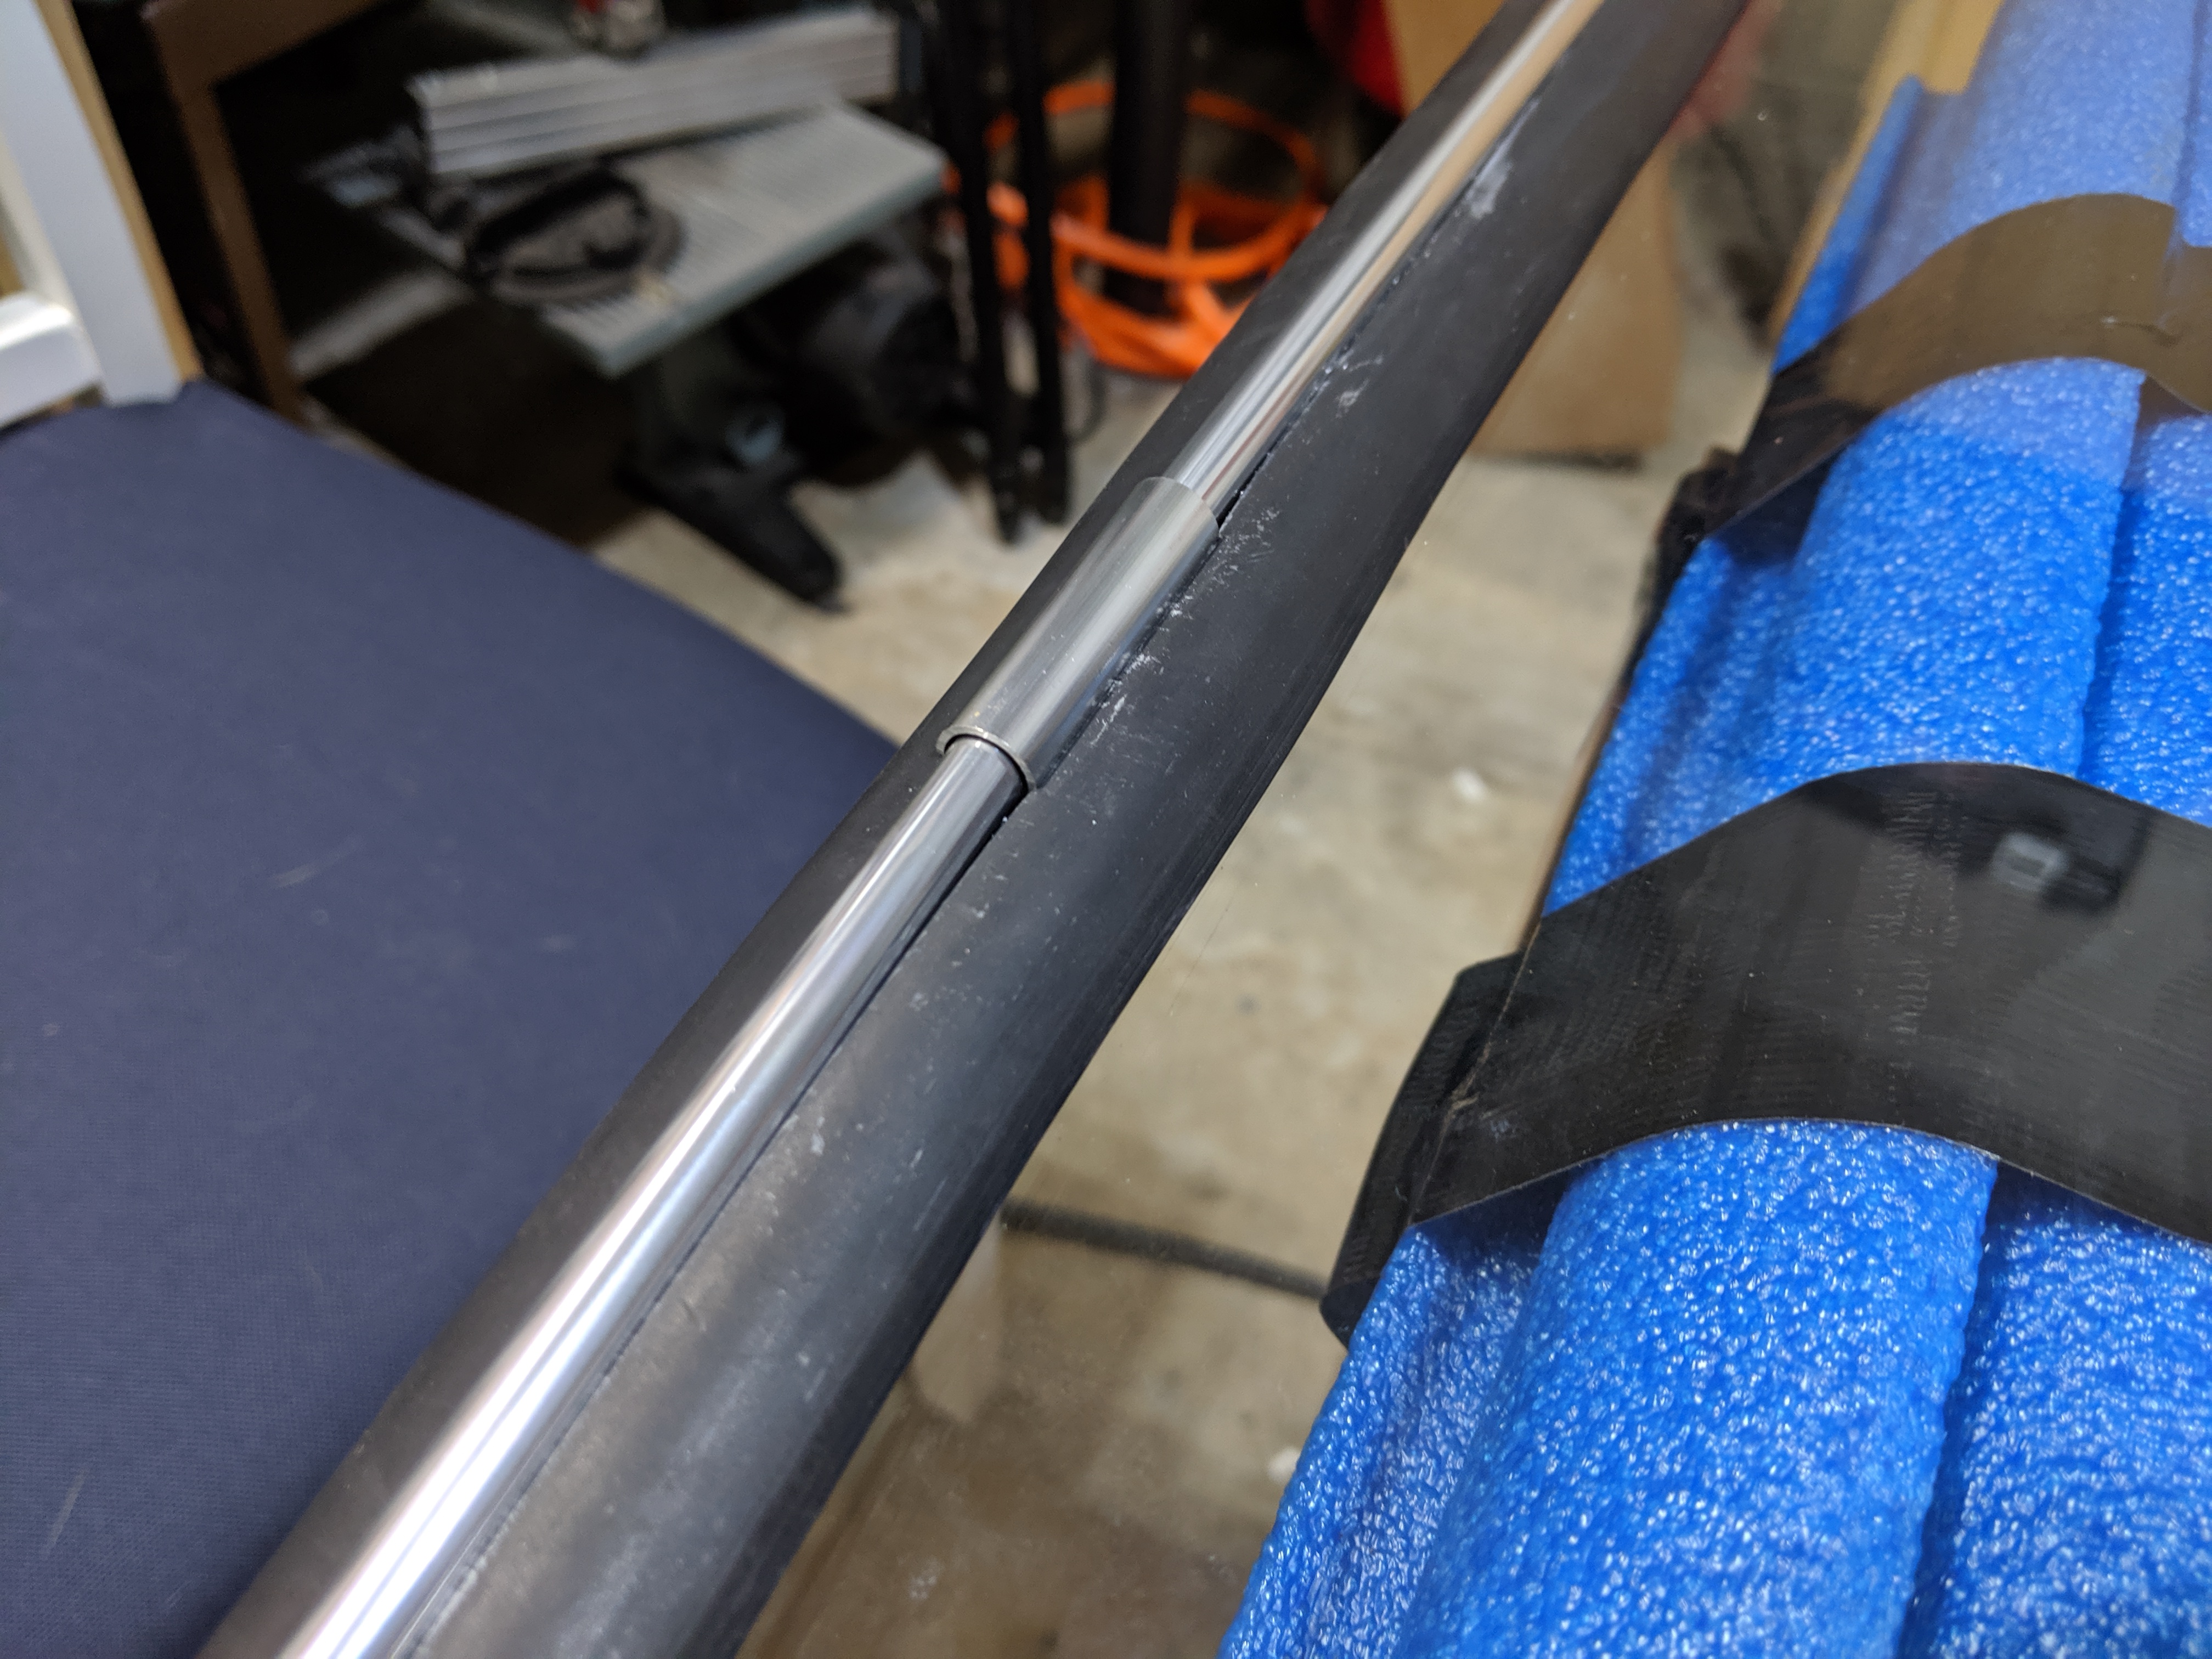
But before you can start pushing it into the seal, you'll need to carefully bend it with your hands so that the two pieces perfectly matches the shape of the glass. Take your time and "be patient" (there's that phrase again!). Be careful not to kink it.

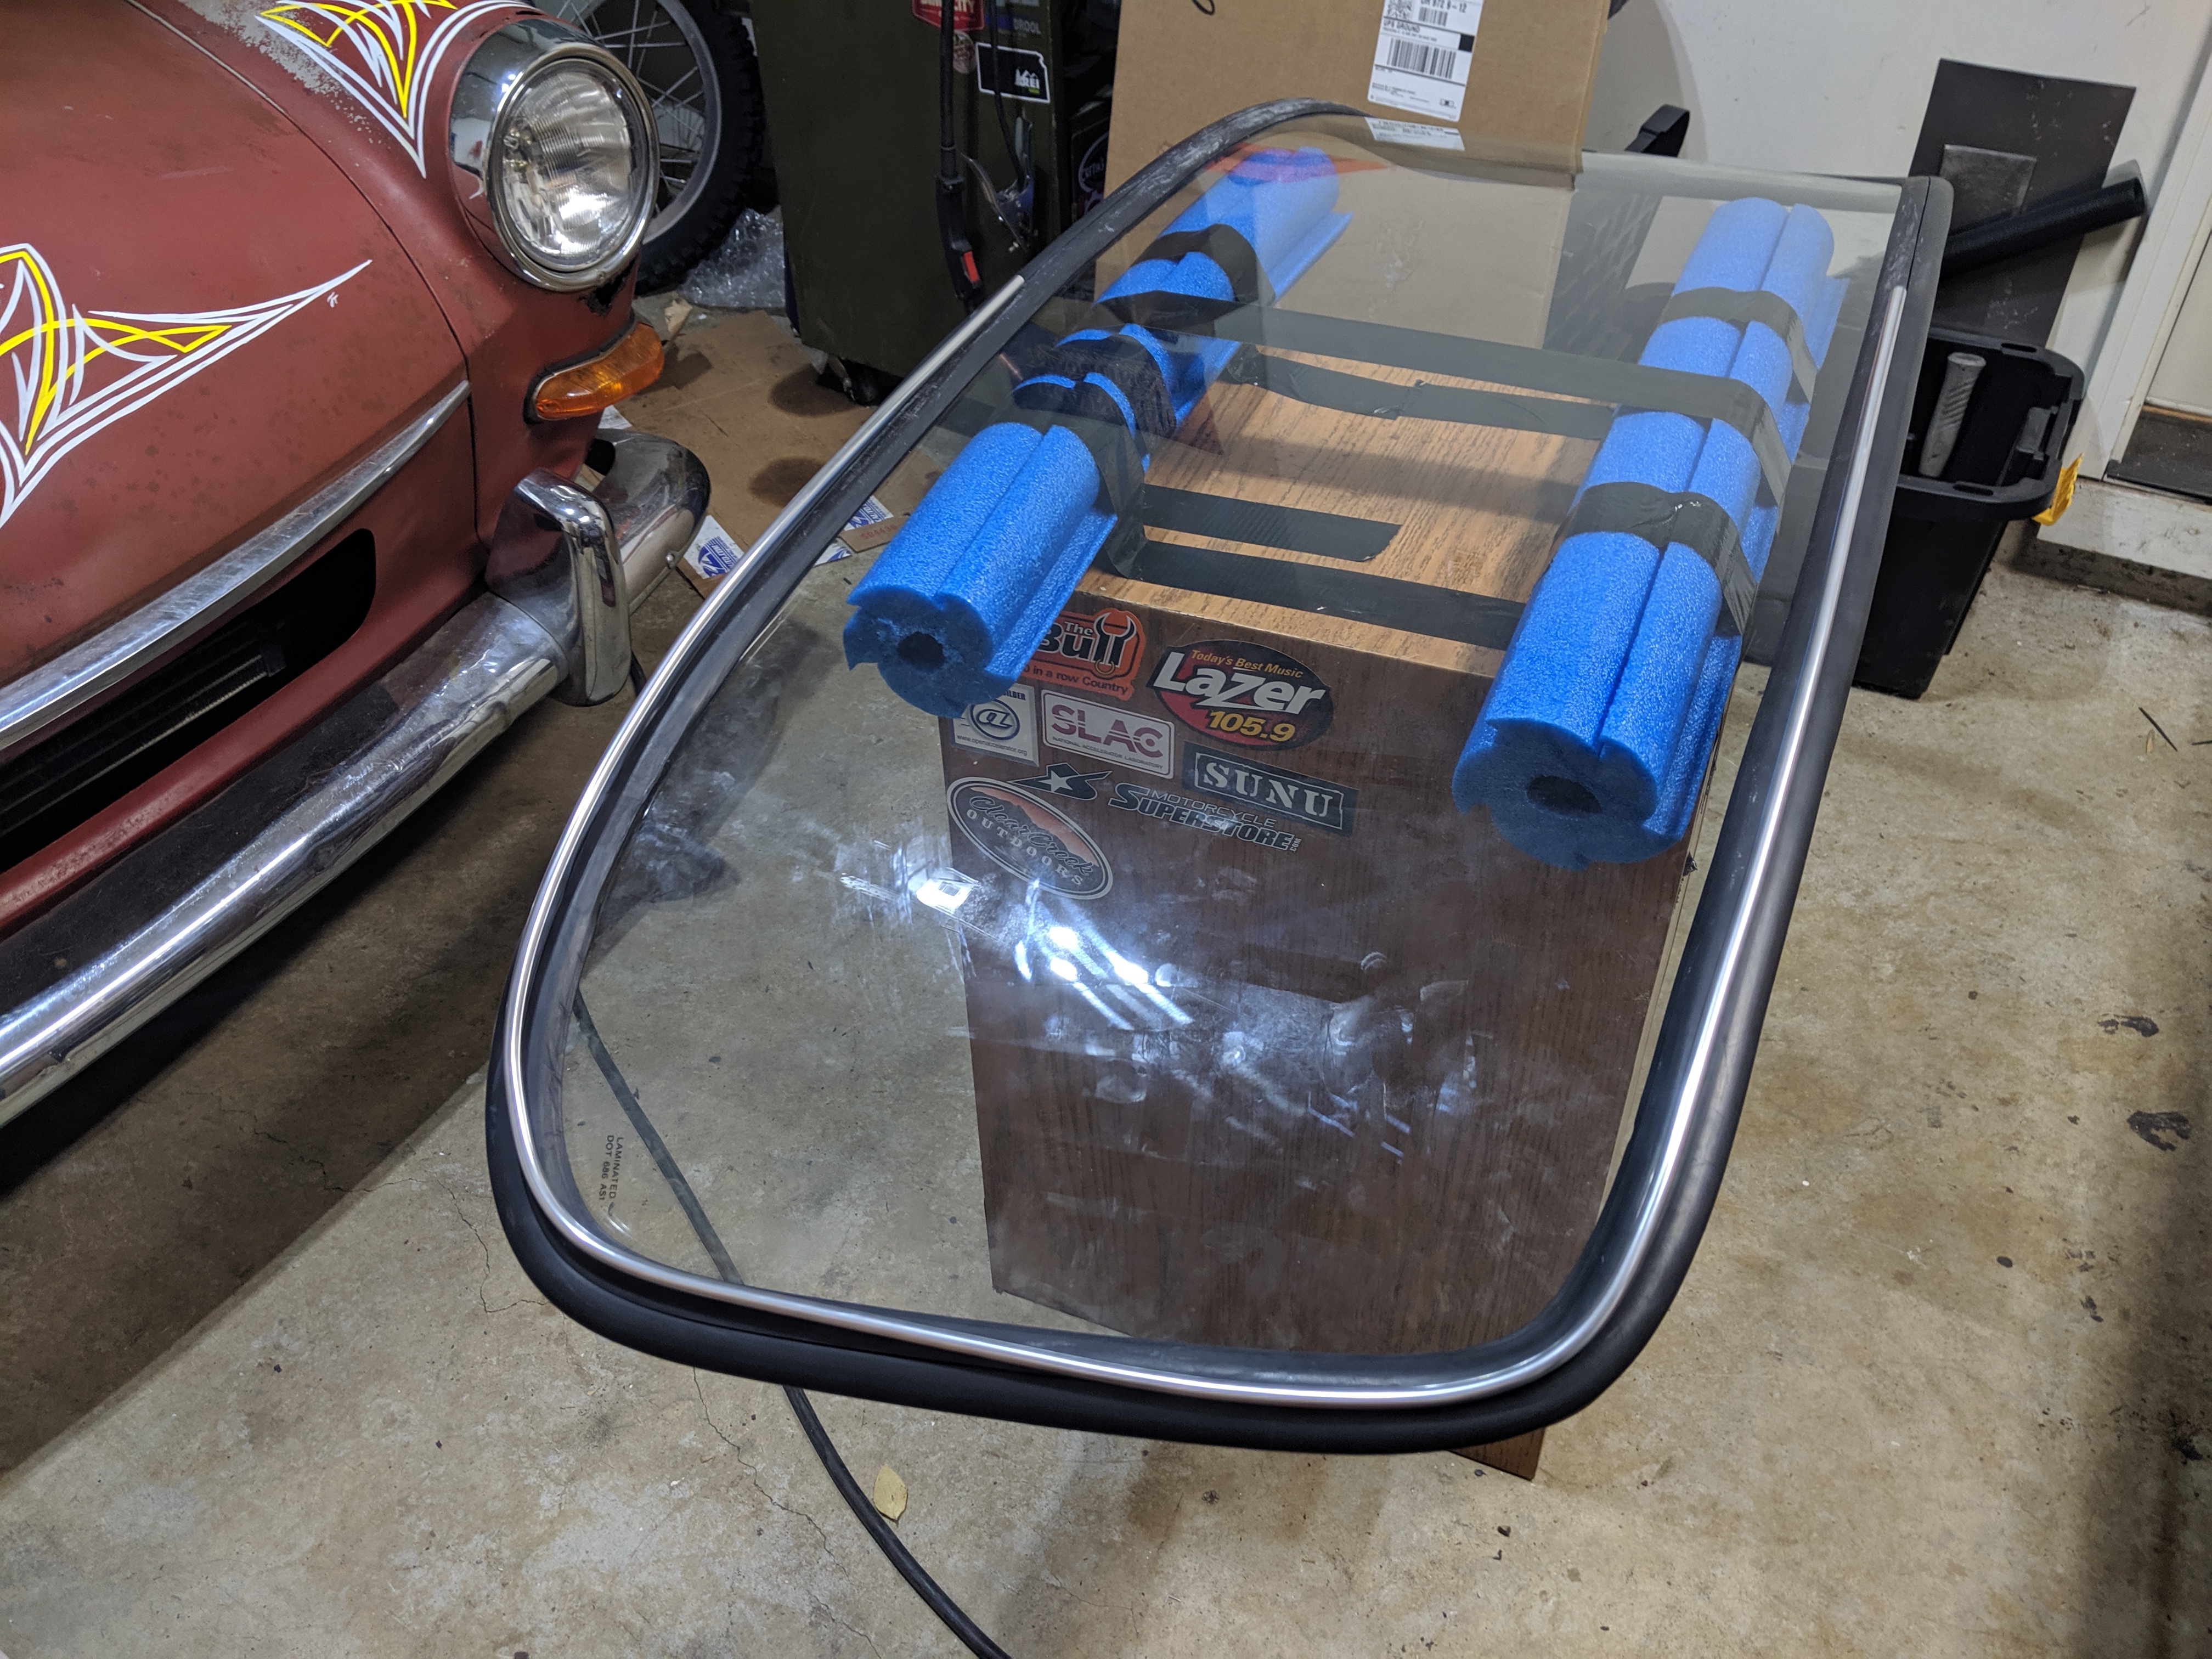
The above photo is just with the trim sitting there, not yet installed.
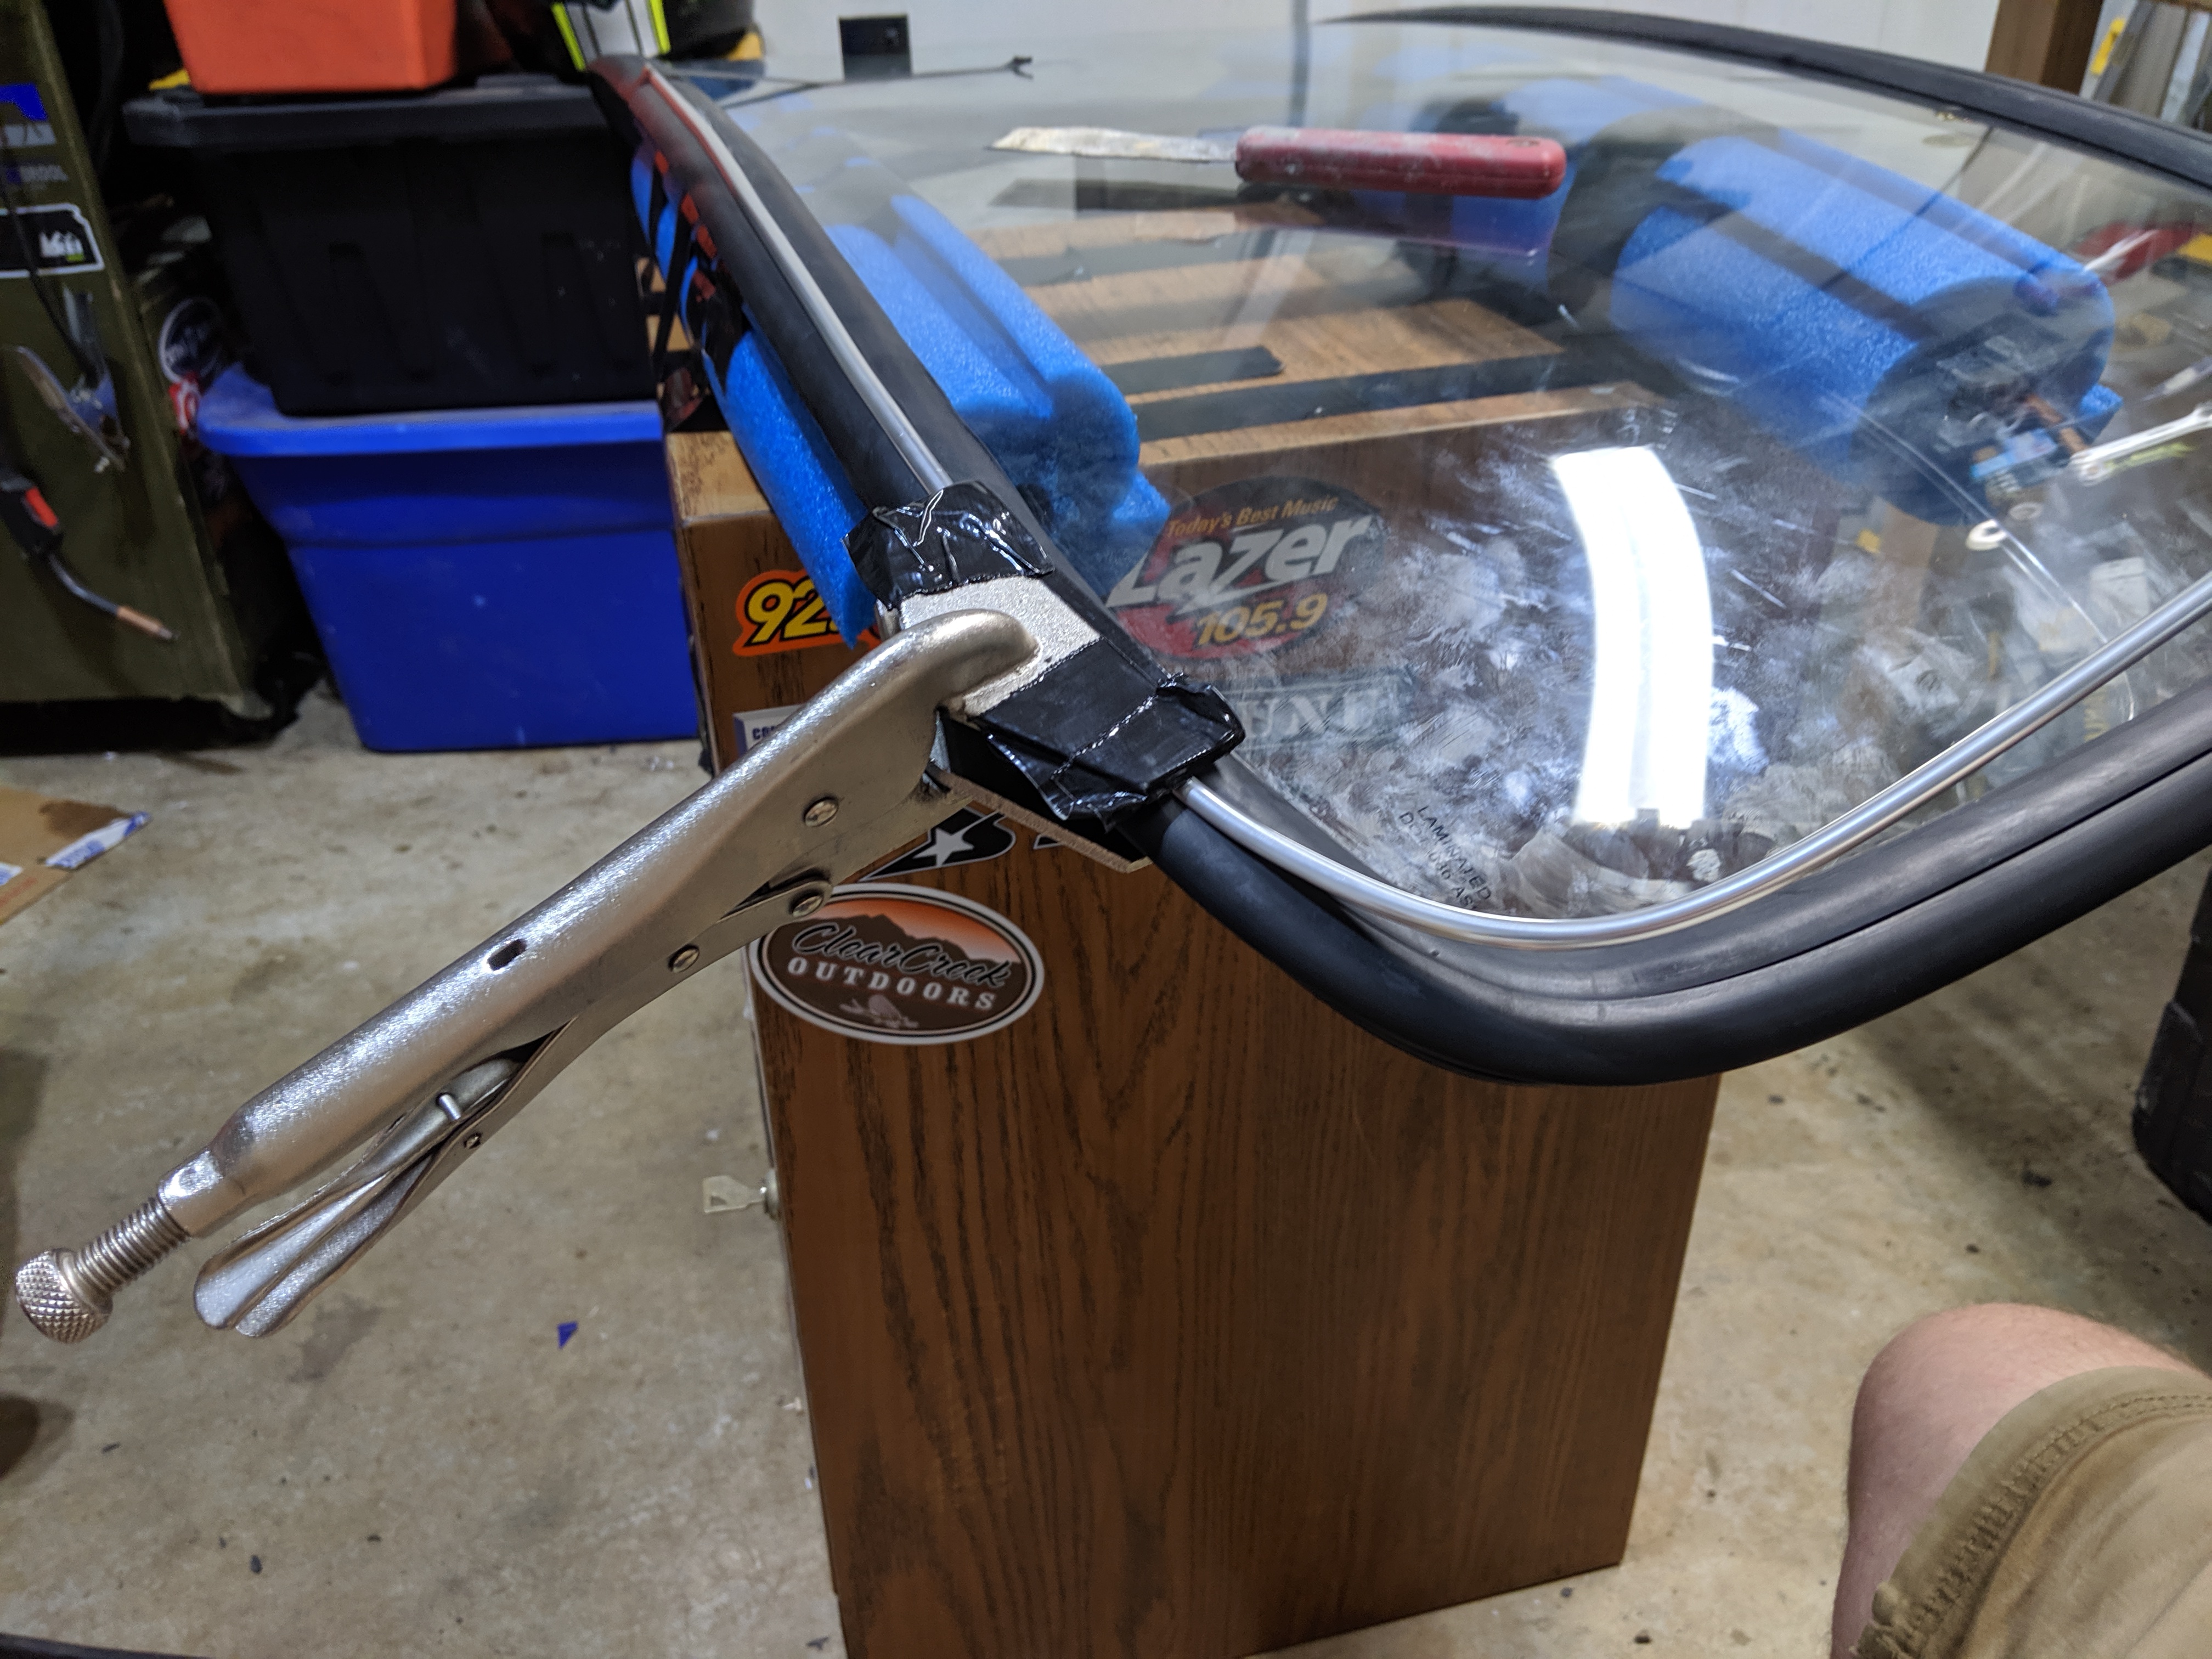
To press the aluminum trim into the groove in the rubber molding, I used these sheet metal clamps. It worked really well! Before using those, I was having a real hard time pressing them in there with my thumbs. Too painful.
Installing the windshield into the windshield frame of the vehicle
Now the fun really begins. Ever heard of the phrase "preparation is key?" Well, preparation is very important here, but execution is everything.
I have two resources for you. First is my YouTube video showing me installing the windshield. Yes, a video! Here it is:
Second resource I have for you is these instruction from ISP West. In my video I first attempted without following their instructions close enough. But it wasn't until I followed their advice exactly was I able to get the windshield into the frame. Bellow is their instructions, mirrored from their post on thesamba.com, who's servers were down the day I was trying to do this job and why I'm mirroring the content onto my server so that it never gets lost.
We're in the middle of working on a Squareback here so I thought now would be a good time to post some pictures of our windshield seal installation. I see a lot of misinformation here so it's best to show you guys one installation method that we use here at ISP. Most of the time we use three people; one on the inside of the car pulling rope/directing, and two on the outside holding the glass and following the trim as the rope is pulled. This installation involved one person with a ratchet strap. Not everyone has a couple friends to help them out. This Squareback still had it's original SIGLA windshield and original trim. These installation steps are the same for new windshields and our new window trim.
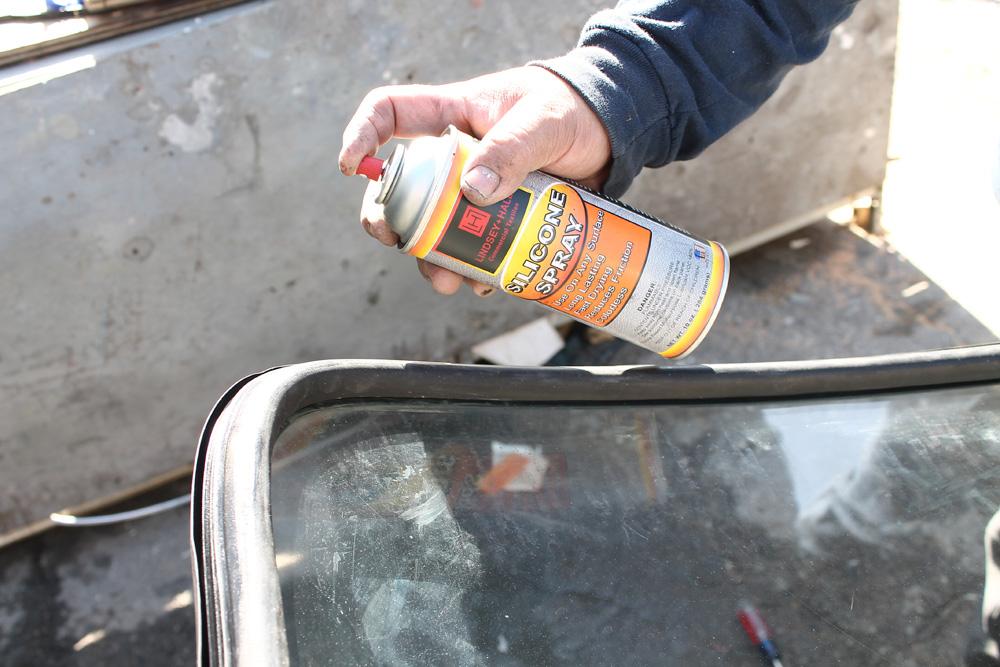
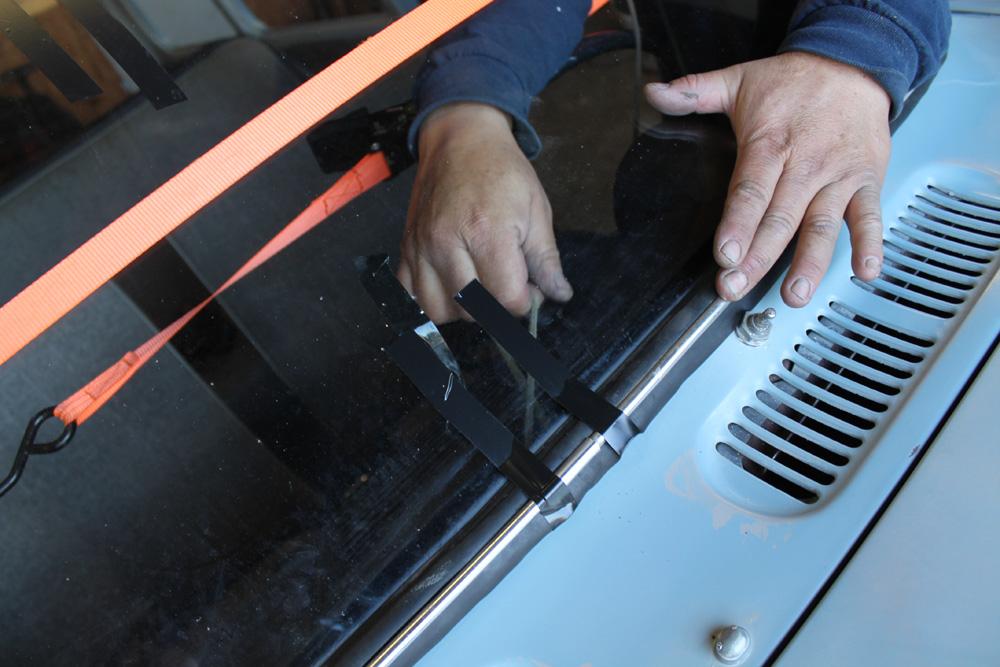
The windshield seal has molded corners. If you lay it on the ground, you'll see that it should only fit one way. The seam in the seal should be right in the middle at the bottom of the windshield glass. It should line up with the windshield washer nozzle when installed correctly. When the trim is installed, we usually use a little bit of electrical tape to hold it in place. Sometimes it wants to pop out, but this can be corrected by twisting it so that it grabs more of the seal. It's a "C" shape and the bottom of the "C" is what gets inserted into the seal. The top of the "C" rests against the seal itself on the outside. Don't install the trim using silicone spray or soap. It is unnecessary and can cause the trim to pop out if it's too slick/slippery.
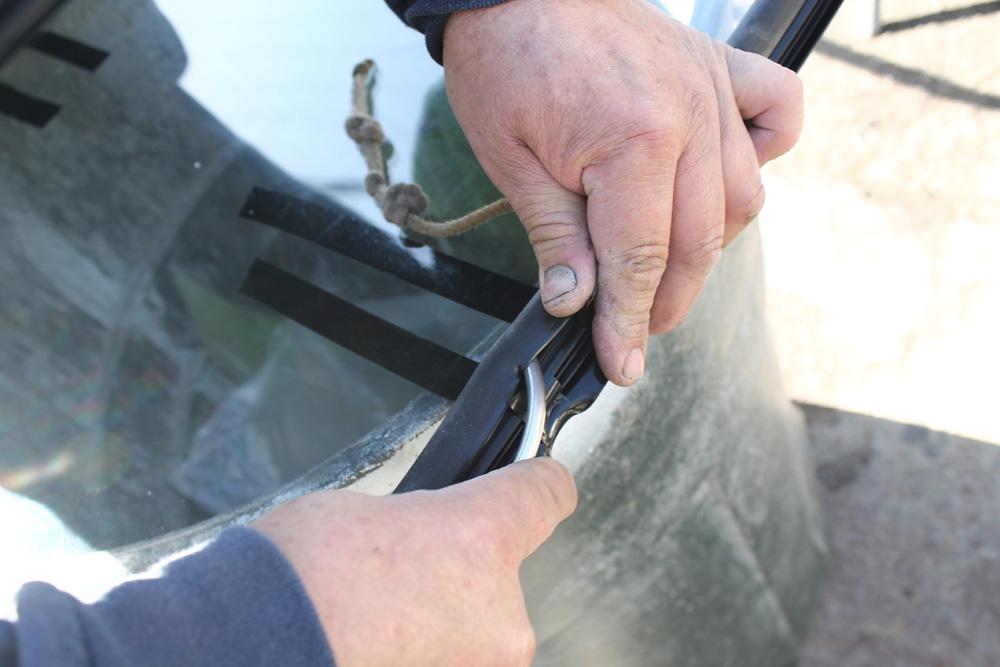
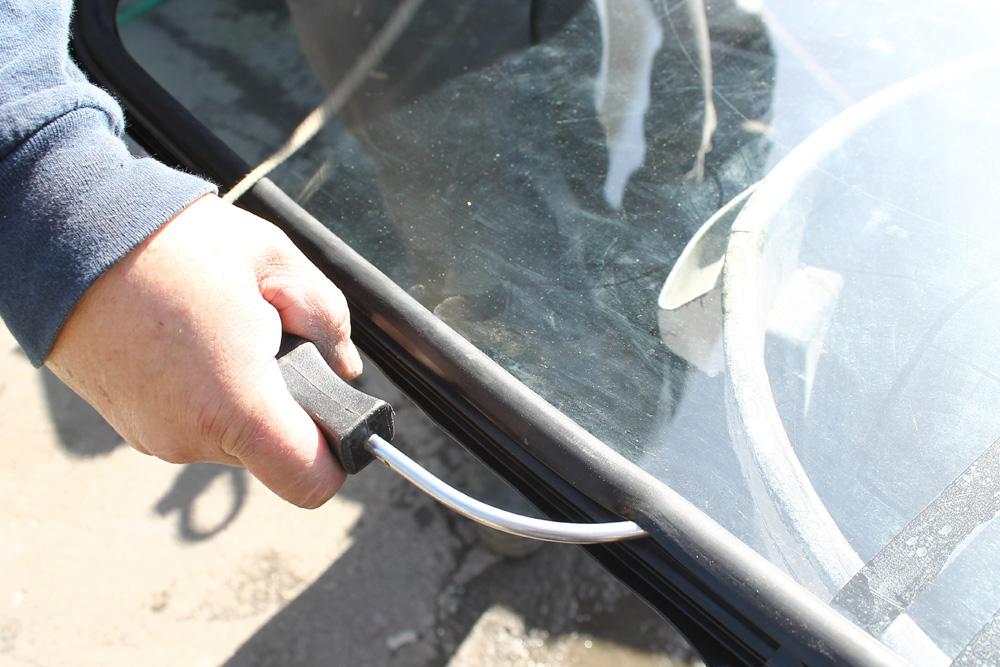
After the seal and trim have been installed on the glass, you can start inserting your rope. We have a nifty tool that does the job. These are available from us or other retailers. Some rope and a screw driver will do the same job. Don't use anything that's too skinny or too hard as it can rip the seal during installation. It's okay to use silicone during this step.
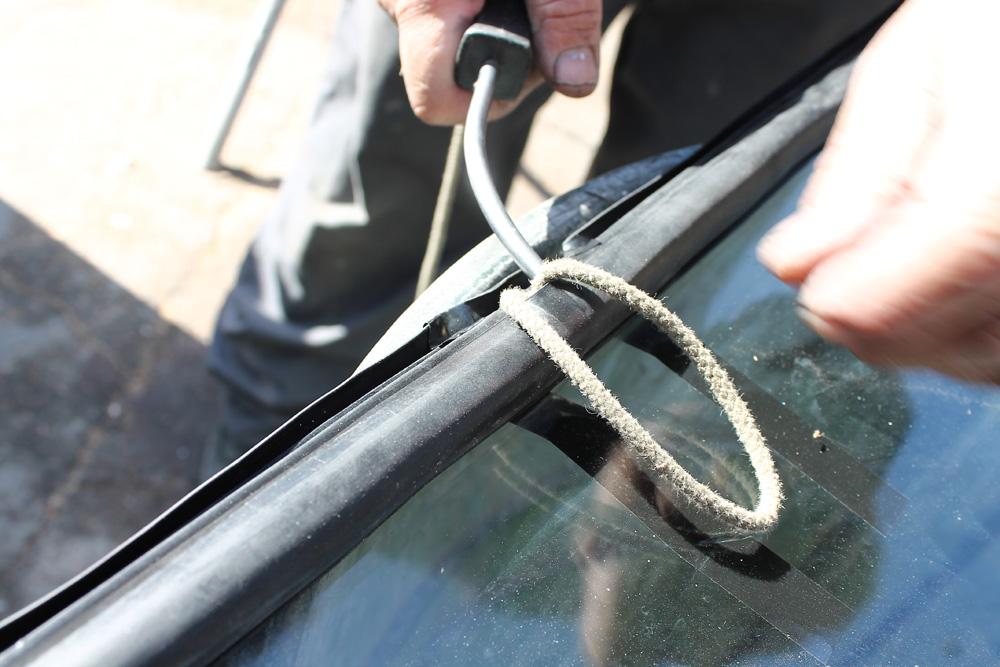
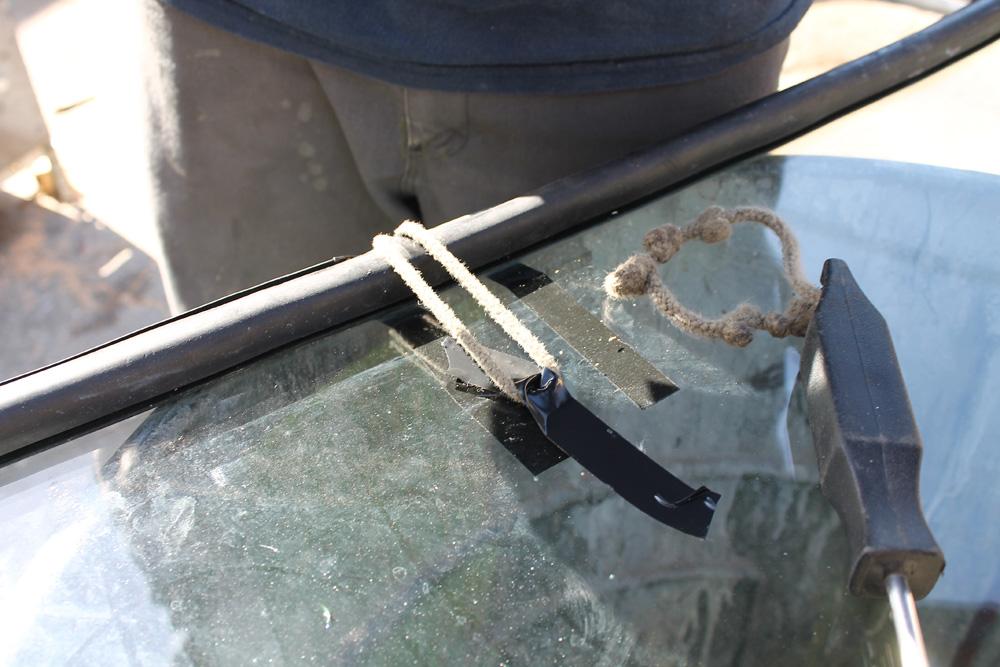
You're going to leave an overlapped loop at the bottom like this:
And then you'll continue around to the top and overlap again.
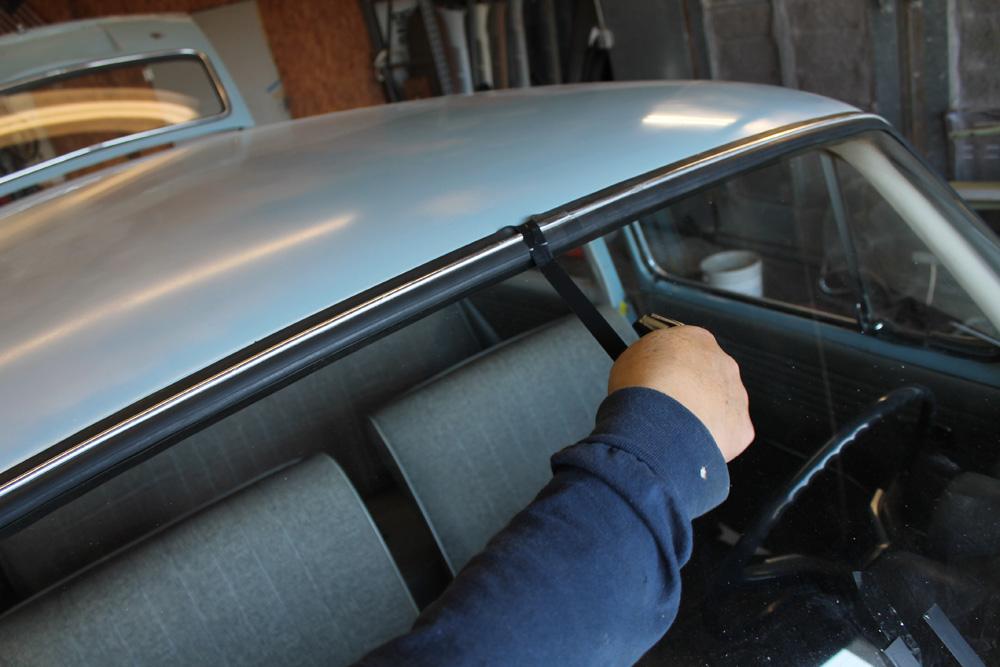
Time for installation. Center the windshield. This step is crucial to a superb fit and correct installation. Many people screw this up and rush it. When the windshield doesn't fit, we get blamed.
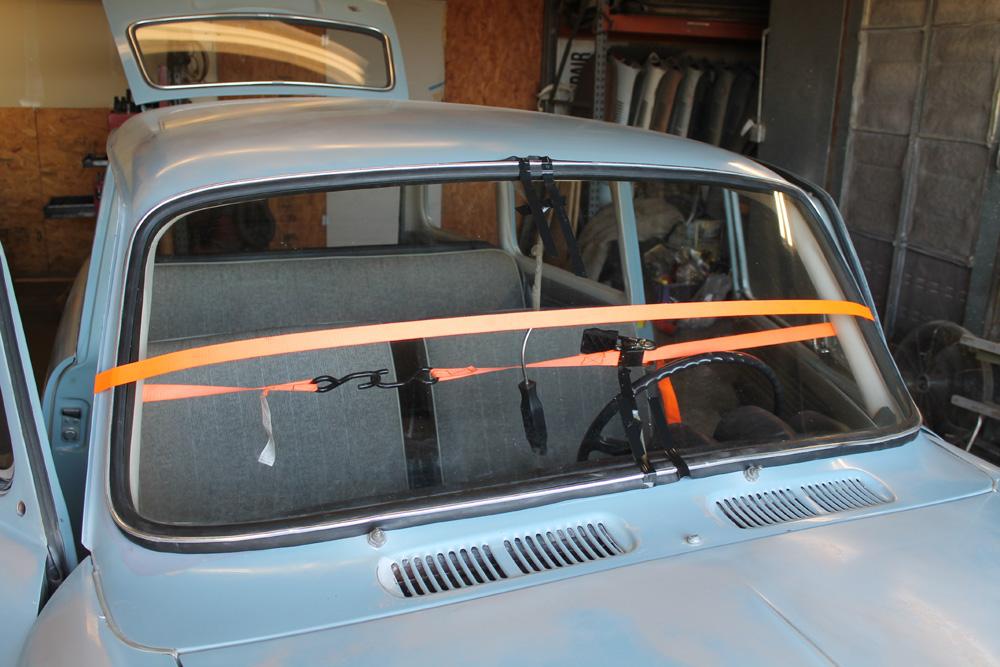
Once it's centered, install your ratchet strap. If the car is freshly painted, I'd probably avoid using a strap...or at least install some rags. Just use something that will protect the paint.
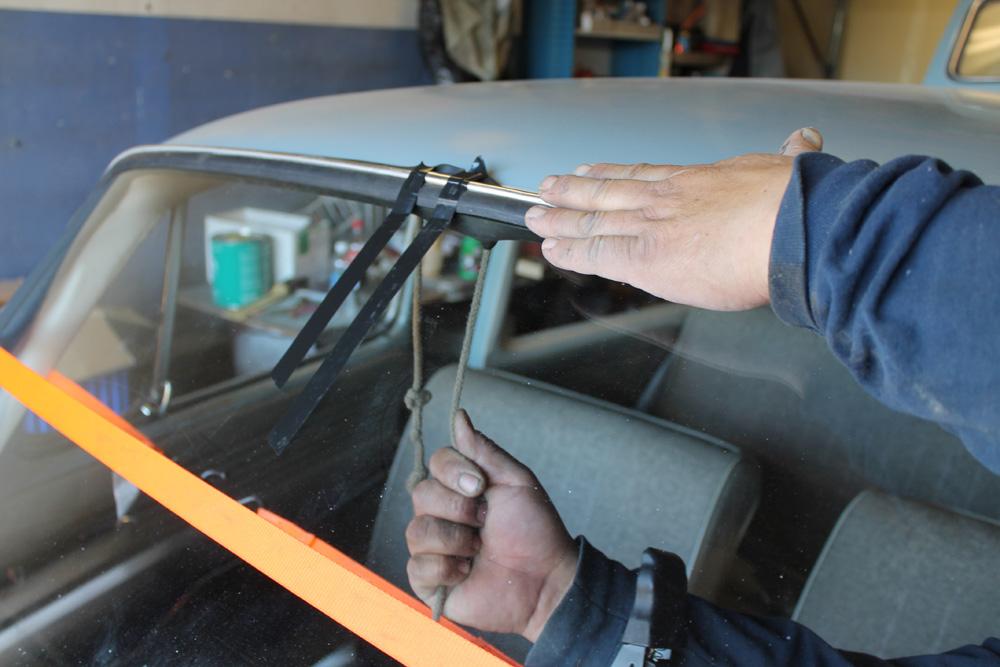
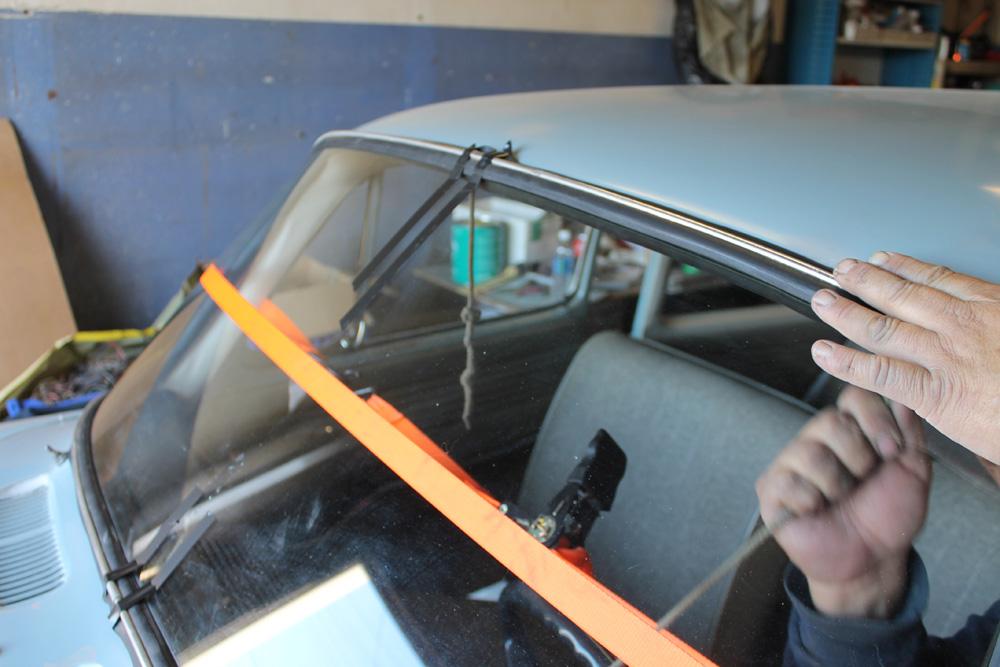
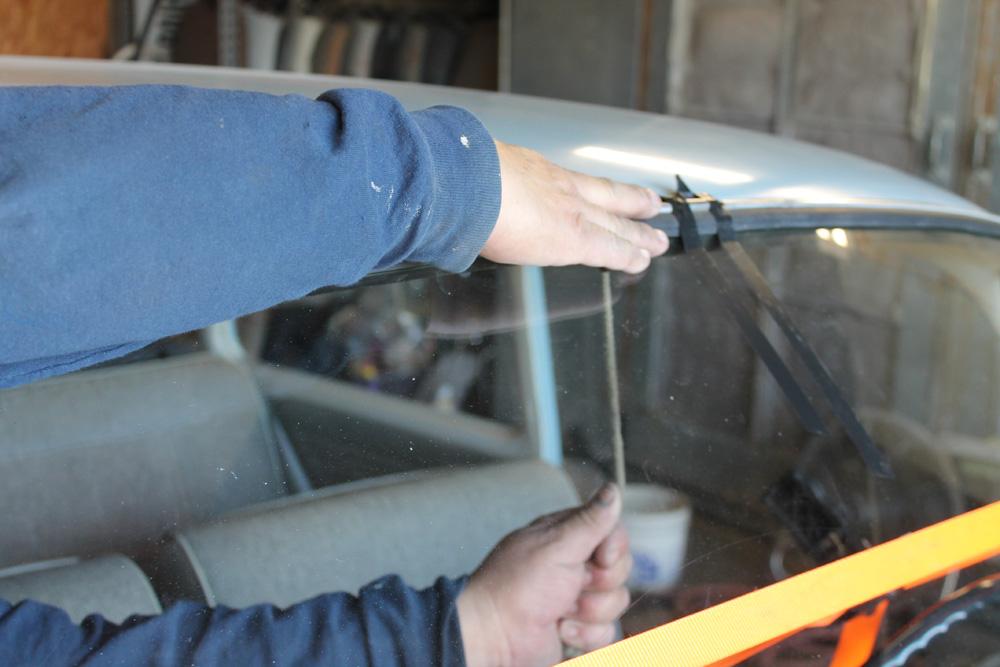
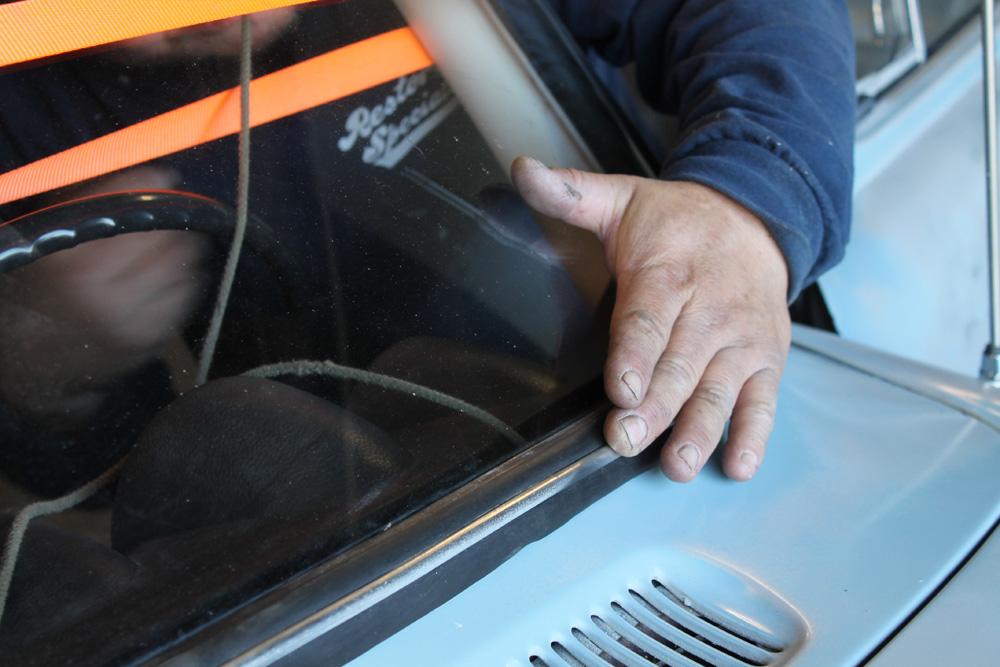
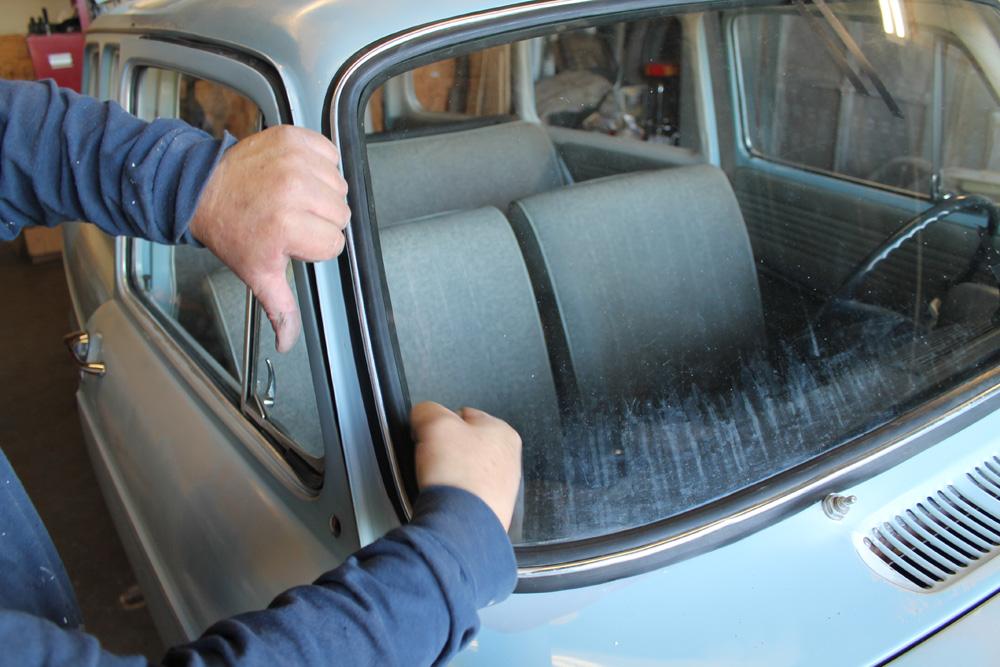
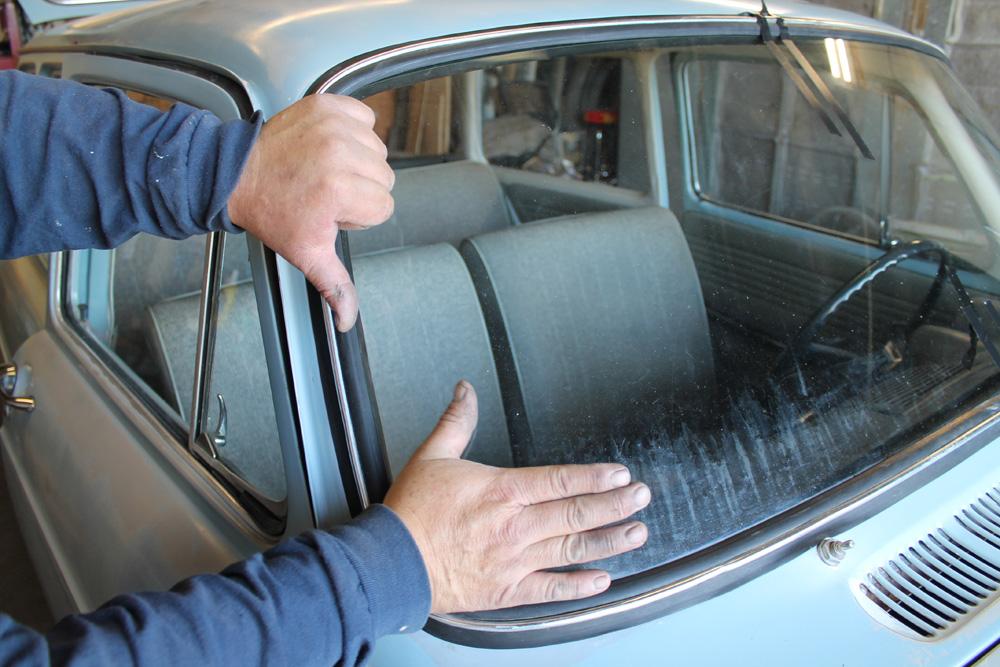
You can tighten your strap now...gently. It doesn't have to be too tight, just enough to hold the windshield snug. Beginning at the top, work your way towards the left (the drivers side). Use your left hand to press on the trim as you pull the rope down (not away from the windshield).
Move to the other side and repeat the same process.
Move to the bottom and repeat the same process.
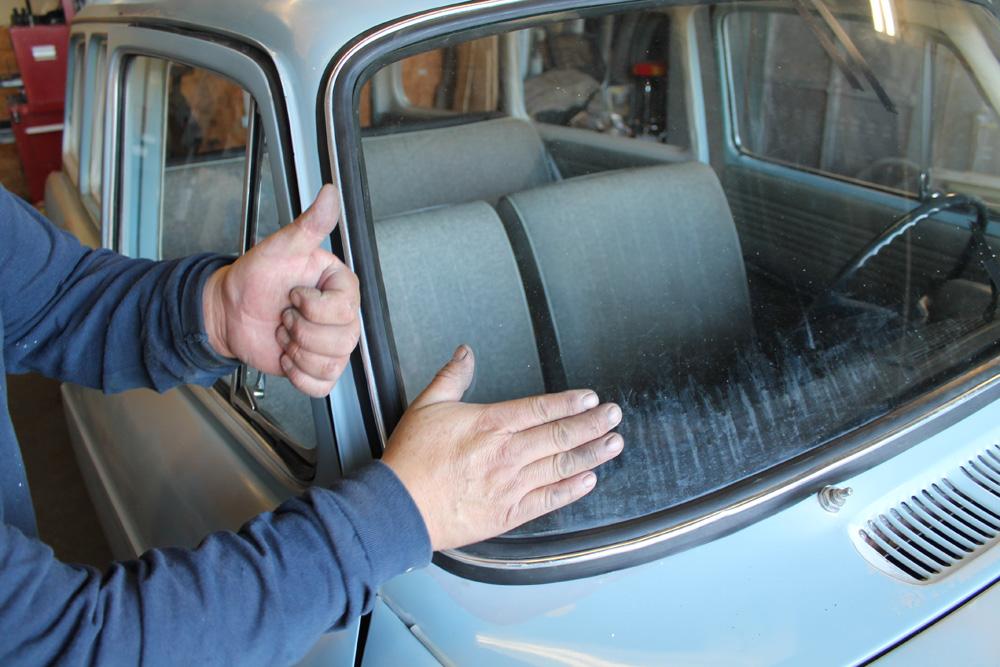
Next up are the sides. If you straddle both seats, you can do both sides at the same time.
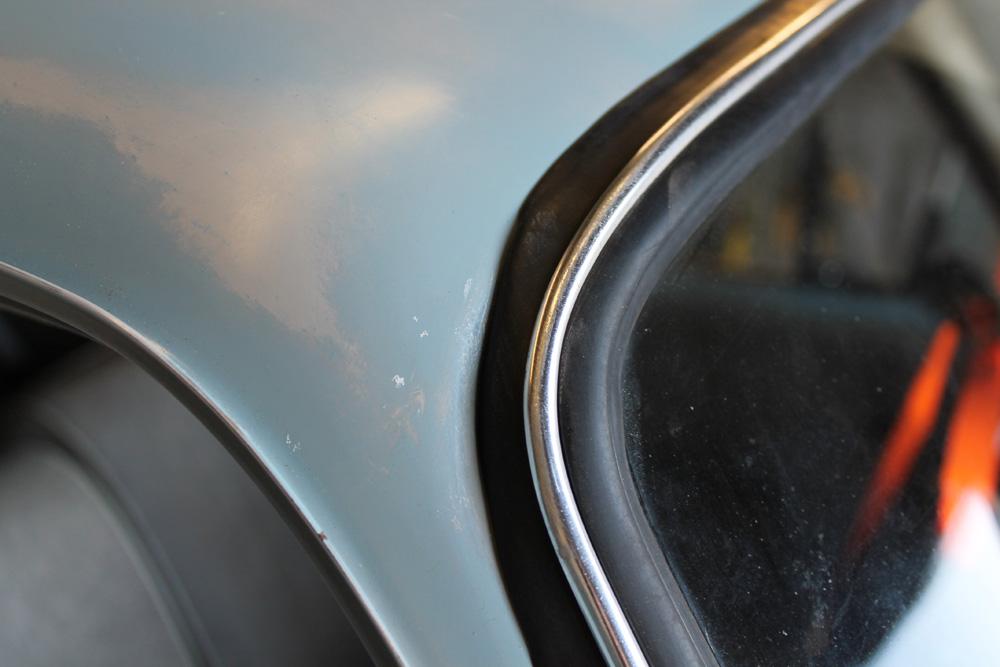
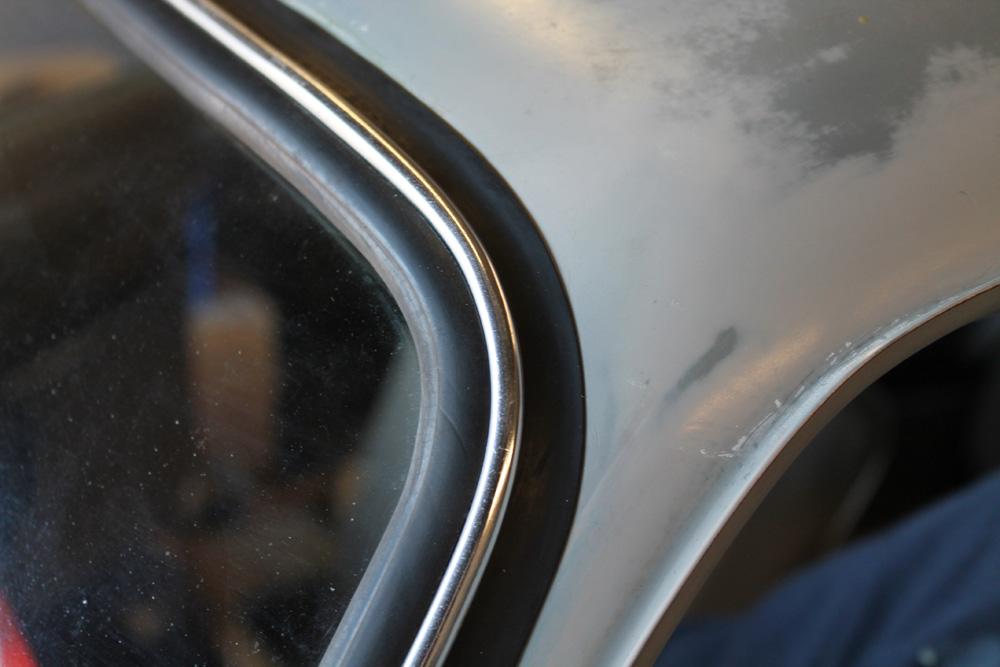
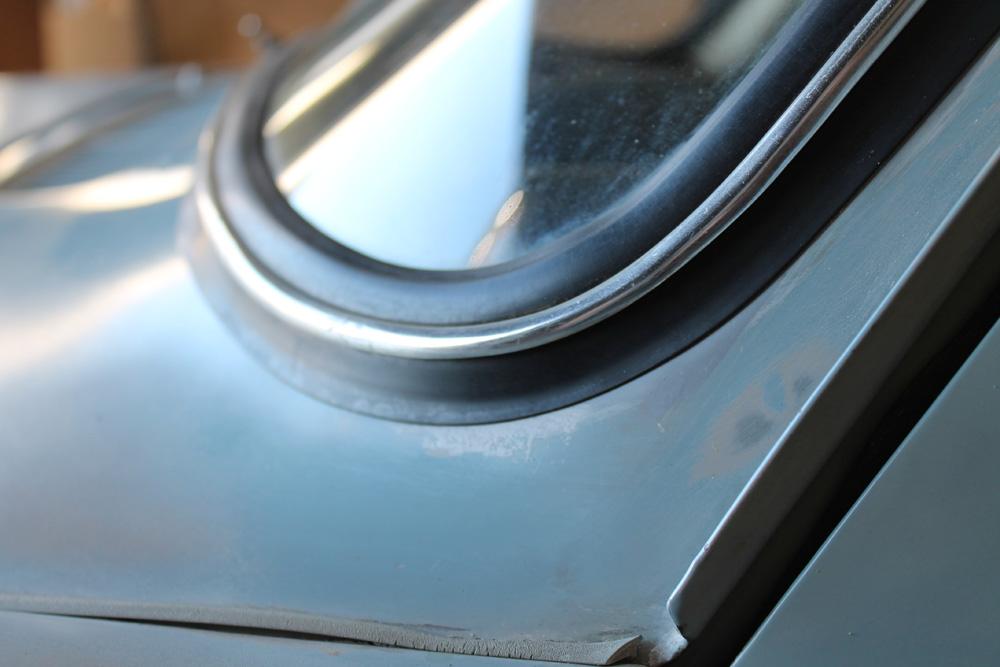
Now, time to seat the windshield. If your corners look like this, don't freak out.
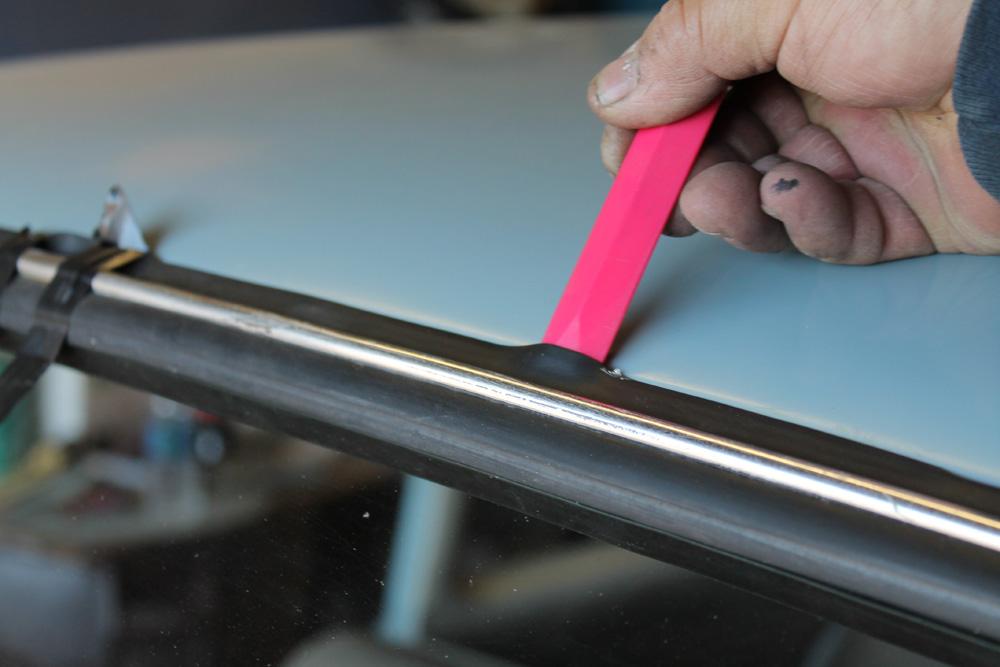
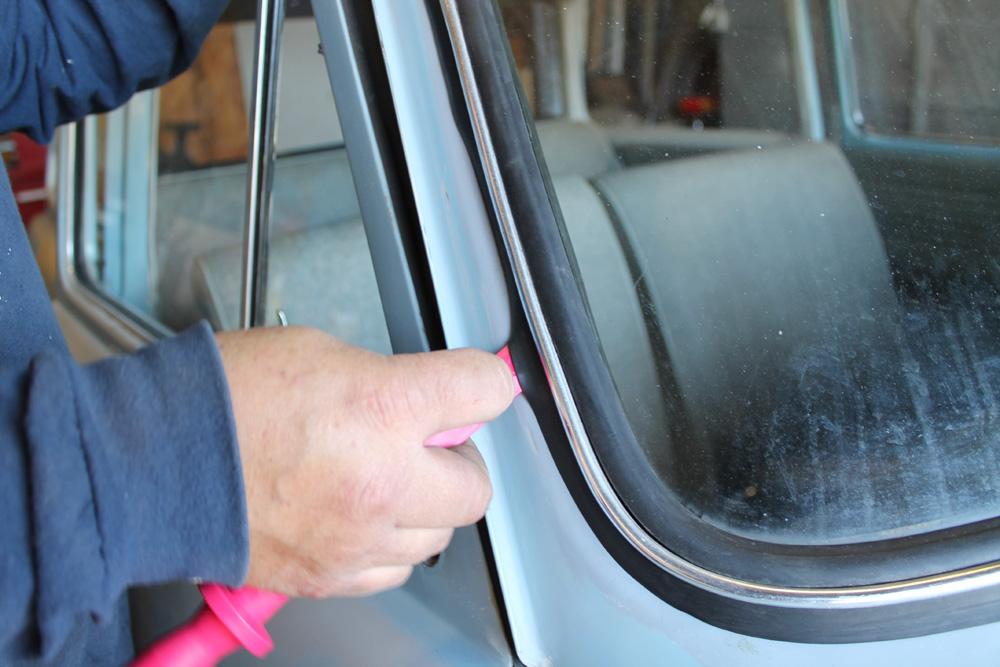
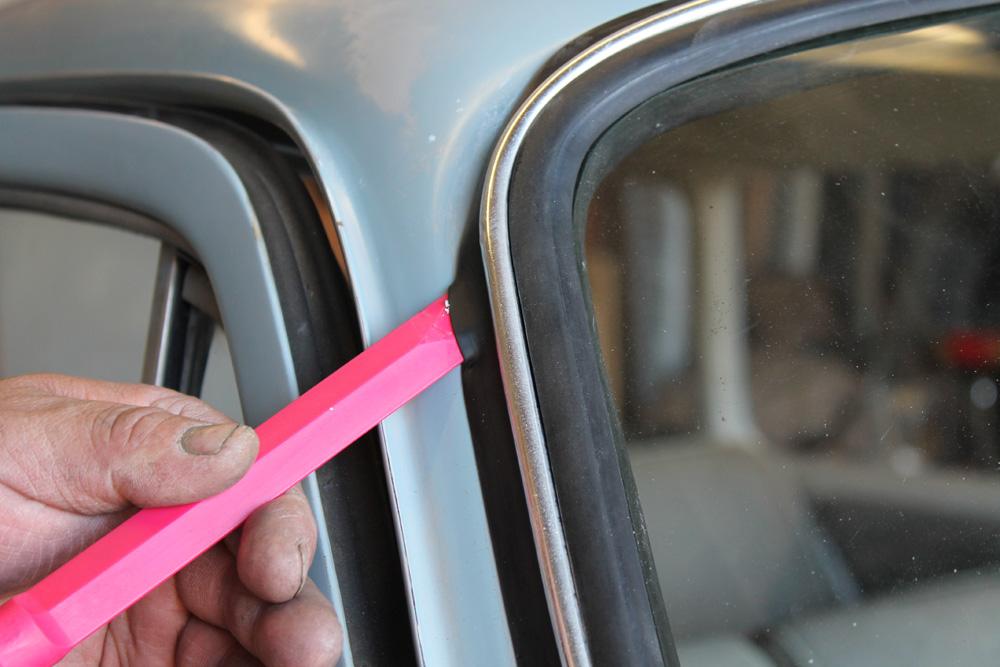
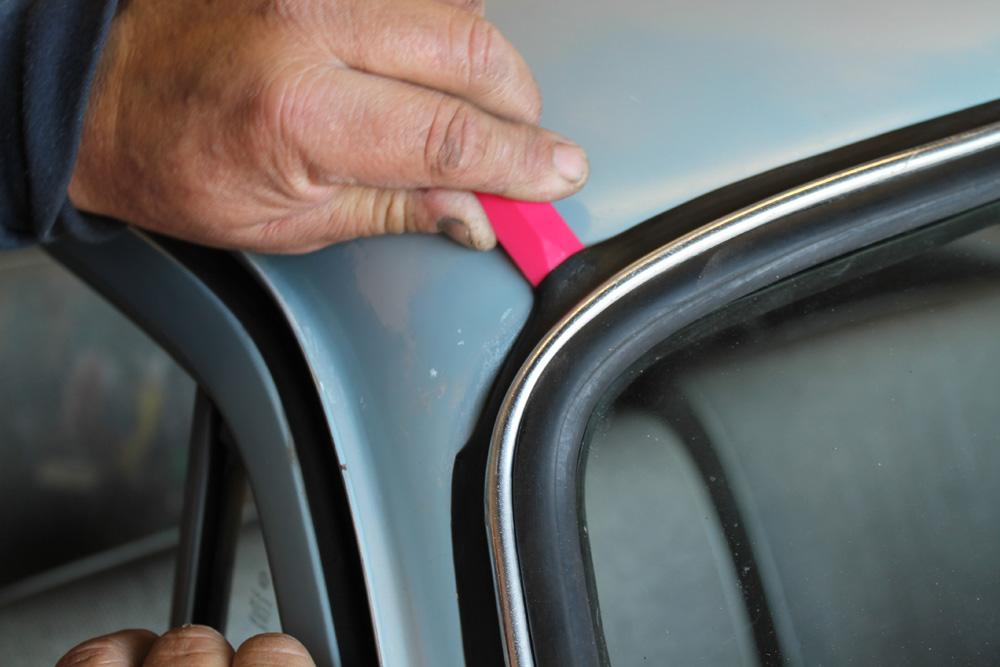
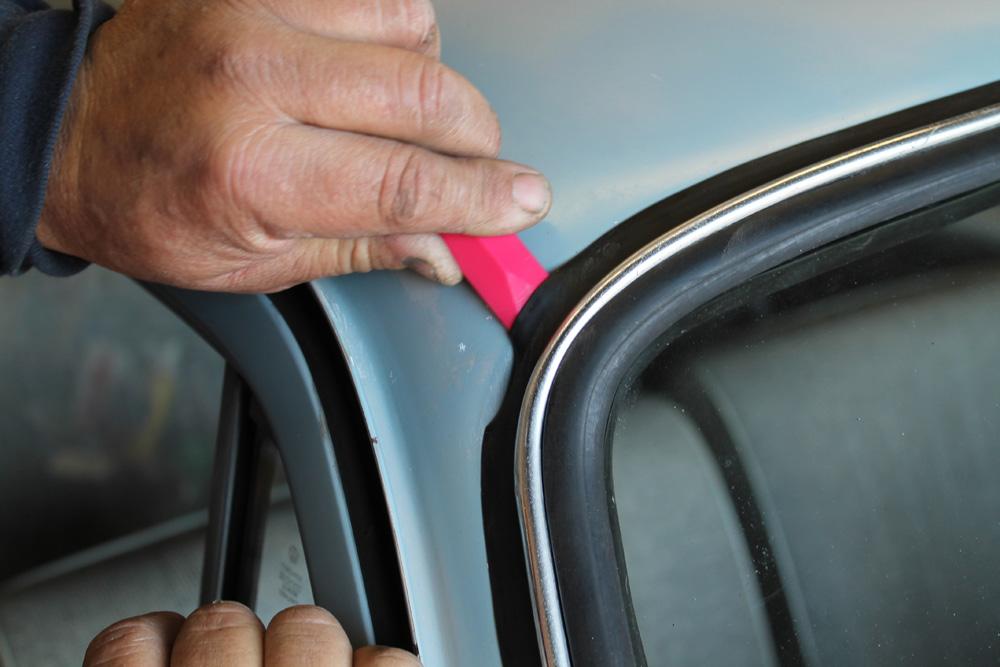
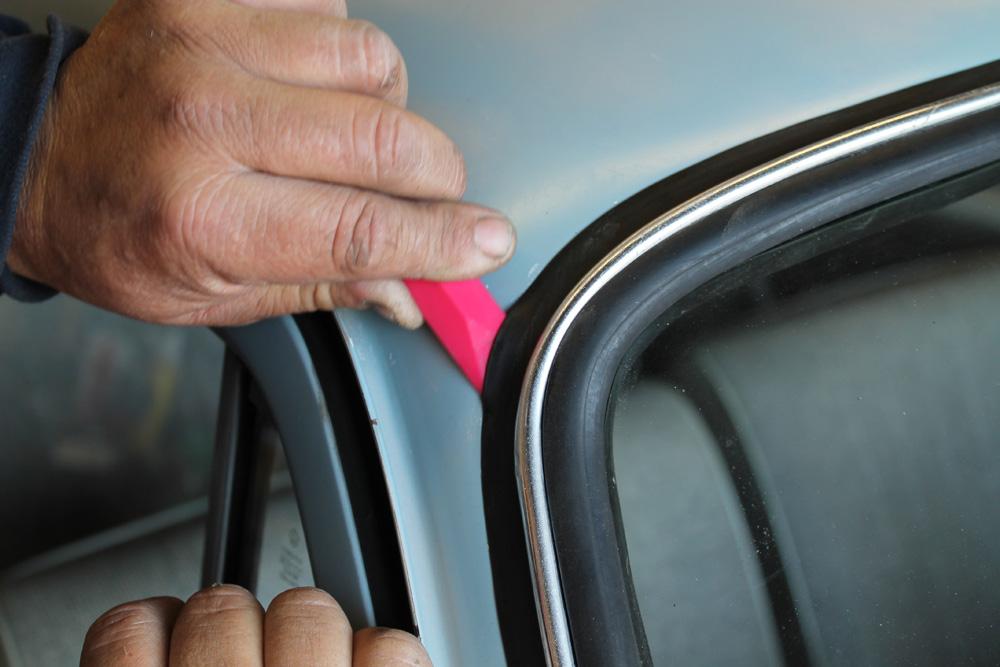
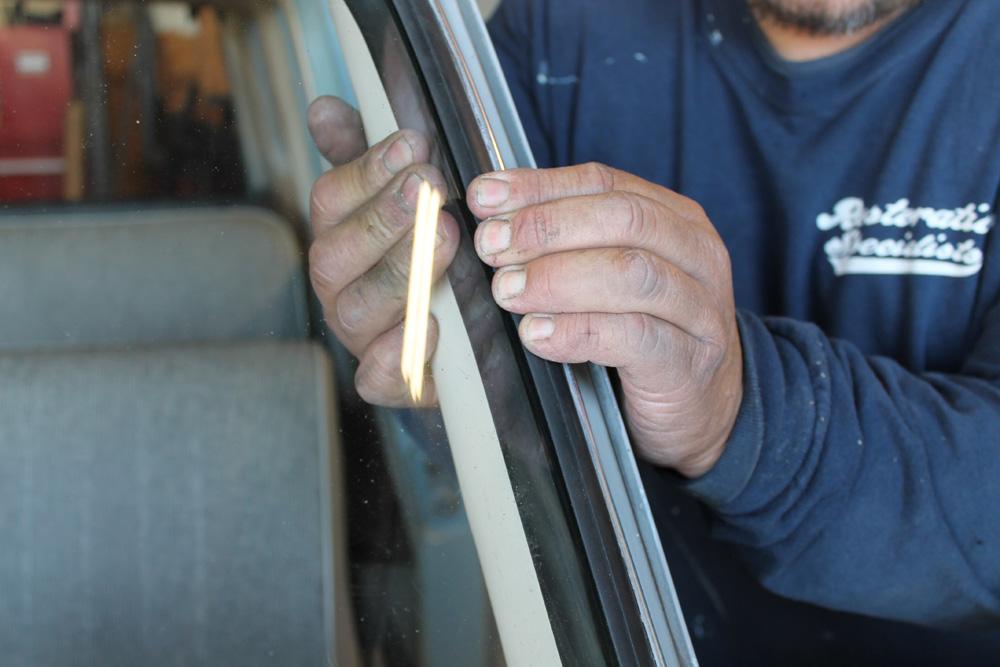
Using a plastic tool like this...
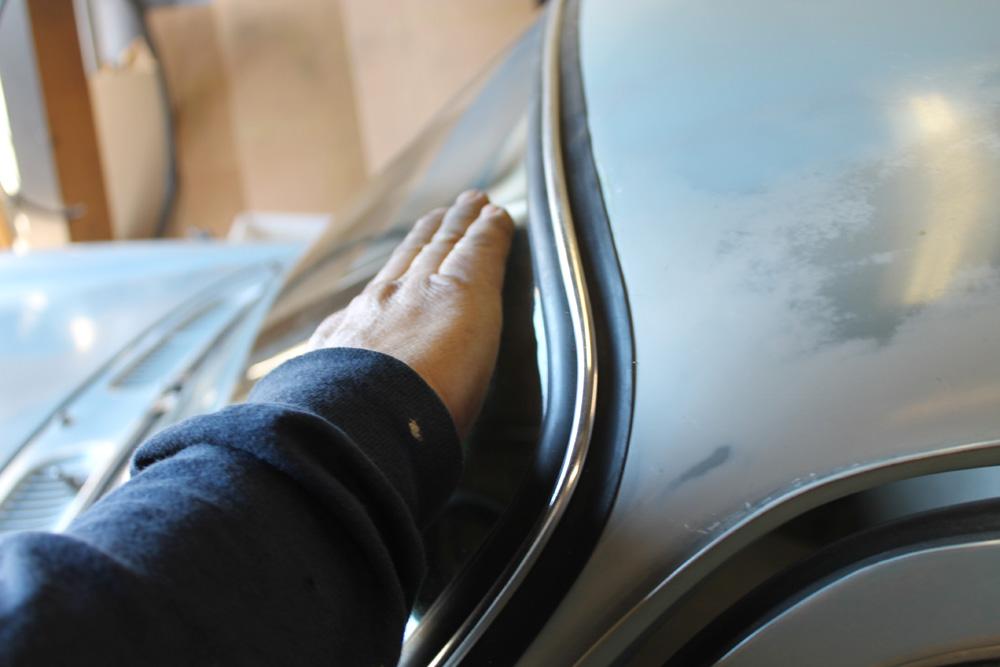
...you can work your way around the window a little at a time. After you work the lip out from being rolled under, and using a flat palm, give the glass a little slap. Your slap should be a moving slap, e.g., slap with a downward swipe on the glass. Avoid wearing rings.
It's very important that you slap the glass correctly. Failure to do so can crack your windshield. You need to use a flat hand in a moving, directional motion.
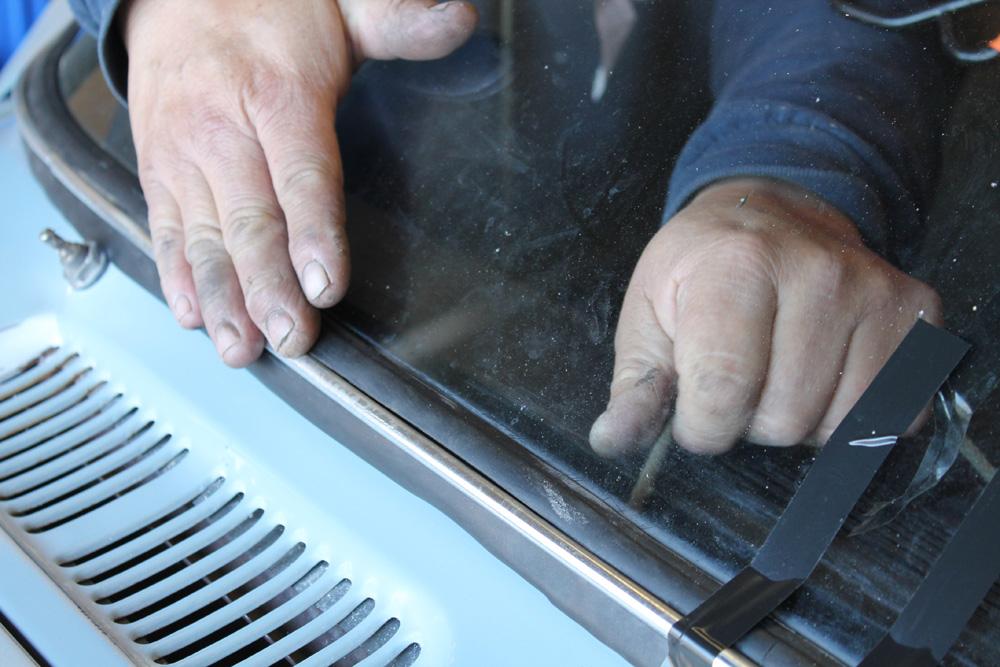
After the windshield is in place, you can pull off the electrical tape.
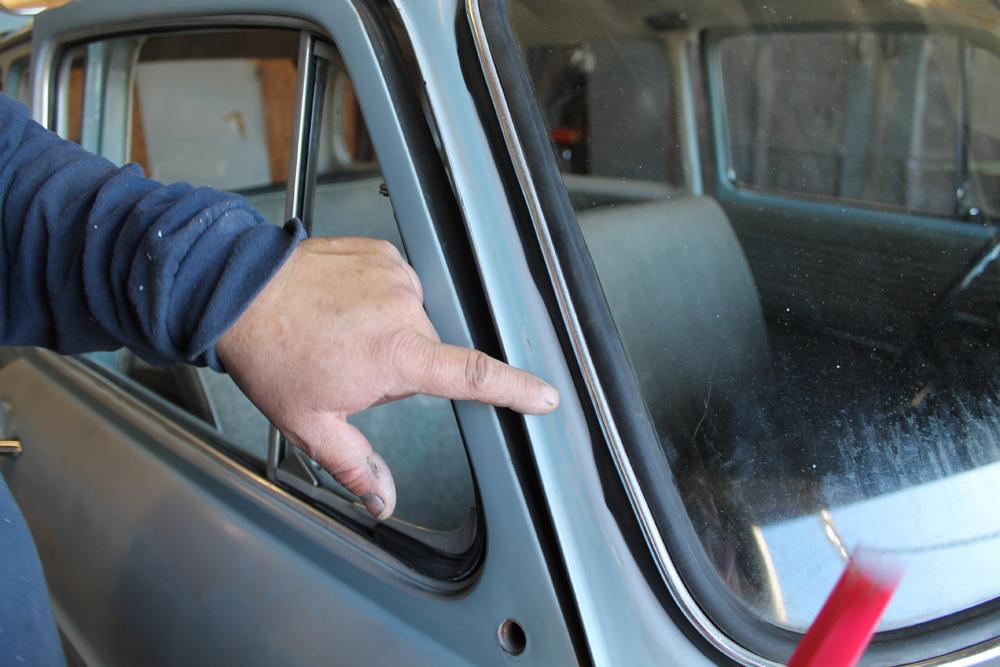
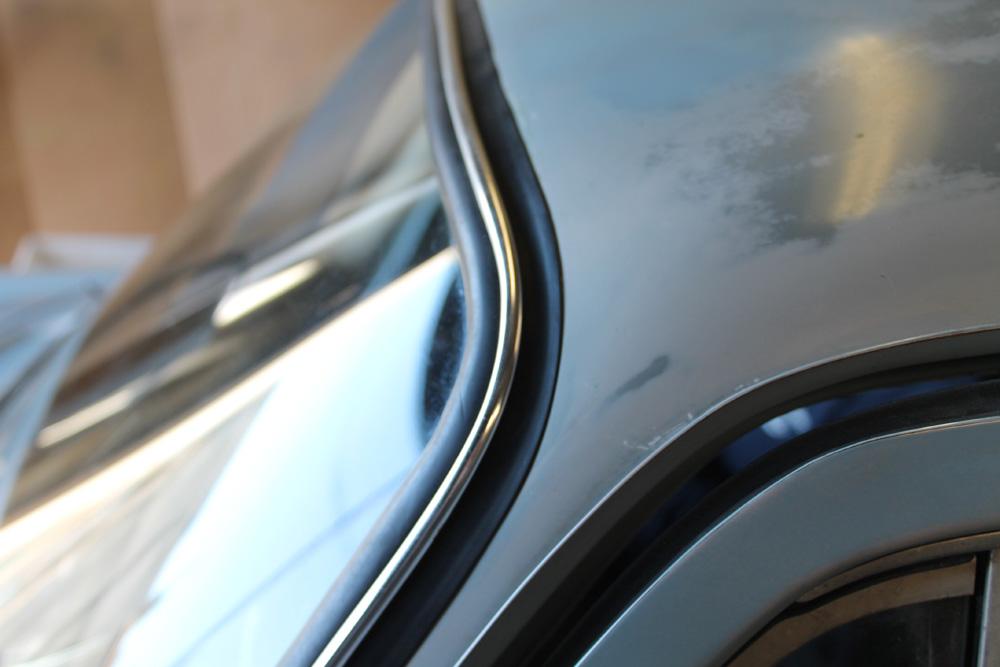
The corners and sides might need some final tweaks.
...and you're done.
The process is really the same for using two people on the outside instead of the ratchet strap. The important thing is to make sure you're applying pressure evenly to the glass and applying pressure to the trim as you go around. This locks it into place. If it pops out, you'll most likely have to start over. Type 3 windshields are really easy to break if you don't know what you're doing, so know your limits and if this install is more than you're comfortable with, pay someone else to do it. If they break it, they pay for it. If you break it, you pay for it.
Hopefully this helps some people. I'll be sharing this thread where we have our seals listed for sale. Thanks!
-Michael


So there ya have it. Easier said than done, though!
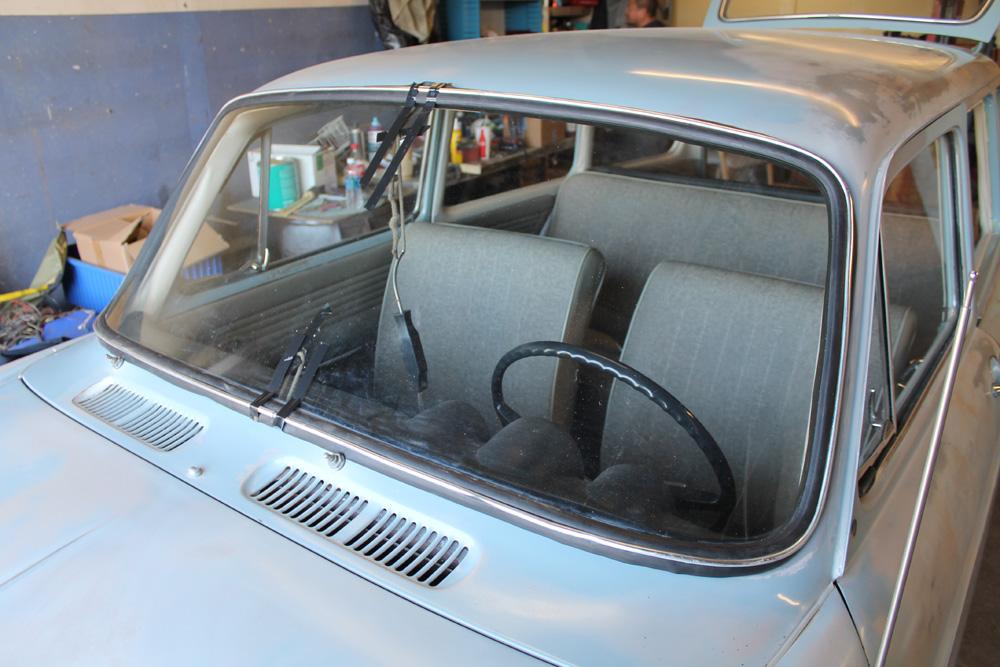
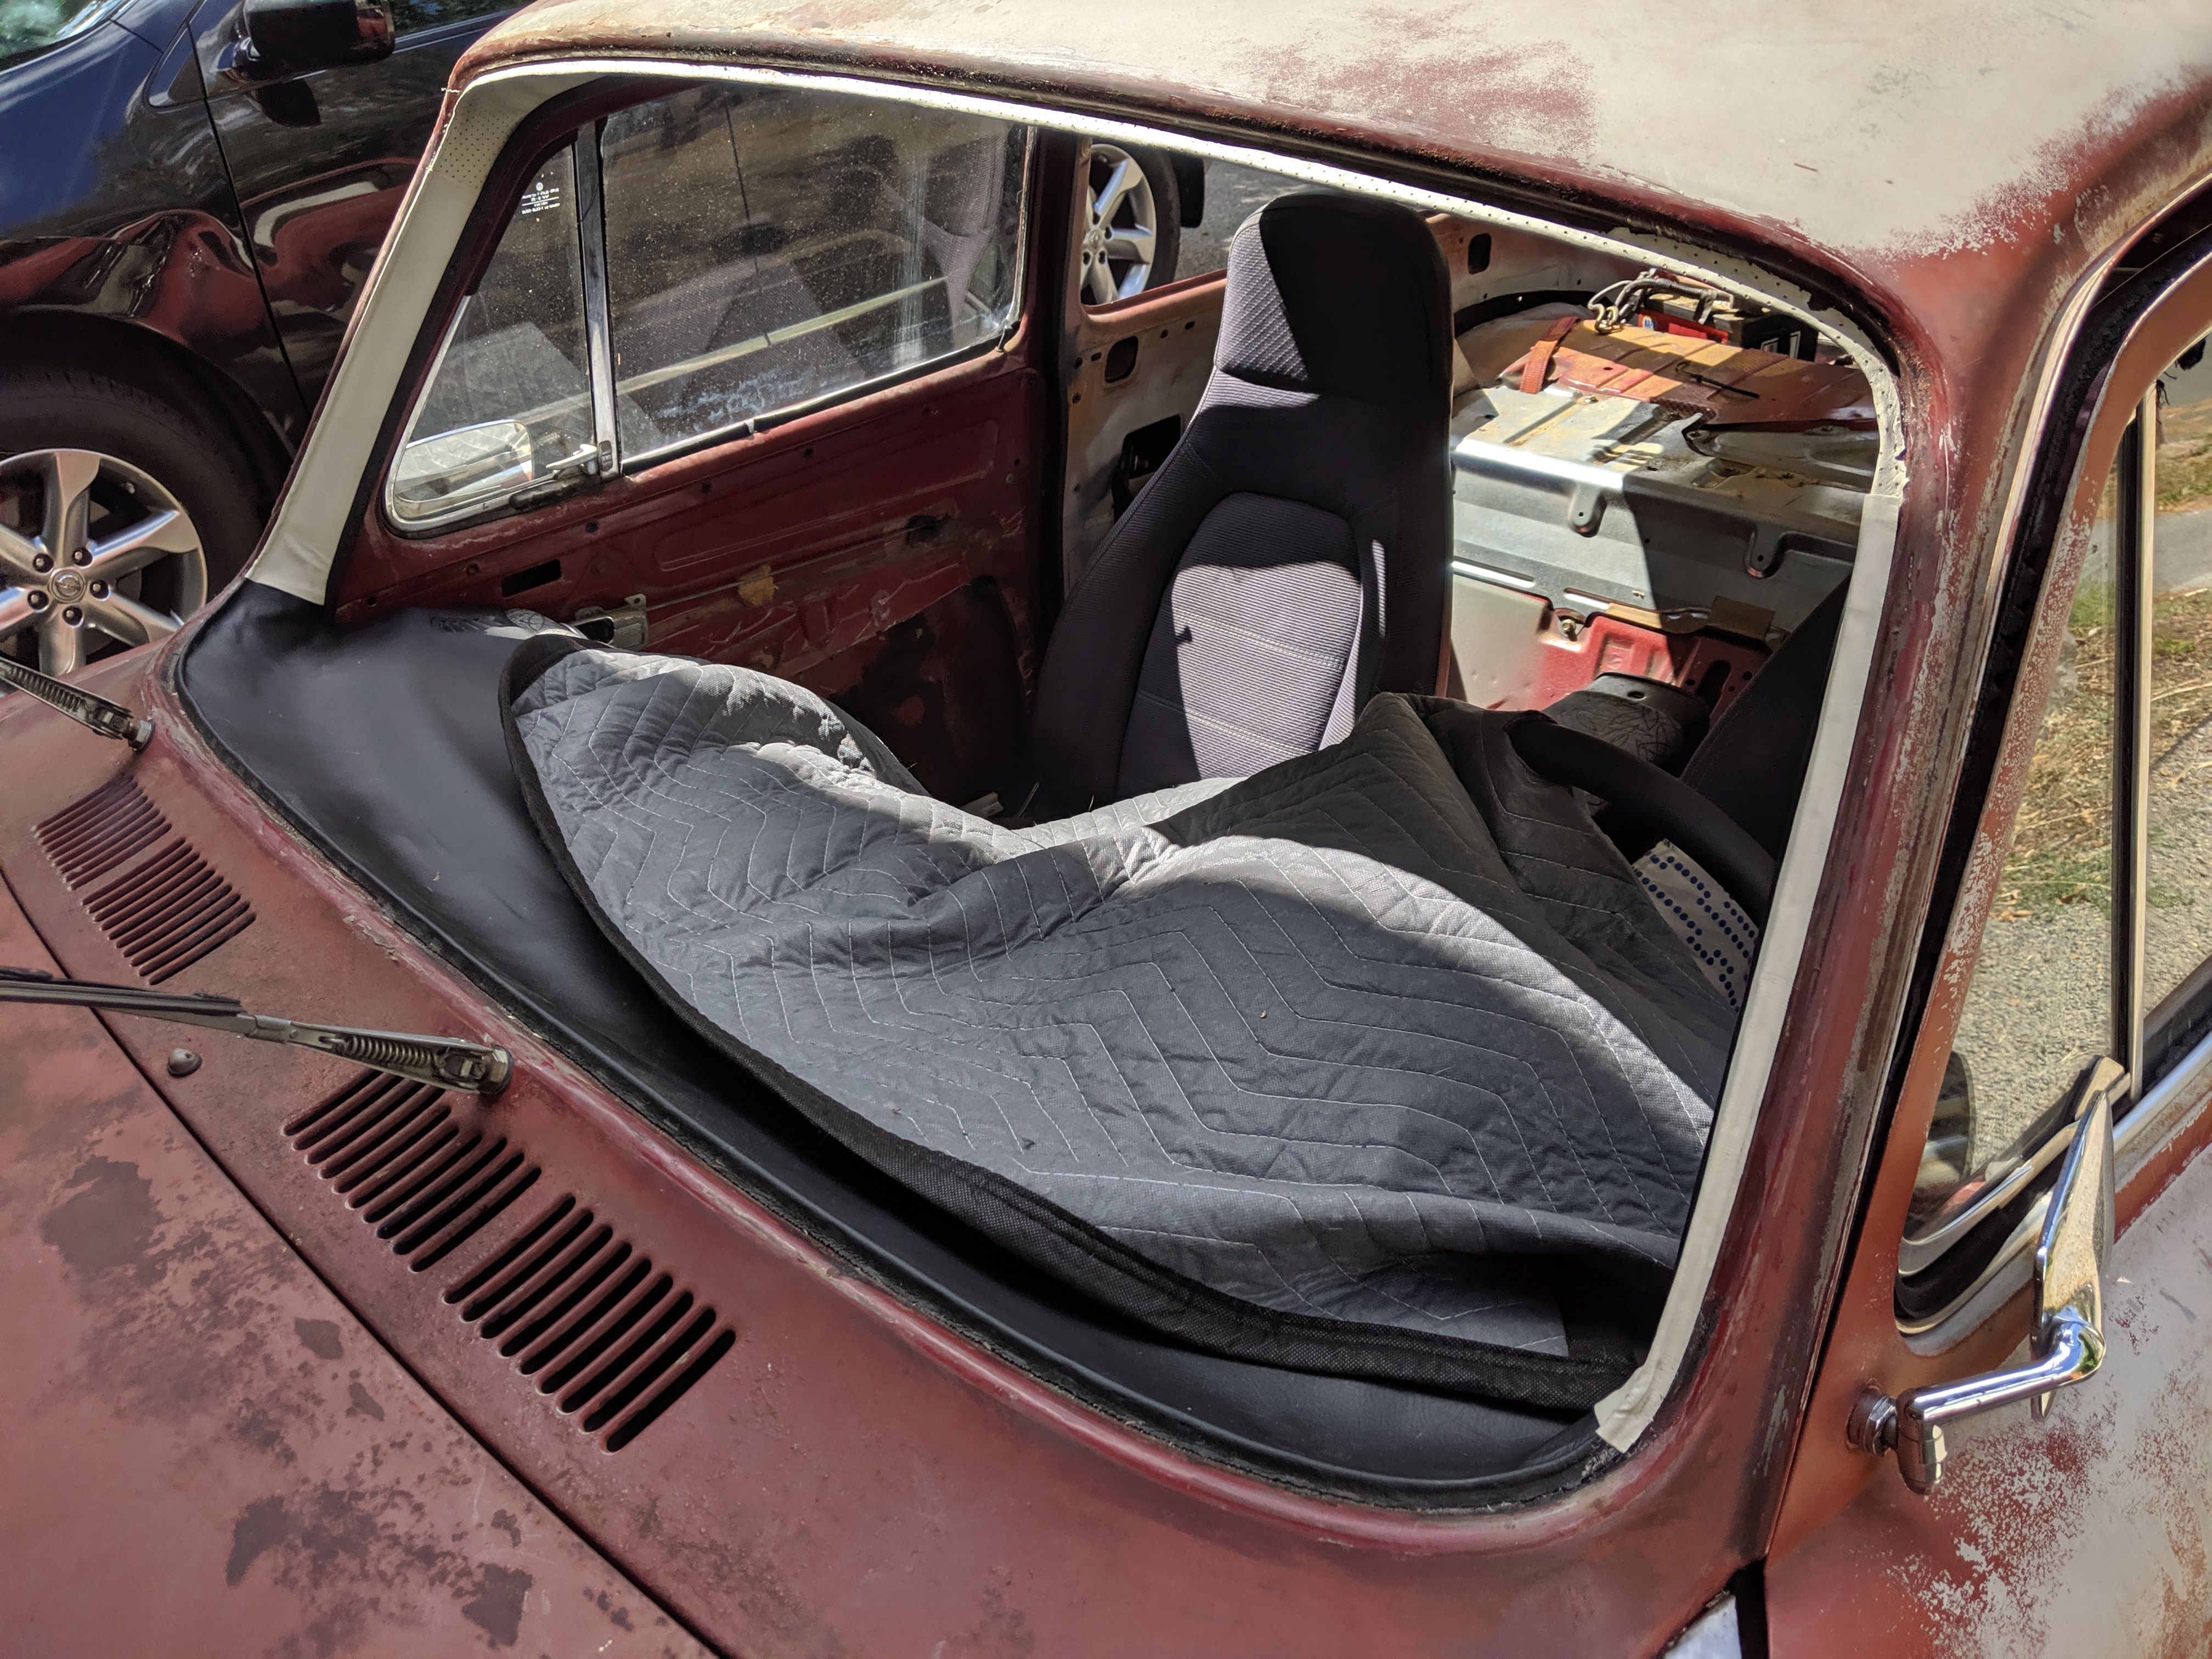
Here's my pics from the job. Staring with the bare windshield frame showing all the upholstery work that MUST be done first. See my other article on doing the headliner to see how it's done. The dashboard is a custom thing.
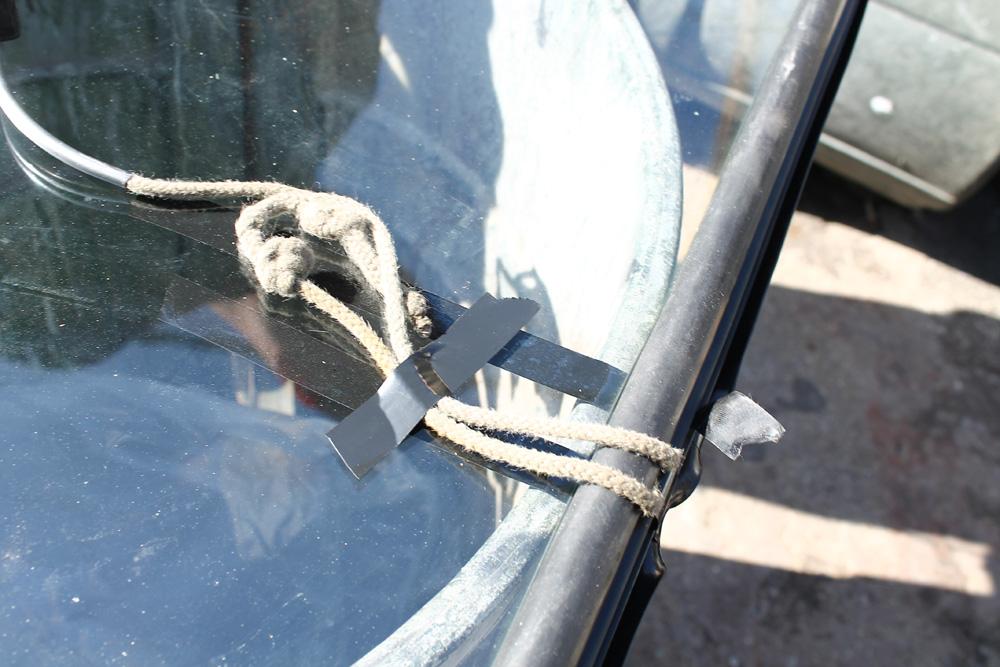
I used "paracord" soaked in soapy water. And I forgot to add the loop at the top. I had to go pack and re-do it with the loop at the top, and I wish I used a thick vinyl-coated wire or something, with silicone lube instead of water. May have helped prevent the rips.
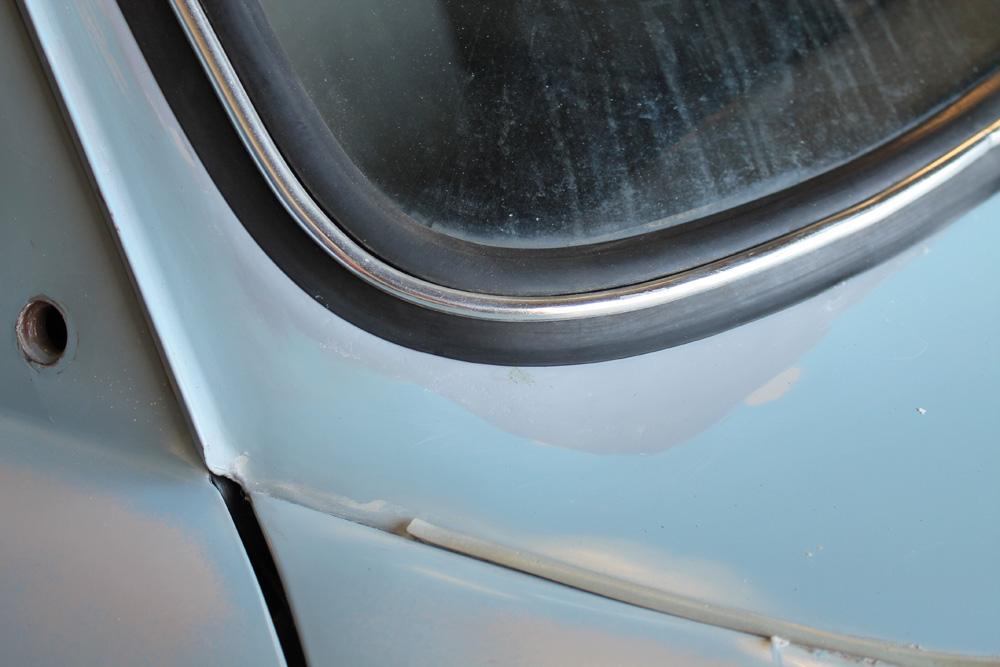
So, If you're pulling on it and it's not budging, don't get the vice grips and pull even harder. It's just going to do this:
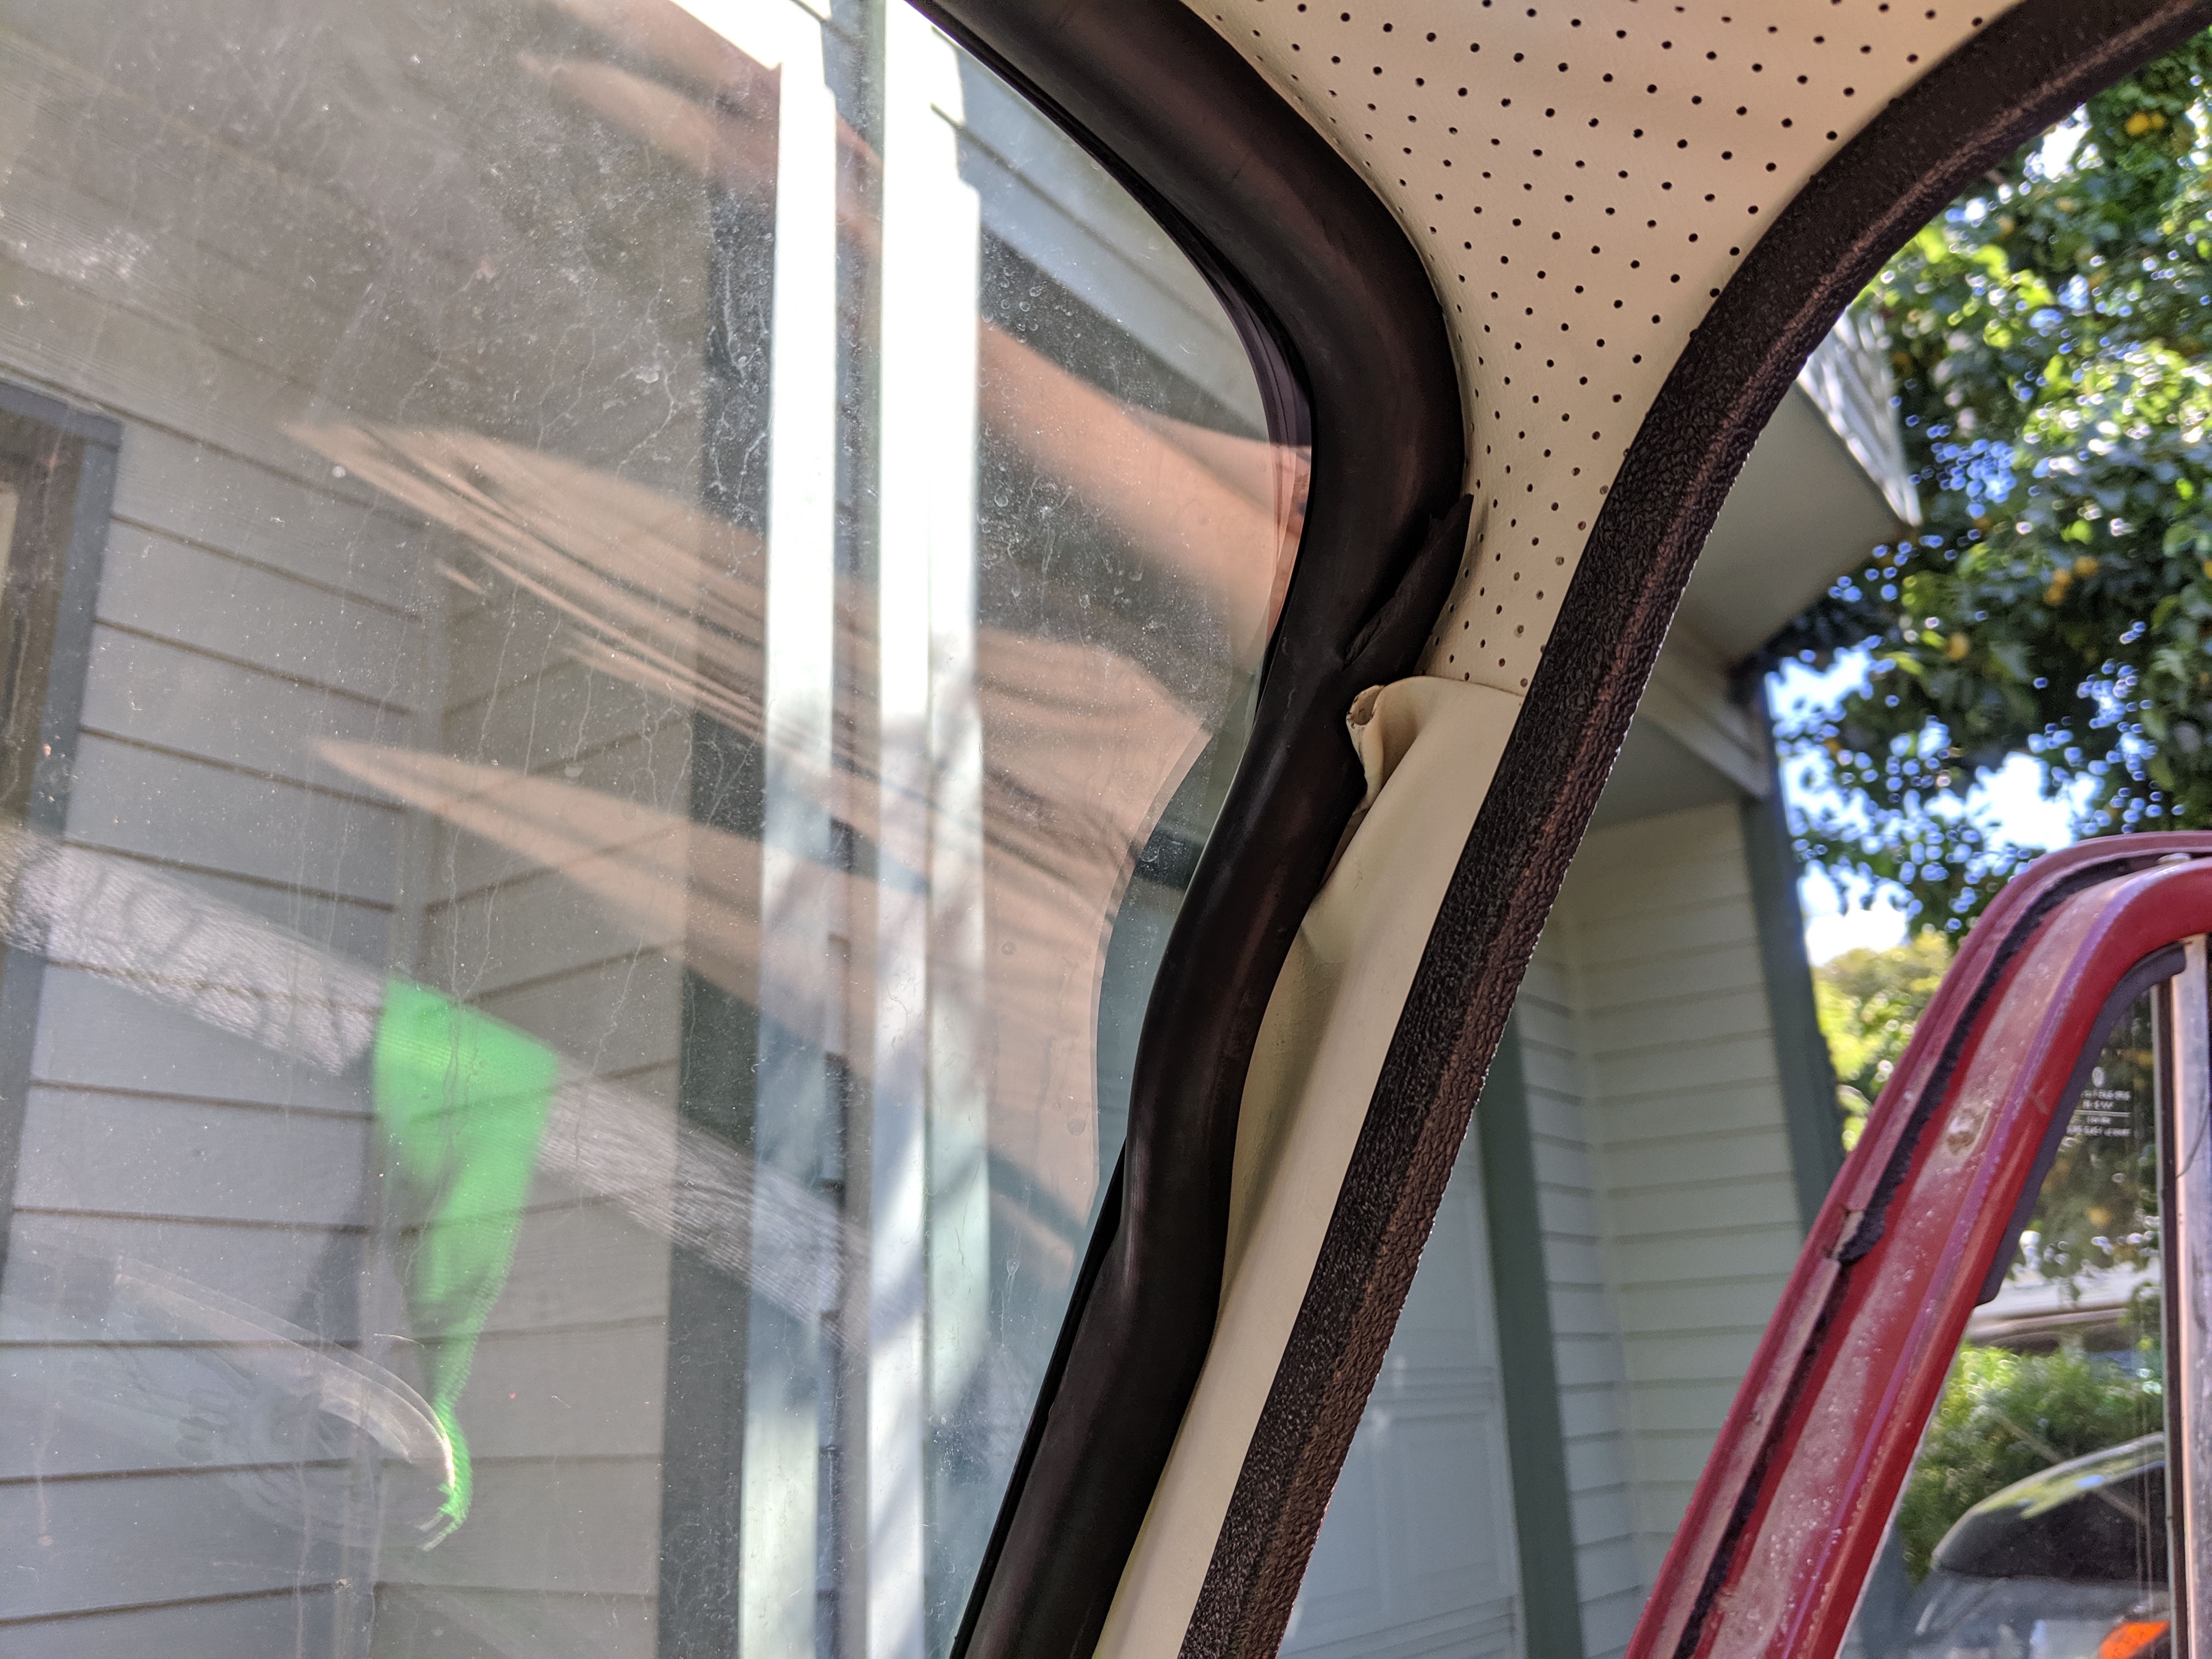
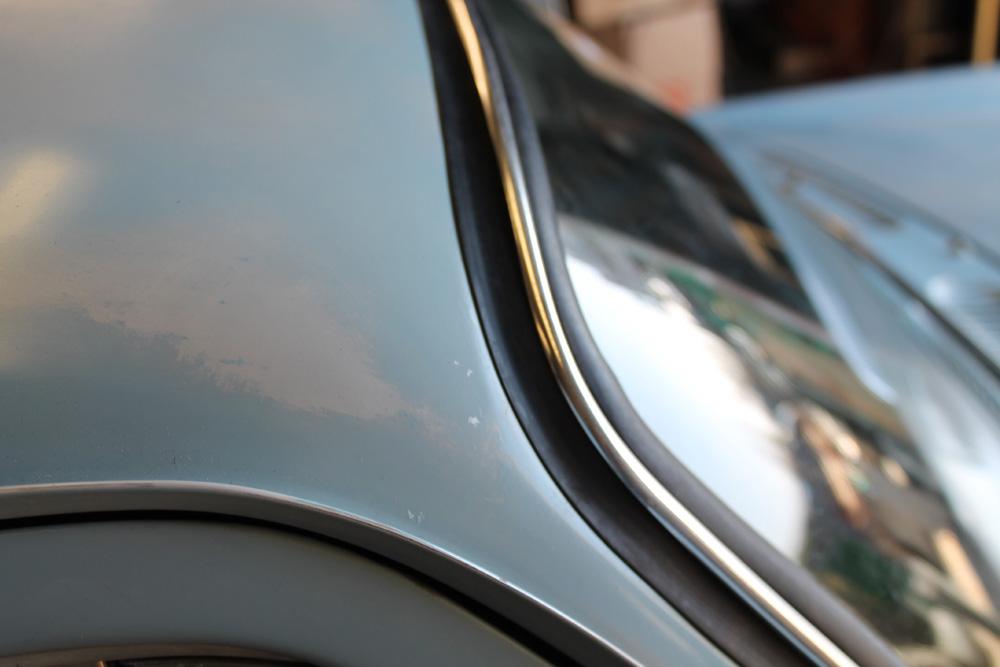
The defect at the bottom, left of center, is a problem. I tried very hard for too long trying to get it over the lip, but I jut could not. Bicycle tire irons almost worked though.
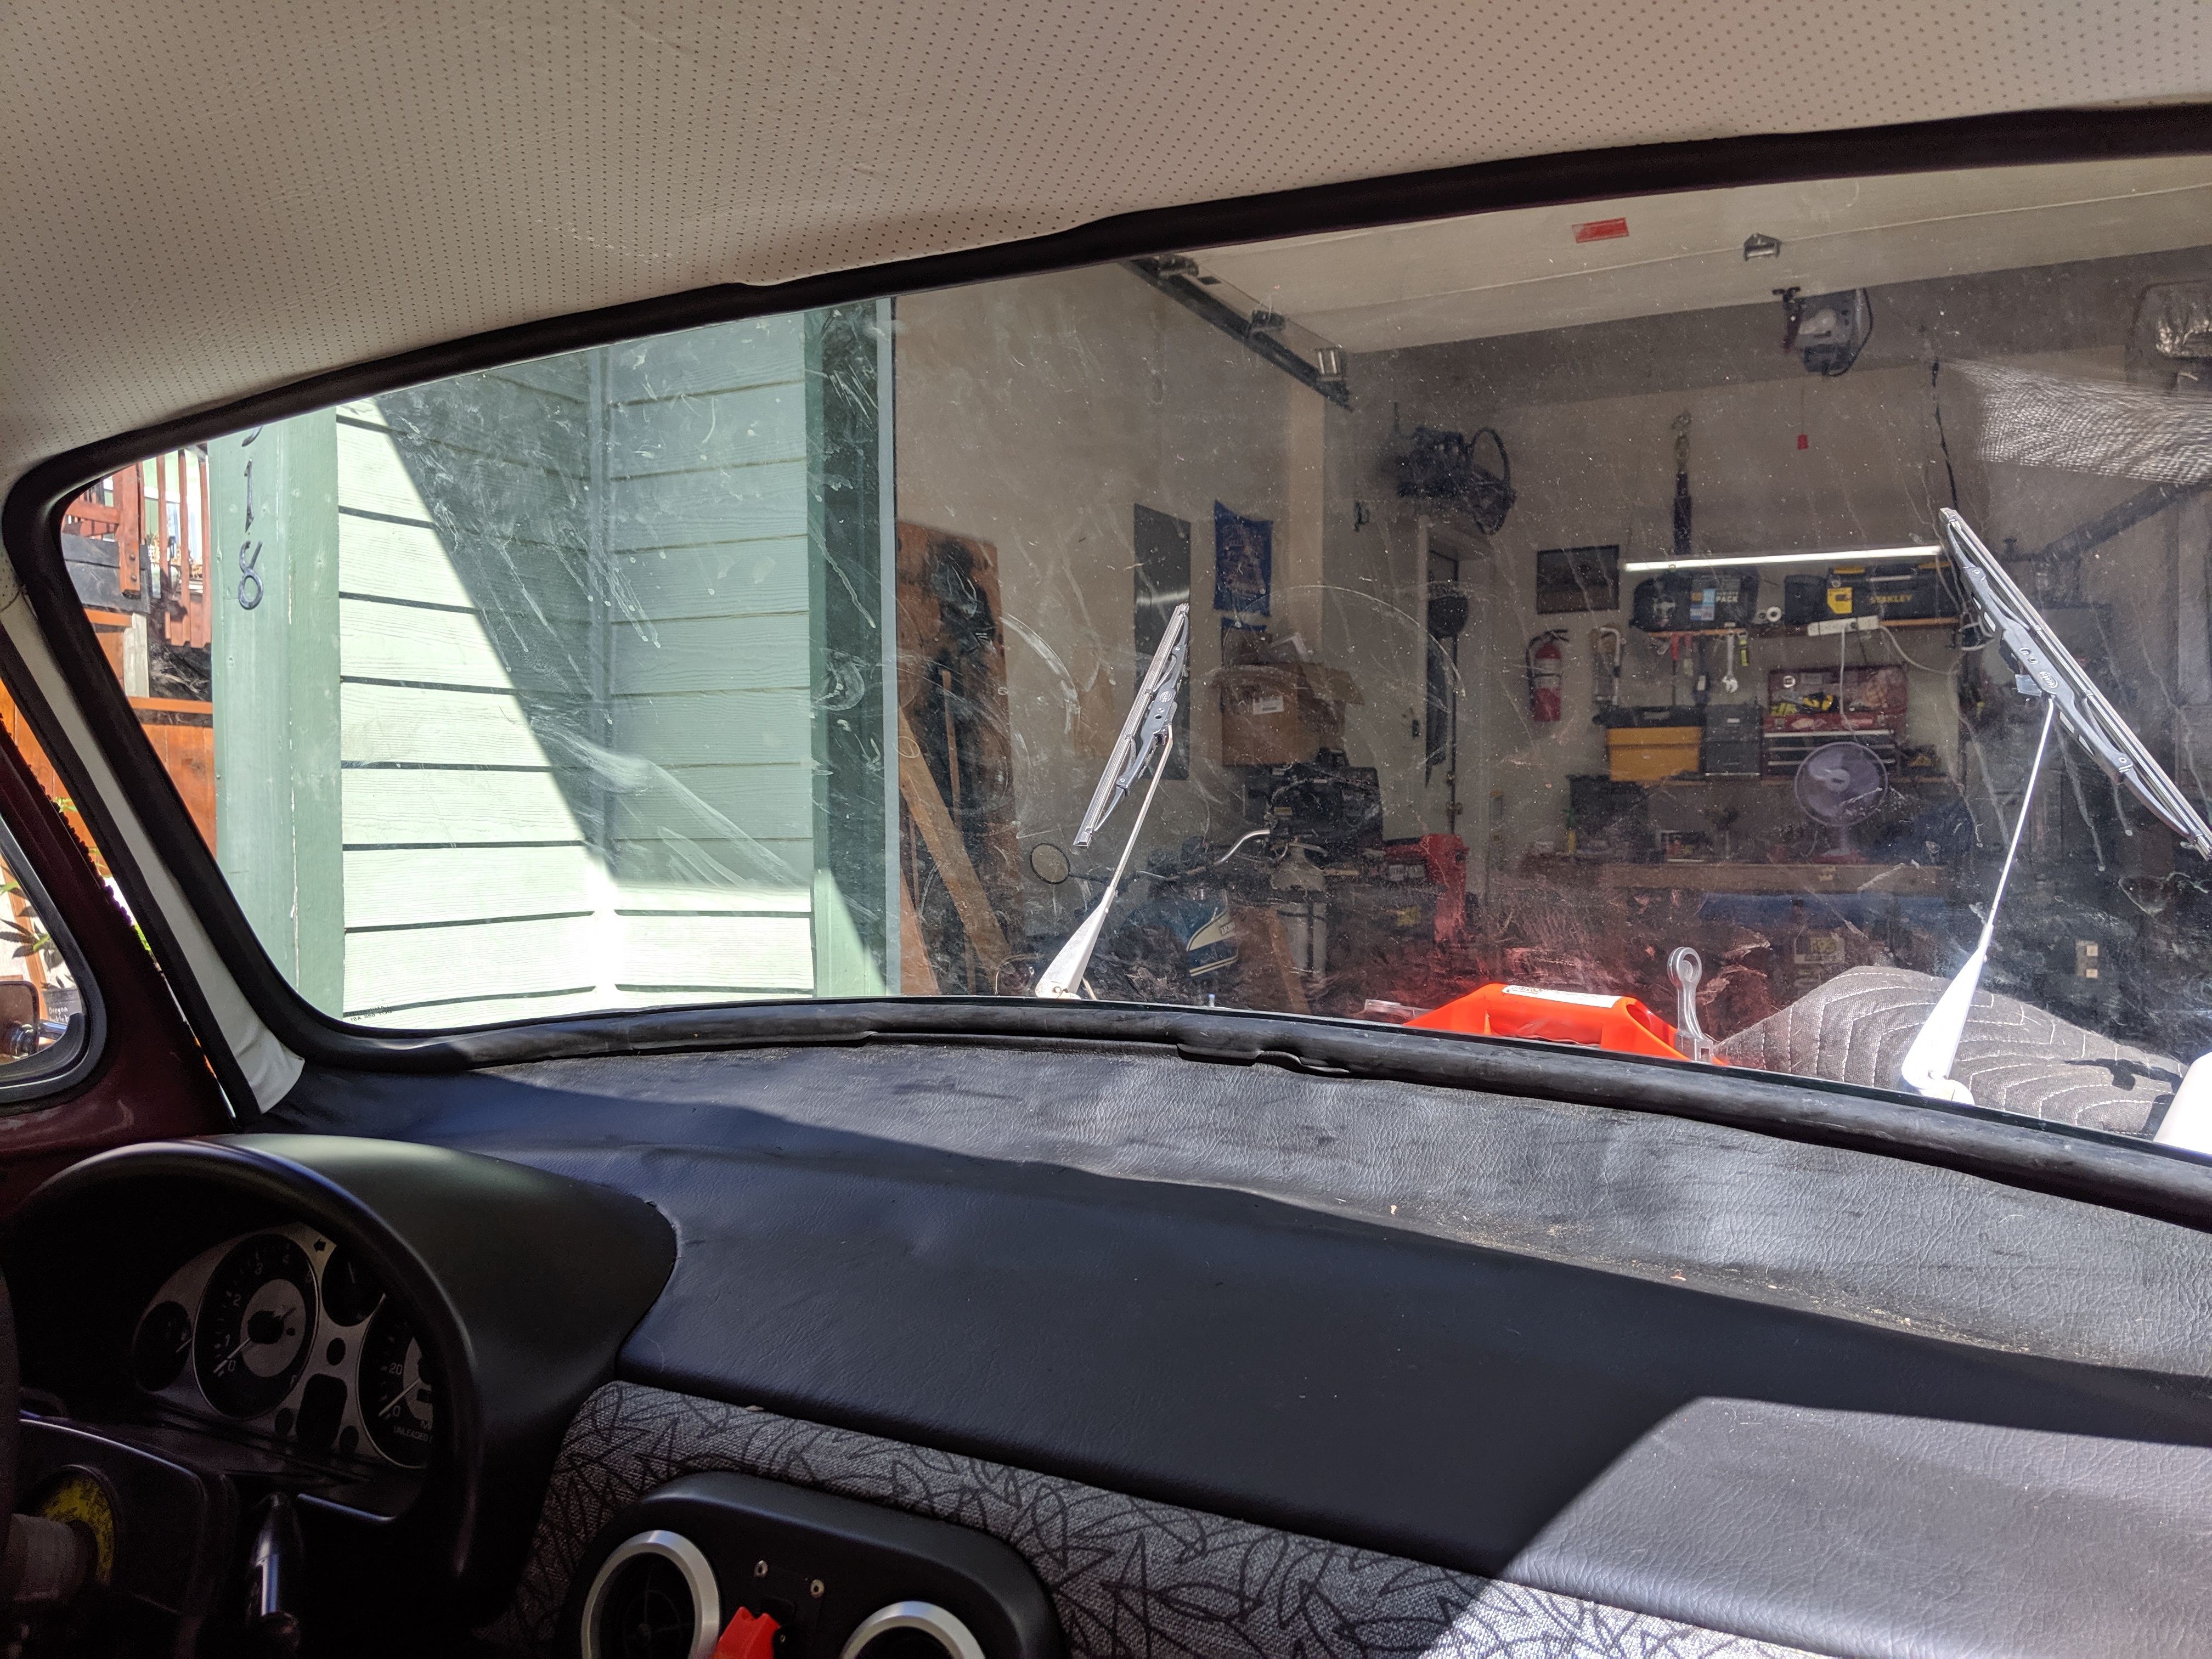
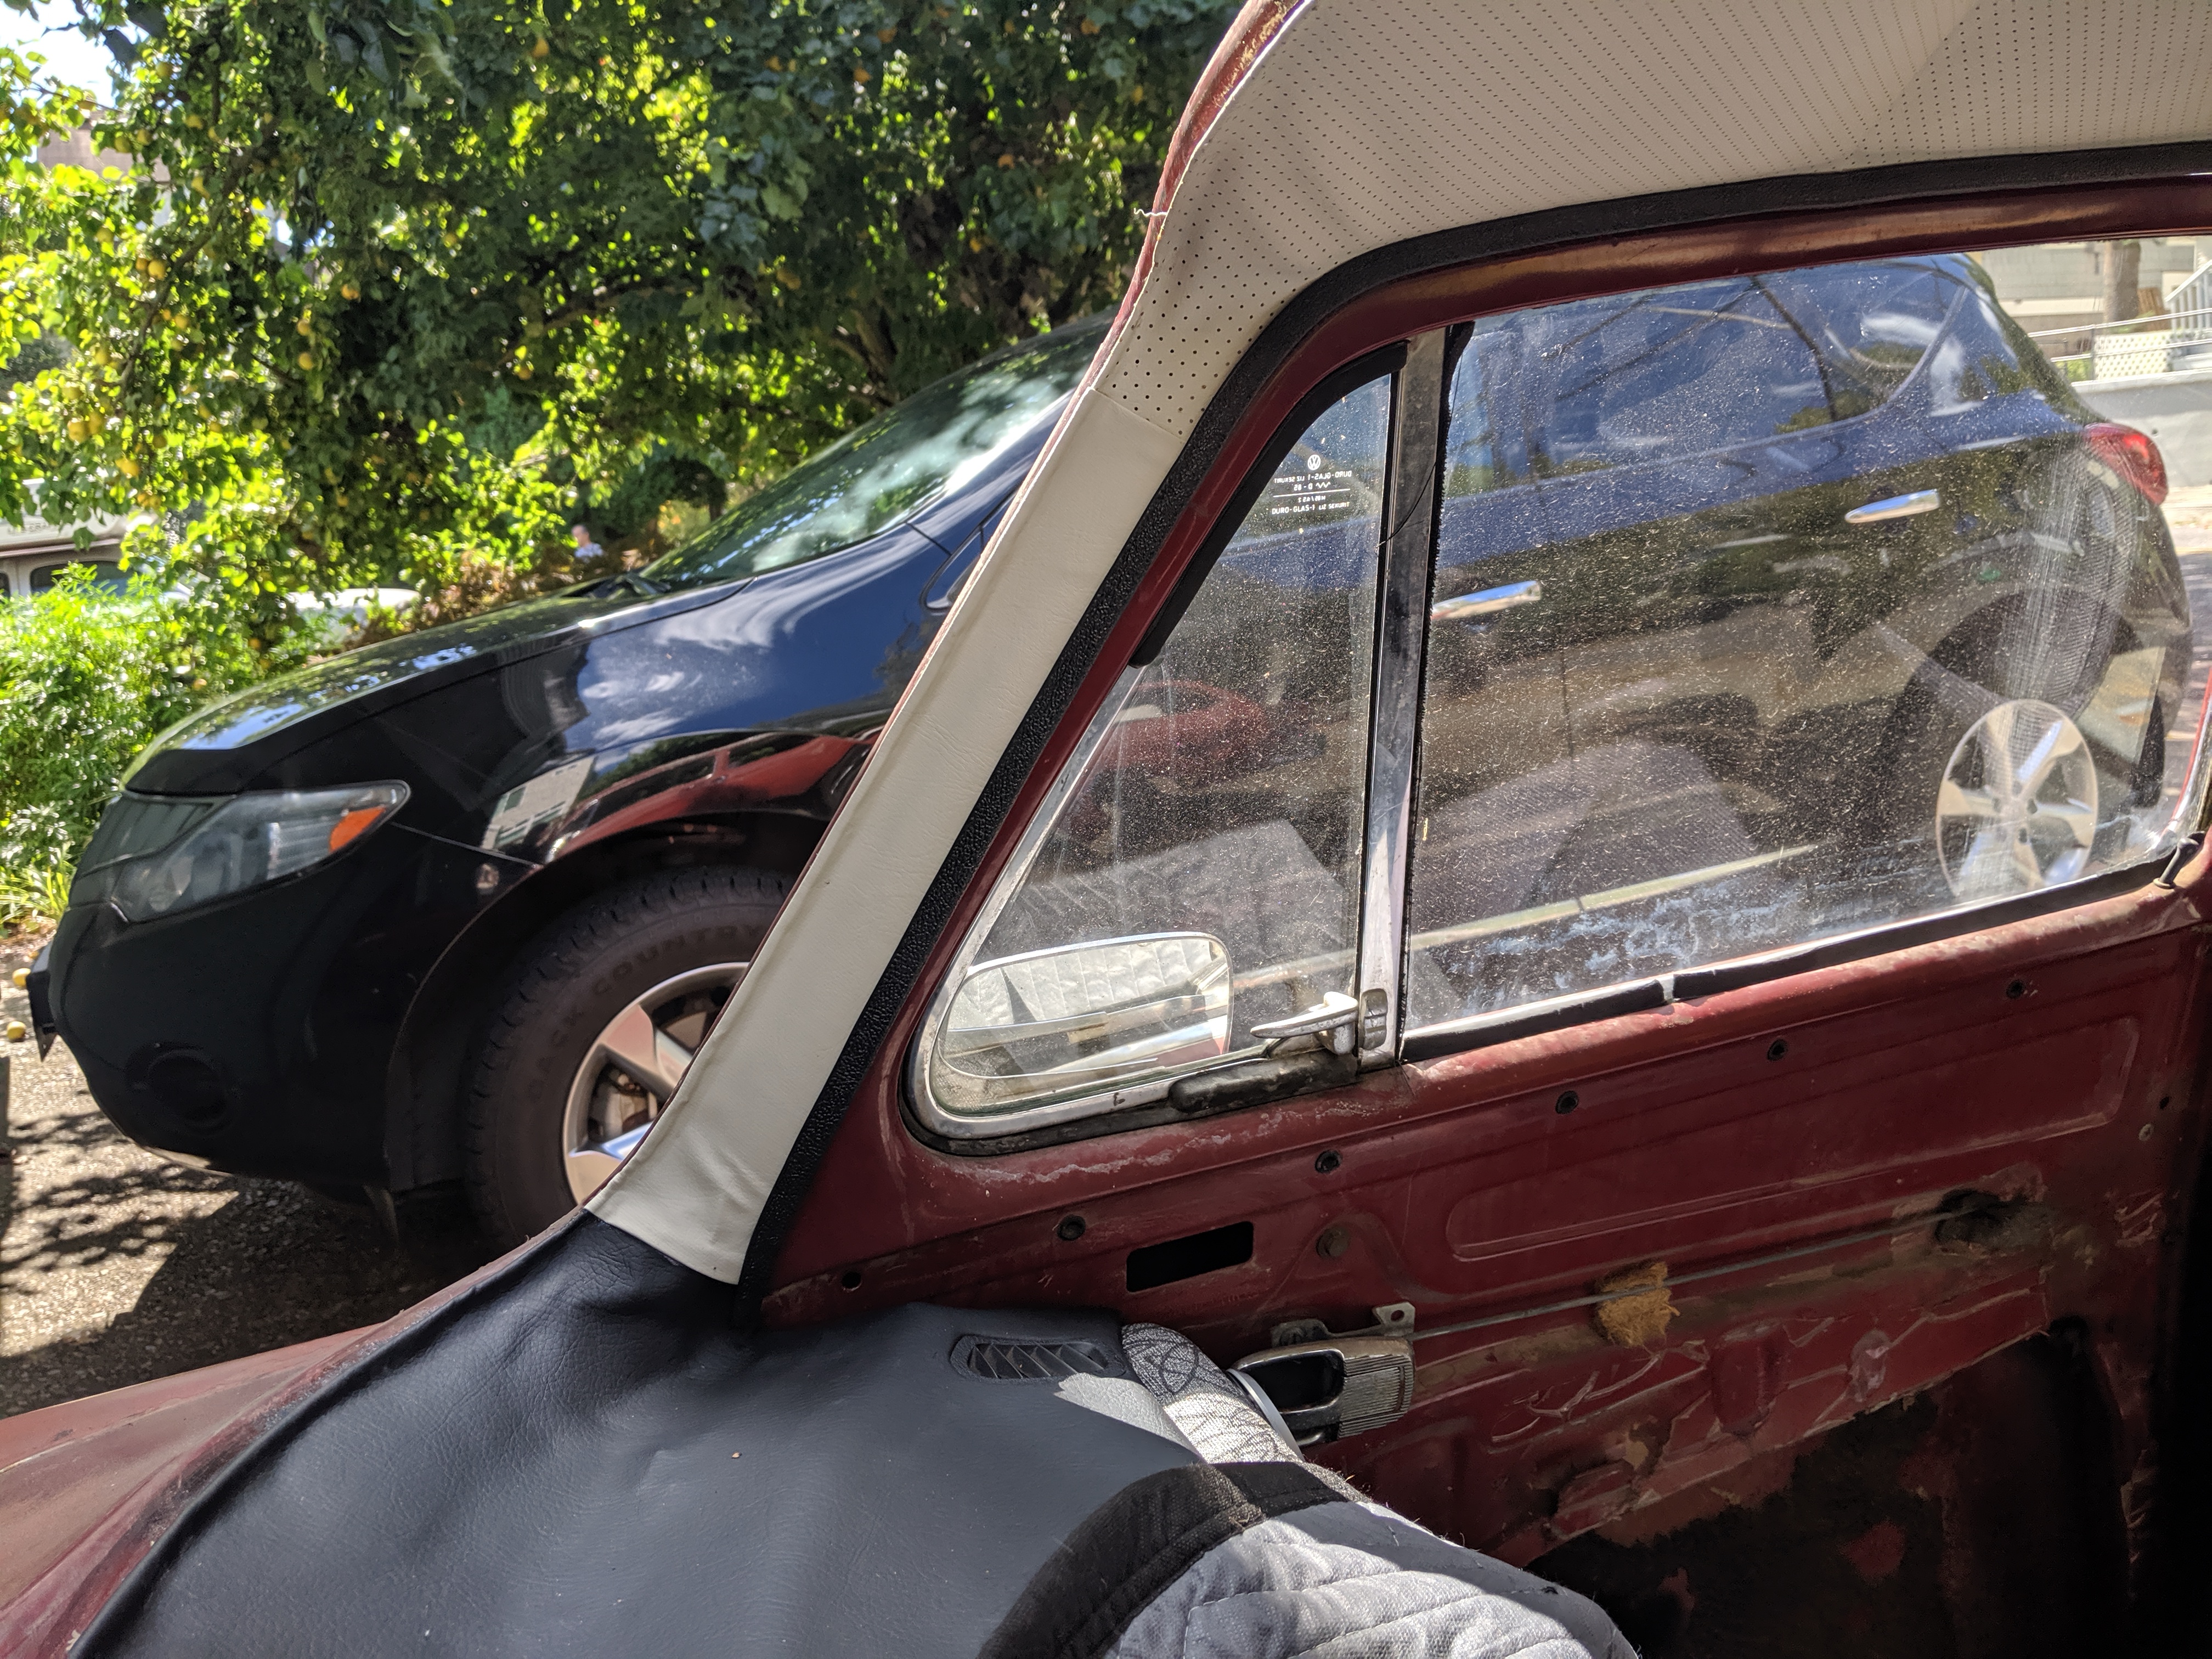
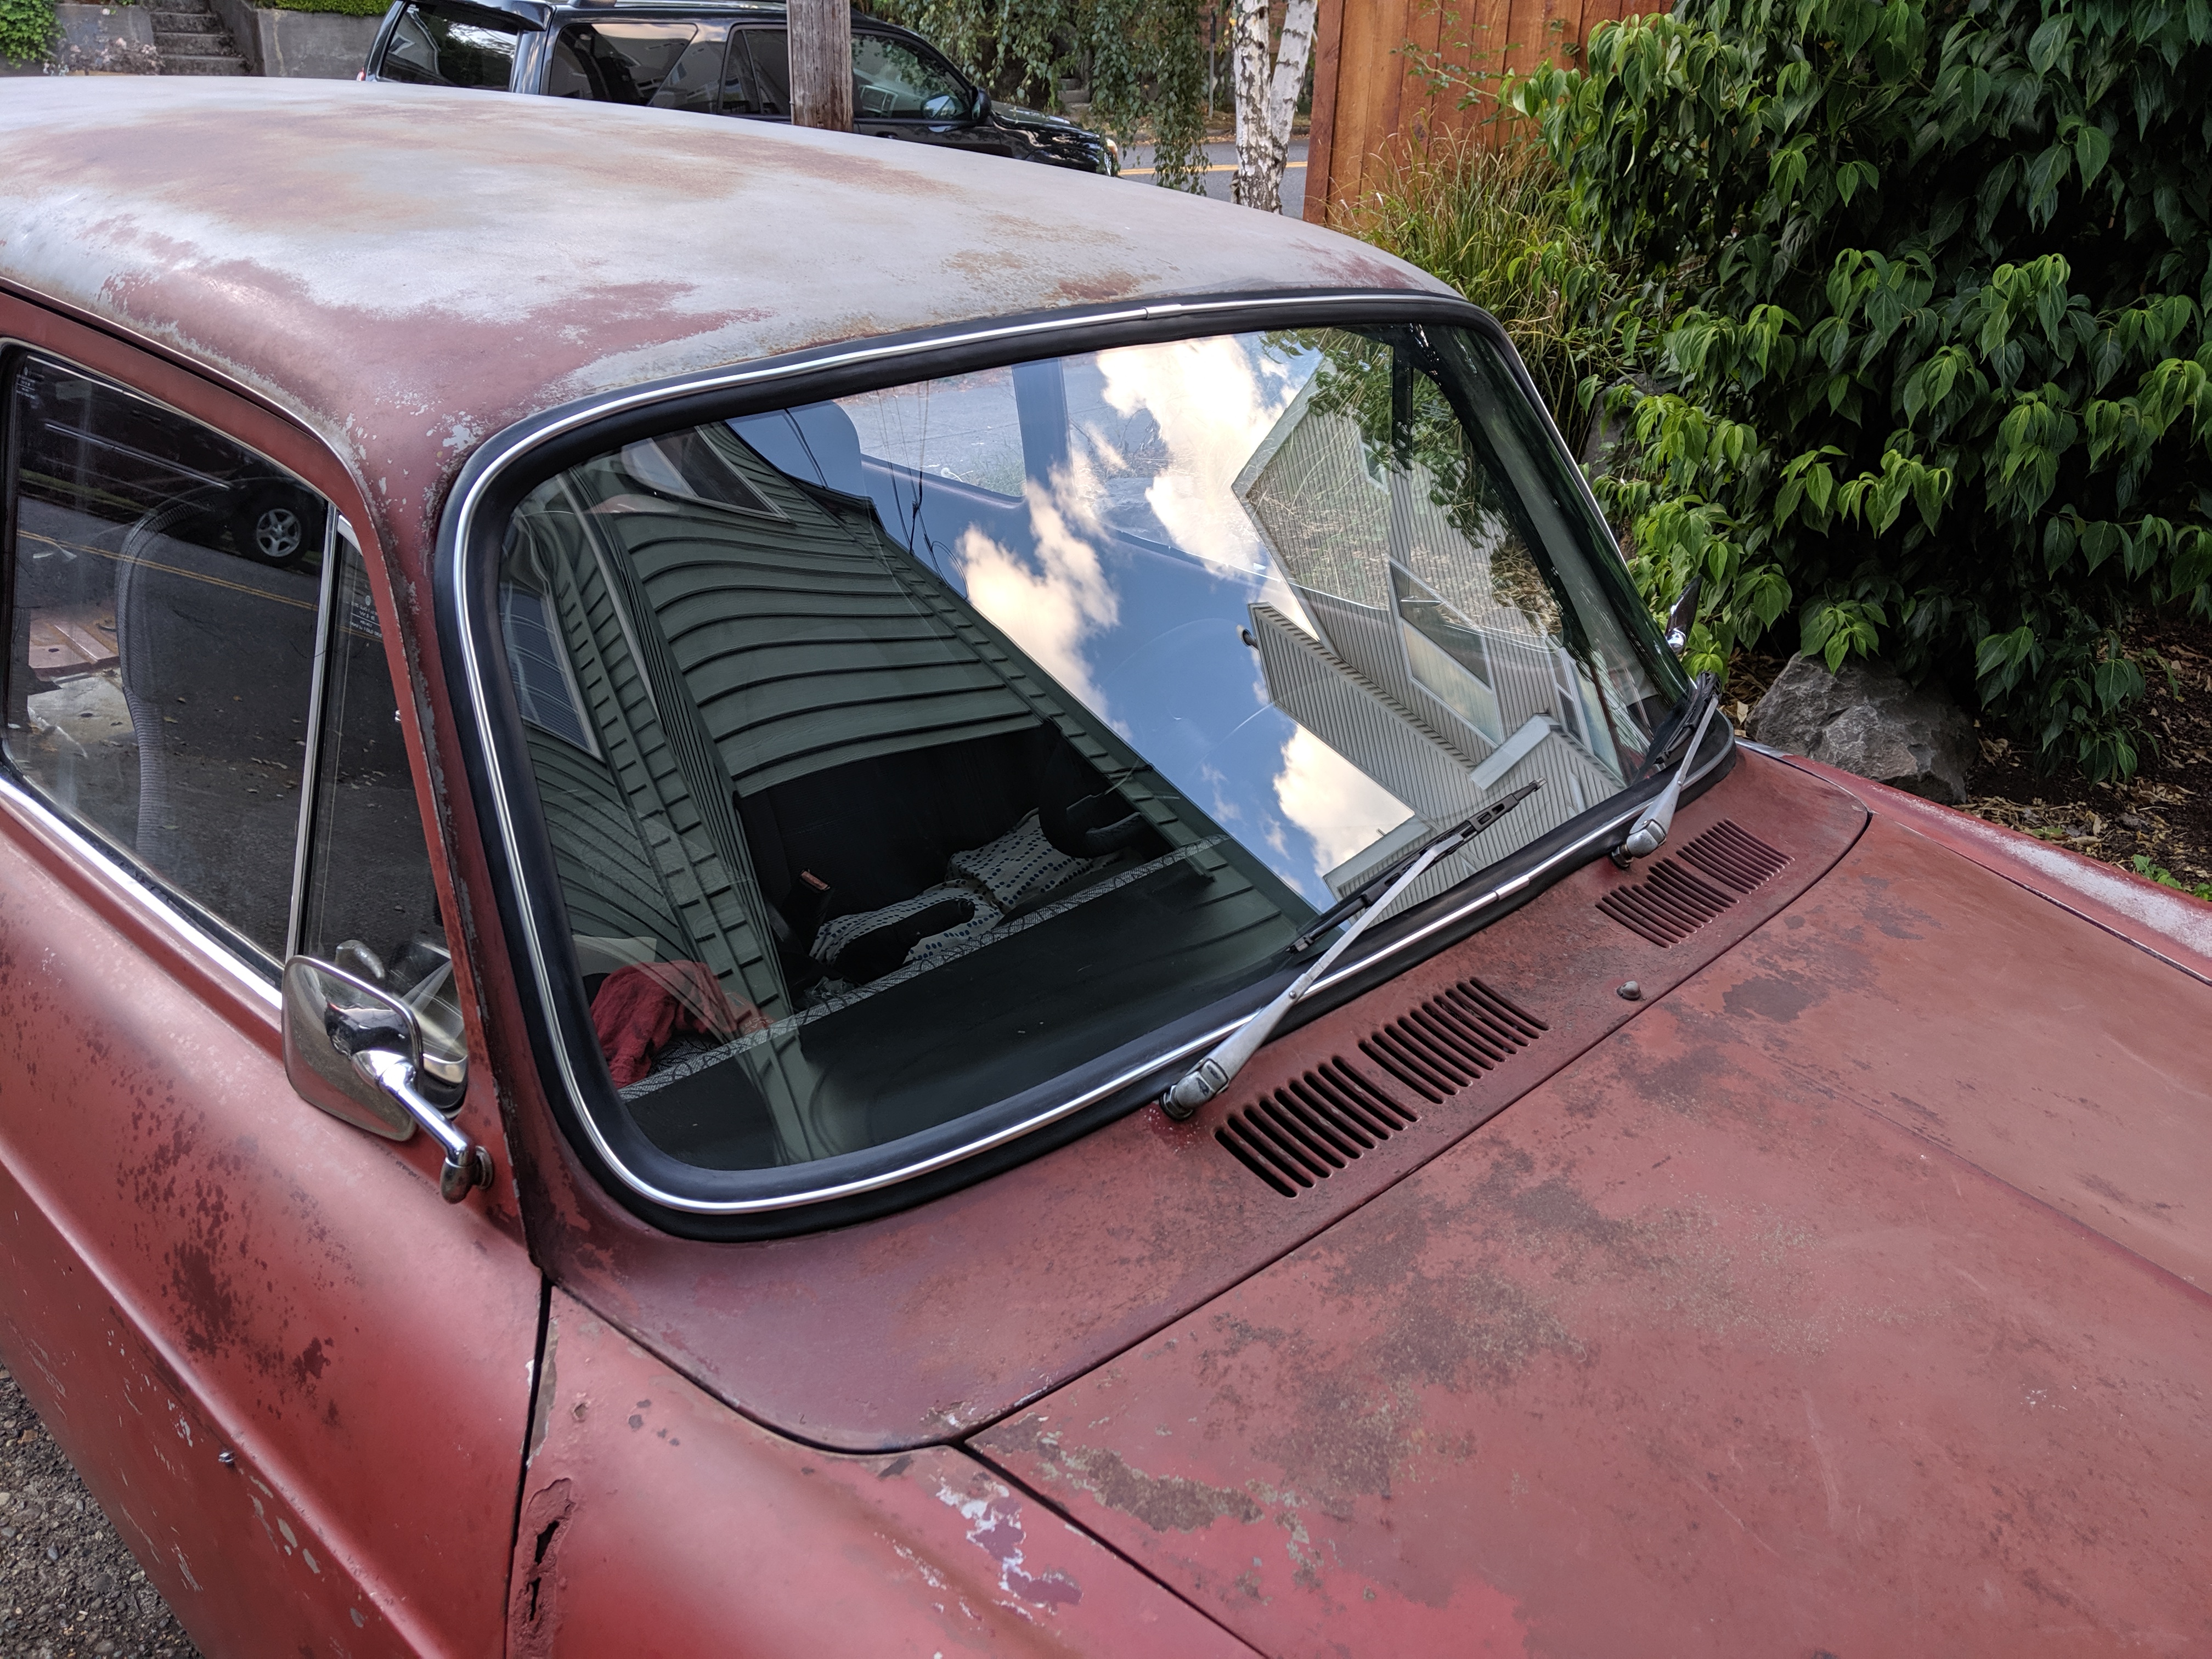
At least it looks good from the outside!
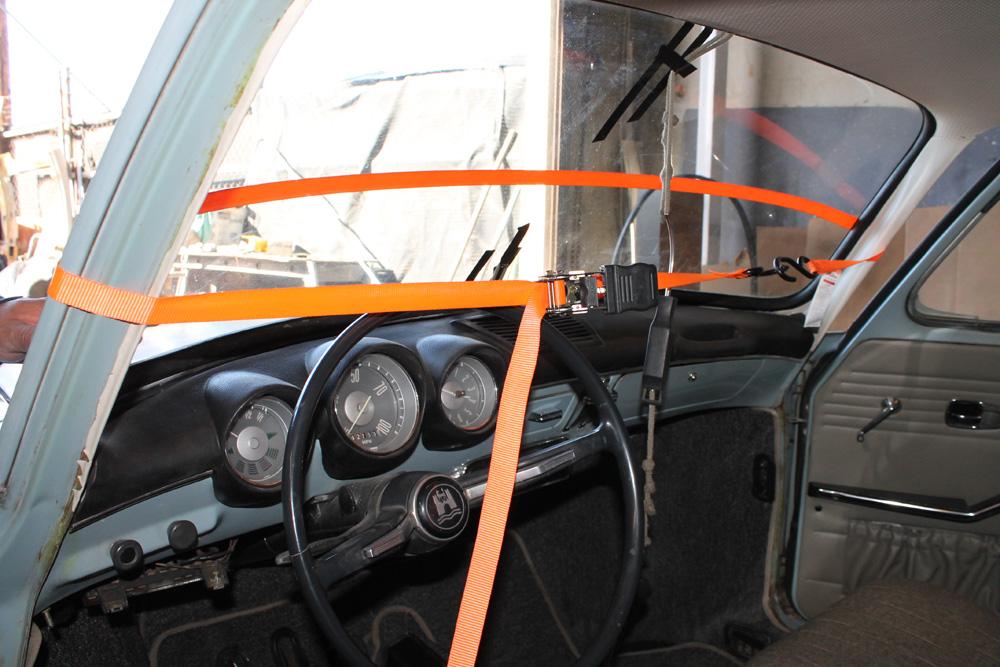
Interior work is harder than I thought it would be!
So, that should be enough instruction to help you get your windshield installed, right?? I should hope so!
Thanks for reading!