...this is a continuation of Part 1.
Again, I have to warn that everything I'm doing in this project is a first for me and that I don't really know what I'm doing. So please don't consider this as a definitive how-to for body work. I'm simply sharing my experience so others may learn from it.
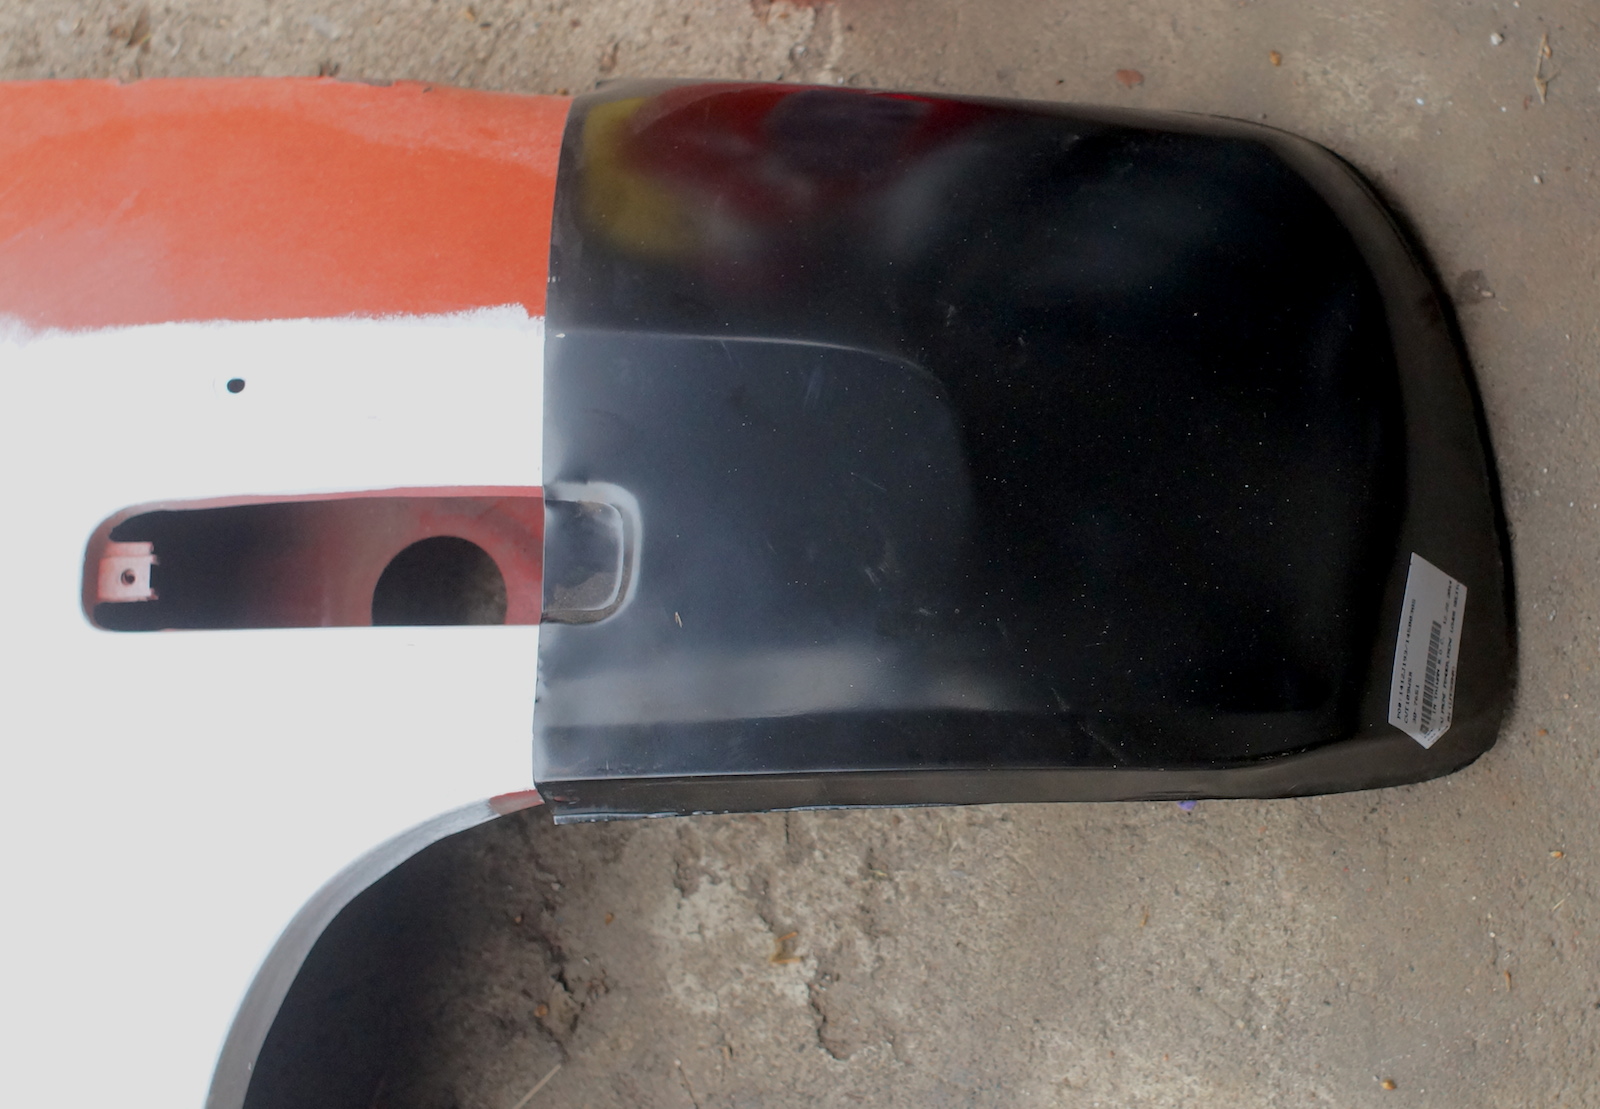
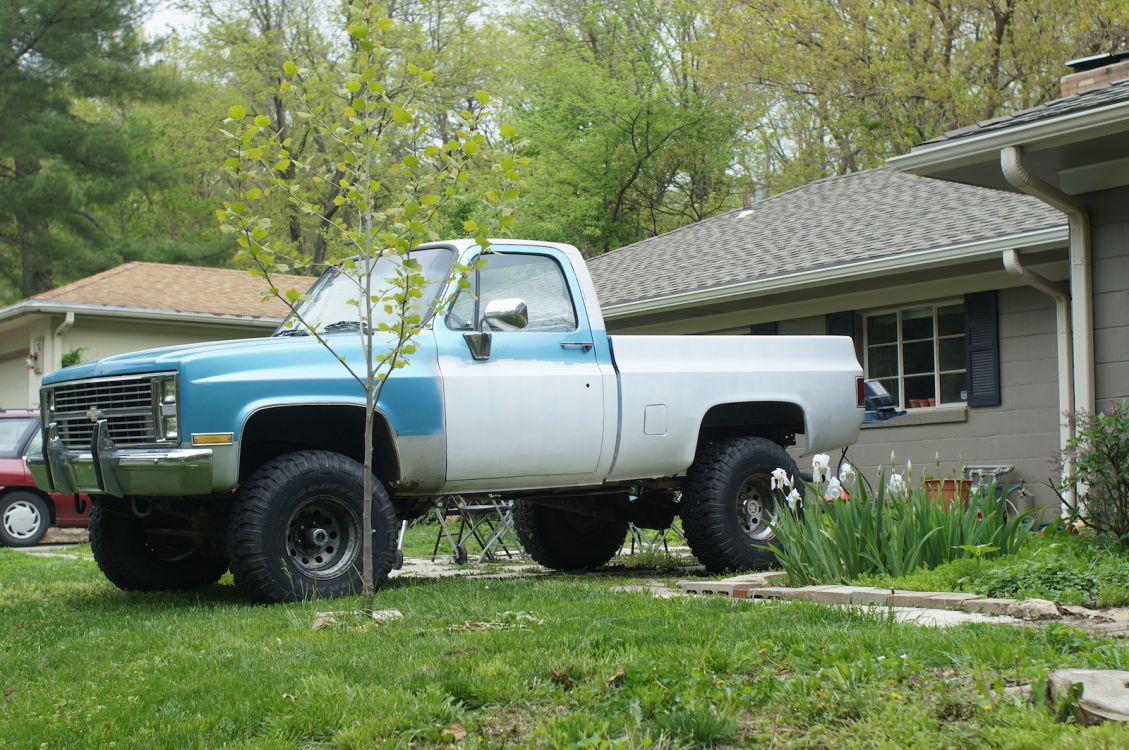
So I'm swapping front clips because I like the round eye headlight style and the fenders that will allow me to use the older style chrome trim. That's the plan. Here's the front clip I picked up of a 73 or 74 c20 camper truck:

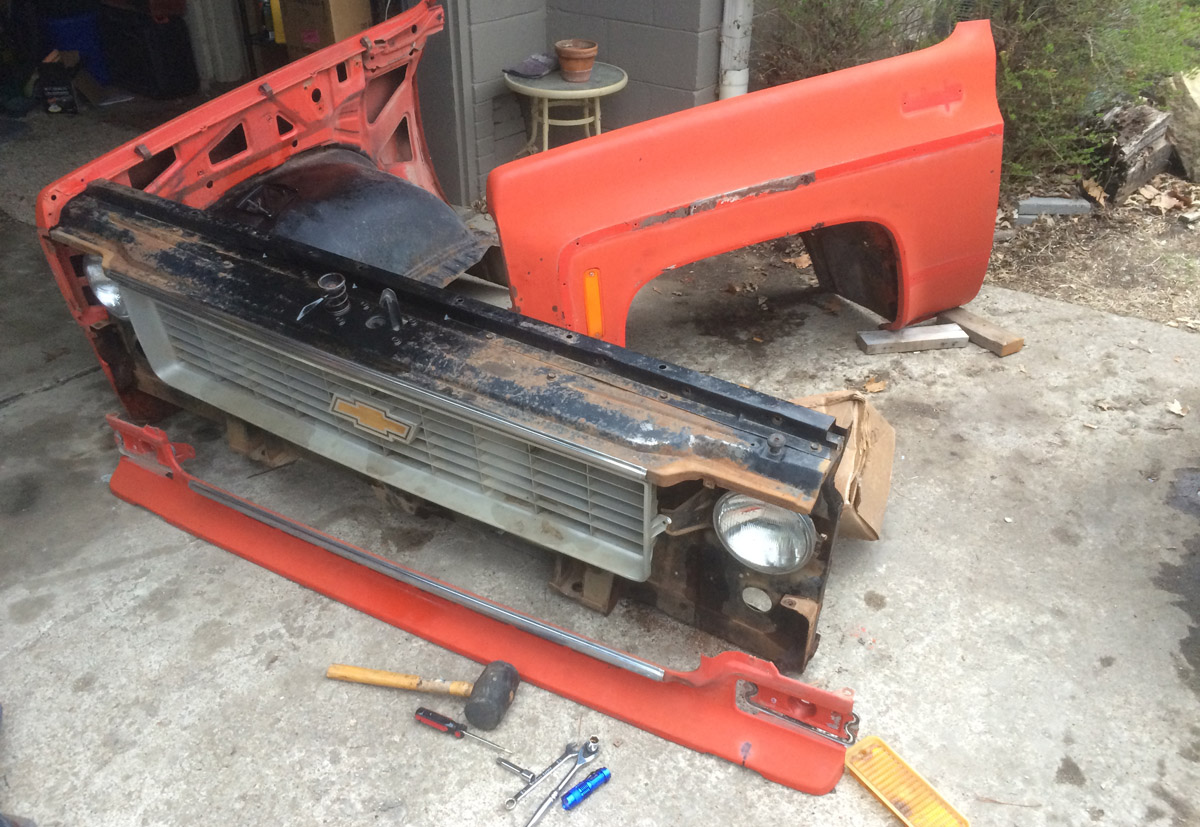
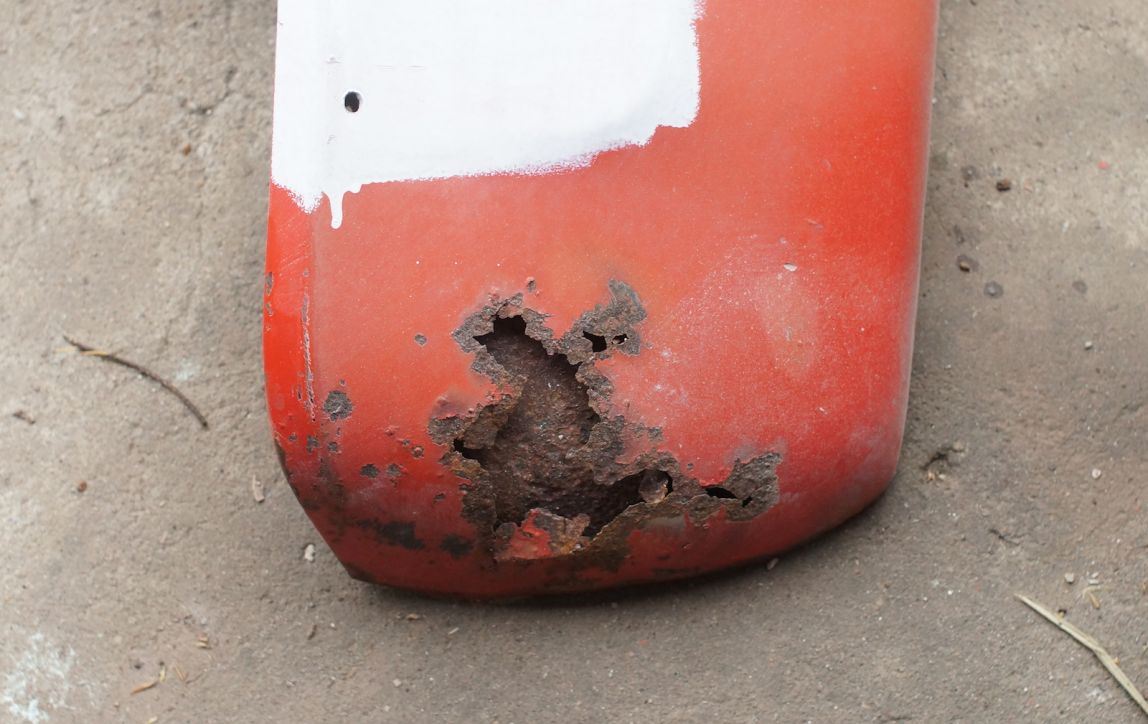
It's pretty rusty and is going to need a lot of work.
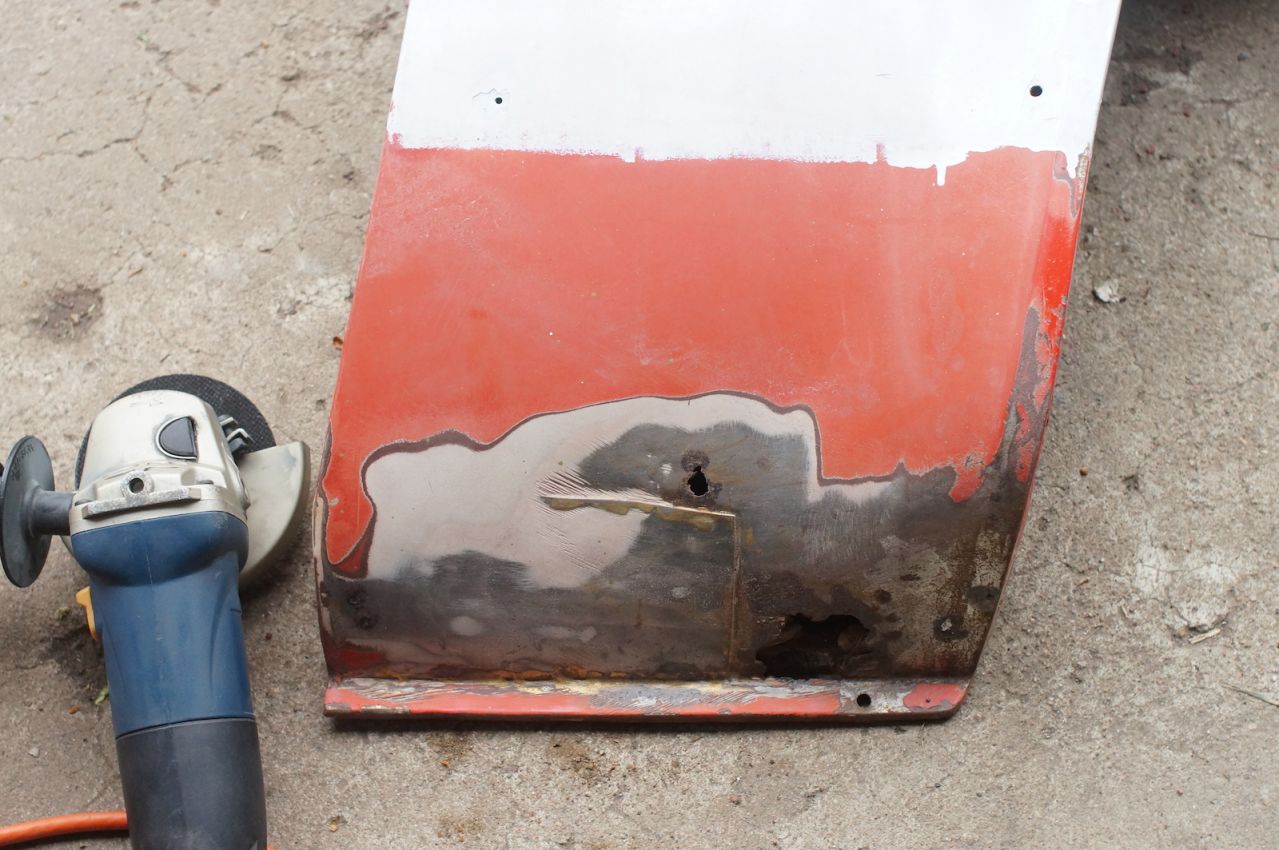
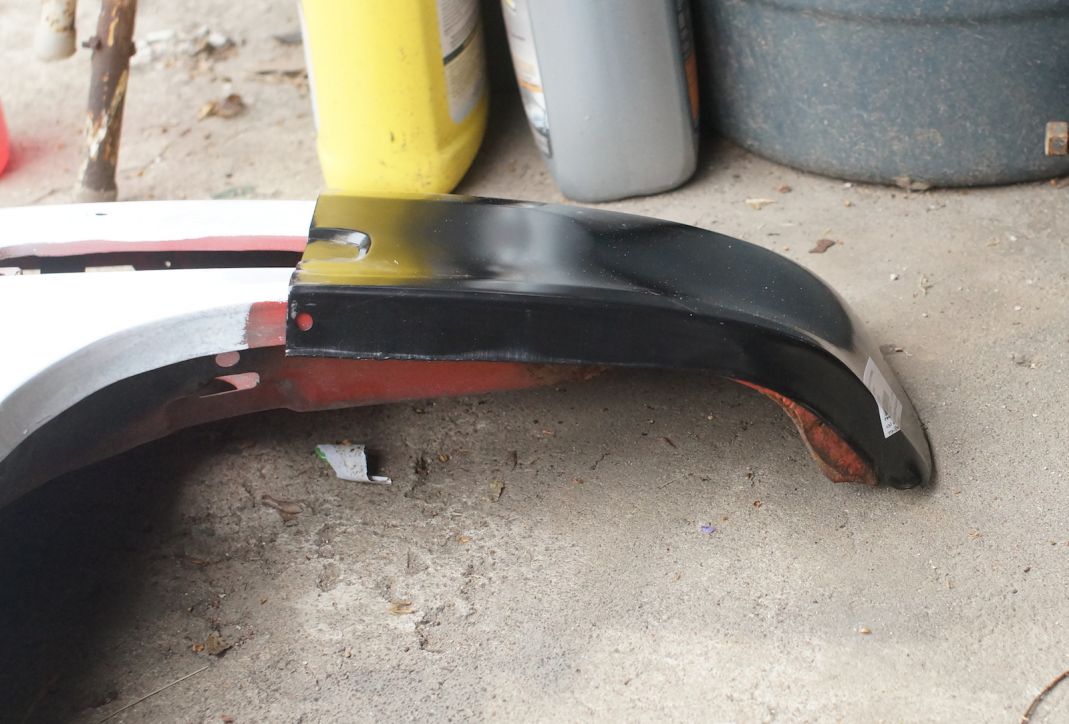

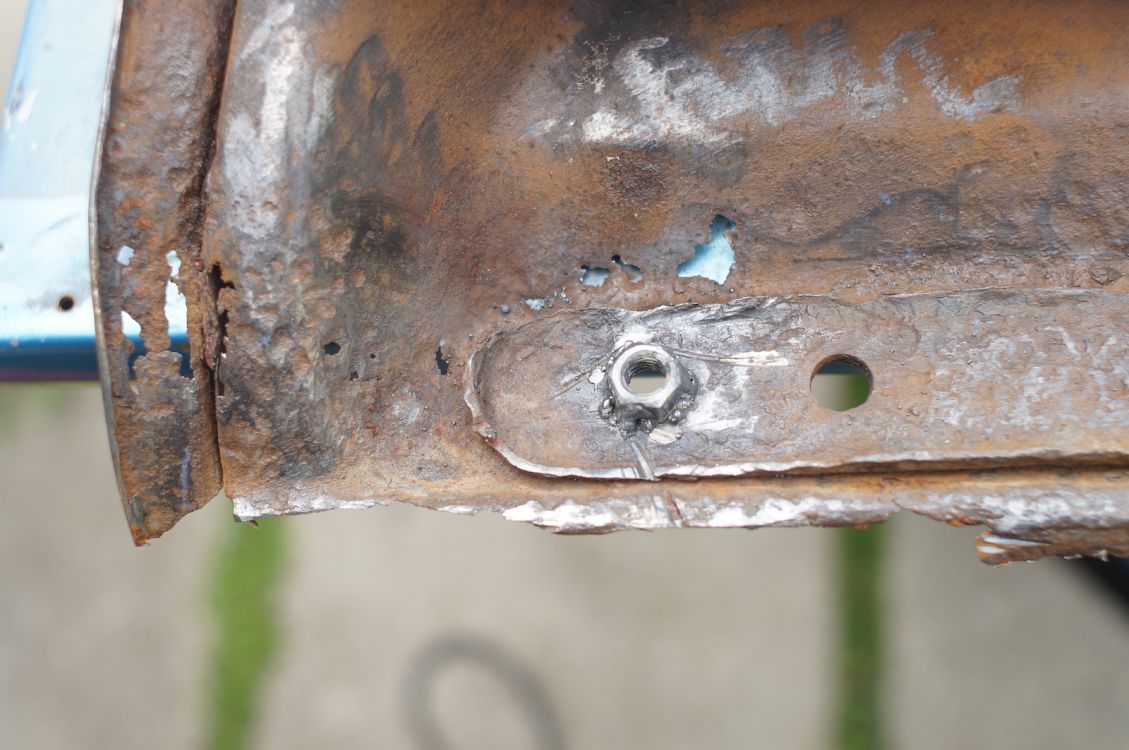
After cutting out that rust, I saw that a bolt was broken off inside the fender, looks like the bolt that bolts to the cab and gets shimmed to set the aligment. So I better get it fixed. I tried drilling it out tapping it, that didn't go so well.
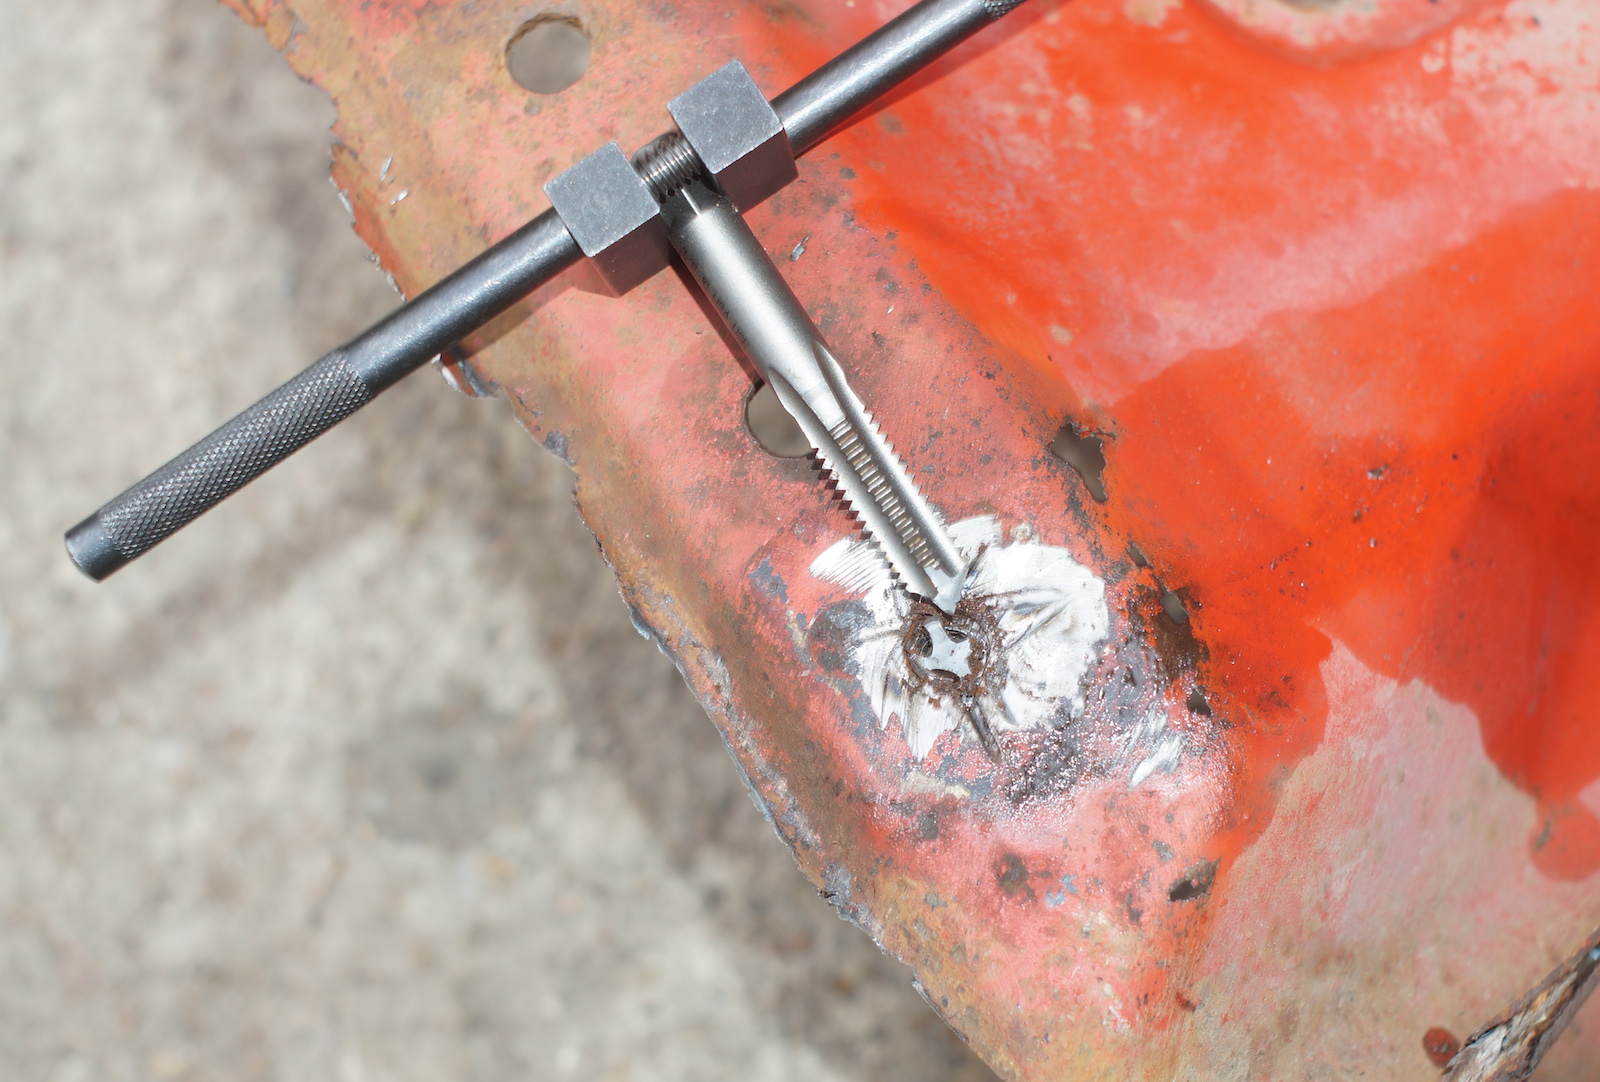
I'll have to weld on a new bung
I threw that body-panel adhesive crap in the trash and bought the real stuff.
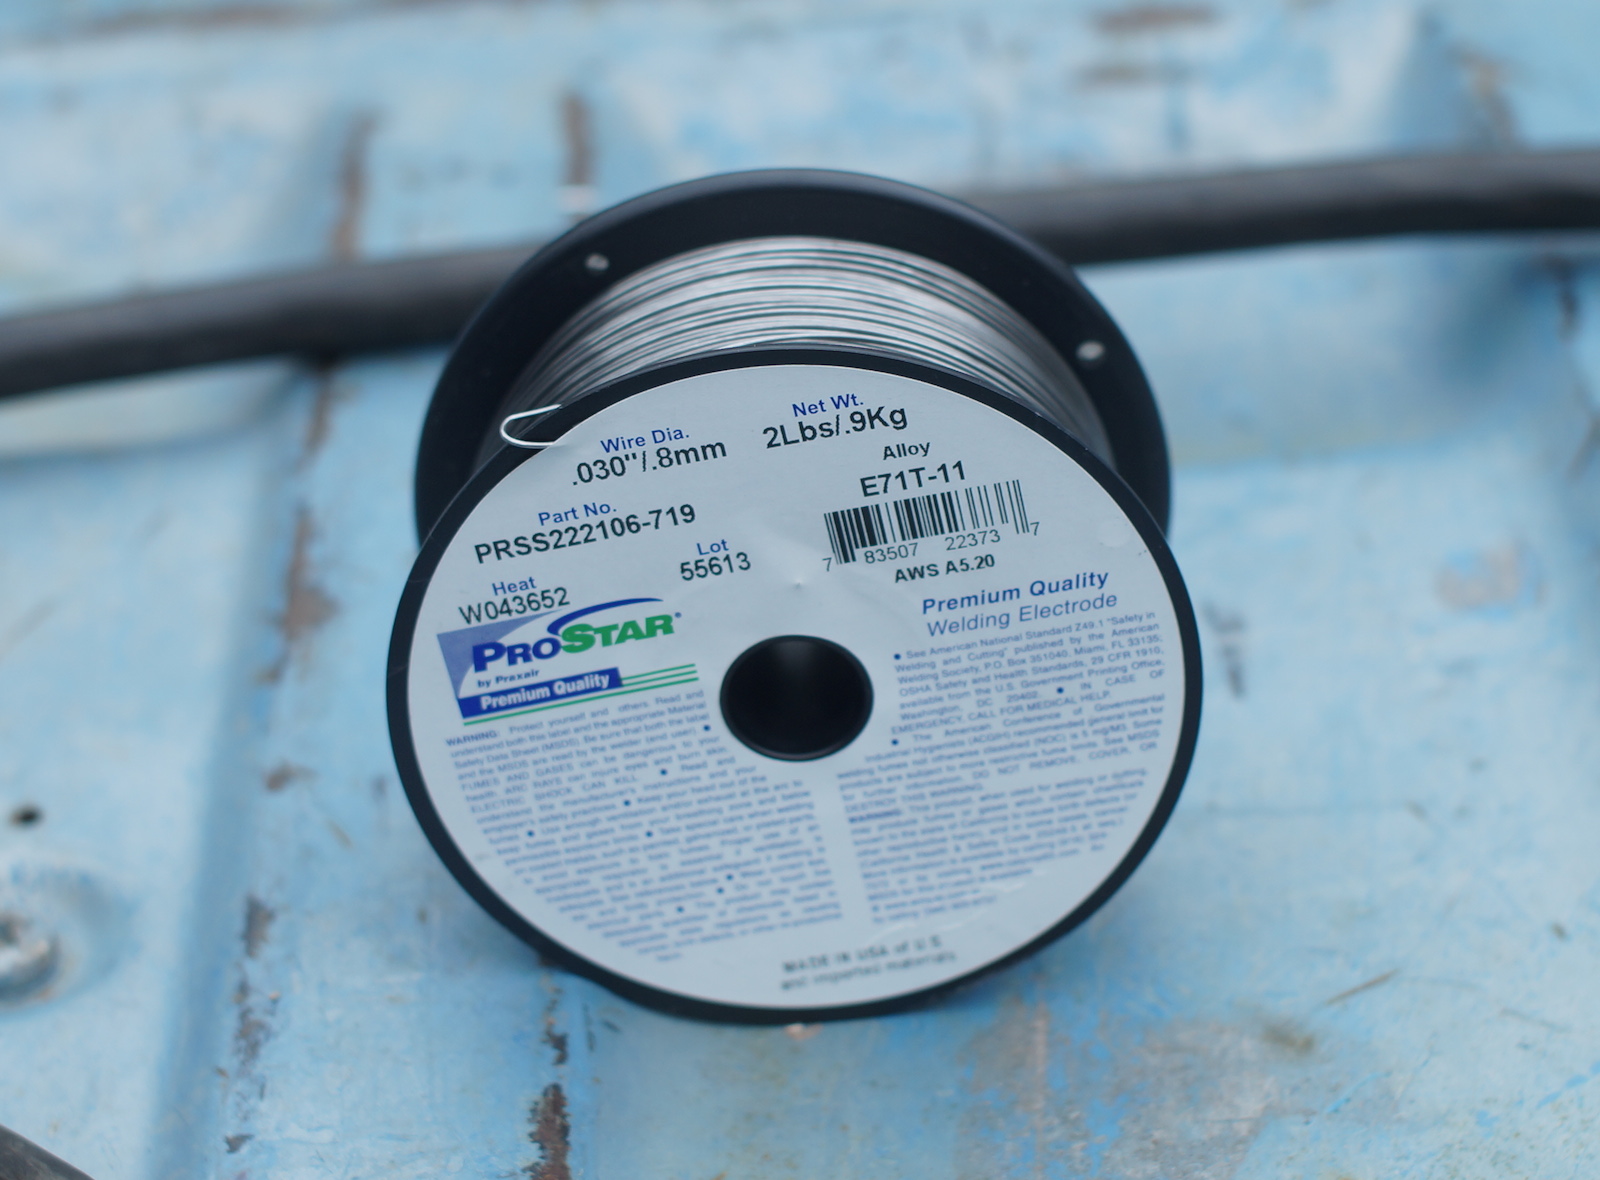
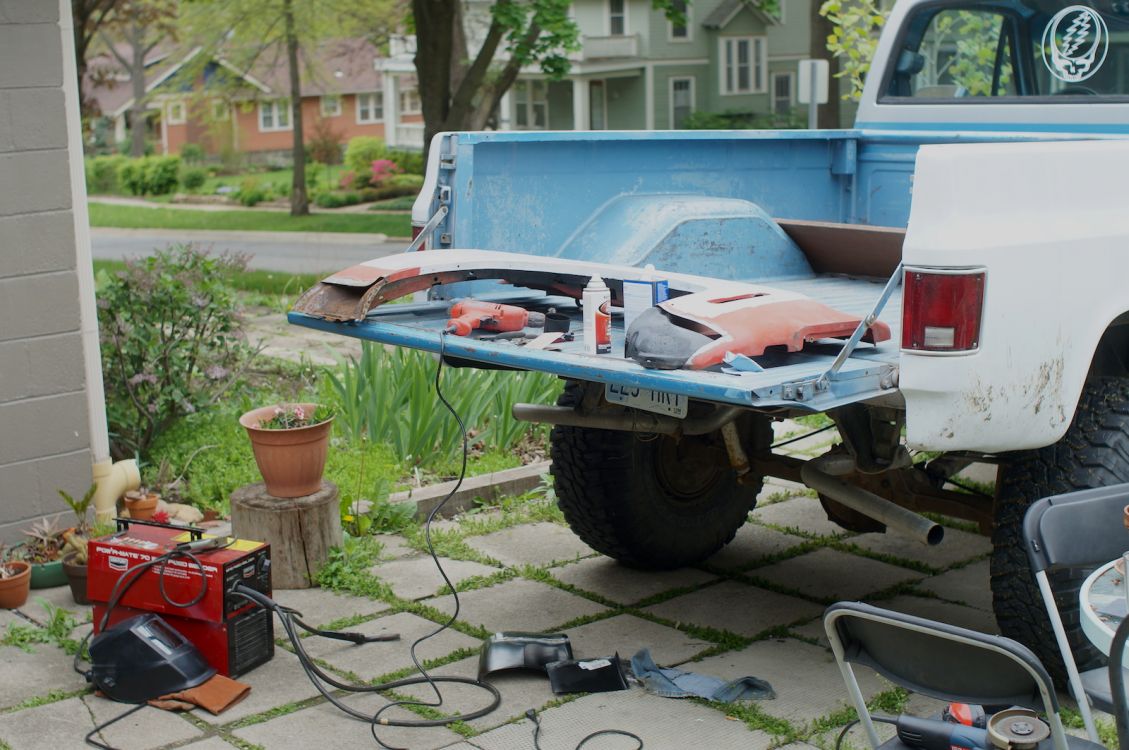
That's right, I went back to my friend's wire-feed welder. No gas, flux-core only. I'll just have to be careful. But first I needed a place to set up shop. The welder needs a 120v power outlet with ground (or else the motor will blow, my friend says) and there were none in the garage (that's filled with motorcycles and a s10 cab). So I backed up the truck to the front door and ran an extension cord out of it! Haha. Hopefully the neighbors don't call the cops again for "parking on an unimproved surface".
Remember when I tried repairing a stuck bolt, but the tap broke off in it? I ground off the bung, so the first order of business was to weld on a new one.
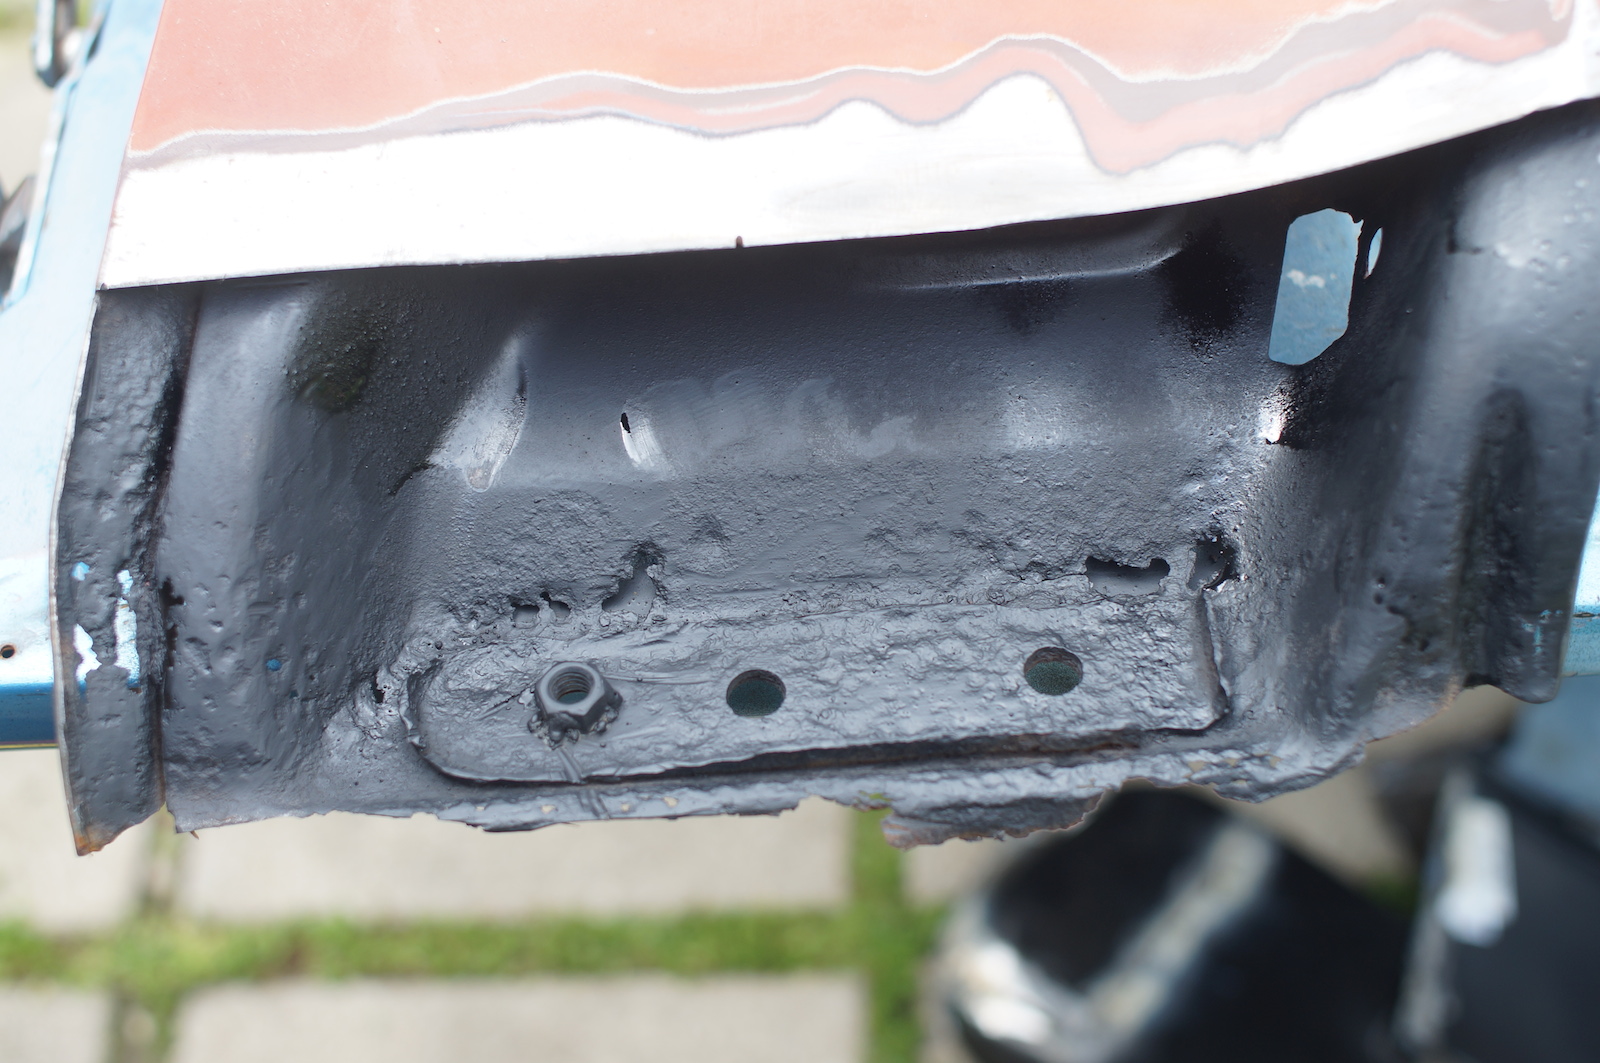
Then everything inside got a heavy coat of rusoleam "rust reformer", I don't know if it's worth shit but it's better than nothing.
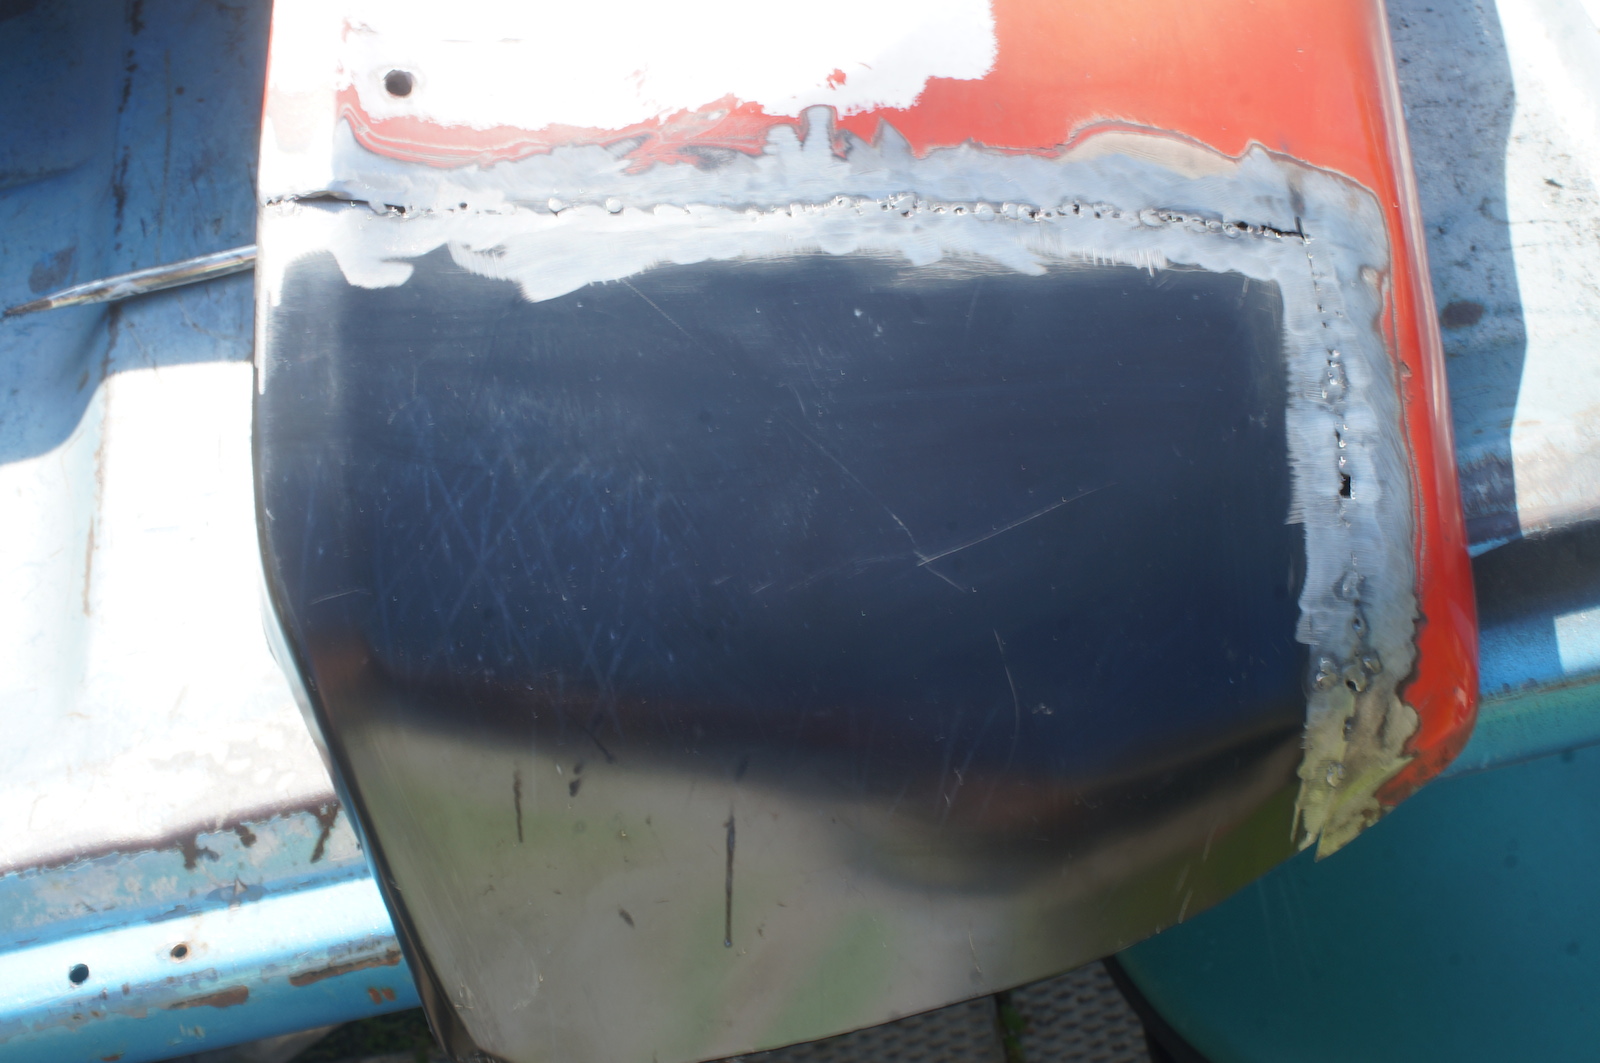
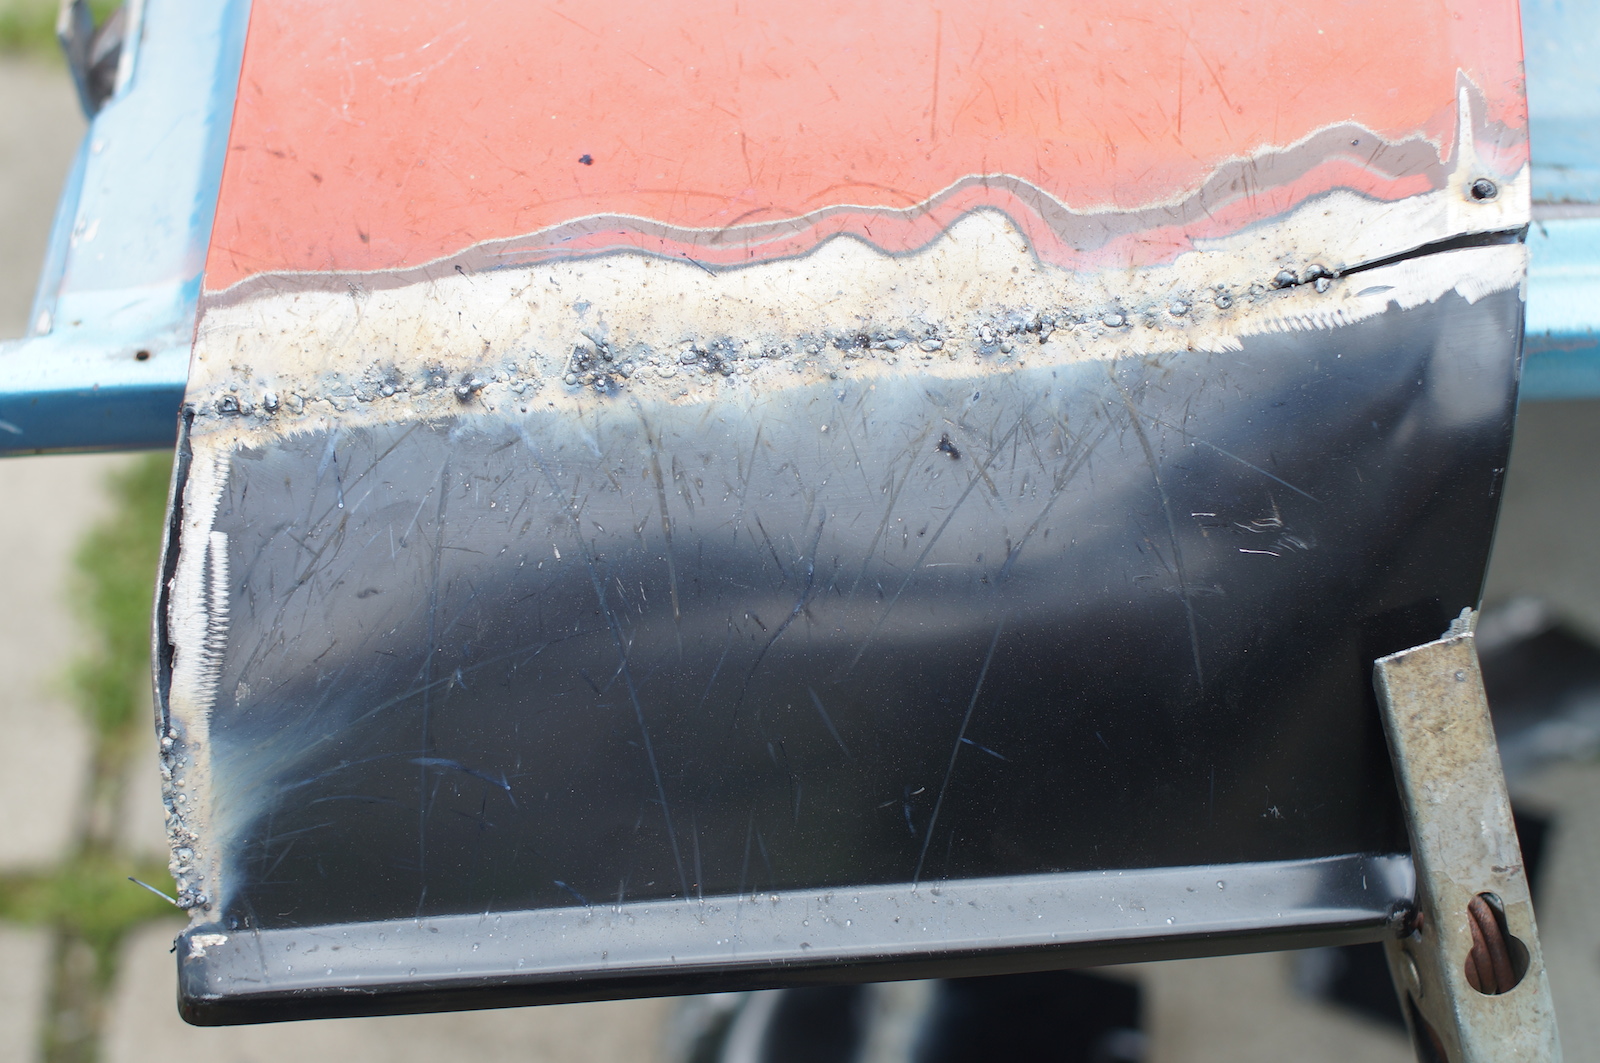
Now it's time to weld. I practiced on a butt weld and a lap weld first, the butt weld was much better so thats what I did. The harder part was all the grinding and fitting, not the welding. By the fourth patch panel I was pretty good at it, but below is my first attempt, it's going to need some filler in those gaps...
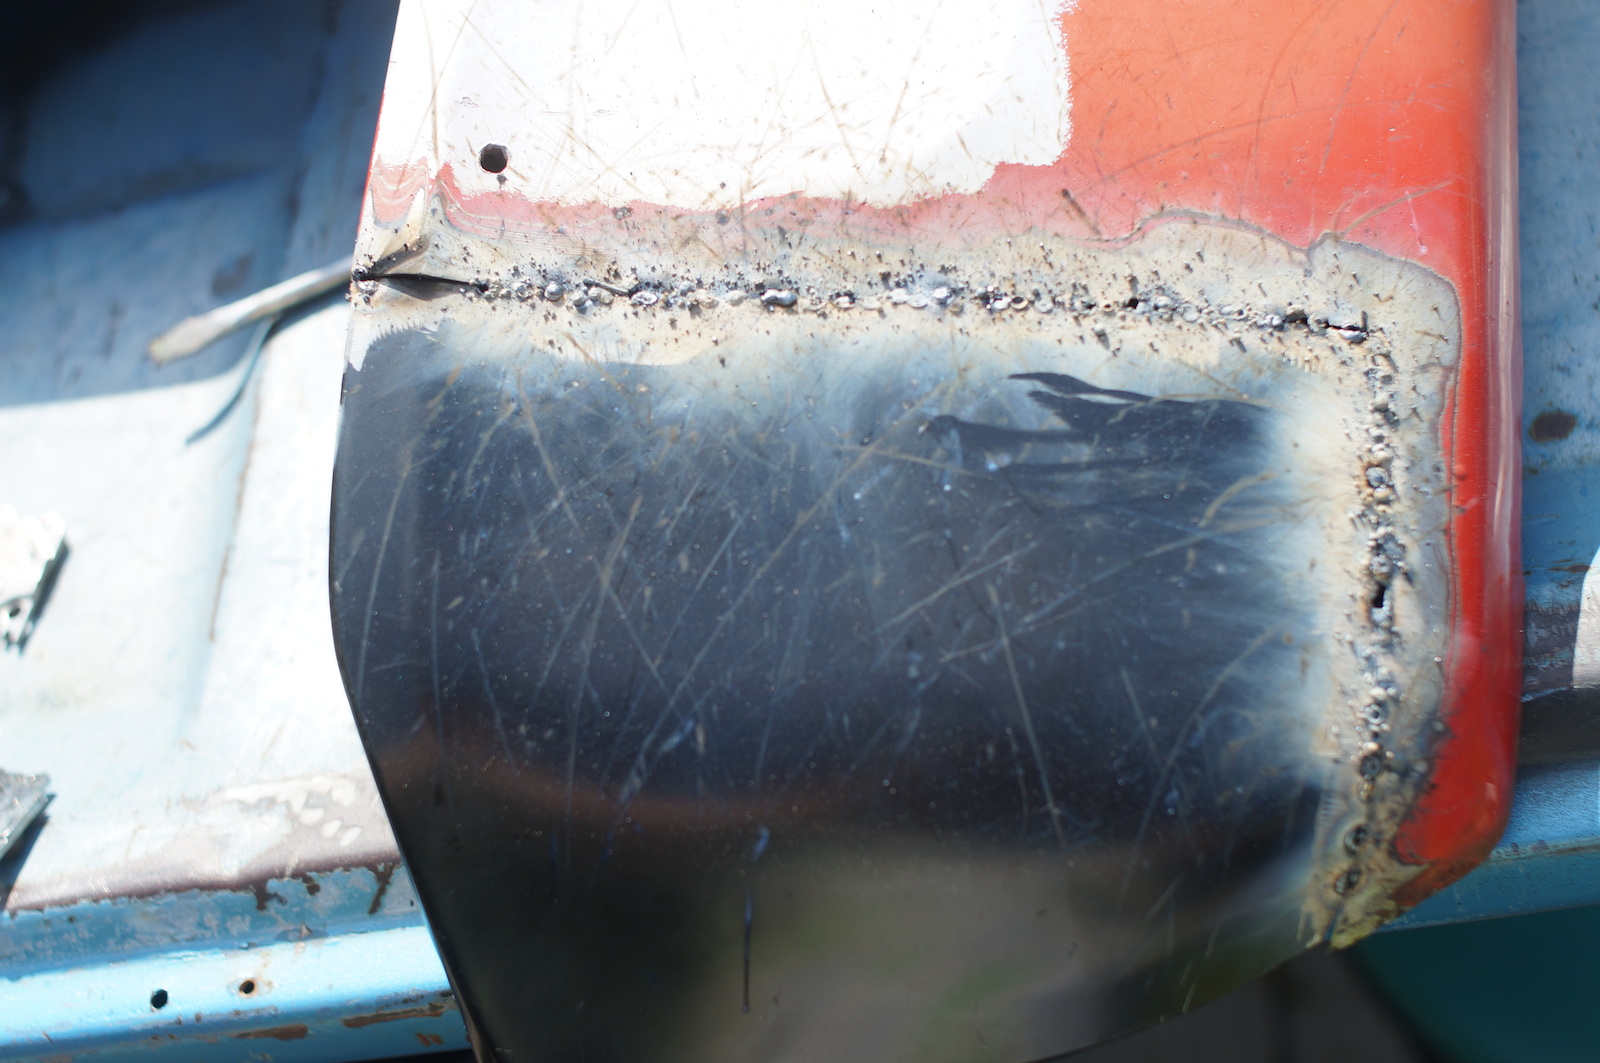
The other side:
After some grinding you can see where the welder blew through, that was more of a problem where the gaps between panels where too large.