In my last article, I showed you how I cut a Miata in half. Now I have to start putting it back together again. (And if you didn't know, I'm doing this to make a custom chassis for my classic Beetle.)
And I have a youtube video! Check it out:
That explains most of it. but I'll add some supplementary photos and descriptions.
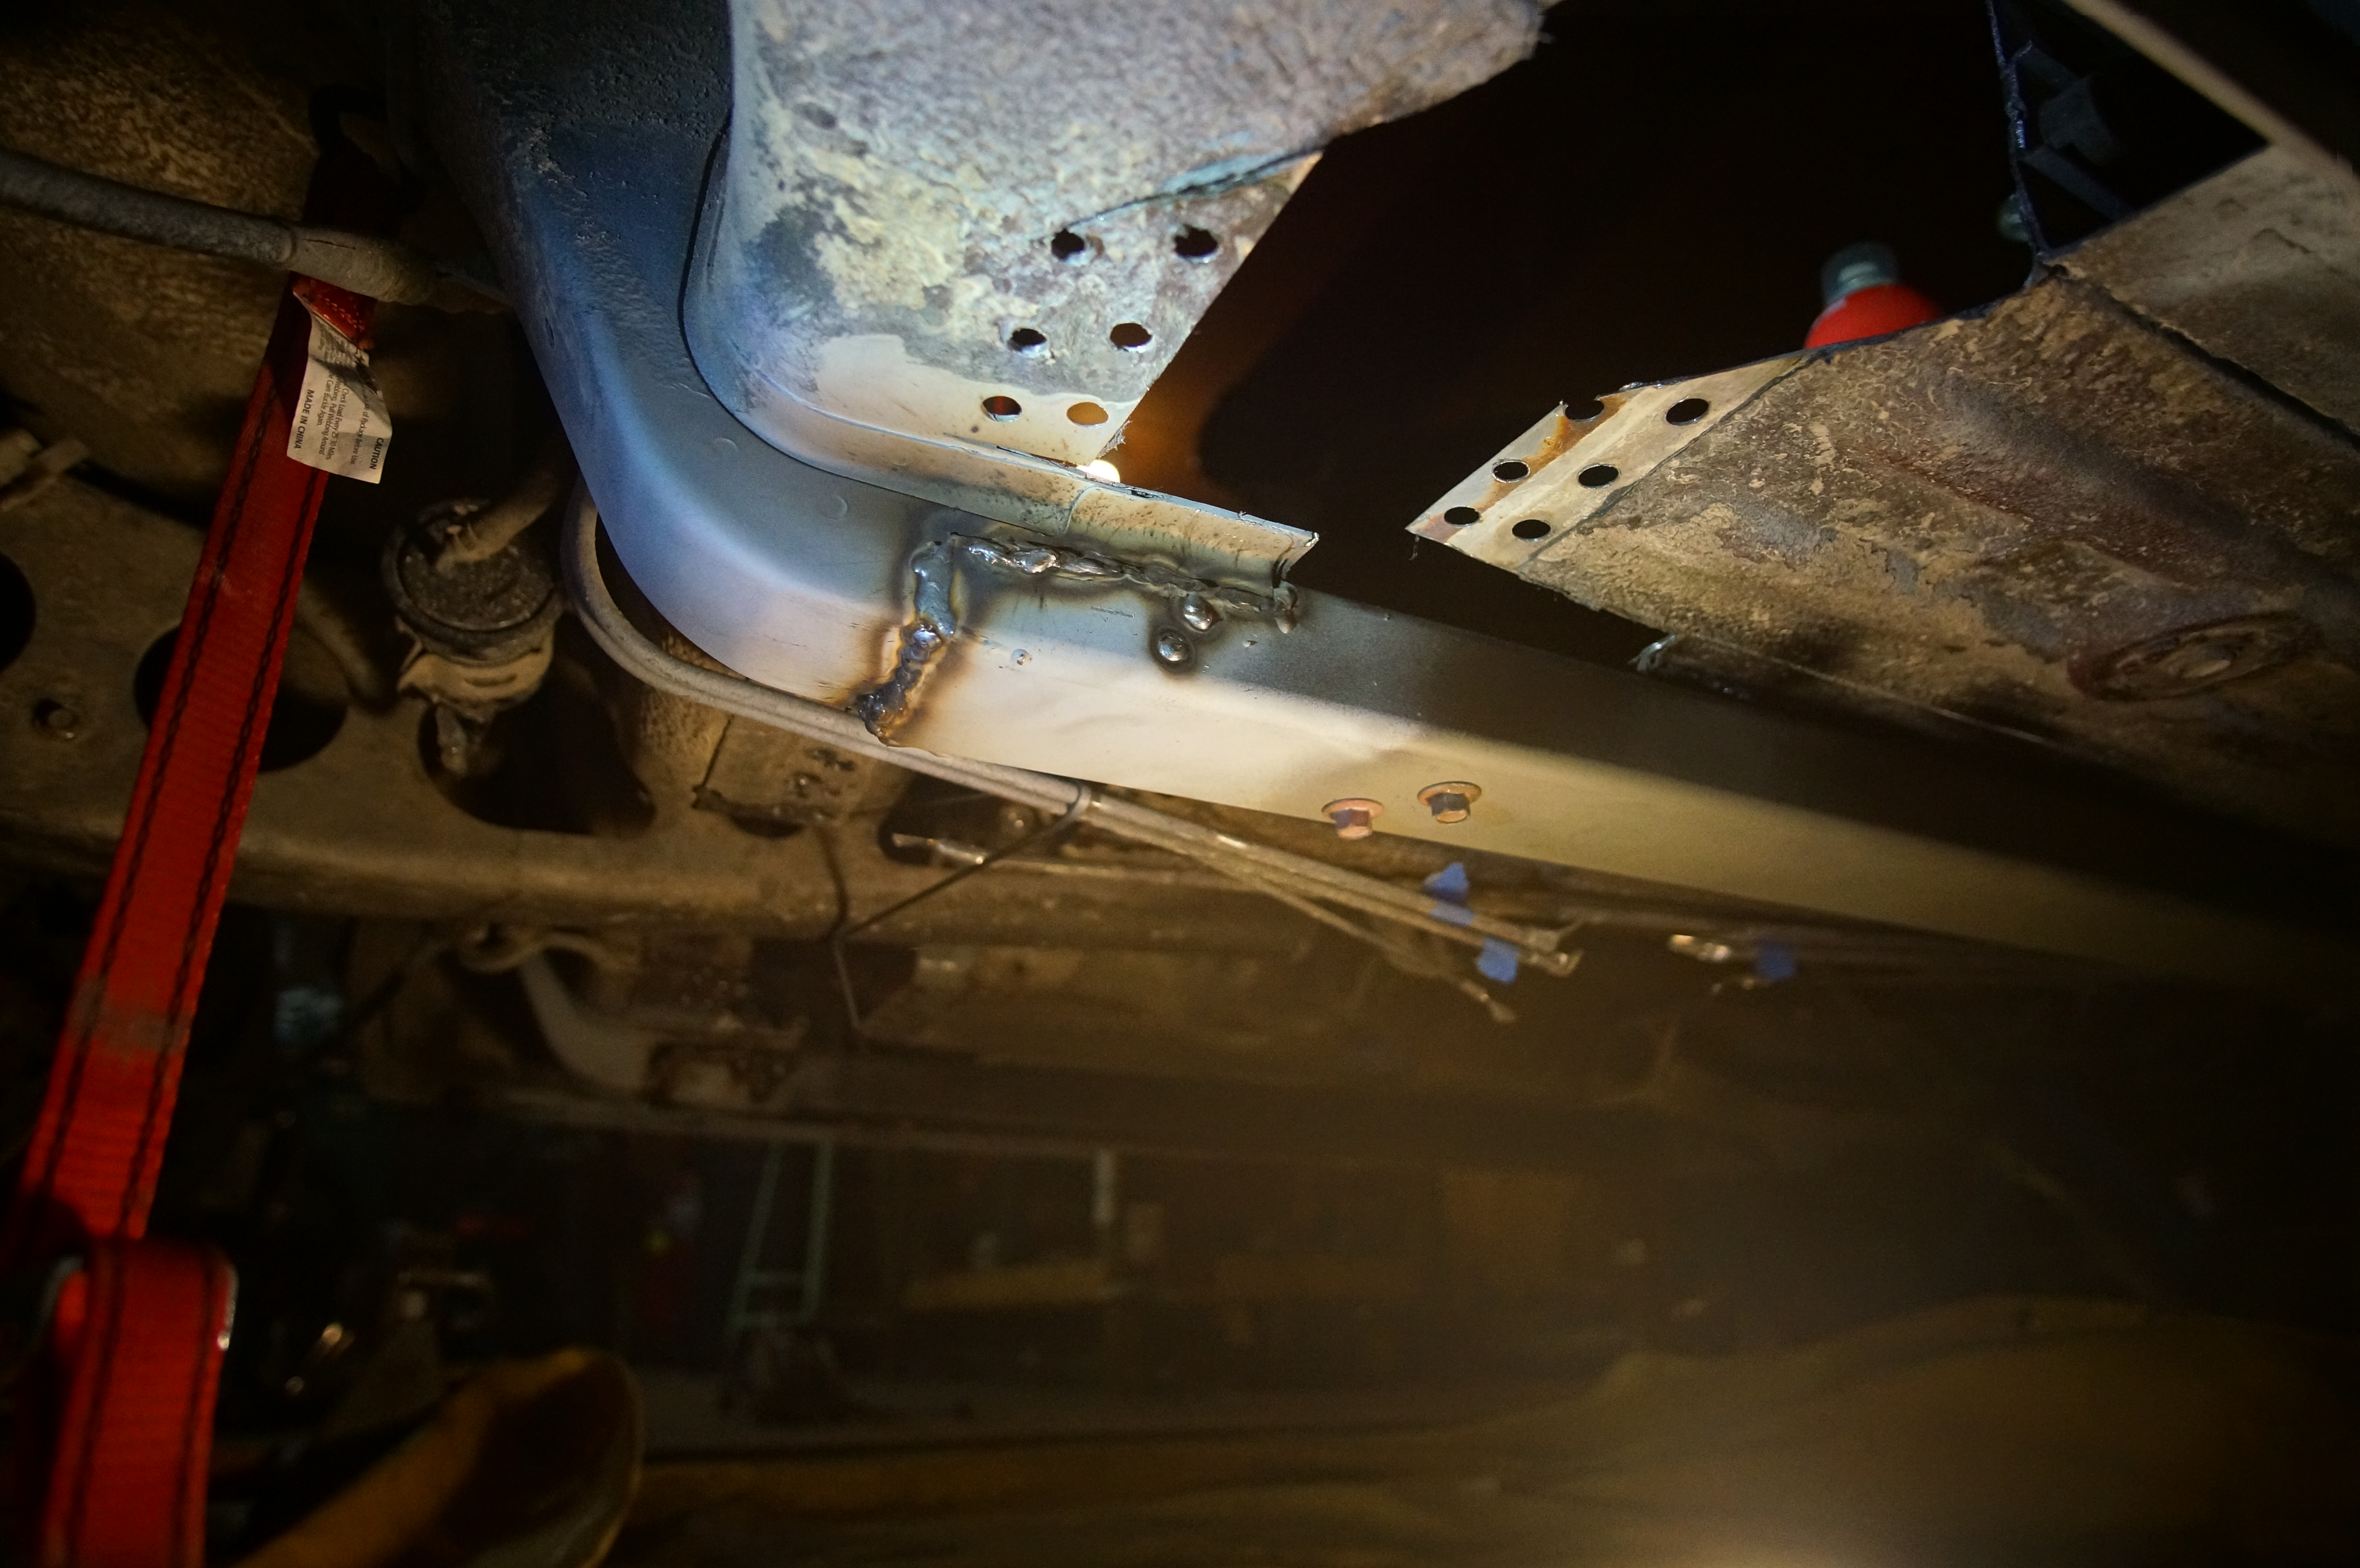
The idea is that I need to connect the front and rear unibody chassis rails, that the suspension and engine bolts to in the front and the rear subframe bolts to in the rear. That job was occomplished with the Miata's door sills, but those have to be cut off before the Beetle body can be droped on top. So I chose to use 2"x3"x0.125" box tube steel - frame rails! And I welded them to the front and rear chassis rails.
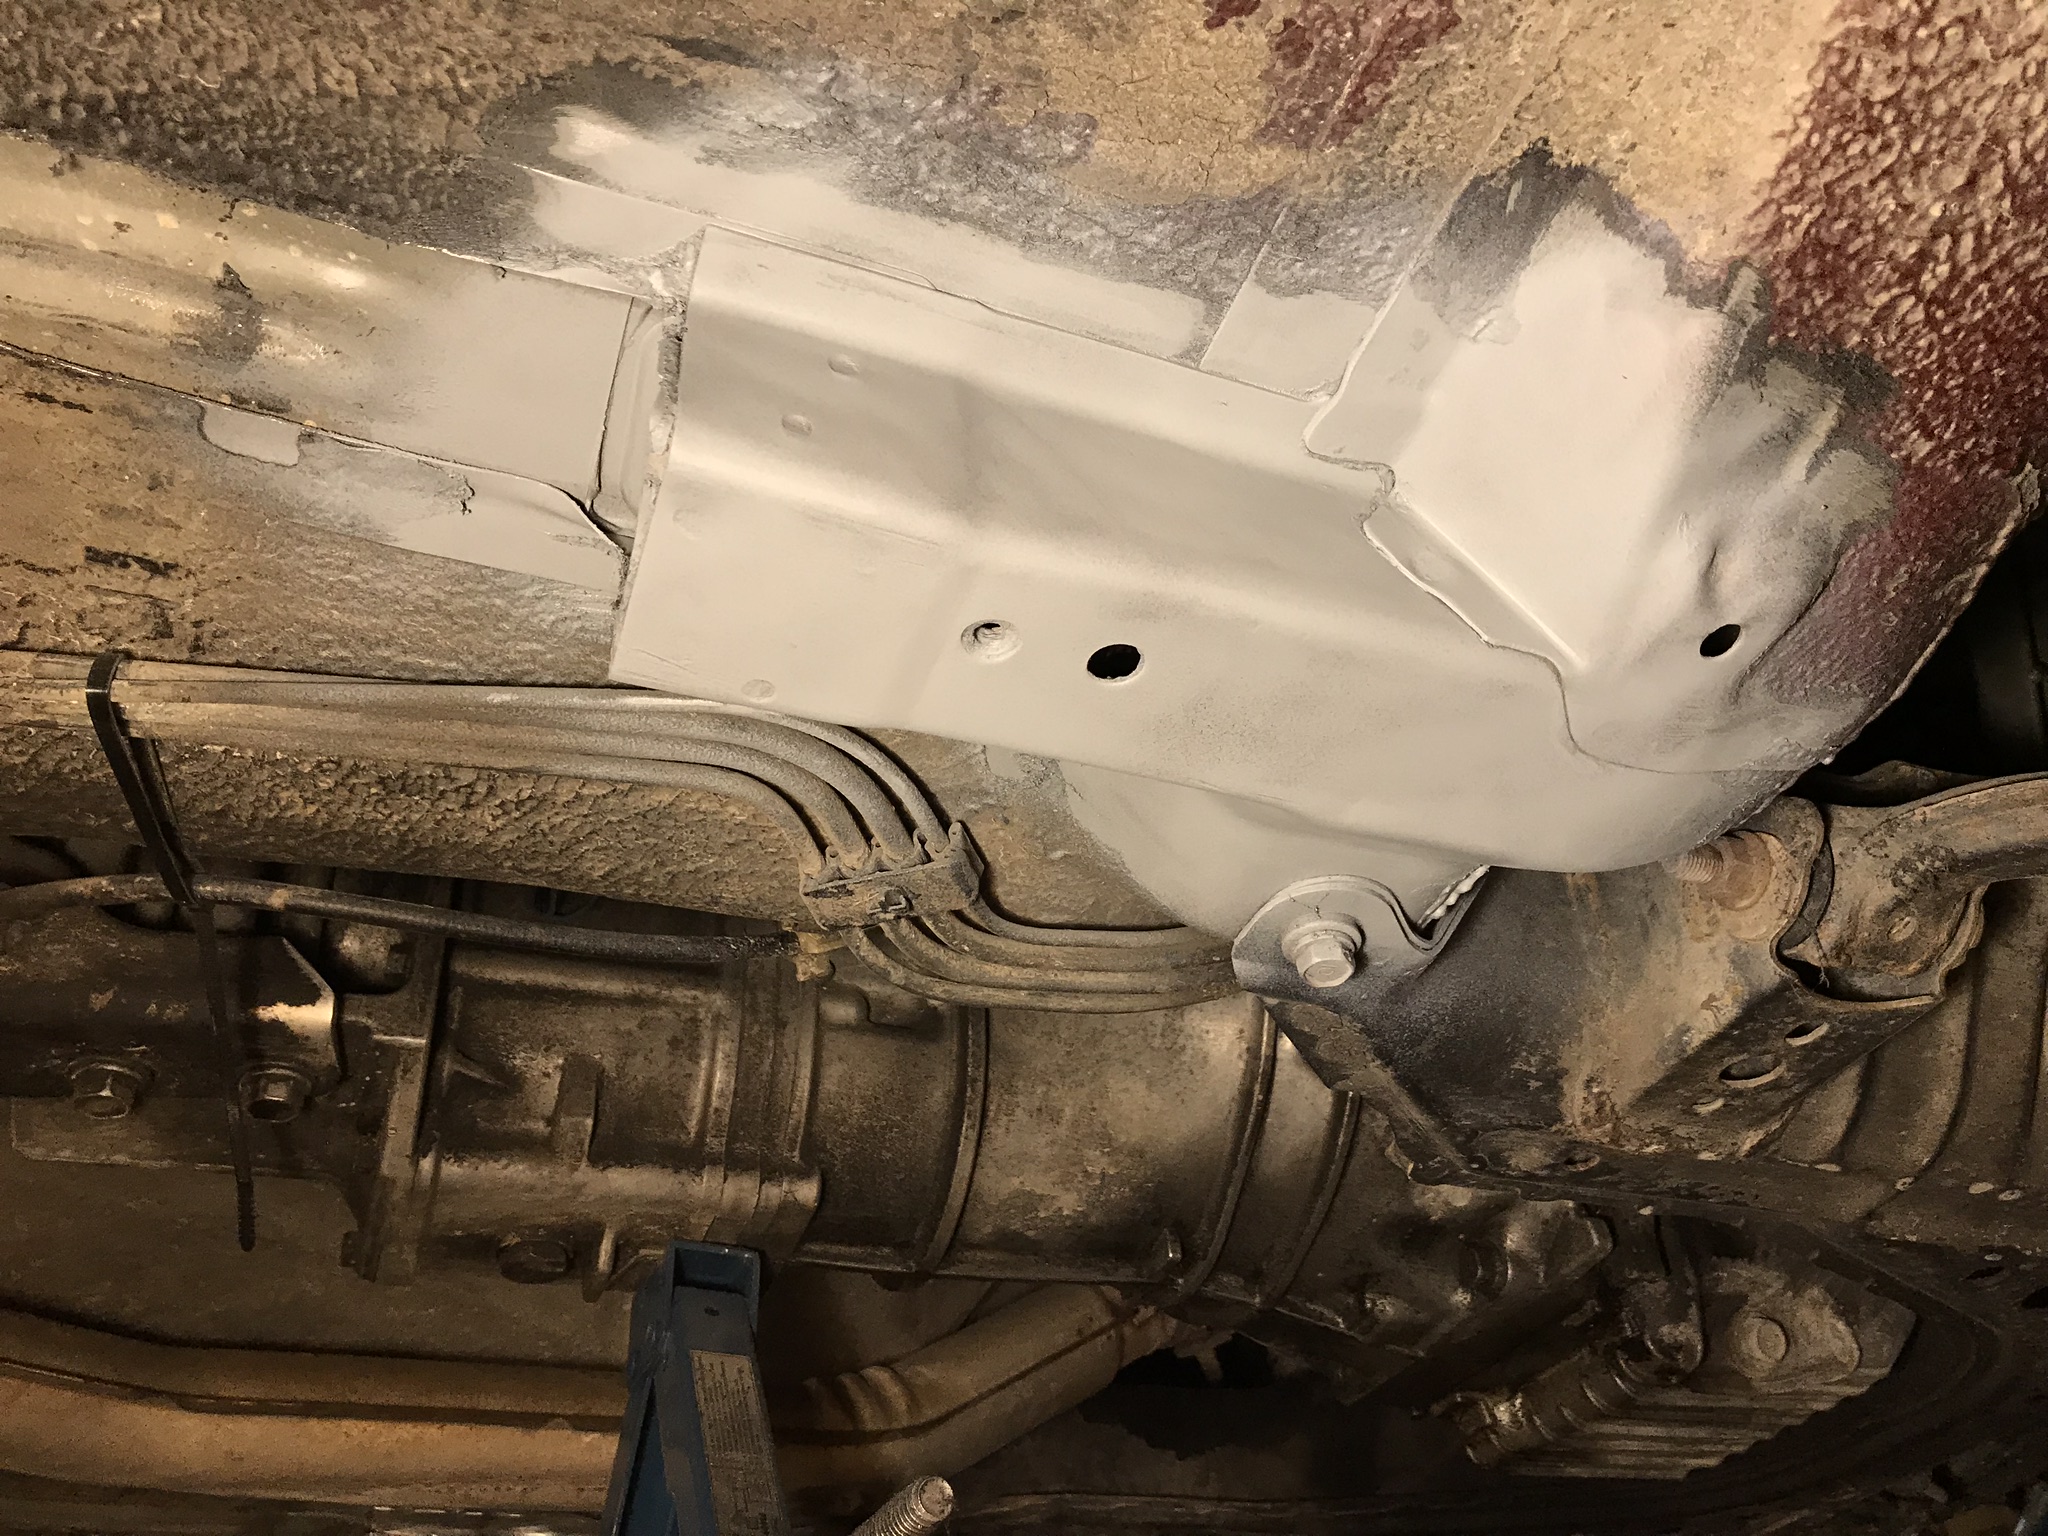
First thing I needed to do was remove the undercoating and paint of the front and rear chassis frame rail ends, then coat them in weld-through primer.
Next I needed to fabricate the new frame rails. I needed to cut out a little so that I could fit them over the front and rear chassis rails with as much overlap as possible, and I needed to weld in some captive nuts for a crossmember. That crossmember will hold up the PPF, which in turn holds up both the transmission and the rear differential. And when launching from a start, that PPF will be trying to bend, so it needs to be strong.
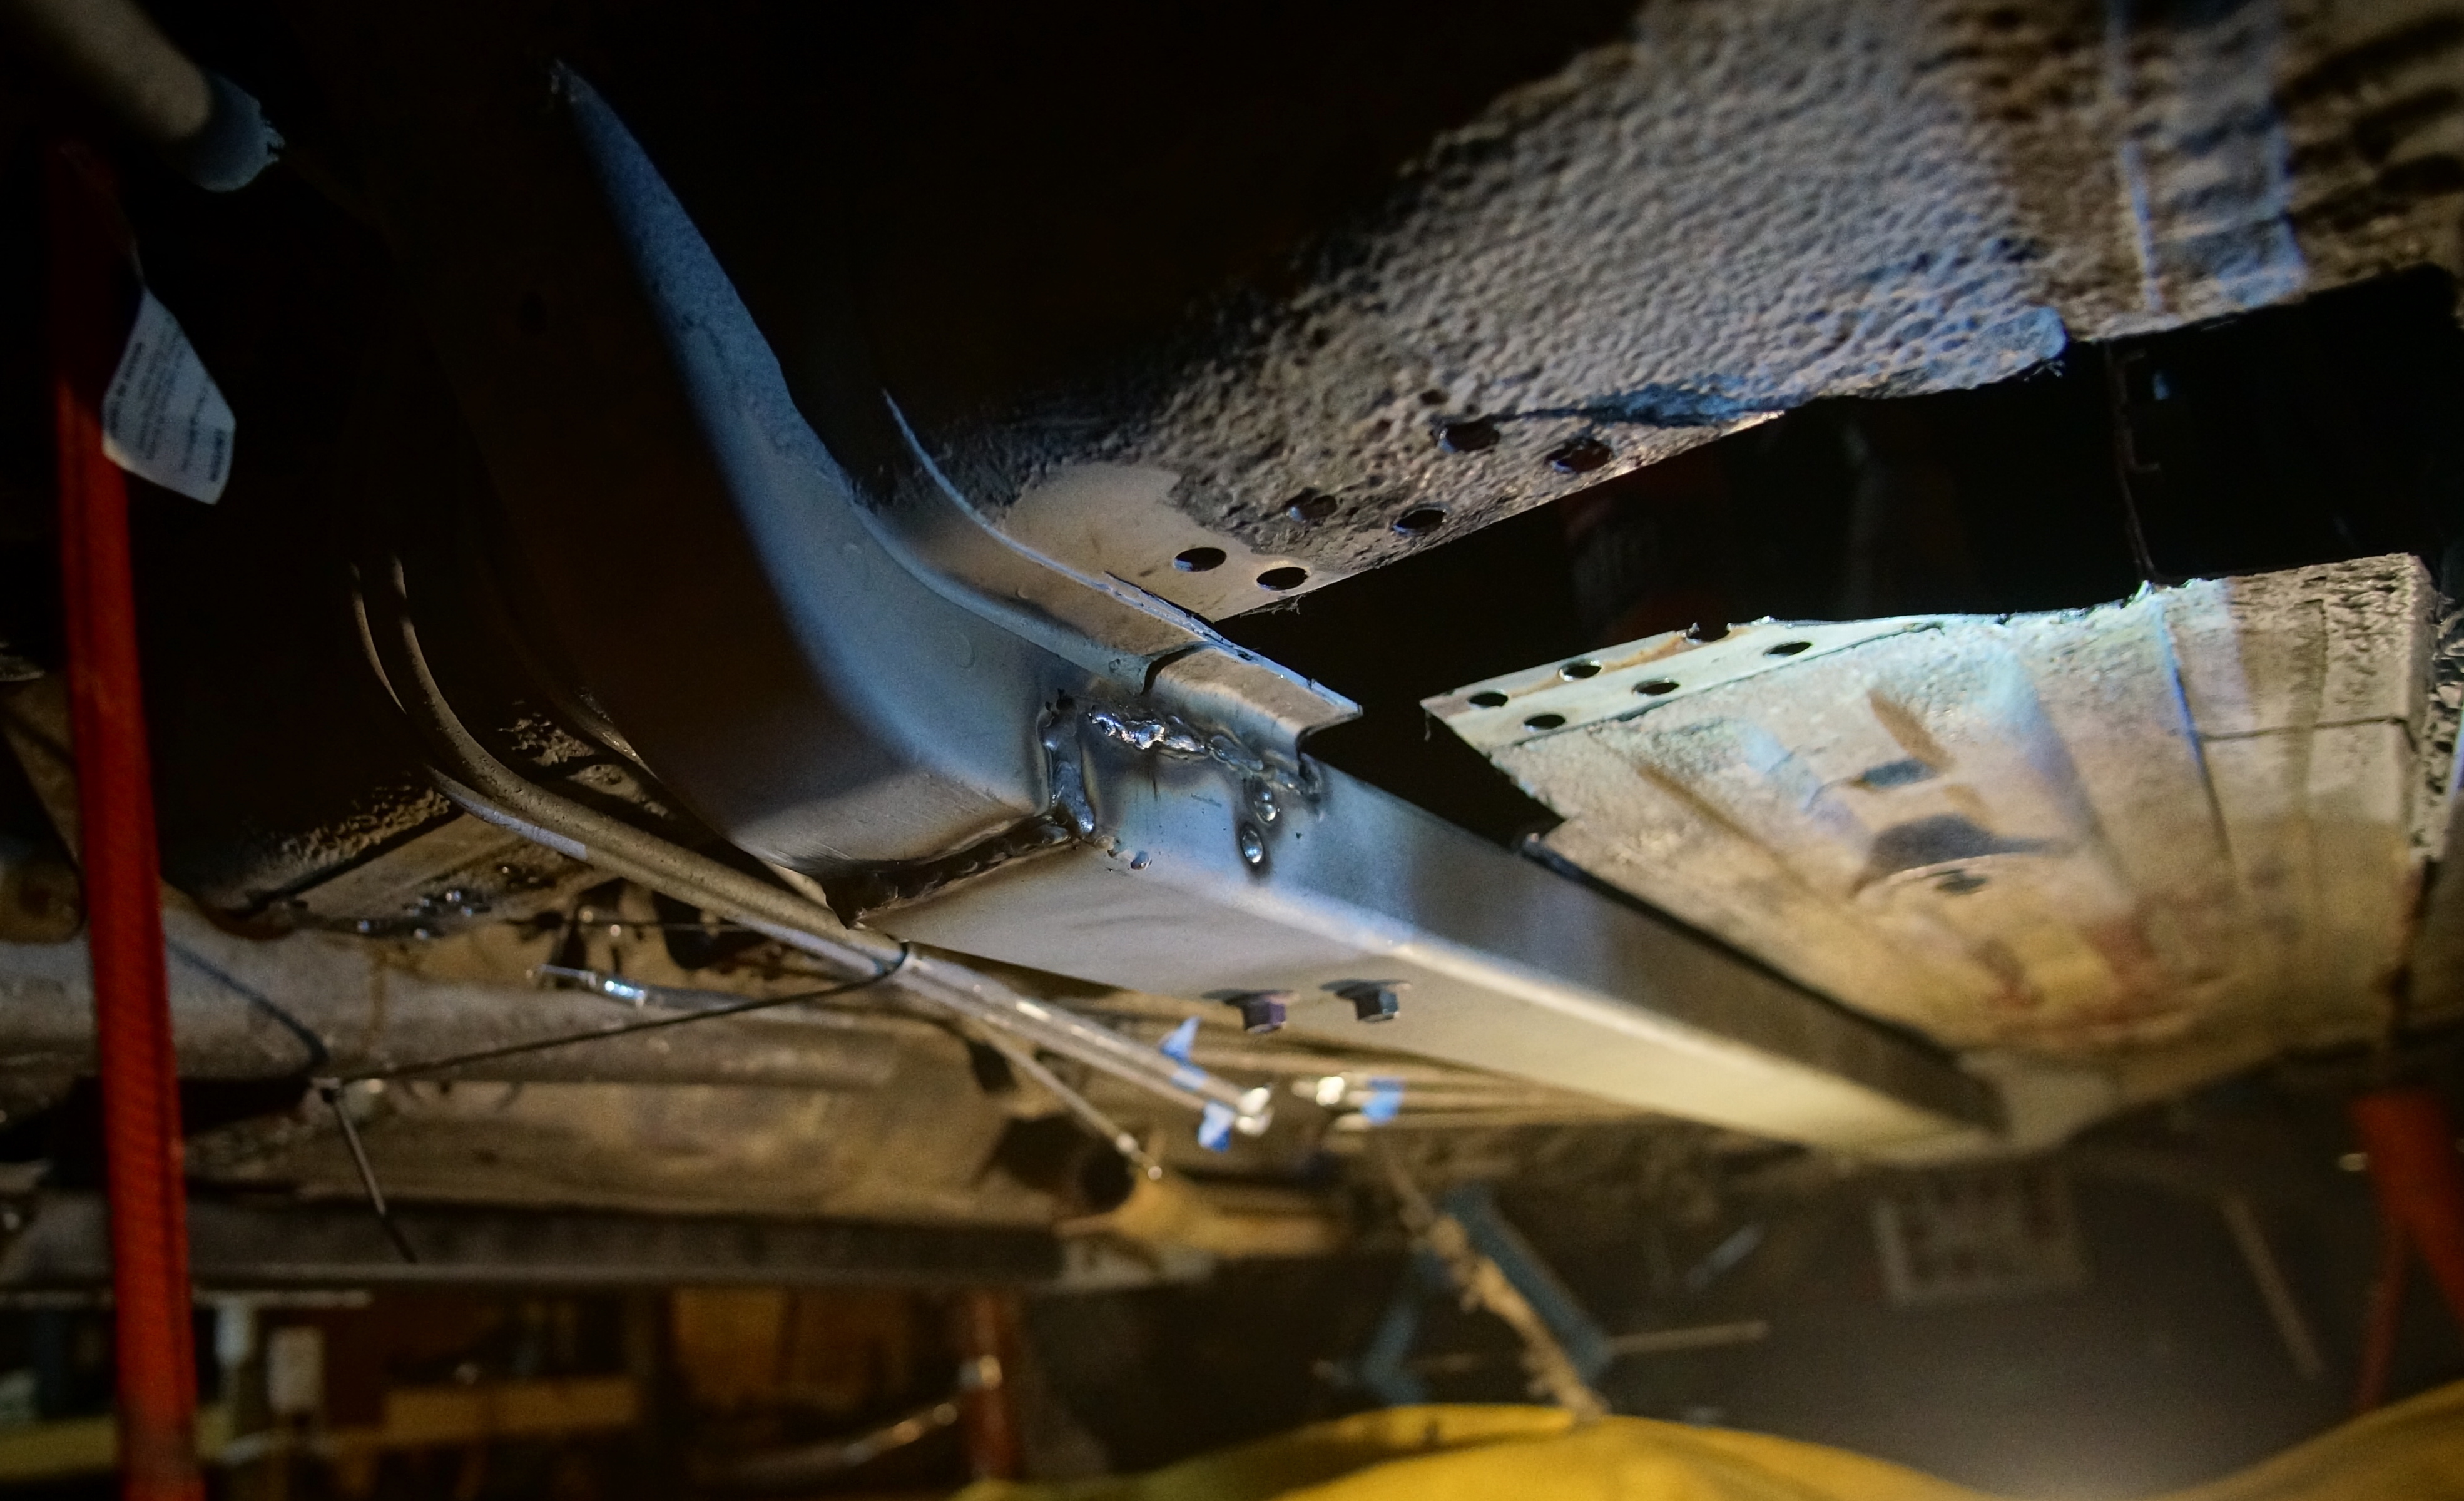
Thankfully, the 2x3x0.125 steel tube fit over the chassis rails PERFECTLY!
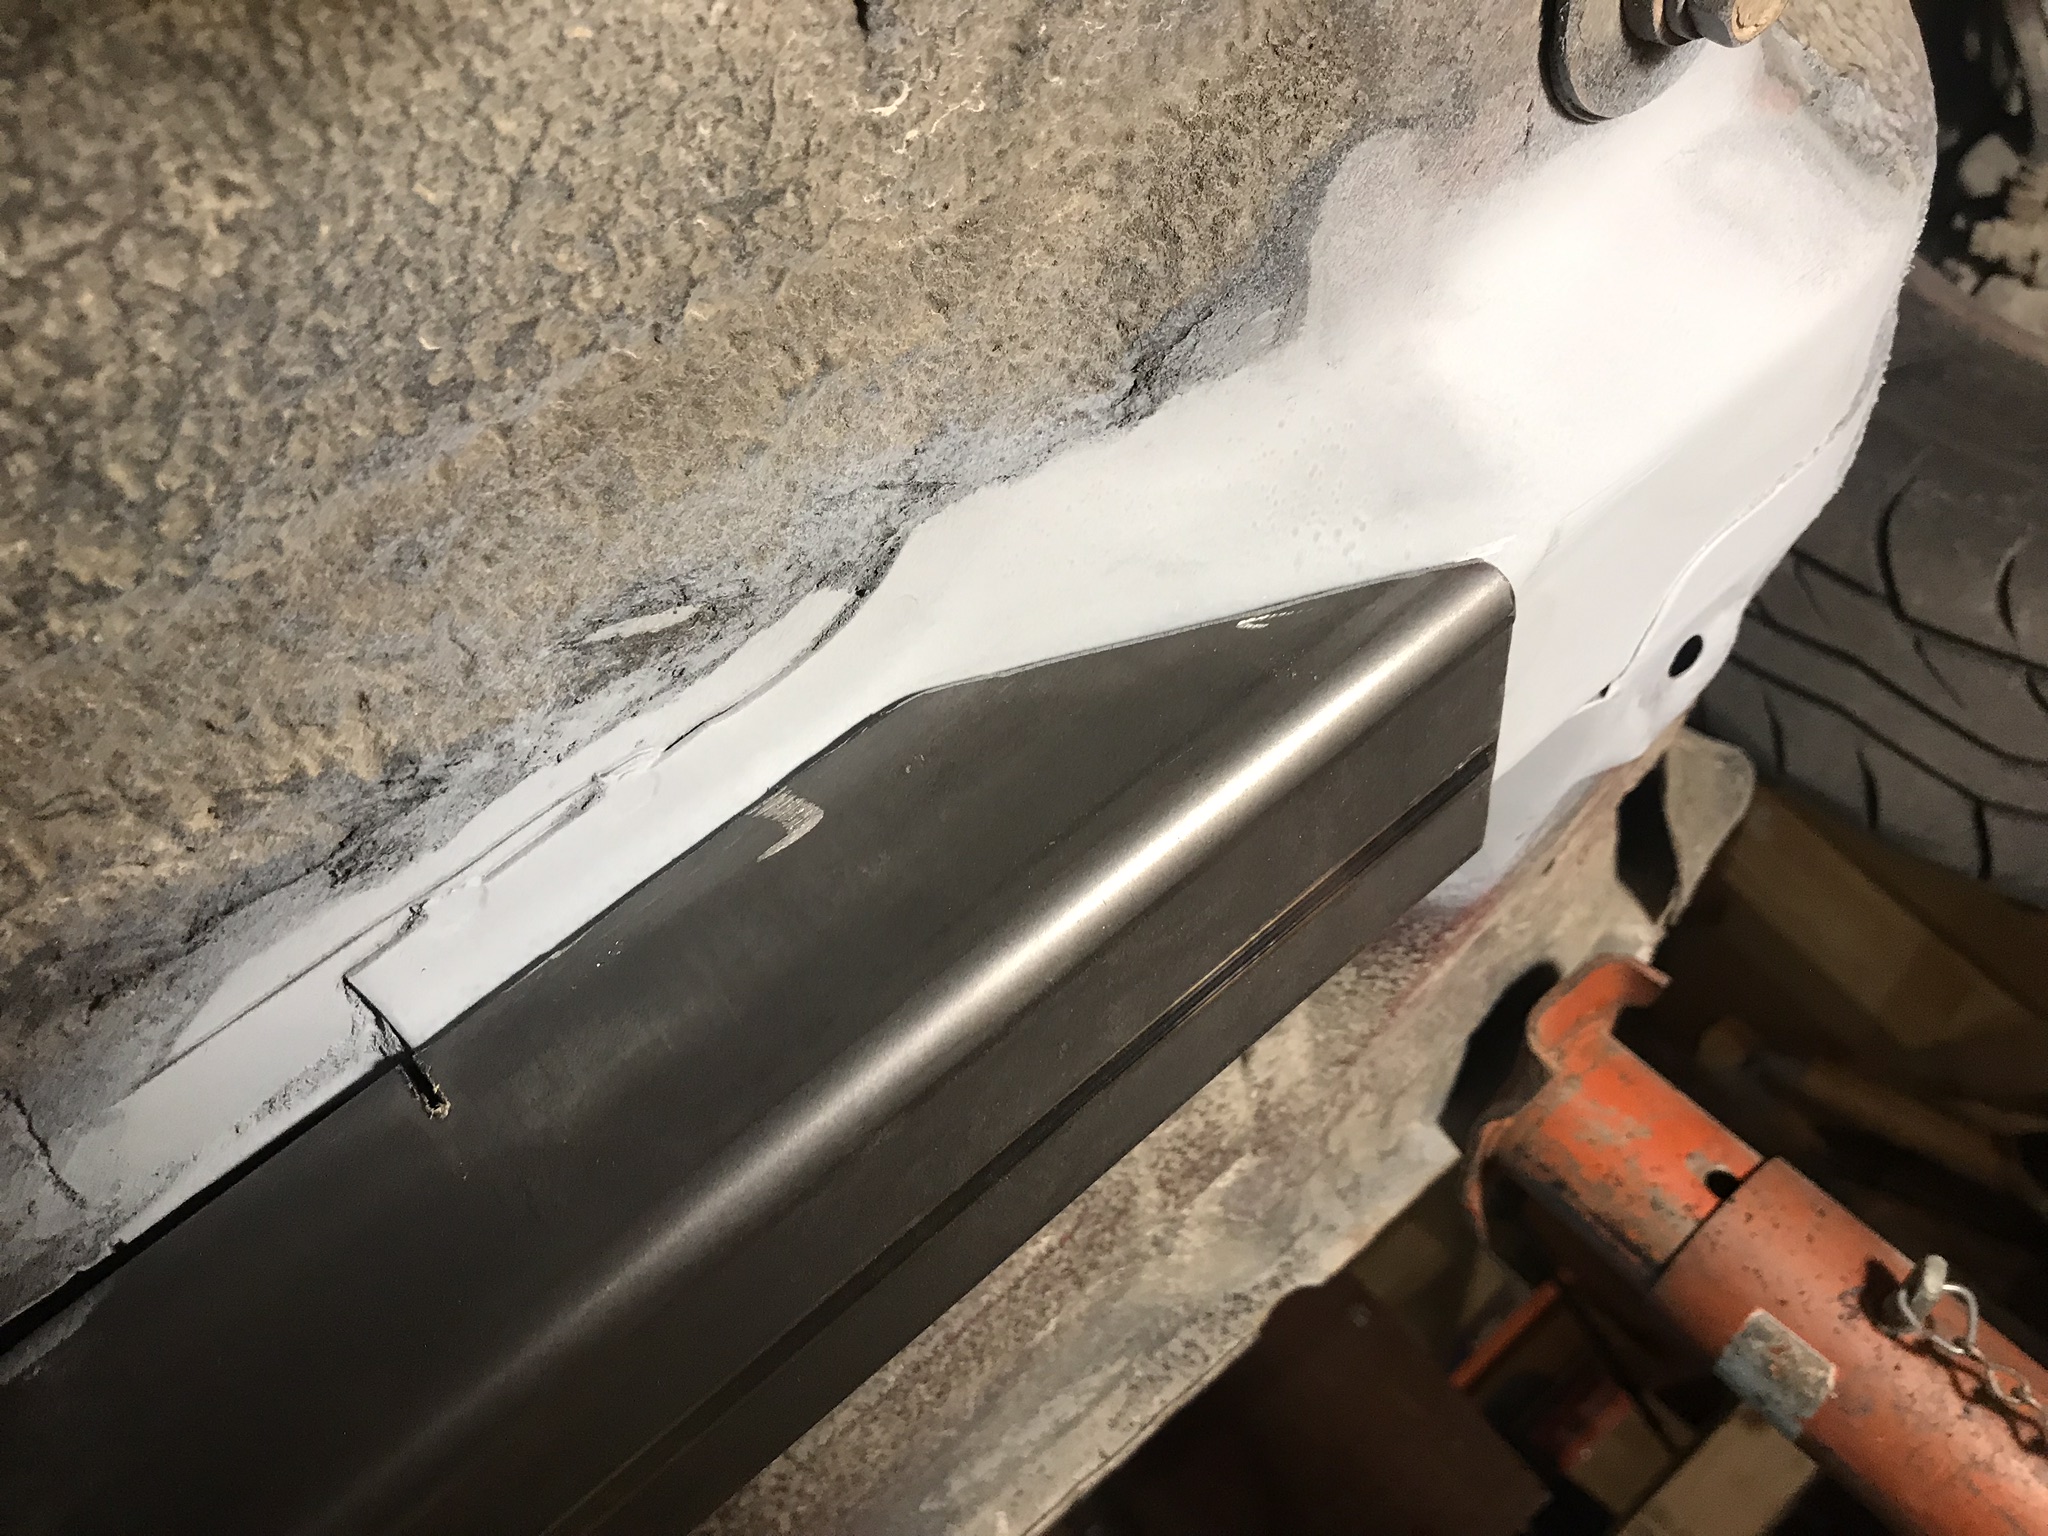
No gap! If God Satan didn't want me to do this build, he wouldn't have made these pieces fit together so perfectly...
Ok so it did take a little massaging with the sledge hammer to achieve that gapless fit, but it was devine intervension I tell ya.
Here's the final products, after spraying on some weld-through primer on the ends. My hope is that it will help keep rust at bay, but the whole thing will be smothered in undercoating when its all done.

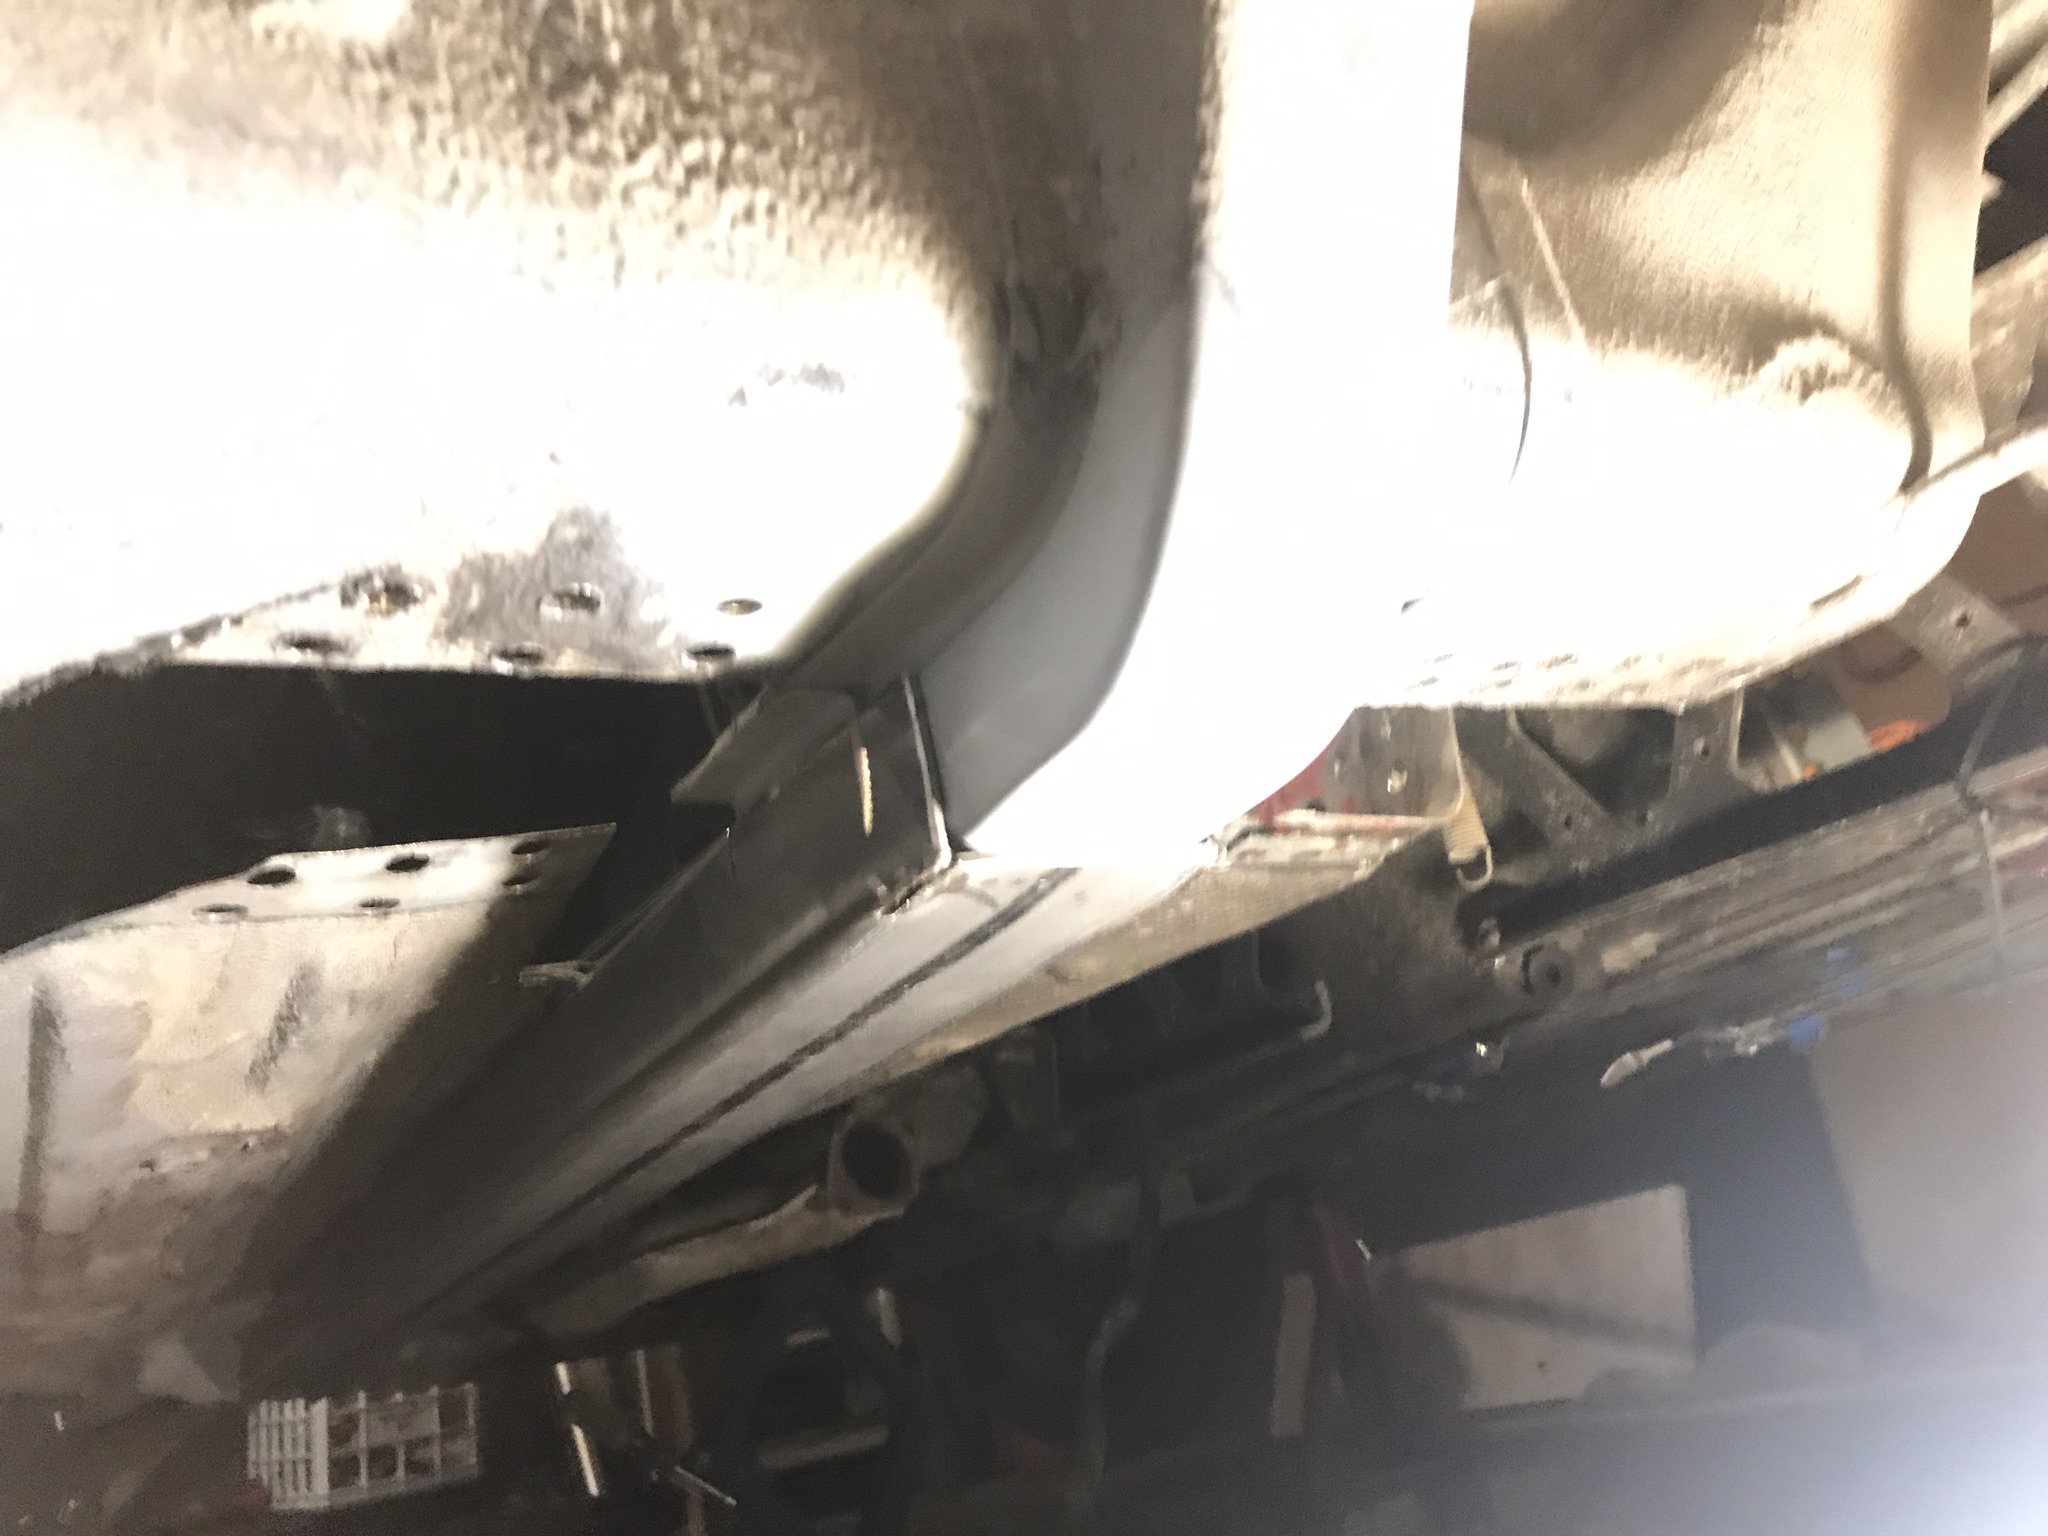
Here's where they're going:
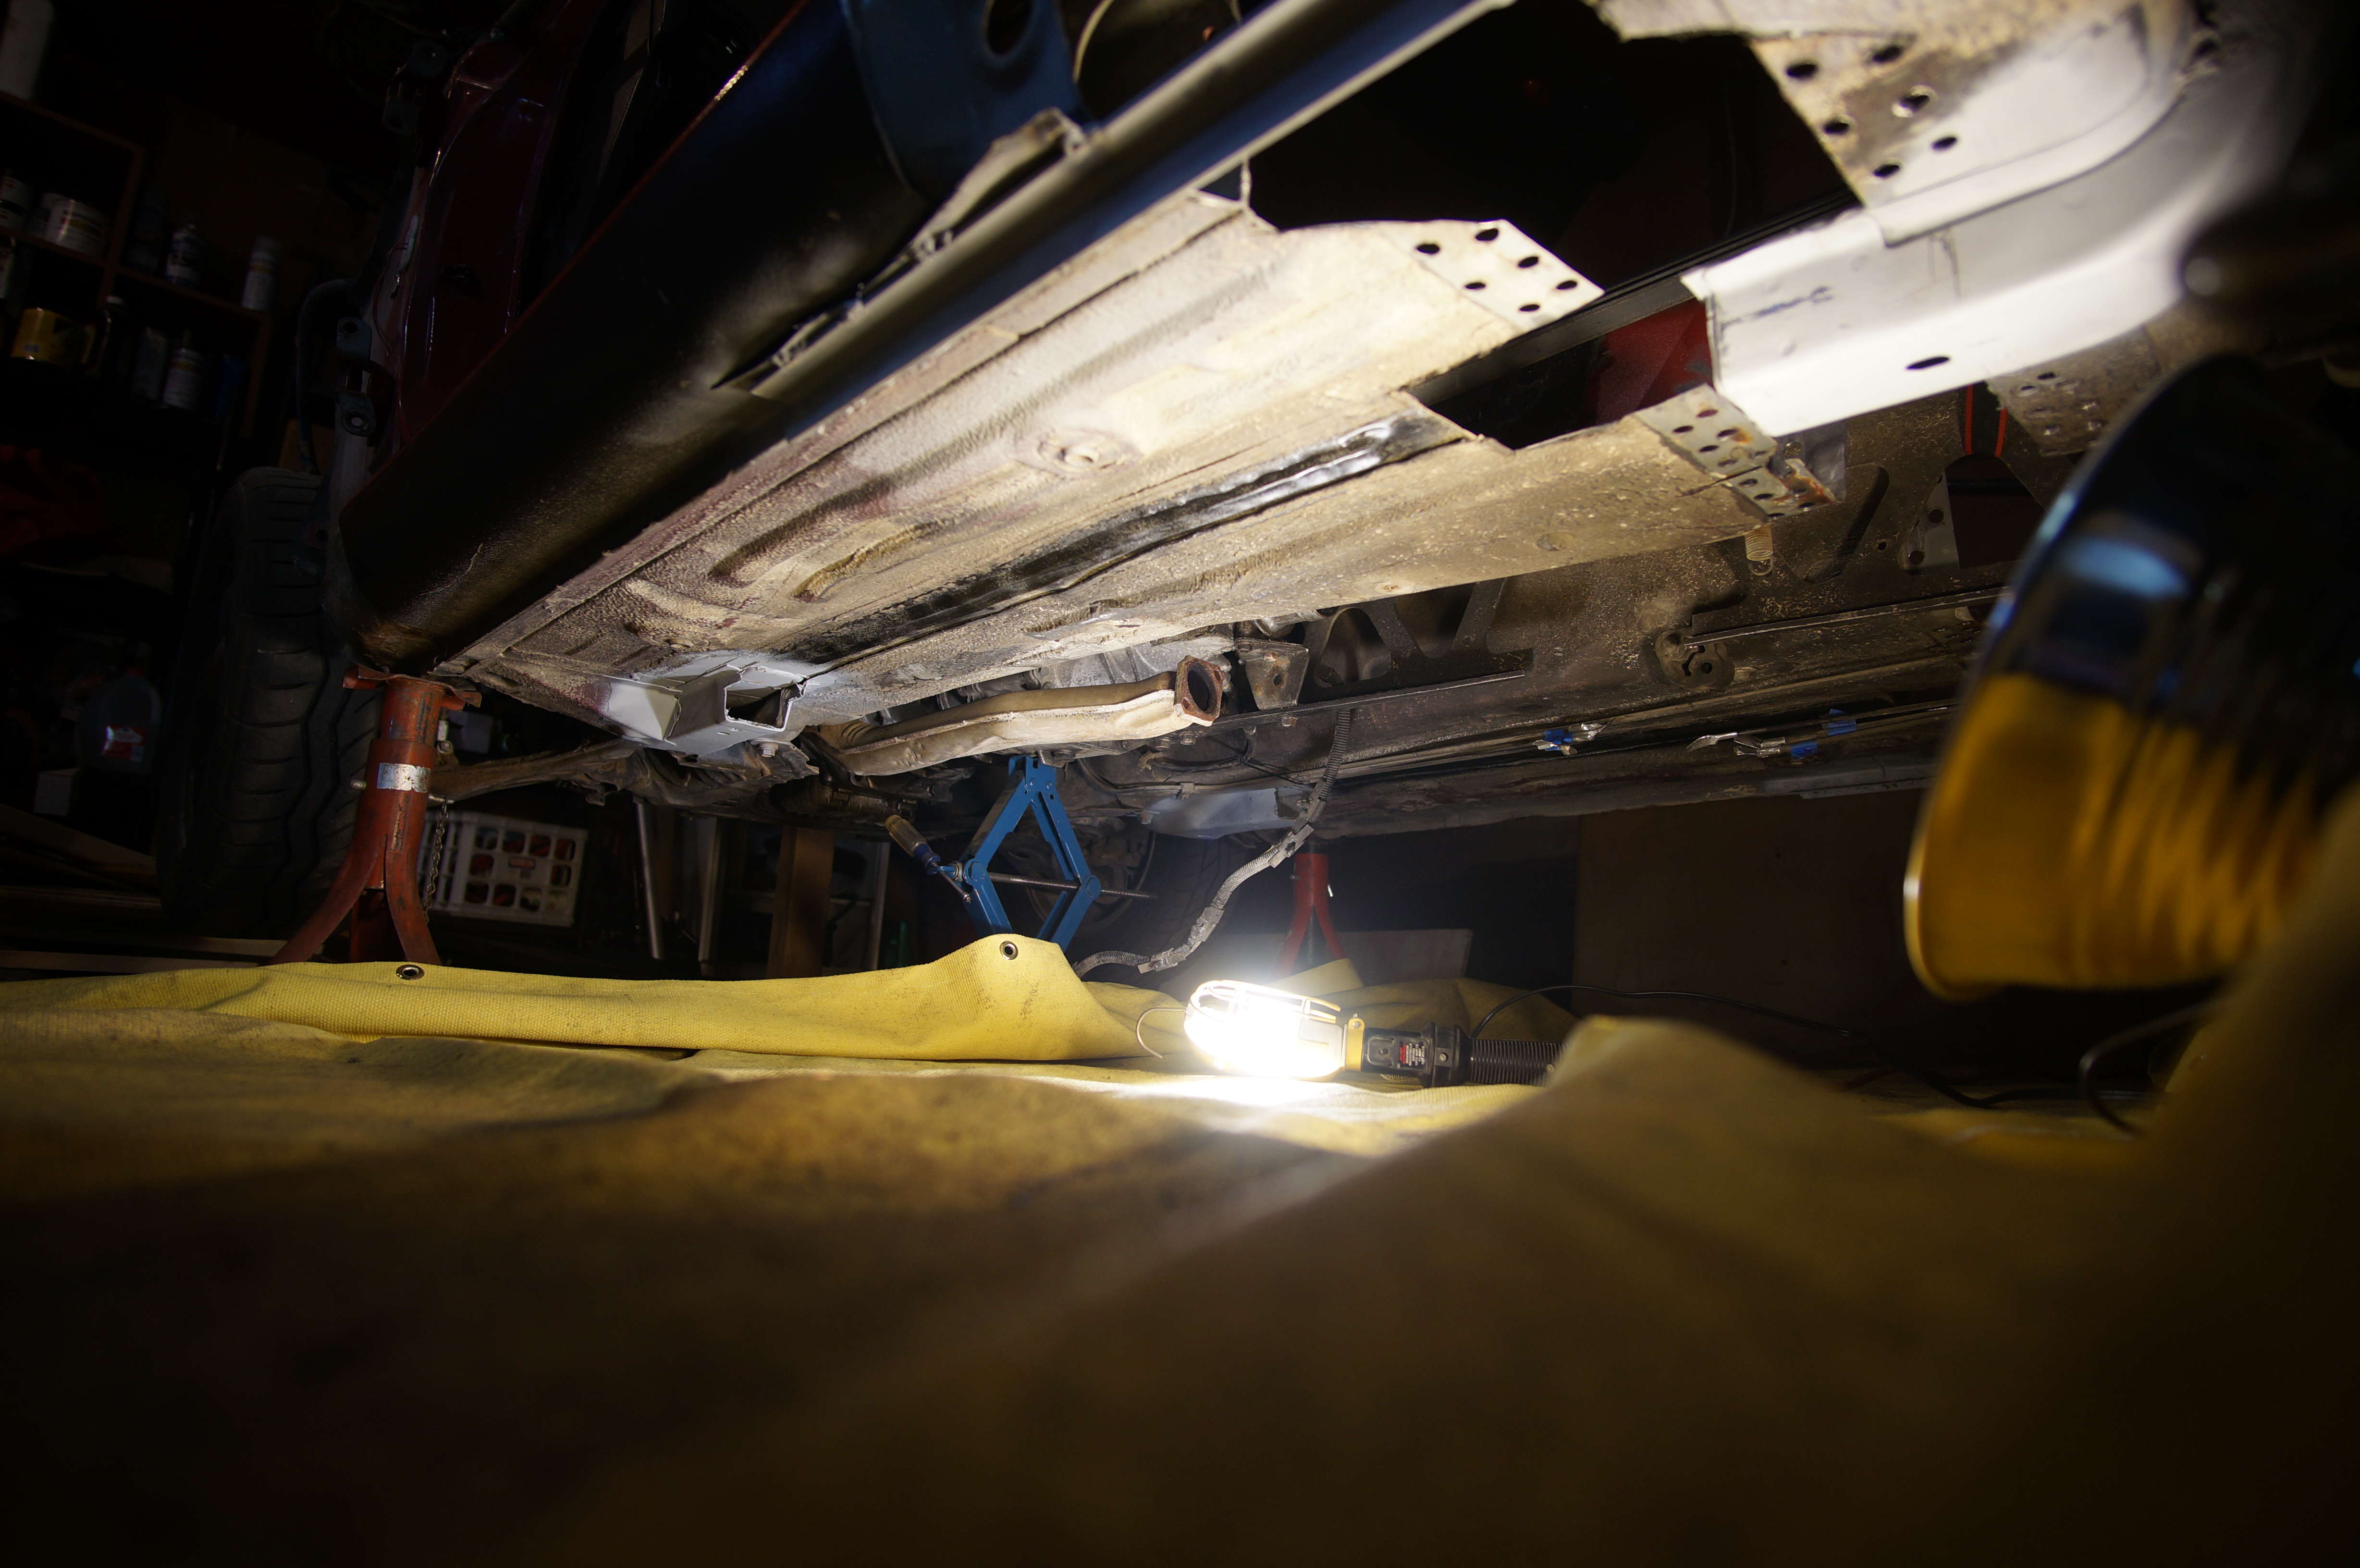
It was almost a tight enough fit to hammer them into place with a mallot and then walk away, but in the end I used a floor jack to keep them perfectly in place:
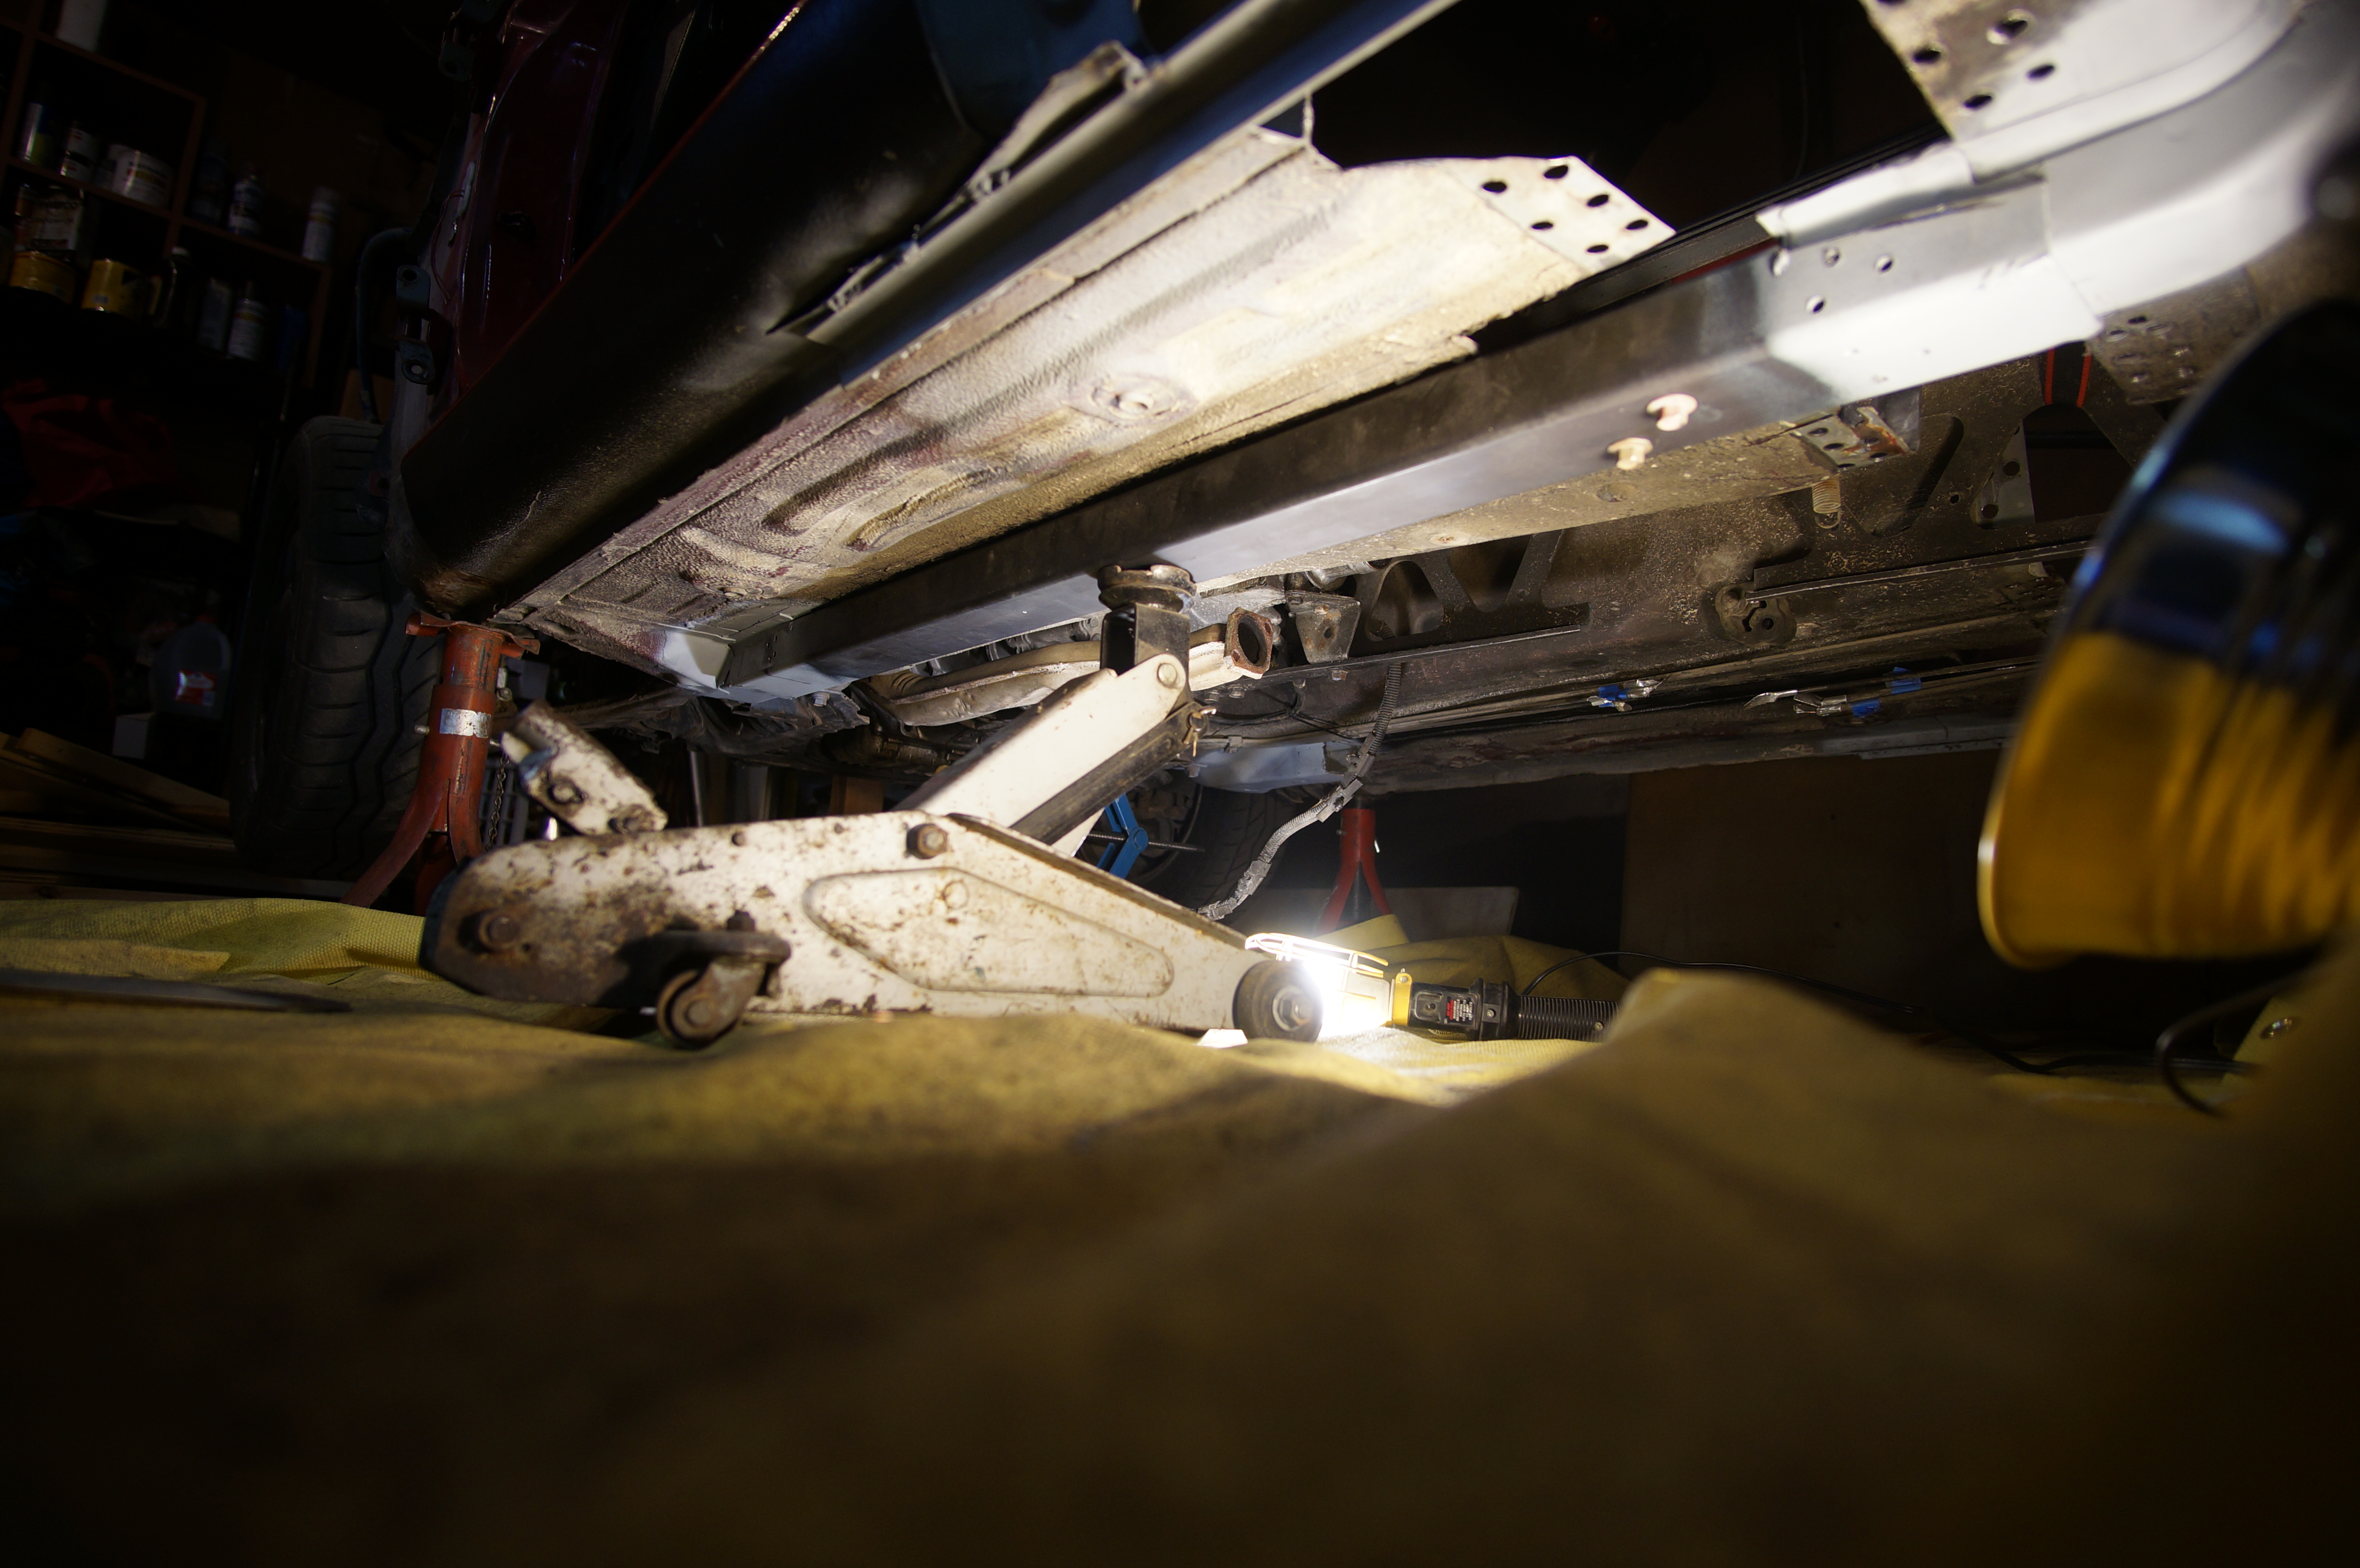
Then I just had to roll around on the floor for a couple of hours to get them welded in.
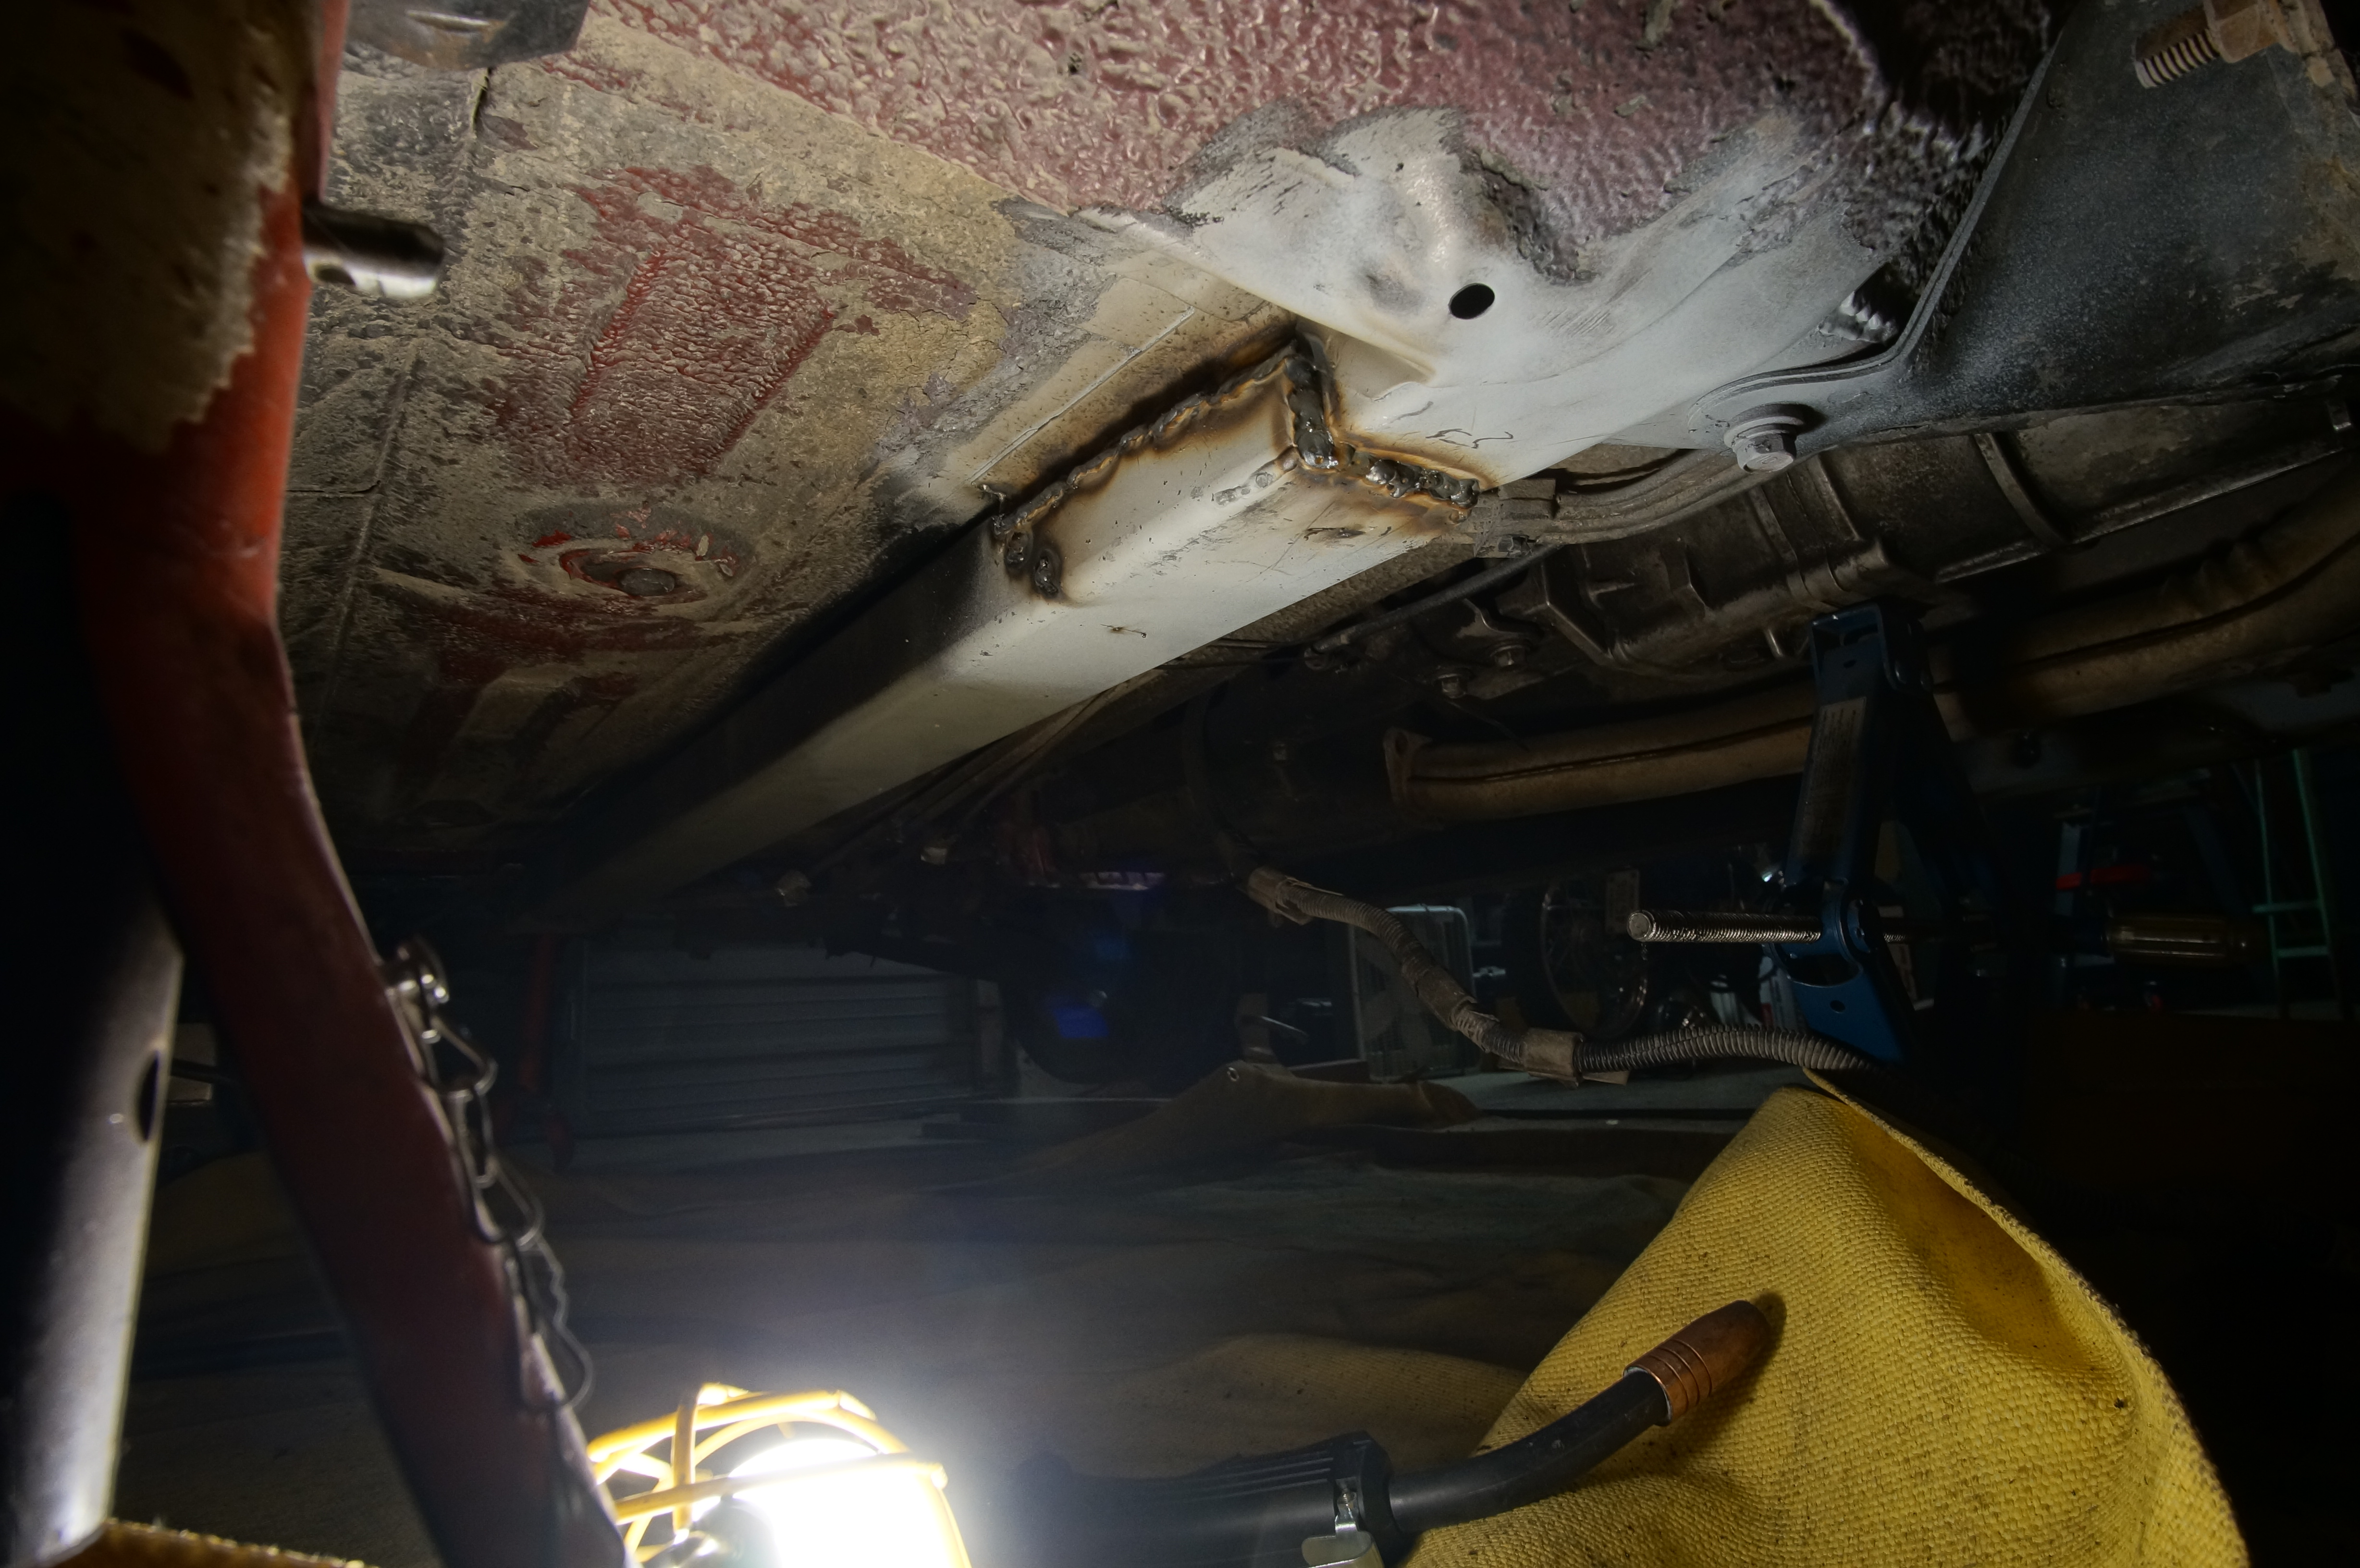
Boom! Frame rails on a Miata.
Then I got started on the floorpan. Welding this thin sheet metal was extremely difficult. Many, many holes. I'll fill them all with seam sealler ASAP.
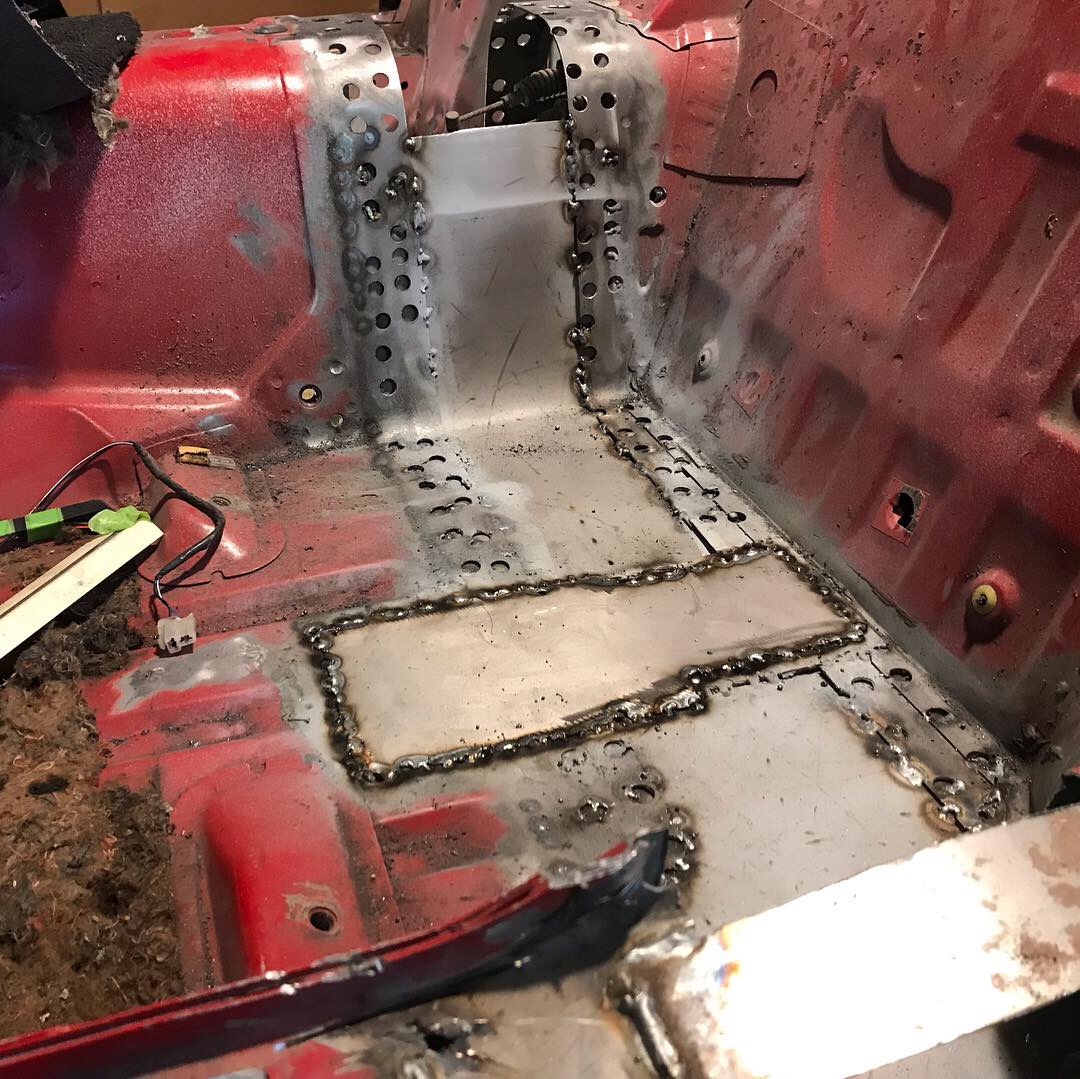
And thats where I had to stop working because I ran out of welding gas.
Up next: putting everything back together, sending the driveshaft off to a driveline shop to have it lengthened, and hopefully I have a driving and running Miata death kart before Christmas! That would be the end of Stage One.