After installing the 2" lift and the 31" tires, it was time to trim the fender flares and wheel well arches.
The technique for cutting the sheet metal is an old, tried-and-tested process in the Jeep XJ community. Just search youtube or any jeep forum and you'll see the same method each and every time. Trim the sheet metal up front, and "cut and fold" the sheet metal for the rear fenders. So I won't go into too much detail about this process.
So the process of how to cut the sheet metal doesn't change much, but WHERE you cut and how high up is all up to you.
What I did was I tried to trim off just a enough so that there would still be a little tiny metal fender flare left. This meant cutting right along a bend in the sheet metal - which also meant the shape/profile of the fender arches would remain mostly stock - or, in the case of the rear, cutting up to that bend and folding the sheet metal over at that point. This also allowed me to keep the windshield wiper fluid reservoir hidden between the outer fender and the inner fender.
Here, on the front, the vertical cuts are relief cuts for the horizontal cuts:
Here, on the rear fenders, the vertical cuts are made and then a rubber mallet was used to fold them back,
You can see I also had to cut the bumper caps a little. I used a sharp razor blade and it sliced right through it on the hot sunny day.
This will be just right for 31" tires and 2" lift. Larger tires will require more cutting probably.
What I did differently than every other XJ fender trim job I've seen is, instead of ripping out the plastic inner-fender liners, I left them in place and used zip ties to secure them. The problem with removing them is mud and stuff can get flung into the cavities in the wheel well, quickly harming the car horn speakers located there and - in my case for a 97 XJ - the windshield wiper reservoir.
To attach the inner fender plastic to the plastic bumper caps, I used an old trick for repairing torn ATV fenders. I drilled holes in them and "stitched" them together with zip ties, like so:
So far it's held up very well.
Next, I covered the wheel well arches with truck bed liner paint.
I placed painters tape along the exact line where the old plastic fender flares met the body. This ensured that it wouldn't look odd. I also went ahead and painted the
Everything bellow the painters tape got the truck bed liner treatment.
I used Monstaliner brand paint and I really like it. When first applied, it's a really deep gloss black. However, after a few weeks, the sun will fade it and it will be much duller. I'm actually looking forward to that though because it will provide needed contrast between the dark green paint and the black truck bed paint.
There was one last thing to do. I felt that the jeep may never be this clean ever again, so I bought a bottle of Meguares Ultimate Compound and used my dual-action buffer tool to put some much needed shine back into the old faded paint.
Hood Vents
While I had the angle grinder out, I got to work on the hood vents. I ordered some GenRight hood louvers from Quadratec and they came in the mail just in time before my Colorado excursion.
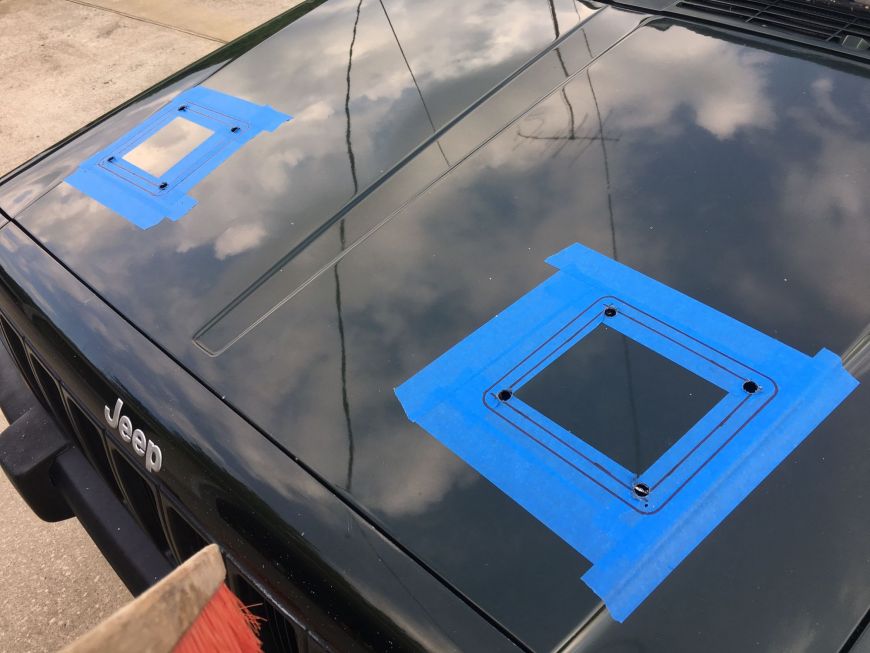
Only thing I did different than the way most people do it is I opened the hood and then took a vent and held it up to the UNDERSIDE of the hood so that I could get it in the perfect location that doesn't interfere with the bracing. Then marked the location of one of the holes in the vent and drilled a 1/8" hole through it. Made sure both sides where identical and symmetrical. This allowed me to lay the hood back down, place the vent on top of the hood where it belongs, line up the hole in the vent with the hole in the hood and that was how I found it's location.
With the bottom right hole in the vent lined up with the hole I just drilled through the hood, I used a sharpie to draw the outline.
Then I measured a 1/2 inch on the inside. This is the line that needs to be cut.
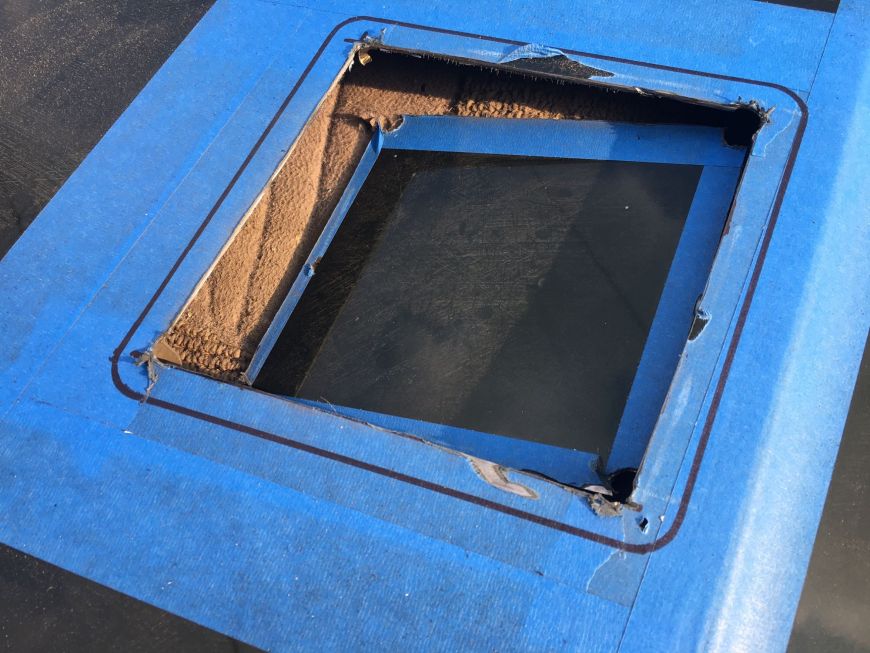
Before cutting, I drill 1/2 inch holes in the corners.
Then it's just a game of connect the dots...
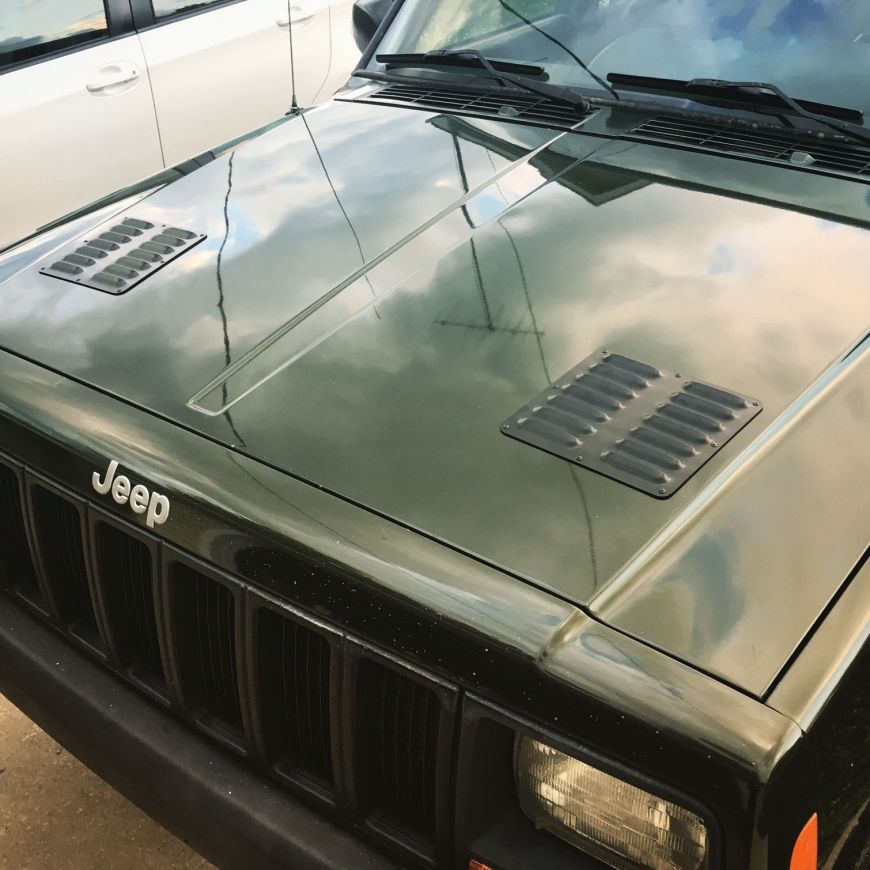
And used a rivet gun to fasten the hood louvers to the hood.
Done!
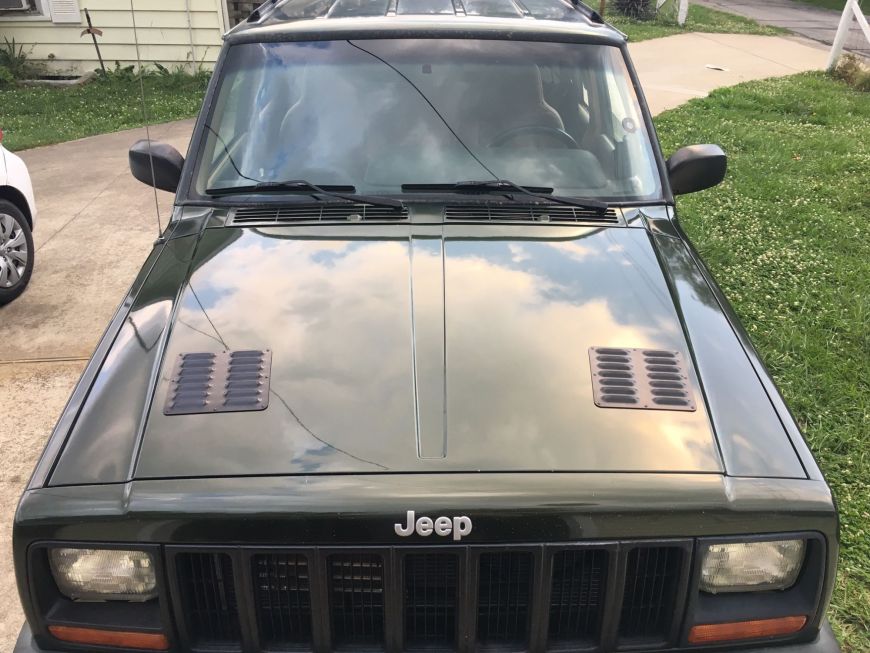
Fenders trimmed and painted! Hood vents installed! Now I'm ready for my epic Colorado expedition!!


