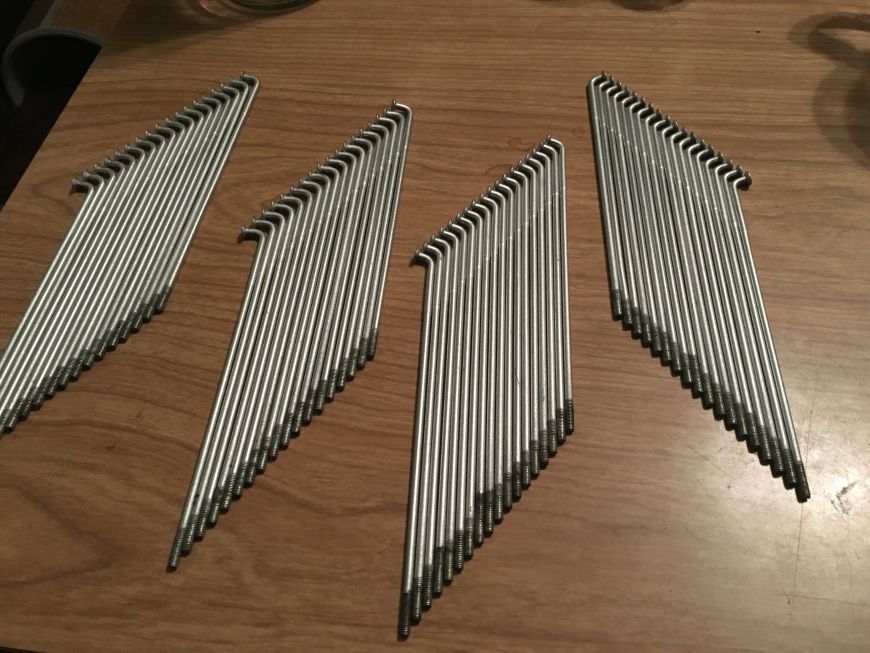
This is how I painted my old, used motorcycle wheel spokes. The same process should work for bicycle spokes as well. The bike is a 1974 Honda CL200. The spokes are cadmium plated steel (I think). I did this before lacing up the new rims.
BTW, it's not recommened to have them powder coated because the powder coat will chip off at the bend and effectivly lengthenting the spoke by 1mm or 2. And it was impossible for me to find replacement spokes for my front wheel because they had to be the exact geometry to fit the hubs and I just couldn't find any. The CL200 was only made for one year, had bigger brake hubs than the CL175, and the CB200 came with front disk brakes so they were not compatable between those models. But if you can find replacement spokes, just know that some folks say they're not as good as cadmium platted spokes because the stainless steel will be too brittle in cold temperatures. Just a thought.
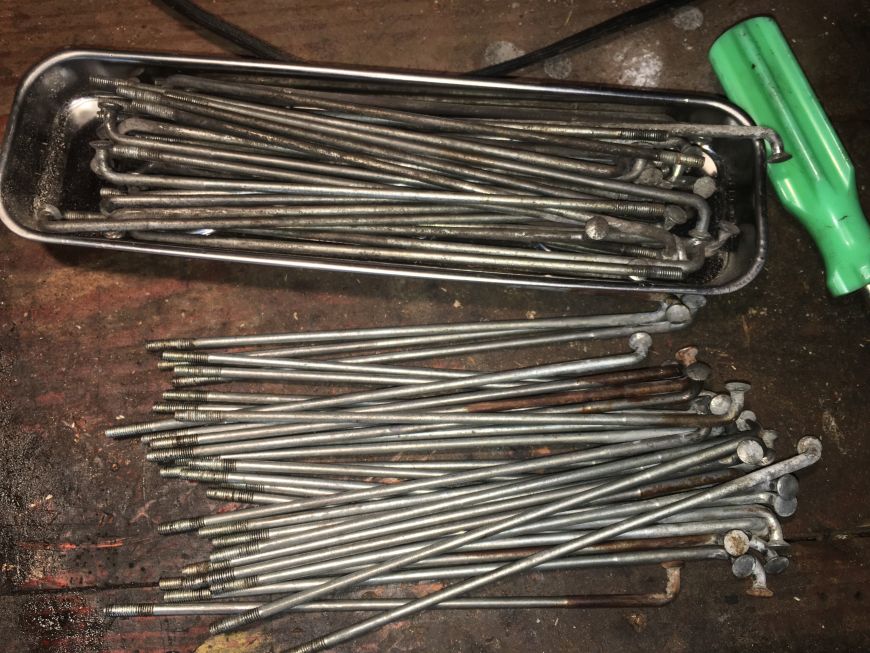
The first thing I did was disassemble the wheel completely and collect all the spokes. Then I used #3 steel wool to remove as much crud as I could. The cadmium plated steel resist rust but not as well as chrome and stainless steel, and after 40 years there was some solid surface rust on several of them. In the picture below, the ones in the tray had yet to be cleaned up with the steel wool.
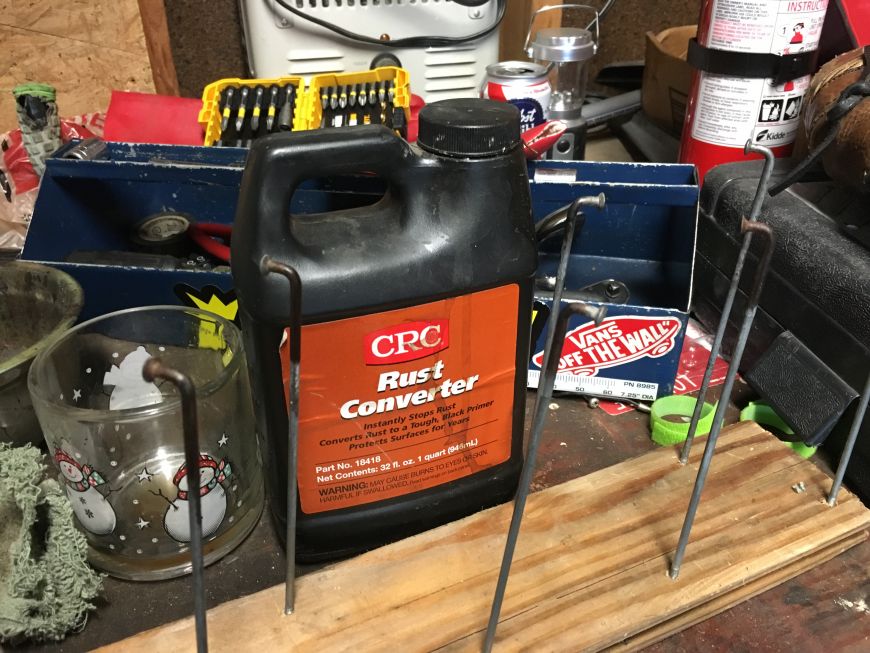
Most of the surface rust was easy removed with the steel wool. But for the extra rusty ones, I attacked the rust with CRC Rust Converter, a really great product. I've used it before on my old pickup truck, and it worked a lot better than the rustoleum product. I applied two coats, only to where the rust was. [update: 2.5 years later and the rust hasn't re-appeared or anything, so it worked!]
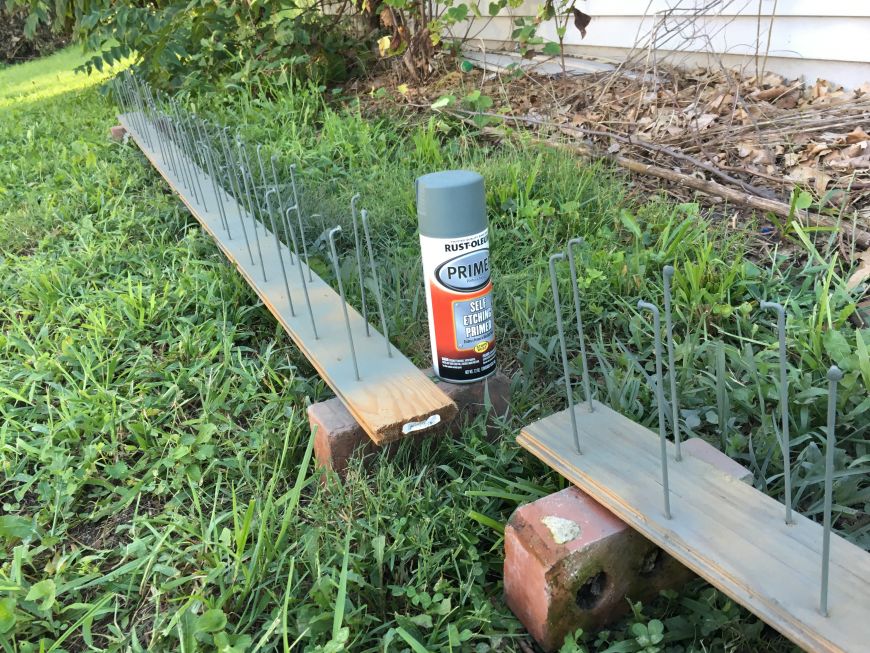
Next, I took all the spokes and roughed them up with 220 grit sandpaper. To help the paint grab. I then wiped them down with a little paint thinner, and then I used some scrap wood with holes drilled in it to prop up the spokes.
Time for the primer. I used Rustoleum Self-Etching Primer. The reason for the self-etching is it just helps the paint grab the shiny metal a little better, and any small amount of surface rust would be "etched" by the acids in the primer.
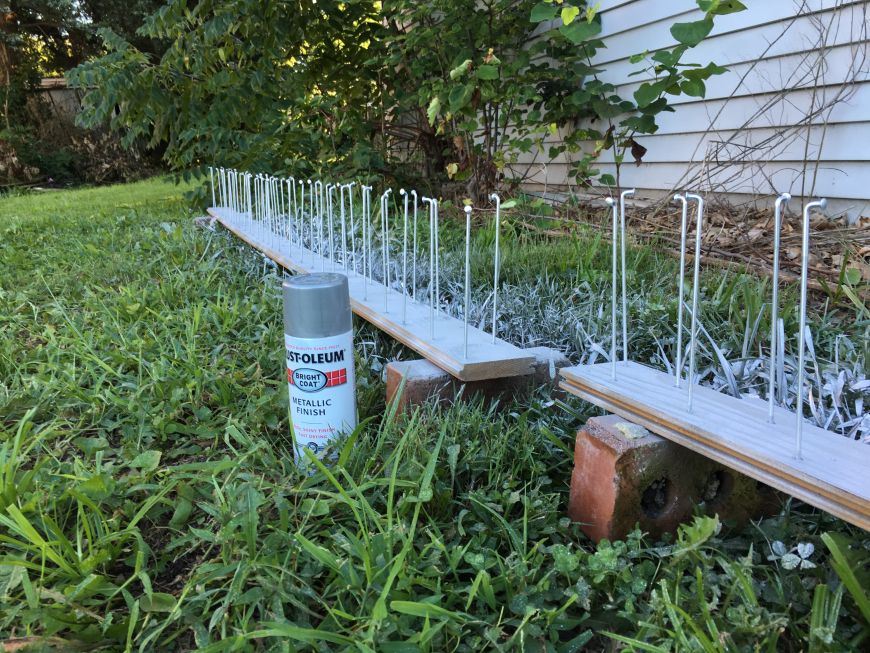
For the top coat, I decided to go with silver. For a little while I thought I would use black paint, but I didn't want to push the appearance of the bike any further away from stock.
I used Rustoleum Bright Coat Metallic Finish, one with a slighly glossy cast-aluminum look. Not shiny and chrome (like war boys, as they ride eternal on the highways of Valhalla).
It sprayed and applied very well and I only needed two coats. However, it took a little while for it to fully harden. About a week before they would pass the "fingernail test".
But it turned out great!!
Now there were ready to be laced together with my new aluminum rims.

