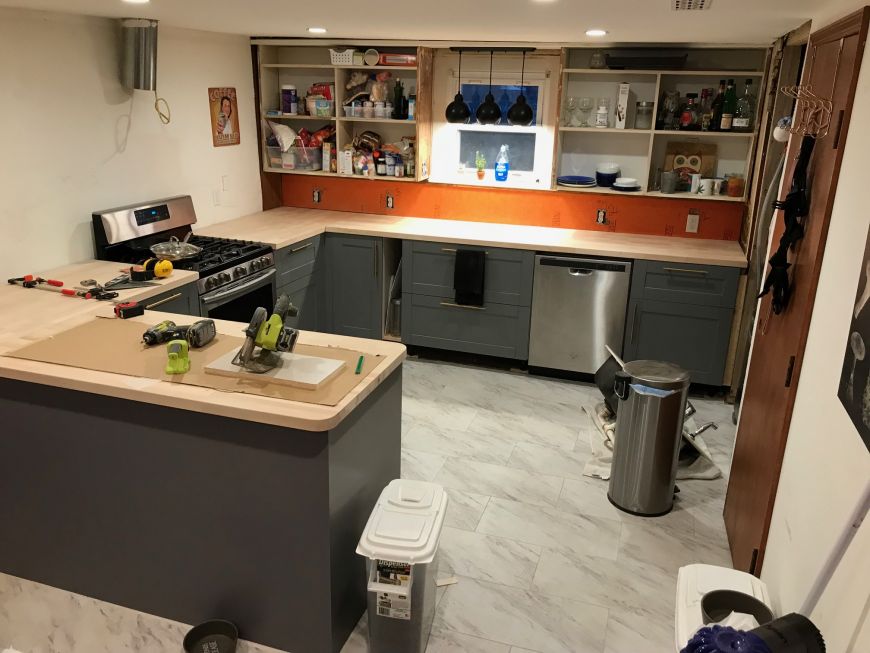
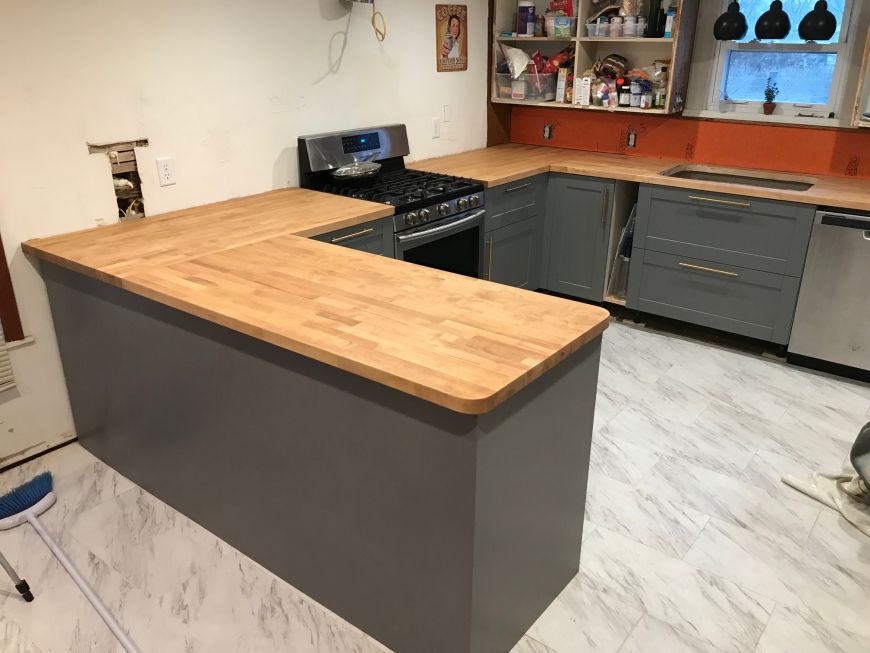
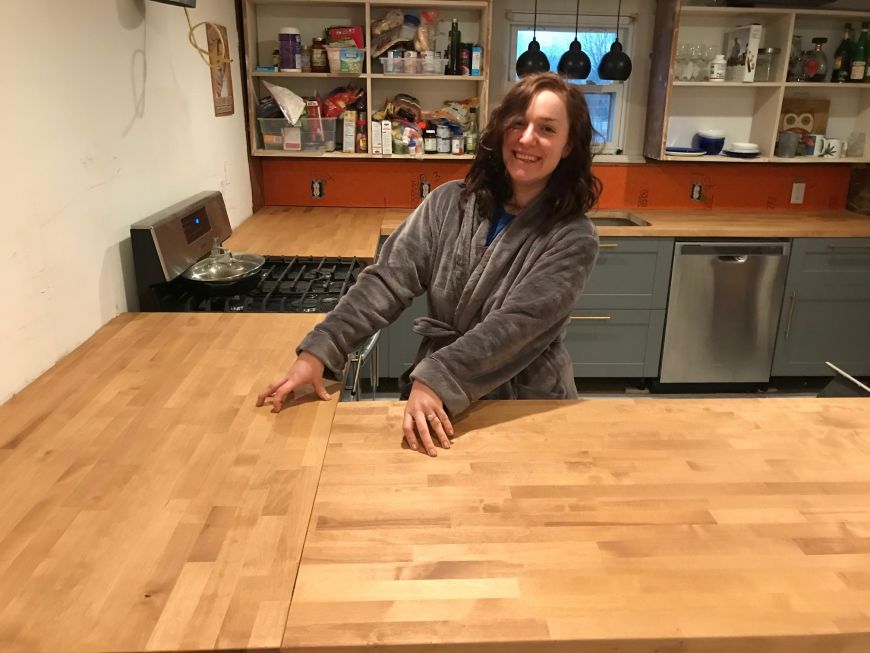
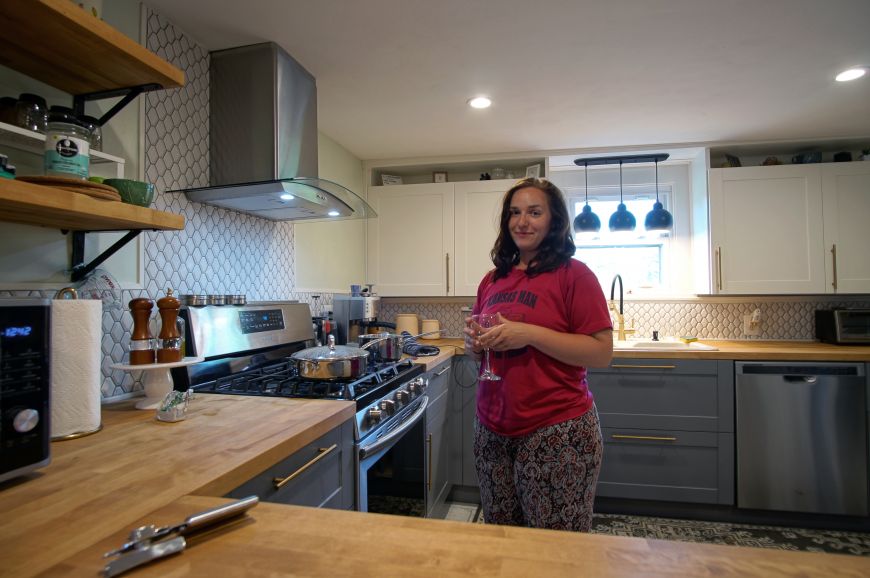
From the beginning, Logan and I knew we wanted wooden countertops in the kitchen. Thankfully, they were also fairly affordable compared to granite/rock/marble/stone. And because they're made out of solid wood, I could do all the work of cutting and fitting them myself. Which is exactly what I did.
We got the butcherblock material from Menards; it's made out of birch hardwood. I would not recommend you try to make your own butcherblock slabs out of strips of wood and glue. That would be a mess! The slabs from the big box store was plenty affordable.
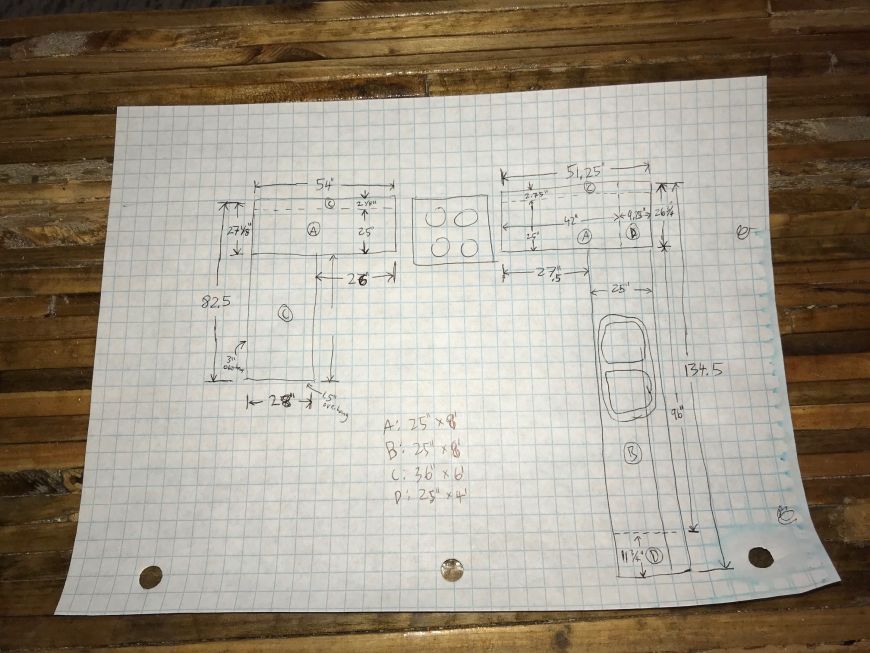
First thing I did was figure out what dimensions we had and how many pieces we needed to buy. We had just finished installing the base cabinets, and we ran into a problem where we couldn't but them up flush with the wall on the North. This meant that countertops on that side needed to be extra wide!
Above shows how I was able to make it all fit with the least number of slabs of butcherblock. This was done to reduce costs. But it would have been a lot easier to just buy more slabs and have a lot of waste.
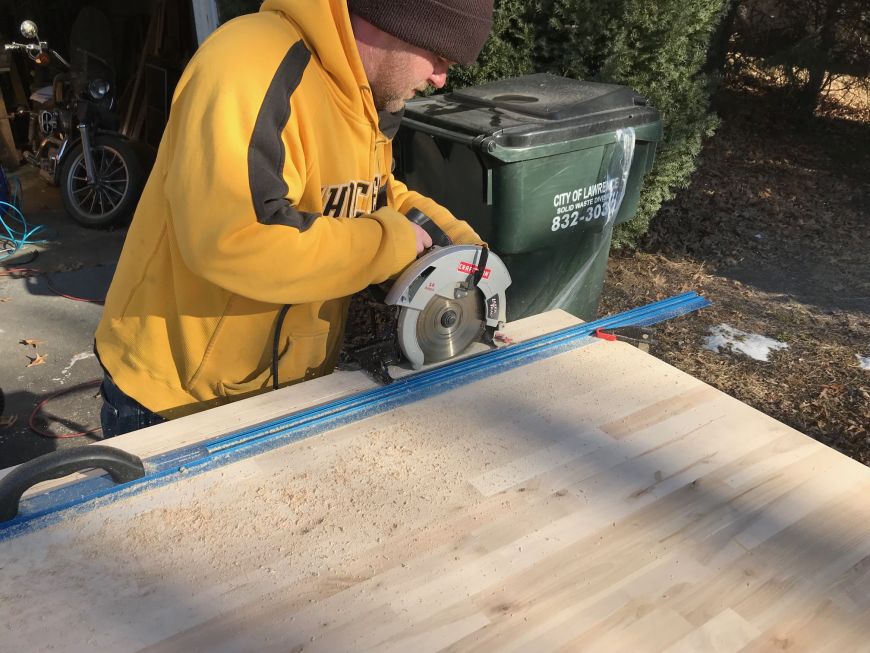
It was finally time to start cutting them up. My friend Carl helped me make the first few rips - sometimes it's just nice to have someone more experienced than yourself lend you a hand.
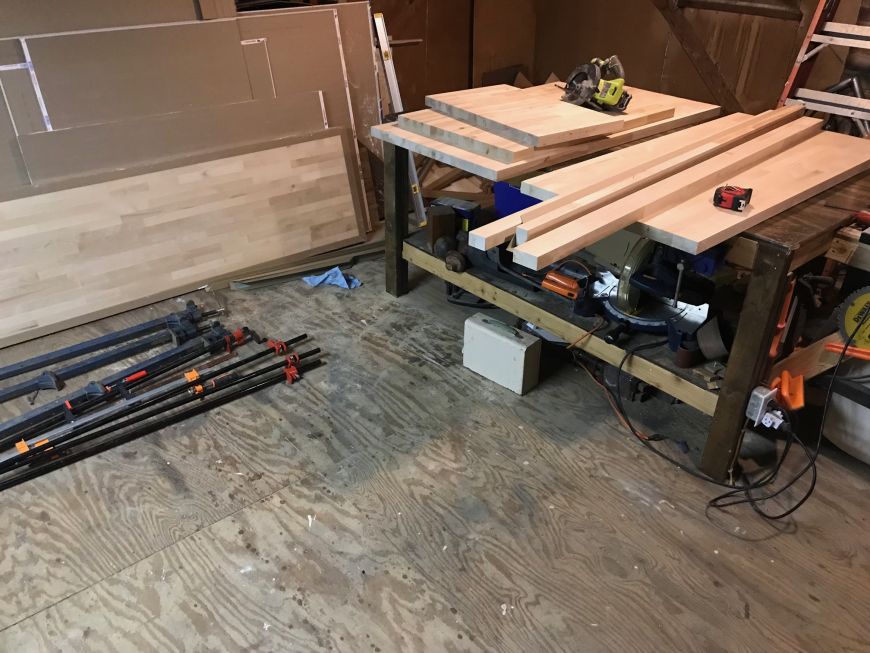
All the cuts made.
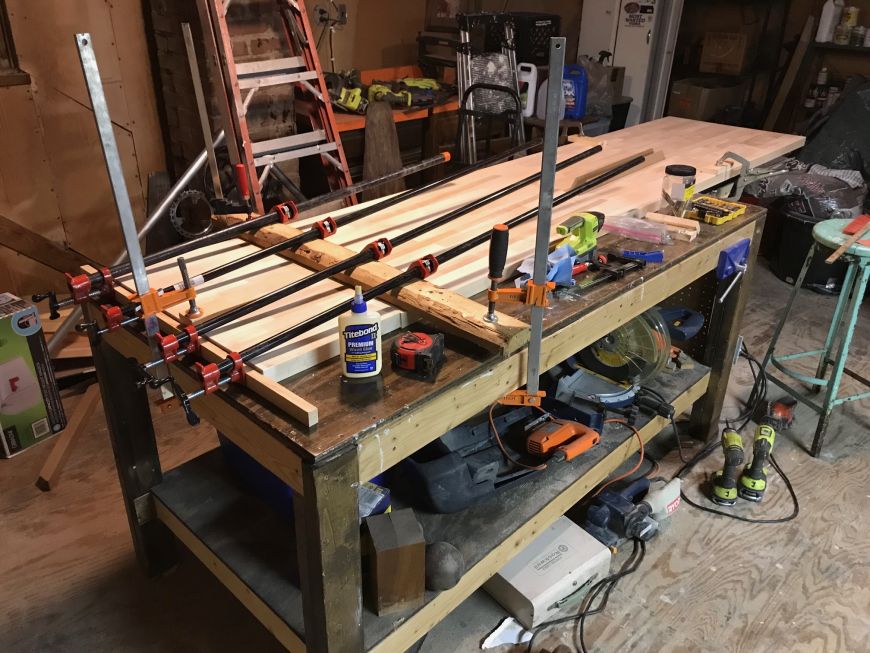
Now I needed to glue the 3" strip to the 25" wide board to make it 28" wide.
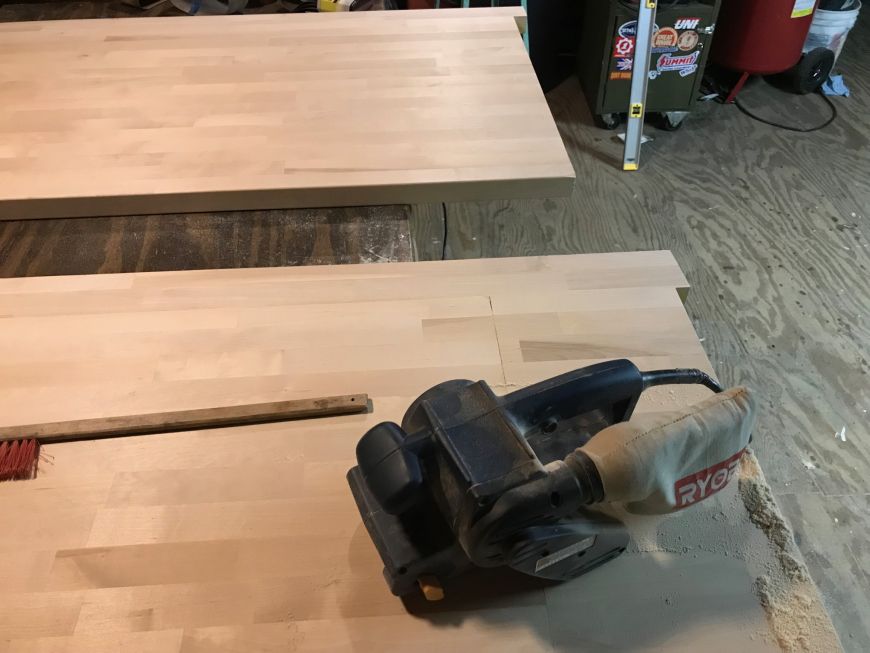
And I needed to lengthen one slab by a foot or so with an end-to-end joint. This type of joint is frowned upon in woodworking because the glue does not work well on the end grain. So I flipped it over and added several pocket screws. Then I flipped it over again and sanded it flat with a belt sander.
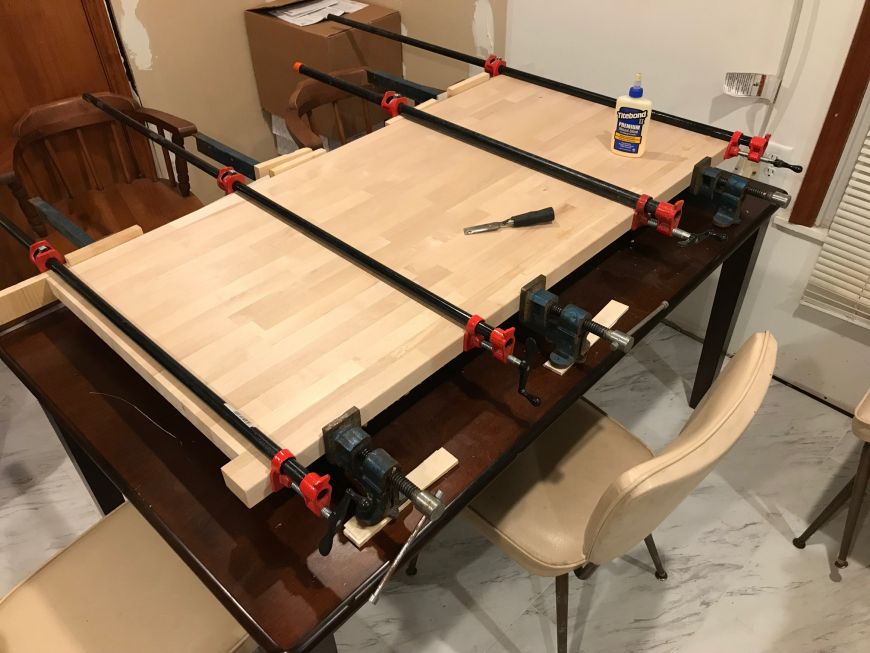
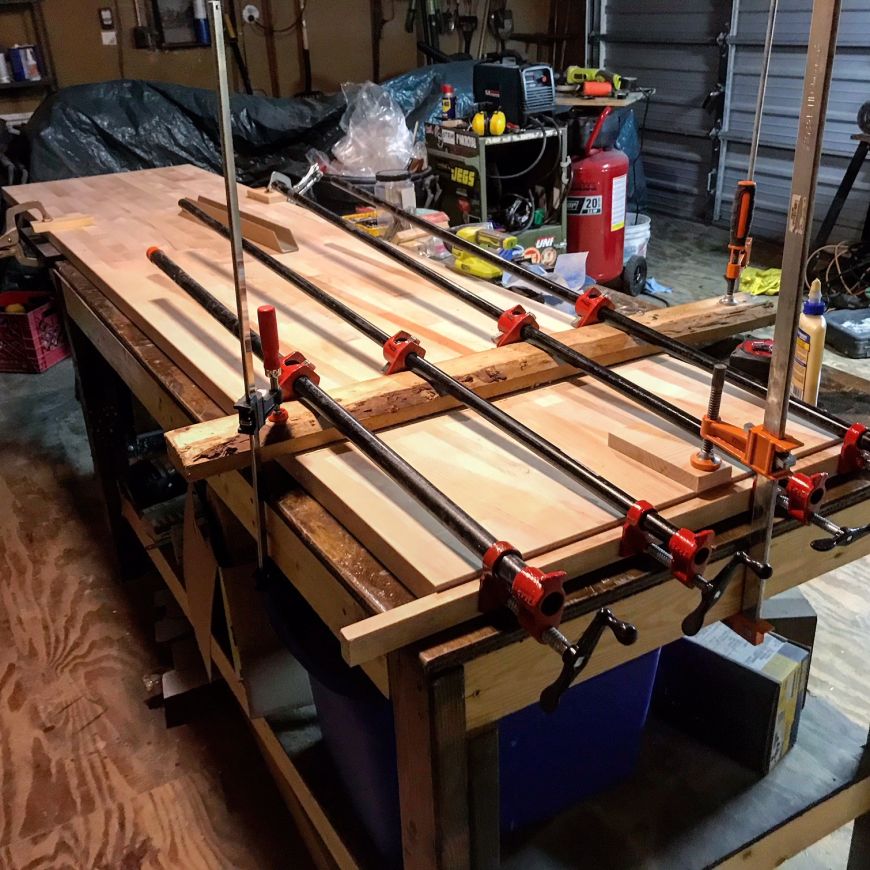
And I had to do the same thing to the really long piece to make it ever longer! But my clamps where not long enough. So I attempted this set-up shown bellow (there's also a few screws going though the scrap 2x4 and into the table but they're not visible).
It worked... okay. Well enough to get some pressure but if I continued to clamp further then the 2x4 would just move a little. I added a bunch of pocket screws to the underside though.
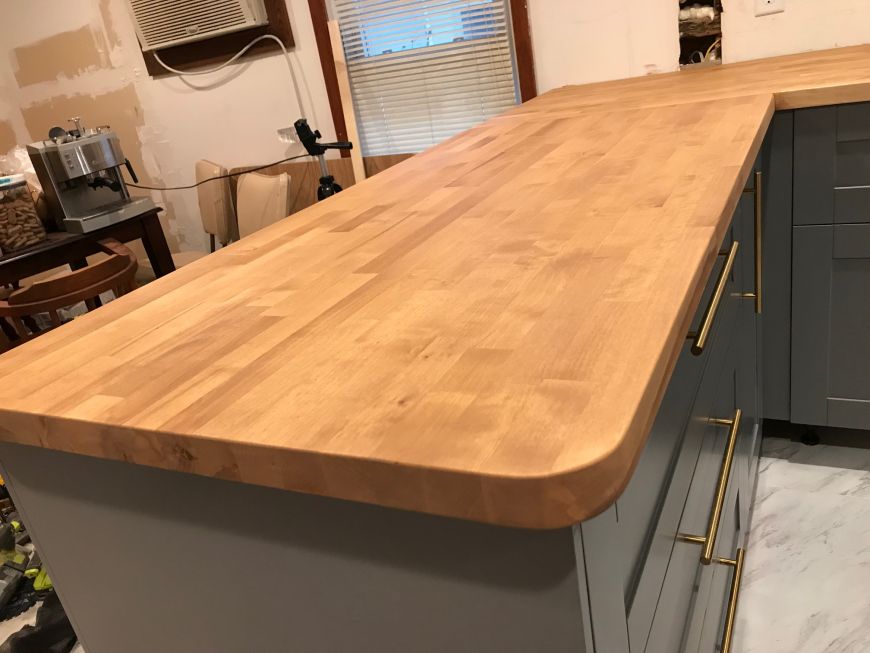
After the pieces where all the right dimension, I sanded and sanded and sanded, routed over all the edges with a 1/4" roundover bit, sanded some more, and then sanded some more. IIRC I sanded with 80 grit where I really needed to move material, but by far most of the sanding was done with 120 grit. Then I sanded them a little with 150 grit right before the applying the finish and after bringing them inside and installing, to give it a little more shine.
Installing them onto the base cabinets was the easy part. Here's a video of me installing them:
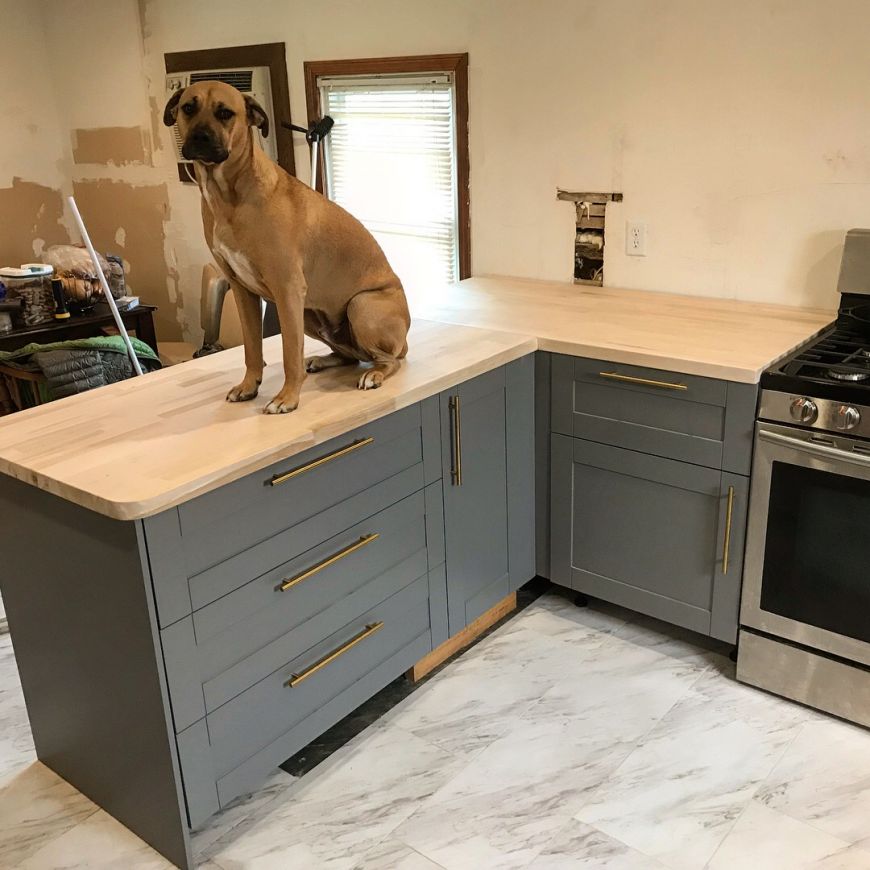
Our modeling dog, doing his job.
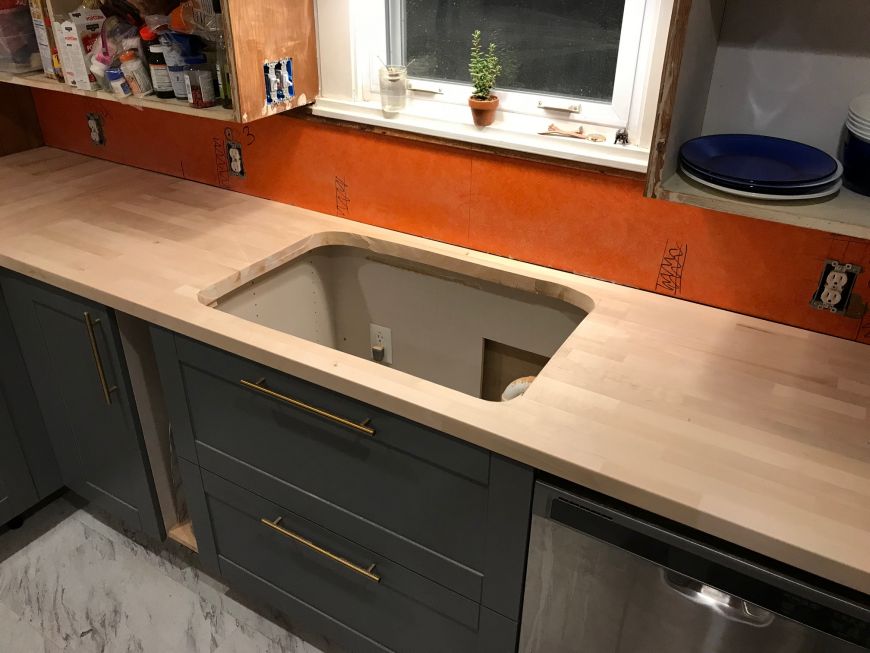
I cut the whole for the sink with a circular saw and a large jig saw. I didn't have any trouble.
To finish the job, we used Rubio Monocoat 2C hardwax - in thir Bourbon color. We're very happy with this product and it is holidng up extremely well! I highly recommend it to anyone else with butcherblock kitchen countertops. I gave the surface a final 150-grit sanding before applying the hardwax, to give it a little more shine, but I have since read that it is better to not sand past 120 grit so that the grain holds as much protective wax as possible. If a higher shine is desired, you can sand with 150 after the first coat of hardwax and then apply a second coat. Yes it is called "monocaot" because they say you don't need more than one coat, but on very porous woods like birch (what I have hear) and maple and pine, a second coat will help. Although very little will soak into the wood compared to the first coat.
She likes it!
After all the stress and hard work and patience, she deserves the kitchen of her dreams...

